As the colder months approach, it's important to start preparing your outdoor kitchen for winter. This includes your outdoor kitchen sink, which is often overlooked but can be easily damaged by freezing temperatures. To ensure your sink stays in top condition and is ready for use when spring arrives, follow this step-by-step guide to winterizing your outdoor kitchen sink.Winterizing Your Outdoor Kitchen Sink: A Step-by-Step Guide


Winterizing Your Outdoor Kitchen Sink: A Step-by-Step Guide


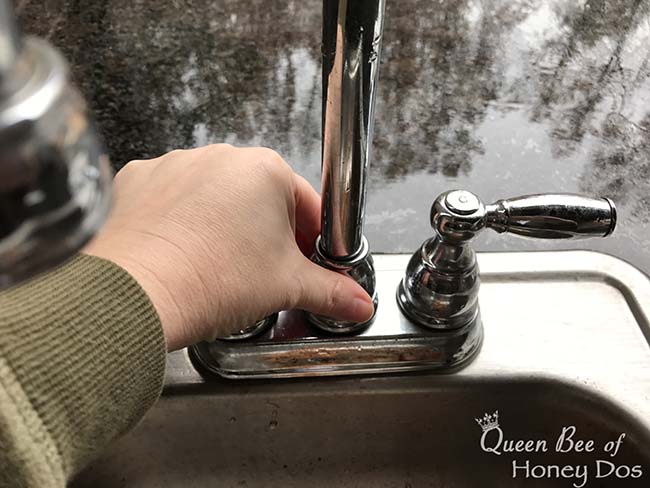
Winterizing your outdoor kitchen sink may seem like a daunting task, but with these simple steps, you can have it done in no time. Step 1: Empty and Clean the Sink Before winterizing your outdoor kitchen sink, make sure it is empty and clean. This includes removing any dishes, utensils, and leftover food. Give the sink a thorough cleaning with a mild detergent and warm water. Step 2: Disconnect the Water Supply Next, you'll need to disconnect the water supply to the sink. This can usually be done by turning off the main water valve or by shutting off the water supply specifically for the outdoor kitchen. Make sure to also turn off any power sources, such as the water heater, to prevent any potential accidents. Step 3: Drain the Pipes To prevent any water from freezing and damaging the pipes, it's crucial to drain them completely. Start by turning on the faucet and letting any remaining water run out. Then, use an air compressor to blow out any excess water from the pipes. Step 4: Add Antifreeze To further protect the pipes from freezing, add antifreeze to the drain trap and the pipes leading to the sink. Make sure to use a non-toxic, RV antifreeze and follow the instructions on the label. Step 5: Cover and Protect Finally, cover your outdoor kitchen sink with a weatherproof cover or tarp to protect it from the elements. This will also help keep debris and pests out of the sink during the winter months.How to Winterize Your Outdoor Kitchen Sink in 5 Easy Steps


How to Winterize Your Outdoor Kitchen Sink in 5 Easy Steps


Here are a few additional tips and tricks to keep in mind when winterizing your outdoor kitchen sink:Outdoor Kitchen Sink Winterization Tips and Tricks


Outdoor Kitchen Sink Winterization Tips and Tricks


Winterizing your outdoor kitchen sink not only protects it from potential damage, but also makes it easier to get it up and running again in the spring. Here are a few important things to keep in mind:Preparing Your Outdoor Kitchen Sink for Winter: What You Need to Know


Preparing Your Outdoor Kitchen Sink for Winter: What You Need to Know


To properly winterize your outdoor kitchen sink, you will need the following supplies and tools:Winterizing Your Outdoor Kitchen Sink: Essential Supplies and Tools


Winterizing Your Outdoor Kitchen Sink: Essential Supplies and Tools


While winterizing your outdoor kitchen sink may seem straightforward, there are a few common mistakes that should be avoided:Outdoor Kitchen Sink Winterization: Common Mistakes to Avoid


Outdoor Kitchen Sink Winterization: Common Mistakes to Avoid


If you're a handy homeowner, you may be tempted to tackle the winterization process yourself. While it is possible to do it yourself, hiring a professional can ensure that the job is done correctly and prevent any potential issues. However, if you do decide to DIY, make sure to follow all safety precautions and carefully read and follow all product instructions.DIY Winterization for Your Outdoor Kitchen Sink: A Comprehensive Guide


DIY Winterization for Your Outdoor Kitchen Sink: A Comprehensive Guide


Winterizing your outdoor kitchen sink is an important step in protecting your investment and ensuring it will be ready for use when the warmer months return. By following these steps and tips, you can rest easy knowing that your outdoor kitchen sink is properly winterized and will be in top condition for years to come.Winterizing Your Outdoor Kitchen Sink: Why It's Important and How to Do It

Winterizing Your Outdoor Kitchen Sink: Why It's Important and How to Do It


If you're not sure where to start with winterizing your outdoor kitchen sink, don't hesitate to seek advice from a professional. They can provide expert recommendations and ensure the process is done correctly.Outdoor Kitchen Sink Winterization: Expert Advice and Recommendations

Outdoor Kitchen Sink Winterization: Expert Advice and Recommendations

Here are some frequently asked questions and answers about winterizing your outdoor kitchen sink:Winterizing Your Outdoor Kitchen Sink: Frequently Asked Questions and Answers


Winterizing Your Outdoor Kitchen Sink: Frequently Asked Questions and Answers
Why You Should Winterize Your Outdoor Kitchen Sink

Protect Your Investment
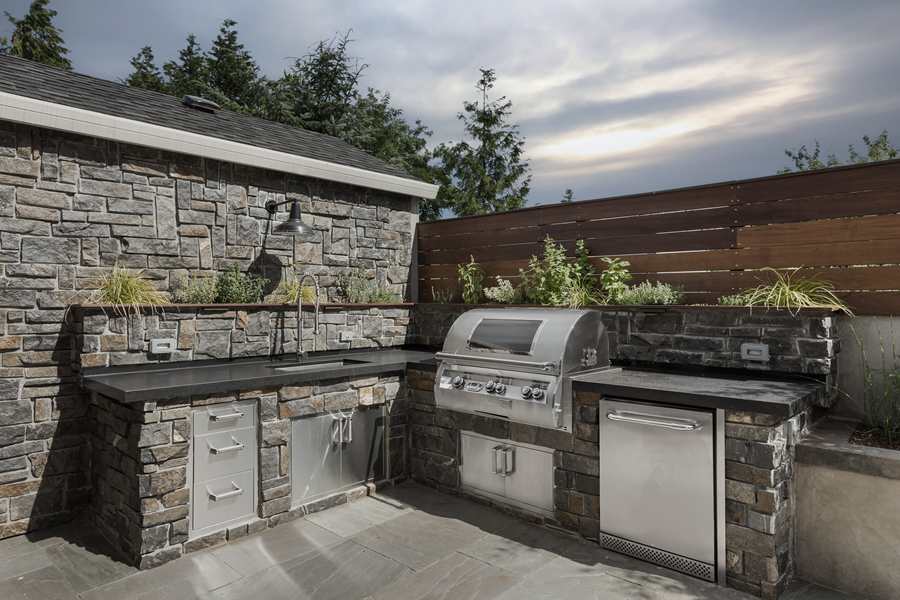
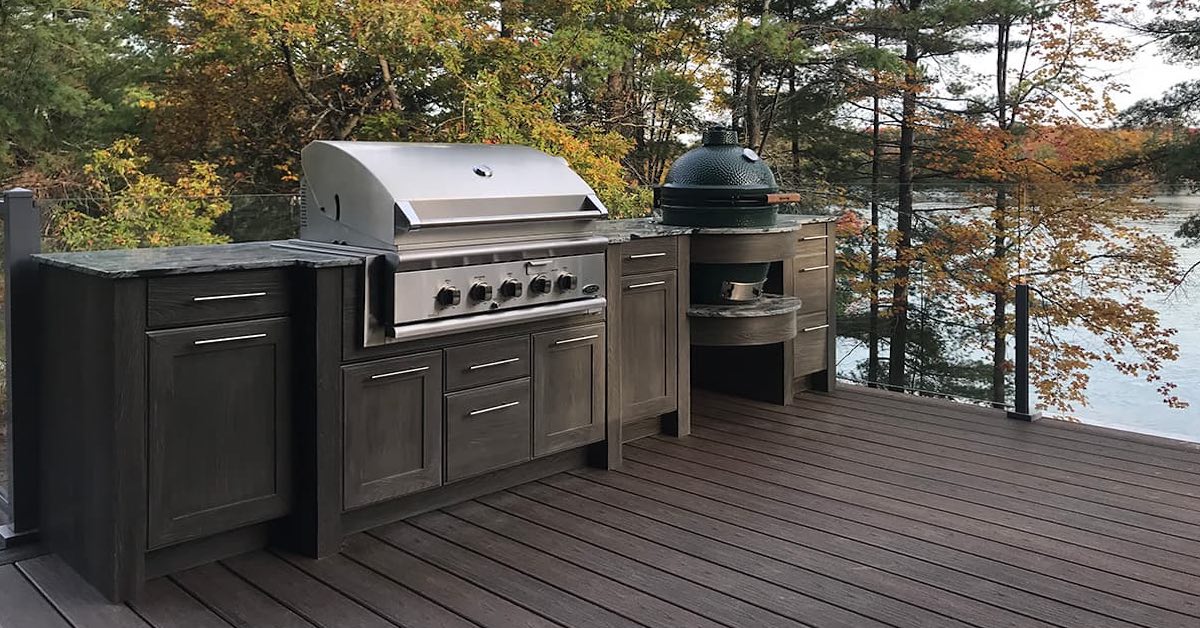
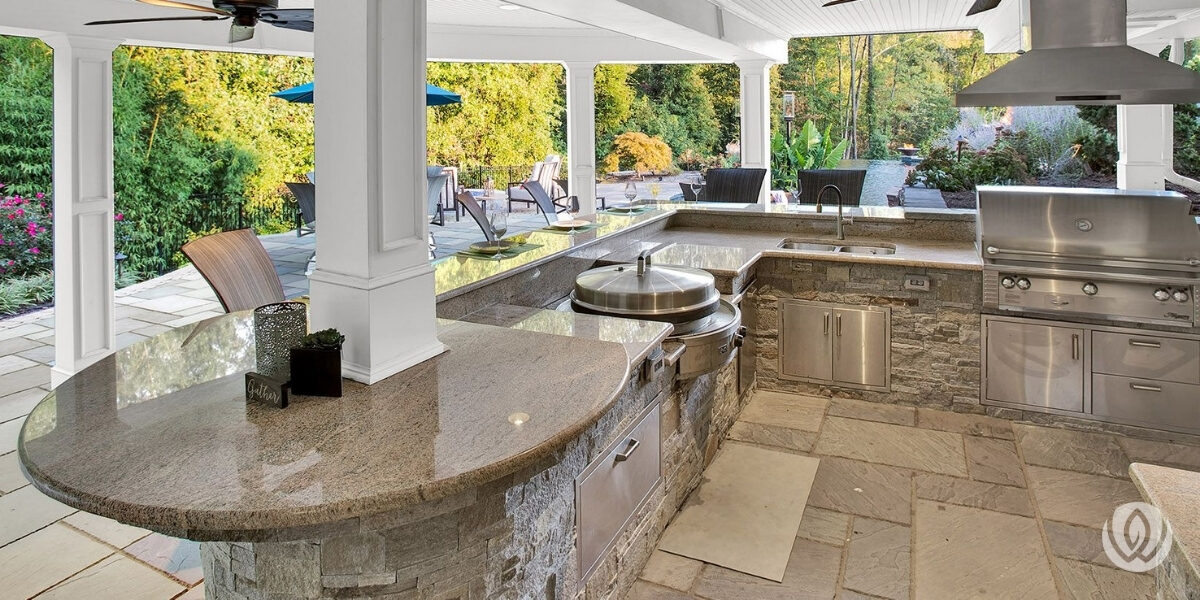
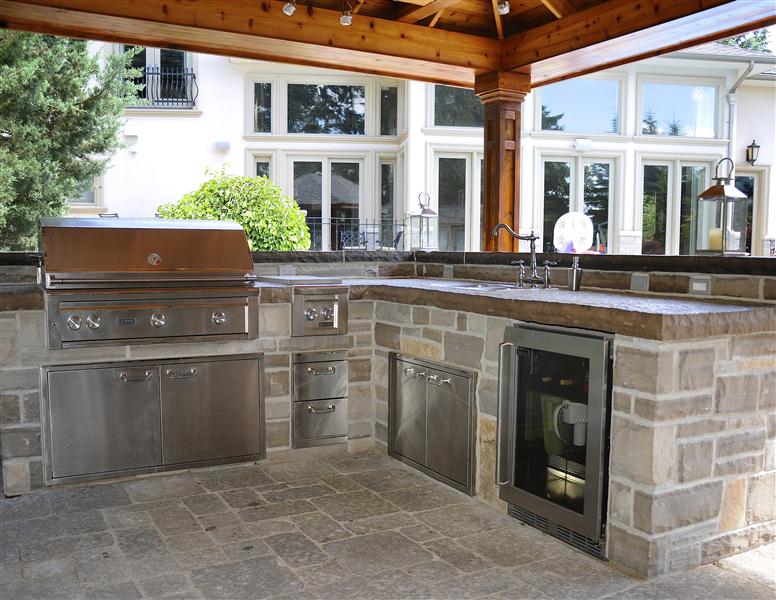
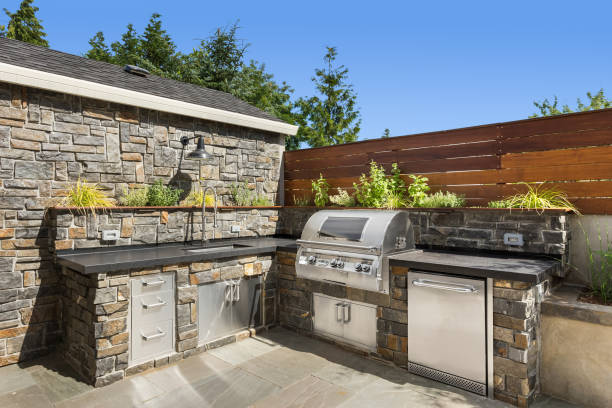
 If you have an outdoor kitchen sink, chances are you have invested a significant amount of time and money into creating the perfect outdoor cooking and entertaining space. From high-quality appliances to luxurious countertops, your outdoor kitchen is a valuable asset to your home. That's why it's important to
winterize
your outdoor kitchen sink to protect your investment and ensure it will continue to serve you for many years to come.
If you have an outdoor kitchen sink, chances are you have invested a significant amount of time and money into creating the perfect outdoor cooking and entertaining space. From high-quality appliances to luxurious countertops, your outdoor kitchen is a valuable asset to your home. That's why it's important to
winterize
your outdoor kitchen sink to protect your investment and ensure it will continue to serve you for many years to come.
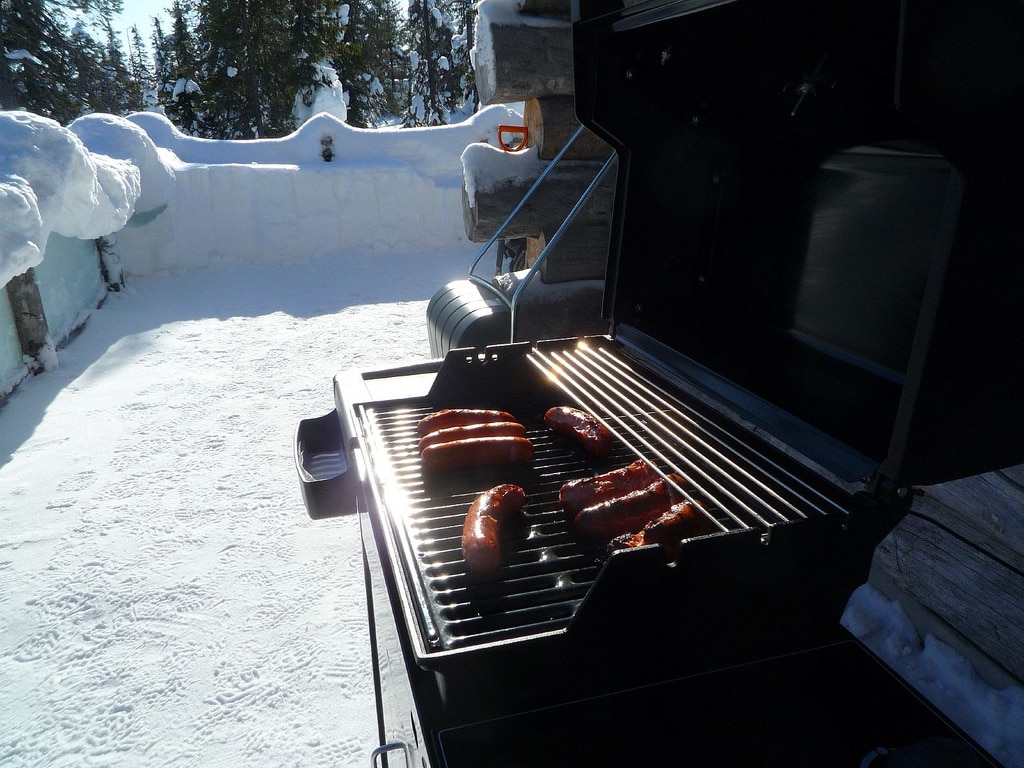
Prevent Damage from Freezing Temperatures
 Winterizing
your outdoor kitchen sink is crucial in colder climates where freezing temperatures can cause significant damage. When water freezes, it expands, which can lead to
cracked pipes
and other costly repairs. By properly preparing your outdoor kitchen sink for winter, you can avoid the headache and expense of dealing with frozen pipes and other damage.
Winterizing
your outdoor kitchen sink is crucial in colder climates where freezing temperatures can cause significant damage. When water freezes, it expands, which can lead to
cracked pipes
and other costly repairs. By properly preparing your outdoor kitchen sink for winter, you can avoid the headache and expense of dealing with frozen pipes and other damage.
Extend the Life of Your Outdoor Kitchen
 In addition to preventing immediate damage,
winterizing
your outdoor kitchen sink can also help extend its overall lifespan. By properly draining and protecting your sink and plumbing, you can avoid potential issues that could lead to expensive repairs or replacements down the line. Plus, by taking the time to properly prepare your outdoor kitchen for winter, you'll be able to enjoy it for many more seasons to come.
In addition to preventing immediate damage,
winterizing
your outdoor kitchen sink can also help extend its overall lifespan. By properly draining and protecting your sink and plumbing, you can avoid potential issues that could lead to expensive repairs or replacements down the line. Plus, by taking the time to properly prepare your outdoor kitchen for winter, you'll be able to enjoy it for many more seasons to come.
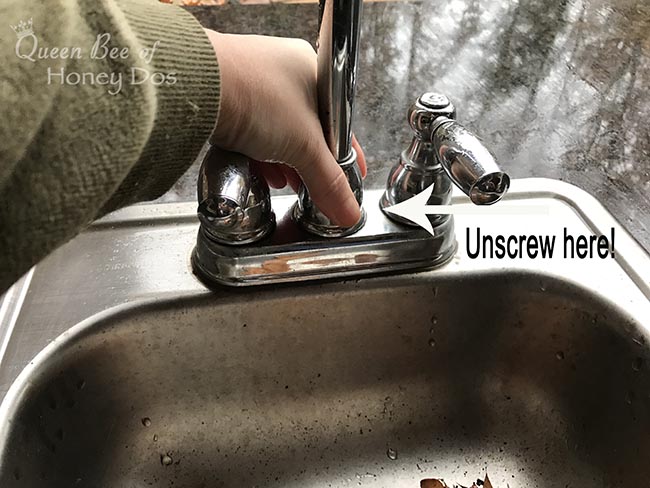
How to Winterize Your Outdoor Kitchen Sink
 Now that you understand the importance of
winterizing
your outdoor kitchen sink, let's discuss how to do it. The first step is to
shut off the water supply
to your outdoor kitchen. Next, make sure to
drain
any remaining water from the pipes and
disconnect
any hoses or attachments. You should also
clear and clean
your sink and plumbing to remove any debris that could cause issues during the winter months. Finally, consider
insulating
any exposed pipes or fixtures to provide an extra layer of protection against freezing temperatures.
Now that you understand the importance of
winterizing
your outdoor kitchen sink, let's discuss how to do it. The first step is to
shut off the water supply
to your outdoor kitchen. Next, make sure to
drain
any remaining water from the pipes and
disconnect
any hoses or attachments. You should also
clear and clean
your sink and plumbing to remove any debris that could cause issues during the winter months. Finally, consider
insulating
any exposed pipes or fixtures to provide an extra layer of protection against freezing temperatures.
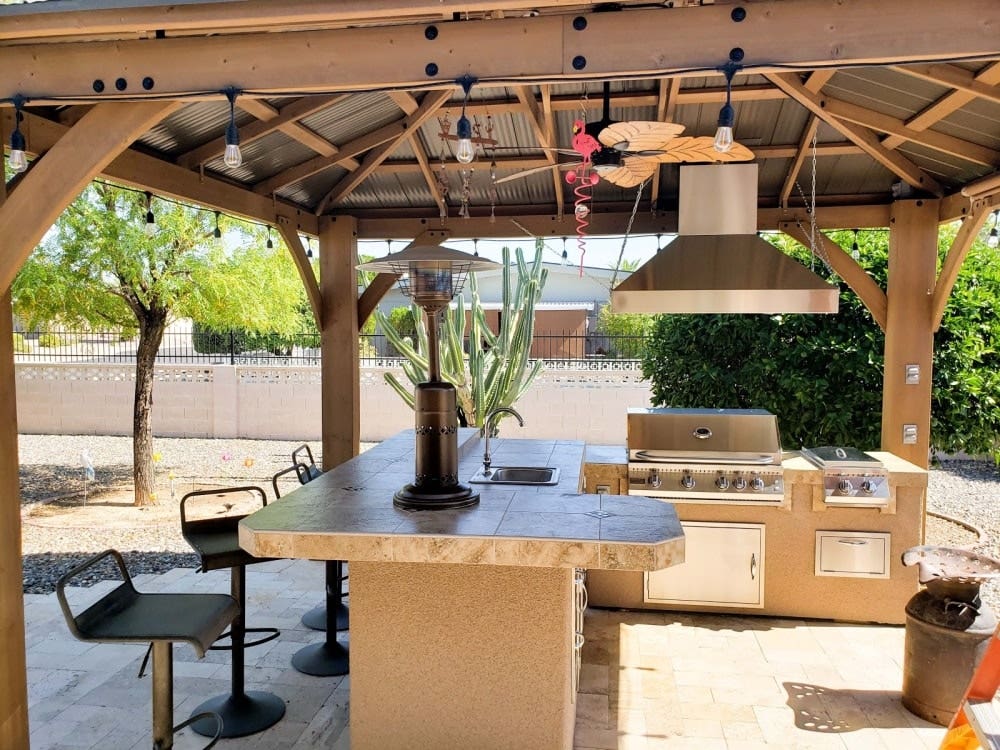
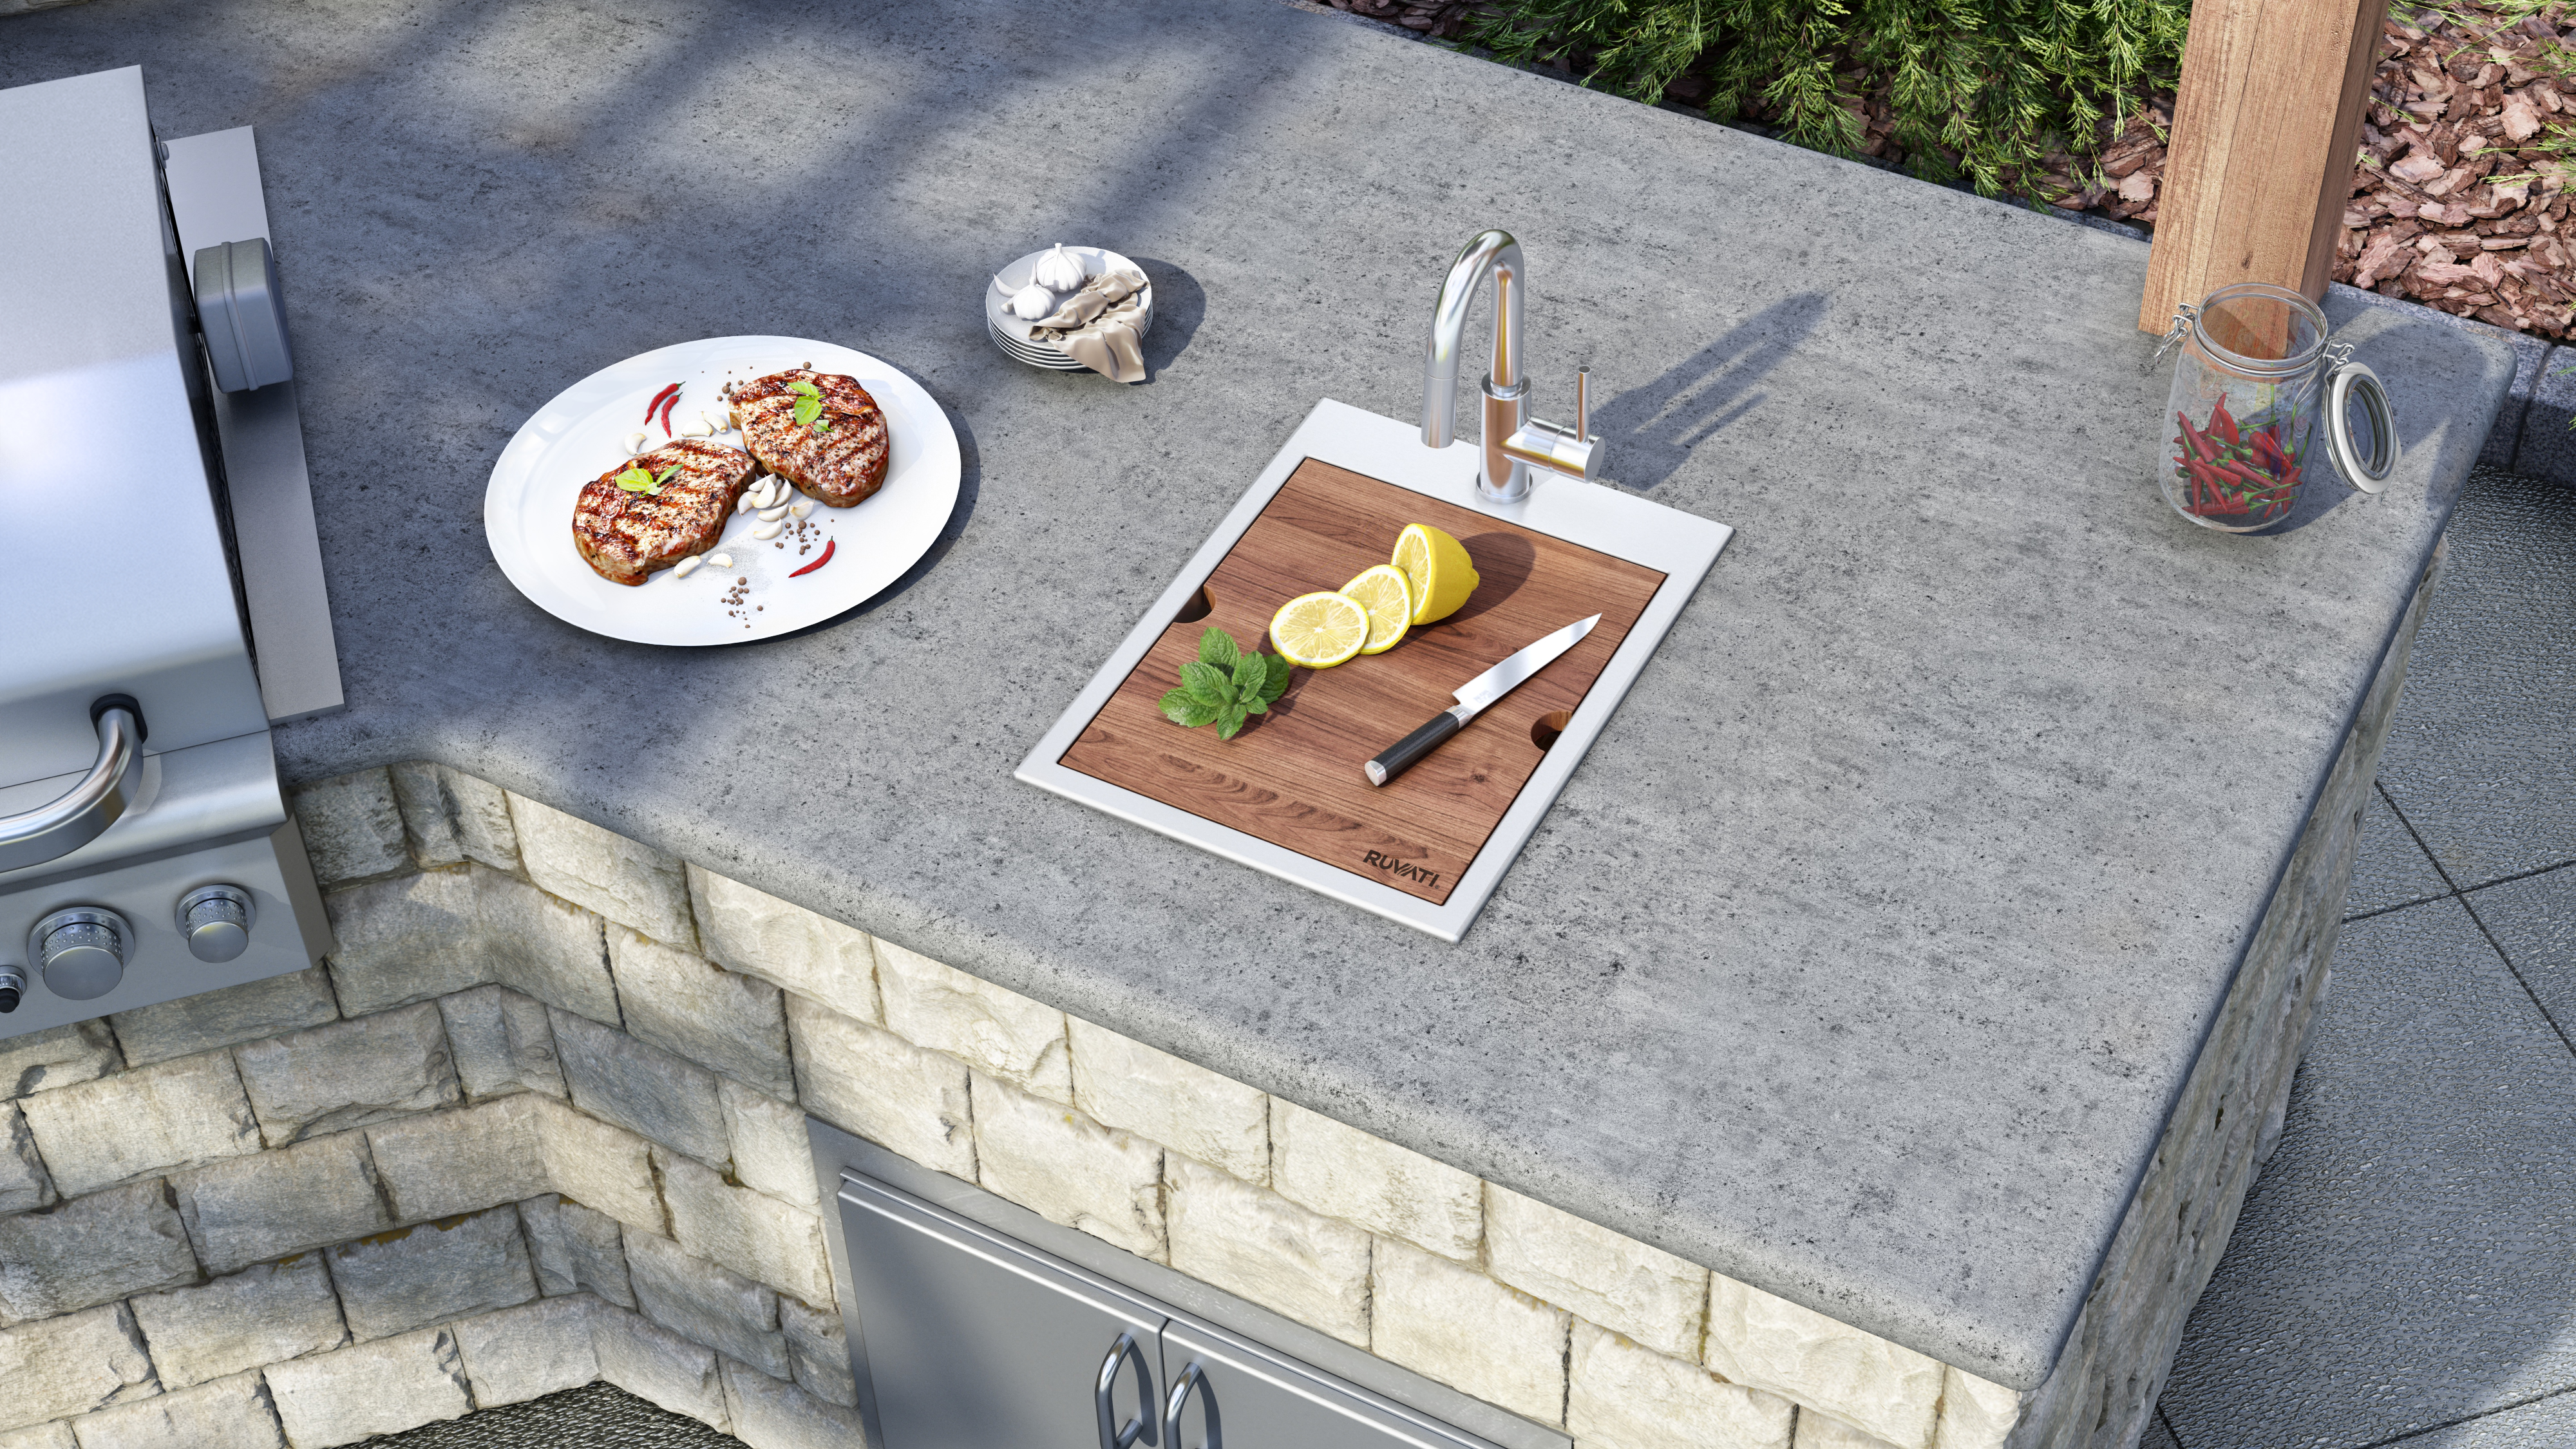
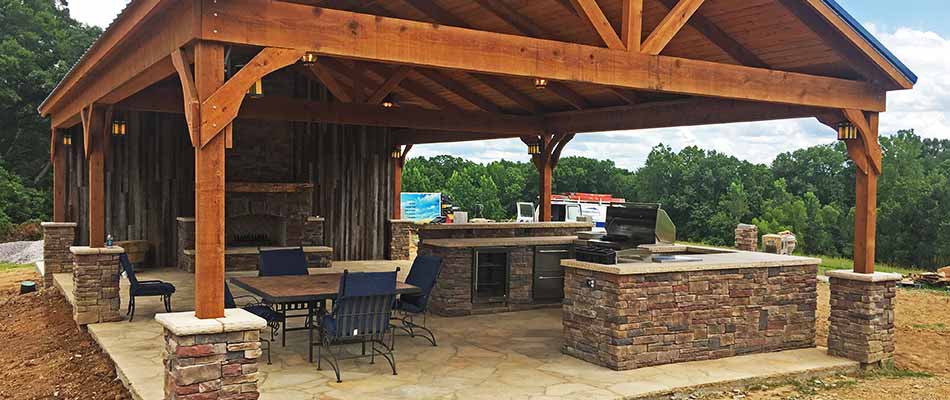
Enjoy Your Outdoor Kitchen Year-Round
 By following these simple steps to
winterize
your outdoor kitchen sink, you can protect your investment, prevent damage, and extend the life of your outdoor kitchen. So don't let the winter weather stop you from enjoying your outdoor cooking and entertaining space. With a little bit of preparation, you can continue to use your outdoor kitchen all year round.
By following these simple steps to
winterize
your outdoor kitchen sink, you can protect your investment, prevent damage, and extend the life of your outdoor kitchen. So don't let the winter weather stop you from enjoying your outdoor cooking and entertaining space. With a little bit of preparation, you can continue to use your outdoor kitchen all year round.