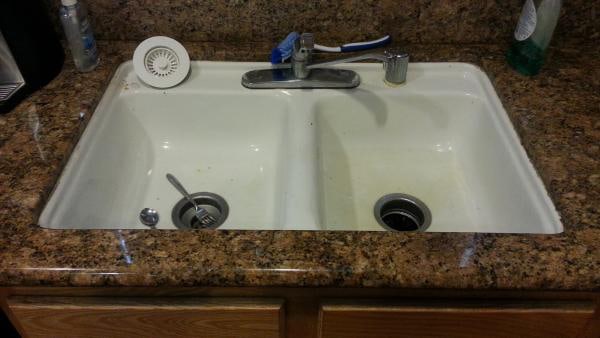
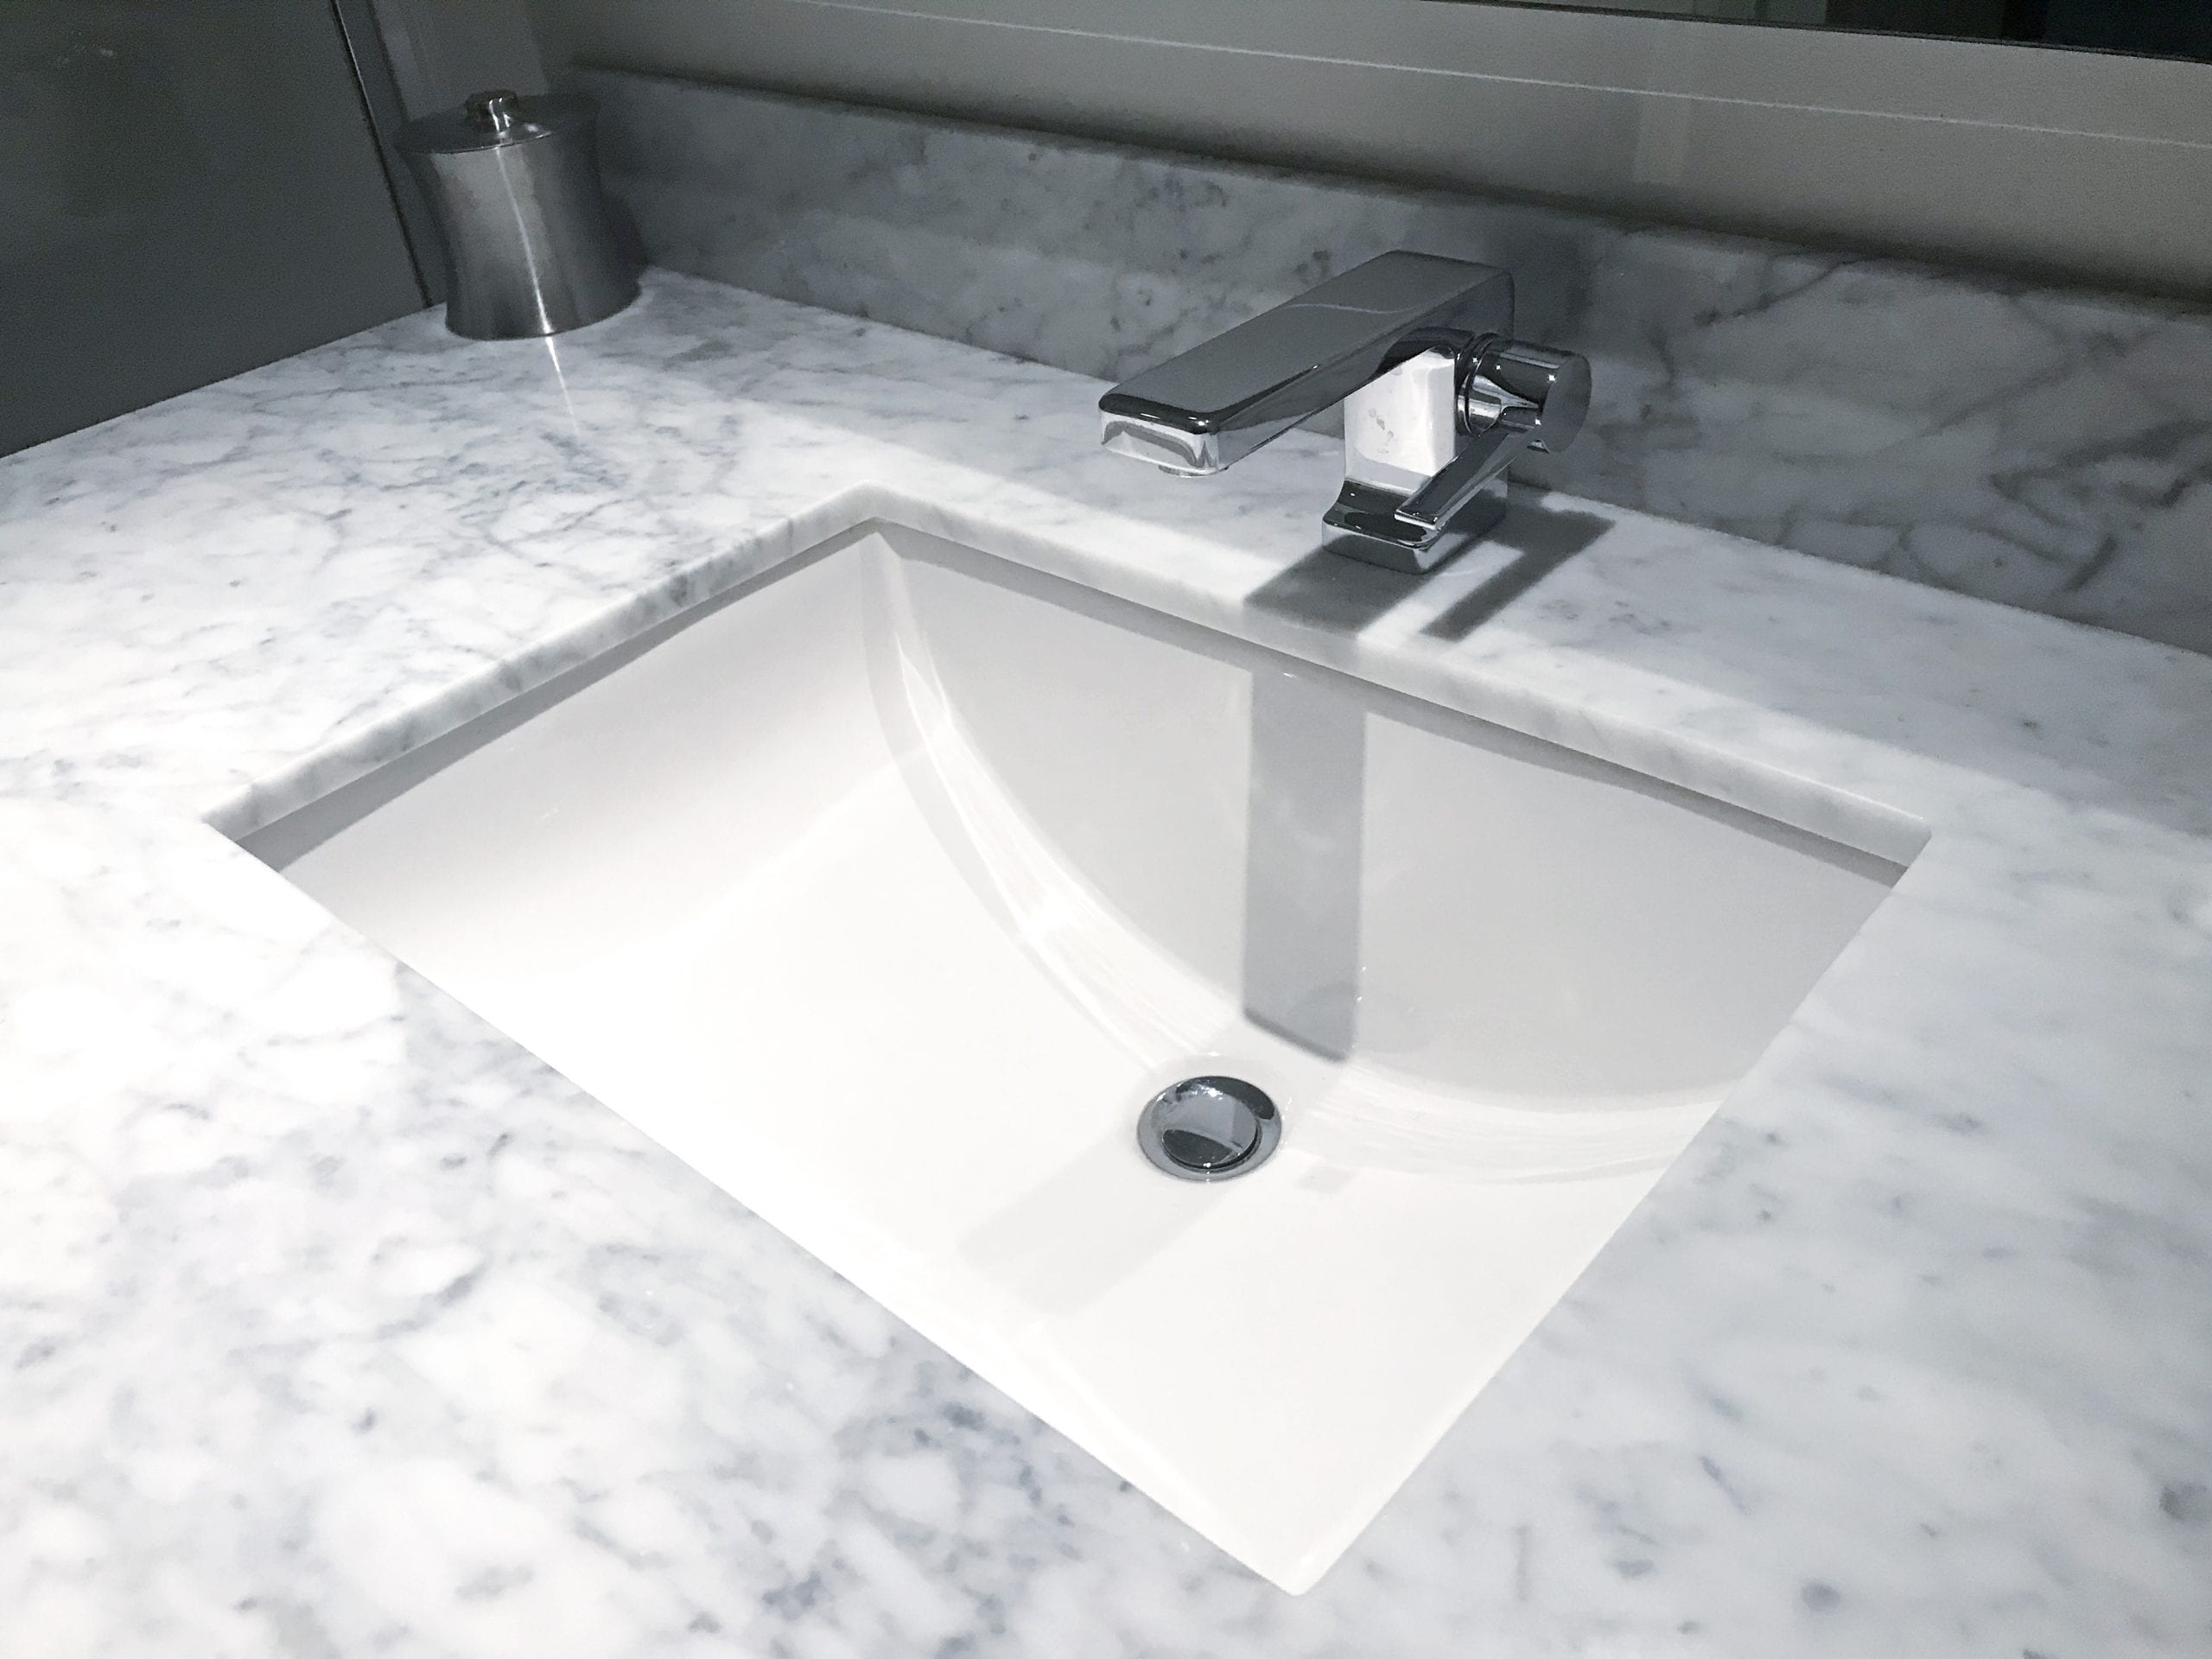
Are you looking to renovate your bathroom and need to remove your undermount bathroom sink? Or maybe you're experiencing a leak or clog and need to replace your sink. Whatever the reason may be, removing an undermount bathroom sink may seem like a daunting task. But fear not, with the right tools and techniques, you can easily remove your undermount bathroom sink in no time.Removing undermount bathroom sink


Removing undermount bathroom sink
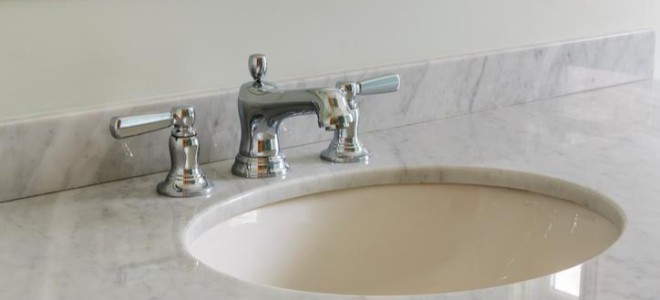
Before you begin, make sure to gather all the necessary tools and materials. You will need a putty knife, adjustable pliers, a screwdriver, and a bucket or container to catch any water that may spill out. It's also a good idea to have a helper to assist you with lifting and supporting the sink. The first step is to turn off the water supply to your sink. You can do this by closing the valves under the sink or by turning off the main water supply. Next, disconnect the water supply lines from the faucet using adjustable pliers. Make sure to have a towel handy to catch any excess water. Now, you will need to remove the drain assembly. Use a screwdriver to unscrew the nuts securing the drain pipe to the bottom of the sink. Once the nuts are removed, you can pull out the drain assembly from the sink. If your sink is attached to a vanity, you will need to remove the vanity top first. This can usually be done by unscrewing the screws that hold the top in place. Once the vanity top is removed, you can access the sink from underneath.How to remove an undermount bathroom sink


How to remove an undermount bathroom sink


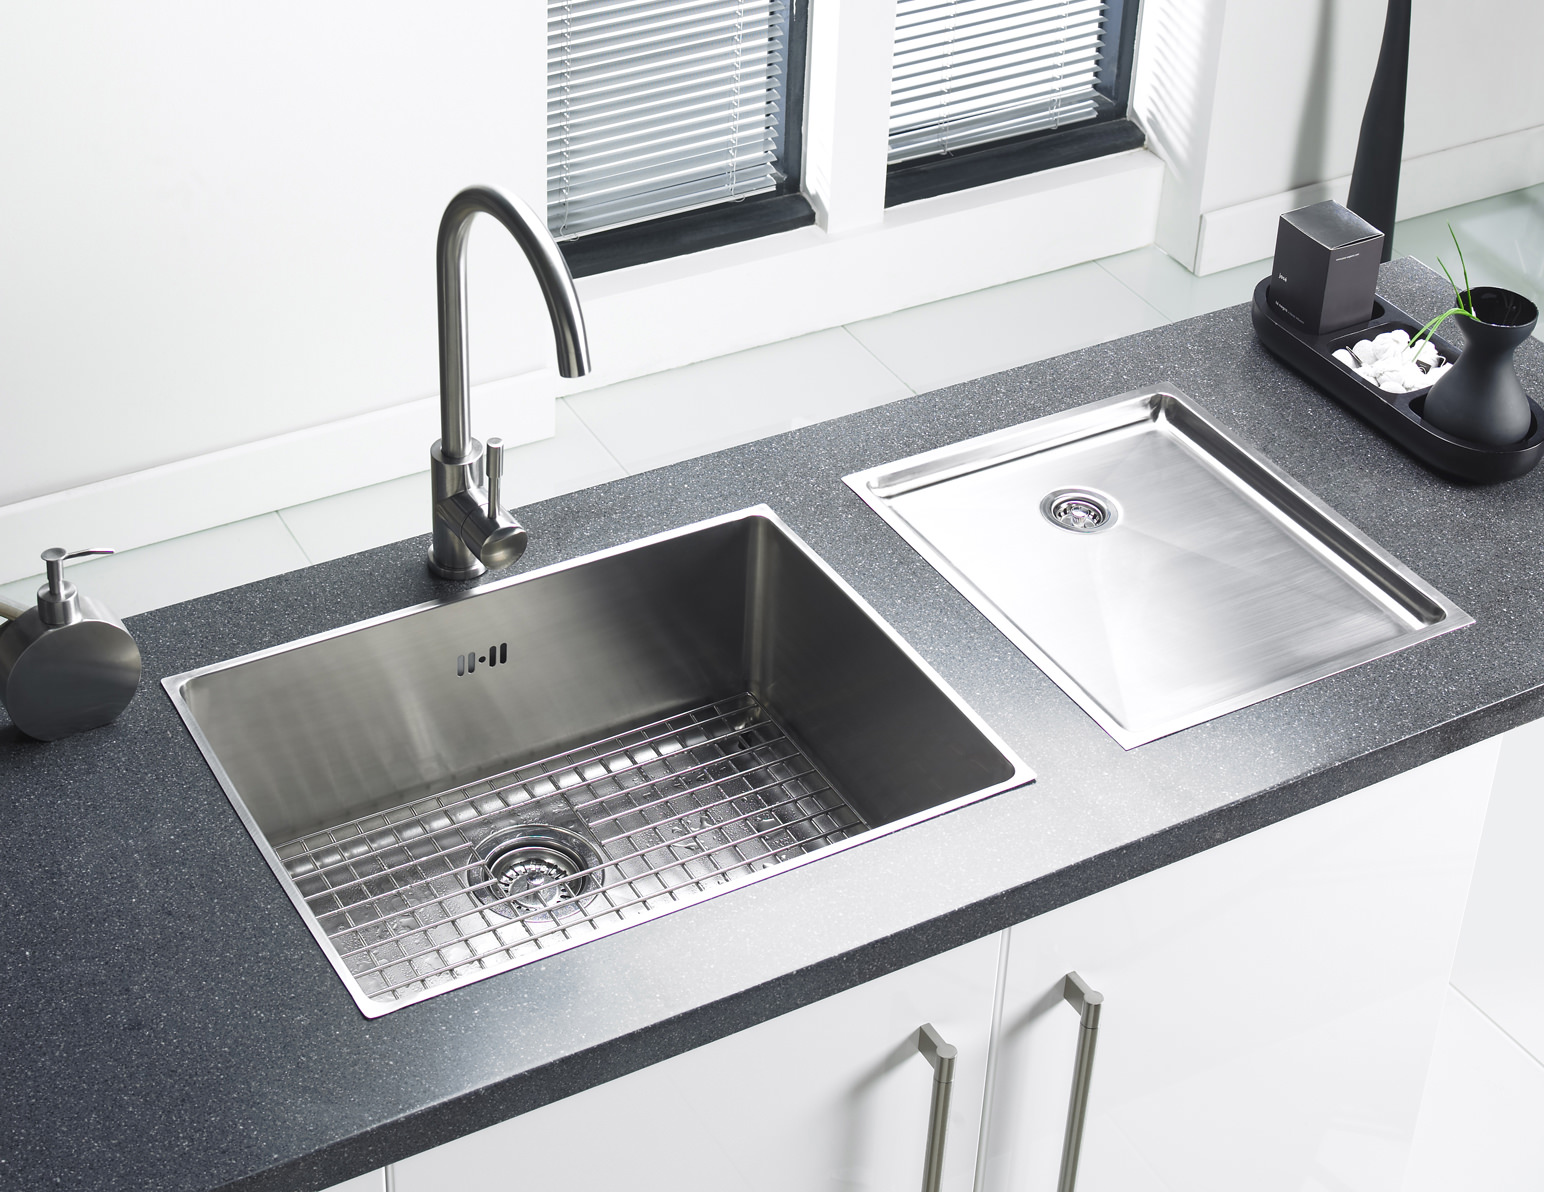
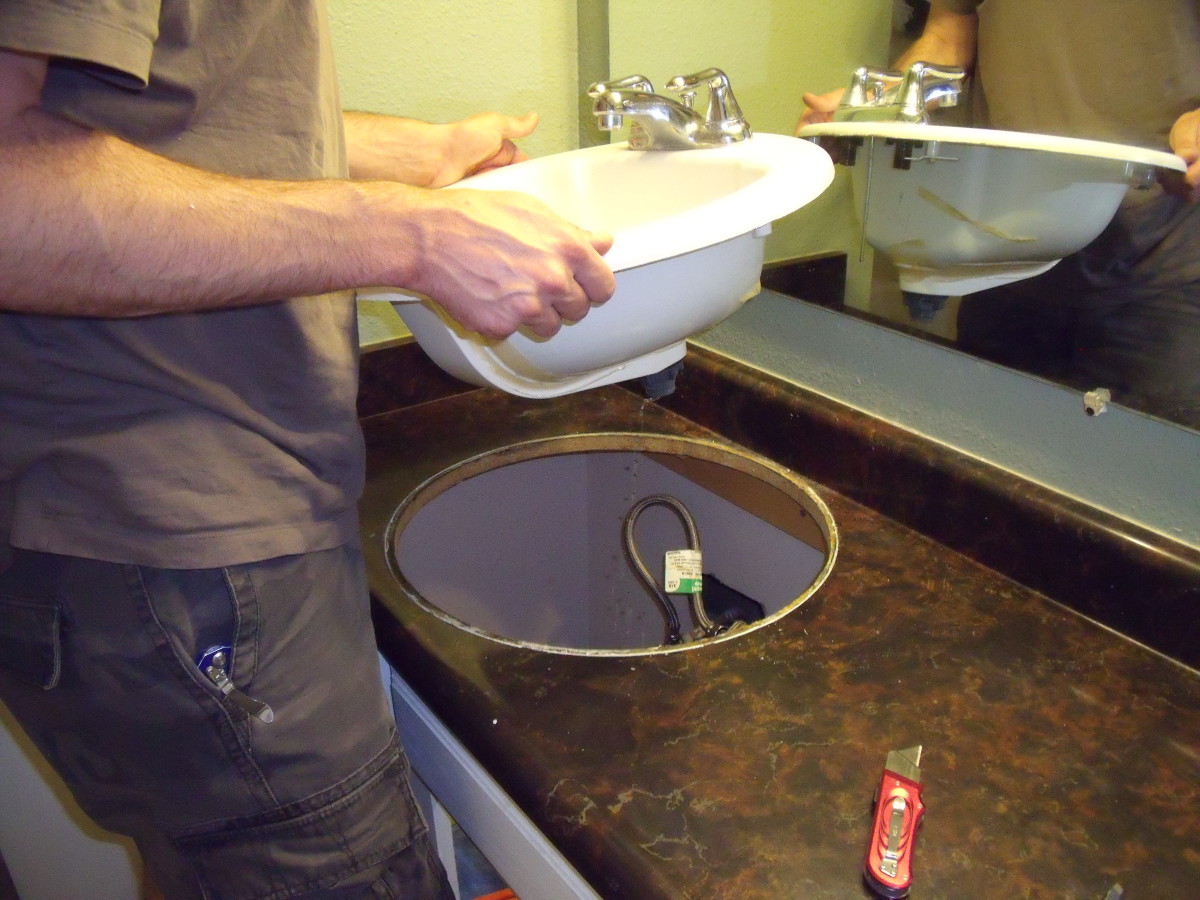
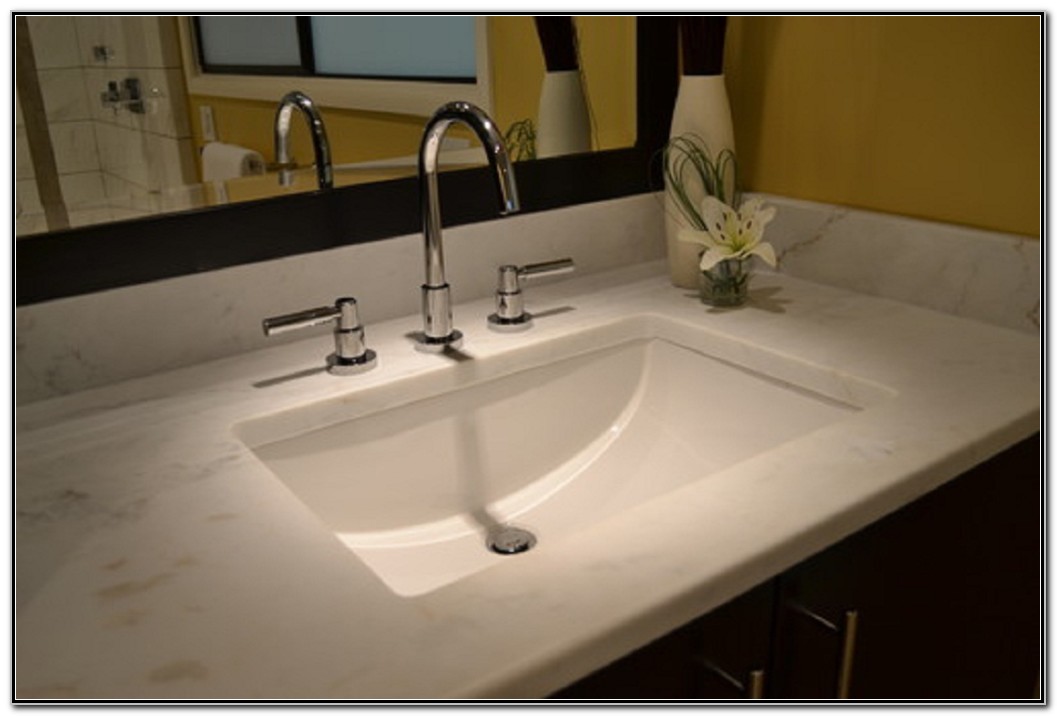
With the water supply and drain assembly disconnected, you can now focus on removing the sink itself. Undermount sinks are usually held in place by clips or brackets that are attached to the underside of the countertop. Use a screwdriver to remove these clips or brackets, and the sink should easily come loose. If your sink is glued to the countertop, you will need to cut through the adhesive using a putty knife. Be careful not to damage the countertop in the process. Once the sink is free, carefully lift it out of the countertop and place it in the designated container.Undermount bathroom sink removal


Undermount bathroom sink removal


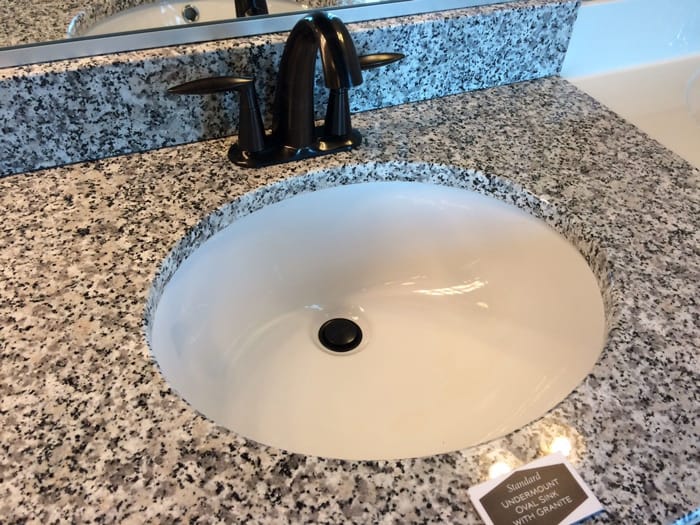
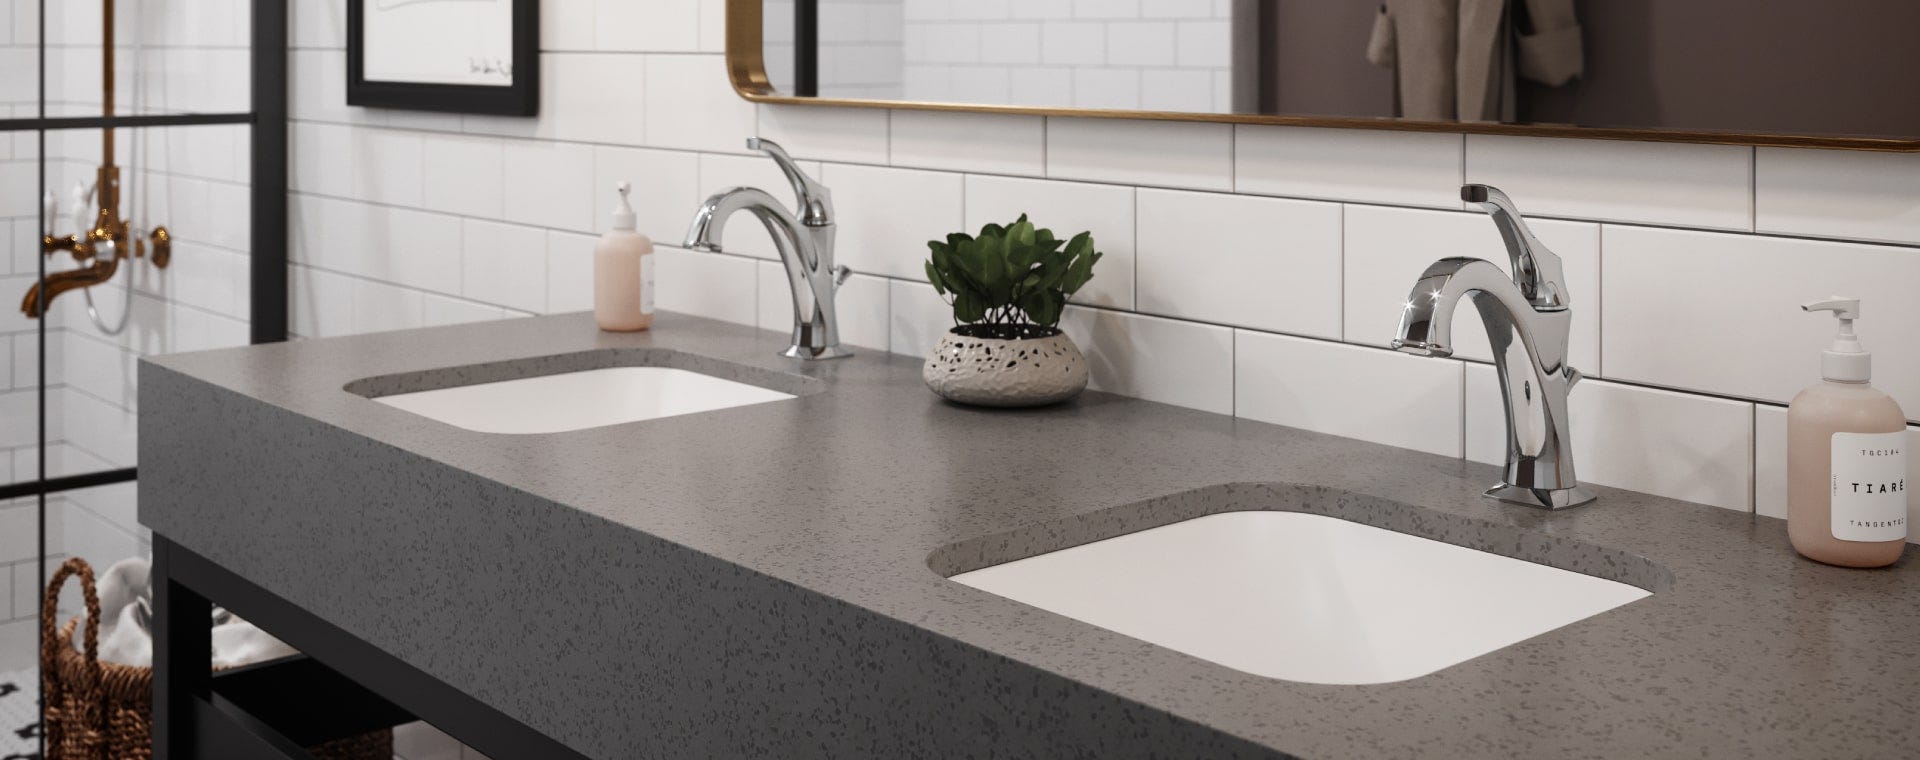
If your sink is attached to a granite, quartz, or marble countertop, the removal process may be a bit trickier. These materials are more delicate and require extra care to avoid any damage. Start by following the same steps as above to disconnect the water supply and drain assembly. Then, use a putty knife or a pry bar to gently separate the sink from the countertop. Be extra cautious not to apply too much pressure, as this can cause cracks or chips in the stone. If the sink is sealed with silicone, you may need to use a utility knife to cut through the adhesive. Again, be gentle and take your time to avoid any damage. Once the sink is free, carefully lift it out and place it in the designated container.Removing an undermount bathroom sink

Removing an undermount bathroom sink


If you're replacing the sink and not just removing it, you will need to clean up the area where the sink was attached. Use a putty knife to scrape off any leftover adhesive, and a mild cleaner to remove any residue. Make sure to let the area dry completely before installing the new sink. If you're not replacing the sink, you can use this opportunity to deep clean the sink and the area underneath. Wipe down the sink with a gentle cleaner and scrub the area underneath with a brush to remove any buildup or grime.Removing undermount sink


Removing undermount sink


If your undermount sink is attached to a vanity, you may need to remove the entire vanity to access the sink. This can be done by unscrewing the screws that hold the vanity in place and carefully lifting it out. Make sure to have a helper to assist you with the heavy lifting. Once the vanity is removed, you can follow the same steps as above to remove the sink. If the sink is attached to the vanity with adhesive, you may need to use a utility knife to cut through it. If the sink is attached with clips or brackets, you can simply unscrew them to release the sink.Removing undermount vanity sink


Removing undermount vanity sink


Removing an undermount bathroom sink from a granite countertop requires extra care and attention. Since granite is a natural stone, it is more prone to cracking or chipping if not handled properly. Start by following the same steps as above to disconnect the water supply and drain assembly. Then, use a putty knife or a pry bar to gently separate the sink from the countertop. Be extra cautious not to apply too much pressure, as this can cause cracks or chips in the granite. If the sink is sealed with silicone, you may need to use a utility knife to cut through the adhesive. Again, be gentle and take your time to avoid any damage. Once the sink is free, carefully lift it out and place it in the designated container.Removing undermount bathroom sink from granite


Removing undermount bathroom sink from granite


Quartz countertops are also delicate and require extra care when removing an undermount bathroom sink. Follow the same steps as above, but be extra cautious when using a putty knife or pry bar to separate the sink from the countertop. If the sink is sealed with silicone, you may need to use a utility knife to cut through the adhesive. Again, be gentle and take your time to avoid any damage. Once the sink is free, carefully lift it out and place it in the designated container.Removing undermount bathroom sink from quartz


Removing undermount bathroom sink from quartz


Marble is a softer stone and requires even more care when removing an undermount bathroom sink. Start by following the same steps as above to disconnect the water supply and drain assembly. Then, use a putty knife or a pry bar to gently separate the sink from the countertop. Be extremely gentle and cautious when using a putty knife or pry bar, as marble is more prone to cracking or chipping. If the sink is sealed with silicone, you may need to use a utility knife to cut through the adhesive. Once the sink is free, carefully lift it out and place it in the designated container.Removing undermount bathroom sink from marble


Removing undermount bathroom sink from marble
Lastly, if your undermount bathroom sink is attached to a standard countertop material such as laminate or wood, the removal process is relatively straightforward. Follow the steps above to disconnect the water supply and drain assembly, and then remove any clips or brackets holding the sink in place. If the sink is glued to the countertop, you can use a putty knife to gently separate it. Be careful not to damage the countertop in the process. Once the sink is free, carefully lift it out and place it in the designated container. Removing an undermount bathroom sink may seem like a daunting task, but with the right tools and techniques, it can be done easily. Just remember to always take your time and handle the sink and countertop with care to avoid any damage. Happy renovating!Removing undermount bathroom sink from countertop


Removing undermount bathroom sink from countertop
:max_bytes(150000):strip_icc()/8_IMG_3767-56a4a2753df78cf772835b72.JPG)

Removing an undermount bathroom sink may seem like a daunting task, but it is actually a fairly simple process that can be done in a few easy steps. In this article, we will guide you through the process of removing an undermount bathroom sink, providing you with all the necessary information and tips to ensure a smooth and successful removal.
Step 1: Gather Your Tools and Materials
 Before you begin the removal process, it's important to gather all the necessary tools and materials. This will save you time and frustration later on. You will need a
wrench, pliers, putty knife, and a bucket
to catch any excess water. It's also a good idea to have some
cleaning supplies
on hand to clean up any spills or messes.
Before you begin the removal process, it's important to gather all the necessary tools and materials. This will save you time and frustration later on. You will need a
wrench, pliers, putty knife, and a bucket
to catch any excess water. It's also a good idea to have some
cleaning supplies
on hand to clean up any spills or messes.
Step 2: Turn Off the Water Supply
 Before you start removing the sink, you need to turn off the water supply. This can usually be done by turning the
water valves
located under the sink in a clockwise direction. Once the water is turned off, turn on the faucet to release any remaining water from the pipes.
Before you start removing the sink, you need to turn off the water supply. This can usually be done by turning the
water valves
located under the sink in a clockwise direction. Once the water is turned off, turn on the faucet to release any remaining water from the pipes.
Step 3: Disconnect the Plumbing
 Using your pliers,
loosen and remove
the nuts and bolts connecting the plumbing under the sink. Place a bucket under the pipes to catch any water that may leak out. Once the plumbing is disconnected, use your wrench to loosen and remove the
clips or brackets
holding the sink in place.
Using your pliers,
loosen and remove
the nuts and bolts connecting the plumbing under the sink. Place a bucket under the pipes to catch any water that may leak out. Once the plumbing is disconnected, use your wrench to loosen and remove the
clips or brackets
holding the sink in place.
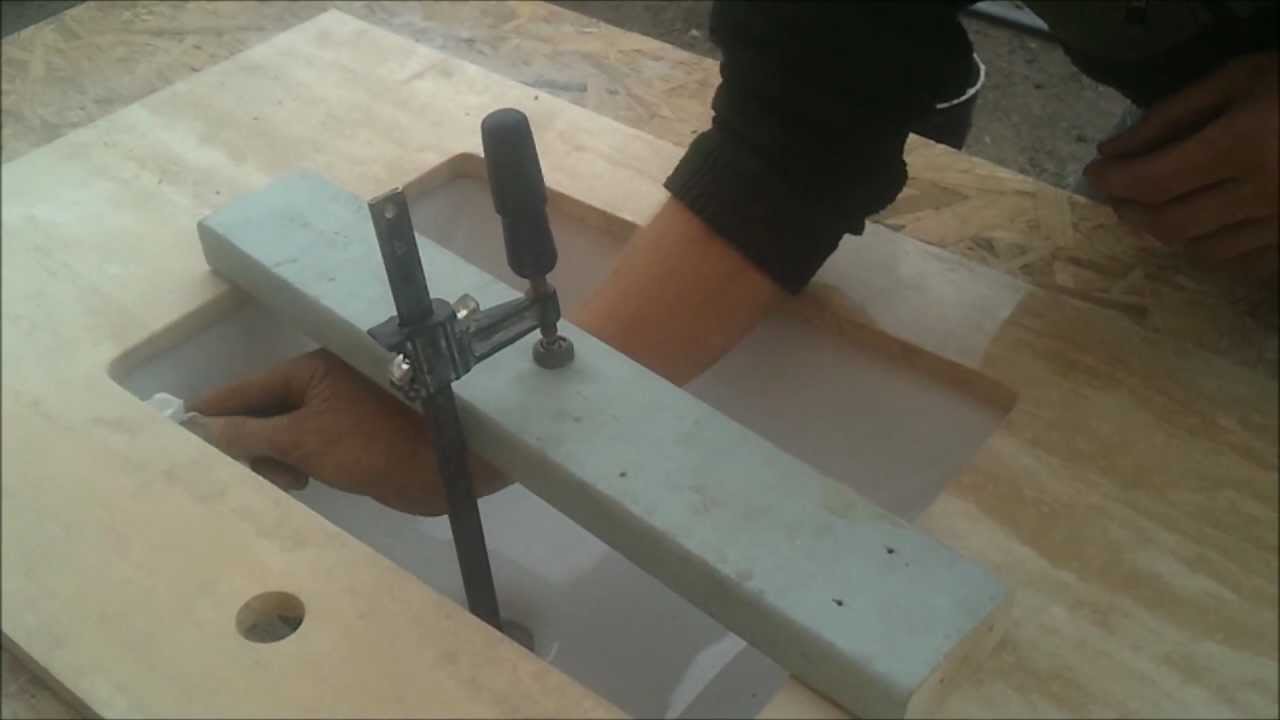
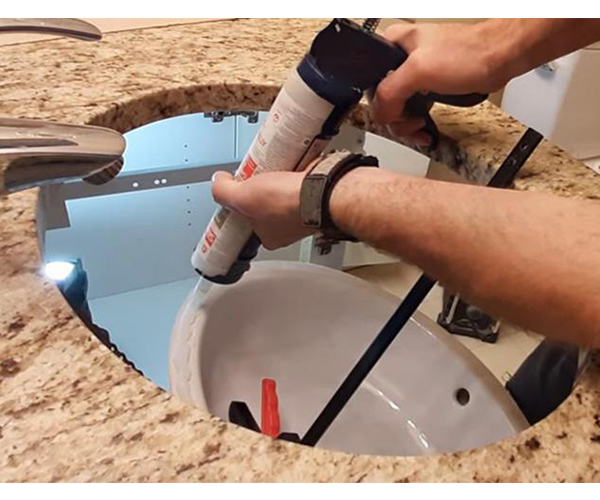
Step 4: Loosen the Adhesive
 Undermount sinks are typically held in place with a strong adhesive. To loosen the sink, insert a putty knife between the sink and the countertop and gently pry it away. Be careful not to damage the countertop or the sink.
Step 5: Remove the Sink
 Once the adhesive is loosened, carefully lift the sink out of the countertop. It's important to have a helper during this step to avoid dropping the sink or causing any damage. Place the sink in a safe and secure location.
Step 6: Clean and Prepare the Countertop
 With the sink removed, you can now clean and prepare the countertop for a new sink. Use a
cleaning solution
to remove any remaining adhesive or residue. Make sure to thoroughly dry the area before installing a new sink.
With the sink removed, you can now clean and prepare the countertop for a new sink. Use a
cleaning solution
to remove any remaining adhesive or residue. Make sure to thoroughly dry the area before installing a new sink.
Conclusion
 Removing an undermount bathroom sink may seem like a daunting task, but with the right tools and knowledge, it can be done easily. By following these steps and taking your time, you can successfully remove your old sink and prepare for a new one. Remember to always take caution and have a helper to avoid any accidents.