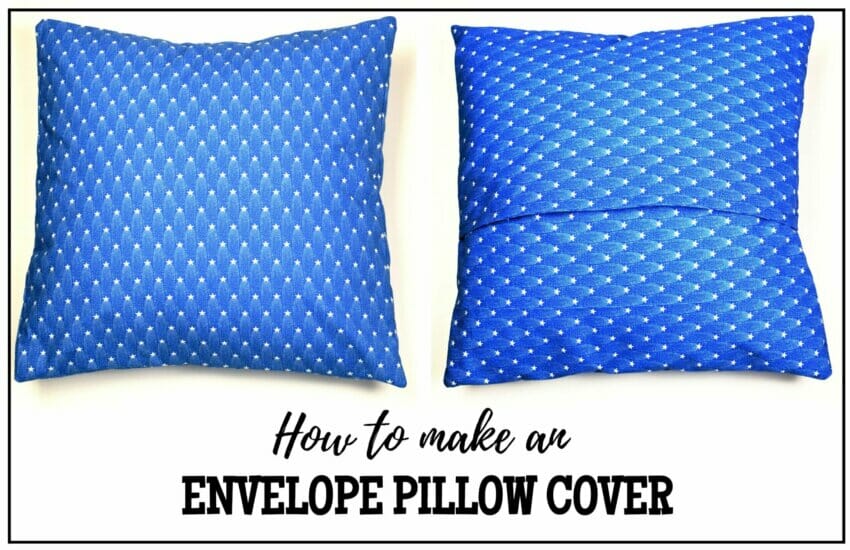
Are you tired of constantly changing your baby's mattress cover every time it gets dirty? Or maybe you just want to add a personal touch to your nursery decor? Whatever your reason may be, making your own envelope baby mattress cover is a fun and practical DIY project. Not only will it save you money, but it will also allow you to customize the cover to your liking. Follow our step-by-step guide to create a beautiful and functional envelope baby mattress cover.How to Make an Envelope Baby Mattress Cover


How to Make an Envelope Baby Mattress Cover


If you're new to sewing, don't worry! This tutorial is beginner-friendly and requires minimal sewing skills. With just a few materials and some basic sewing techniques, you'll have a lovely envelope baby mattress cover in no time.DIY Envelope Baby Mattress Cover Tutorial


DIY Envelope Baby Mattress Cover Tutorial

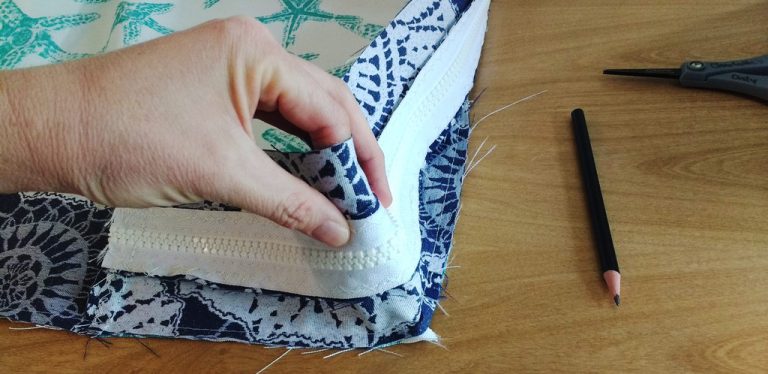


Step 1: Gather Materials Before you begin, make sure you have all the necessary materials. You will need: - Fabric (cotton or flannel works best for baby's sensitive skin) - Elastic (optional) - Piping (optional) - Thread - Scissors - Sewing machine or needle and thread Step 2: Measure and Cut Fabric Measure the length and width of your baby's mattress and add a few inches to each measurement to allow for seam allowance. Use these measurements to cut two pieces of fabric, one for the top of the cover and one for the bottom. If you plan on using piping, make sure to cut an extra strip of fabric for the piping. Step 3: Sew Piping (Optional) If you want to add a decorative touch to your envelope baby mattress cover, now is the time to sew on the piping. Place the piping strip on the edge of the top fabric piece, right sides facing, and sew it in place using a zipper foot. Repeat on the other edge of the top fabric piece. Step 4: Sew Elastic (Optional) If you want a snug fit for your cover, you can add elastic to the bottom edge. Sew the elastic onto the wrong side of the bottom fabric piece, making sure to stretch it as you sew. This will create gathers, which will help the cover fit snugly on the mattress. Step 5: Sew Fabric Pieces Together Place the top and bottom fabric pieces right sides facing and pin them together. Sew around the edges, leaving a small opening on one side. This will be used to turn the cover right side out. Step 6: Turn Cover Right Side Out Through the opening, carefully turn the cover right side out. Use a pencil or a chopstick to push out the corners and edges. Once the cover is fully turned, sew the opening closed using a ladder stitch. Step 7: Insert Mattress Place your baby's mattress inside the cover and adjust as needed. The elastic, if used, will hold the cover in place and the piping, if used, will add a decorative finish to the edges. And voila! Your envelope baby mattress cover is complete.Step-by-Step Guide to Making an Envelope Baby Mattress Cover


Step-by-Step Guide to Making an Envelope Baby Mattress Cover


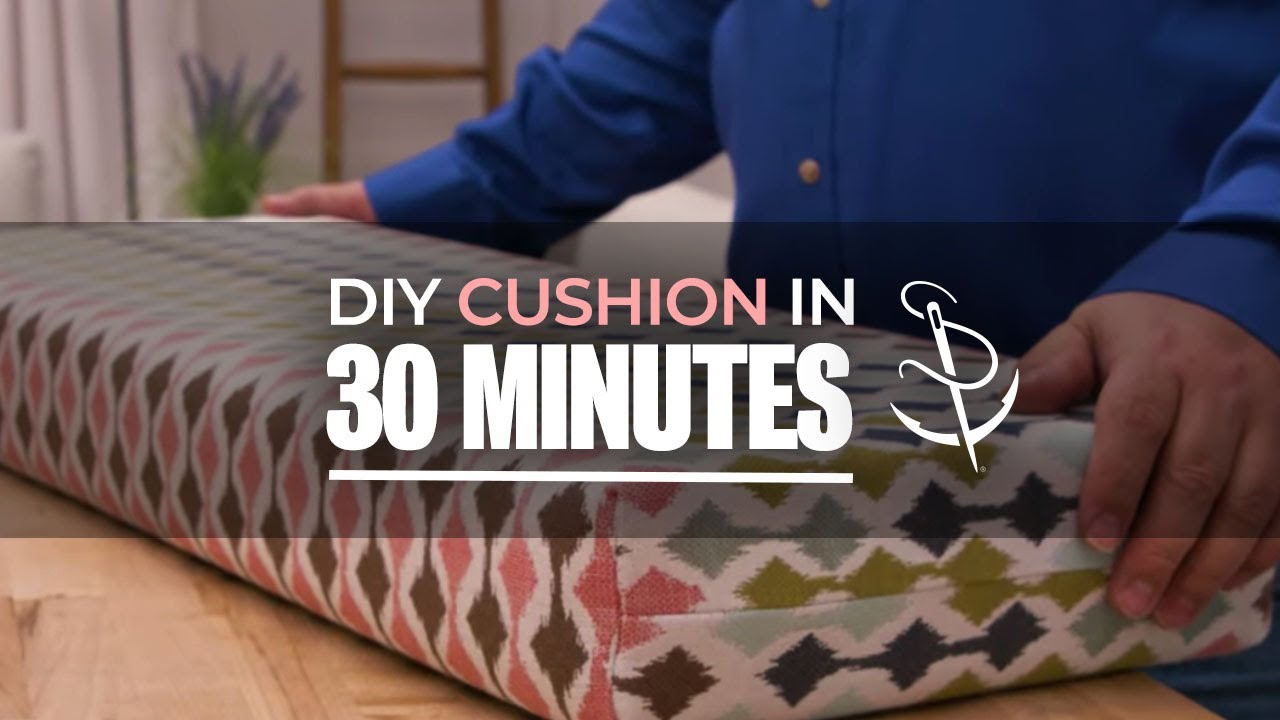
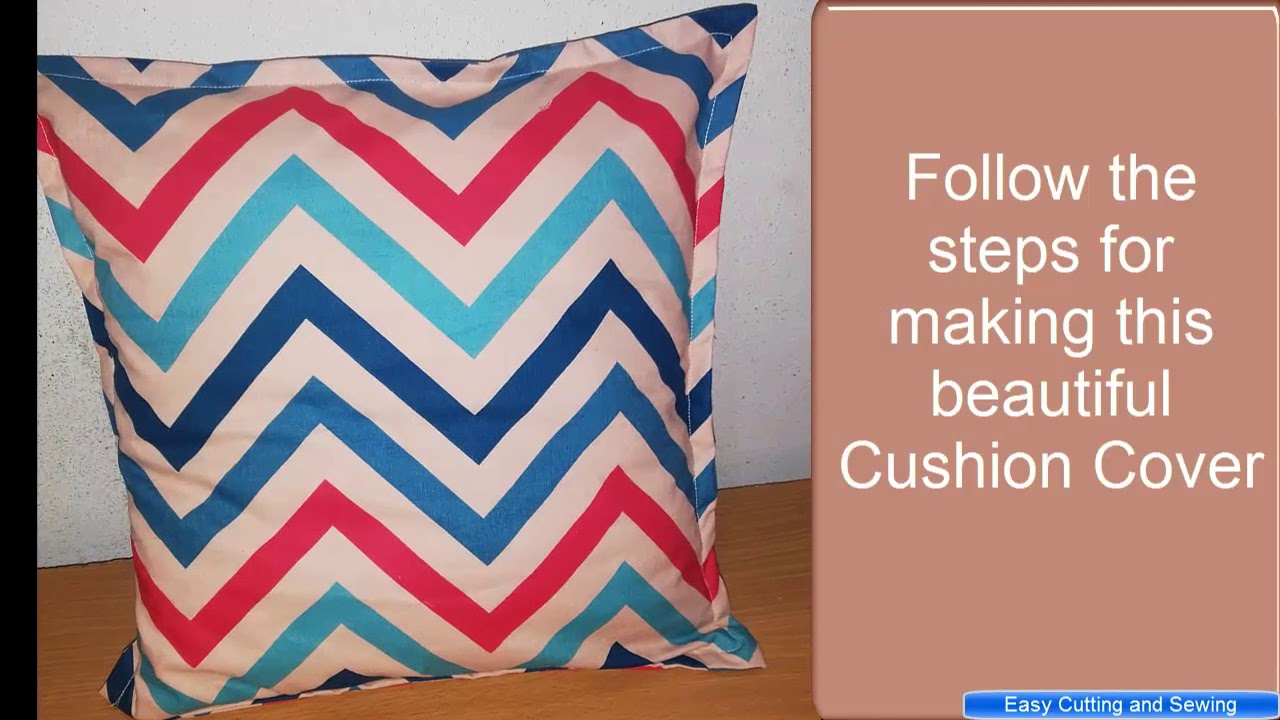
If you prefer a visual guide, there are plenty of envelope baby mattress cover sewing tutorials available online. Simply search for "envelope baby mattress cover tutorial" on YouTube or Pinterest and choose the tutorial that suits your sewing skills.Envelope Baby Mattress Cover Sewing Tutorial

Envelope Baby Mattress Cover Sewing Tutorial


Don't have a sewing machine? No problem! You can still make a simple and stylish envelope baby mattress cover using fabric glue. Follow the same steps as above, but instead of sewing, use fabric glue to secure the edges and the opening. Make sure to let the glue dry completely before inserting the mattress.Easy DIY Envelope Baby Mattress Cover


Easy DIY Envelope Baby Mattress Cover


The envelope style is not only practical, but it also adds a cute and unique touch to your baby's bedding. Instead of sewing the opening on one side, sew it on the bottom edge of the cover. This will create a flap that can be tucked in to keep the mattress in place.Envelope Style Baby Mattress Cover Tutorial


Envelope Style Baby Mattress Cover Tutorial


If you're not a fan of sewing or gluing, you can still make an envelope baby mattress cover using iron-on hemming tape. Simply cut the fabric to size, fold the edges over the tape, and use an iron to secure the hem. Follow the same steps as above to create the envelope shape.No-Sew Envelope Baby Mattress Cover Tutorial


No-Sew Envelope Baby Mattress Cover Tutorial


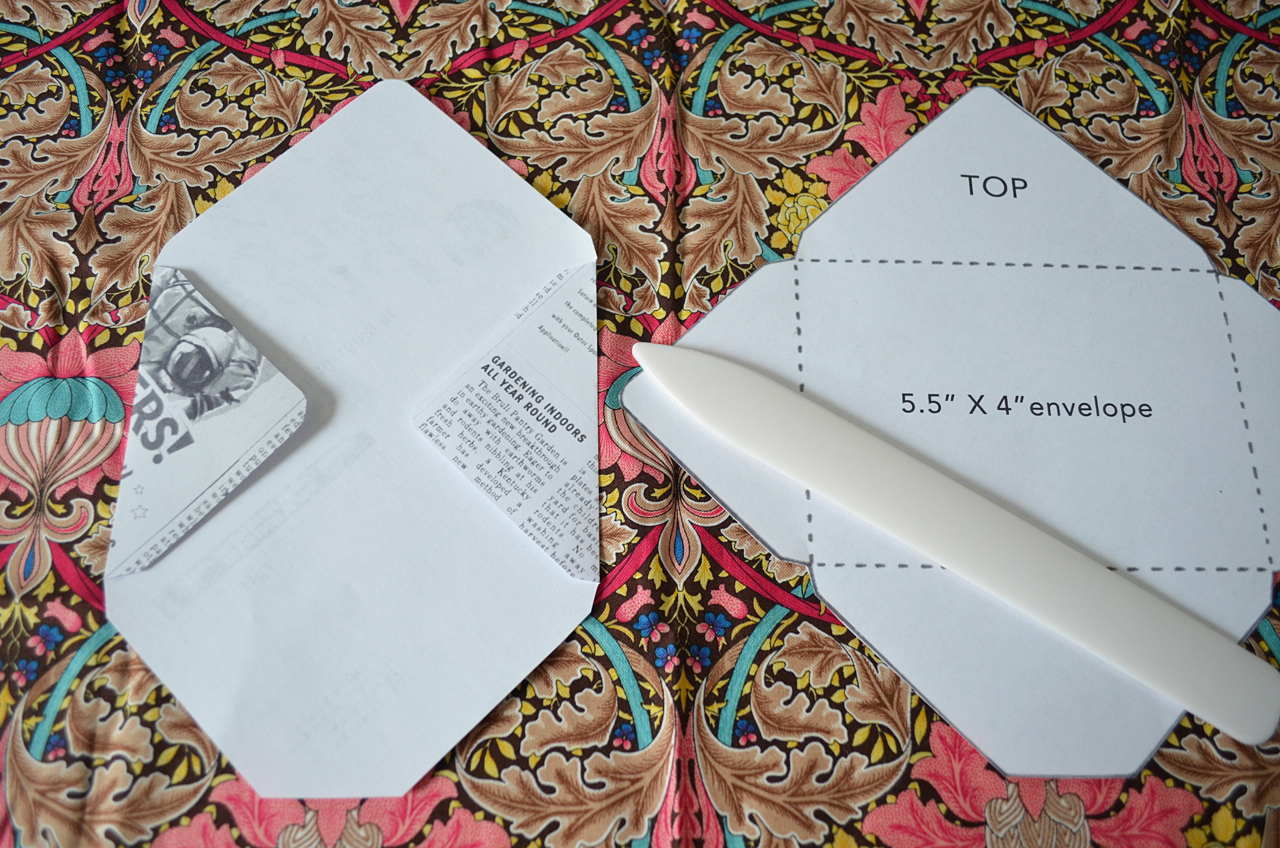
For those who prefer to have a pattern to follow, there are plenty of free envelope baby mattress cover patterns available online. You can print out the pattern and follow the instructions to create a perfect fitting cover for your baby's mattress.Envelope Baby Mattress Cover Pattern and Instructions


Envelope Baby Mattress Cover Pattern and Instructions


If you want to take your envelope baby mattress cover to the next level, try adding piping. Piping adds a decorative and professional finish to the edges of the cover. Simply follow the same steps as above, but instead of sewing the edges together, sandwich the piping in between the top and bottom fabric pieces before sewing them together.How to Sew an Envelope Baby Mattress Cover with Piping


How to Sew an Envelope Baby Mattress Cover with Piping


As mentioned before, adding elastic to the bottom edge of the cover can help create a snug fit on the mattress. To make an envelope baby mattress cover with elastic, simply follow the same steps as above, but instead of sewing the edges together, sew the elastic onto the bottom fabric piece before sewing the two pieces together. Now that you have 10 different ways to make an envelope baby mattress cover, you can choose the method that best suits your sewing skills and preferences. Whichever method you choose, your baby's mattress will be protected and look stylish with your own handmade cover. Happy sewing!Envelope Baby Mattress Cover with Elastic Tutorial

Envelope Baby Mattress Cover with Elastic Tutorial


How to Make an Envelope Baby Mattress Cover for a Safe and Stylish Nursery

Why Choose an Envelope Baby Mattress Cover?
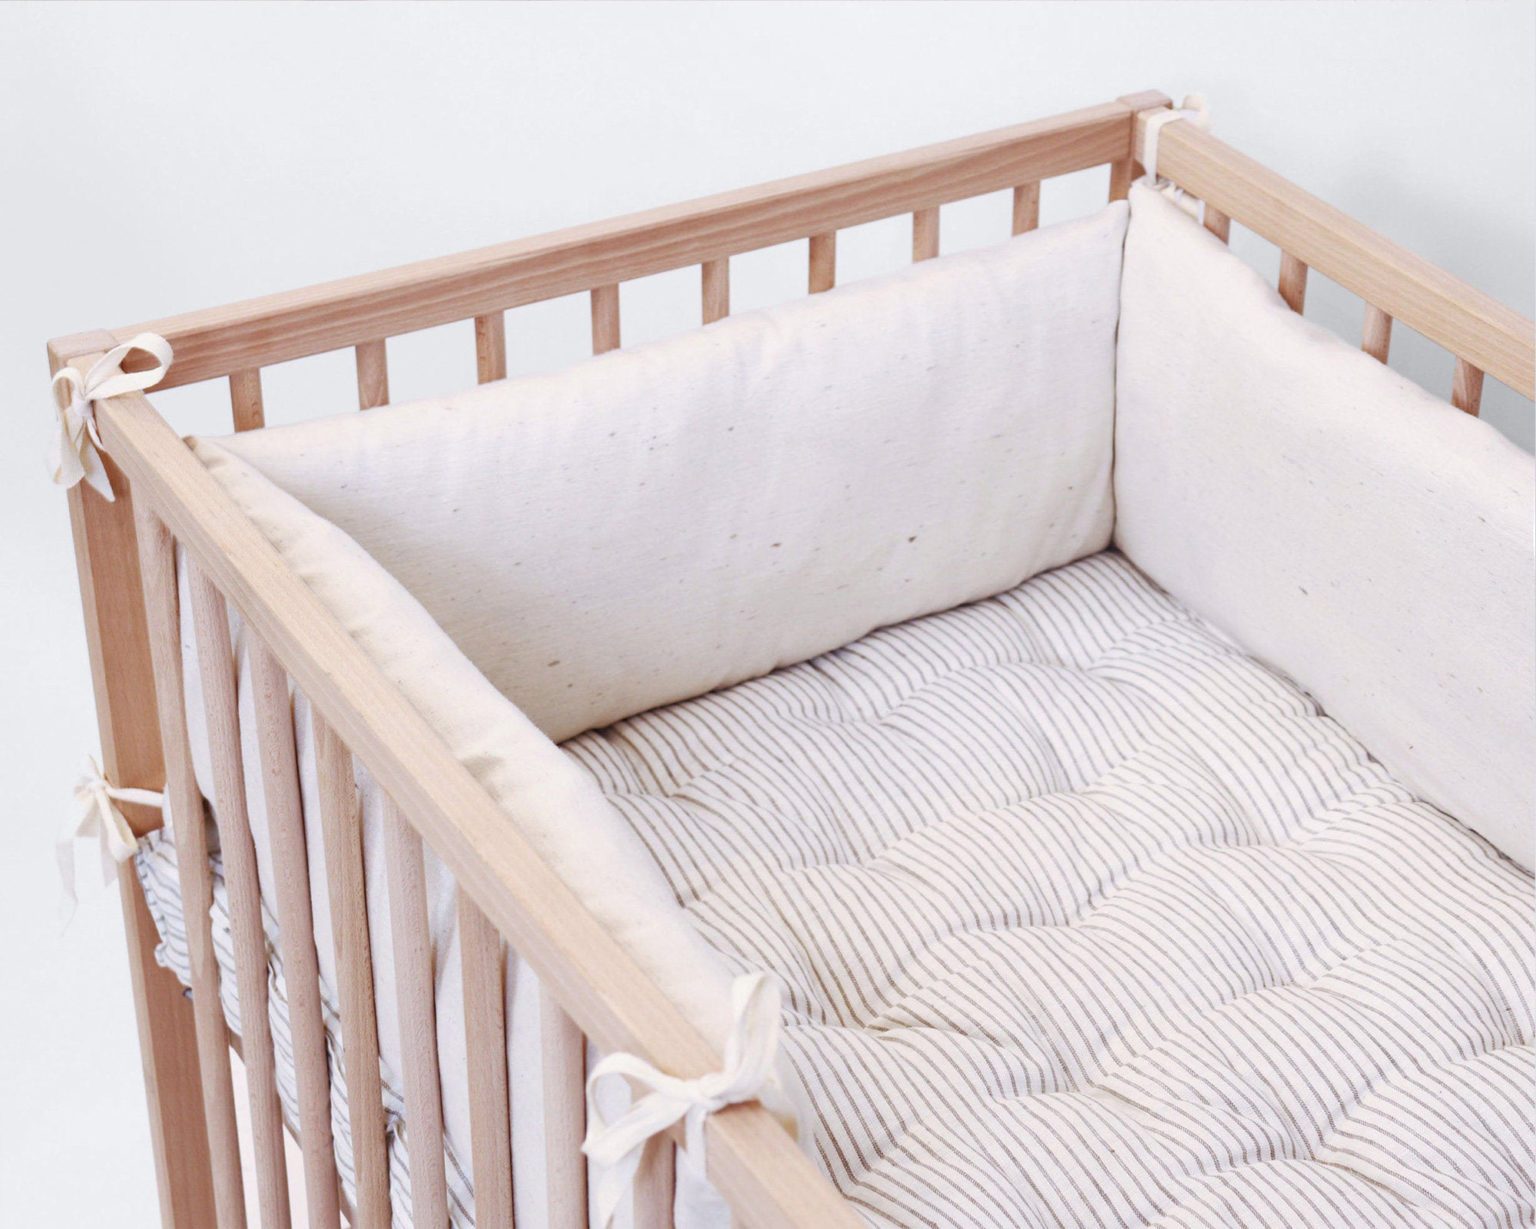
 When it comes to designing a nursery, safety and comfort are top priorities for any parent. That's why many parents are choosing to make their own
envelope baby mattress cover
for their little one's crib. Not only does it provide a snug and secure fit for the mattress, but it also adds a touch of personalization to the nursery. Plus, by making your own cover, you have the freedom to choose the fabric, design, and size to fit your specific needs.
When it comes to designing a nursery, safety and comfort are top priorities for any parent. That's why many parents are choosing to make their own
envelope baby mattress cover
for their little one's crib. Not only does it provide a snug and secure fit for the mattress, but it also adds a touch of personalization to the nursery. Plus, by making your own cover, you have the freedom to choose the fabric, design, and size to fit your specific needs.
What You'll Need
 To make an
envelope baby mattress cover
, you'll need a few simple materials that can be found at your local craft store or online. These include:
To make an
envelope baby mattress cover
, you'll need a few simple materials that can be found at your local craft store or online. These include:
- Fabric of your choice (preferably organic for baby's sensitive skin)
- Elastic band
- Measuring tape
- Sewing machine or needle and thread
- Scissors
- Pins
Step-by-Step Instructions
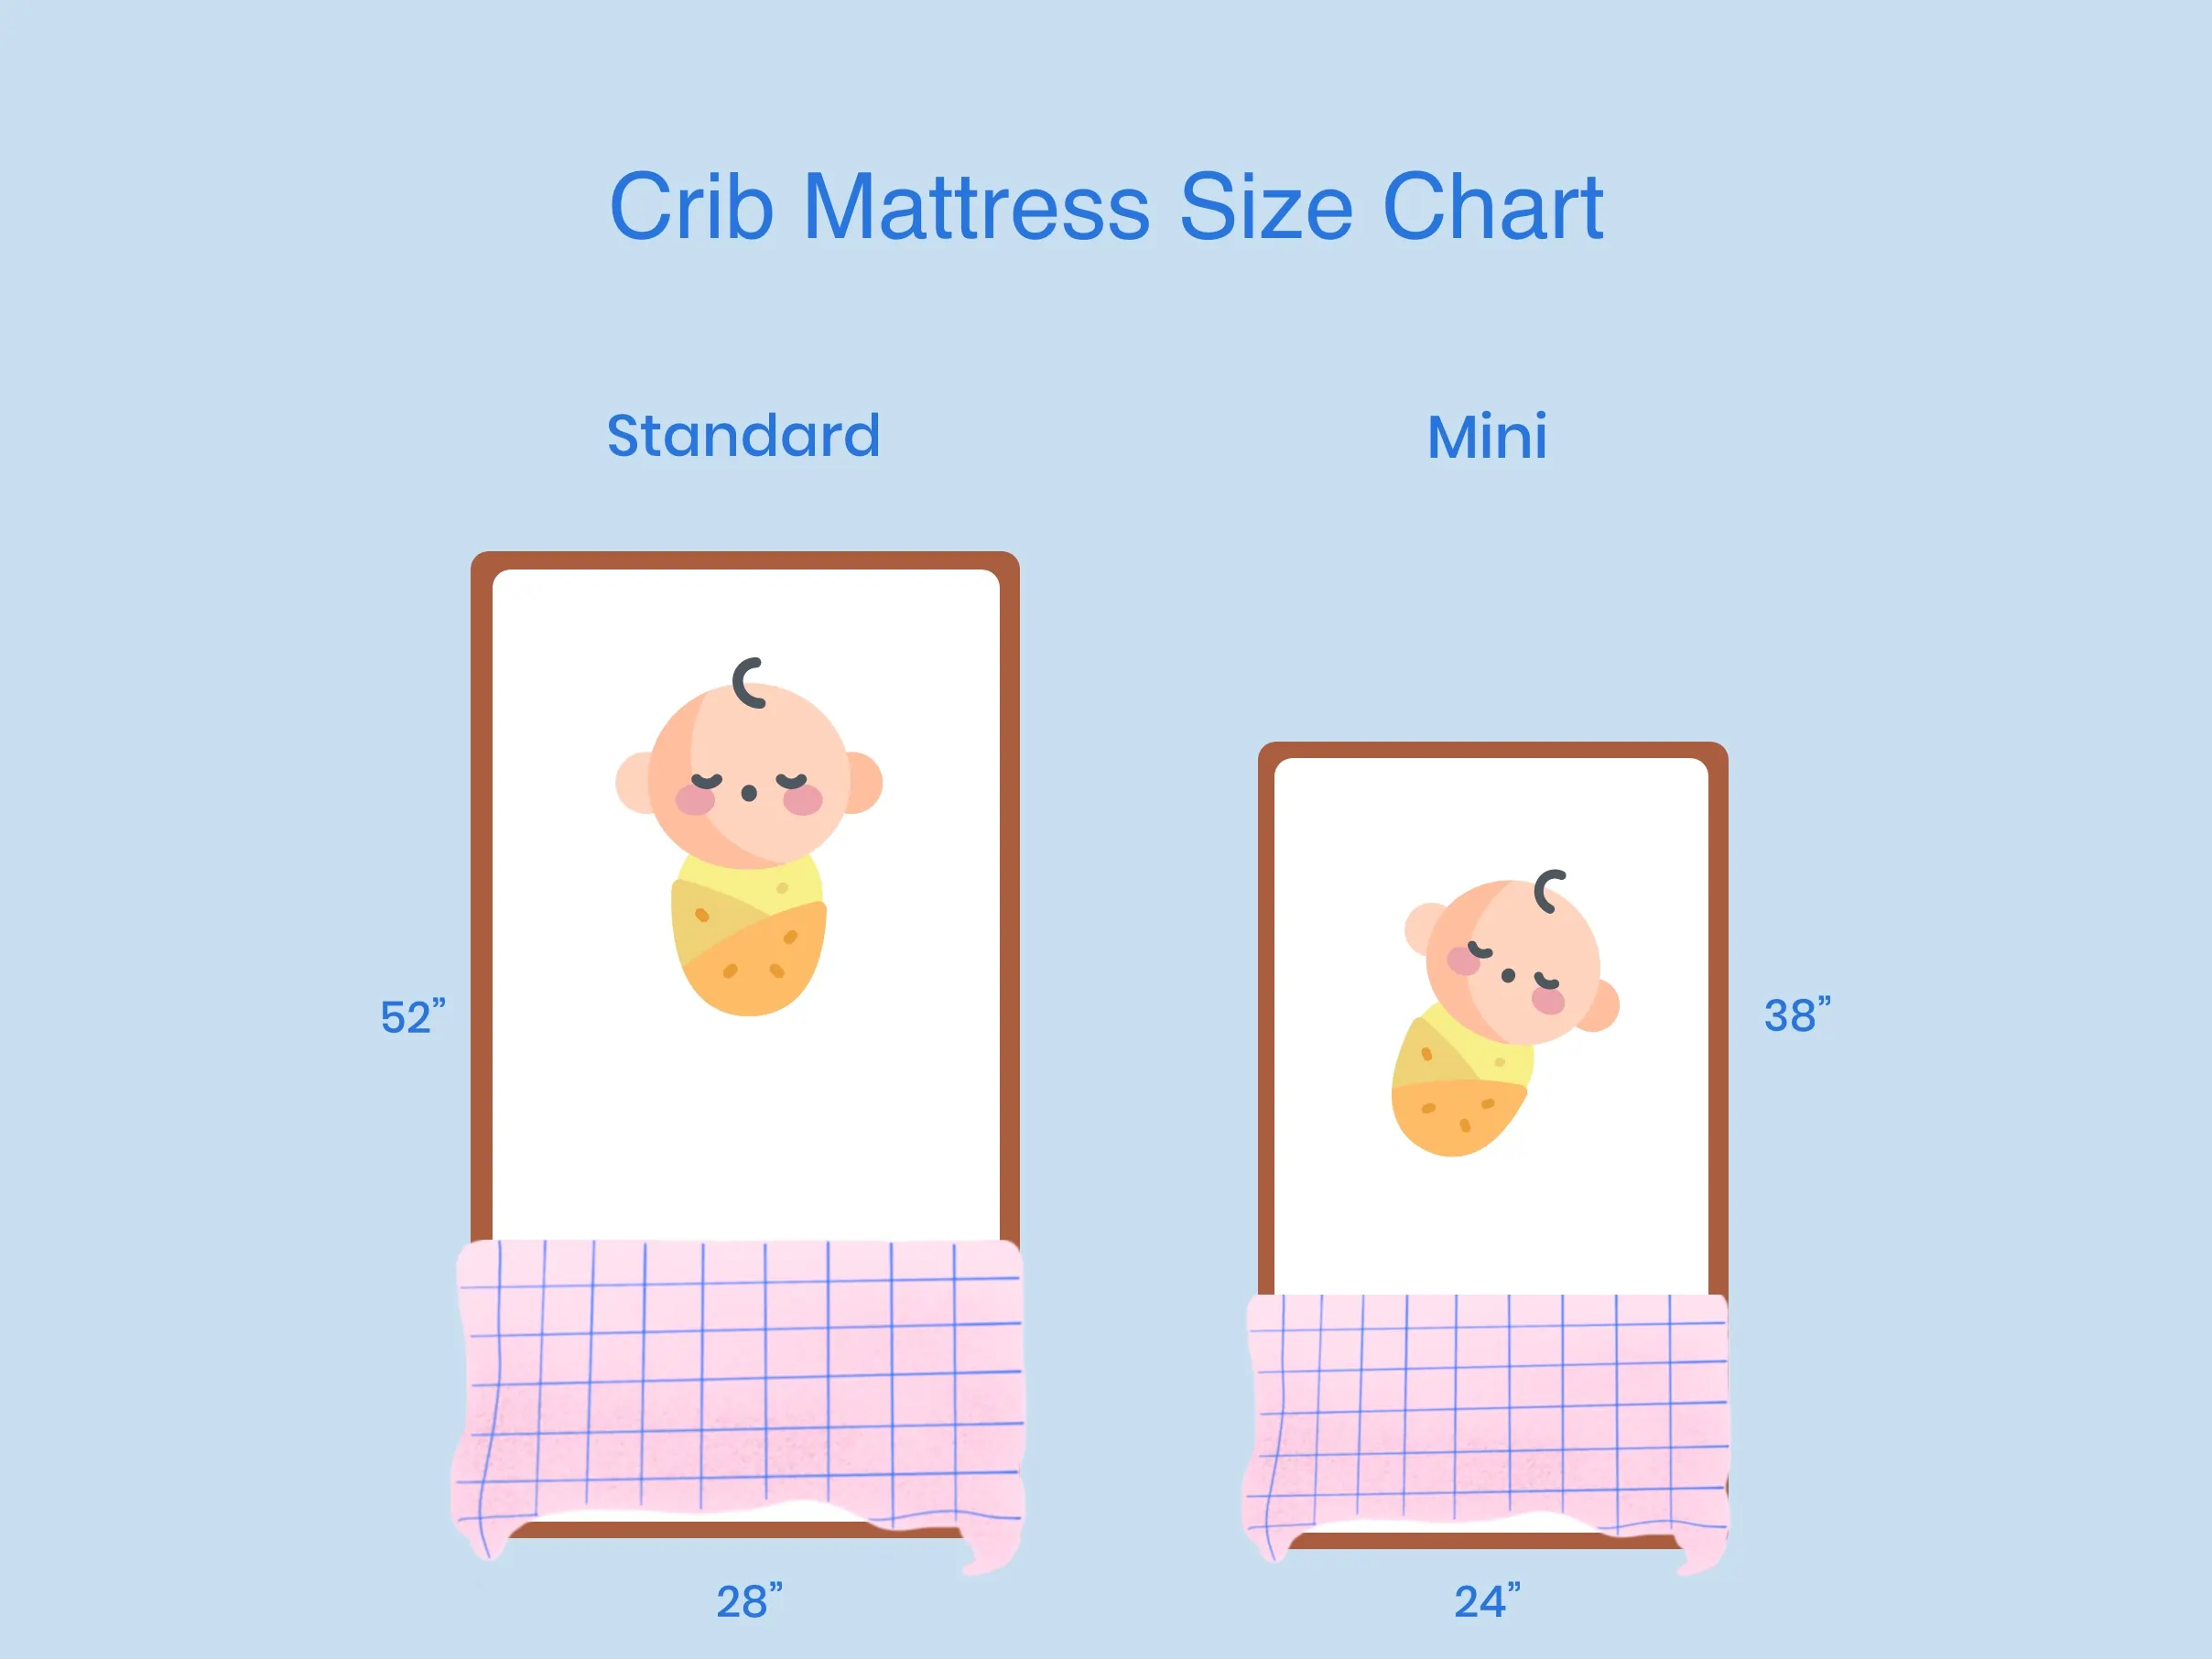
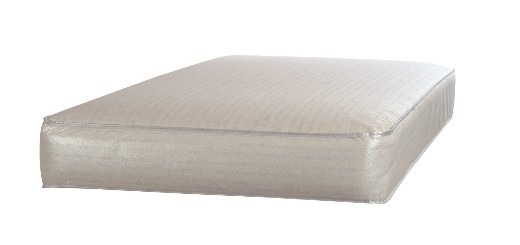
 1. Measure the Mattress
Using a measuring tape, measure the length, width, and height of your baby's crib mattress. Add an extra 1-2 inches to each measurement to account for the seam allowance and the depth of the mattress. 2. Cut the Fabric
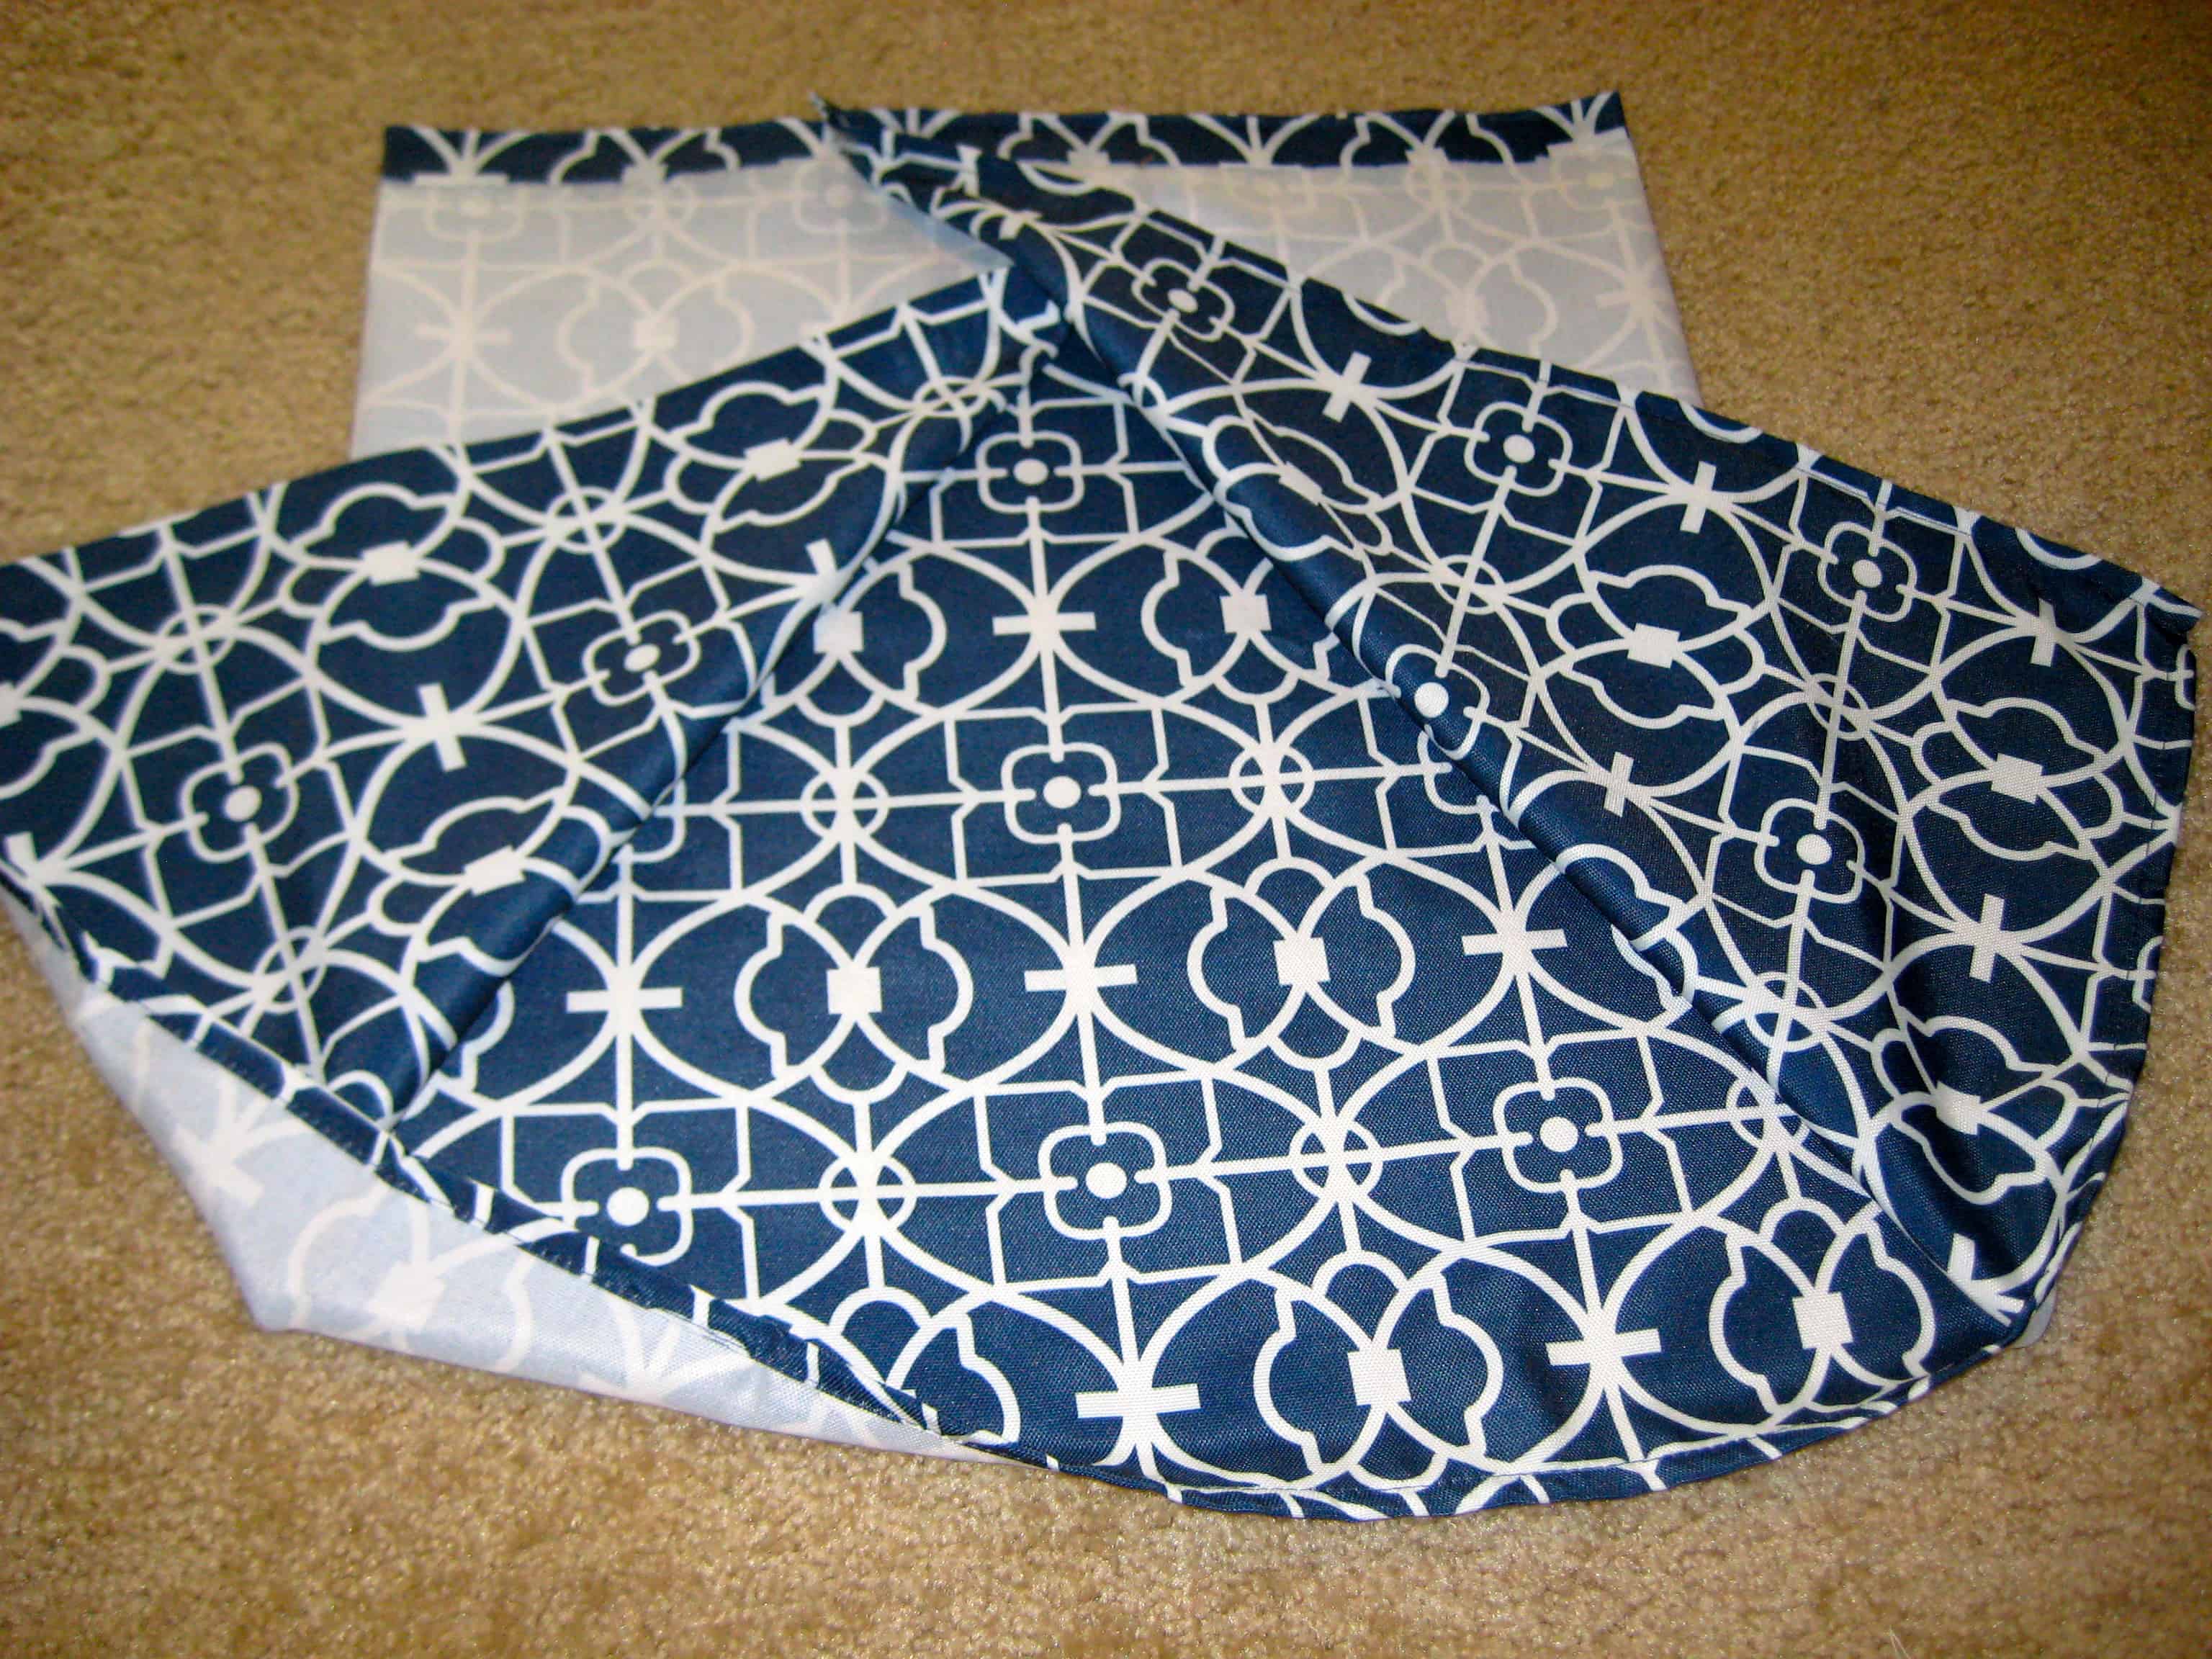
Using the measurements from step one, cut out two rectangular pieces of fabric, one for the top and one for the bottom of the cover. The fabric should be twice the width of the mattress and the length should be the mattress length plus the height multiplied by two. 3. Sew the Elastic Band
With the right side of the fabric facing up, fold over the edge of the fabric by 1 inch and sew a straight line to create a casing for the elastic band. Leave a small opening to insert the elastic. 4. Insert the Elastic
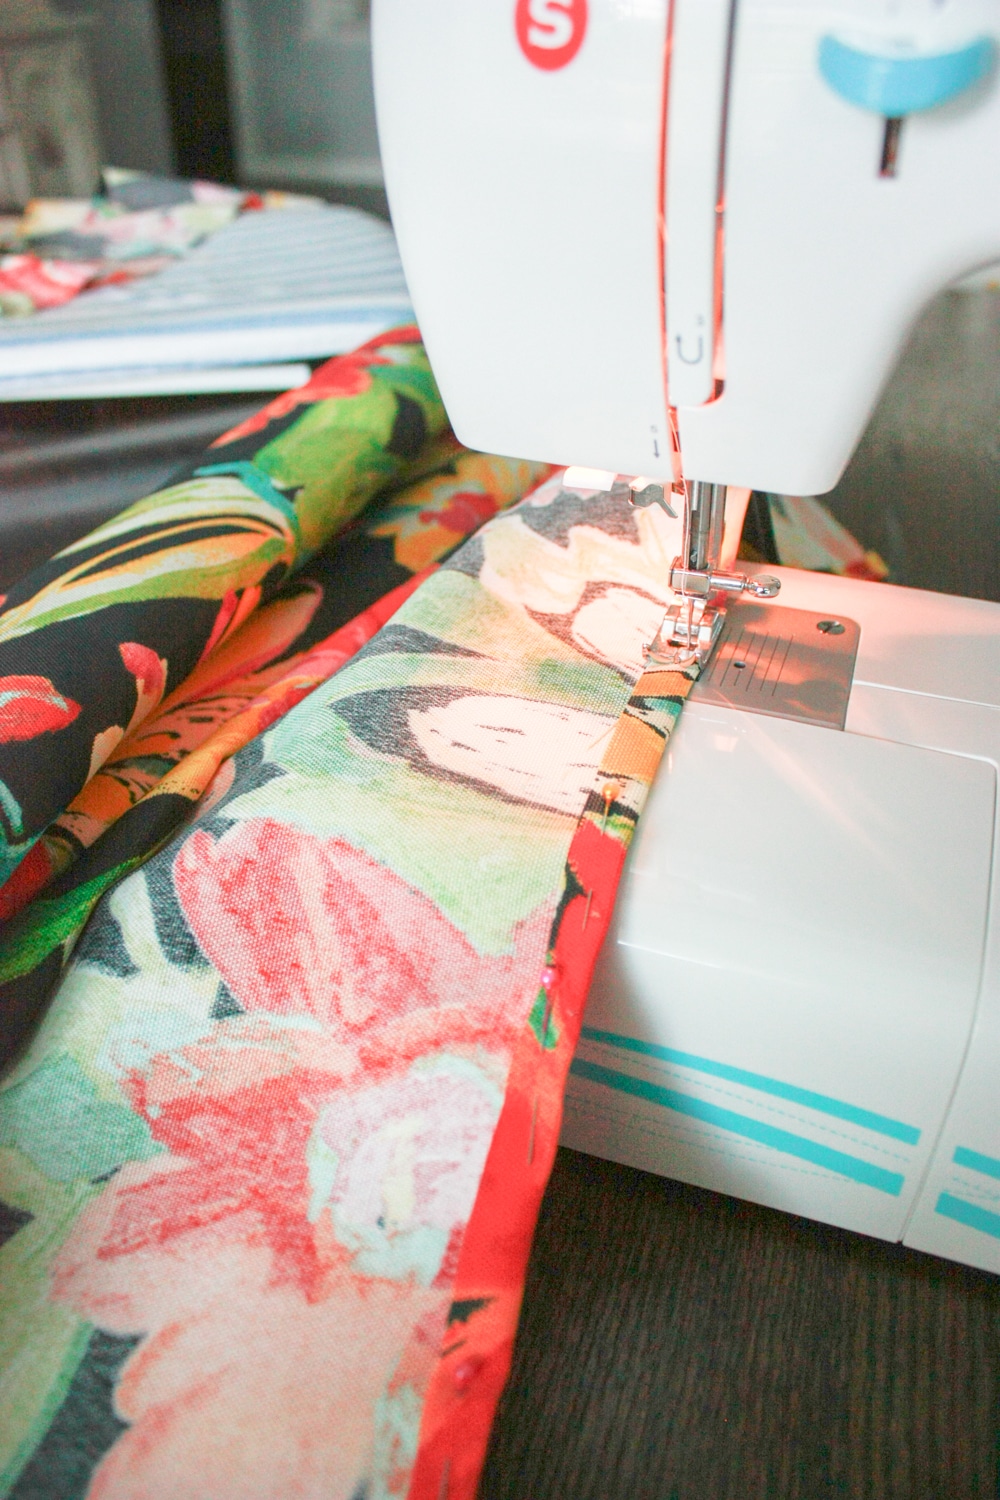
Using a safety pin, insert the elastic through the casing and adjust it to fit snugly around the mattress. Sew the ends of the elastic together and close the opening in the casing. 5. Sew the Two Pieces Together
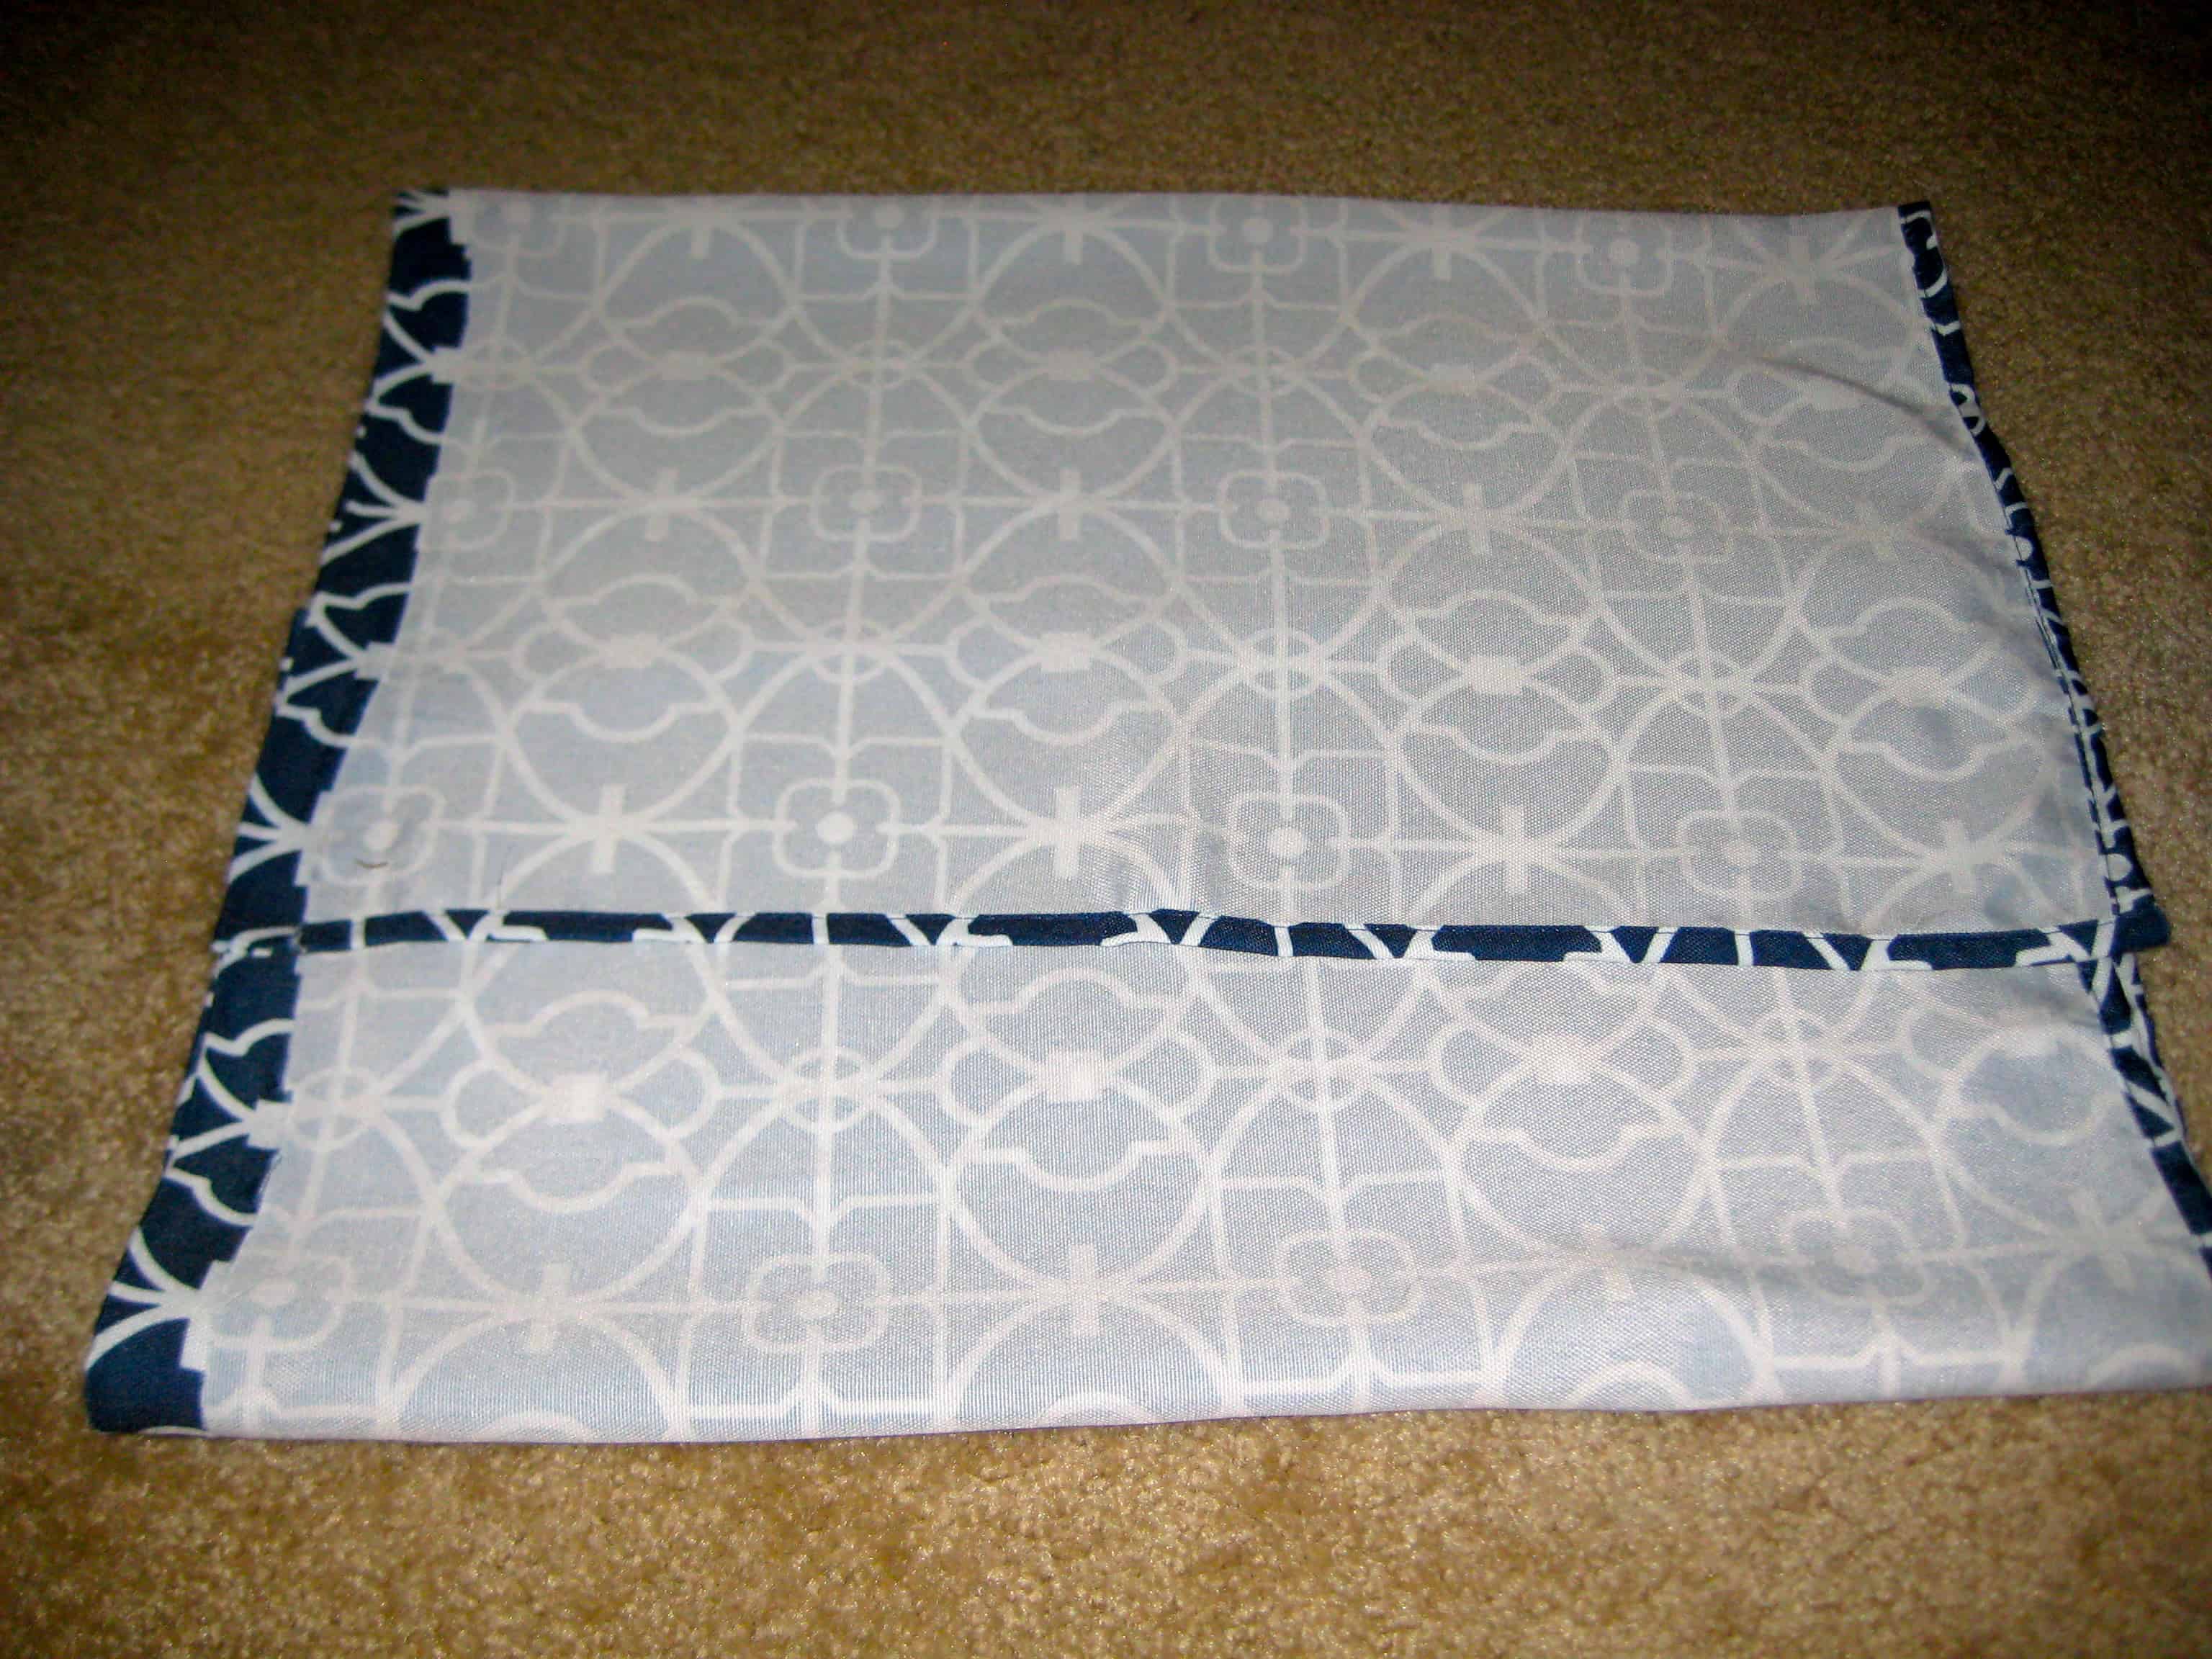
Place the two fabric pieces together with the right sides facing each other. Pin the edges together and sew around three sides, leaving one short side open. 6. Turn Inside Out and Attach to Mattress
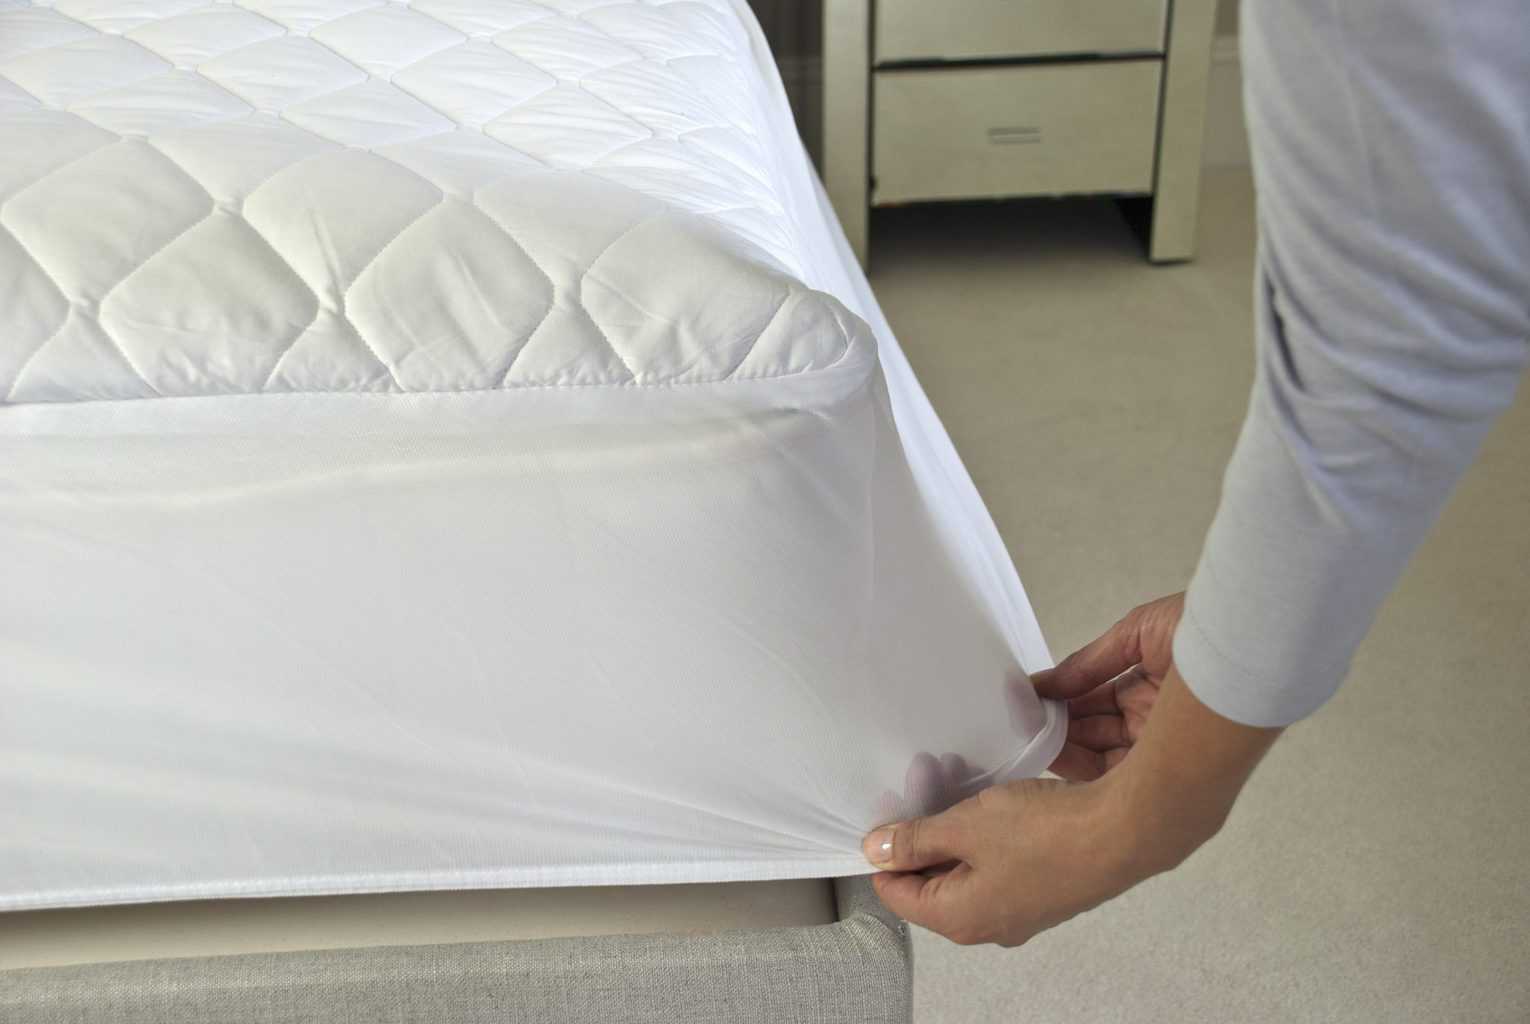
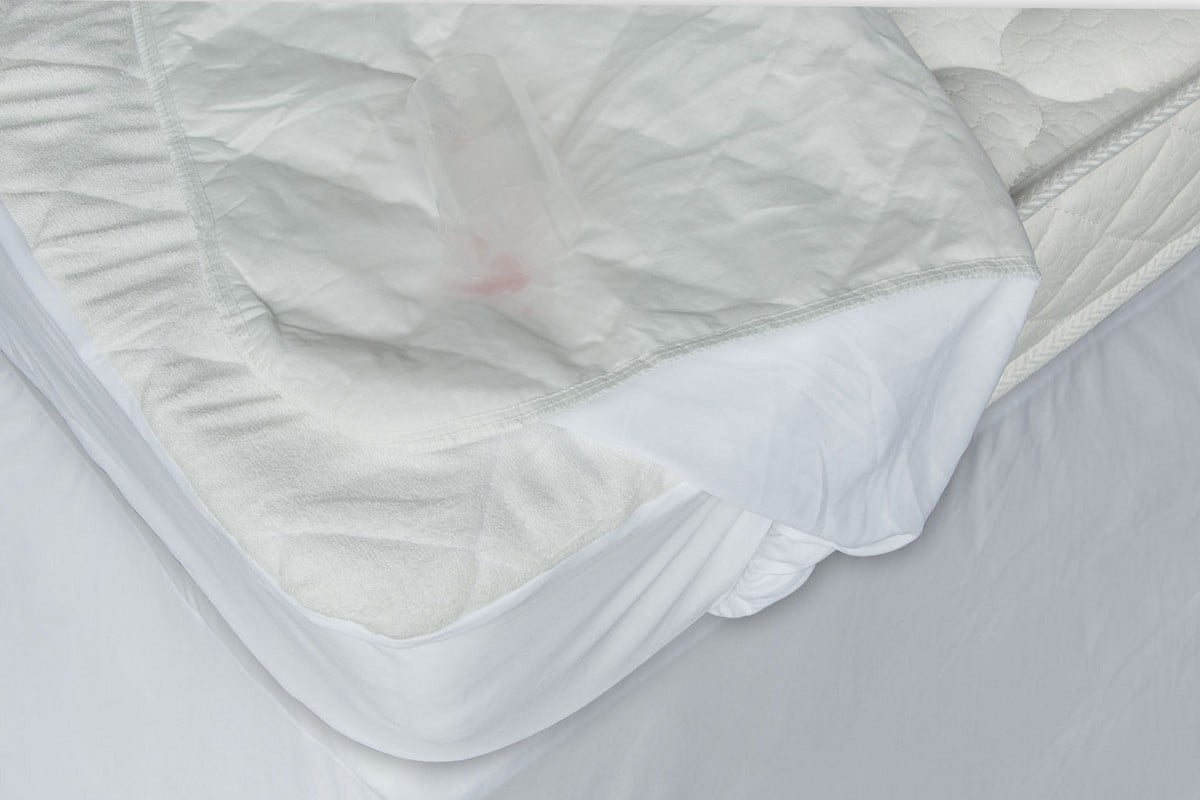
Turn the cover inside out and insert the mattress. Fold over the open edge and secure it to the bottom of the mattress with safety pins or sew it closed for a more polished look.
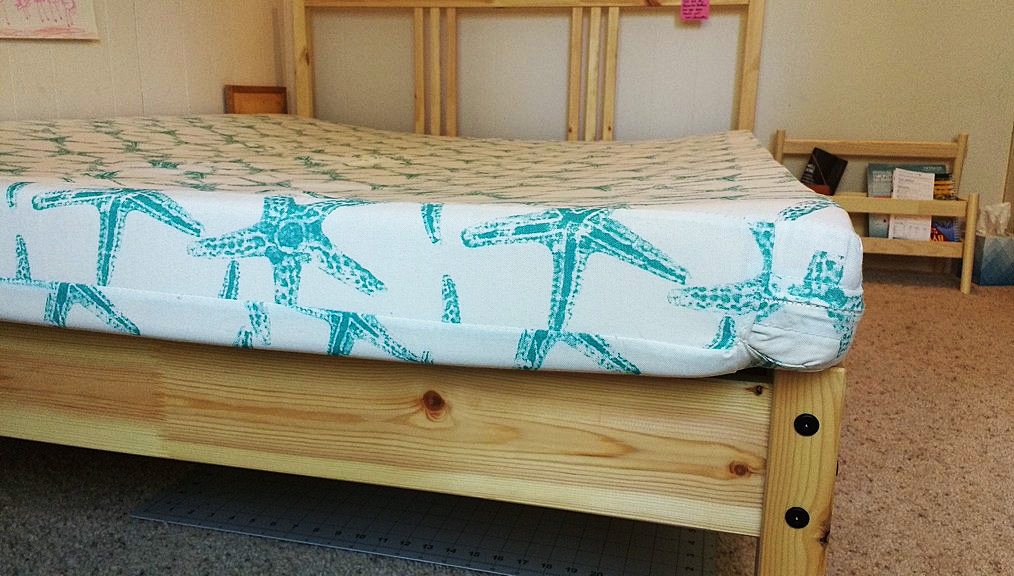
Enjoy Your Homemade Envelope Baby Mattress Cover
 With just a few simple steps, you now have a
safe and stylish envelope baby mattress cover
for your little one's nursery. Get creative with different fabrics and designs to match your nursery decor and give your baby a cozy and personalized sleeping space. By making your own cover, you can ensure the safety and comfort of your baby while adding a personal touch to their room.
With just a few simple steps, you now have a
safe and stylish envelope baby mattress cover
for your little one's nursery. Get creative with different fabrics and designs to match your nursery decor and give your baby a cozy and personalized sleeping space. By making your own cover, you can ensure the safety and comfort of your baby while adding a personal touch to their room.