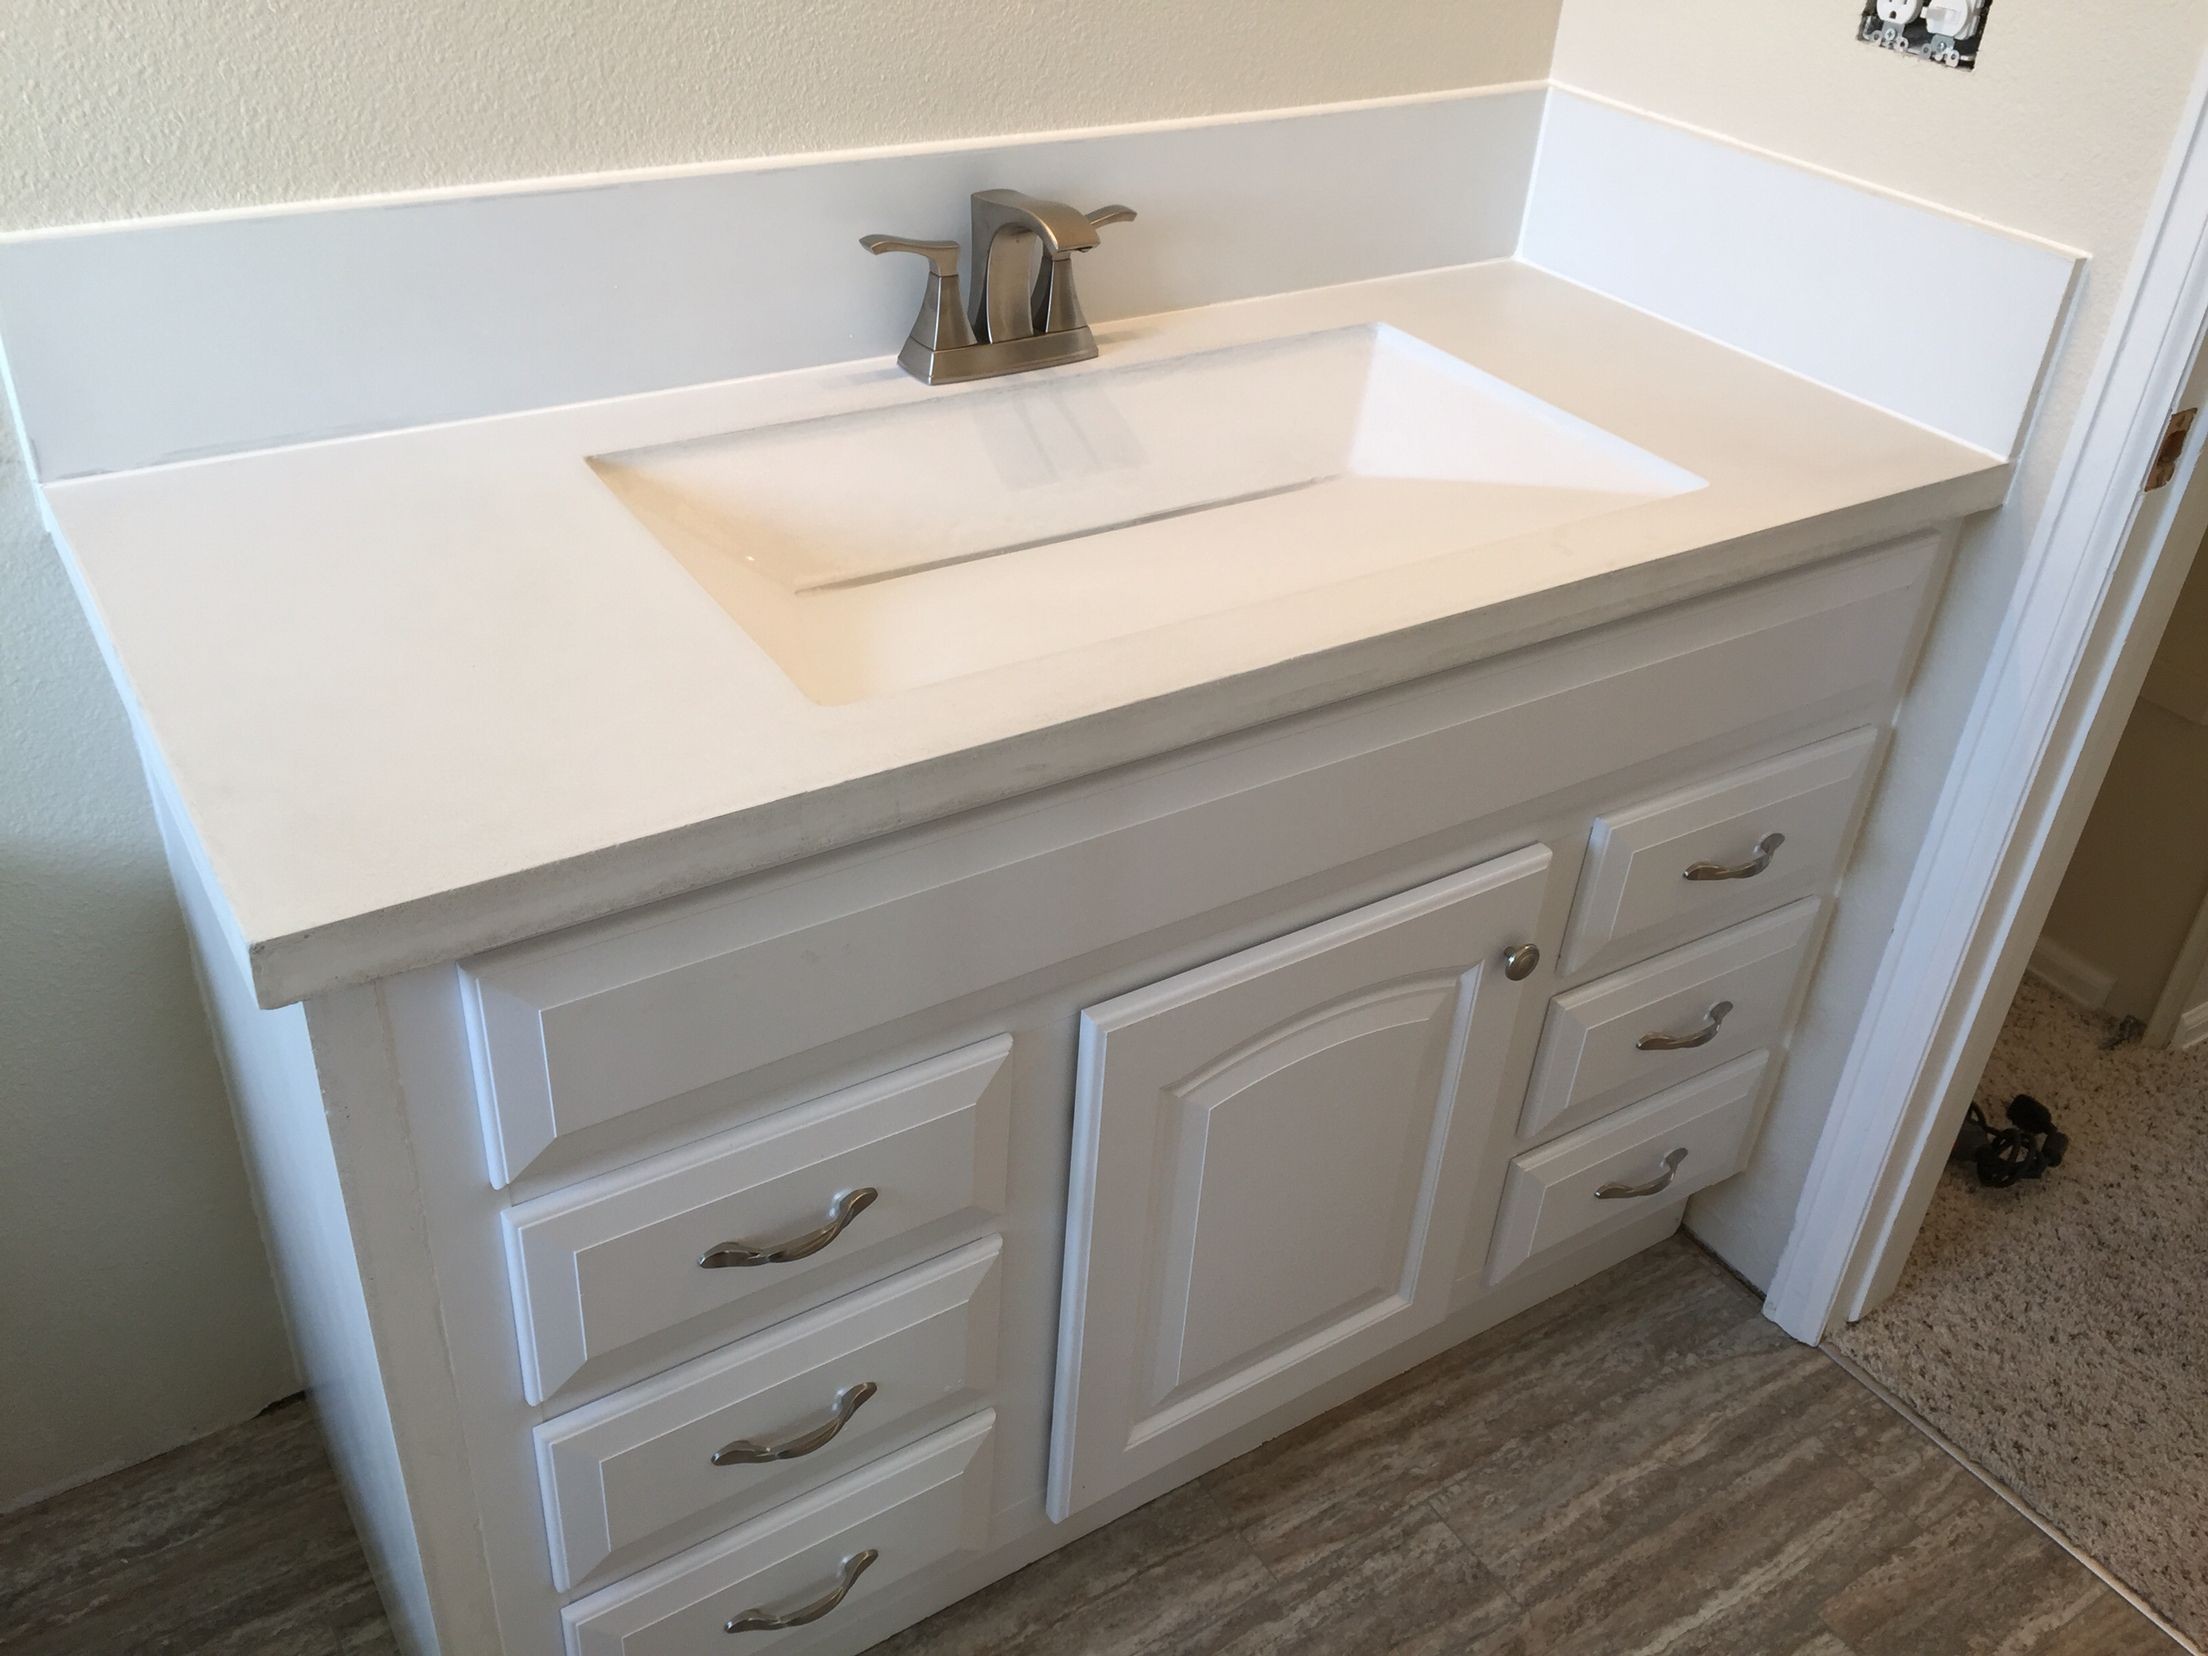
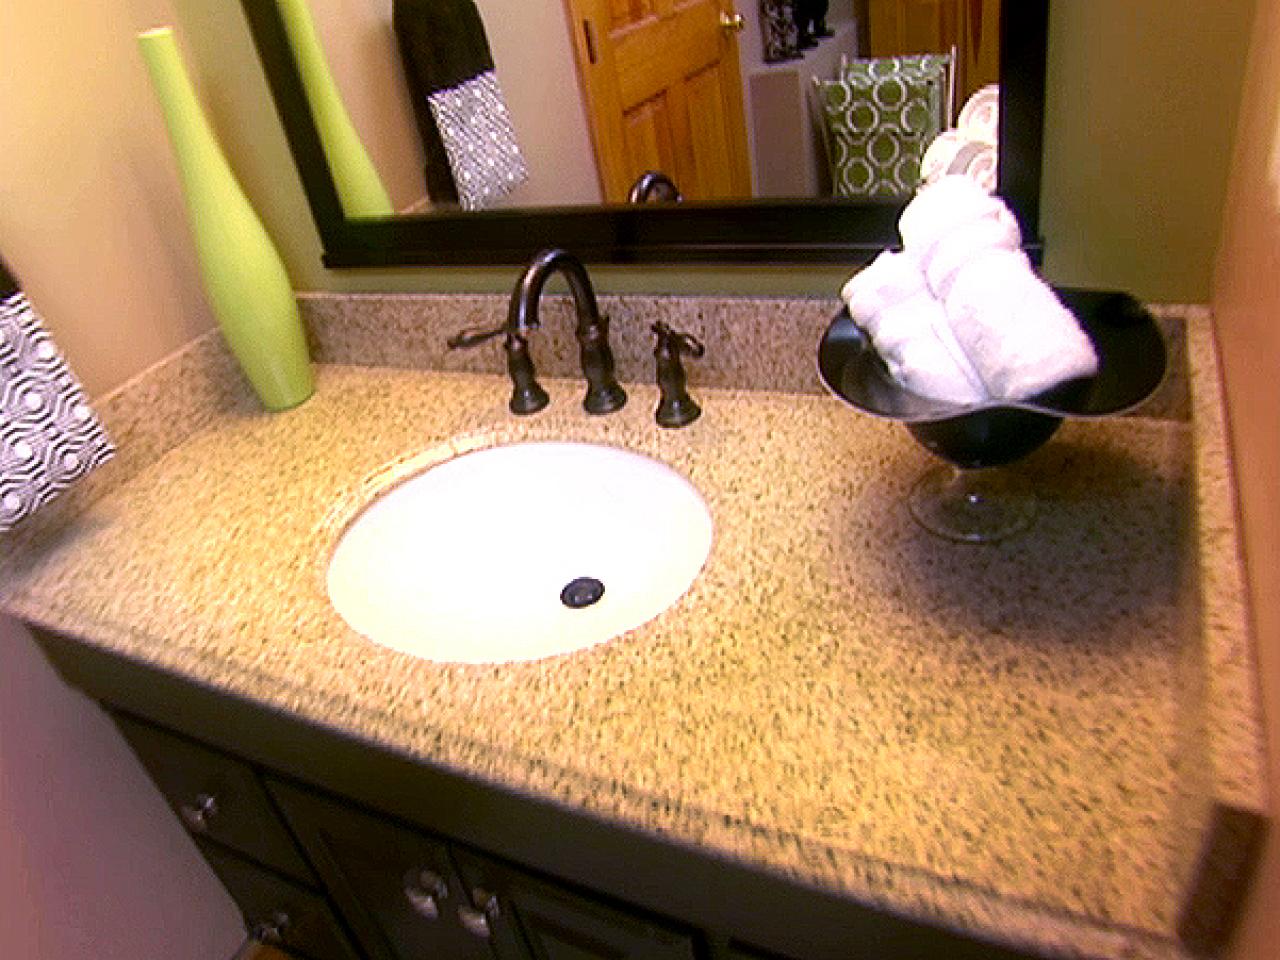
If you have noticed that the sealant around your bathroom sink is starting to crack or peel, it may be time to replace it. Not only does this improve the appearance of your sink, but it also helps prevent water damage and mold growth. Here's a step-by-step guide on how to replace bathroom sink sealant.How to Replace Bathroom Sink Sealant


How to Replace Bathroom Sink Sealant


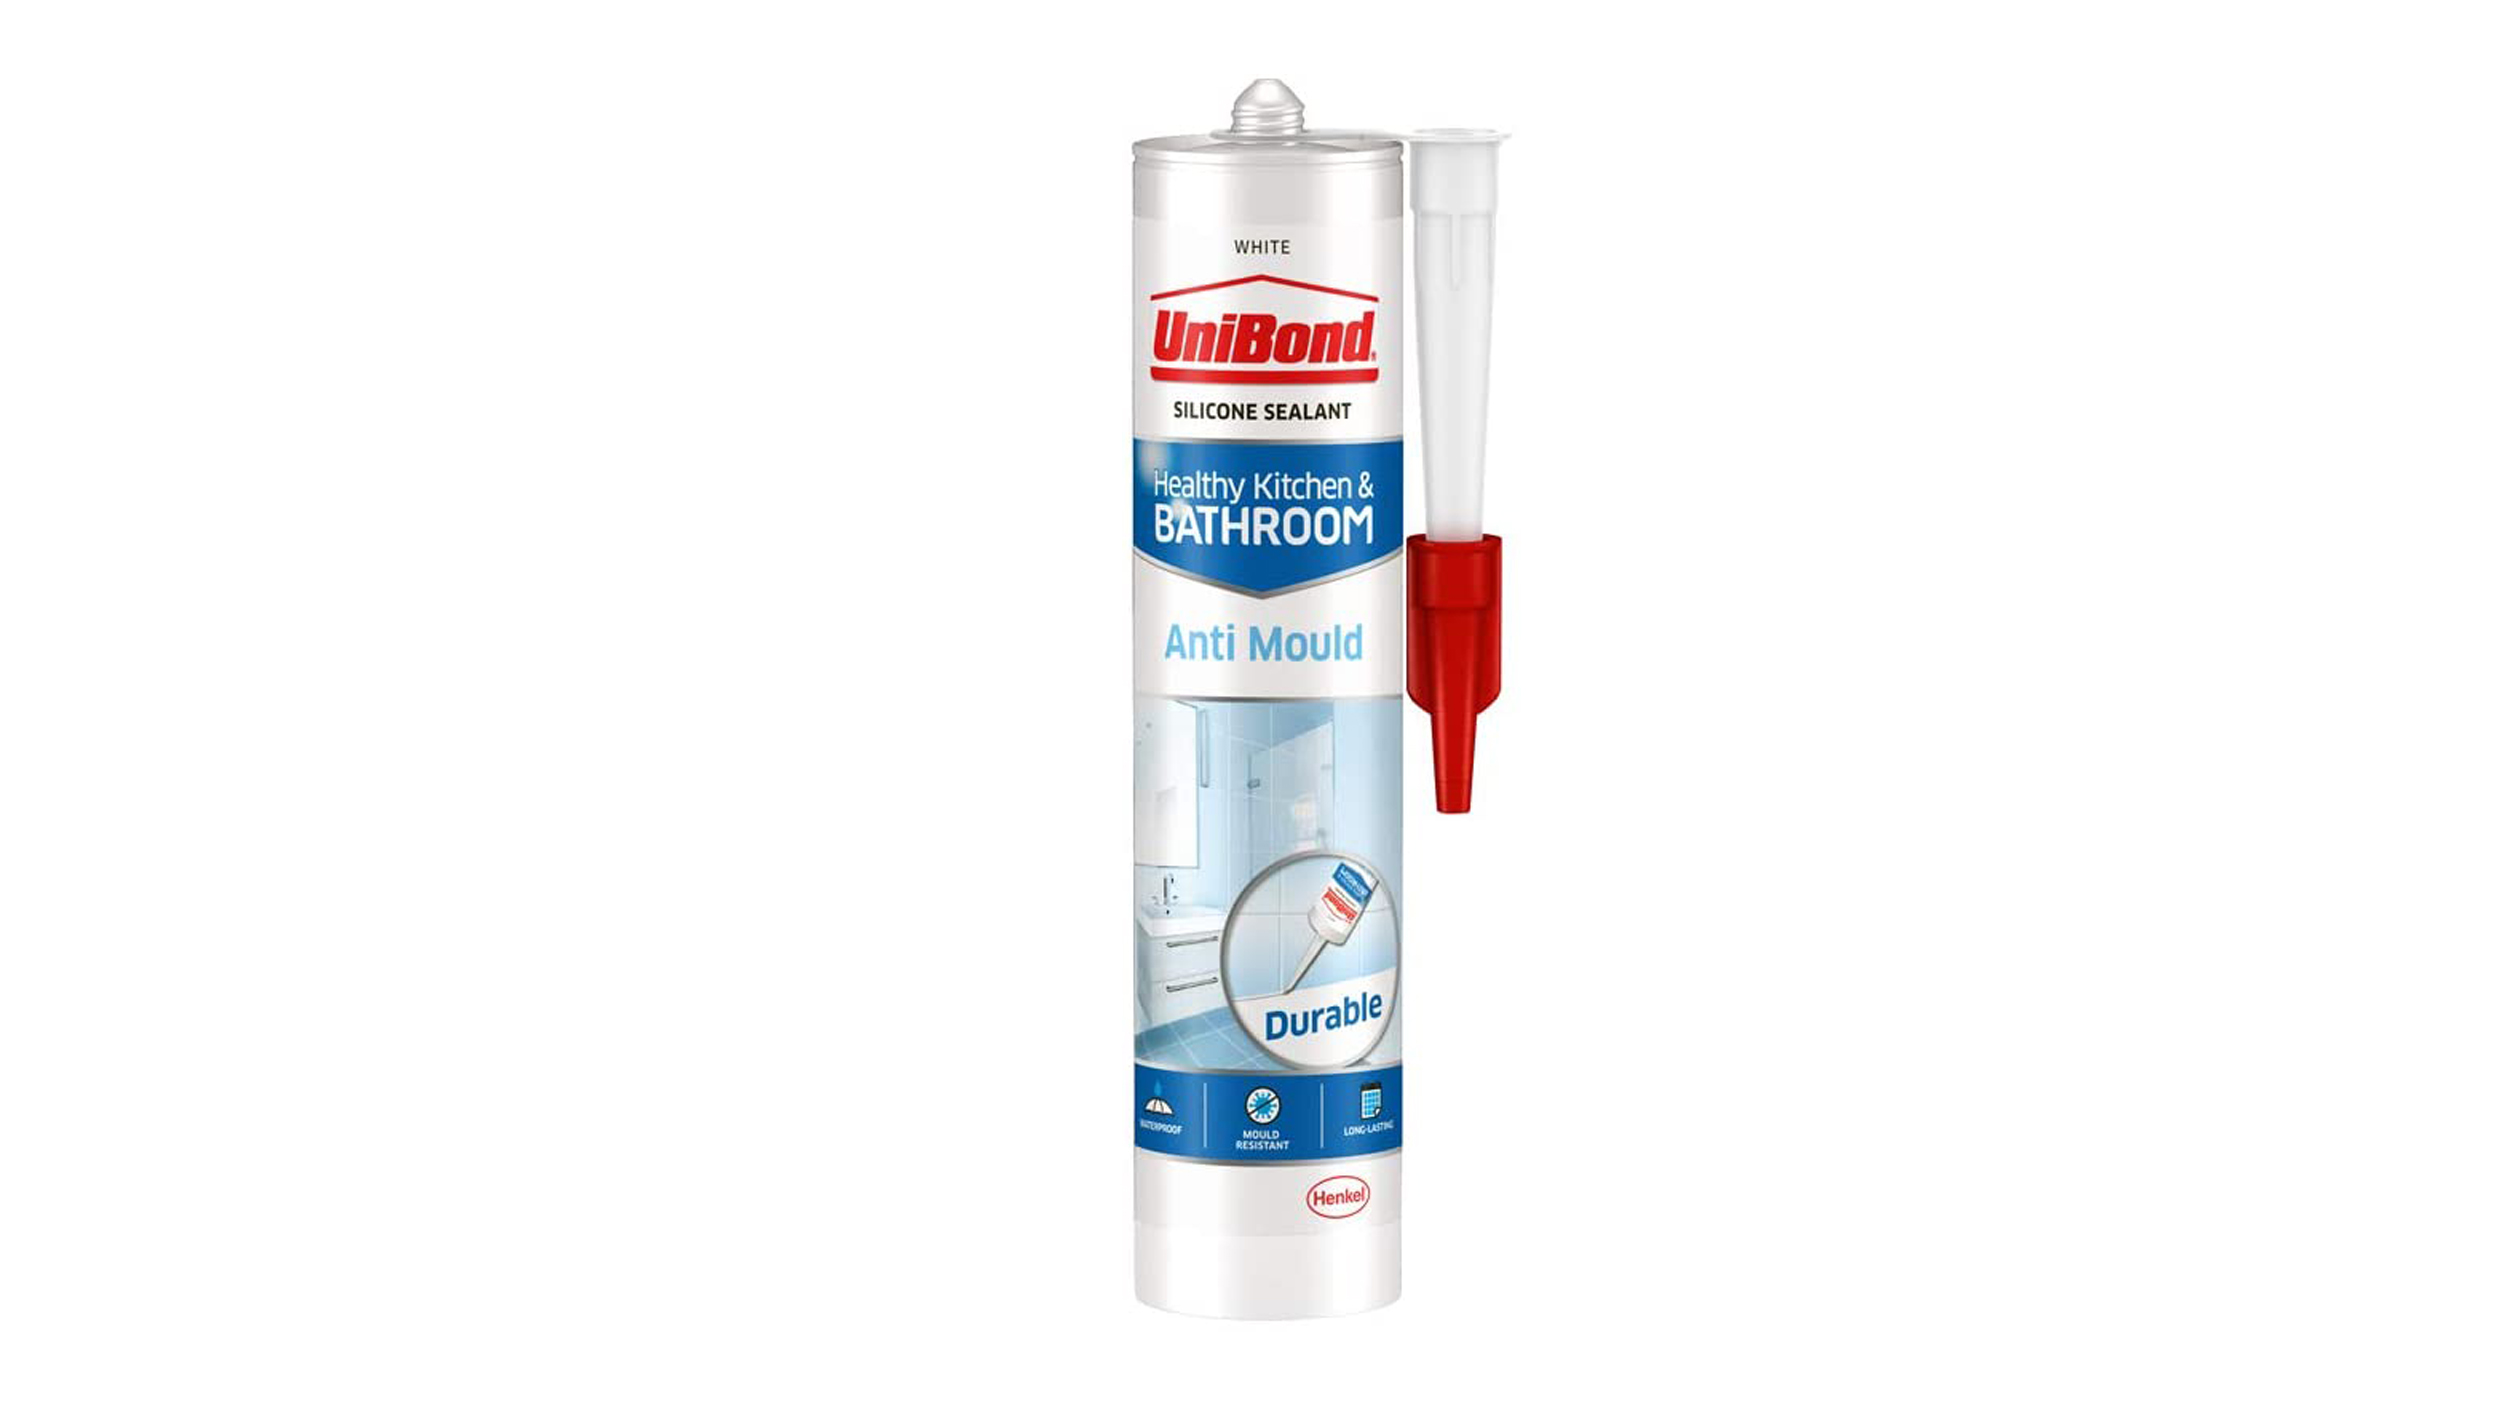
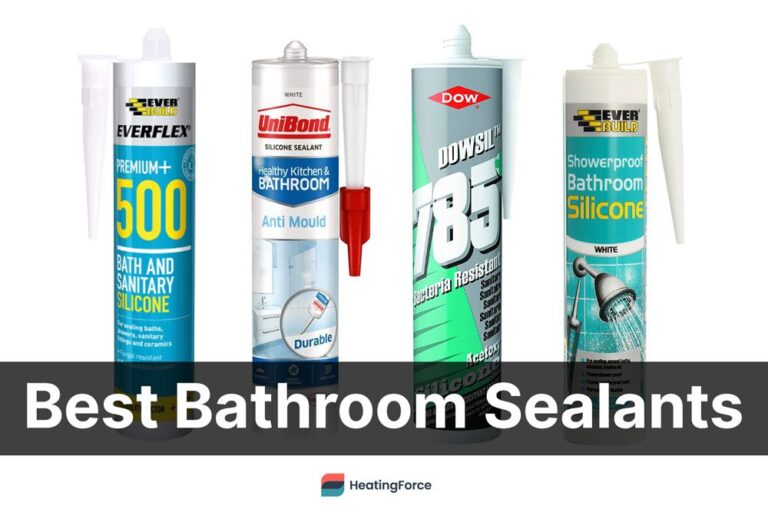
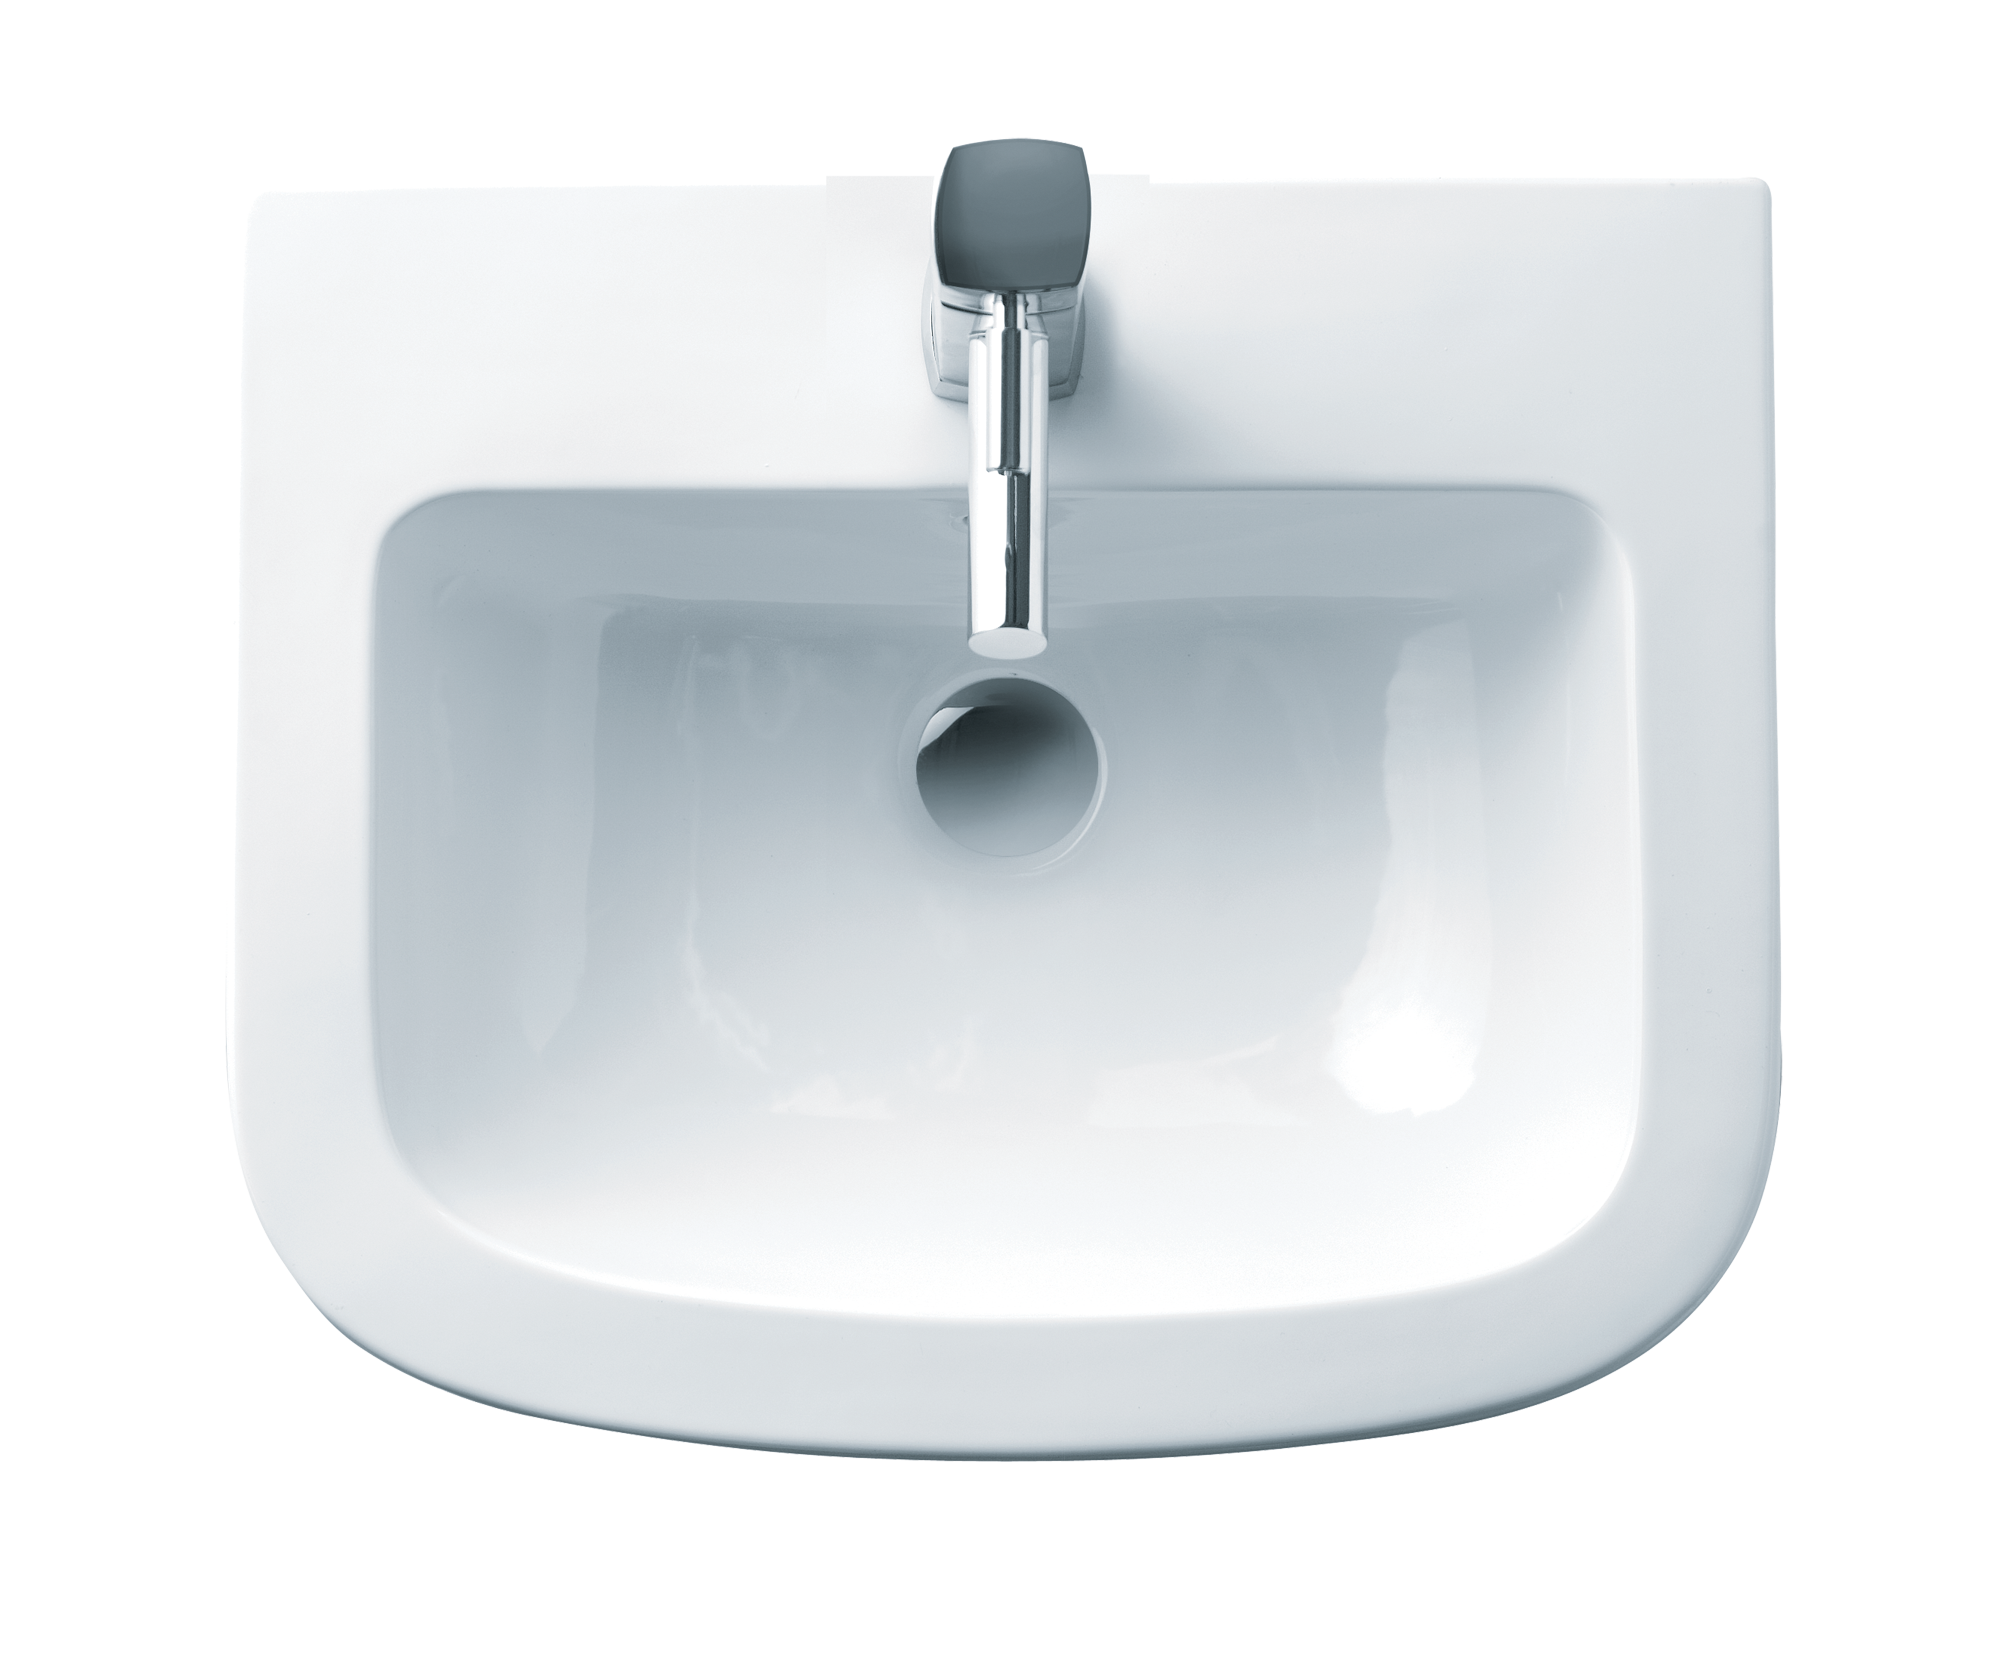
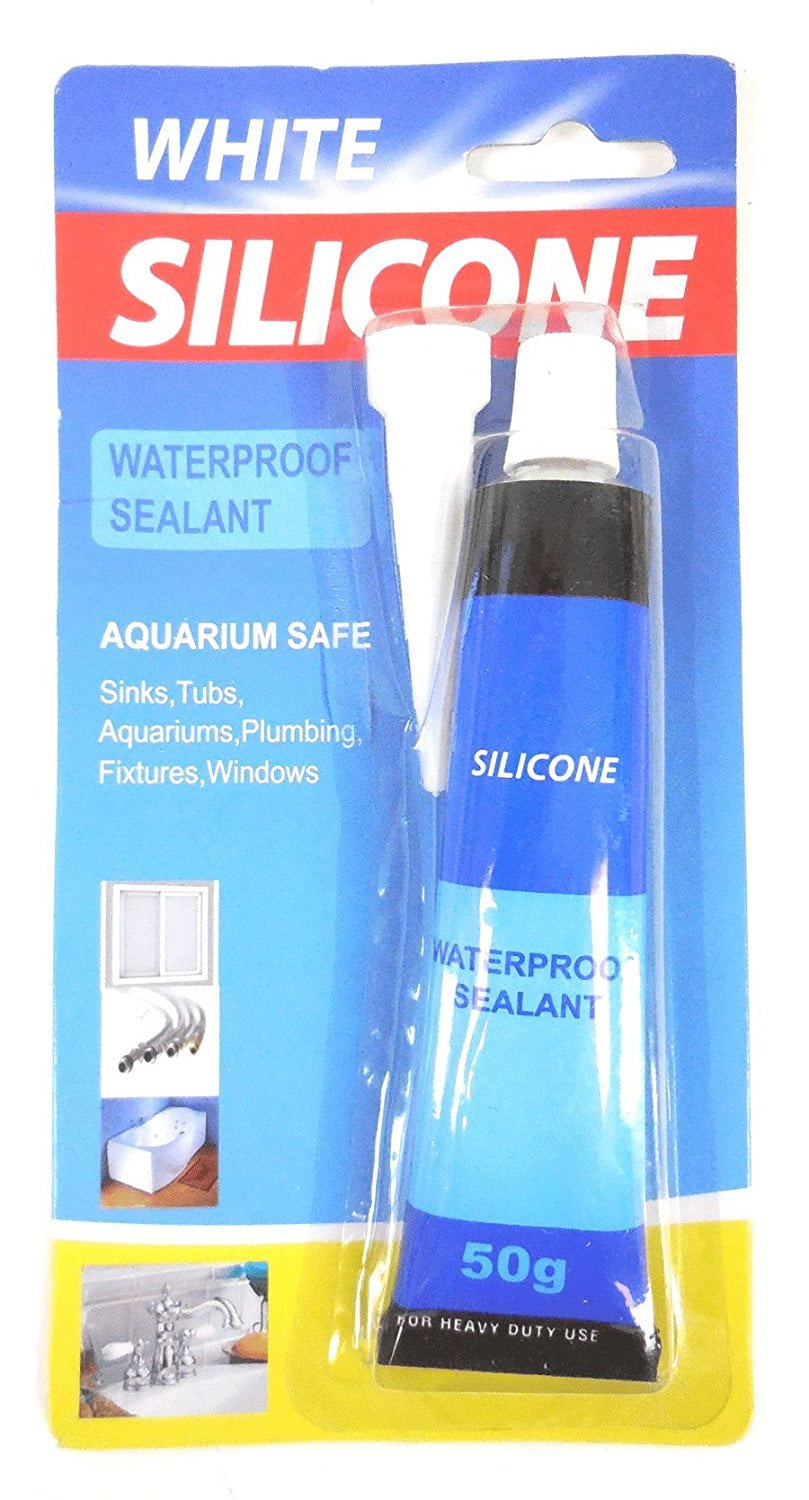
When it comes to choosing the best sealant for your bathroom sink, it's important to consider the type of sink material you have and the level of water exposure it will have. For a porcelain or ceramic sink, a silicone-based sealant is recommended as it is waterproof and flexible. For a stainless steel sink, a latex or acrylic sealant may work better. Make sure to read the label and choose a sealant specifically designed for use in bathrooms.Best Sealant for Bathroom Sink


Best Sealant for Bathroom Sink
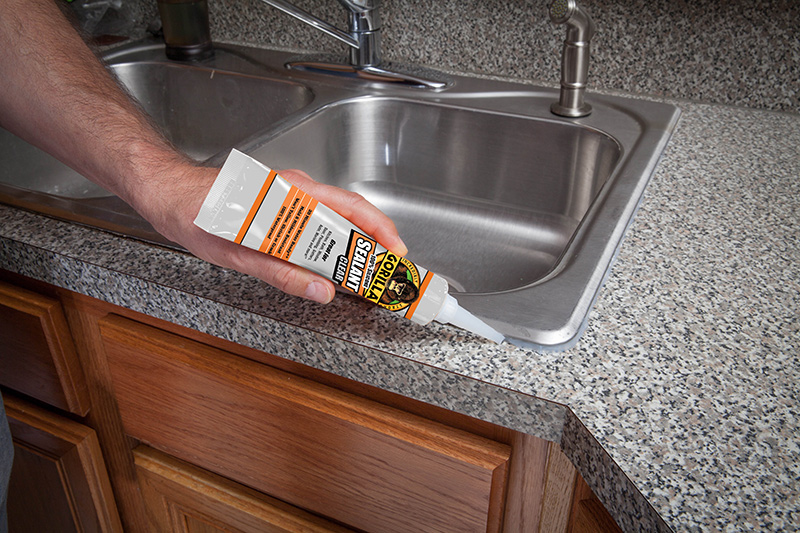


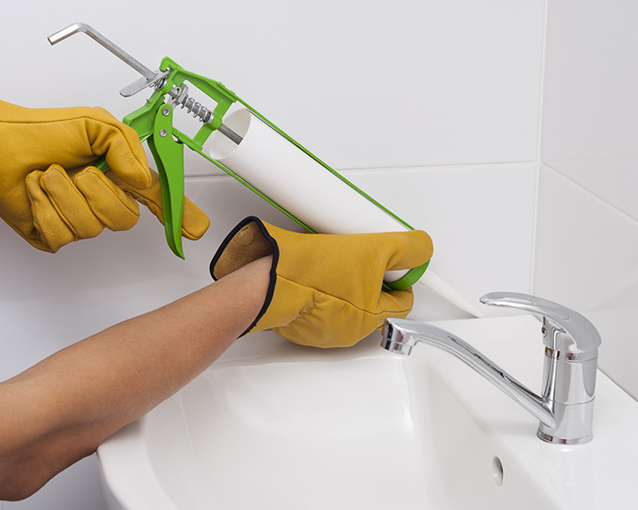


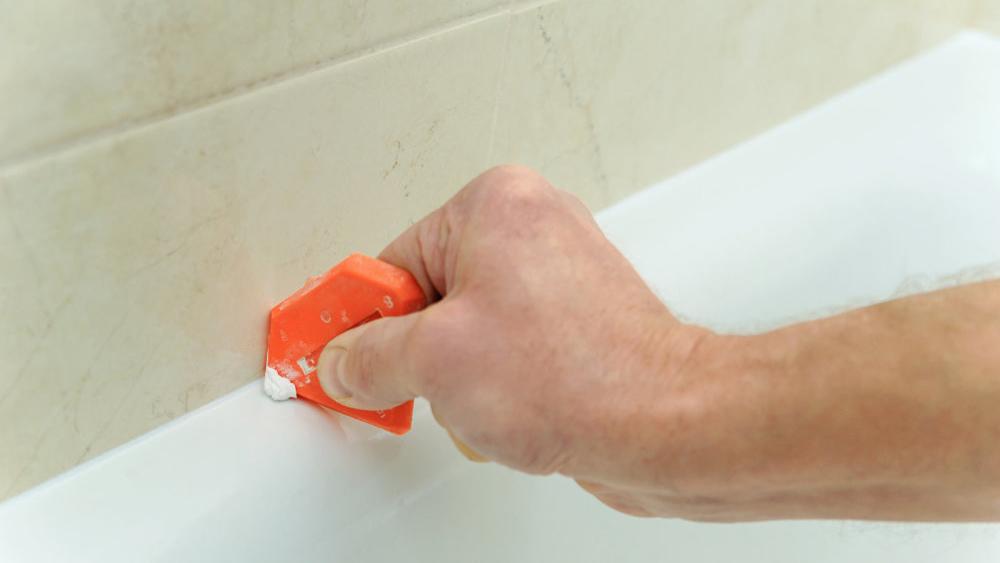
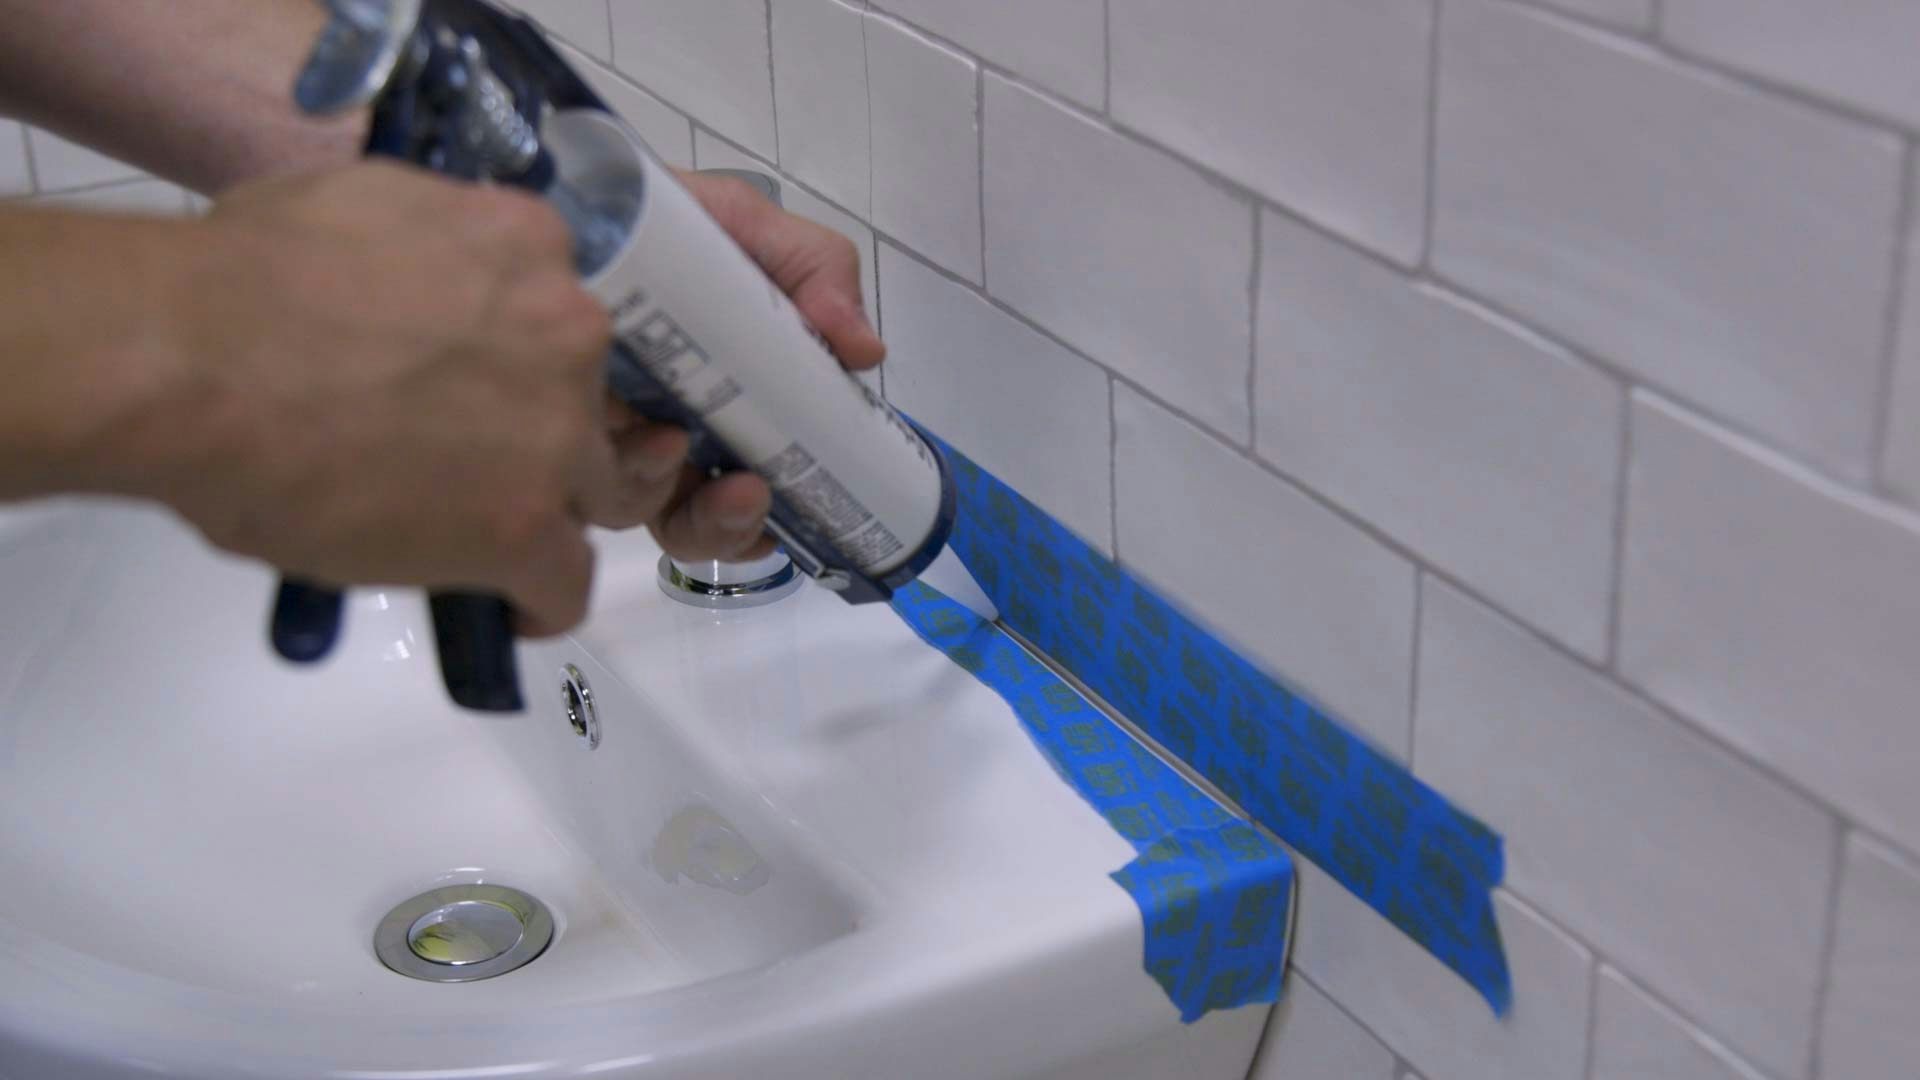
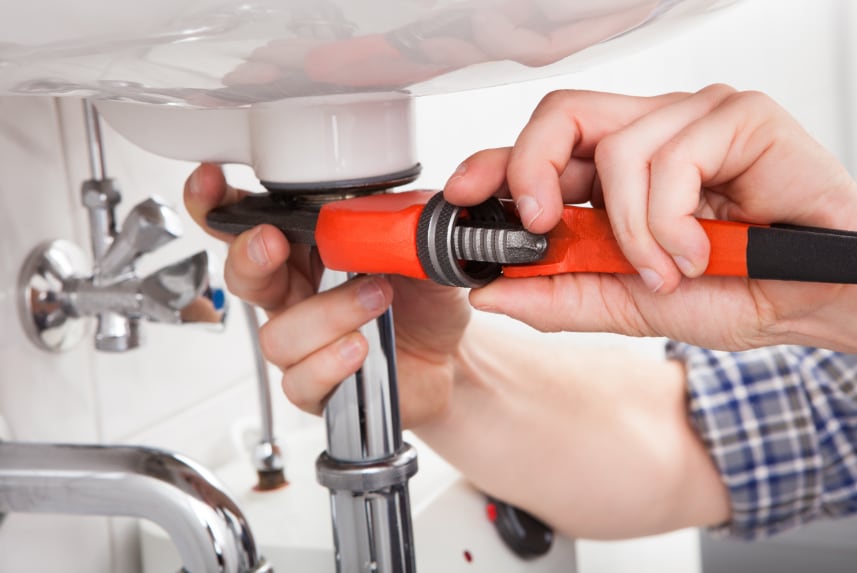
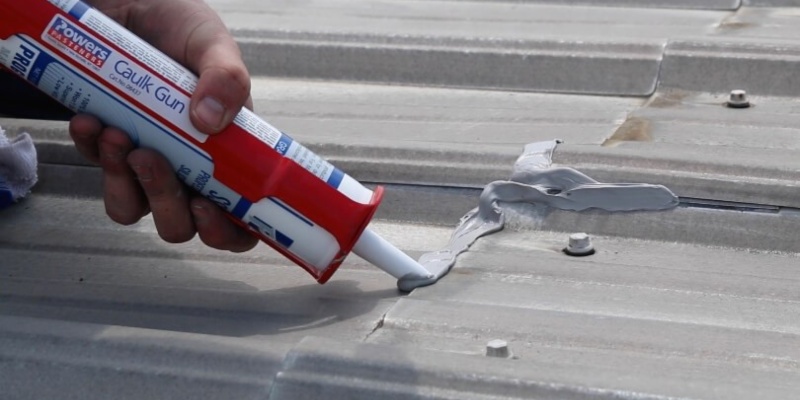
1. Prepare the area: Before starting, make sure to clean the area around the sink and remove any old sealant. You can use a putty knife or scraper to gently remove any residue. 2. Apply masking tape: To ensure a neat application, use masking tape to create a straight edge around the sink. This will also help protect the sink and countertop from any accidental spills. 3. Cut the tip of the sealant tube: Using a utility knife, cut the tip of the sealant tube at a 45-degree angle. This will allow for a smoother application. 4. Apply the sealant: Starting at one end, squeeze the sealant along the edge of the sink in a continuous line. Make sure to apply enough pressure to ensure the sealant adheres to both the sink and countertop. 5. Smooth out the sealant: Using your finger or a caulk finishing tool, smooth out the sealant along the edge of the sink. This will help create a clean and even finish. 6. Remove the masking tape: Before the sealant dries, carefully remove the masking tape. This will prevent the sealant from sticking to the tape and creating an uneven edge. 7. Let it dry: Allow the sealant to dry according to the manufacturer's instructions. This can take anywhere from a few hours to a full day. 8. Clean up: Once the sealant is completely dry, clean up any excess with a damp cloth. Be careful not to disturb the sealant while it is drying.Step-by-Step Guide for Replacing Bathroom Sink Sealant


Step-by-Step Guide for Replacing Bathroom Sink Sealant


Some of the top sealant brands for bathroom sinks include GE, Dap, and Red Devil. These brands offer a variety of sealant options that are specifically designed for use in bathrooms.Top Sealant Brands for Bathroom Sink

Top Sealant Brands for Bathroom Sink


Replacing the sealant around your bathroom sink is a simple DIY project that can save you time and money. By following the steps above, you can easily remove and replace the sealant without the need for a professional.DIY Bathroom Sink Sealant Replacement


DIY Bathroom Sink Sealant Replacement


:max_bytes(150000):strip_icc()/build-something-diy-vanity-594402125f9b58d58ae21158.jpg)


If you have a damaged sink, there are sealant options available that can help with repair. For small cracks or chips, a silicone sealant can be used to fill in the damaged area. For larger repairs, you may need to use an epoxy sealant, which is stronger and more durable.Sealant Options for Bathroom Sink Repair


Sealant Options for Bathroom Sink Repair

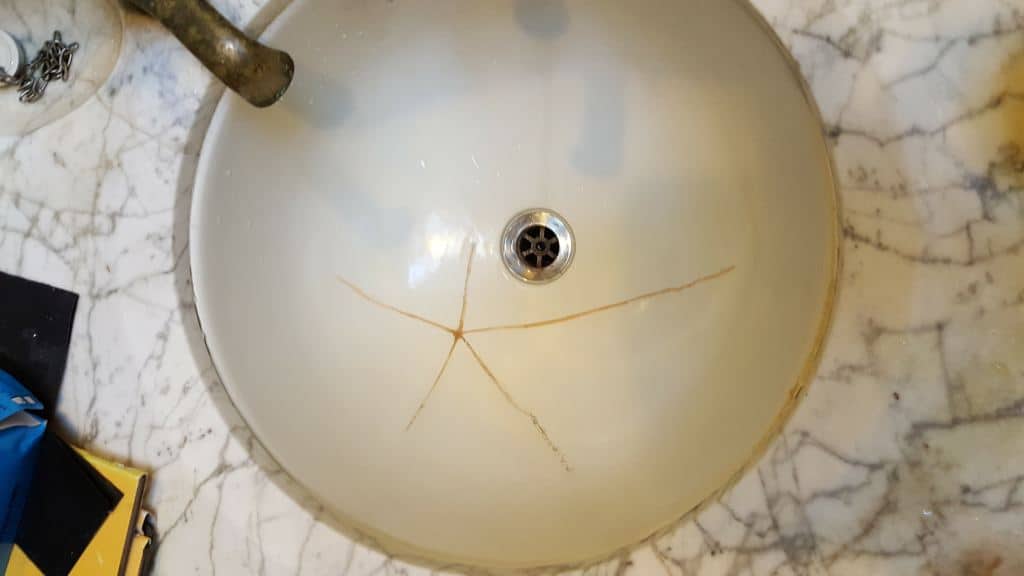


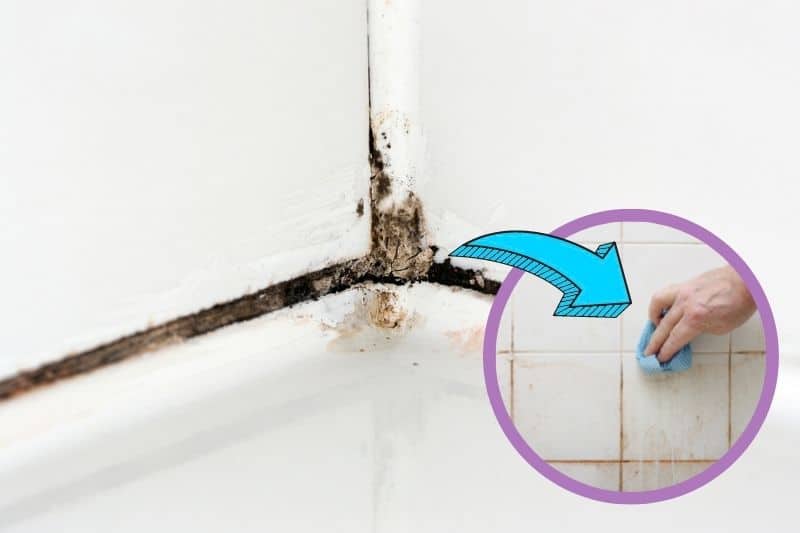
Over time, the sealant around your bathroom sink can become discolored or damaged. If you notice this happening, it's time to replace the old sealant. By removing the old sealant and applying a fresh coat, you can give your sink a fresh and updated look.Replacing Old Sealant on Bathroom Sink


Replacing Old Sealant on Bathroom Sink
:max_bytes(150000):strip_icc()/8_IMG_3767-56a4a2753df78cf772835b72.JPG)


When choosing a sealant for your bathroom sink, it's important to ensure that it is waterproof. This will help prevent any water damage or mold growth. Look for sealants that specifically state they are waterproof or for use in bathrooms.Waterproof Sealant for Bathroom Sink

Waterproof Sealant for Bathroom Sink


If you need to remove and replace the sealant around your bathroom sink, it's important to take your time and follow the steps carefully. Rushing the process can result in a messy and uneven application. By following our step-by-step guide, you can easily remove and replace the sealant without any hassle.How to Remove and Replace Bathroom Sink Sealant


How to Remove and Replace Bathroom Sink Sealant

:max_bytes(150000):strip_icc()/how-to-remove-old-caulk-1824827-01-3d0370c59e124dbbaa6560c68bab111c.jpg)


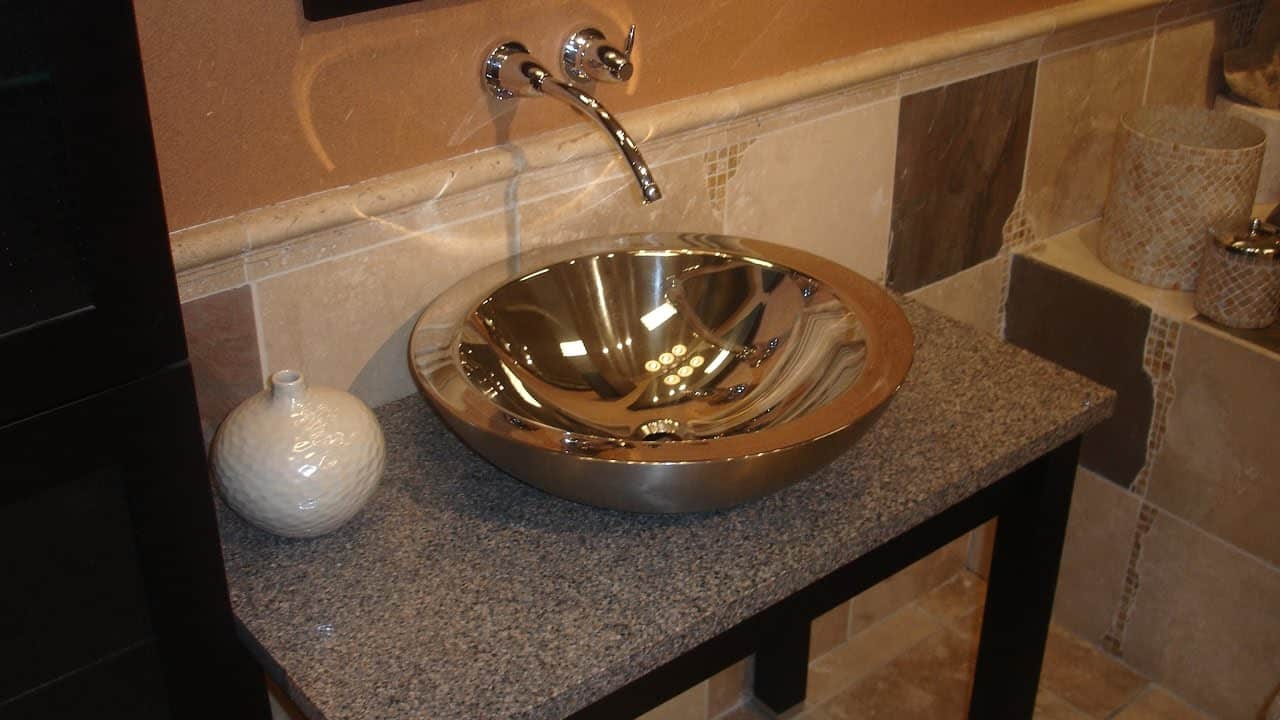
When installing a new bathroom sink, it's important to apply sealant to ensure a watertight seal. Before installing the sink, make sure to apply a thin line of sealant along the edge of the sink where it will come into contact with the countertop. This will help prevent any water from leaking and causing damage. In conclusion, replacing the sealant around your bathroom sink is an important maintenance task that should not be overlooked. By following our guide and choosing the right sealant for your sink, you can ensure a clean and watertight seal that will not only improve the appearance of your sink but also protect it from water damage. Remember to always read the label and follow the manufacturer's instructions for the best results.Sealant for Bathroom Sink Installation
Sealant for Bathroom Sink Installation


Why Replace Bathroom Sink Sealant is Important for Your House Design

The Importance of Maintaining Your Bathroom Sink Sealant
 Maintaining a clean and well-organized bathroom is crucial for any home design. Not only does it enhance the overall aesthetic of your house, but it also ensures the functionality and longevity of your bathroom fixtures. One important aspect of bathroom maintenance is regularly replacing the sink sealant.
Bathroom sink sealant
is a material used to seal the gaps and joints around your sink, preventing water from seeping through and causing damage to your wall or countertops. Over time, this sealant can wear off or become damaged, leading to leaks and potential water damage. That is why it is essential to
replace bathroom sink sealant
periodically.
Maintaining a clean and well-organized bathroom is crucial for any home design. Not only does it enhance the overall aesthetic of your house, but it also ensures the functionality and longevity of your bathroom fixtures. One important aspect of bathroom maintenance is regularly replacing the sink sealant.
Bathroom sink sealant
is a material used to seal the gaps and joints around your sink, preventing water from seeping through and causing damage to your wall or countertops. Over time, this sealant can wear off or become damaged, leading to leaks and potential water damage. That is why it is essential to
replace bathroom sink sealant
periodically.
The Benefits of Replacing Your Bathroom Sink Sealant
 Replacing your bathroom sink sealant offers numerous benefits for your house design. First and foremost, it prevents water damage. A damaged or worn-out sealant can cause water to leak through, leading to mold and mildew growth, which can not only damage your walls and floors but also pose a health hazard. Regularly replacing the sealant will ensure that your bathroom remains dry and free from any potential water damage.
Moreover, replacing the sealant also helps in maintaining the cleanliness and hygiene of your bathroom. Old and damaged sealant can trap dirt, grime, and bacteria, making it challenging to clean and maintain a hygienic bathroom. By replacing the sealant, you are creating a smooth and clean surface that is easier to clean and maintain.
Replacing your bathroom sink sealant offers numerous benefits for your house design. First and foremost, it prevents water damage. A damaged or worn-out sealant can cause water to leak through, leading to mold and mildew growth, which can not only damage your walls and floors but also pose a health hazard. Regularly replacing the sealant will ensure that your bathroom remains dry and free from any potential water damage.
Moreover, replacing the sealant also helps in maintaining the cleanliness and hygiene of your bathroom. Old and damaged sealant can trap dirt, grime, and bacteria, making it challenging to clean and maintain a hygienic bathroom. By replacing the sealant, you are creating a smooth and clean surface that is easier to clean and maintain.
How to Replace Your Bathroom Sink Sealant
 Now that you understand the importance of
replacing bathroom sink sealant
, let's take a look at how you can do it yourself. Firstly, you will need to remove the old sealant using a putty knife or razor blade. Make sure to clean the surface thoroughly before applying the new sealant. You can use a mildew cleaner to remove any stubborn stains or residue.
Next, choose a high-quality
bathroom sink sealant
and apply it evenly along the edges of your sink, using a caulking gun. Use your finger or a caulk smoothing tool to smooth out the sealant and remove any excess. Allow the sealant to dry completely before using your sink again.
In conclusion, maintaining your bathroom sink sealant is crucial for the functionality and longevity of your bathroom fixtures. Regularly replacing it not only prevents water damage but also helps in maintaining a clean and hygienic bathroom. By following the simple steps mentioned above, you can easily replace your bathroom sink sealant and ensure a well-maintained and beautiful bathroom in your house design.
Now that you understand the importance of
replacing bathroom sink sealant
, let's take a look at how you can do it yourself. Firstly, you will need to remove the old sealant using a putty knife or razor blade. Make sure to clean the surface thoroughly before applying the new sealant. You can use a mildew cleaner to remove any stubborn stains or residue.
Next, choose a high-quality
bathroom sink sealant
and apply it evenly along the edges of your sink, using a caulking gun. Use your finger or a caulk smoothing tool to smooth out the sealant and remove any excess. Allow the sealant to dry completely before using your sink again.
In conclusion, maintaining your bathroom sink sealant is crucial for the functionality and longevity of your bathroom fixtures. Regularly replacing it not only prevents water damage but also helps in maintaining a clean and hygienic bathroom. By following the simple steps mentioned above, you can easily replace your bathroom sink sealant and ensure a well-maintained and beautiful bathroom in your house design.