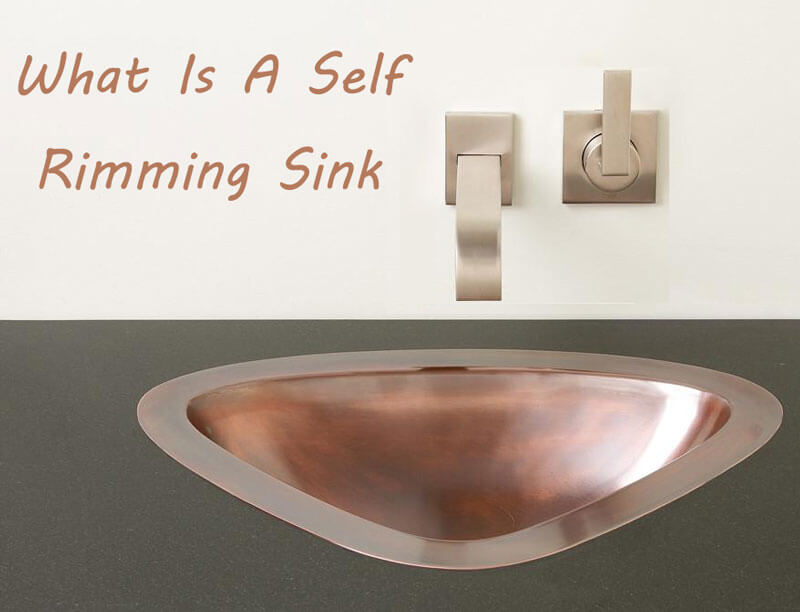
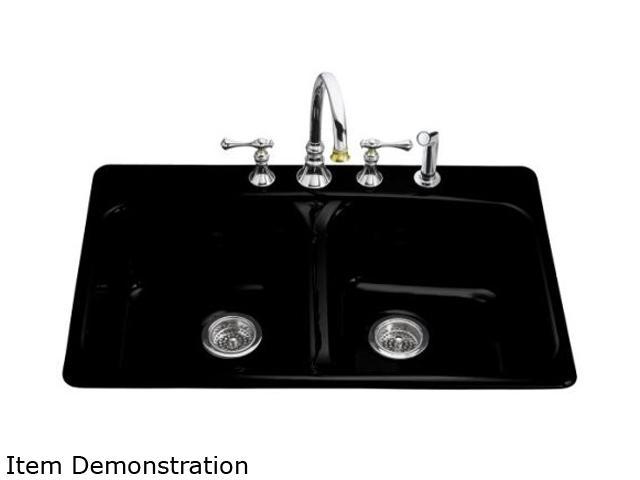
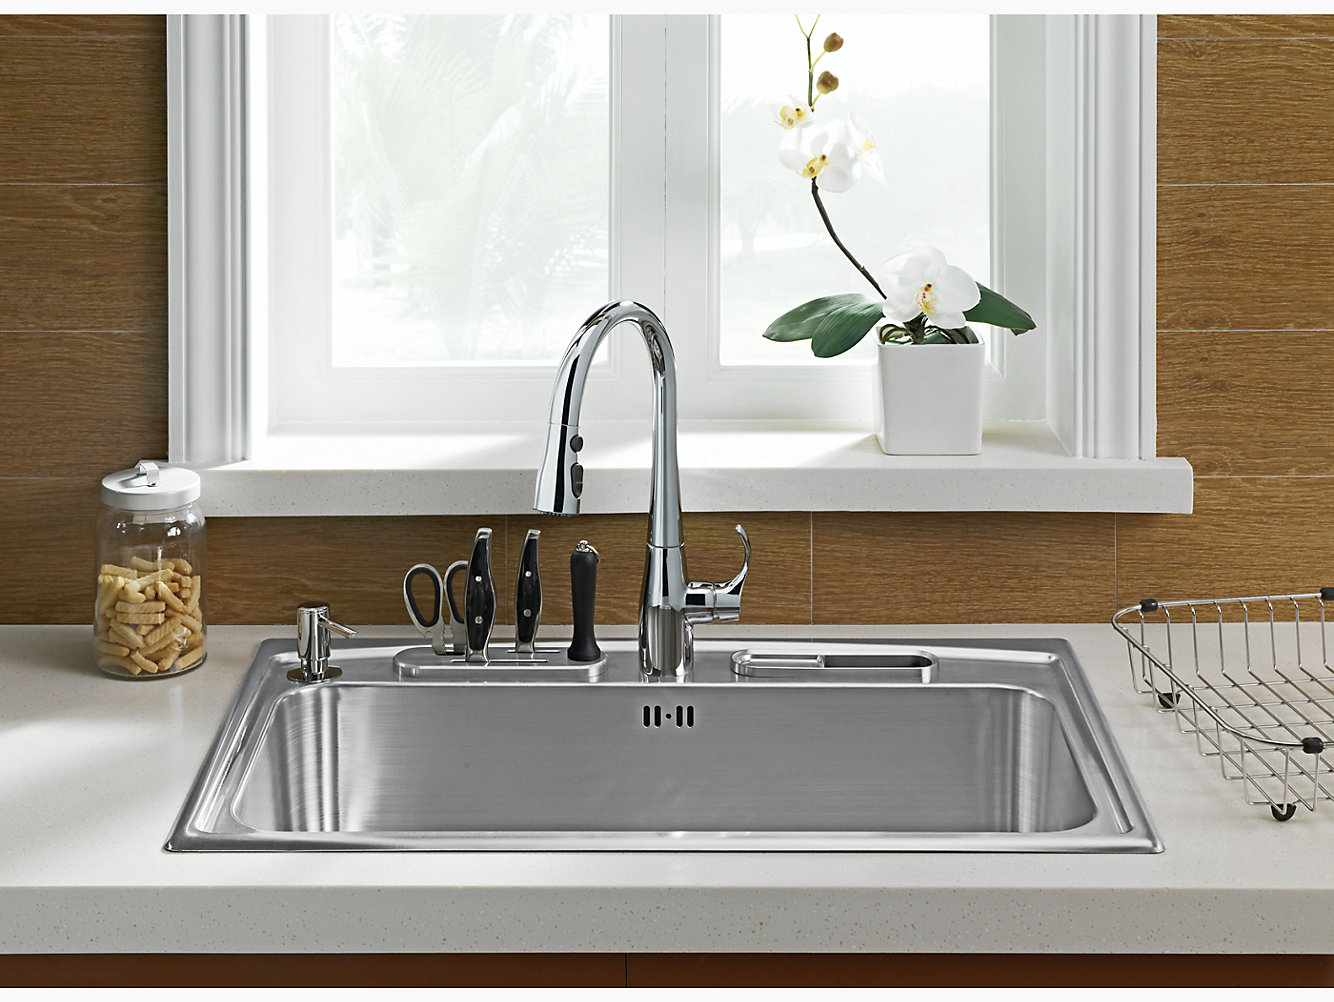
Are you looking to upgrade your kitchen sink? Installing a self-rimming kitchen sink is a great way to add functionality and style to your kitchen. With the right tools and a little bit of know-how, you can easily install a self-rimming sink on your own. In this guide, we'll take you through the step-by-step process of installing a self-rimming kitchen sink, so you can have a beautiful new addition to your kitchen in no time.1. How to Install a Self-Rimming Kitchen Sink


1. How to Install a Self-Rimming Kitchen Sink


Installing a self-rimming kitchen sink is a simple DIY project that can save you time and money. The first step is to choose the right sink for your kitchen. Measure the size of your existing sink and choose a self-rimming sink that will fit in the same space. Next, gather all the necessary tools and materials, including a drill, silicone caulk, and a sink mounting kit. With these in hand, you're ready to start your installation.2. DIY Guide: Installing a Self-Rimming Kitchen Sink


2. DIY Guide: Installing a Self-Rimming Kitchen Sink


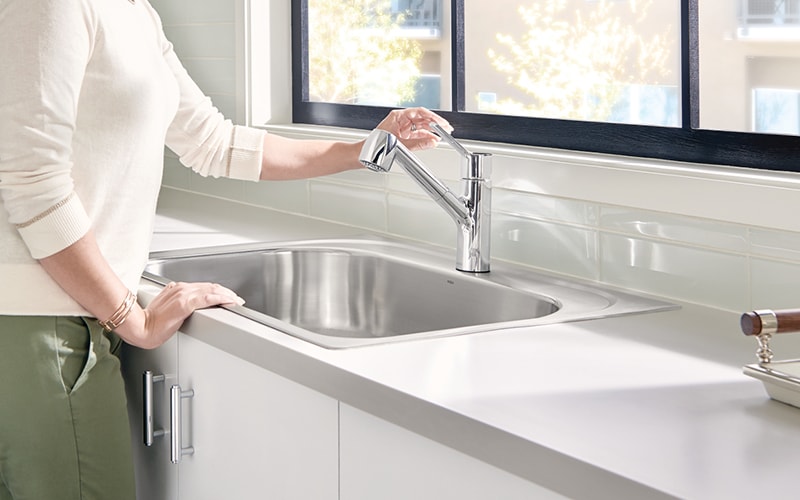
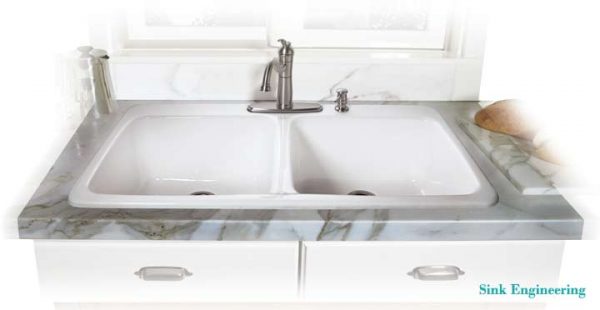
Now, let's get into the nitty-gritty of the installation process. First, you'll need to remove your old sink and clean the area where the new sink will be installed. Then, place the sink upside down on a flat surface and apply a thin layer of silicone caulk along the rim. Carefully flip the sink over and place it into the sink cutout in your countertop. Once the sink is in place, secure it with the mounting brackets provided in the sink mounting kit.3. Step-by-Step: Installing a Self-Rimming Kitchen Sink


3. Step-by-Step: Installing a Self-Rimming Kitchen Sink


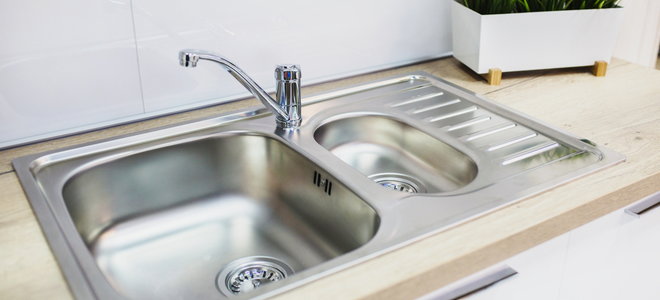
If you're looking for an even easier way to install your self-rimming kitchen sink, consider using a sink with a clip system. These sinks come with pre-attached clips that make installation a breeze. Simply place the sink in the cutout and tighten the clips to secure it in place. This method eliminates the need for caulk and makes for a cleaner, tighter fit.4. The Easy Way to Install a Self-Rimming Kitchen Sink


4. The Easy Way to Install a Self-Rimming Kitchen Sink


Here are a few tips to keep in mind as you install your self-rimming kitchen sink:5. Tips for Installing a Self-Rimming Kitchen Sink


5. Tips for Installing a Self-Rimming Kitchen Sink


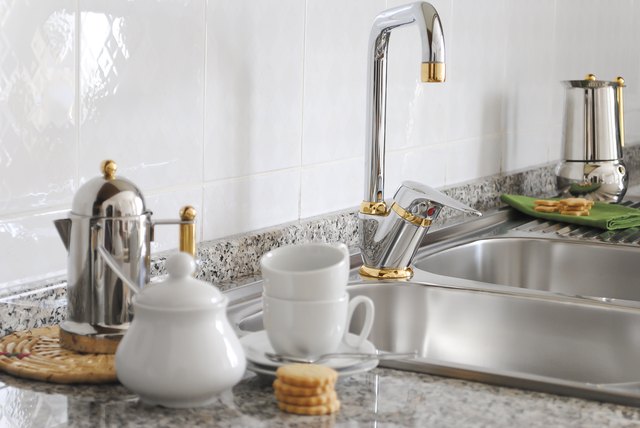
Before you dive into installing your new sink, there are a few important things to keep in mind. First, make sure that your countertop can support the weight of the sink. If you're unsure, consult a professional. Additionally, keep in mind the placement of your sink in relation to other kitchen fixtures, such as the faucet and backsplash. You'll want to make sure there is enough space for everything to fit comfortably.6. What You Need to Know Before Installing a Self-Rimming Kitchen Sink

6. What You Need to Know Before Installing a Self-Rimming Kitchen Sink


If you've never installed a sink before, don't worry! With the right tools and instructions, anyone can successfully install a self-rimming kitchen sink. Take your time and follow the steps carefully, and you'll have a beautiful new sink in your kitchen in no time.7. A Beginner's Guide to Installing a Self-Rimming Kitchen Sink


7. A Beginner's Guide to Installing a Self-Rimming Kitchen Sink

While installing a self-rimming kitchen sink may seem like a simple task, there are a few important dos and don'ts to keep in mind. Do make sure to use the right tools and materials for the job. Don't rush through the installation process or skip any important steps. And always double-check your work to ensure that your sink is properly installed and secure.8. The Dos and Don'ts of Installing a Self-Rimming Kitchen Sink


8. The Dos and Don'ts of Installing a Self-Rimming Kitchen Sink


Even with the best intentions, mistakes can happen during any DIY project. Here are a few common mistakes to avoid when installing a self-rimming kitchen sink:9. Common Mistakes to Avoid When Installing a Self-Rimming Kitchen Sink


9. Common Mistakes to Avoid When Installing a Self-Rimming Kitchen Sink


If you encounter any problems during your installation, don't panic. Here are some common issues and how to troubleshoot them:10. Troubleshooting: Common Issues When Installing a Self-Rimming Kitchen Sink


10. Troubleshooting: Common Issues When Installing a Self-Rimming Kitchen Sink


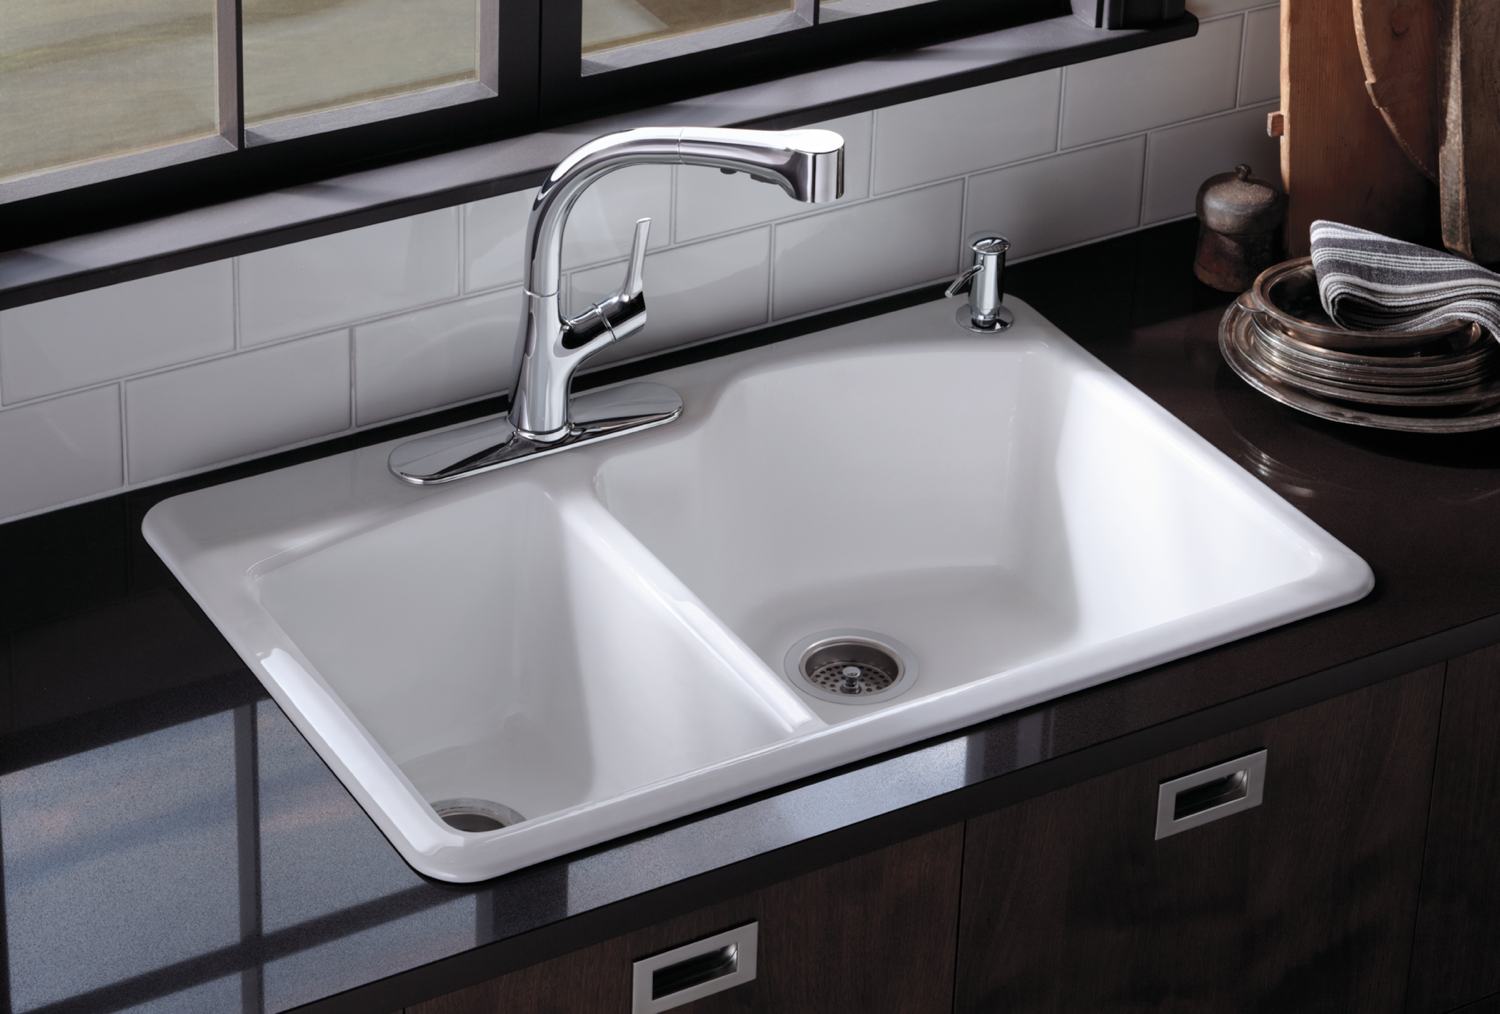
Benefits of Installing a Self Rimming Kitchen Sink
Efficient Use of Space
 One of the main reasons why homeowners choose to install a self rimming kitchen sink is because it maximizes the use of space in a kitchen. These sinks are designed to sit on top of the countertop without taking up much space underneath, allowing for more storage and workspace. This is especially beneficial in smaller kitchens where every inch counts.
Easy Installation
 Unlike undermount sinks which require professional installation, self rimming sinks can be easily installed by homeowners themselves. They come with a rim that sits on top of the countertop, providing a secure and stable fit. This makes it a great option for those who want to save money on installation costs.
Variety of Styles and Materials
 Self rimming kitchen sinks come in a variety of styles and materials, giving homeowners the freedom to choose one that best fits their kitchen design. Whether you prefer a modern stainless steel sink or a more traditional porcelain one, there is a self rimming sink available to suit your taste and budget.
Durable and Long-lasting
 Self rimming kitchen sinks are known for their durability and longevity. The rim provides extra support, making it less prone to cracking or chipping. Additionally, the materials used in these sinks are resistant to stains, scratches, and heat, making them a practical and long-lasting choice for any kitchen.
Easy Maintenance
 Cleaning and maintaining a self rimming kitchen sink is a breeze. With the rim sitting on top of the countertop, there are no hard-to-reach areas, making it easy to wipe down and keep clean. Plus, the materials used in these sinks are non-porous, preventing the growth of bacteria and making them hygienic for food preparation.
In conclusion, a self rimming kitchen sink is a practical and efficient choice for any kitchen. Its easy installation, variety of styles, durability, and easy maintenance make it a popular option among homeowners. So if you're looking to upgrade your kitchen, consider installing a self rimming sink for a functional and stylish addition.
Cleaning and maintaining a self rimming kitchen sink is a breeze. With the rim sitting on top of the countertop, there are no hard-to-reach areas, making it easy to wipe down and keep clean. Plus, the materials used in these sinks are non-porous, preventing the growth of bacteria and making them hygienic for food preparation.
In conclusion, a self rimming kitchen sink is a practical and efficient choice for any kitchen. Its easy installation, variety of styles, durability, and easy maintenance make it a popular option among homeowners. So if you're looking to upgrade your kitchen, consider installing a self rimming sink for a functional and stylish addition.