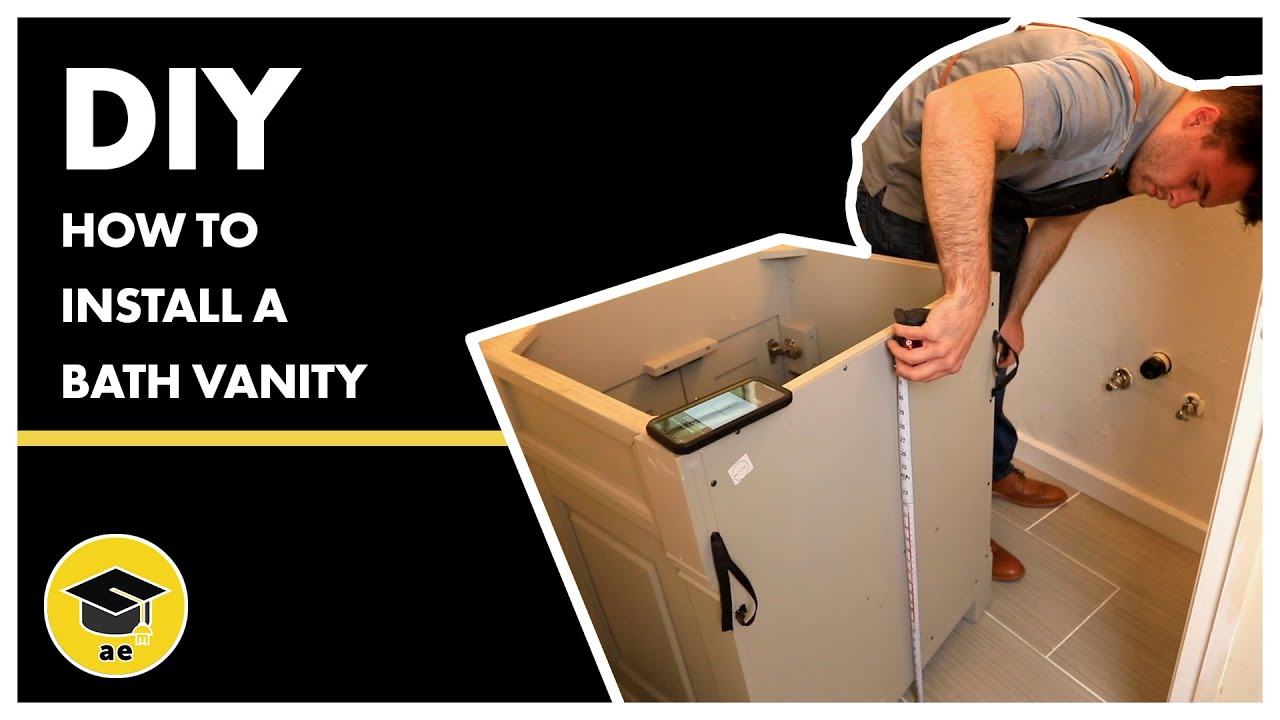
If you're looking to give your bathroom a modern and sleek update, installing a floating bathroom vanity is a great way to do it. Not only does it add style and sophistication to your space, but it also creates the illusion of more space by freeing up floor space. Installing a floating bathroom vanity may seem intimidating, but with the right tools and knowledge, it can be a simple and rewarding DIY project. Here's a step-by-step guide on how to install a floating bathroom vanity.How to Install a Floating Bathroom Vanity


How to Install a Floating Bathroom Vanity


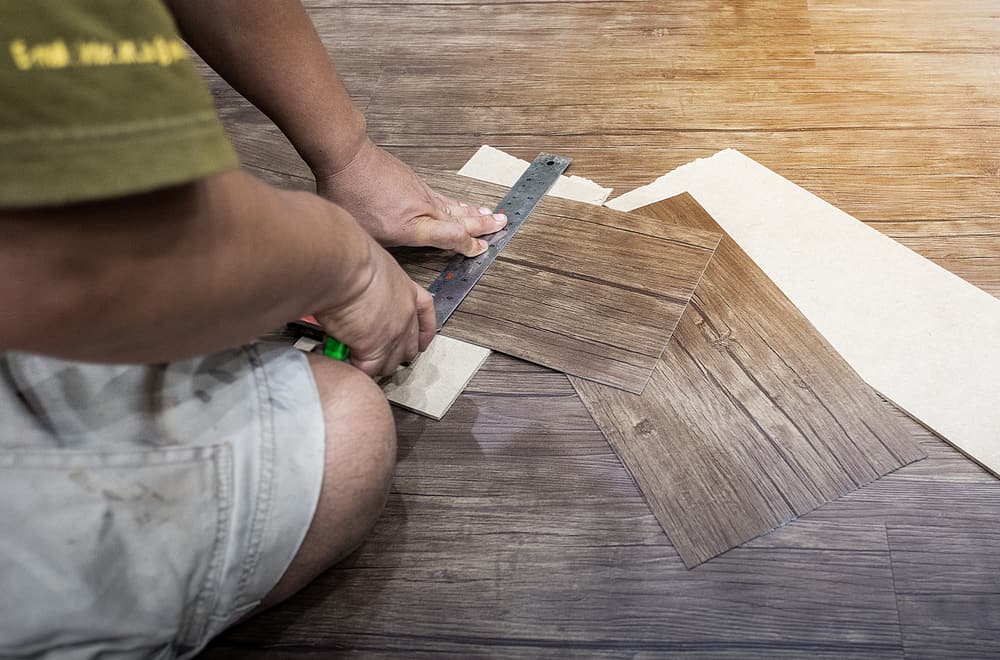
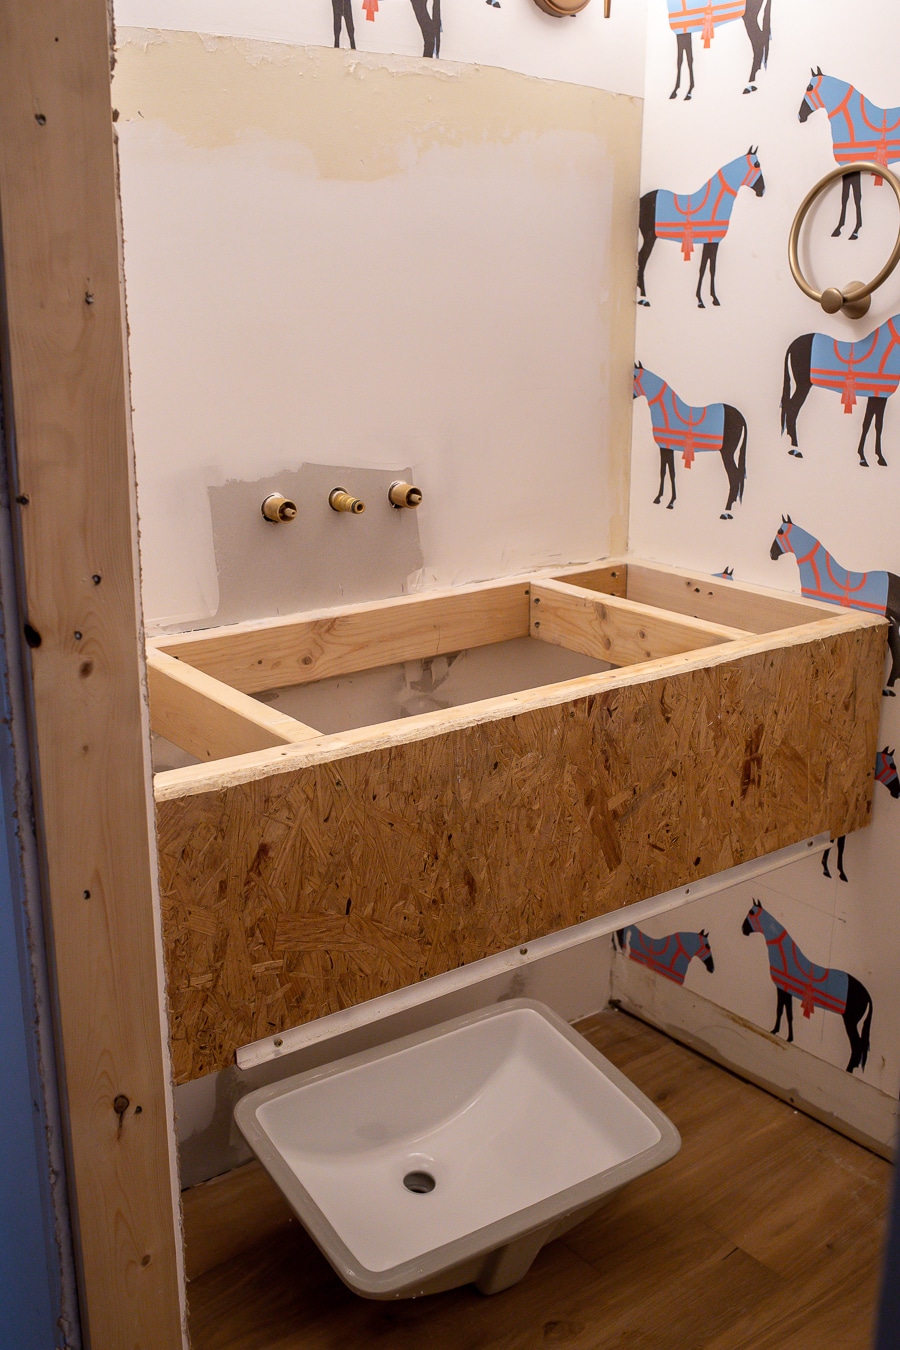
The first step in installing a floating bathroom vanity is to gather all the necessary tools and materials. This includes a stud finder, level, measuring tape, drill, screws, and the vanity itself. Once you have everything you need, follow these steps: 1. Measure and Mark 2. Cut Holes for Plumbing 3. Mount the Vanity 4. Connect Plumbing 5. Install Countertop and Sink 6. Caulk and Seal 7. Install Faucet and Hardware 8. Finishing TouchesStep-by-Step Guide for Installing a Floating Bathroom Vanity
Using a measuring tape, determine the height and width of your vanity. Use a level and pencil to mark where the top of the vanity will sit on the wall. Then, use a stud finder to locate the studs in the wall and mark them with a pencil.
If your vanity has plumbing that will need to come through the wall, use a drill to create holes for the pipes to fit through. Make sure the holes are aligned with the markings for the studs.
Using a drill, screw the vanity into the wall studs. Make sure it is level and secure.
If your vanity has plumbing, connect the pipes to the wall and secure them.
Carefully place the countertop on top of the vanity and secure it with screws. Then, install the sink according to the manufacturer's instructions.
Using caulk, seal any gaps between the vanity and the wall. This will prevent water from getting behind the vanity and causing damage.
Attach the faucet and any other hardware to the vanity according to the manufacturer's instructions.
Lastly, add any finishing touches such as a backsplash or decorative hardware to complete the look.


Step-by-Step Guide for Installing a Floating Bathroom Vanity


Installing a floating bathroom vanity yourself can be a great way to save money and customize your space. With the right tools and knowledge, it can be a simple and rewarding project. However, it's important to be aware of the potential challenges and mistakes that can come with a DIY project. Make sure to thoroughly research and plan before starting the installation process to avoid any costly errors.DIY Floating Bathroom Vanity Installation


DIY Floating Bathroom Vanity Installation


Here are some tips and tricks to keep in mind when installing a floating bathroom vanity: 1. Use a Level 2. Find the Right Studs 3. Consider the Weight 4. Leave Space for PlumbingFloating Bathroom Vanity Installation Tips and Tricks
It's crucial to ensure your vanity is level before securing it to the wall. This will prevent any future issues with doors or drawers not closing properly.
Make sure to use a stud finder to locate the studs in the wall before mounting the vanity. This will ensure that the vanity is properly secured and can support the weight of the countertop and sink.
When choosing a floating bathroom vanity, make sure to consider the weight of the countertop and sink. If they are too heavy, it may cause the vanity to sag or become unbalanced.
If your vanity has plumbing, make sure to leave enough space behind the vanity for the pipes to fit through. This will prevent any issues with installation and potential damage to the plumbing.


Floating Bathroom Vanity Installation Tips and Tricks

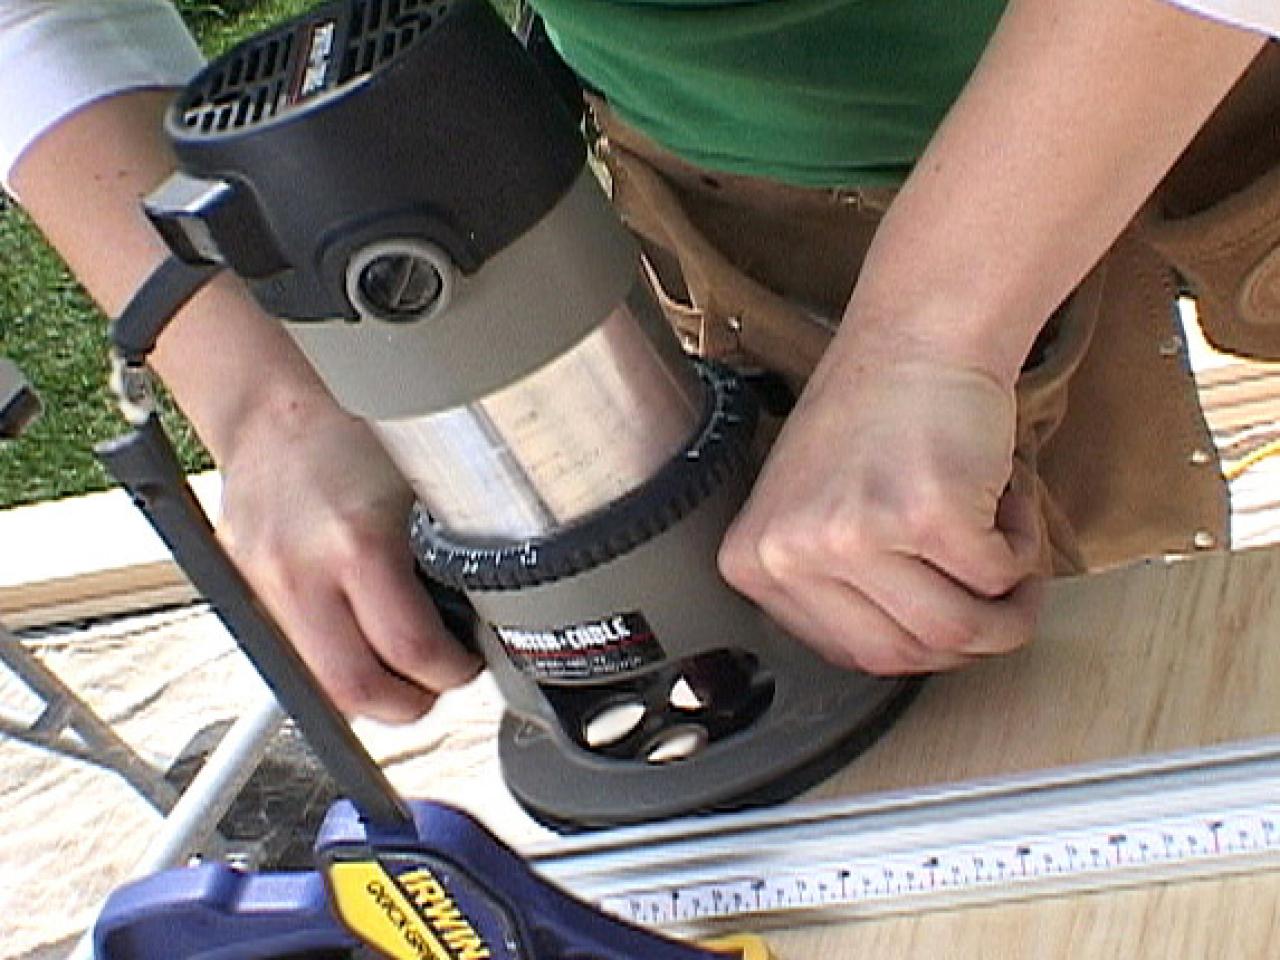
Having the right tools is essential for a successful floating bathroom vanity installation. Here are some tools you'll need: - Stud finderEssential Tools for Installing a Floating Bathroom Vanity
- Level
- Measuring tape
- Drill
- Screws
- Caulk gun
- Wrench
- Screwdriver


Essential Tools for Installing a Floating Bathroom Vanity


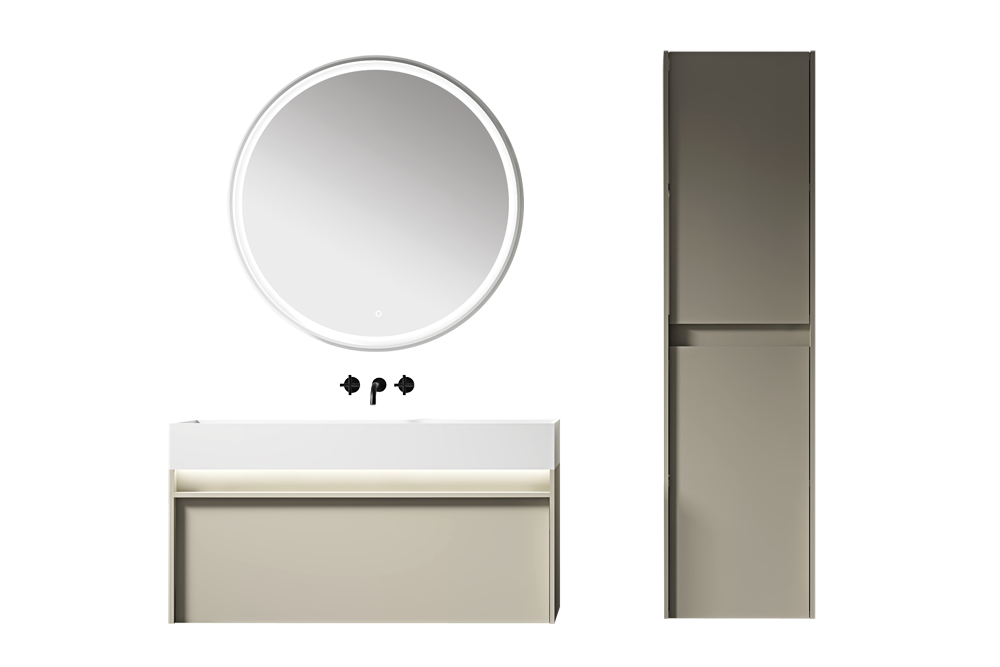
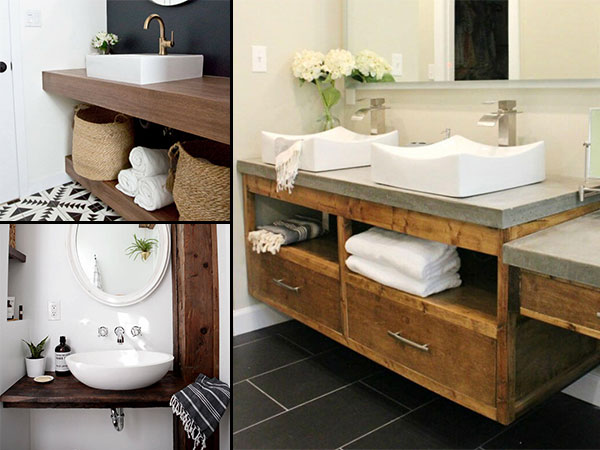
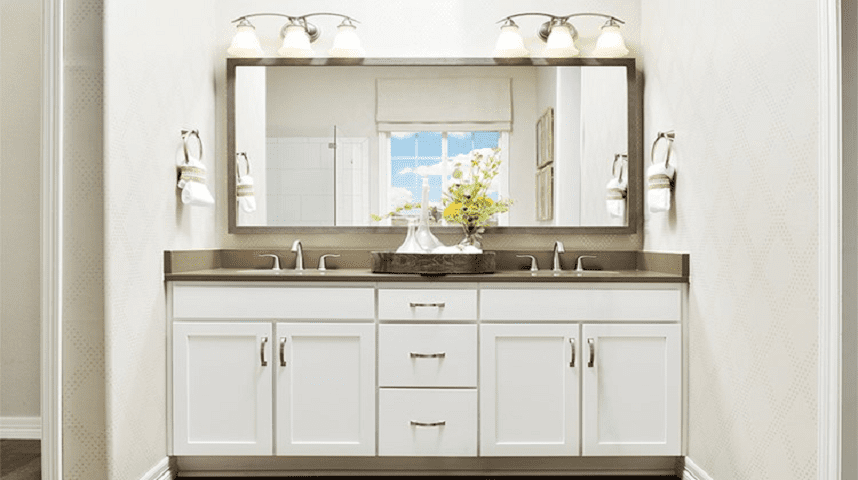
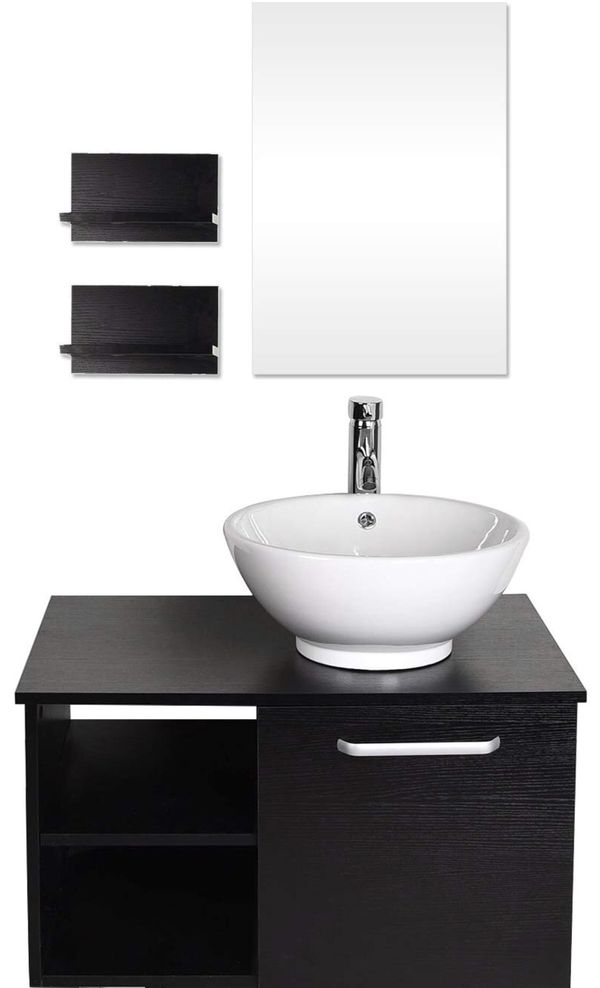
When choosing a floating bathroom vanity, consider the size and style of your space. You want to make sure the vanity fits comfortably and complements the overall aesthetic of your bathroom. You should also consider the storage options and materials of the vanity to ensure it meets your needs and preferences.Choosing the Right Floating Bathroom Vanity for Your Space


Choosing the Right Floating Bathroom Vanity for Your Space


While installing a floating bathroom vanity may seem like a simple task, there are some common mistakes that can occur. Here are some to avoid: - Not properly securing the vanity to the wallCommon Mistakes to Avoid When Installing a Floating Bathroom Vanity
- Not using a level to ensure the vanity is straight
- Not leaving enough space for plumbing
- Choosing a vanity that is too heavy for the wall
- Forgetting to seal gaps between the vanity and wall with caulk


Common Mistakes to Avoid When Installing a Floating Bathroom Vanity


Deciding whether to hire a professional or tackle the installation yourself can be a tough decision. While hiring a professional can ensure a seamless and efficient installation, it can also be costly. DIY installations can save money, but it's important to have the necessary skills and knowledge to avoid any mistakes or mishaps. Ultimately, the decision will depend on your budget and comfort level with DIY projects.Professional vs. DIY: Which is the Best Way to Install a Floating Bathroom Vanity?


Professional vs. DIY: Which is the Best Way to Install a Floating Bathroom Vanity?


Before starting the installation process, it's important to measure and prep your bathroom properly. Here's what you should do: 1. Measure the Space 2. Clear the Space 3. Check for Level 4. Prep the WallHow to Measure and Prep Your Bathroom for a Floating Vanity Installation
Using a measuring tape, determine the height and width of the space where the vanity will go. Make sure to account for any obstacles such as plumbing or electrical outlets.
Remove any items from the area where the vanity will be installed. This will make it easier to maneuver and install the vanity.
Using a level, make sure the floor is level. If it's not, you may need to make adjustments before installing the vanity to ensure it sits properly.
If necessary, patch any holes or imperfections in the wall before installing the vanity. This will create a smooth surface for the vanity to be mounted on.
How to Measure and Prep Your Bathroom for a Floating Vanity Installation


Even with careful planning and preparation, issues can still arise during a floating bathroom vanity installation. Here are some common problems and how to troubleshoot them: - Vanity is not level: Use a level to adjust and make sure the vanity is straight before securing it to the wall.Troubleshooting Common Issues During a Floating Bathroom Vanity Installation
- Vanity is not securely mounted: Use a stud finder to locate the studs and make sure the vanity is properly screwed into them.
- Vanity is too heavy for the wall: Consider reinforcing the wall with additional support before installing the vanity.
- Plumbing is not aligned: Use a wrench to adjust and align the pipes before securing them to the vanity.


Troubleshooting Common Issues During a Floating Bathroom Vanity Installation


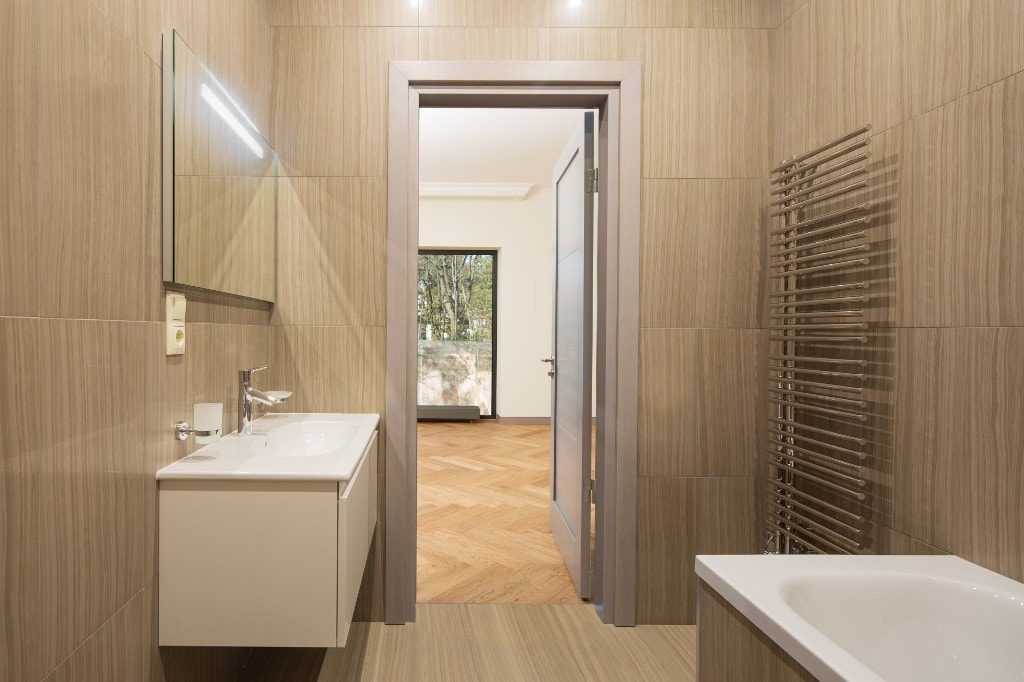
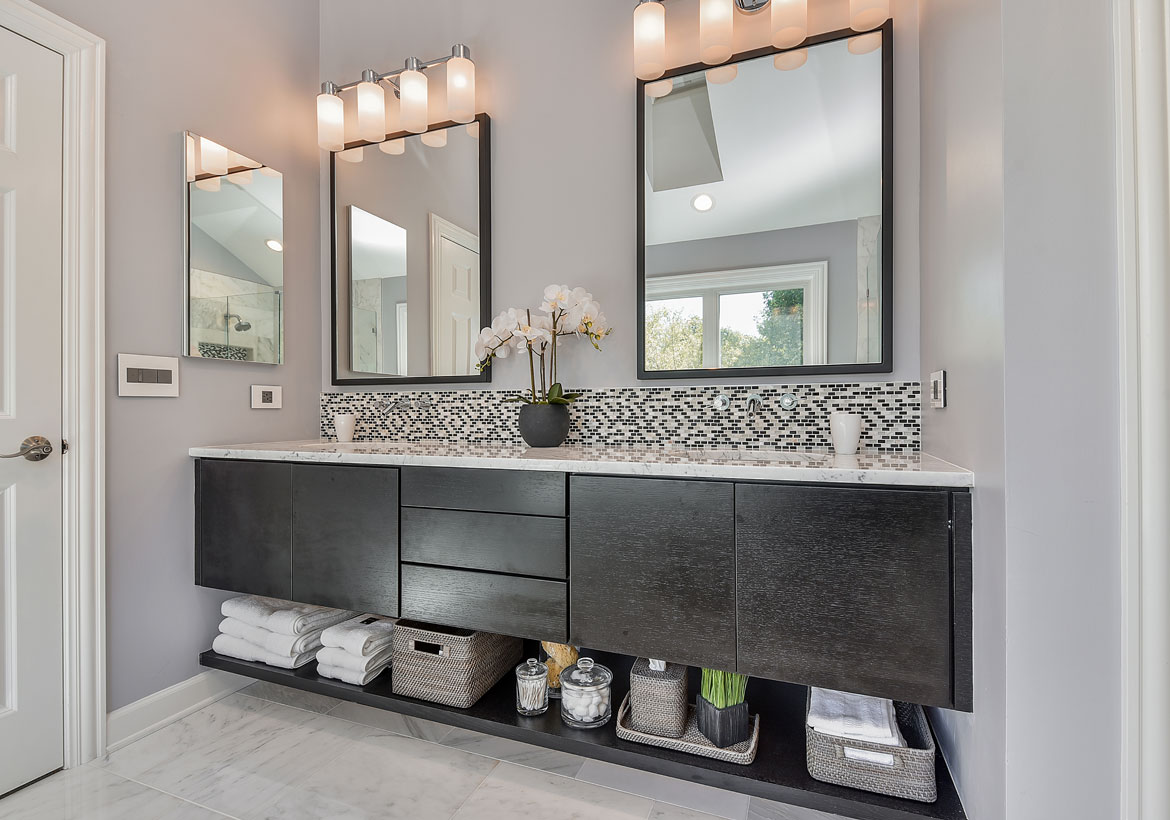
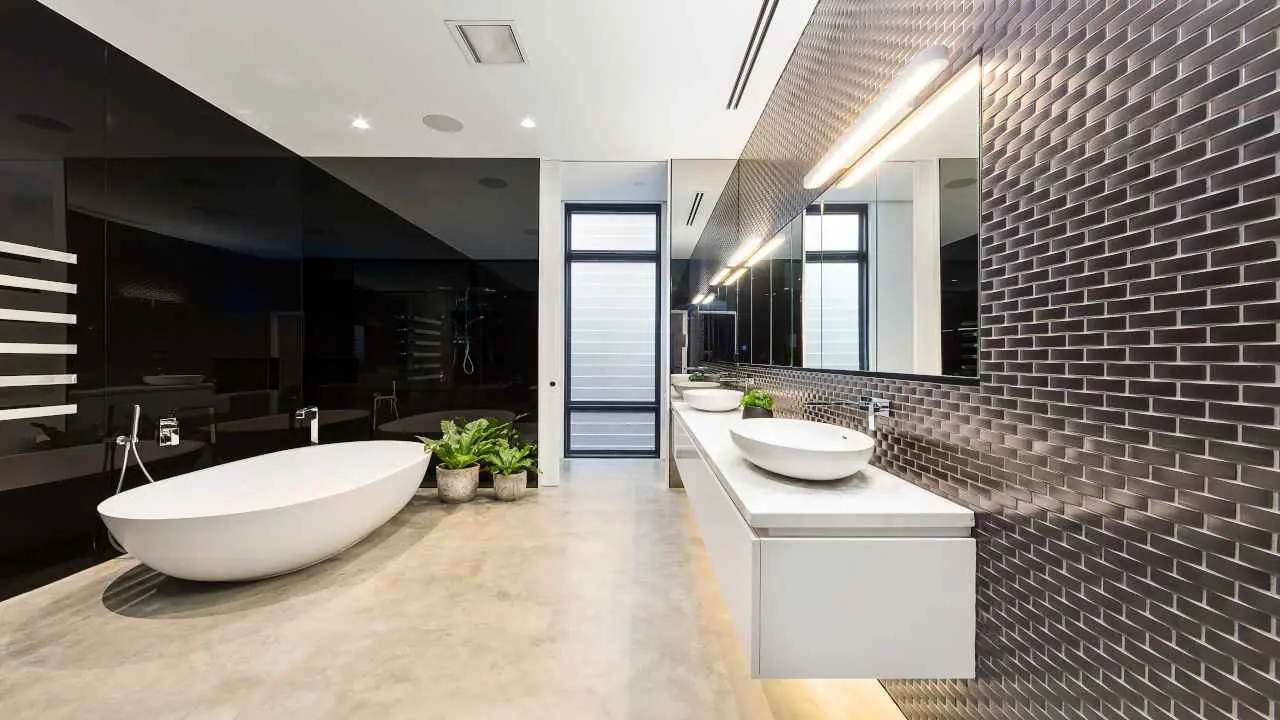
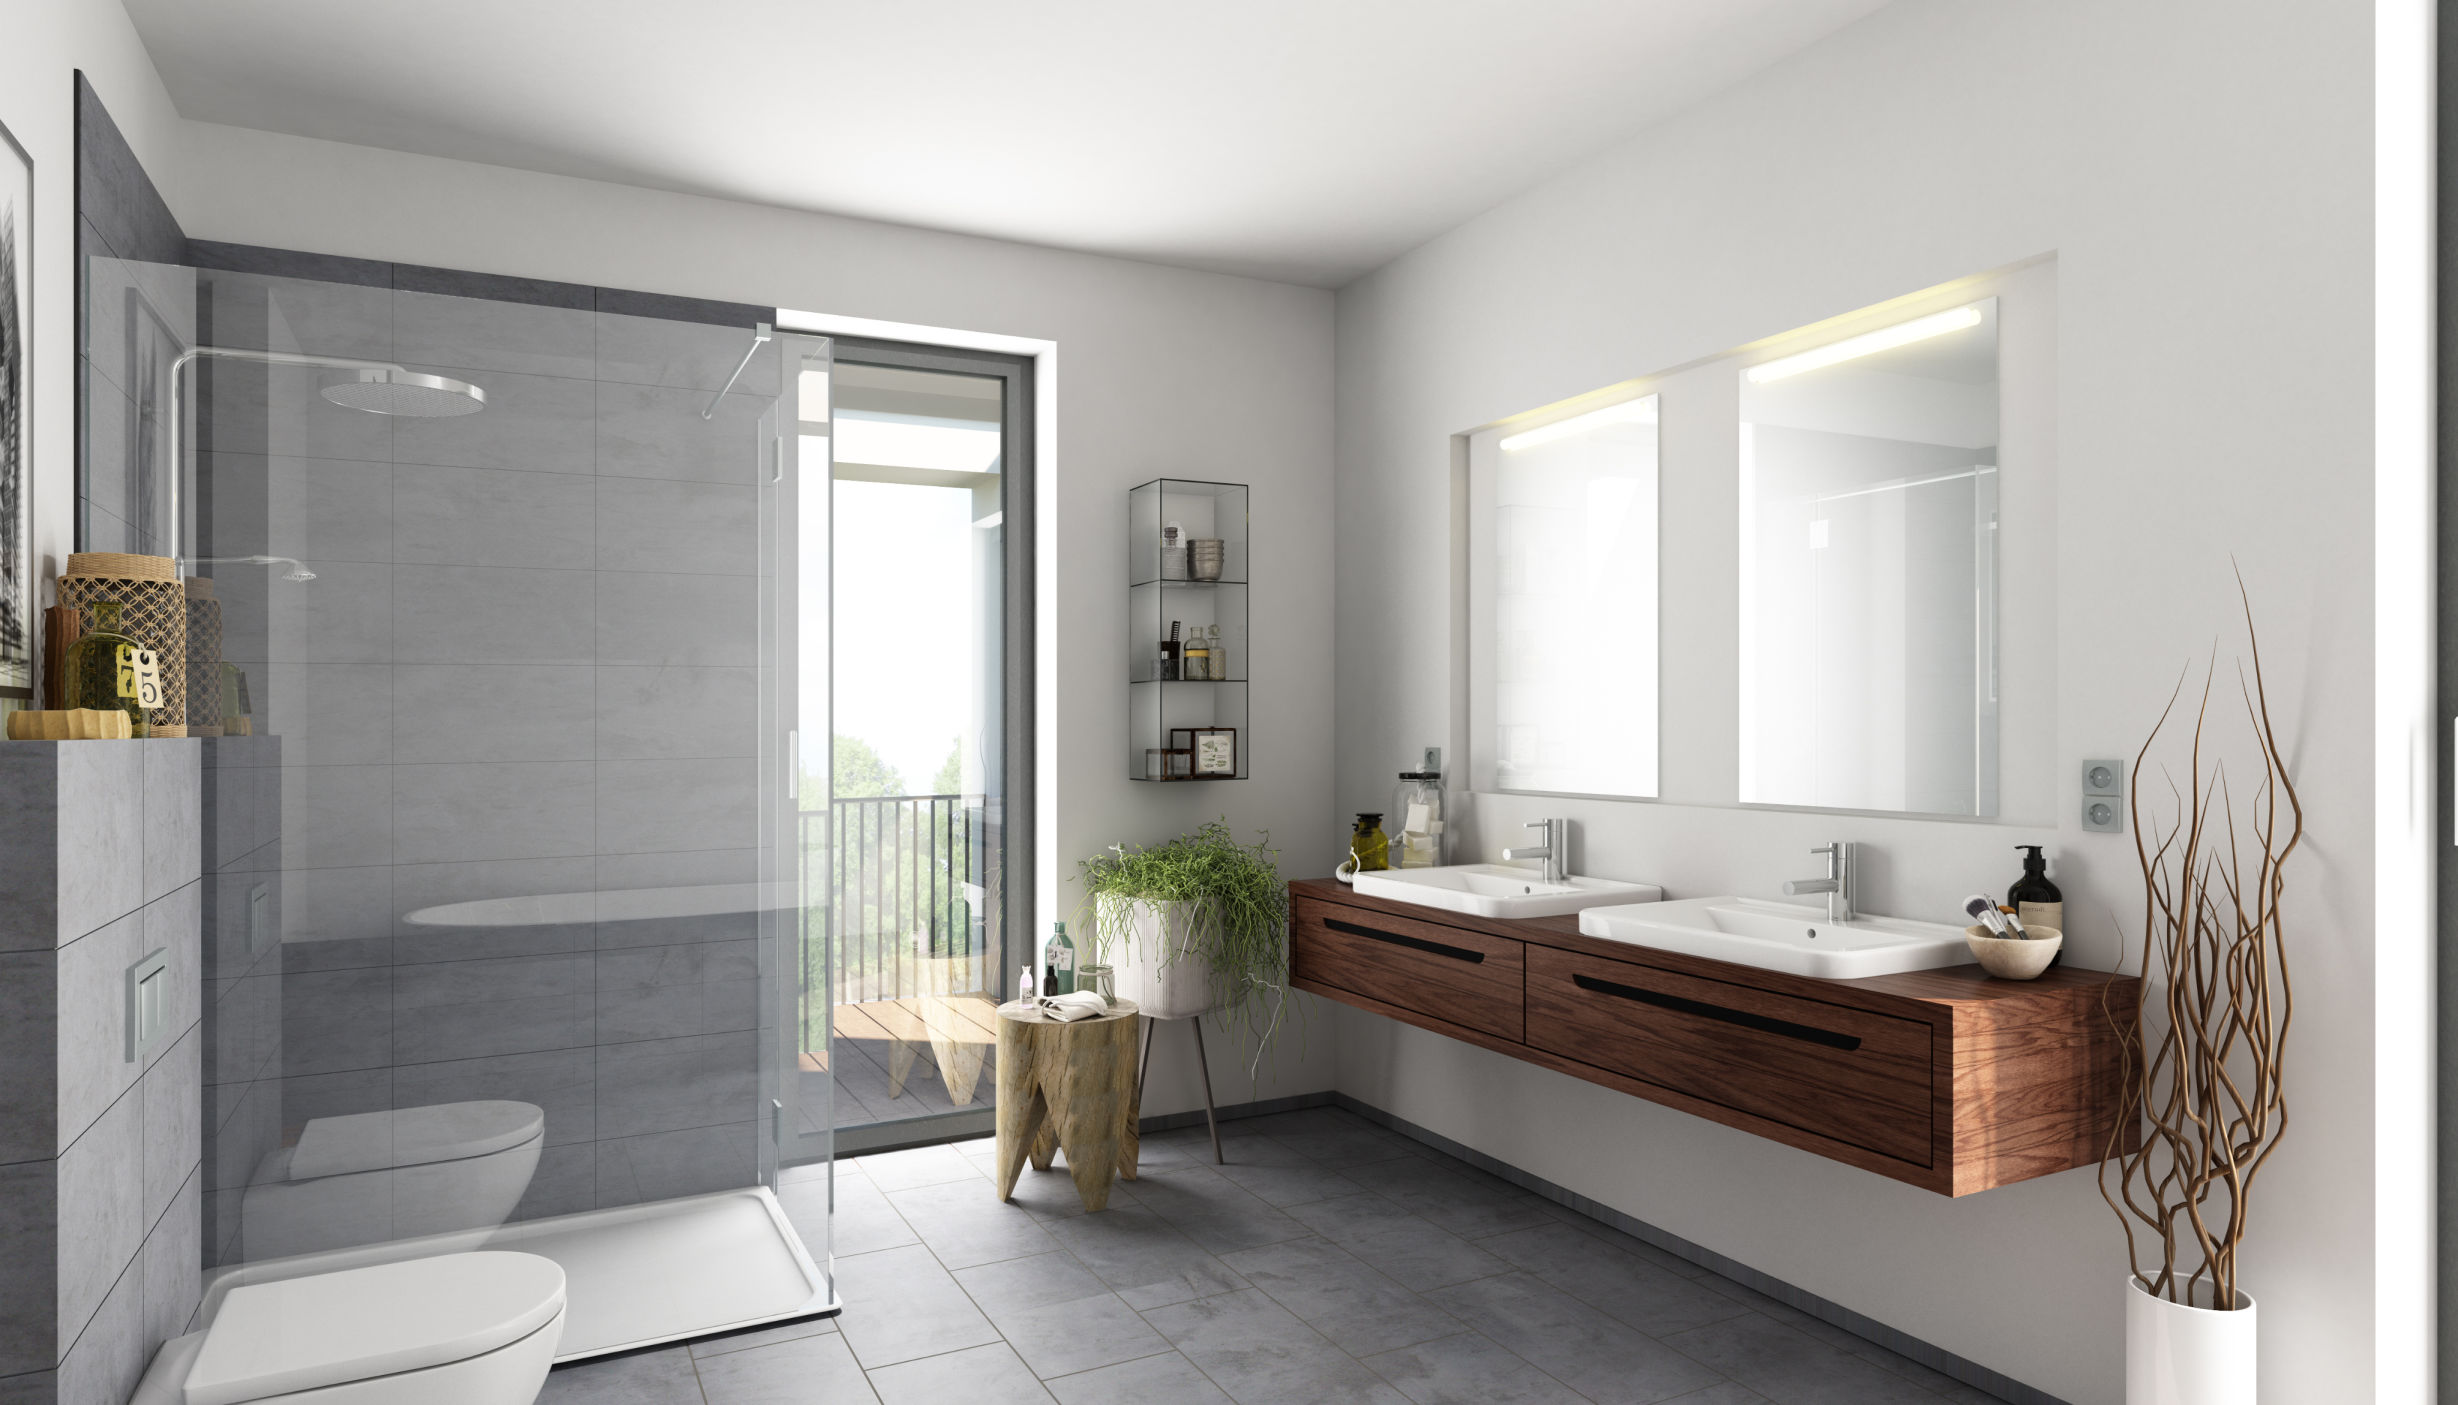
Why Choose a Floating Bathroom Vanity?

Maximize Space and Create a Sleek Look
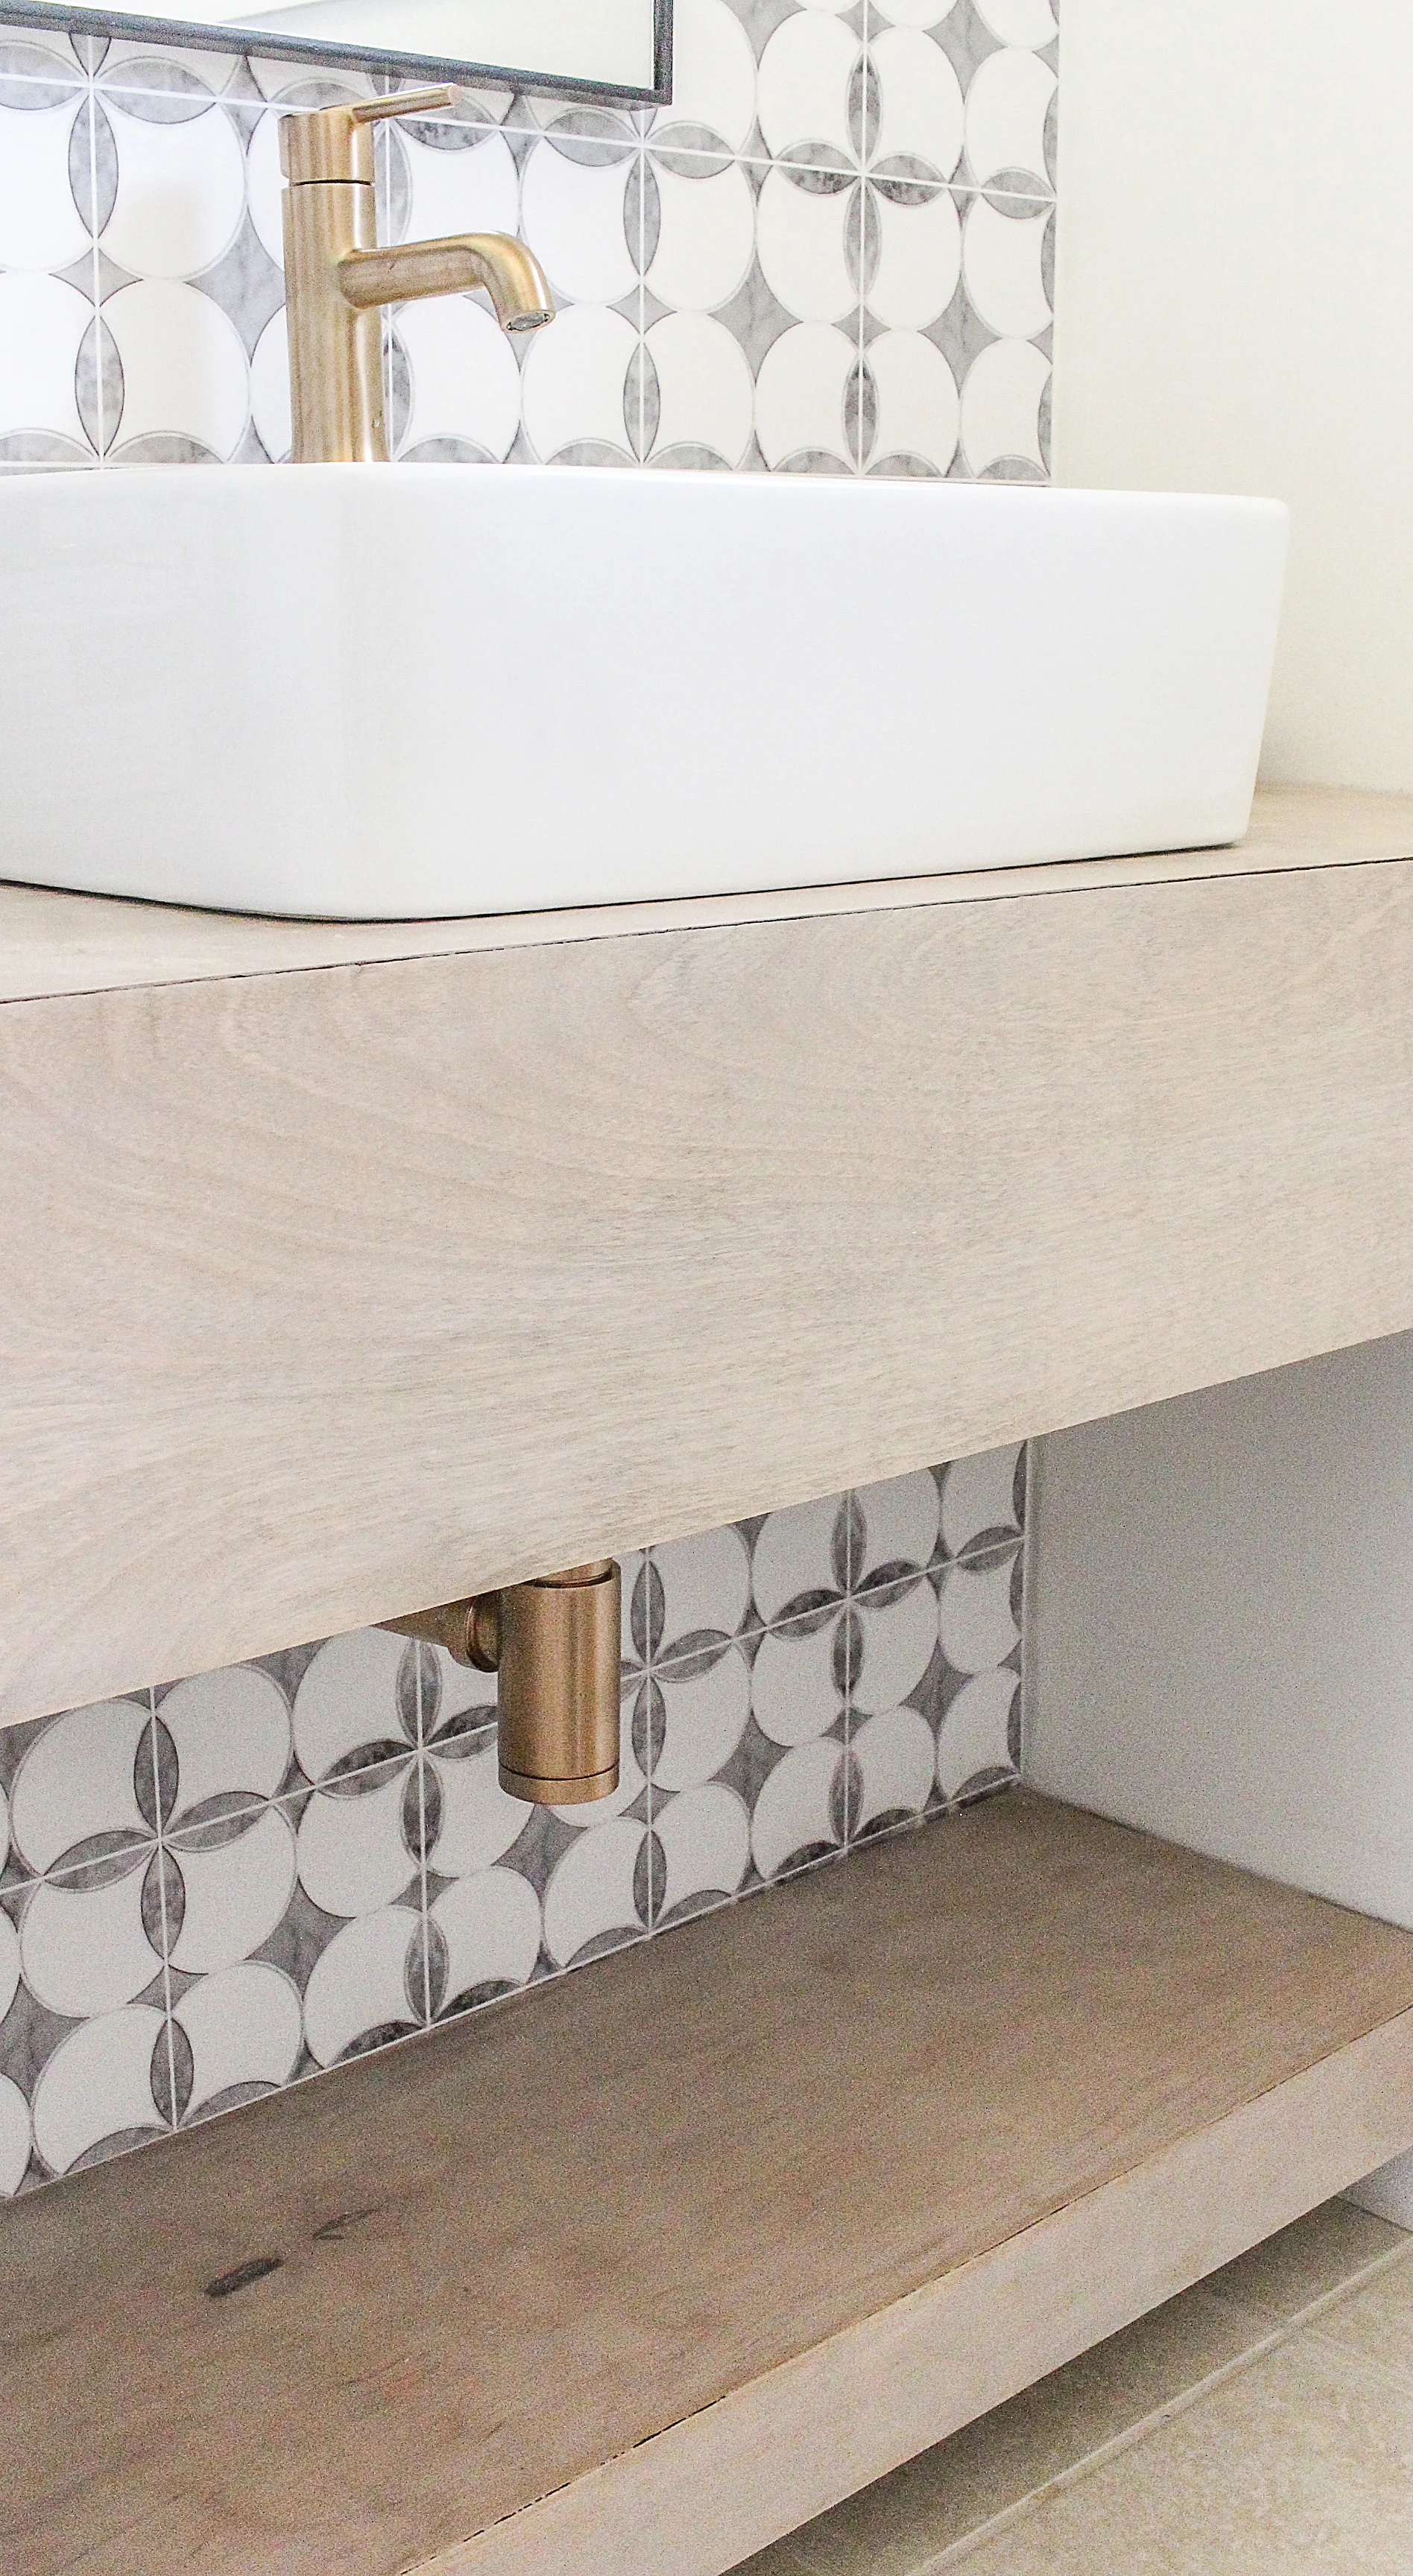
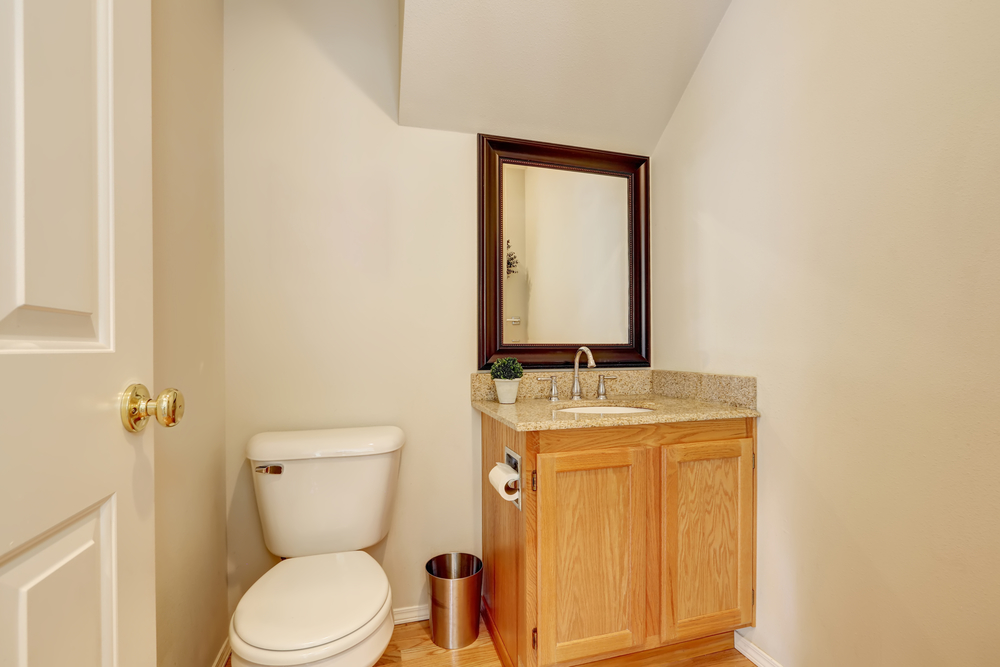
 Installing a floating bathroom vanity is not only a practical choice, but it also adds a touch of modern elegance to your bathroom design. These vanities are mounted on the wall, leaving the space below them open, giving the illusion of a larger and more spacious bathroom. This is especially beneficial for smaller bathrooms, where every inch of space counts. By eliminating the bulkiness of traditional vanities that sit on the floor, floating vanities create a sleek and minimalist look that can instantly elevate the aesthetic of your bathroom.
Easy to Clean and Maintain
 One of the biggest advantages of a floating bathroom vanity is the ease of cleaning and maintenance. With no legs or base to clean around, you can easily sweep or mop the floor without any obstructions. This makes it a great option for busy households or for those who want a low-maintenance bathroom. Additionally, since the vanity is mounted on the wall, there is no risk of water damage to the base, making it a durable and long-lasting choice.
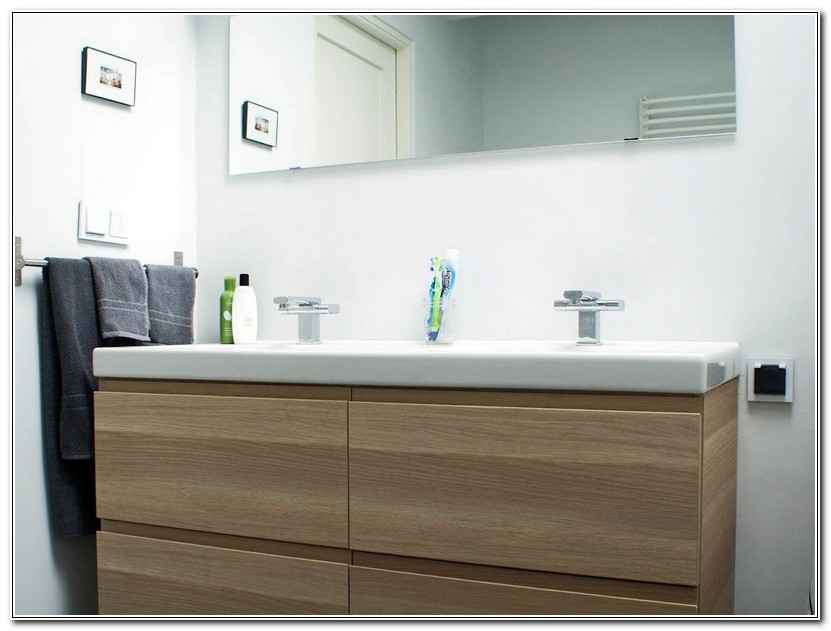
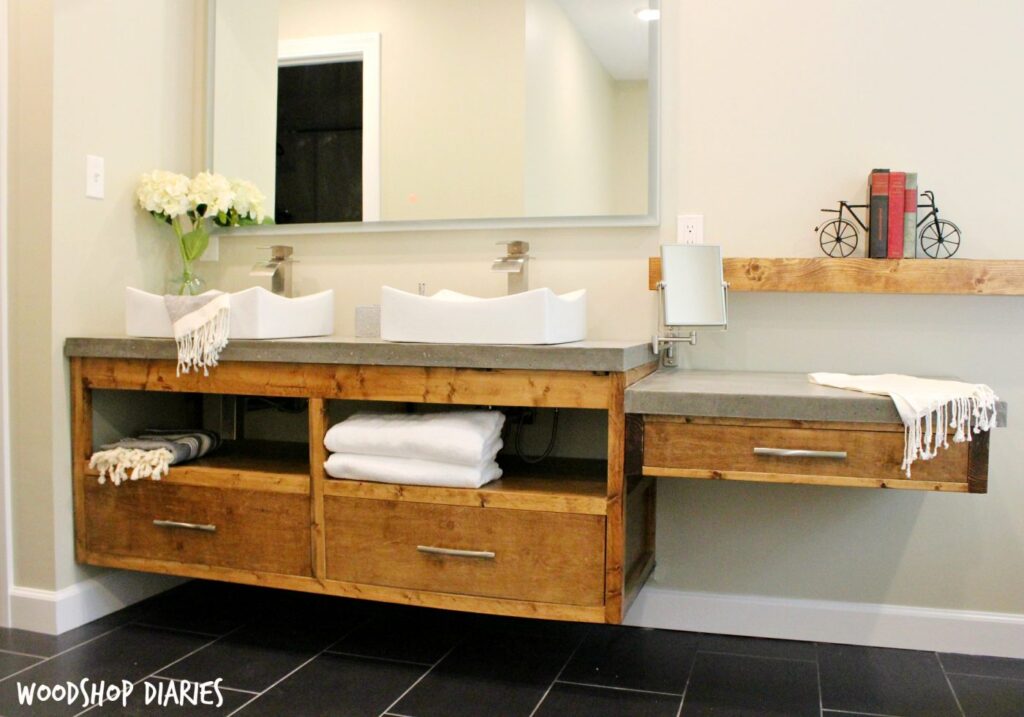
Customizable and Versatile
 Another great feature of floating bathroom vanities is their versatility and customizability. They come in a variety of sizes, styles, and materials, allowing you to choose the perfect fit for your bathroom design. You can opt for a single or double sink, and even add shelves or drawers for extra storage. This makes it a great option for bathrooms of all sizes and layouts.
Enhance the Overall Value of Your Home
 Investing in a floating bathroom vanity not only adds style and functionality to your bathroom but also increases the overall value of your home. A modern and well-designed bathroom can significantly boost the resale value of your property. With the growing popularity of floating vanities, it is a smart choice to incorporate them into your bathroom design.
In conclusion, a floating bathroom vanity is a practical, stylish, and versatile addition to any bathroom. Its space-saving design, easy maintenance, customizability, and value-enhancing qualities make it a top choice for homeowners looking to upgrade their bathroom. So why settle for a traditional vanity when you can elevate your bathroom design with a sleek and modern floating vanity?
Investing in a floating bathroom vanity not only adds style and functionality to your bathroom but also increases the overall value of your home. A modern and well-designed bathroom can significantly boost the resale value of your property. With the growing popularity of floating vanities, it is a smart choice to incorporate them into your bathroom design.
In conclusion, a floating bathroom vanity is a practical, stylish, and versatile addition to any bathroom. Its space-saving design, easy maintenance, customizability, and value-enhancing qualities make it a top choice for homeowners looking to upgrade their bathroom. So why settle for a traditional vanity when you can elevate your bathroom design with a sleek and modern floating vanity?