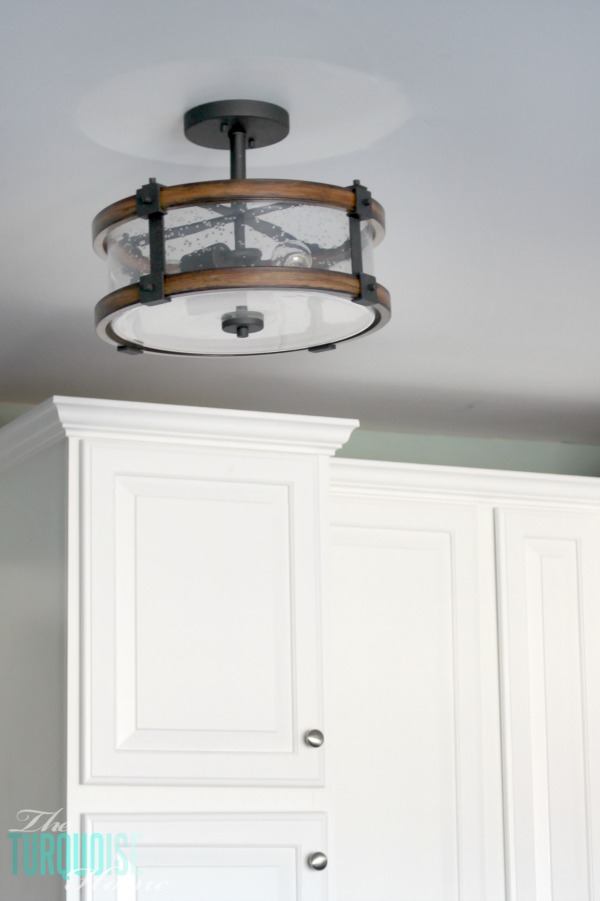
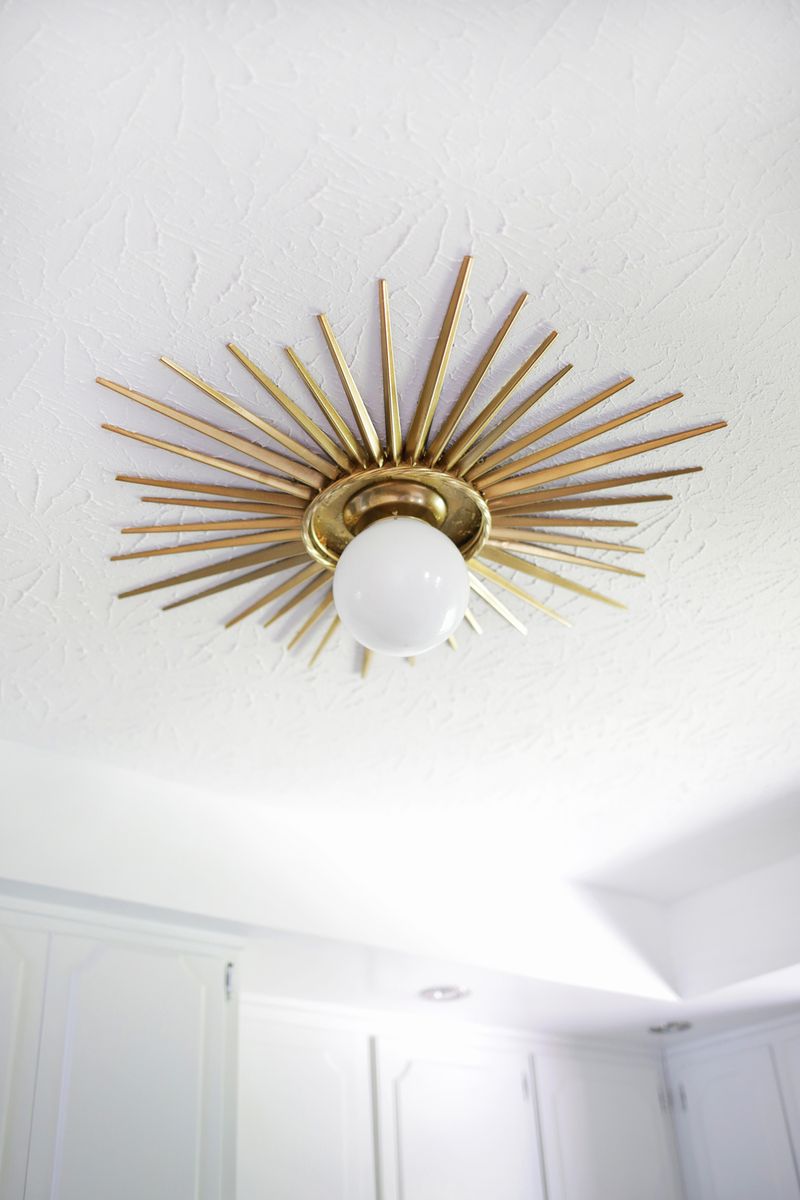
The mid-century modern style has become increasingly popular in home decor, and one of the key elements of this style is lighting. A mid-century modern flush mount kitchen light can add a touch of retro charm to your space while providing functional lighting. If you're looking to give your kitchen a makeover with a budget-friendly and creative approach, why not try making your own mid-century modern flush mount light? In this article, we'll show you how to make a DIY mid-century flush mount kitchen light that will elevate your kitchen's style.DIY Mid Century Flush Mount Kitchen Light


DIY Mid Century Flush Mount Kitchen Light


Before we get into the steps, let's go over the materials you will need for this project. You can find most of these items at your local hardware store or online.How to Make a Mid-Century Modern Flush Mount Light


How to Make a Mid-Century Modern Flush Mount Light


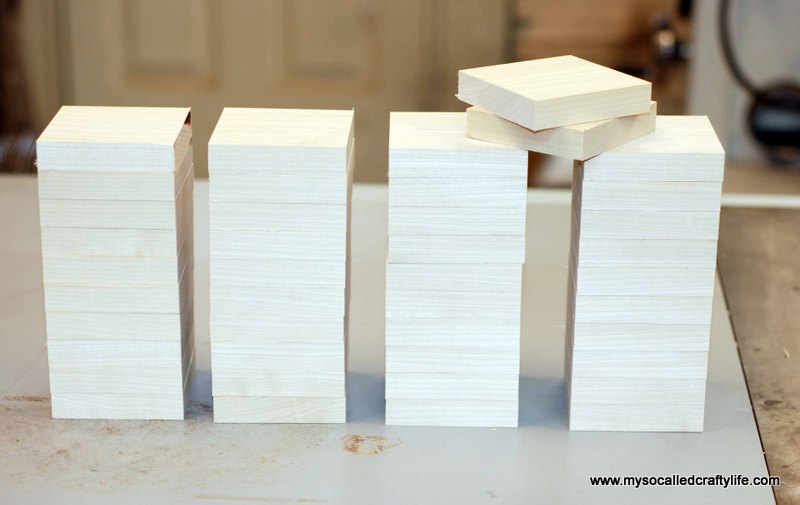
If your wood circle is unfinished, you can choose to paint or stain it before moving on to the next step. This will ensure that the wood is completely dry before assembly.Step 1: Prepare the Wood


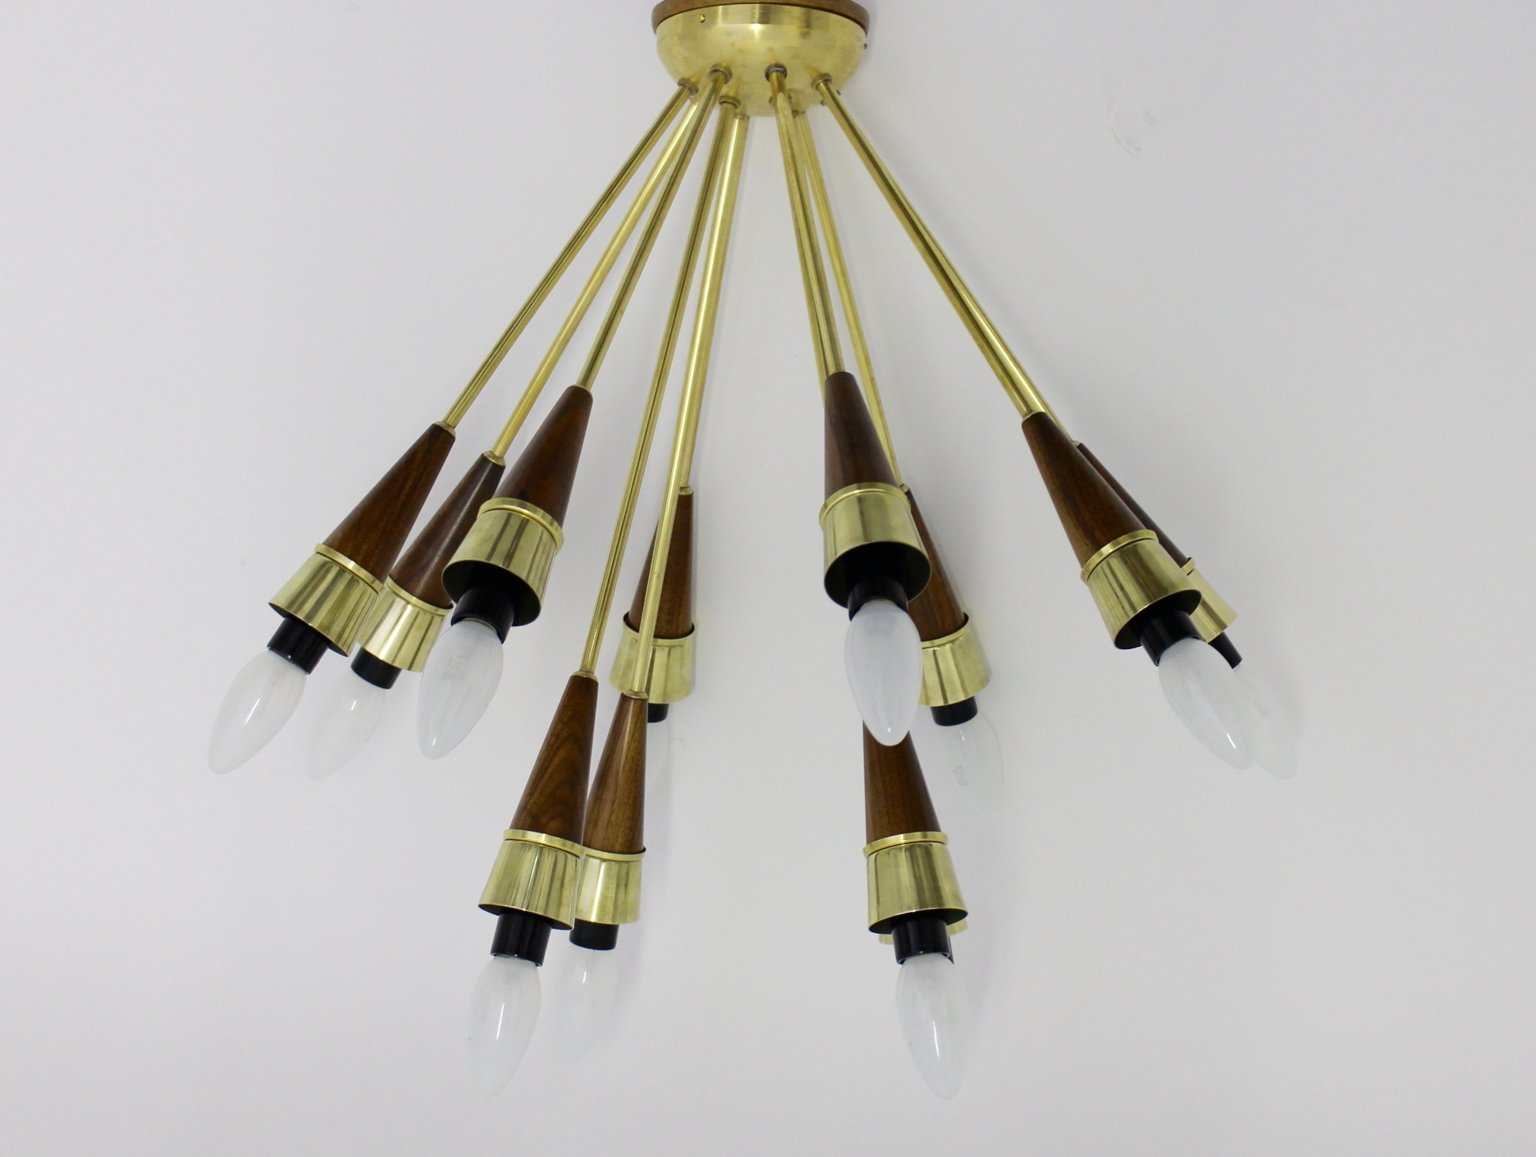
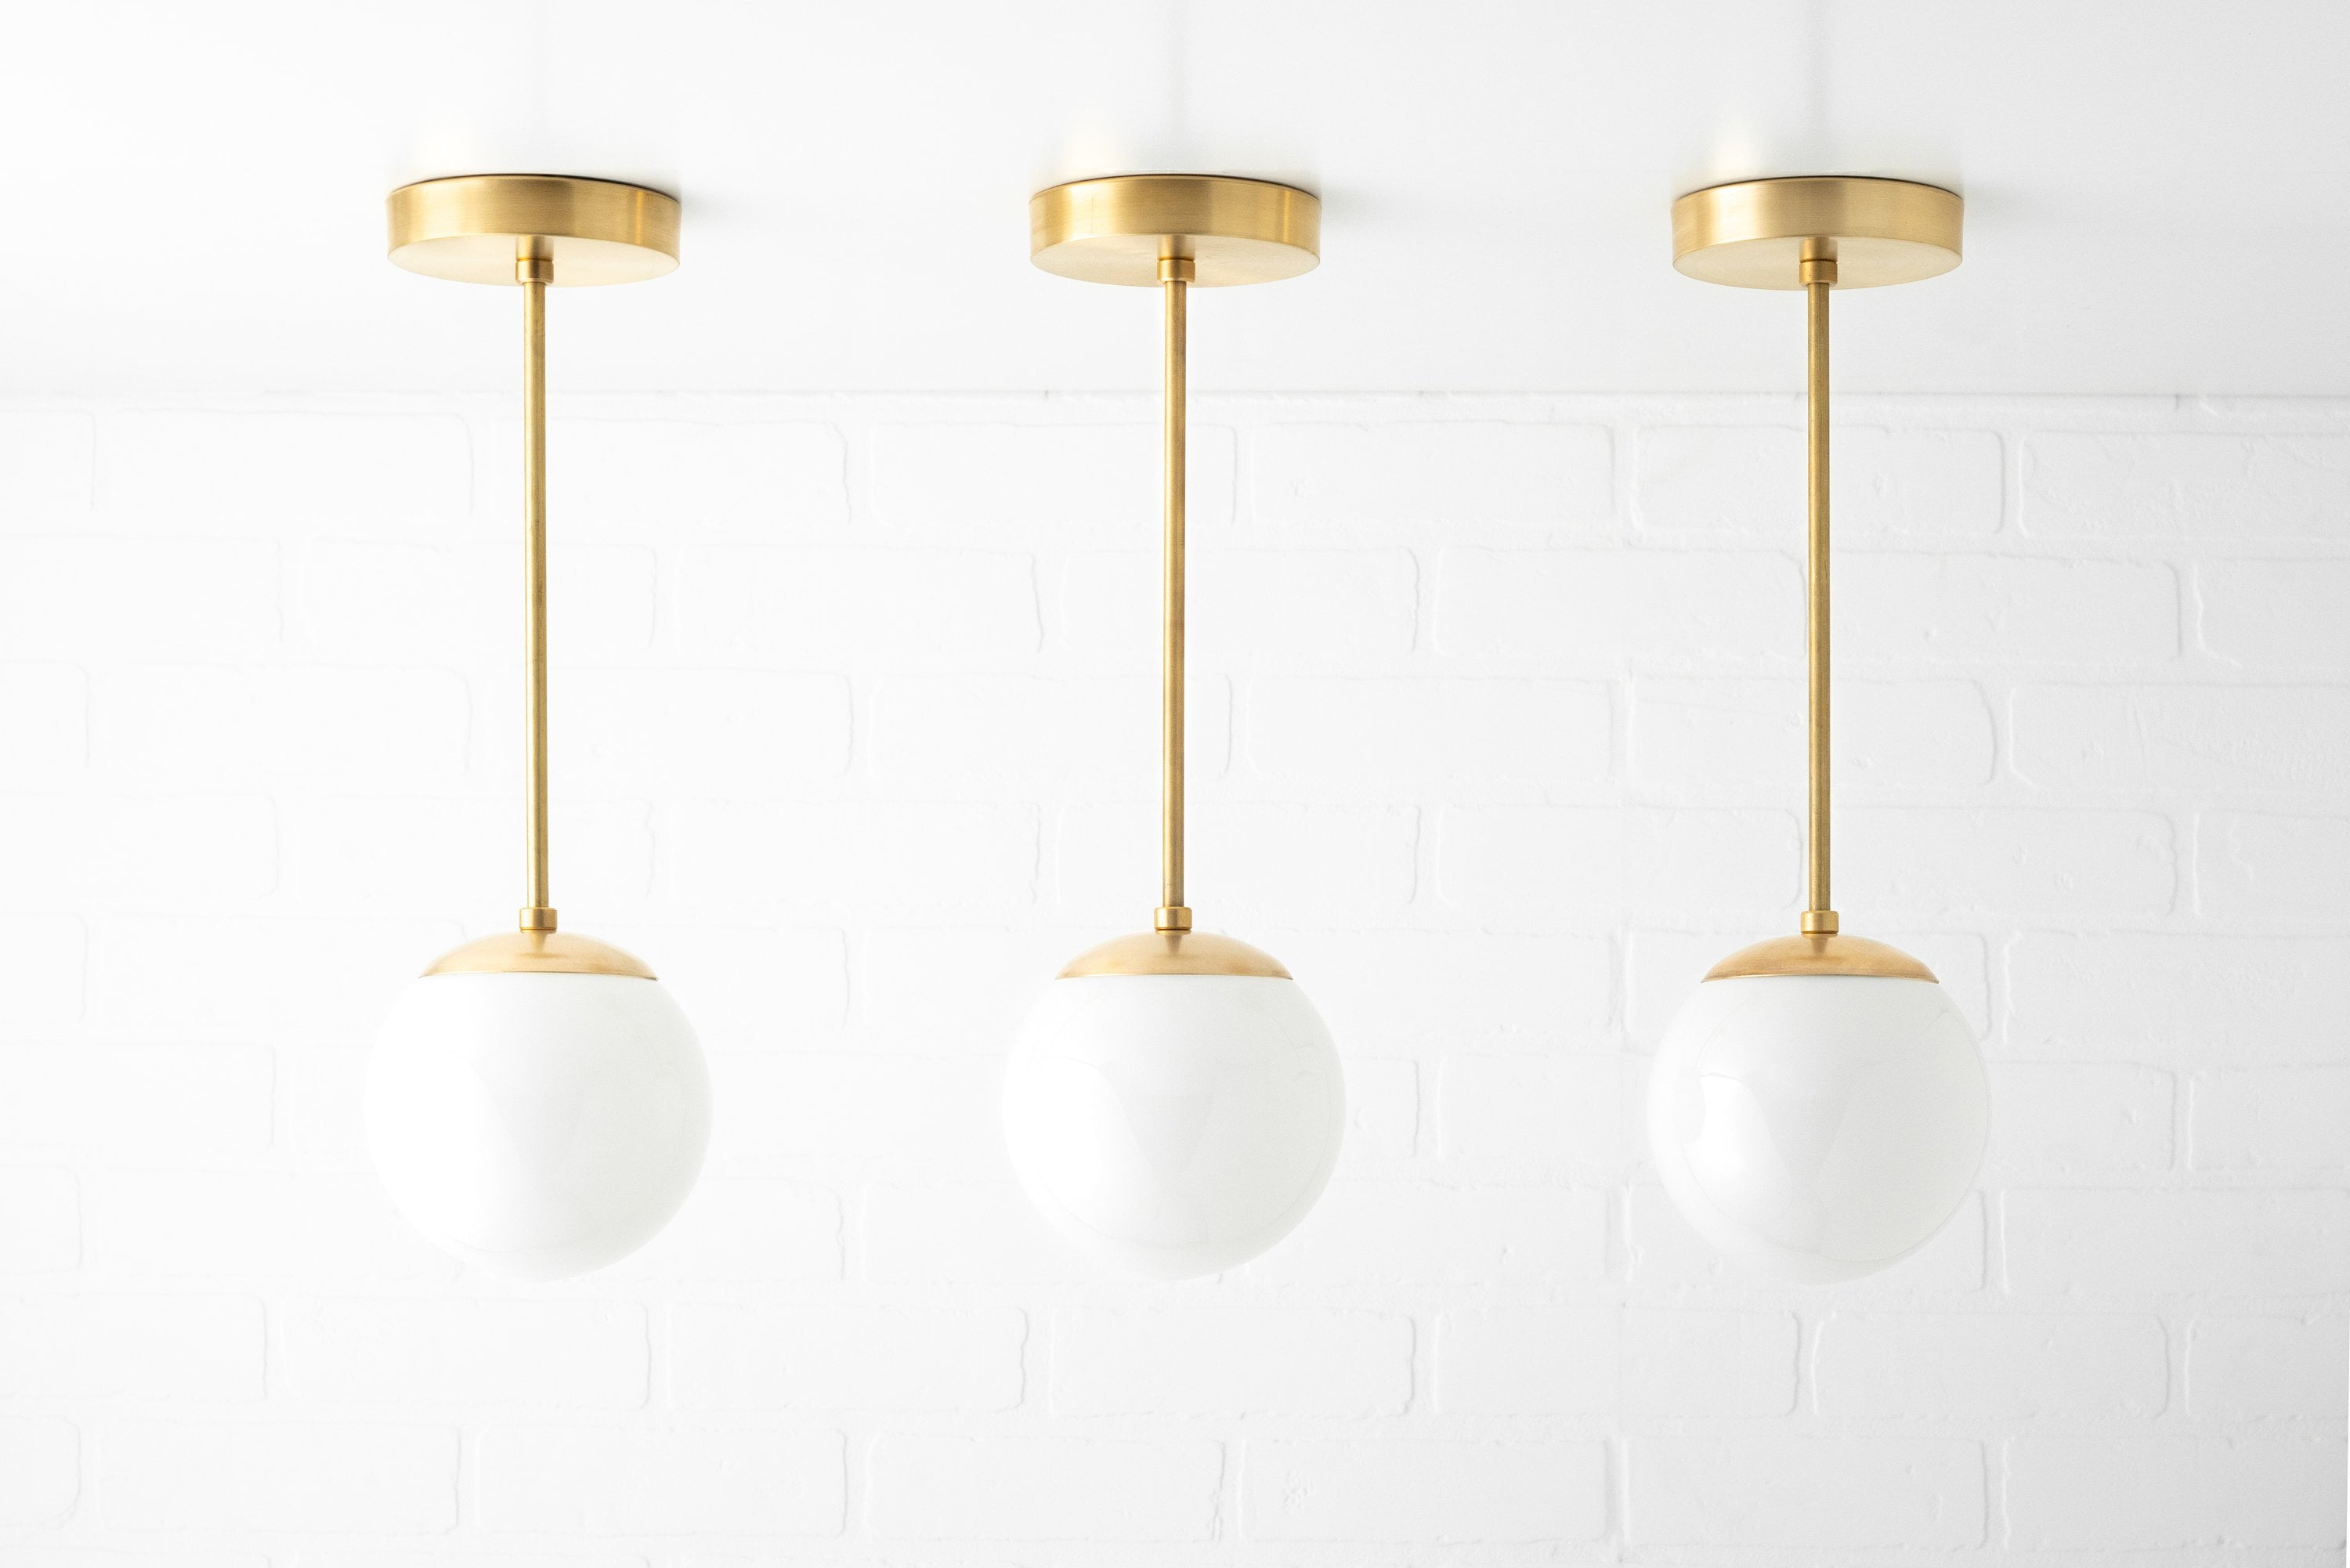
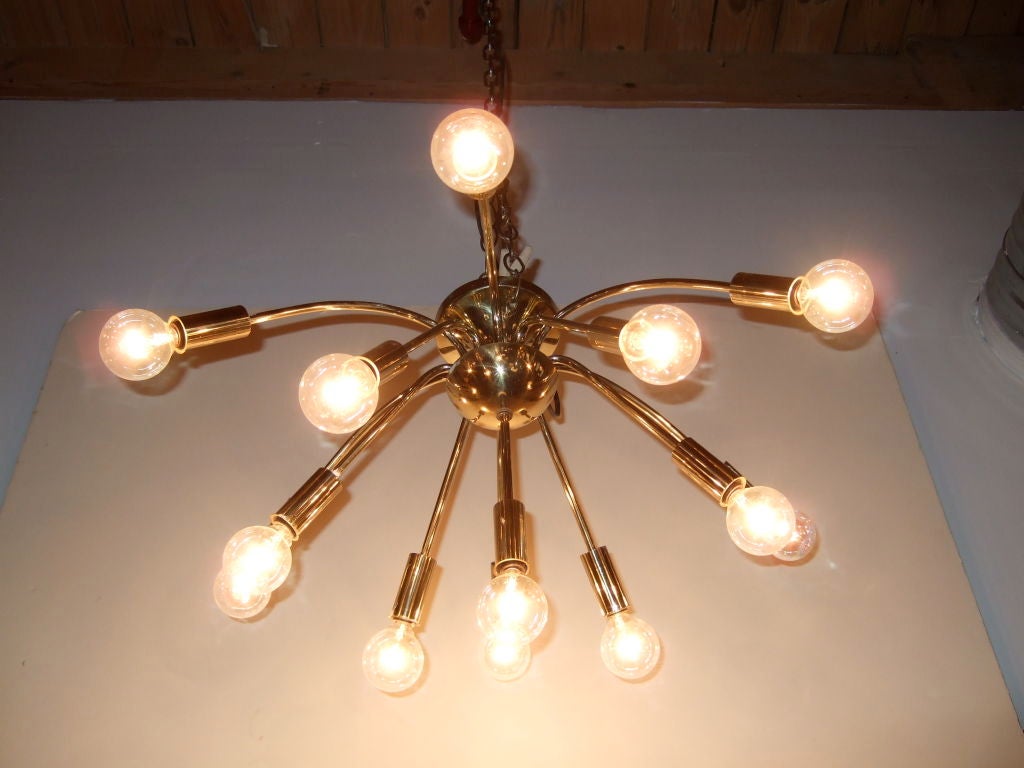
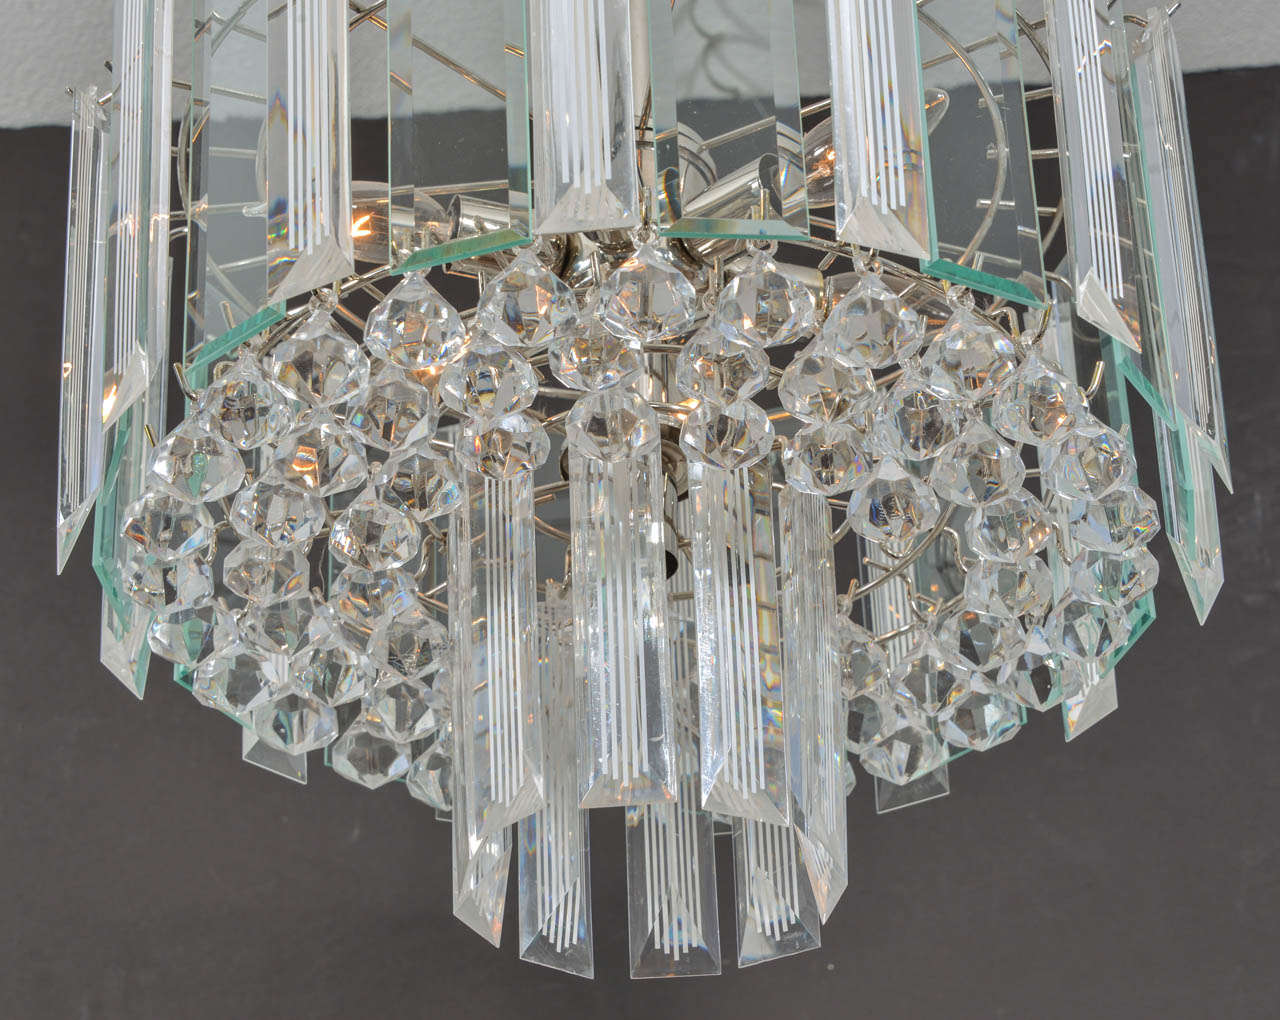
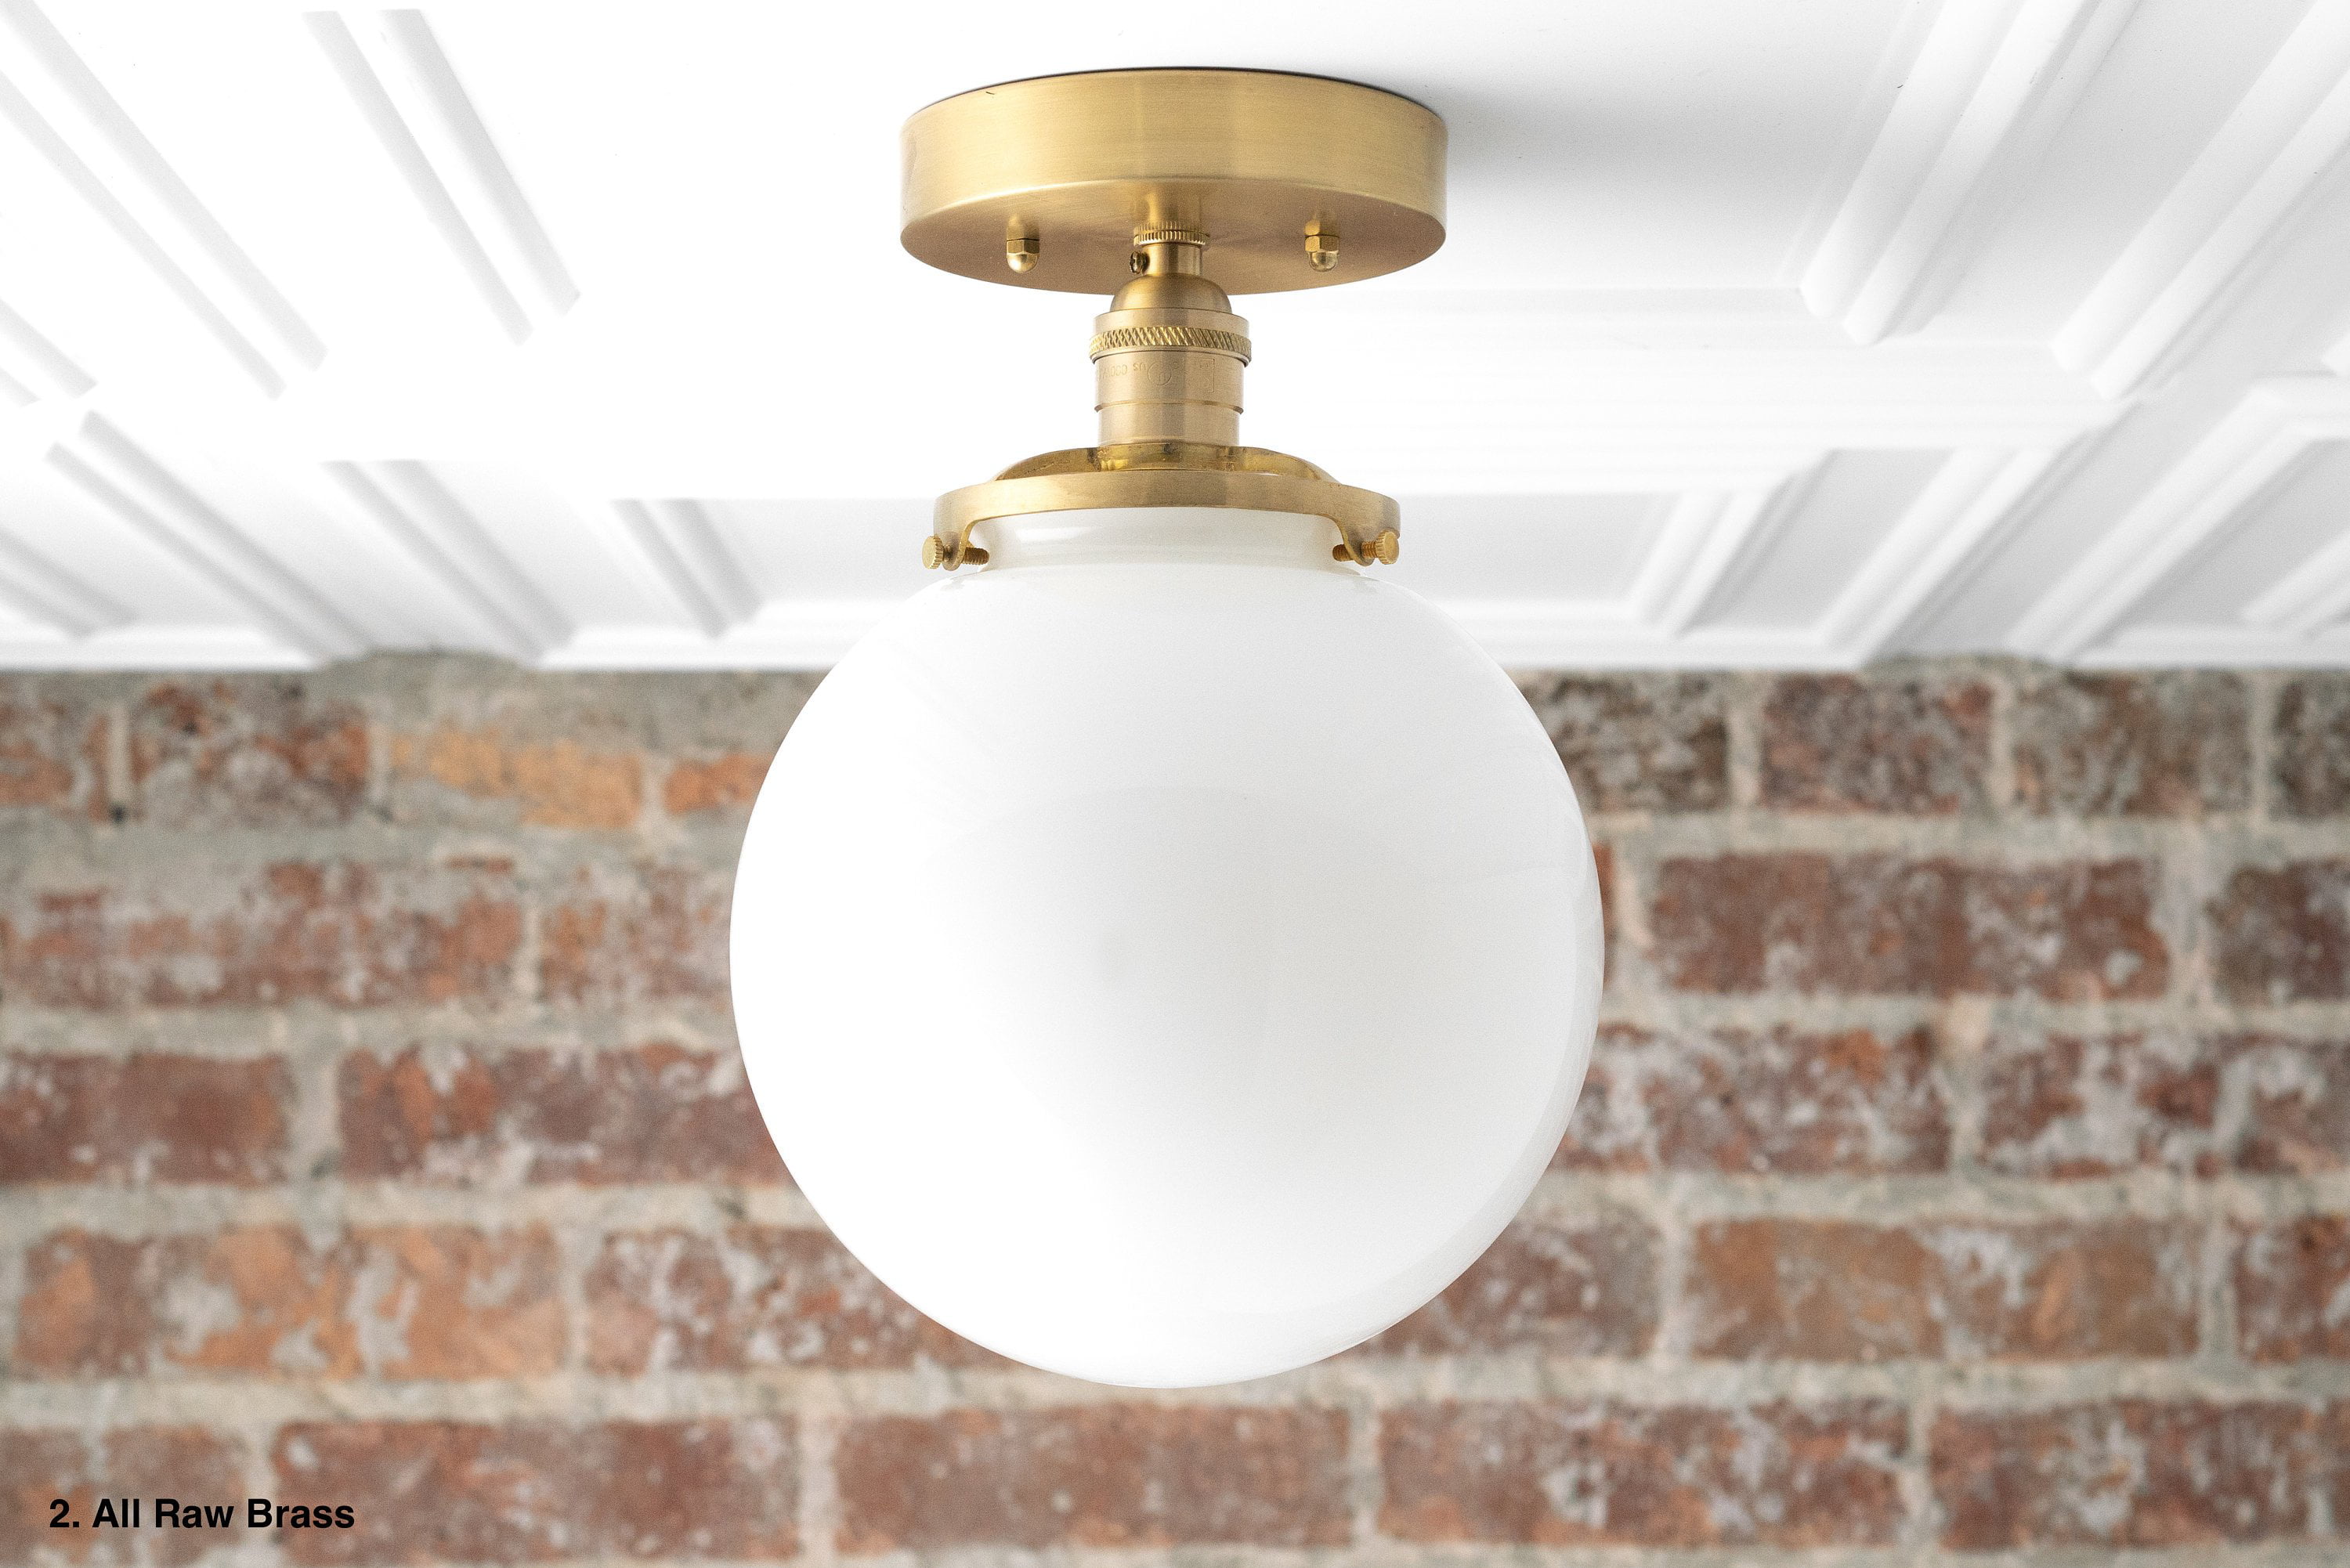
DIY Mid-Century Modern Ceiling Light


Using a drill bit that is the same size as the threaded nipple of your light kit, drill a hole in the center of the wood circle. This is where the light kit will be attached.Step 2: Drill Holes for the Light Kit


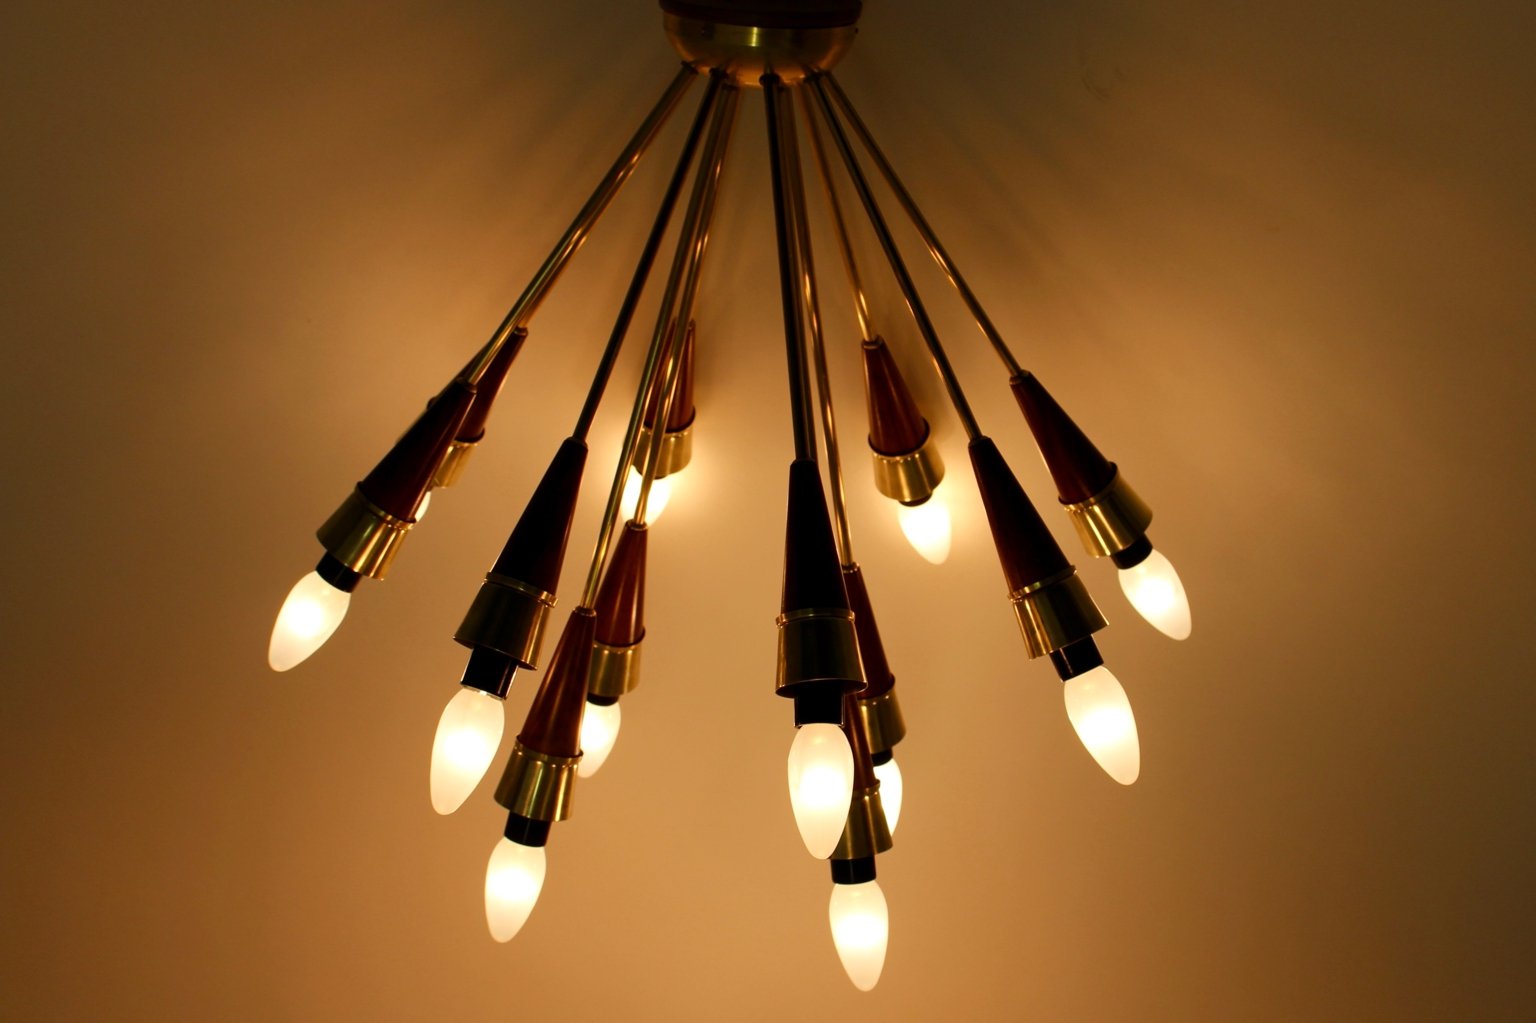
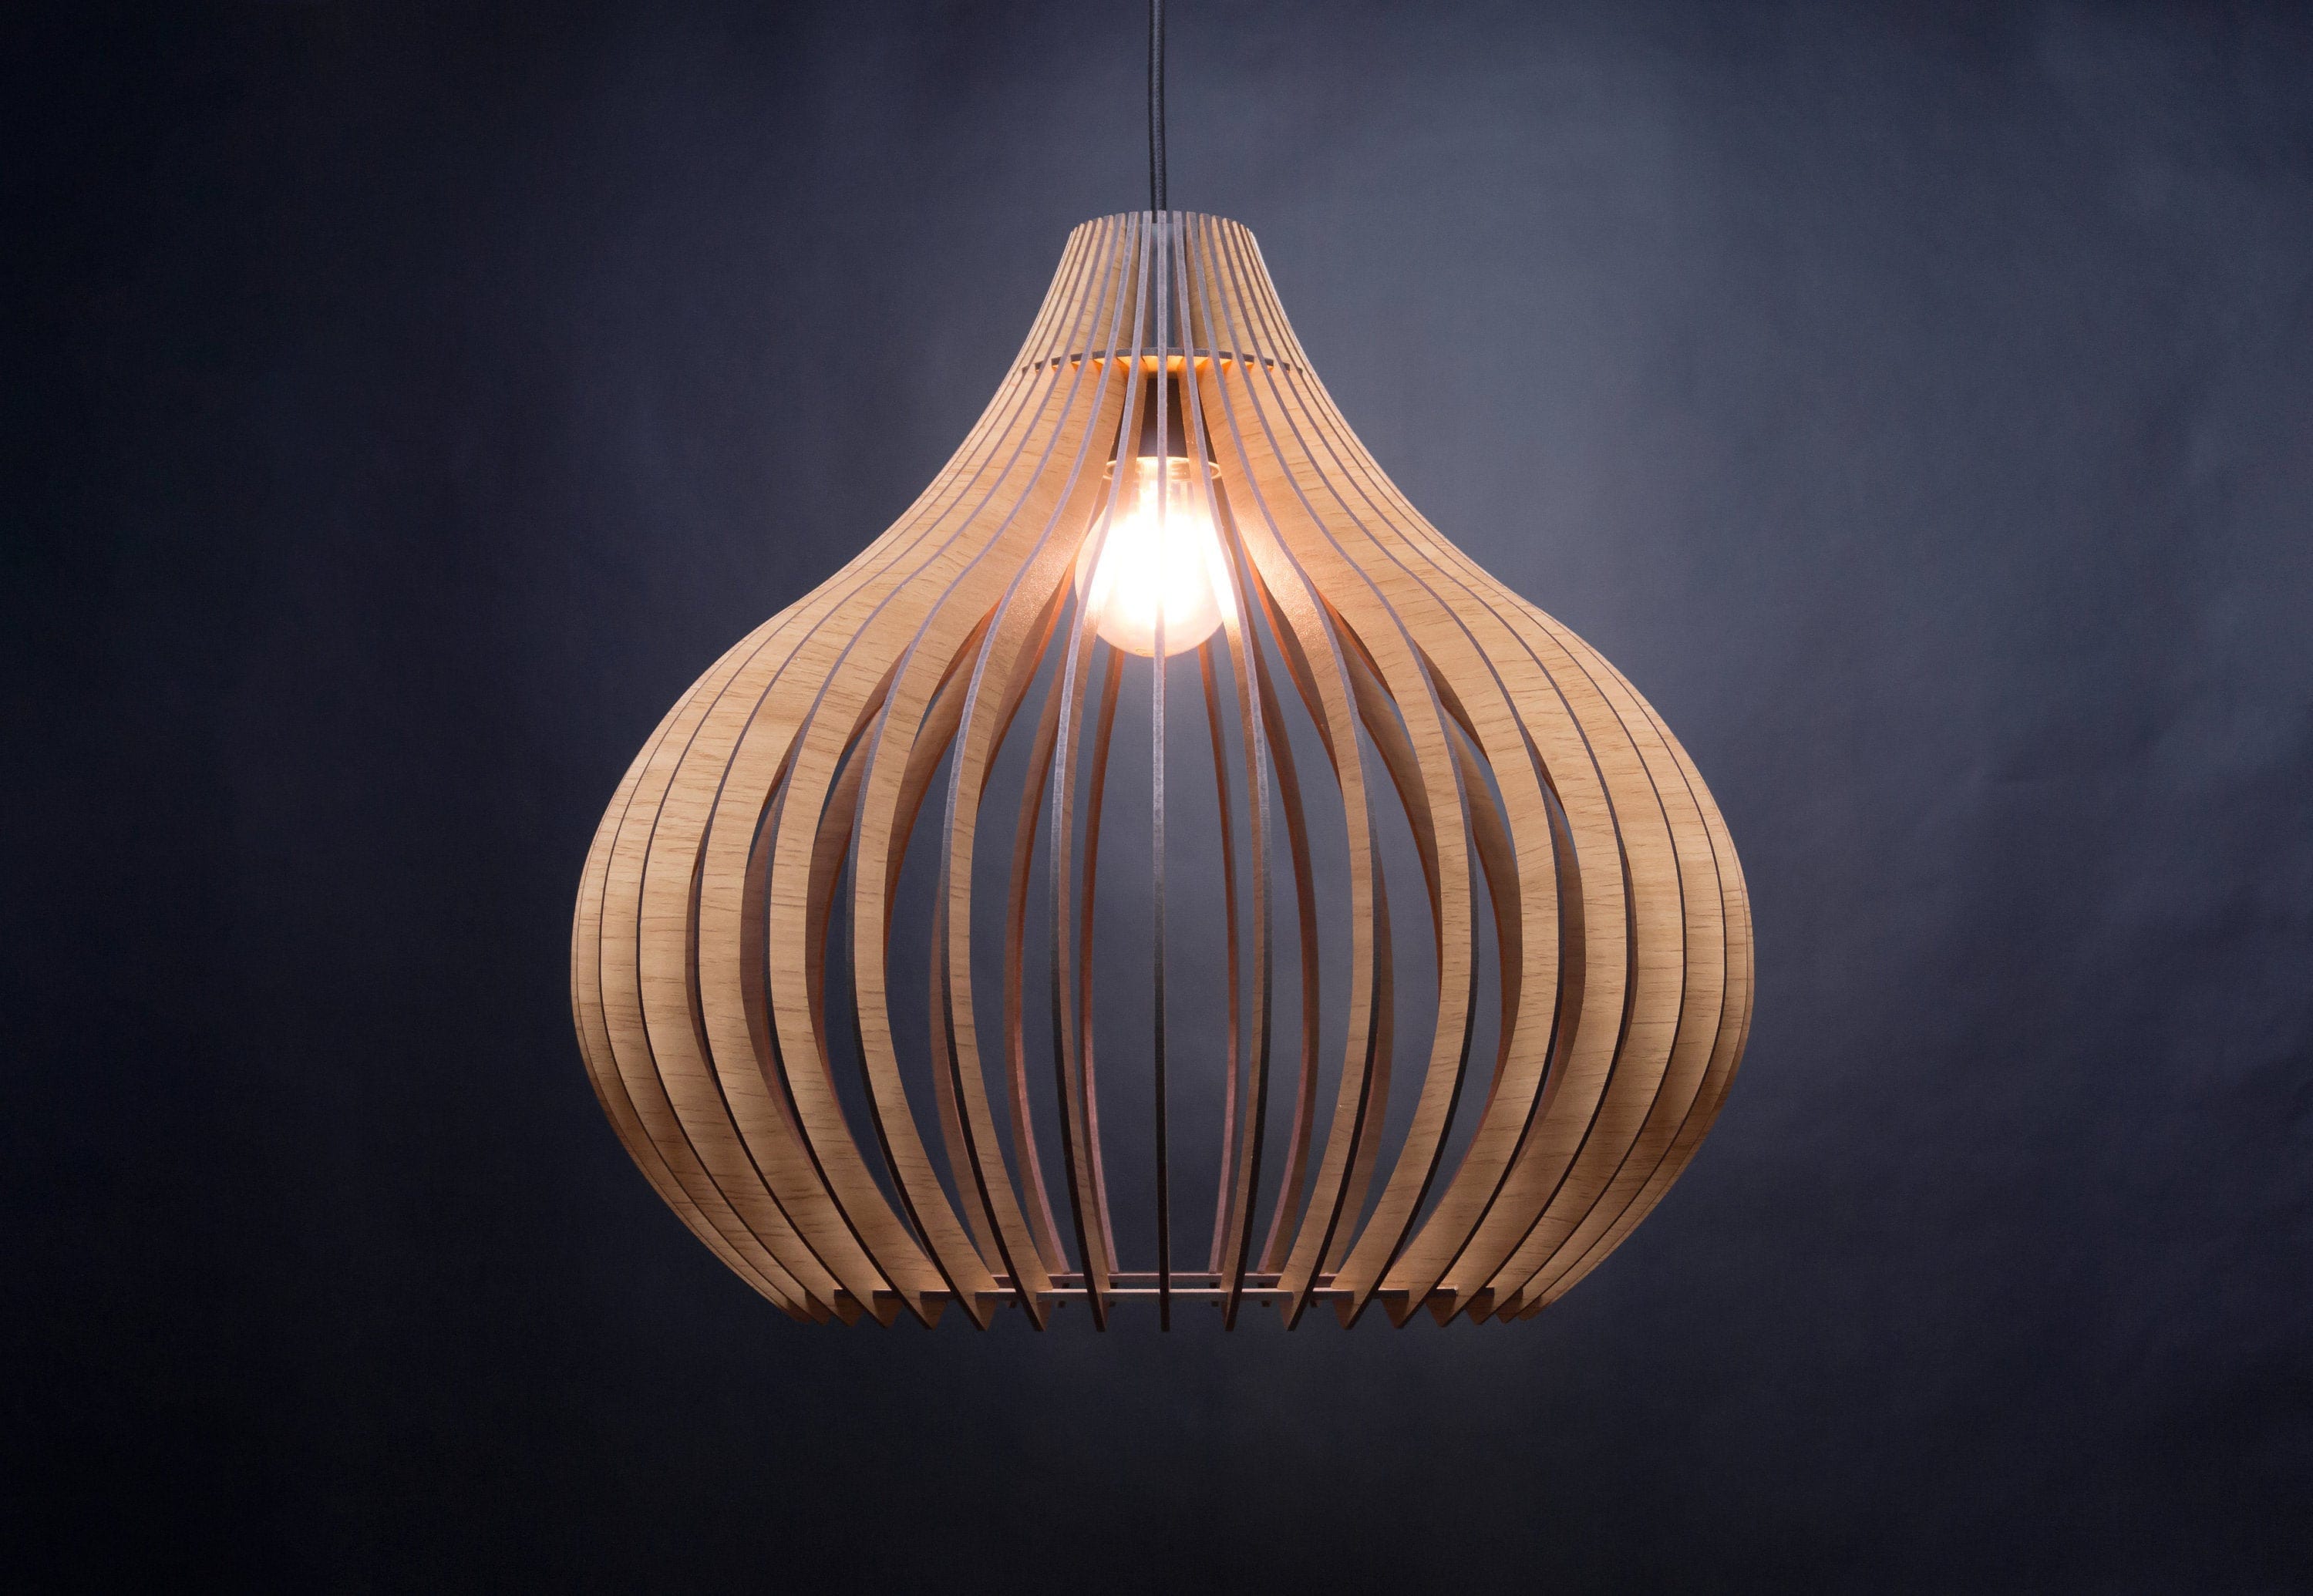
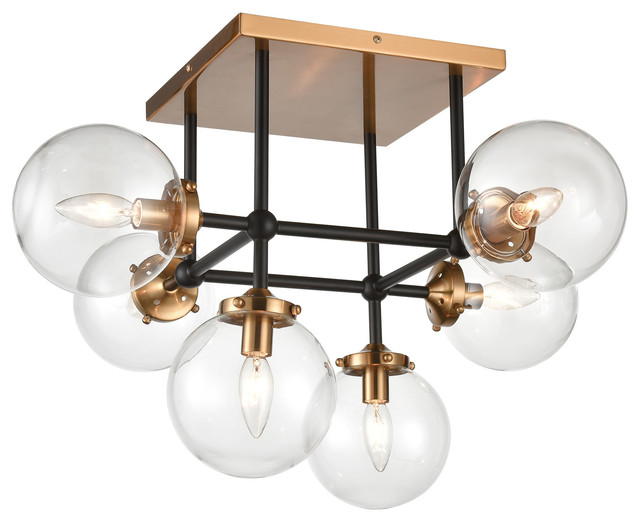
DIY Mid-Century Modern Light Fixtures


Measure and mark where you want the dowels to be placed on the wood circle. Use a drill bit slightly smaller than the dowels to create holes in the wood. Make sure the holes are evenly spaced and symmetrical.Step 3: Create Holes for the Dowels


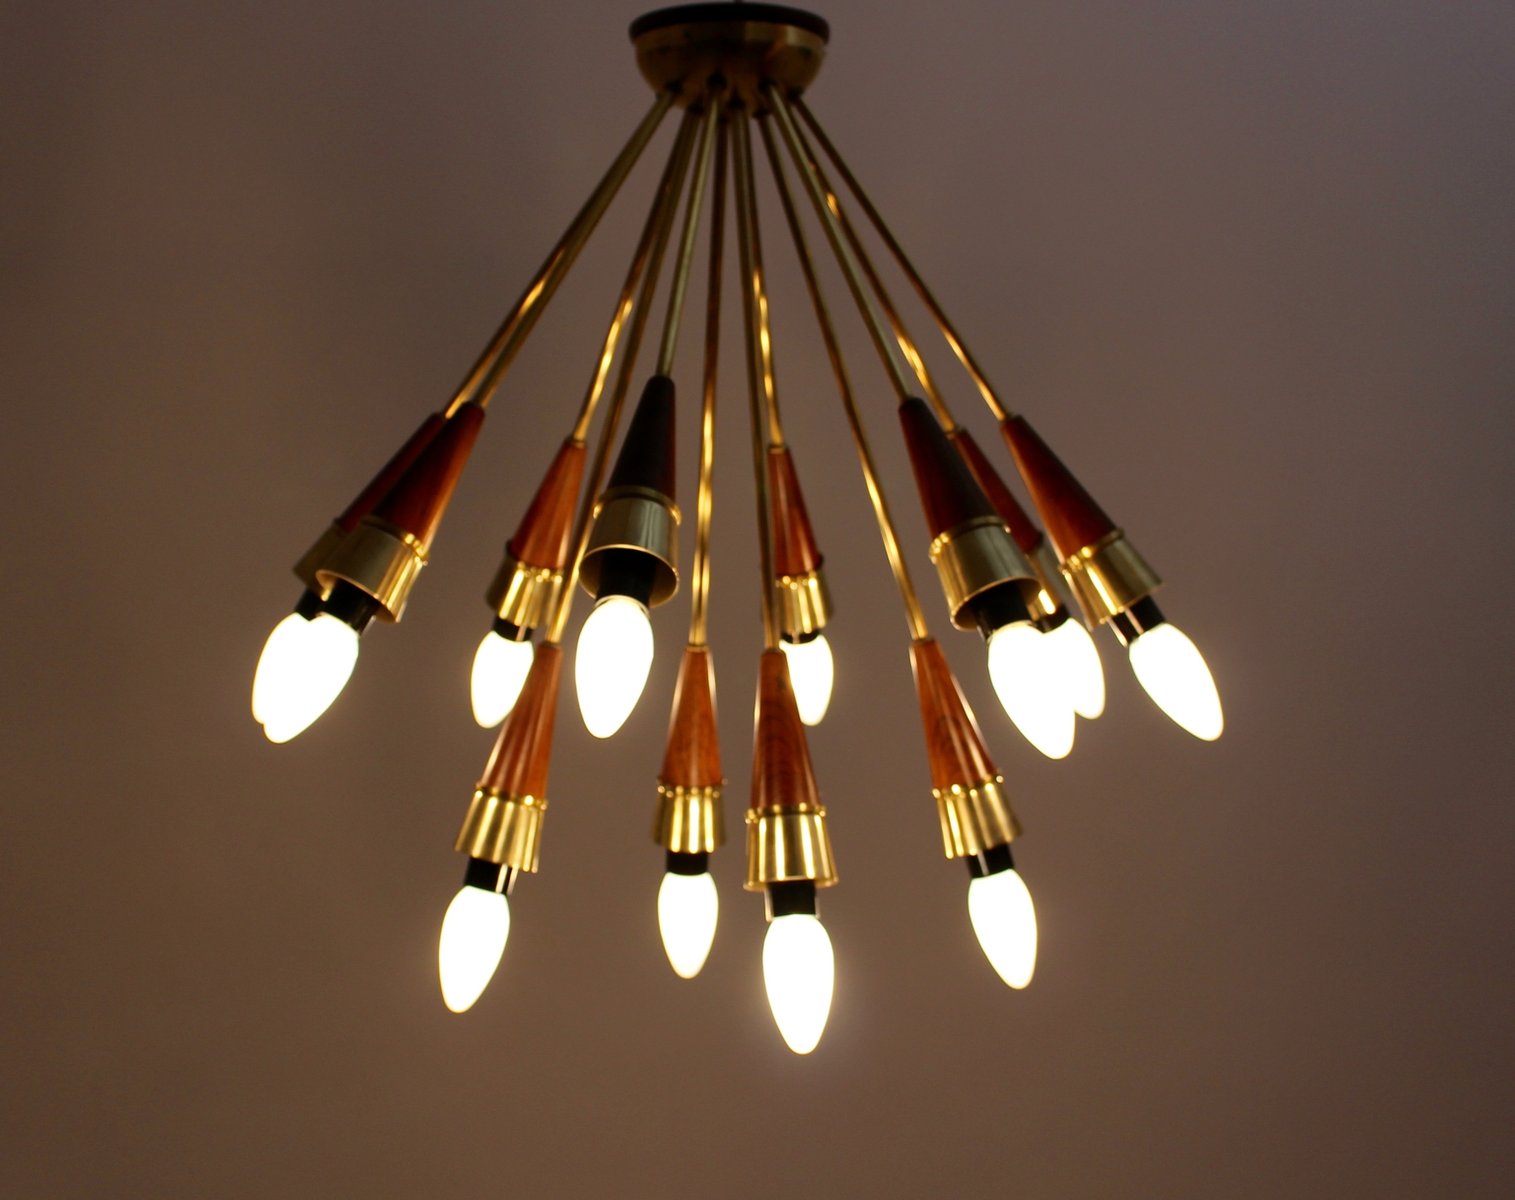
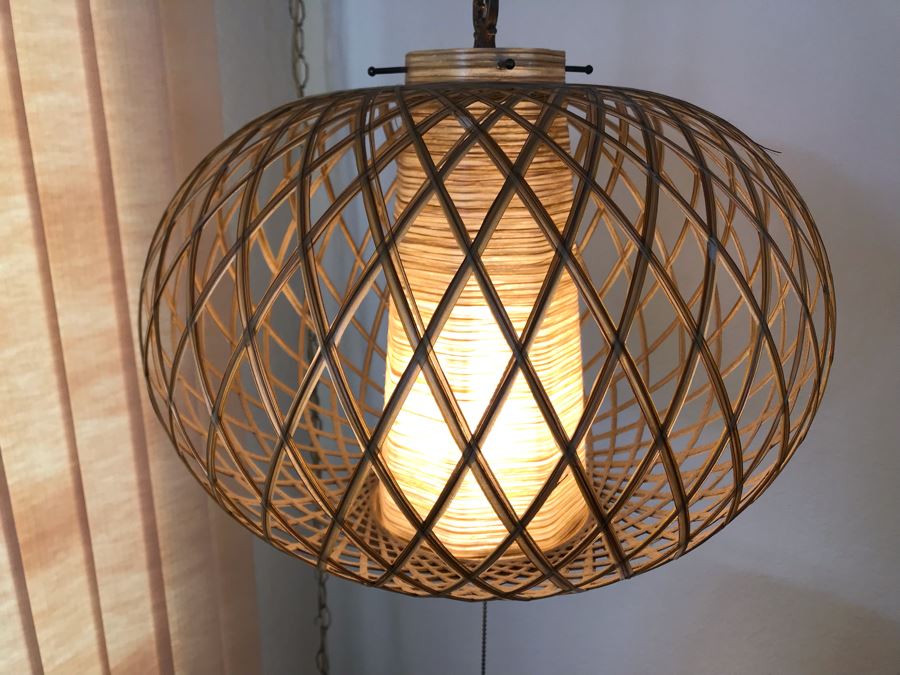
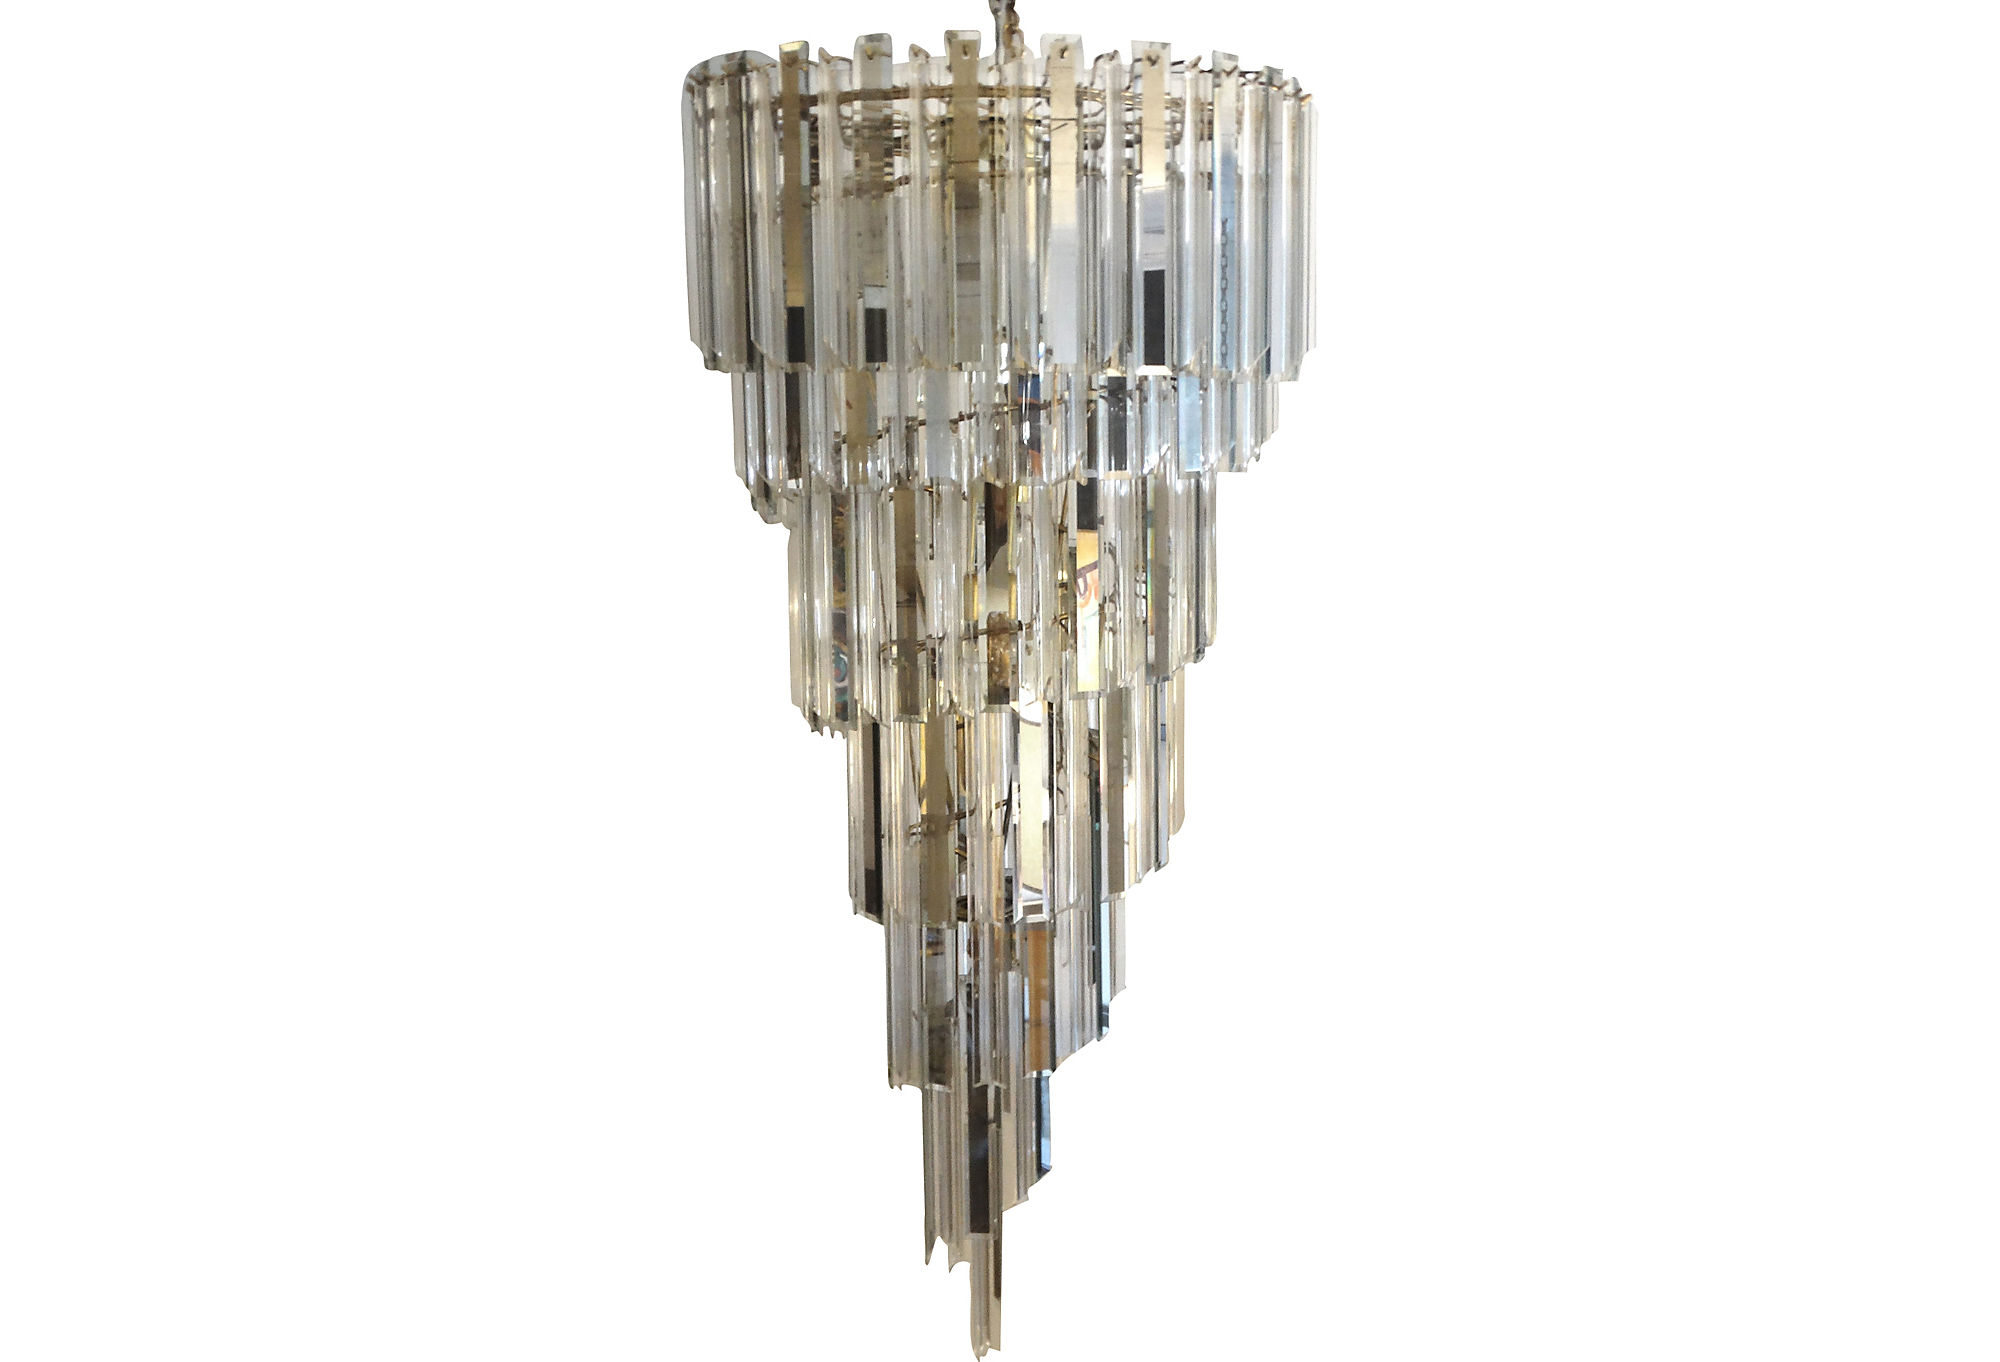
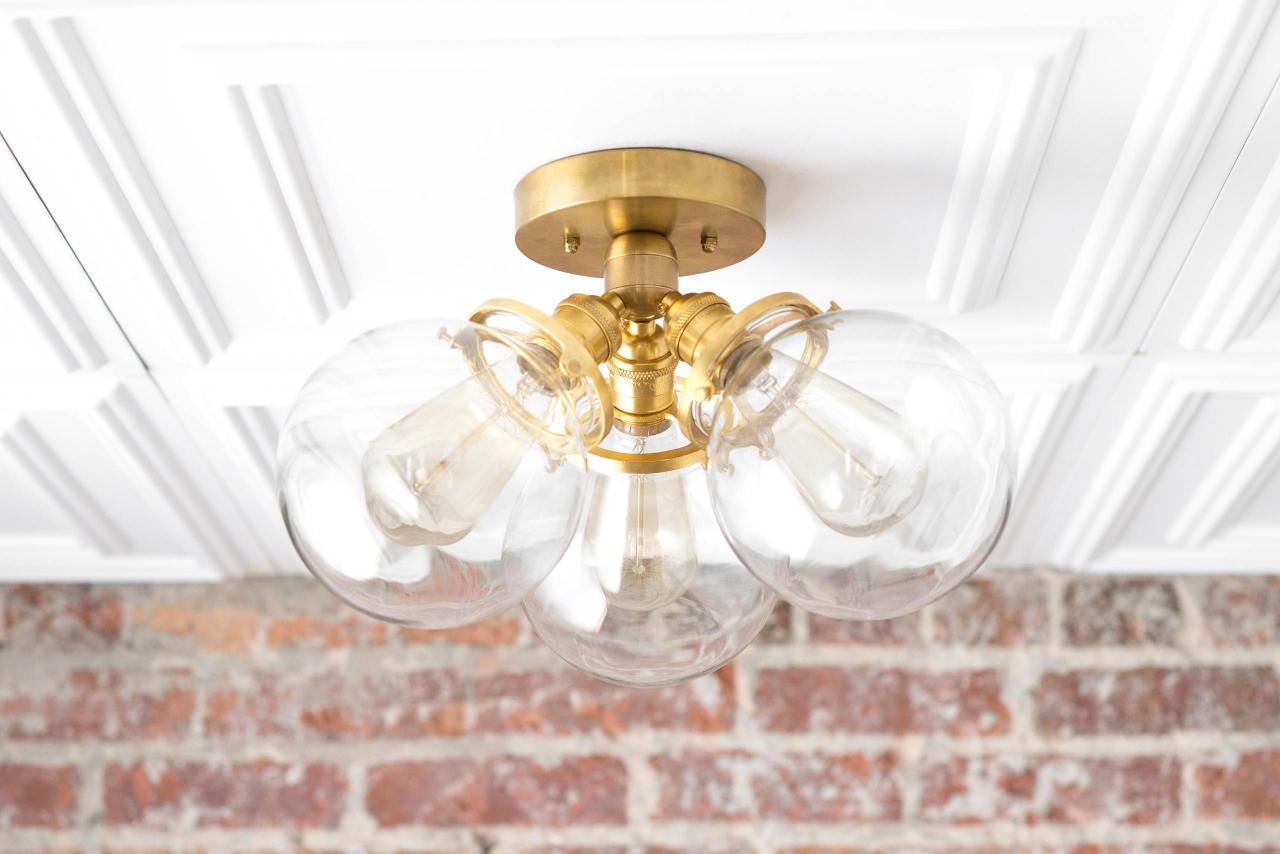
DIY Mid-Century Modern Pendant Light


Follow the instructions provided with your light kit to assemble it. This typically involves attaching the threaded nipple, socket, and wires. Make sure to thread the wires through the drilled hole in the wood circle.Step 4: Assemble the Light Kit


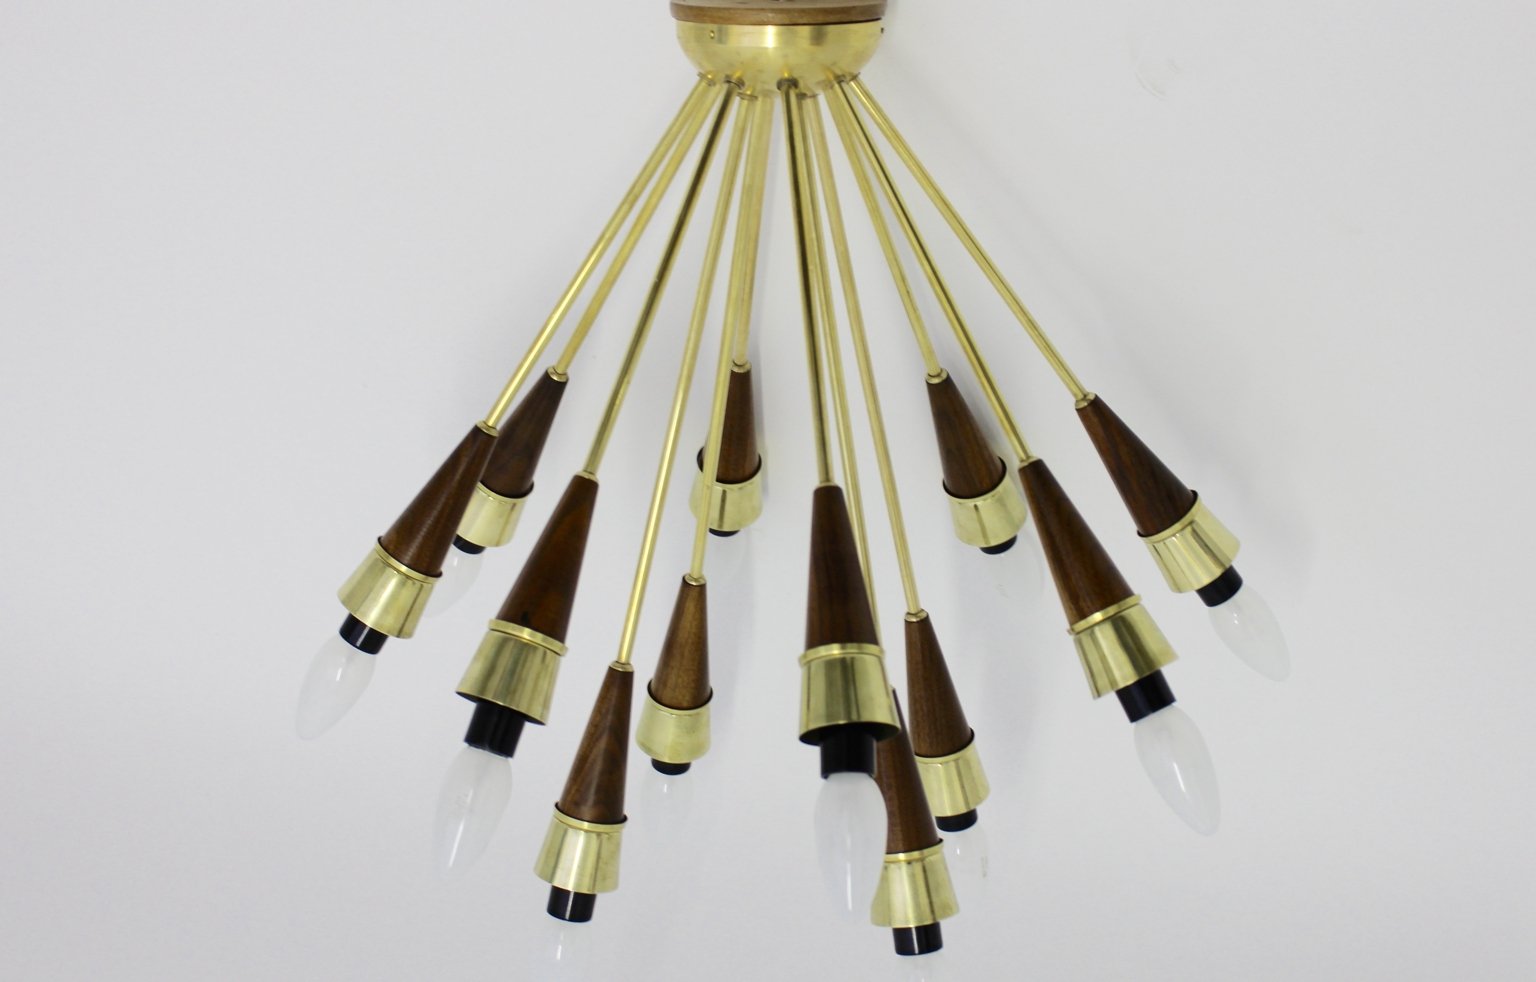
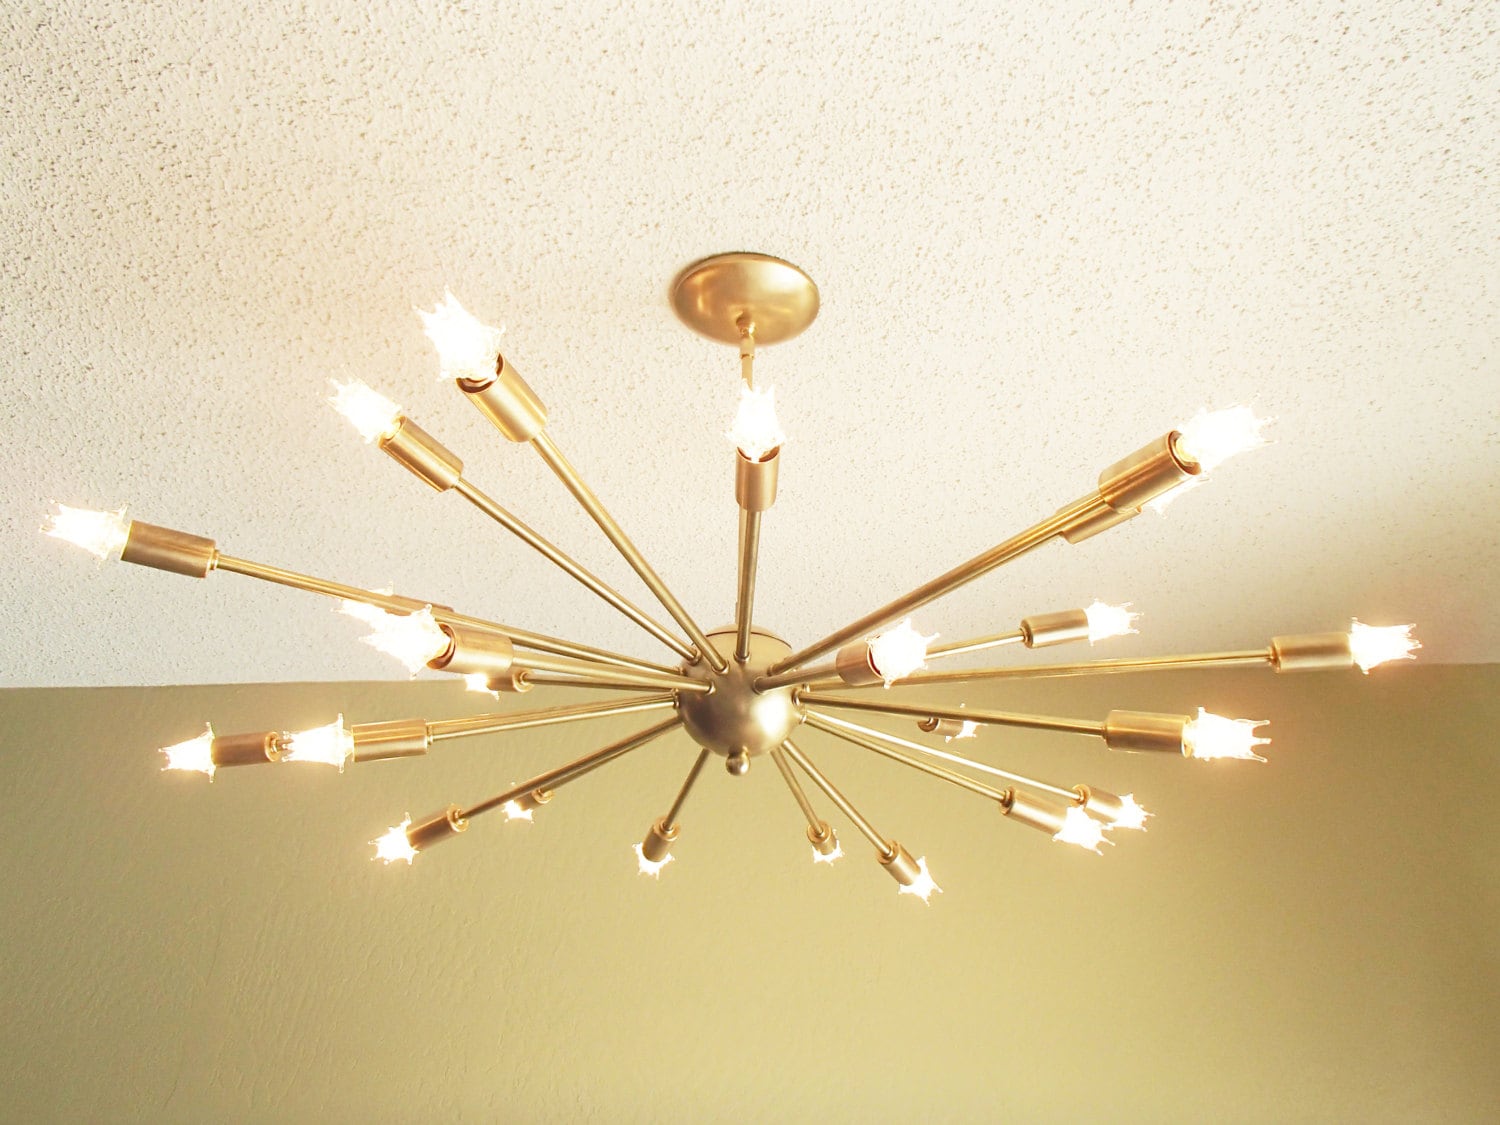
DIY Mid-Century Modern Sputnik Light


Apply wood glue to the ends of the dowels and insert them into the drilled holes in the wood circle. Use a damp cloth to wipe off any excess glue. Allow the glue to dry completely before moving on to the next step.Step 5: Glue the Dowels

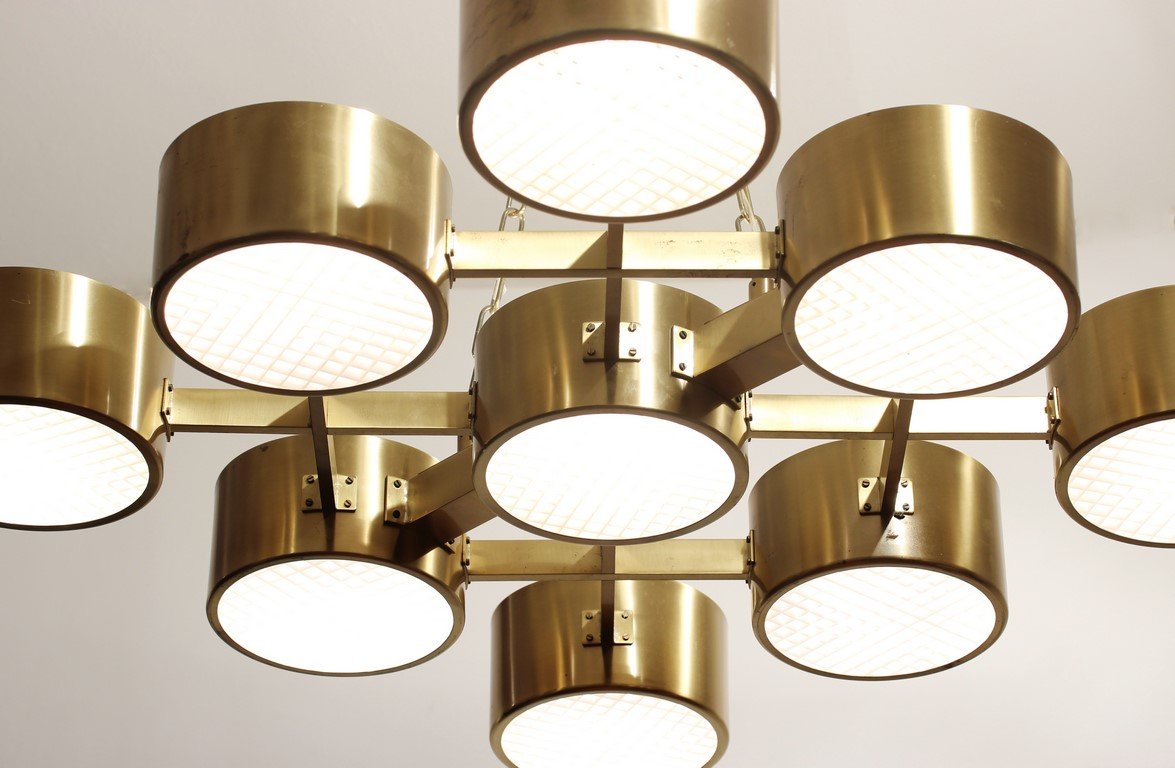
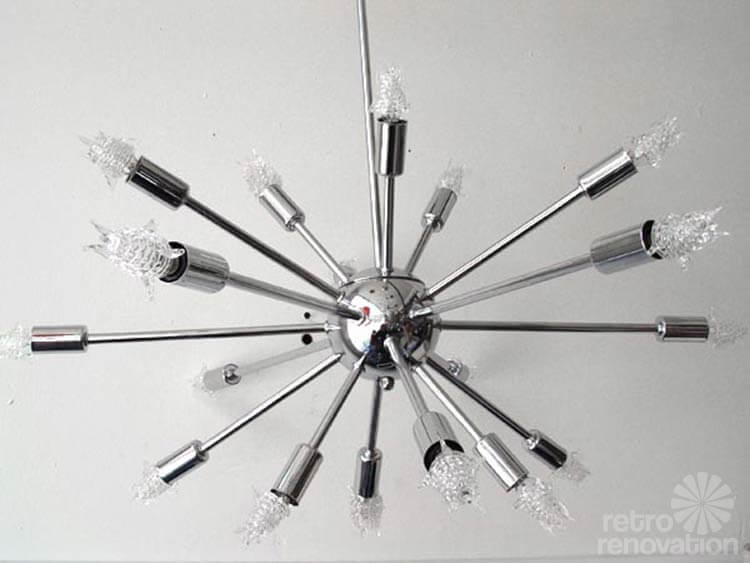
DIY Mid-Century Modern Chandelier


Using a screwdriver, attach the light kit to the wood circle. Make sure it is securely in place.Step 6: Attach the Light Kit


DIY Mid-Century Modern Wall Sconce


Now comes the fun part - giving your light fixture some color and personality. You can choose to paint or stain the wood, or even leave it natural for a more rustic look. Just make sure to let it dry completely before adding the light bulbs.Step 7: Paint or Stain the Light Fixture
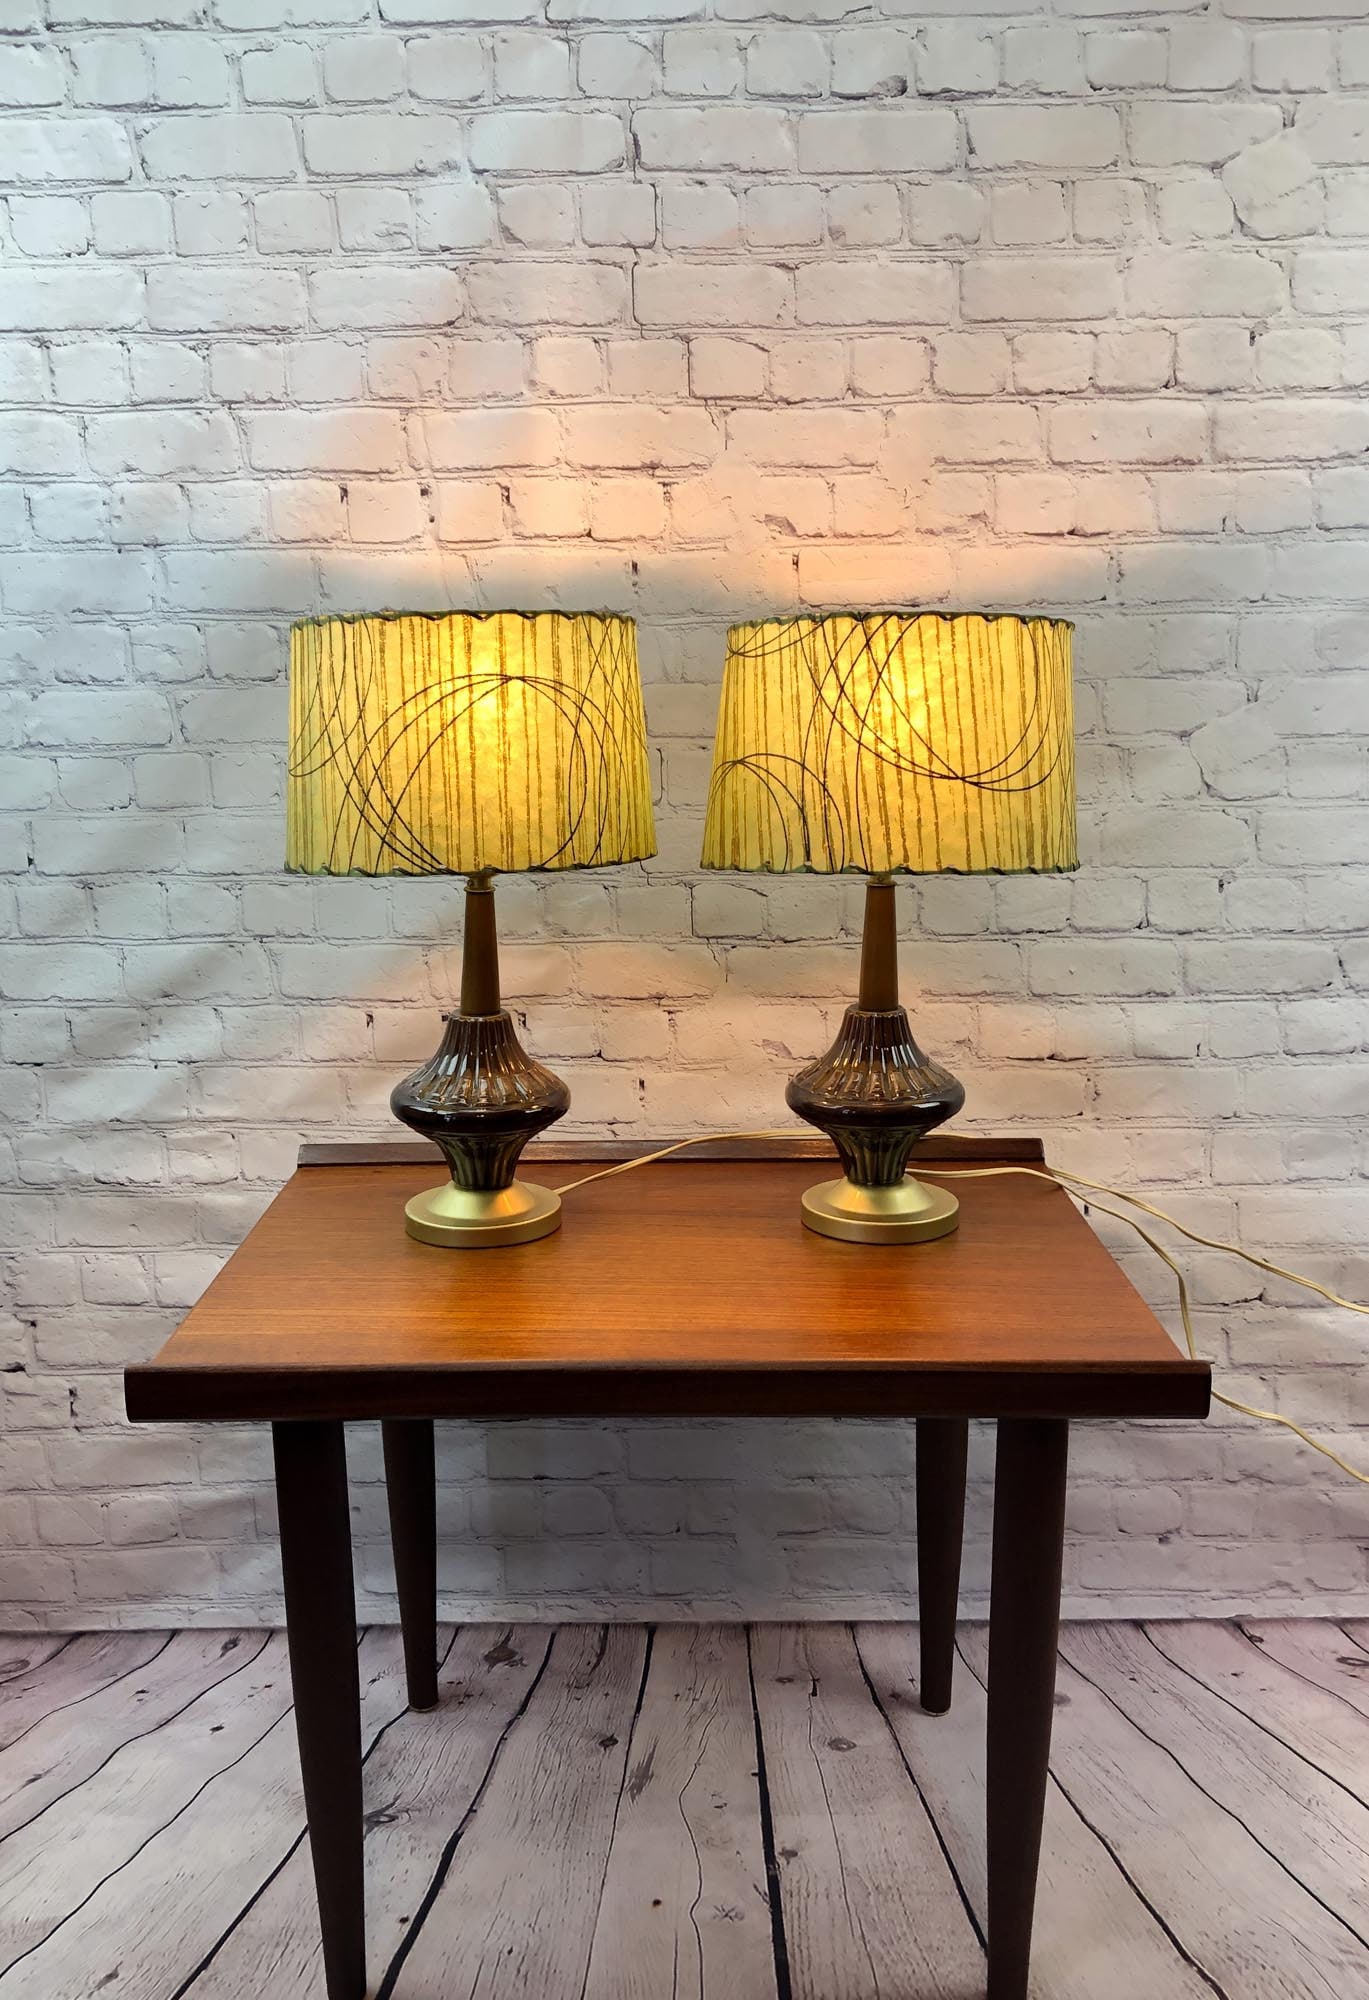


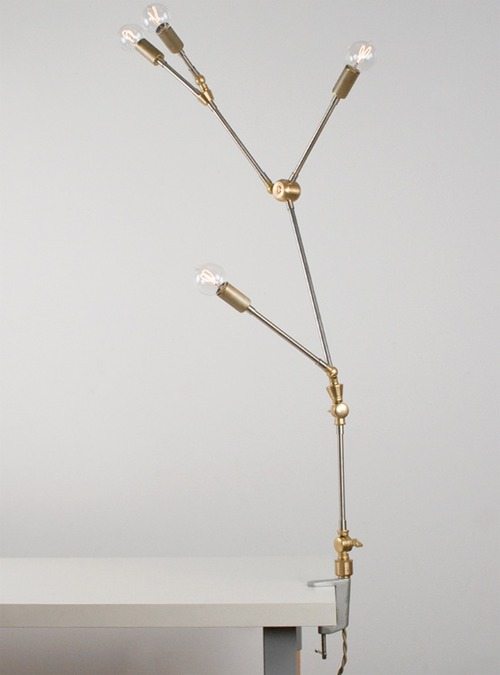
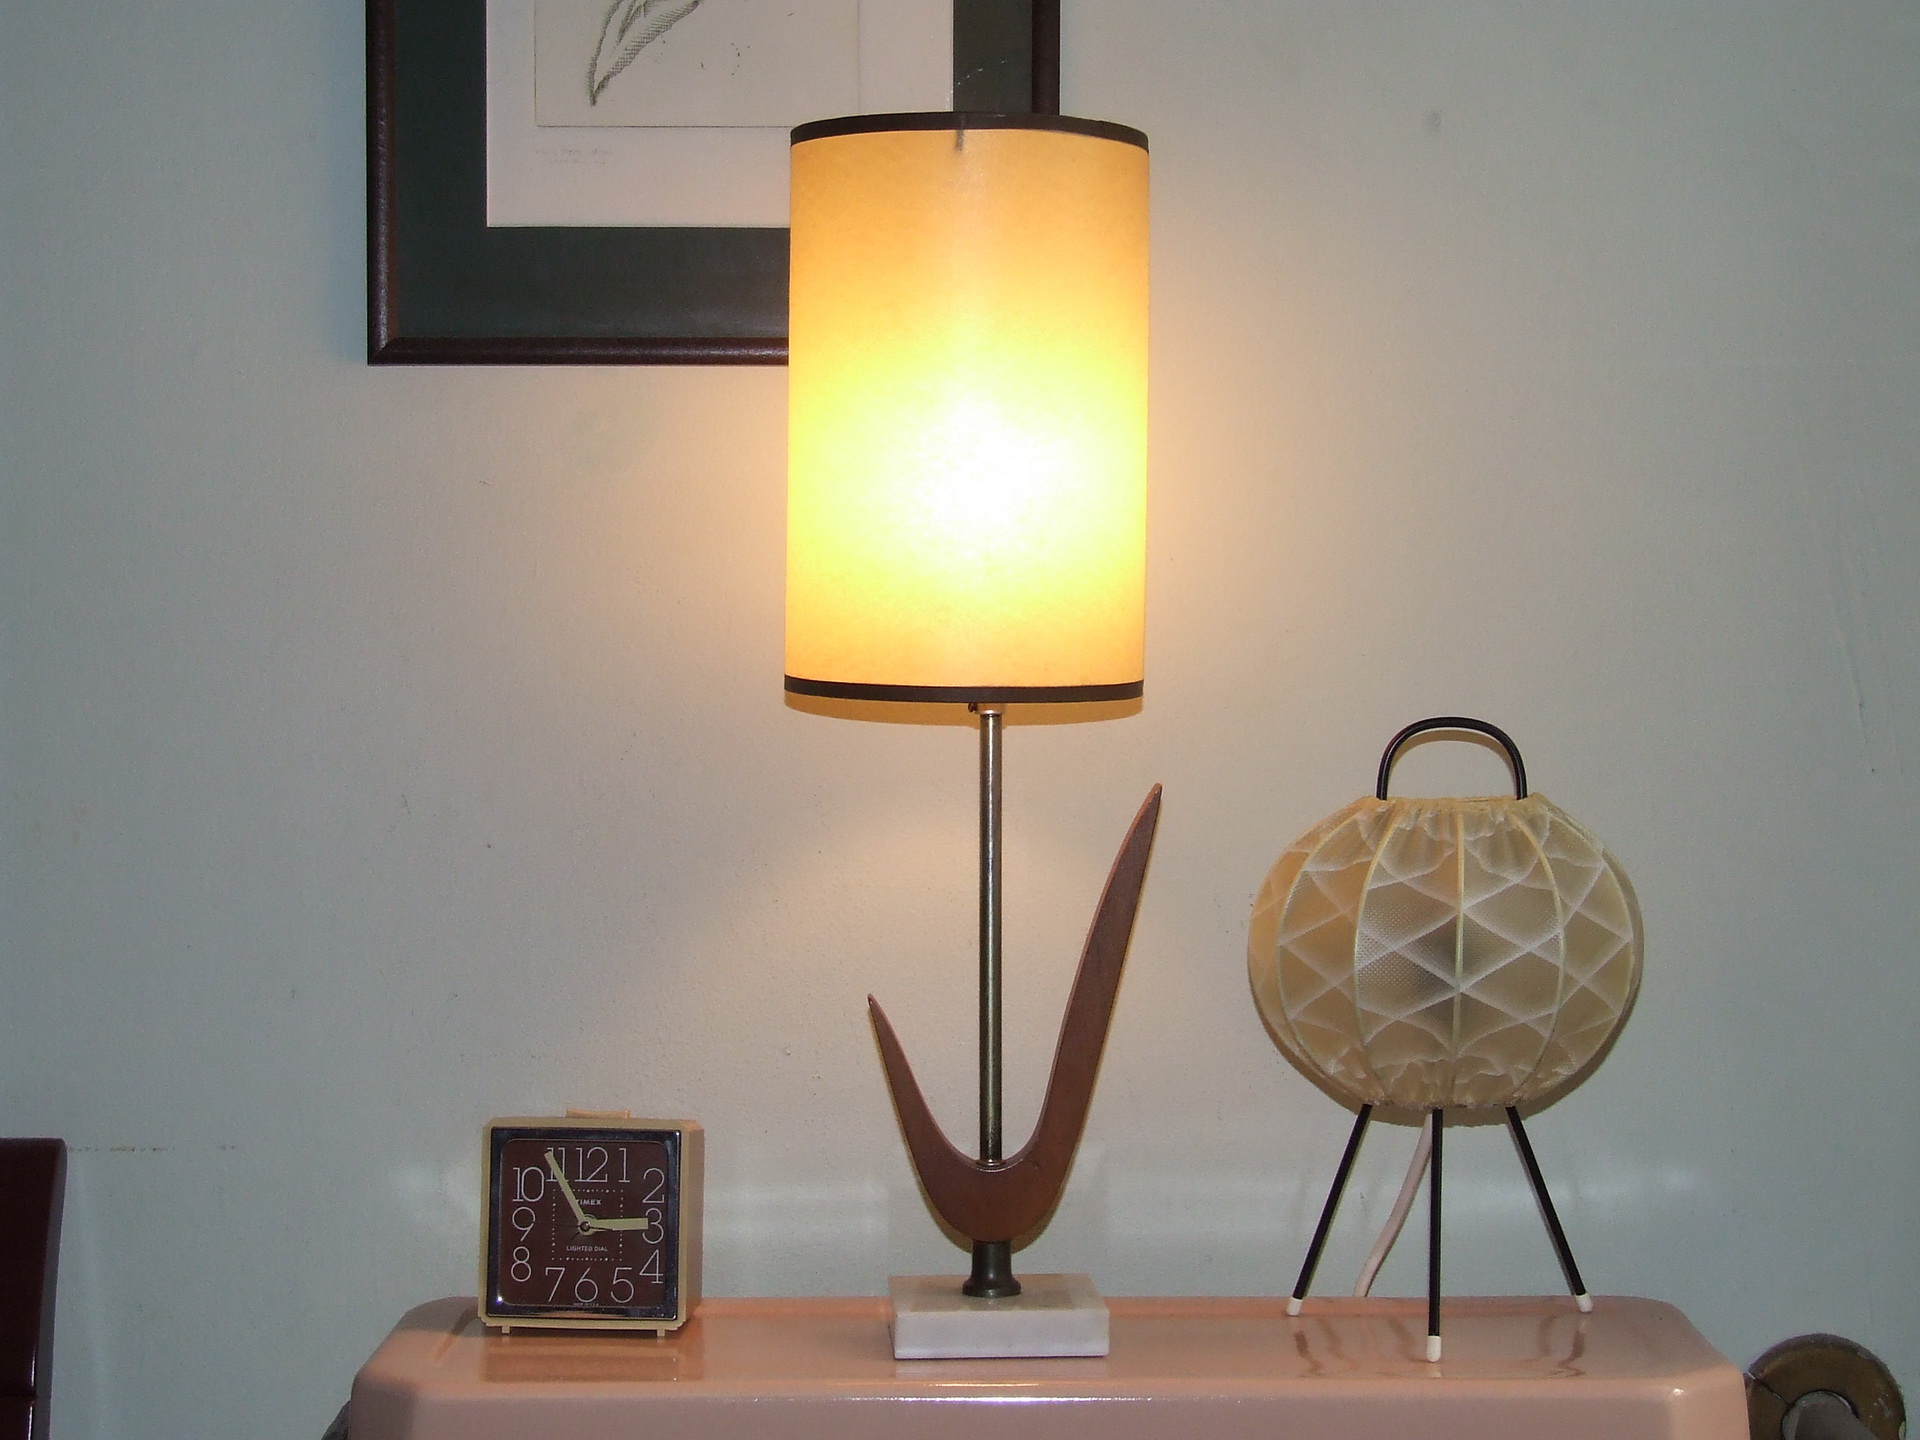
DIY Mid-Century Modern Table Lamp


Finally, screw in the desired light bulbs to your fixture. You can choose classic white bulbs for a clean and modern look, or go for something more colorful and unique.Step 8: Add Light Bulbs
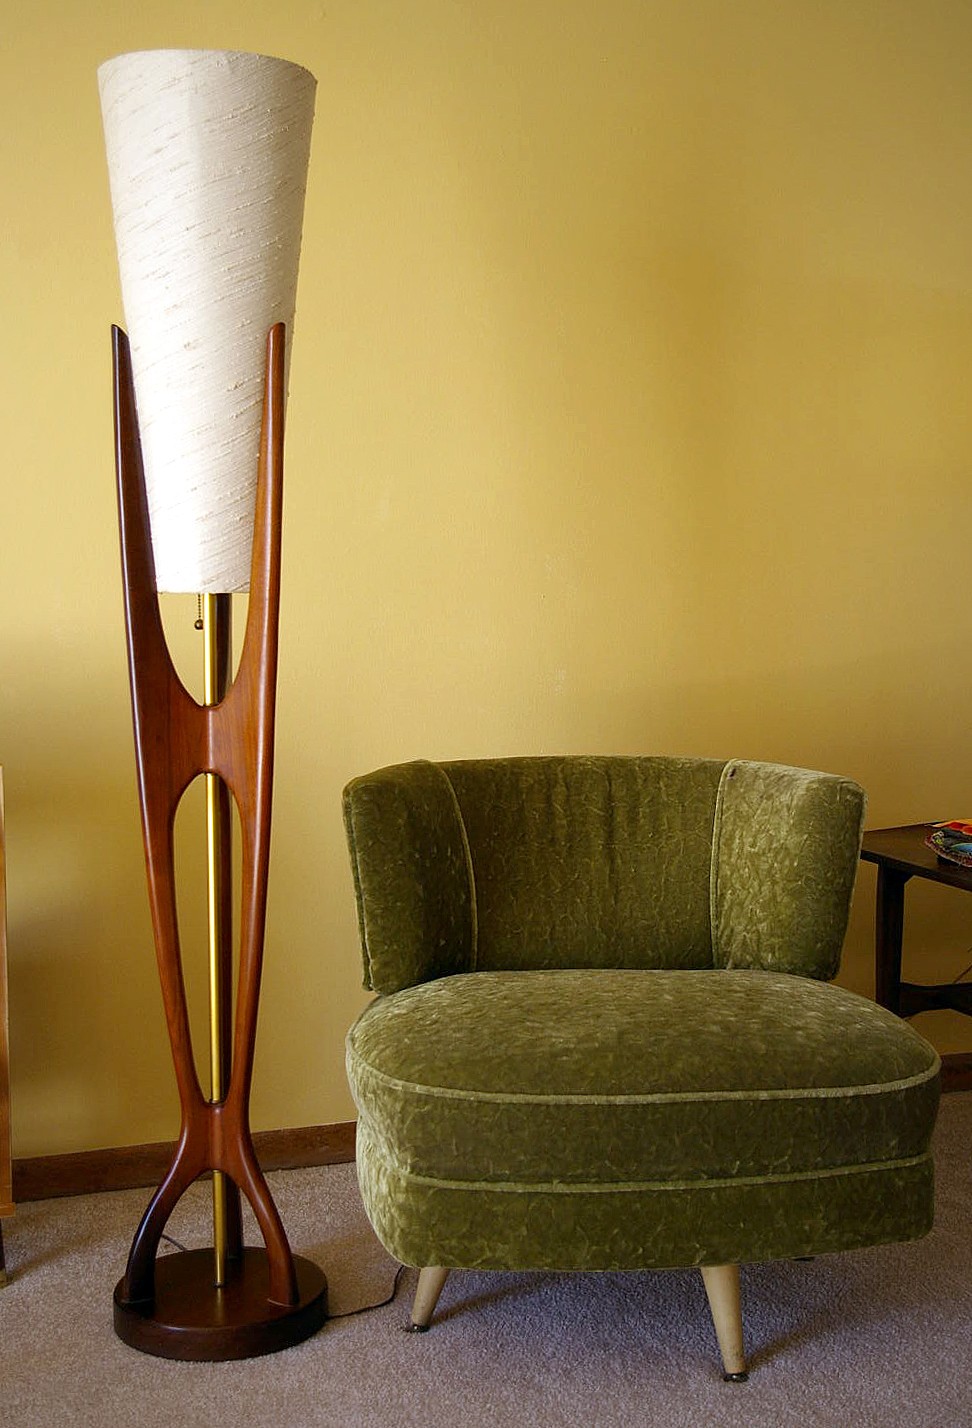


DIY Mid-Century Modern Floor Lamp


How to Add a DIY Mid Century Flush Mount Kitchen Light to Your Home

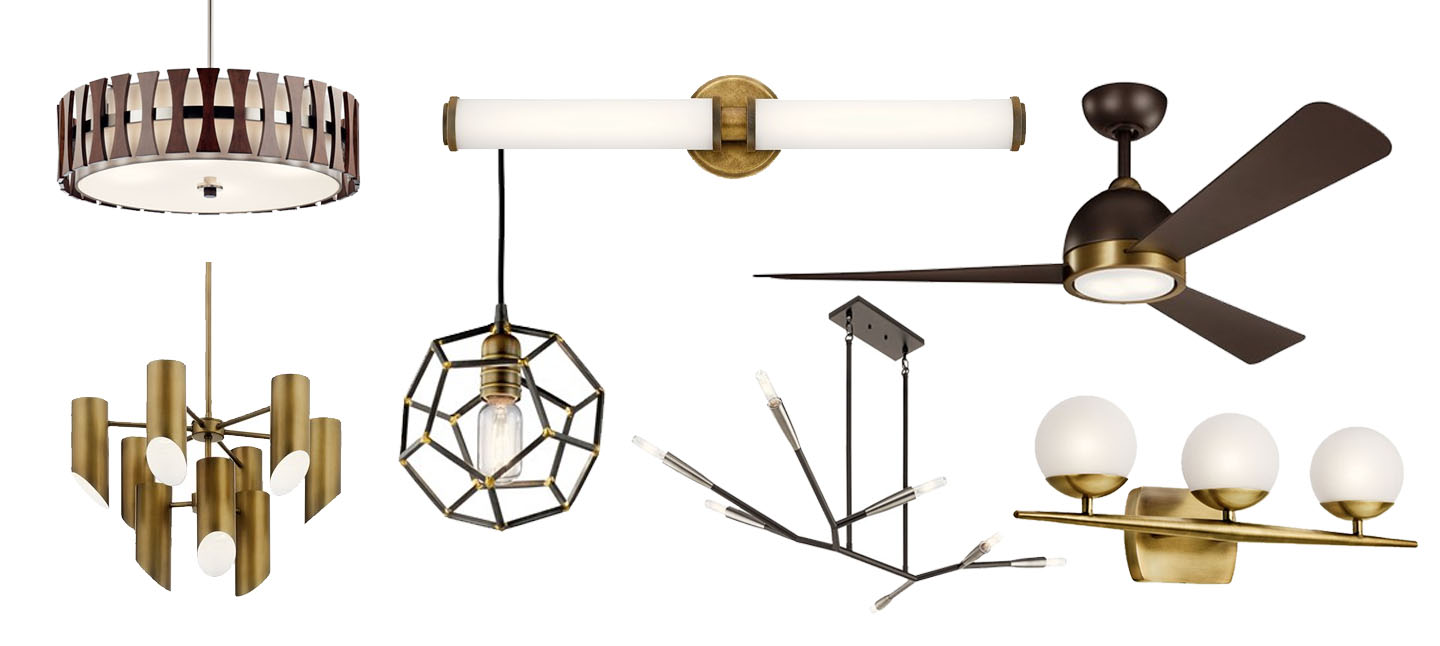
Why Mid Century Design is Perfect for Your Home
 Mid century design has become increasingly popular in recent years, and for good reason. Its clean lines, simple shapes, and warm wood tones make it a timeless and versatile style that can easily be incorporated into any home. And when it comes to kitchen lighting, a mid century flush mount light is the perfect way to add a touch of this classic design to your space.
Choosing the Right Light Fixture
 Before you start your DIY project, it's important to choose the right light fixture for your kitchen.
Flush mount lights
are a popular choice for kitchens, as they provide ample lighting without taking up too much space. For a mid century look, opt for a light fixture with a
sleek and simple design
, preferably with
clean lines and brass accents
.
Before you start your DIY project, it's important to choose the right light fixture for your kitchen.
Flush mount lights
are a popular choice for kitchens, as they provide ample lighting without taking up too much space. For a mid century look, opt for a light fixture with a
sleek and simple design
, preferably with
clean lines and brass accents
.
Gather Your Materials
 Once you have your light fixture, it's time to gather your materials. You will need:
- Light fixture
- Drill
- Screws
- Wire strippers
- Electrical tape
- Wire nuts
- Ladder
Installation Process
 Now it's time to install your new mid century flush mount light. It's always a good idea to turn off the power to the room before beginning any electrical work. Follow these steps to successfully install your light fixture:
- Remove the old light fixture by unscrewing it from the ceiling.
- Using a drill, attach the mounting bracket for your new light fixture to the ceiling.
- Next, connect the wires from your light fixture to the corresponding wires in the ceiling, using wire nuts to secure them.
- Secure the light fixture to the mounting bracket using screws.
- Turn the power back on and test the light to make sure it is working properly.
Enjoy Your New Mid Century Kitchen Light
 Congratulations, you have successfully installed your new mid century flush mount light! Step back and admire how it adds the perfect touch of
modern and timeless design
to your kitchen. This simple DIY project is a great way to
elevate the look and feel of your home
without breaking the bank.
Congratulations, you have successfully installed your new mid century flush mount light! Step back and admire how it adds the perfect touch of
modern and timeless design
to your kitchen. This simple DIY project is a great way to
elevate the look and feel of your home
without breaking the bank.
Now that you know how to add a DIY mid century flush mount kitchen light to your home, it's time to get started on this fun and easy project. With just a few materials and some basic tools, you can transform your kitchen into a stylish and inviting space that you'll love spending time in.

:max_bytes(150000):strip_icc()/770_SantaYnez_FamilyRoom_011-82636c6ea1df487eb70fa8ed313a6369.jpg)