Are you tired of your old, outdated bathroom vanity and ready for a change? Removing a bathroom vanity may seem like a daunting task, but with the right tools and knowledge, it can be a simple and satisfying DIY project. In this article, we will discuss the best way to remove a bathroom vanity, step-by-step instructions, and helpful tips and tricks to ensure a successful removal process. Removing a Bathroom Vanity: The Best Way


Removing a Bathroom Vanity: The Best Way


Before you begin, make sure to turn off the water supply and disconnect any plumbing attached to the vanity. You may also want to cover the floor with a drop cloth to protect it from any potential damage. Now, let's dive into the step-by-step guide for removing a bathroom vanity. Step 1: Remove the vanity top The first step in removing a bathroom vanity is to remove the vanity top. If the top is glued or caulked to the vanity, use a putty knife to carefully pry it off. If it is held in place by screws, use a screwdriver to remove them. Be sure to have someone assist you in lifting and removing the top to prevent any damage or injuries. Step 2: Disconnect the plumbing Next, you will need to disconnect the plumbing attached to the vanity. Using a wrench, loosen the connections and carefully remove them. Make sure to have a bucket or towel handy to catch any excess water. Step 3: Remove the vanity from the wall Now it's time to remove the vanity from the wall. If your vanity is screwed into the wall, use a screwdriver to remove the screws. If it is attached with adhesive, use a putty knife to carefully loosen and pry it off the wall. Step 4: Detach the vanity from the floor If your vanity is attached to the floor with screws, remove them with a screwdriver. If it is glued to the floor, use a pry bar to gently lift it off. Step 5: Remove the vanity With all connections and attachments removed, you can now remove the vanity from the bathroom. Have someone assist you in carrying it out of the room to avoid any potential accidents.How to Remove a Bathroom Vanity: Step-by-Step Guide

How to Remove a Bathroom Vanity: Step-by-Step Guide


Removing a bathroom vanity can be challenging, but with these helpful tips and tricks, you can make the process much smoother. Tip 1: Prepare your workspace Before you begin removing the vanity, make sure to clear out the area and have all necessary tools and materials on hand. This will save you time and prevent any confusion or delays. Tip 2: Label parts and connections As you disconnect the plumbing and remove screws, label them accordingly. This will make the installation process much easier and ensure that you don't mix up any parts. Tip 3: Use a pry bar If your vanity is attached with adhesive, a pry bar can be a helpful tool in gently loosening and removing it from the wall and floor. Just be sure to use caution to avoid any damage. Tip 4: Have someone assist you Removing a bathroom vanity is not a one-person job. Enlist the help of a friend or family member to assist you in lifting and carrying the vanity out of the room.DIY Bathroom Vanity Removal: Tips and Tricks


DIY Bathroom Vanity Removal: Tips and Tricks


/cherry-diy-bathroom-vanity-594414da5f9b58d58a099a36.jpg)
:max_bytes(150000):strip_icc()/build-something-diy-vanity-594402125f9b58d58ae21158.jpg)


Having the right tools for the job can make all the difference when removing a bathroom vanity. Here are the essential tools you will need: Putty knife Screwdriver Adjustable wrench Pry bar Bucket or towelRemoving a Bathroom Vanity: Tools You'll Need


Removing a Bathroom Vanity: Tools You'll Need


When removing a bathroom vanity, there are a few common mistakes that you'll want to avoid to ensure a smooth and successful removal process. Mistake 1: Forgetting to turn off the water supply Before you begin removing any plumbing, make sure to turn off the water supply to avoid any potential flooding or accidents. Mistake 2: Not labeling parts and connections As mentioned earlier, labeling all parts and connections is crucial in making the installation process easier. Don't skip this step! Mistake 3: Not having the right tools Trying to remove a bathroom vanity without the necessary tools can be frustrating and potentially damaging to the vanity and your home. Make sure to have all the tools listed above on hand.Removing a Bathroom Vanity: Common Mistakes to Avoid


Removing a Bathroom Vanity: Common Mistakes to Avoid
As with any DIY project, it's essential to take safety precautions when removing a bathroom vanity. Here are a few to keep in mind: Safety precaution 1: Turn off the water supply We can't stress this enough - make sure to turn off the water supply before removing any plumbing. Safety precaution 2: Wear protective gear Wear gloves and safety glasses to protect your hands and eyes from any potential injuries. Safety precaution 3: Use caution when handling tools Be mindful of how you handle tools, especially if they are sharp or heavy. Take your time and use caution to avoid any accidents.Removing a Bathroom Vanity: Safety Precautions to Take
Removing a Bathroom Vanity: Safety Precautions to Take


While removing a bathroom vanity can be a satisfying DIY project, it may not be the best option for everyone. Here are a few factors to consider when deciding between hiring a professional or tackling the project yourself: Cost Removing a bathroom vanity yourself can save you money in labor costs. However, if you don't have the necessary tools or expertise, hiring a professional may be a more cost-effective option in the long run. Time If you have the time and patience to tackle this project on your own, DIY may be the way to go. However, if you're short on time and want the job done quickly and efficiently, hiring a professional may be the better option. Experience If you have experience with DIY projects and feel confident in your abilities, removing a bathroom vanity may be a breeze. However, if you're not comfortable with tools and plumbing, hiring a professional is a safer option.Removing a Bathroom Vanity: Professional vs. DIY


Removing a Bathroom Vanity: Professional vs. DIY


Once you have successfully removed the bathroom vanity, you'll need to dispose of the old materials. If the vanity is still in good condition, consider donating it to a local charity or listing it for sale. If it is damaged, you can take it to a local recycling center or dispose of it according to your city's waste management guidelines.Removing a Bathroom Vanity: Disposing of Old Materials


Removing a Bathroom Vanity: Disposing of Old Materials


Now that you have removed the old vanity, it's time to prepare for installation of the new one. Make sure to thoroughly clean the area and repair any damage to the wall or floor before beginning the installation process.Removing a Bathroom Vanity: Preparing for Installation


Removing a Bathroom Vanity: Preparing for Installation

While removing a bathroom vanity is a relatively straightforward process, there may be some common issues that arise. Here's how to troubleshoot them: Issue 1: Stubborn adhesive If the vanity is attached with strong adhesive, use a heat gun or hairdryer to soften it before attempting to remove it with a pry bar. Issue 2: Rusty screws If the screws holding the vanity in place are rusty and difficult to remove, spray them with a rust remover and let it sit for a few hours before attempting to remove them. Issue 3: Damaged plumbing If you accidentally damage any plumbing while removing the vanity, it's best to call a professional plumber to repair the issue. Now that you have all the necessary knowledge and tips for removing a bathroom vanity, it's time to get started. Remember to take your time, follow safety precautions, and have fun with your DIY project. Good luck!Removing a Bathroom Vanity: Troubleshooting Common Issues


Removing a Bathroom Vanity: Troubleshooting Common Issues
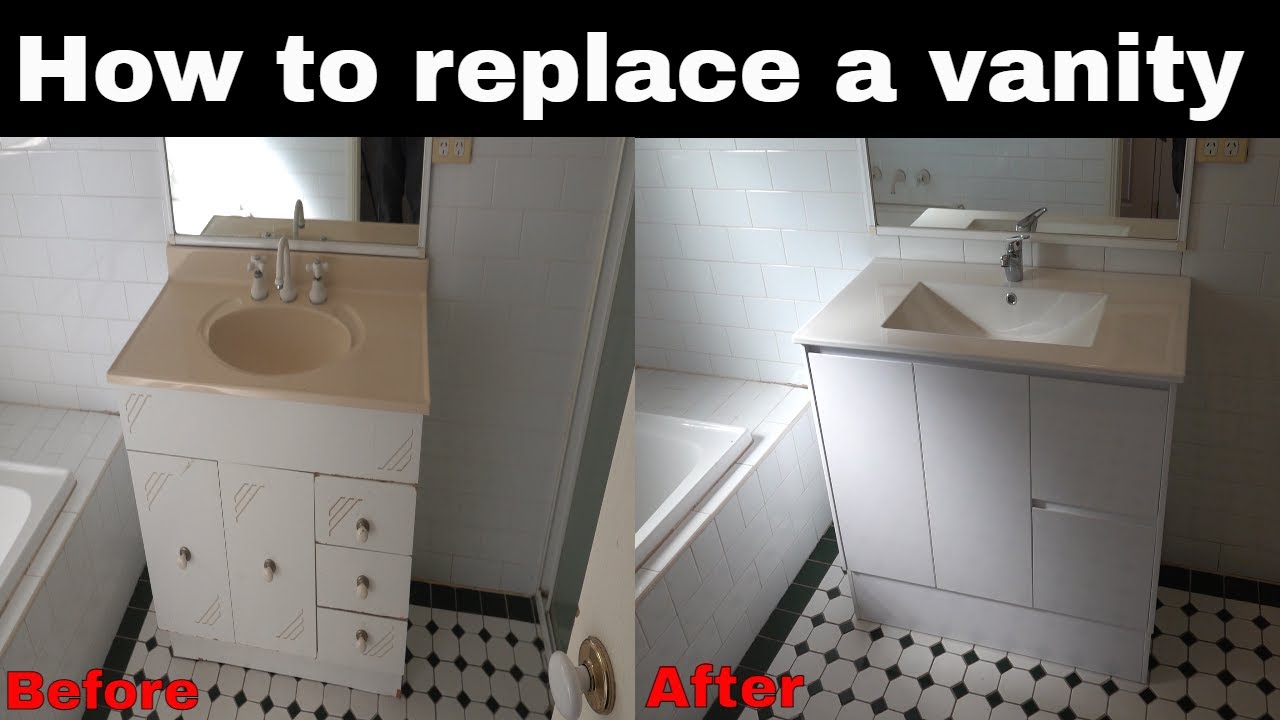
The Best Way to Remove Your Bathroom Vanity
Why Remove Your Bathroom Vanity?
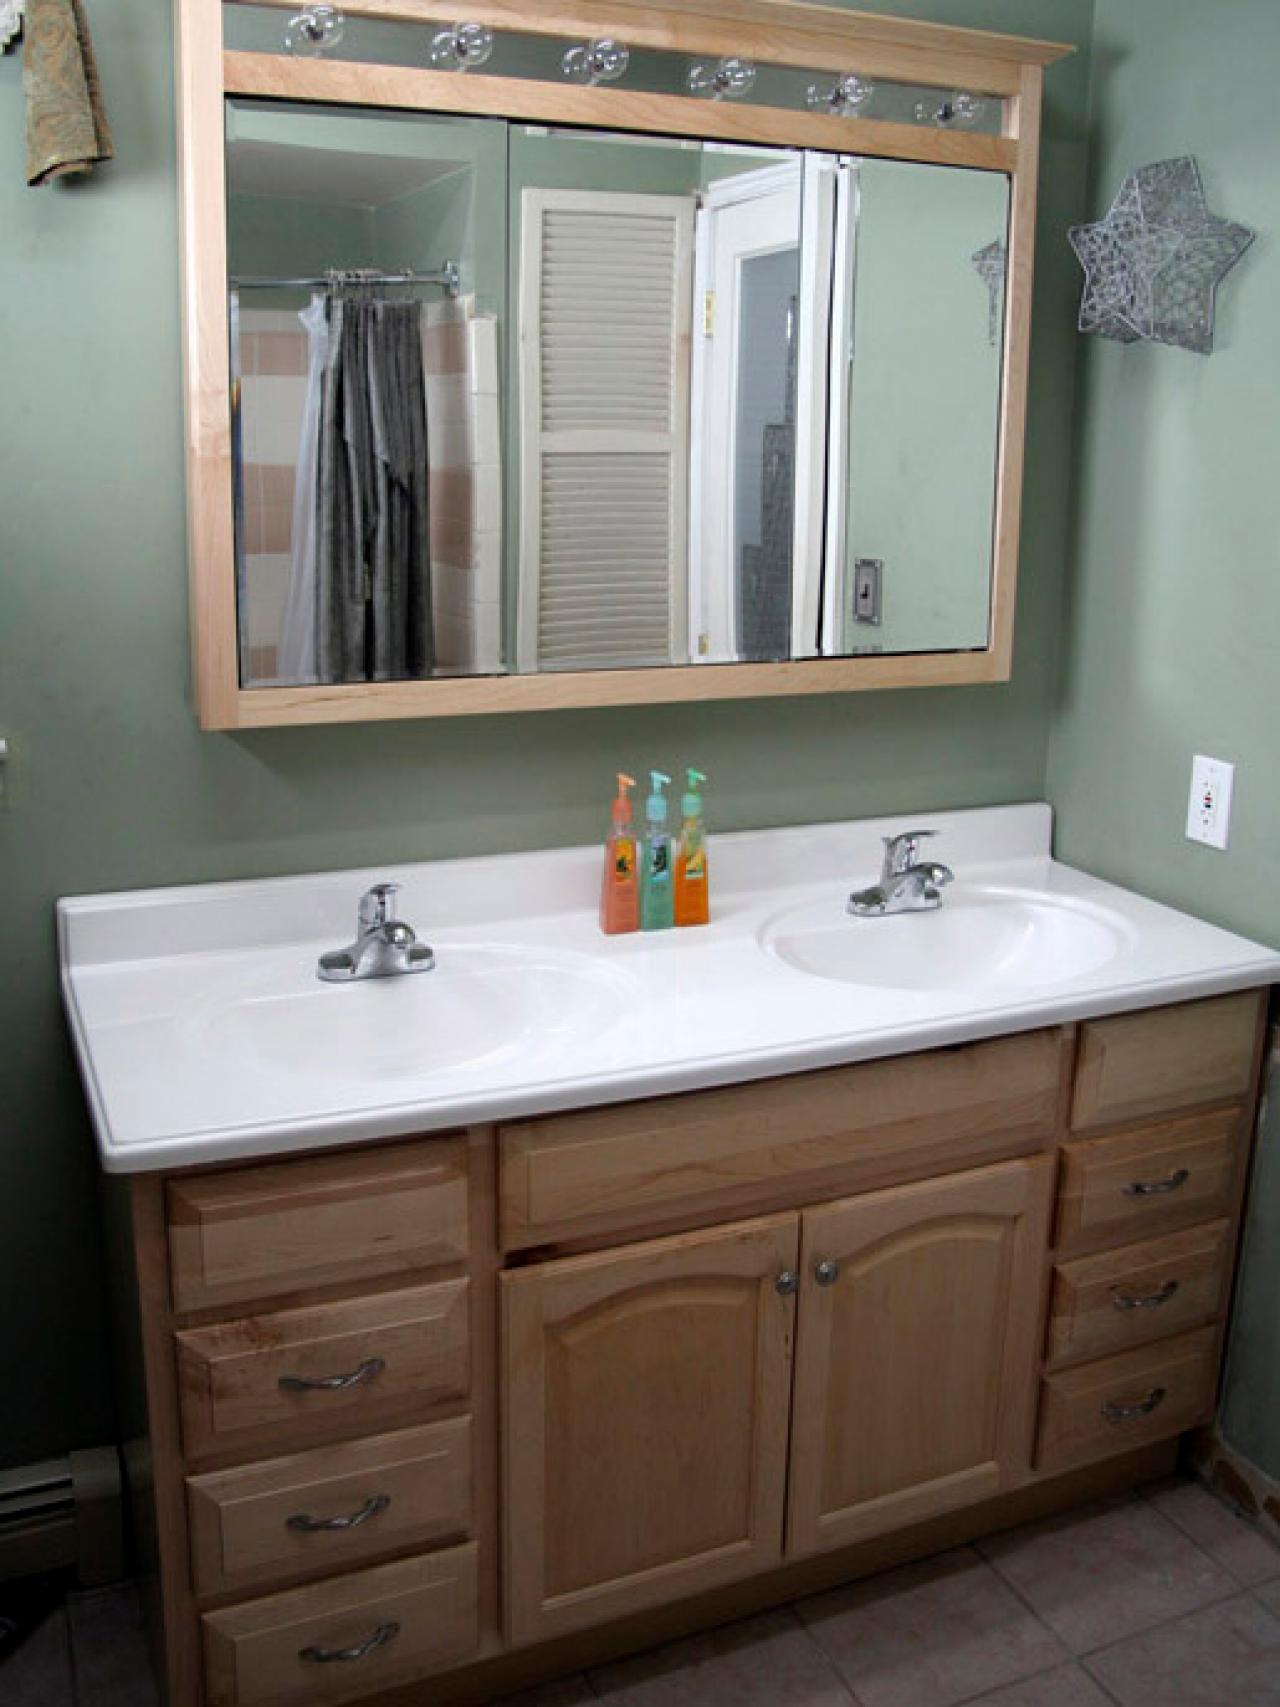
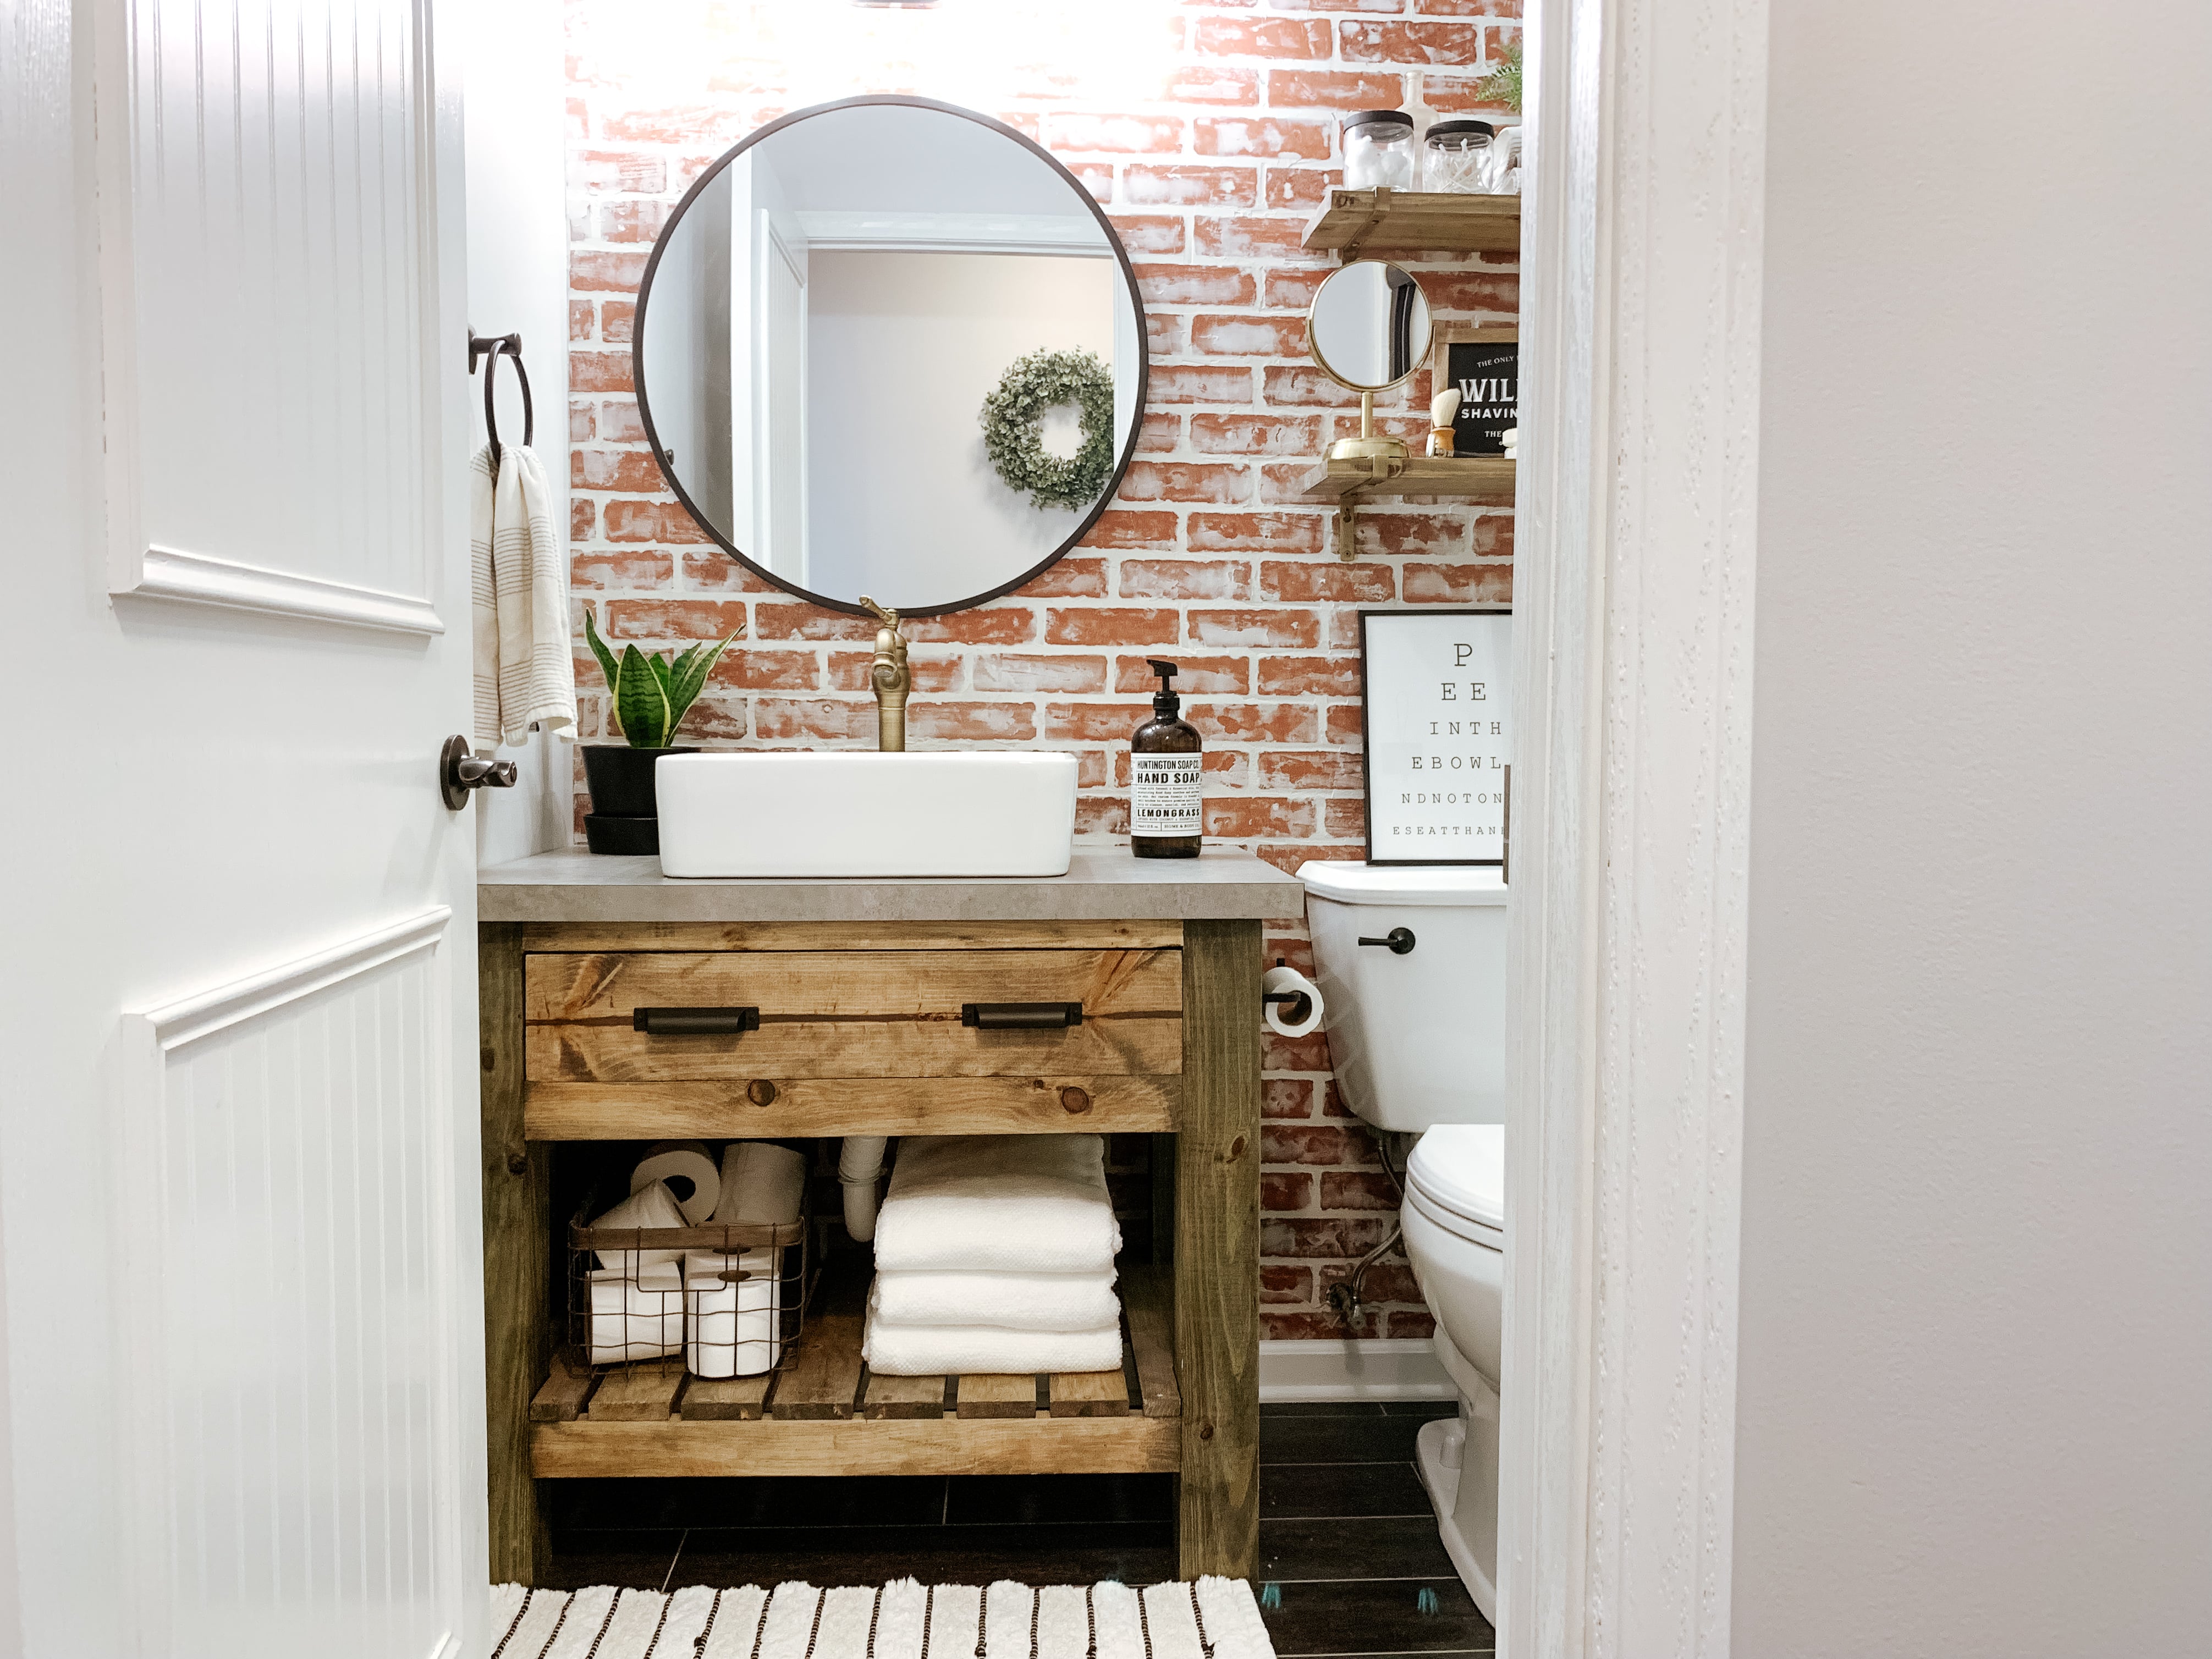
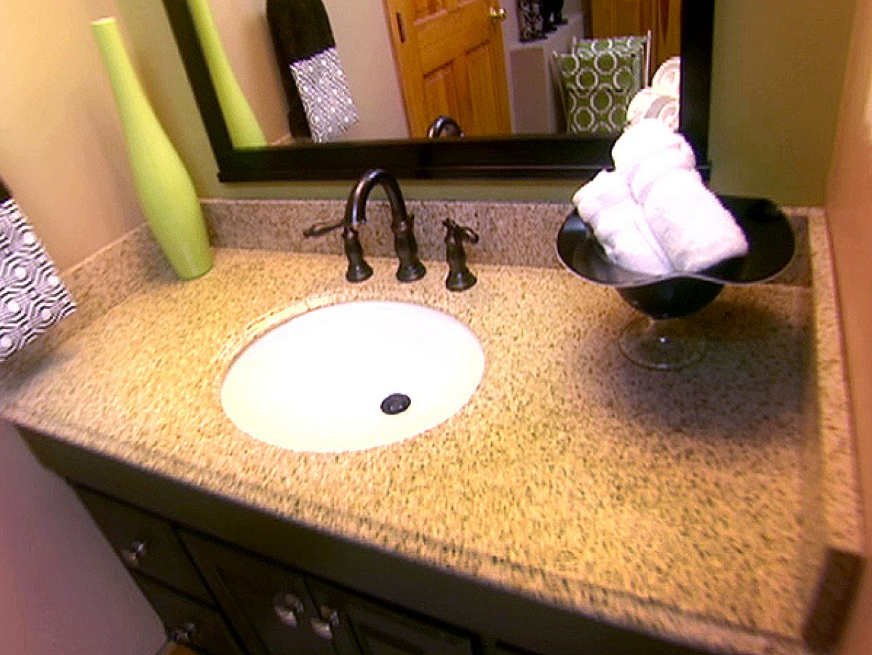
 If you're looking to update your bathroom, removing your old vanity is a great place to start. A bathroom vanity is not only a functional piece of furniture, but it also plays a major role in the overall design and aesthetic of your bathroom. By removing it, you can create more space, update the look of your bathroom, and even make room for a new vanity or other storage options.
Step-by-Step Guide to Removing Your Bathroom Vanity
 Before you begin the removal process, make sure you have all the necessary tools and equipment. This includes a screwdriver, utility knife, pry bar, and a bucket or trash bag for debris. Follow these steps for a smooth and successful removal:
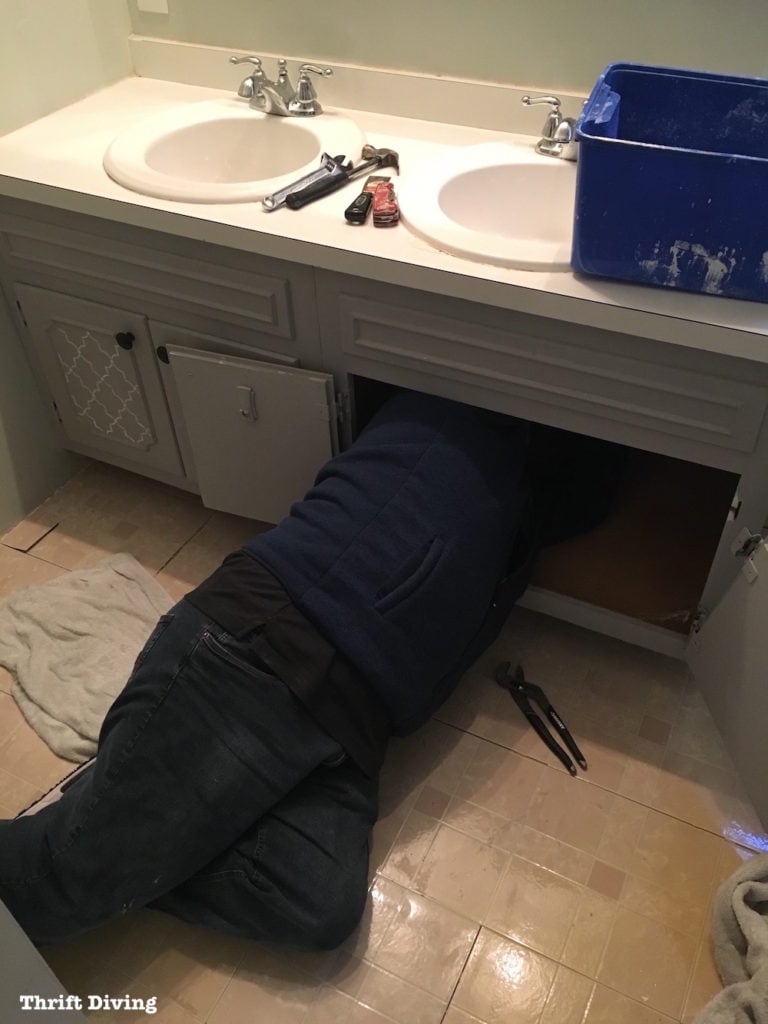
Step 1: Turn off the Water Supply
Before doing anything, make sure to turn off the water supply to your bathroom sink. This can usually be done by turning off the shut-off valves located underneath the sink. If you can't locate these valves, turn off the main water supply to your house.
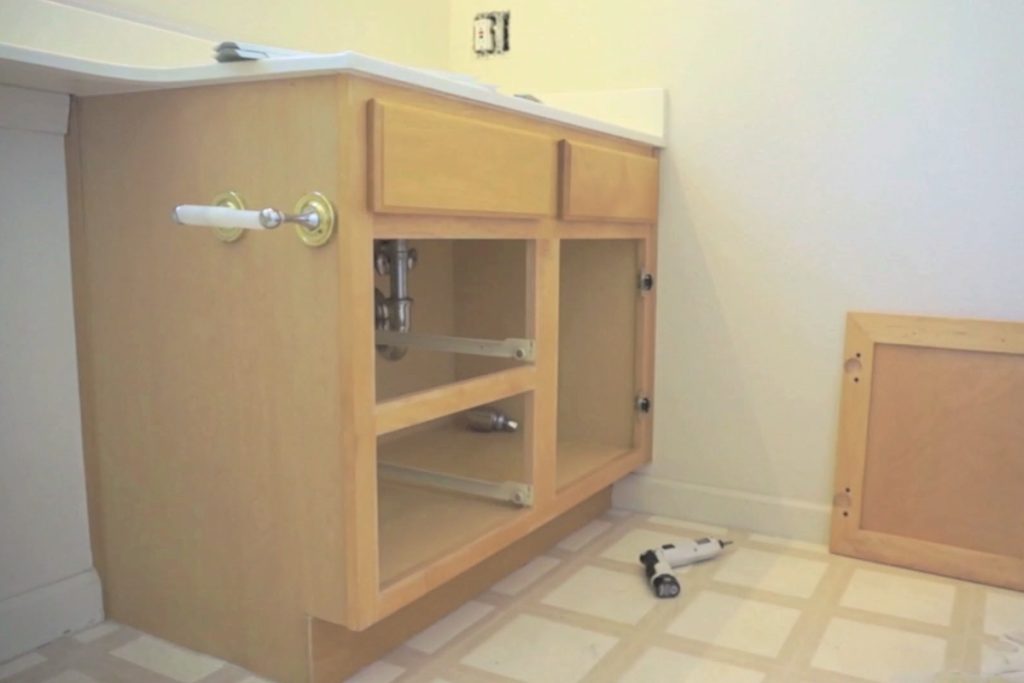
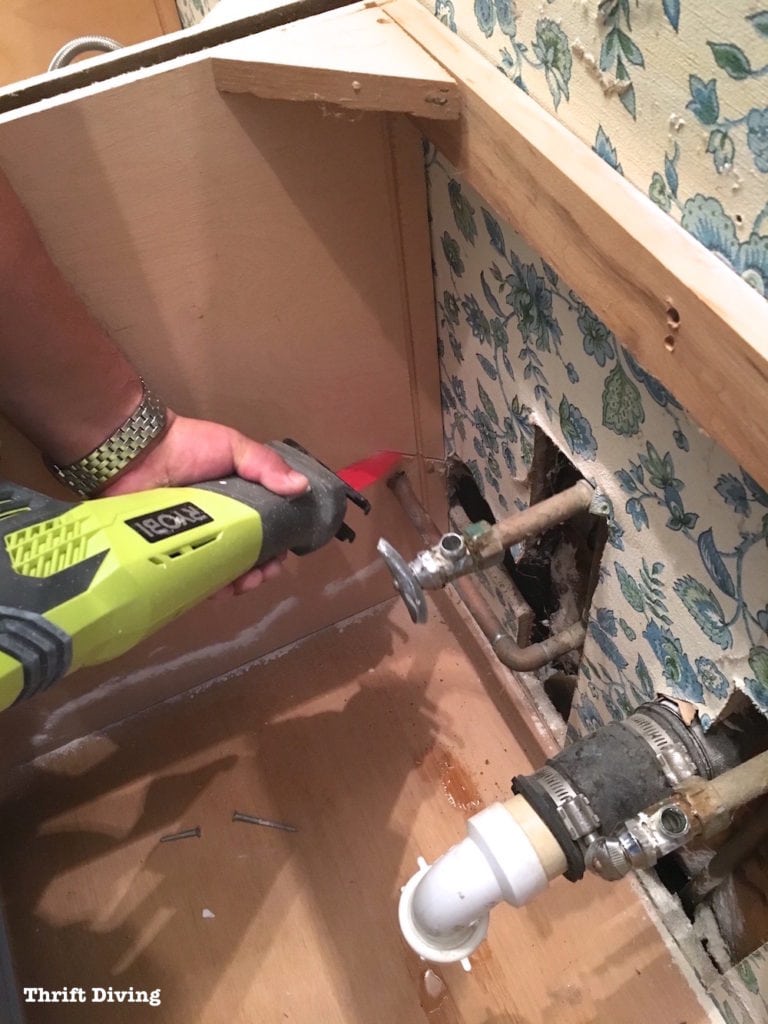
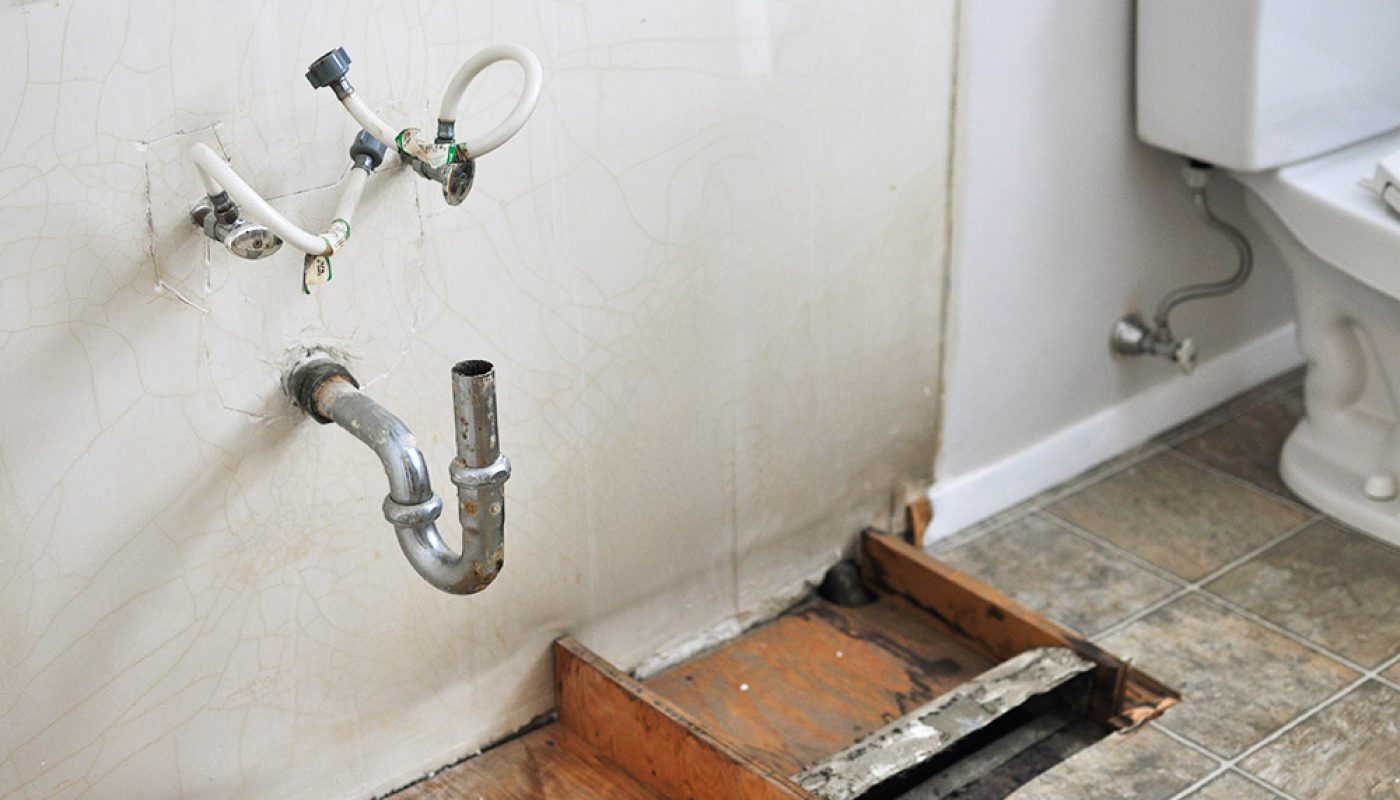
Step 2: Disconnect Plumbing Connections
Next, use a wrench to loosen and disconnect the plumbing connections underneath the sink. These include the hot and cold water supply lines, as well as the drain pipe. Make sure to have a bucket or towel handy to catch any excess water that may come out.
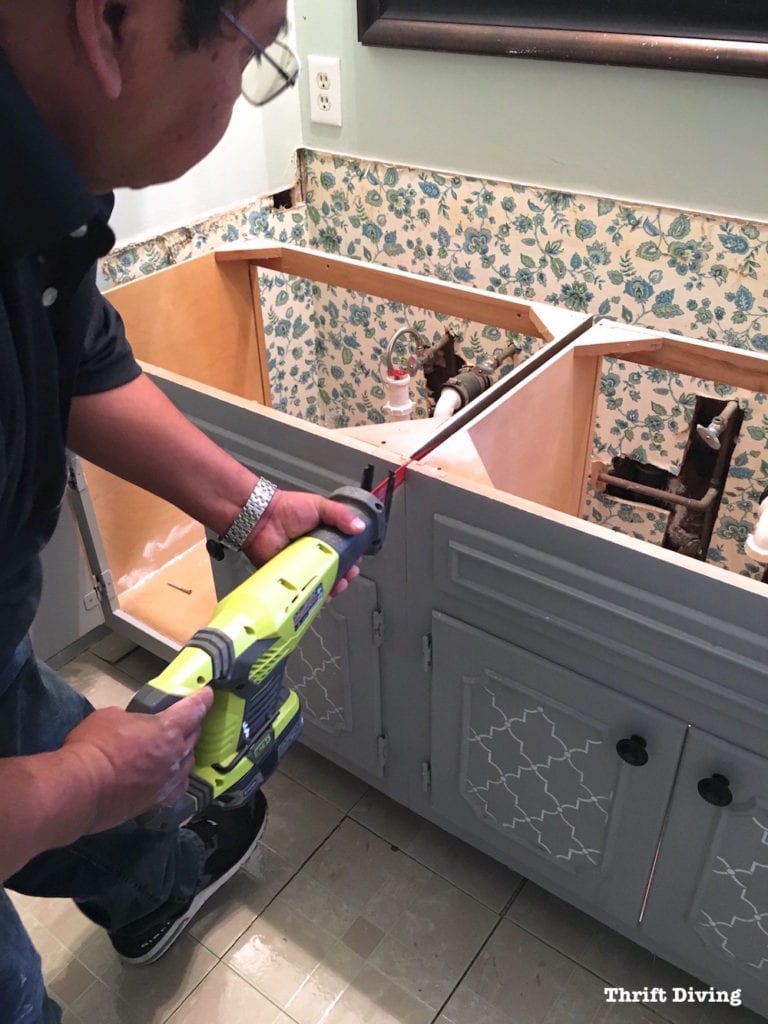
Step 3: Remove Any Caulk or Adhesive
Using a utility knife, carefully cut through any caulk or adhesive that may be holding the vanity to the wall or floor. This will make it easier to remove the vanity without causing any damage.
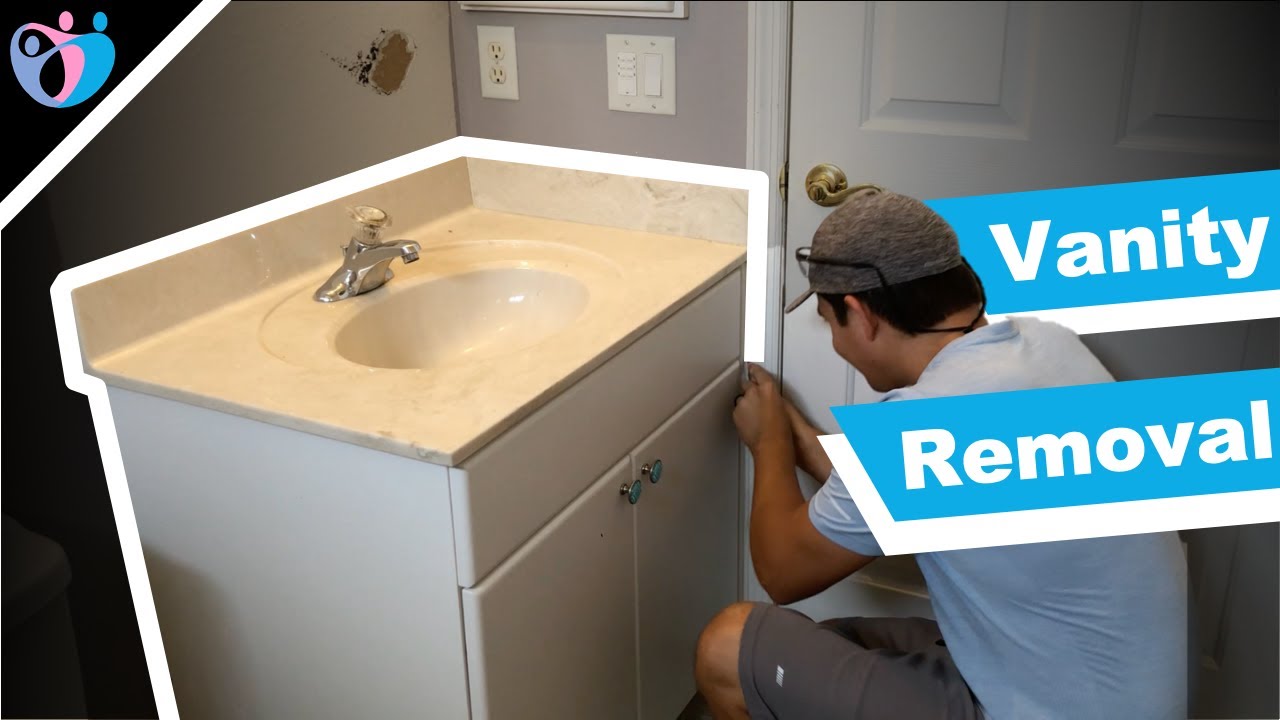
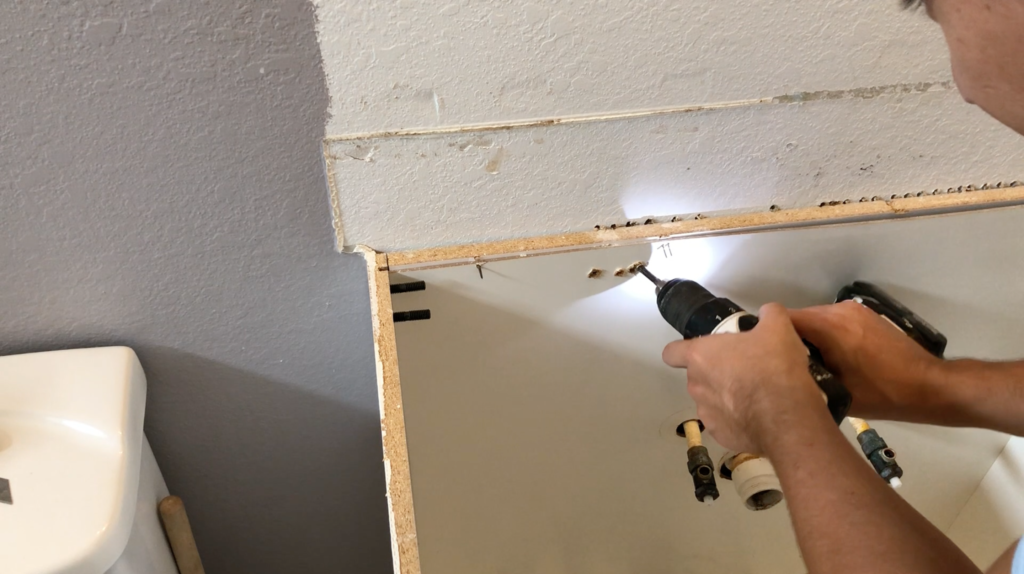
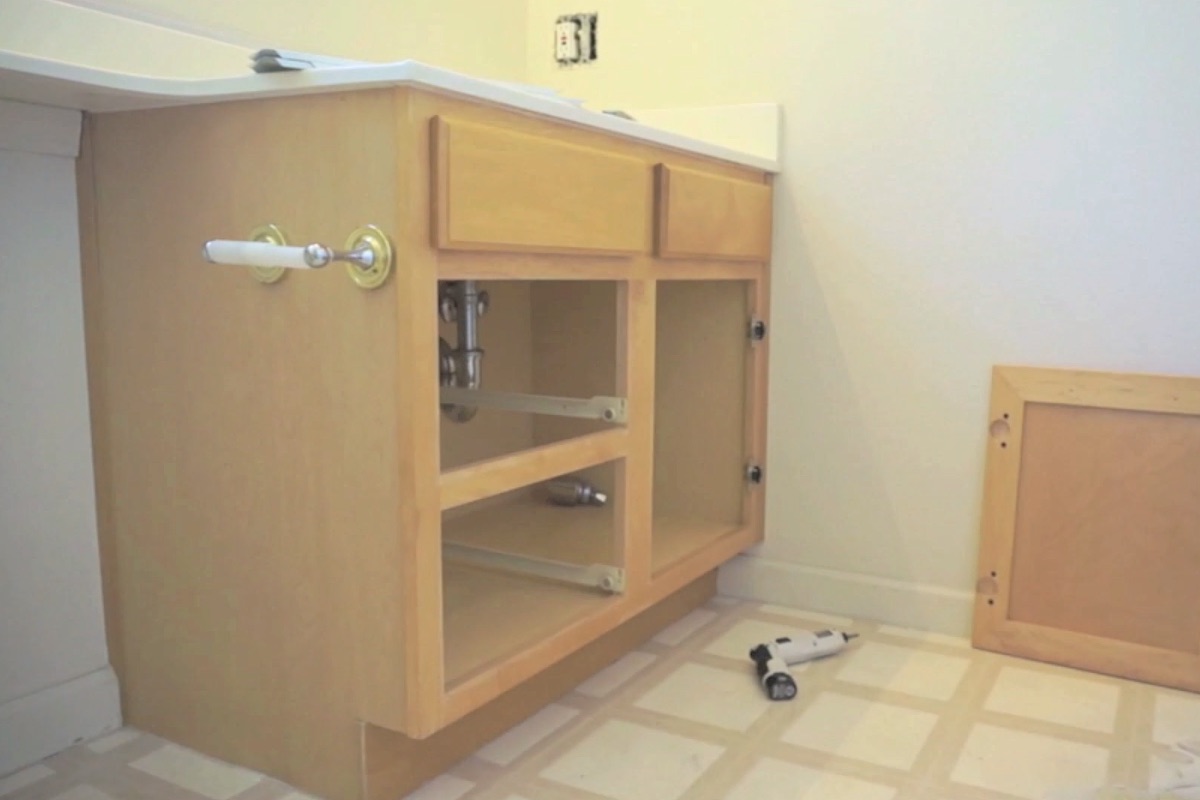
Step 4: Unscrew the Vanity
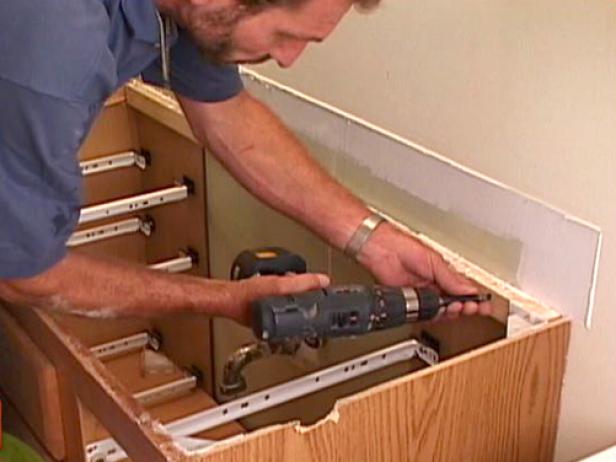
Most bathroom vanities are attached to the wall with screws. Use a screwdriver to remove these screws and carefully detach the vanity from the wall. You may also need to use a pry bar to gently separate the vanity from the wall if it is glued in place.
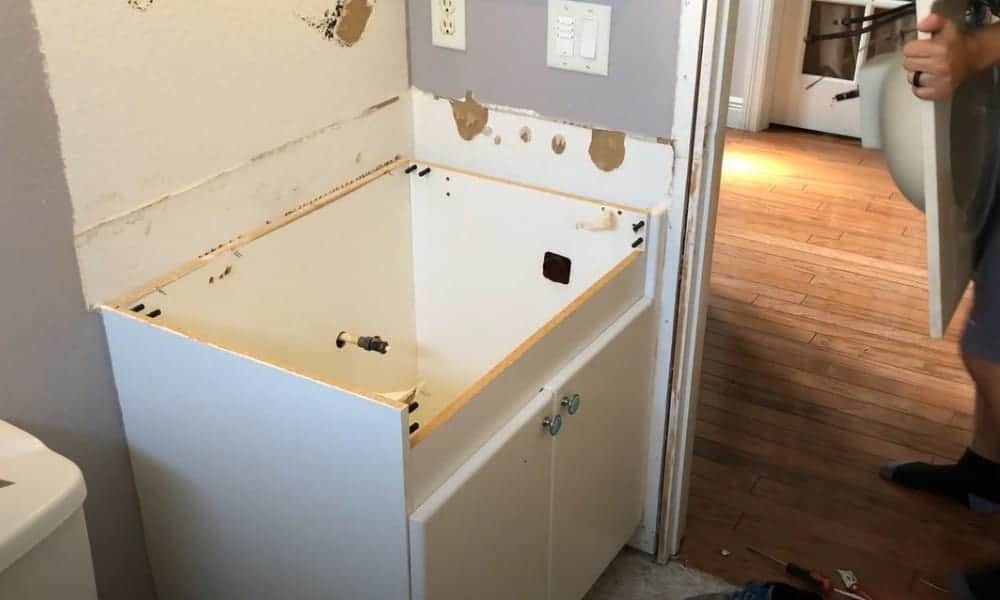
Step 5: Lift and Remove the Vanity
With the vanity now detached from the wall, you can carefully lift it up and remove it from the bathroom. Be cautious of any sharp edges or corners and make sure to have someone help you if the vanity is heavy.
Before you begin the removal process, make sure you have all the necessary tools and equipment. This includes a screwdriver, utility knife, pry bar, and a bucket or trash bag for debris. Follow these steps for a smooth and successful removal:
Step 1: Turn off the Water Supply
Before doing anything, make sure to turn off the water supply to your bathroom sink. This can usually be done by turning off the shut-off valves located underneath the sink. If you can't locate these valves, turn off the main water supply to your house.
Step 2: Disconnect Plumbing Connections
Next, use a wrench to loosen and disconnect the plumbing connections underneath the sink. These include the hot and cold water supply lines, as well as the drain pipe. Make sure to have a bucket or towel handy to catch any excess water that may come out.
Step 3: Remove Any Caulk or Adhesive
Using a utility knife, carefully cut through any caulk or adhesive that may be holding the vanity to the wall or floor. This will make it easier to remove the vanity without causing any damage.
Step 4: Unscrew the Vanity
Most bathroom vanities are attached to the wall with screws. Use a screwdriver to remove these screws and carefully detach the vanity from the wall. You may also need to use a pry bar to gently separate the vanity from the wall if it is glued in place.
Step 5: Lift and Remove the Vanity
With the vanity now detached from the wall, you can carefully lift it up and remove it from the bathroom. Be cautious of any sharp edges or corners and make sure to have someone help you if the vanity is heavy.
What to Do with Your Old Vanity?
 Now that you have successfully removed your old bathroom vanity, you may be wondering what to do with it. If the vanity is still in good condition, you can try selling or donating it. Alternatively, you can repurpose it for another area of your home, such as a laundry room or garage. If the vanity is damaged or outdated, you can dispose of it responsibly by contacting your local waste management company.
In Conclusion
 Removing your old bathroom vanity may seem like a daunting task, but by following these steps, you can easily and safely remove it without causing any damage. Remember to always turn off the water supply and use caution when handling heavy or sharp objects. And don't forget to have fun with your bathroom redesign!