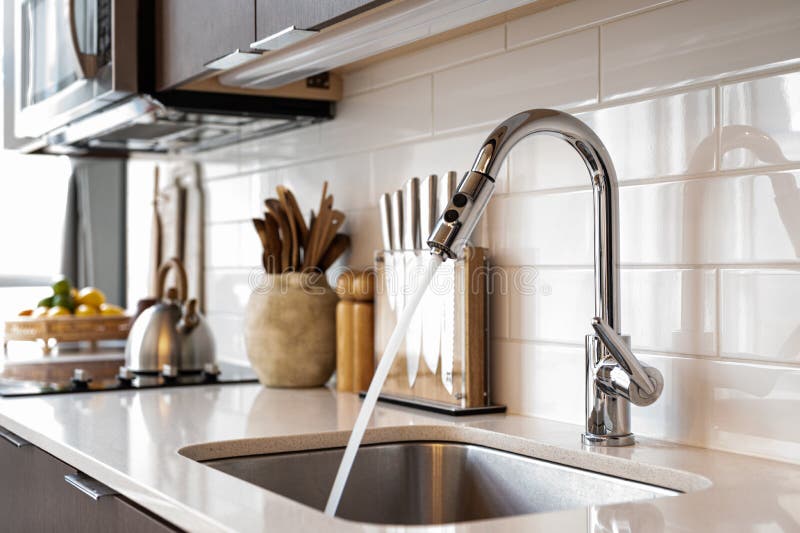
Installing a water facet in your kitchen sink can be a daunting task, especially if you have no prior experience. However, with the right tools and knowledge, it can be a simple and rewarding DIY project. In this guide, we will walk you through the steps on how to install a water facet in your kitchen sink. So, if you're ready to upgrade your kitchen and save some money by doing it yourself, let's get started!Install a Water Facet in Kitchen Sink


Install a Water Facet in Kitchen Sink


:max_bytes(150000):strip_icc()/how-to-install-a-sink-drain-2718789-hero-24e898006ed94c9593a2a268b57989a3.jpg)
Before we jump into the installation process, make sure you have all the necessary tools and materials. These include:
Tools: crescent wrench, adjustable pliers, screwdriver, Teflon tape, and a basin wrench.
Materials: new water facet, supply lines, and plumber's putty.How to Install a Water Facet in Kitchen Sink

How to Install a Water Facet in Kitchen Sink
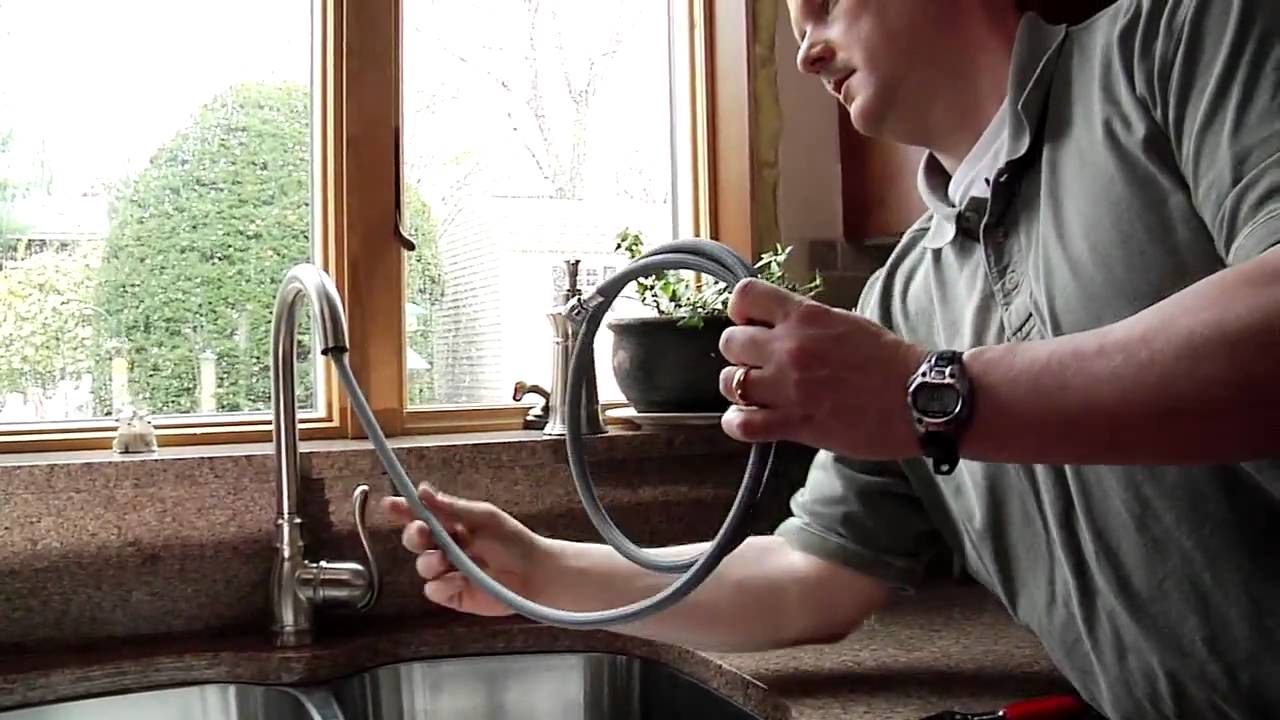
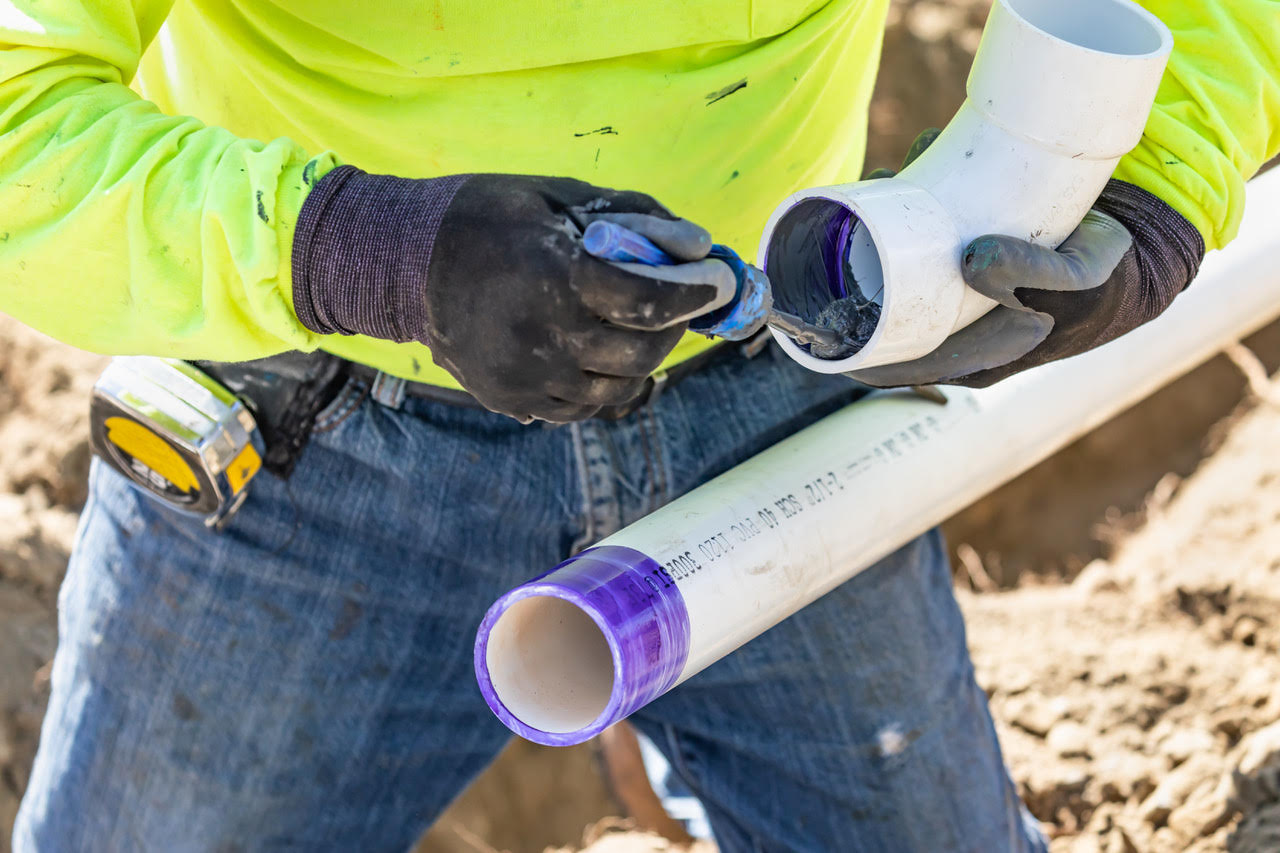
The first step is to remove the old water facet. Turn off the water supply to your kitchen sink by closing the valves under the sink. Then, disconnect the supply lines using adjustable pliers. Use the basin wrench to loosen and remove the mounting nuts underneath the sink. Once the old facet is removed, clean the area thoroughly.Water Facet Installation in Kitchen Sink


Water Facet Installation in Kitchen Sink

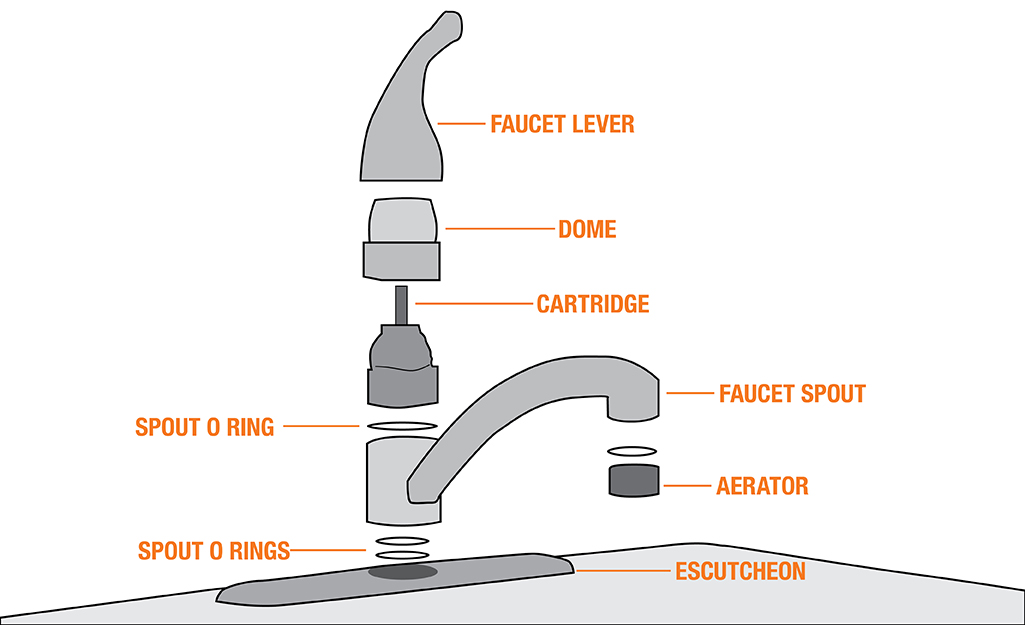


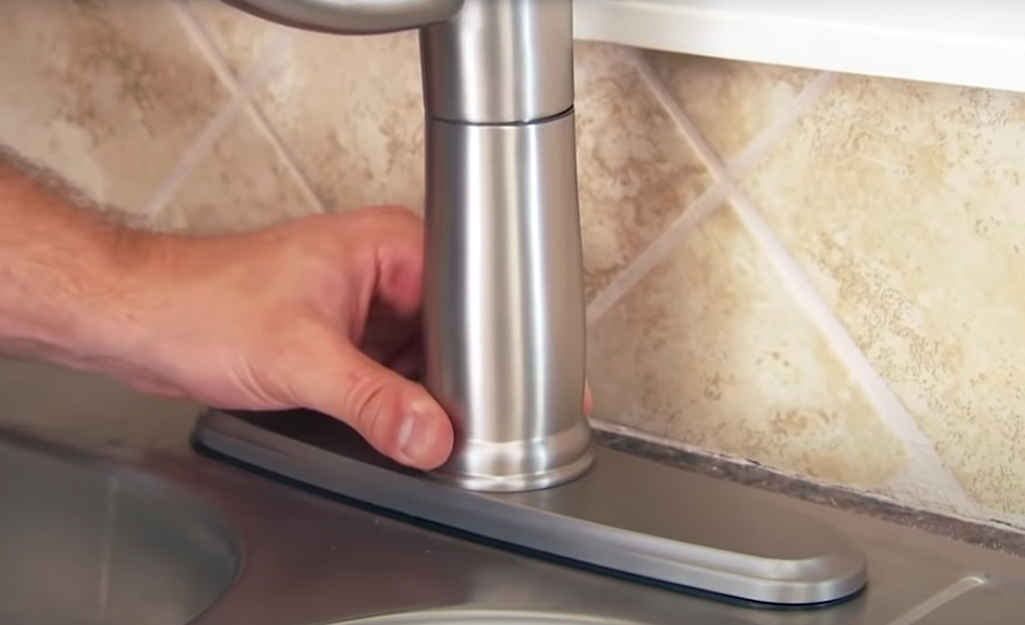
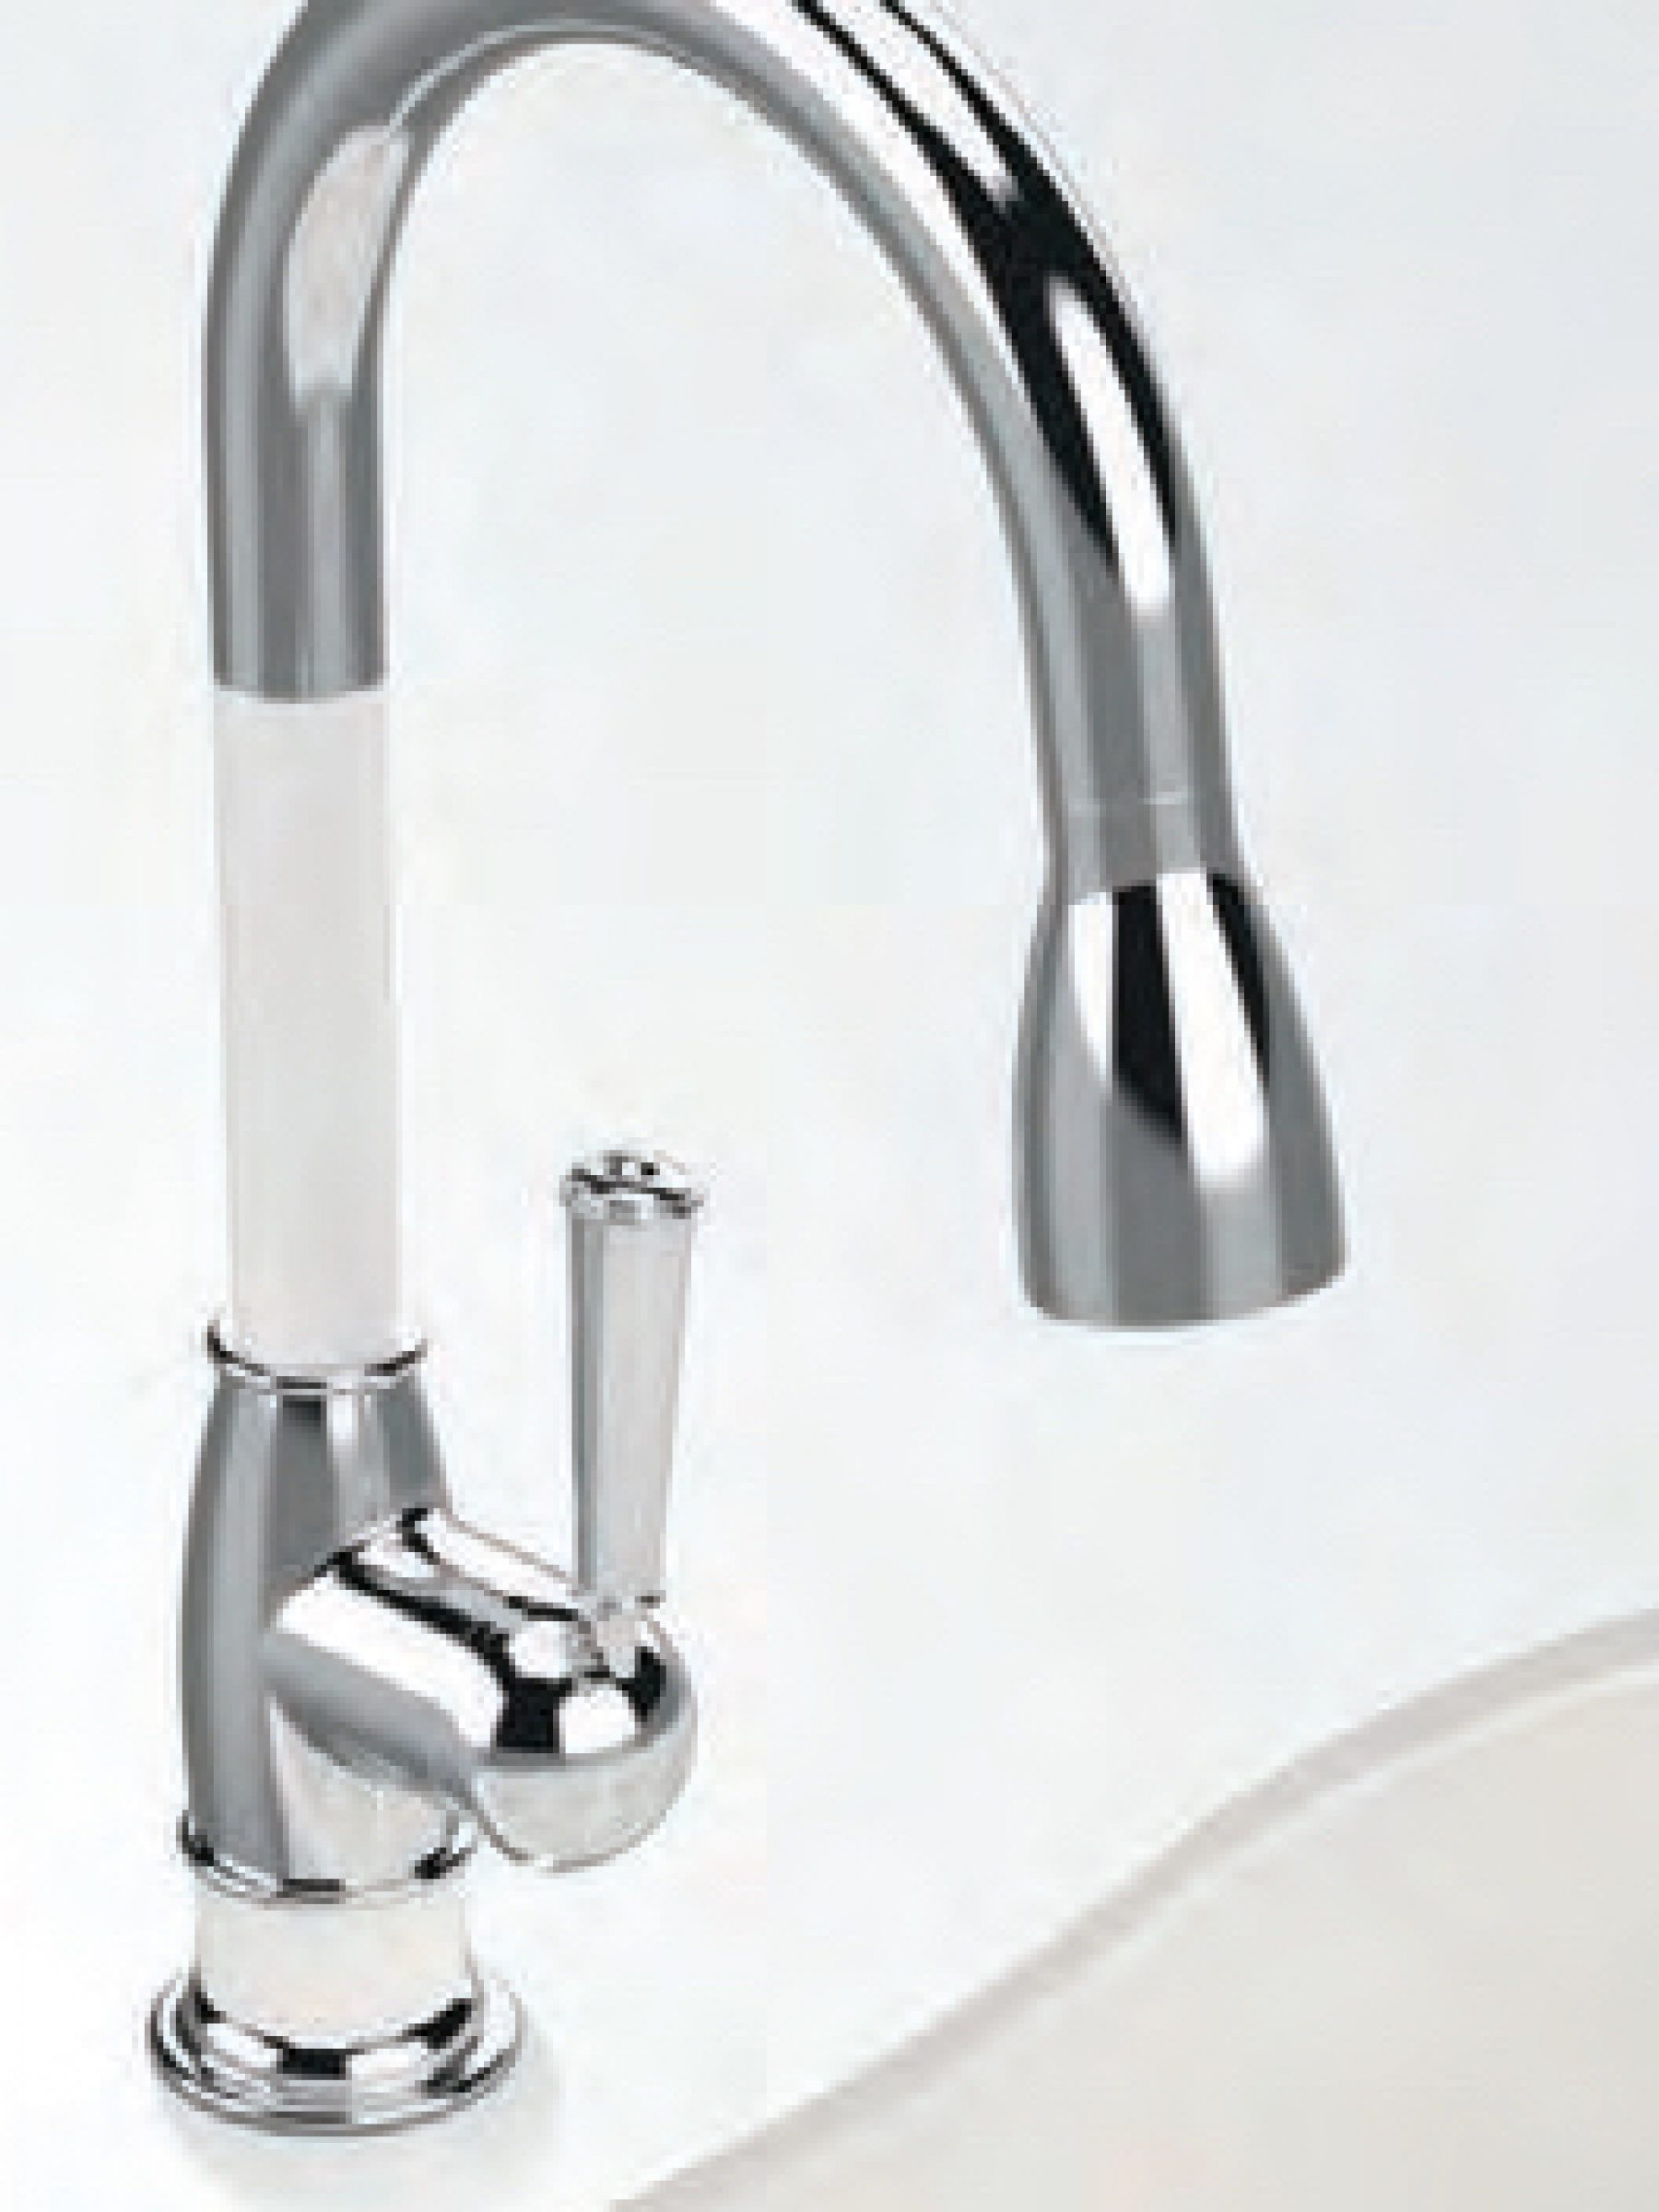
Step 1: Apply plumber's putty to the bottom of the new facet's base.
Step 2: Insert the facet into the hole in the sink and press down firmly.
Step 3: From underneath the sink, secure the facet in place using the mounting nuts and the basin wrench.
Step 4: Connect the supply lines to the corresponding valves, using Teflon tape to ensure a tight seal.
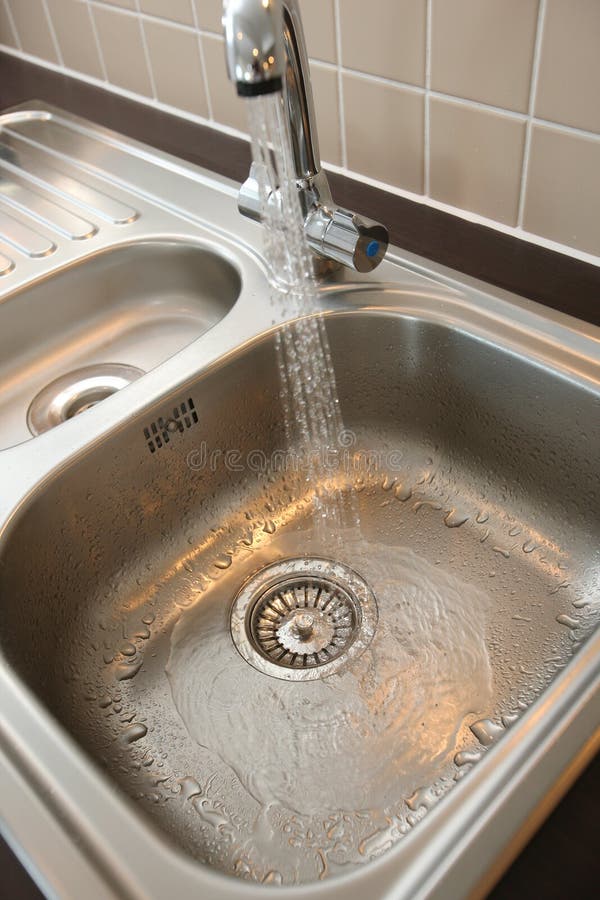
Step 5: Turn on the water supply and check for any leaks.
Step 6: If everything is secure and leak-free, attach the aerator to the end of the facet.
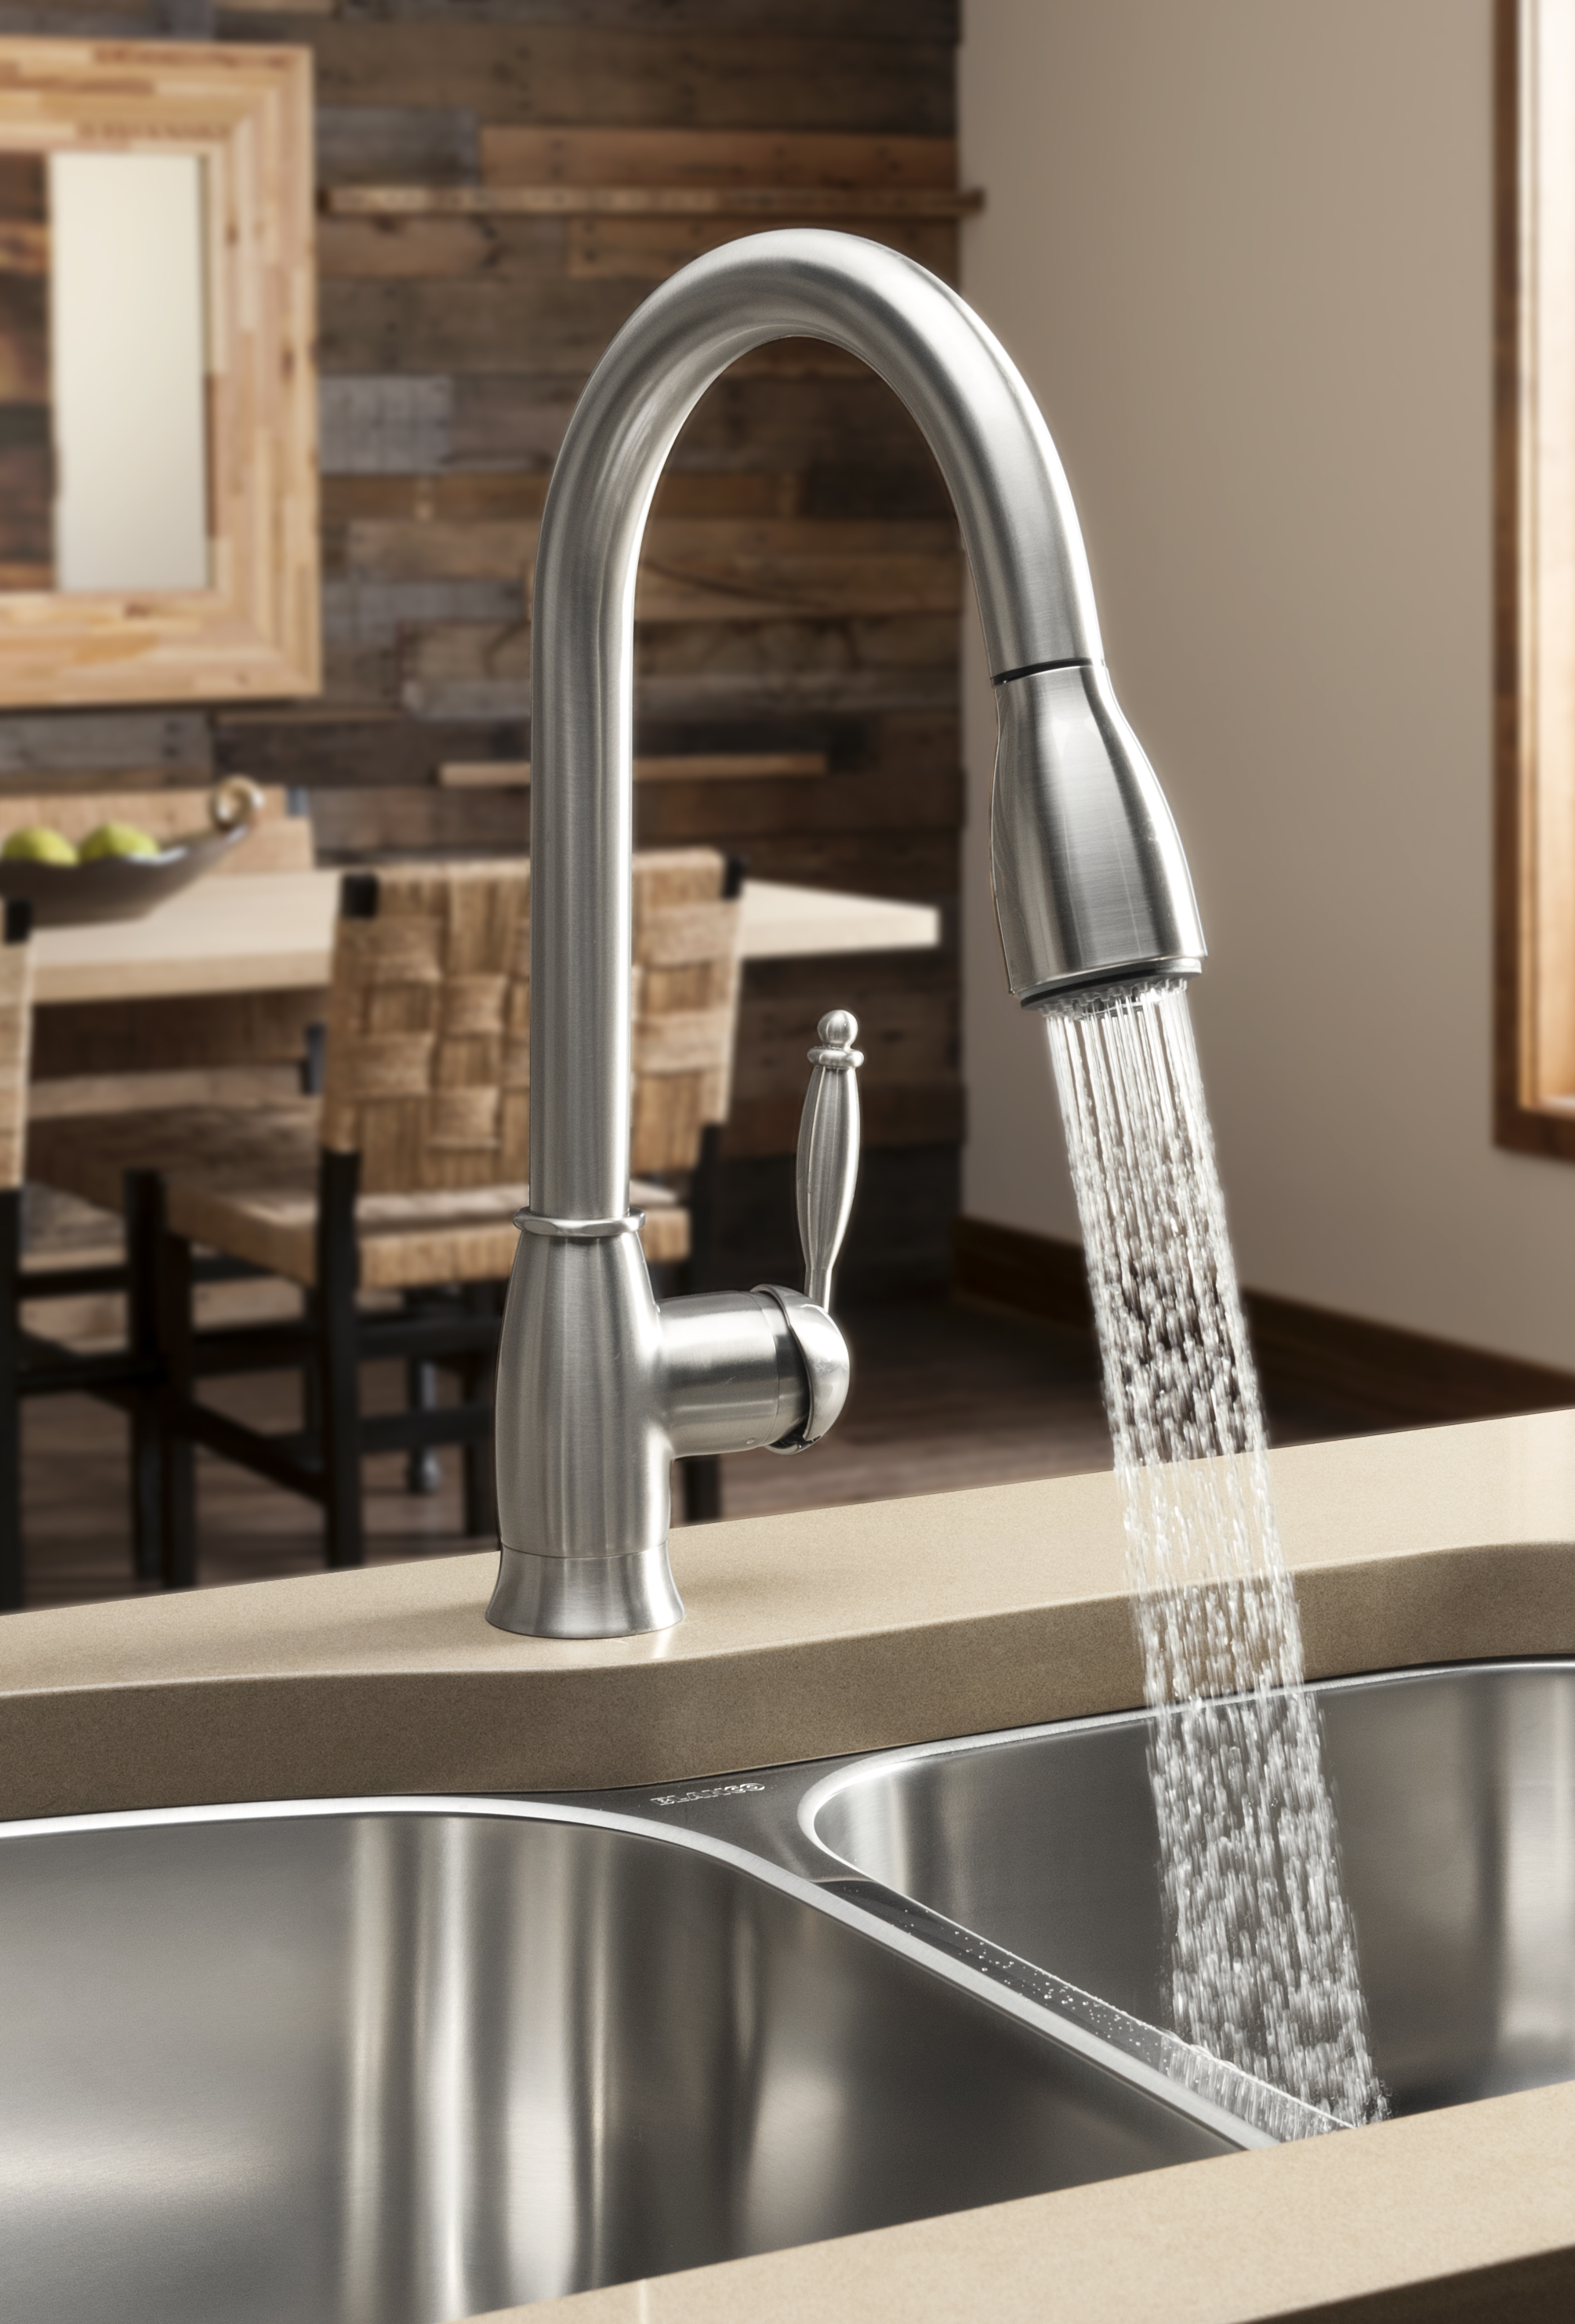
Congratulations, you have successfully installed a new water facet in your kitchen sink!Step-by-Step Guide for Installing a Water Facet in Kitchen Sink


Step-by-Step Guide for Installing a Water Facet in Kitchen Sink


Installing a water facet in your kitchen sink can be a DIY project, and it's a great way to save some money. However, if you're not confident in your plumbing skills, it's always best to hire a professional. A DIY project gone wrong can end up costing you more in the long run.DIY Water Facet Installation in Kitchen Sink


DIY Water Facet Installation in Kitchen Sink


As mentioned earlier, you will need a few tools and materials to install a water facet in your kitchen sink. These include a crescent wrench, adjustable pliers, screwdriver, Teflon tape, basin wrench, new water facet, supply lines, and plumber's putty. Having all these items ready before starting the installation process will make it smoother and more efficient.Tools and Materials Needed for Installing a Water Facet in Kitchen Sink


Tools and Materials Needed for Installing a Water Facet in Kitchen Sink


Here are a few tips to keep in mind while installing a water facet in your kitchen sink:
Tip 1: Always turn off the water supply before starting the installation process.
Tip 2: Use Teflon tape on the supply line connections to ensure a tight seal.
Tip 3: Don't over-tighten the mounting nuts, as this can cause damage to the sink.
Tip 4: Use a basin wrench to reach tight spaces and make the installation process easier.Tips for Installing a Water Facet in Kitchen Sink

Tips for Installing a Water Facet in Kitchen Sink


Here are some common mistakes to avoid when installing a water facet in your kitchen sink:
Mistake 1: Not properly turning off the water supply, which can lead to a flooded kitchen.
Mistake 2: Forgetting to use Teflon tape, resulting in leaks.
Mistake 3: Over-tightening the mounting nuts, causing damage to the sink.
Mistake 4: Not using a basin wrench, making it difficult to reach tight spaces.Common Mistakes to Avoid When Installing a Water Facet in Kitchen Sink


Common Mistakes to Avoid When Installing a Water Facet in Kitchen Sink


Deciding whether to hire a professional or do it yourself depends on your comfort level and experience with plumbing. While hiring a professional may cost more, it ensures that the job is done correctly and with minimal risk of damage. However, if you have some plumbing knowledge and are confident in your skills, a DIY project can save you money.Professional vs. DIY Water Facet Installation in Kitchen Sink
Professional vs. DIY Water Facet Installation in Kitchen Sink

If you encounter any issues during the installation process, here are some troubleshooting tips:
Issue: Leaks from the supply lines.
Solution: Make sure the supply lines are properly connected and that the connections are secure.
Issue: Water pressure is low.
Solution: Check for debris or dirt in the aerator. Clean or replace it if necessary.
Issue: Water is leaking from the base of the facet.
Solution: The plumber's putty may not have been applied correctly. Remove the facet and reapply the putty before reinstalling.Troubleshooting Guide for Water Facet Installation in Kitchen Sink

Troubleshooting Guide for Water Facet Installation in Kitchen Sink


Additional Steps for Installing a Water Faucet in Your Kitchen Sink

Step 4: Attach the Water Supply Line

Once your water facet is securely in place, it's time to attach the water supply line. This is the most important step in the installation process, as the water supply line will bring water to your facet and allow it to function properly. Begin by wrapping thread seal tape around the threads of the water supply valve to prevent any leaks. Then, attach the supply line to the valve and tighten it with a wrench.
Step 5: Connect the Drain

The next step is to connect the drain of your water facet. This will allow any used water to drain out properly and prevent any potential clogs. Start by placing the rubber gasket over the drain hole in your sink. Then, insert the drain tailpiece through the gasket and tighten it with a wrench. Finally, connect the drain trap to the tailpiece and tighten it as well.
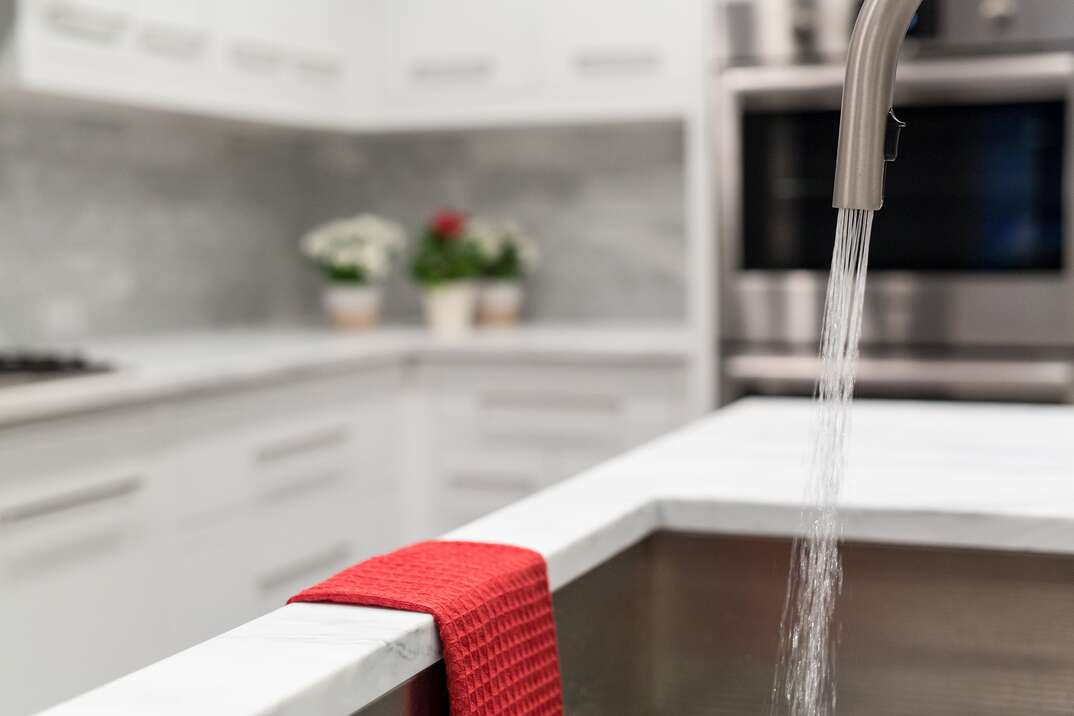
Step 6: Turn on the Water and Test Your Facet

With all the necessary components in place, it's time to turn on the water and test your newly installed faucet. Slowly turn on the water supply valve and check for any leaks. If there are no leaks, turn on the faucet and check for proper water flow. If everything looks good, congratulations, you have successfully installed a water facet in your kitchen sink!