Are you tired of the worn-out look of your dining room table? Do you want to give it a fresh new look without breaking the bank? Refinishing your dining room table is the perfect solution. Not only will it save you money, but it will also give you a sense of accomplishment and satisfaction. Follow these simple steps for a successful refinishing project.Refinishing Dining Room Tables: A Step-by-Step Guide


Refinishing Dining Room Tables: A Step-by-Step Guide


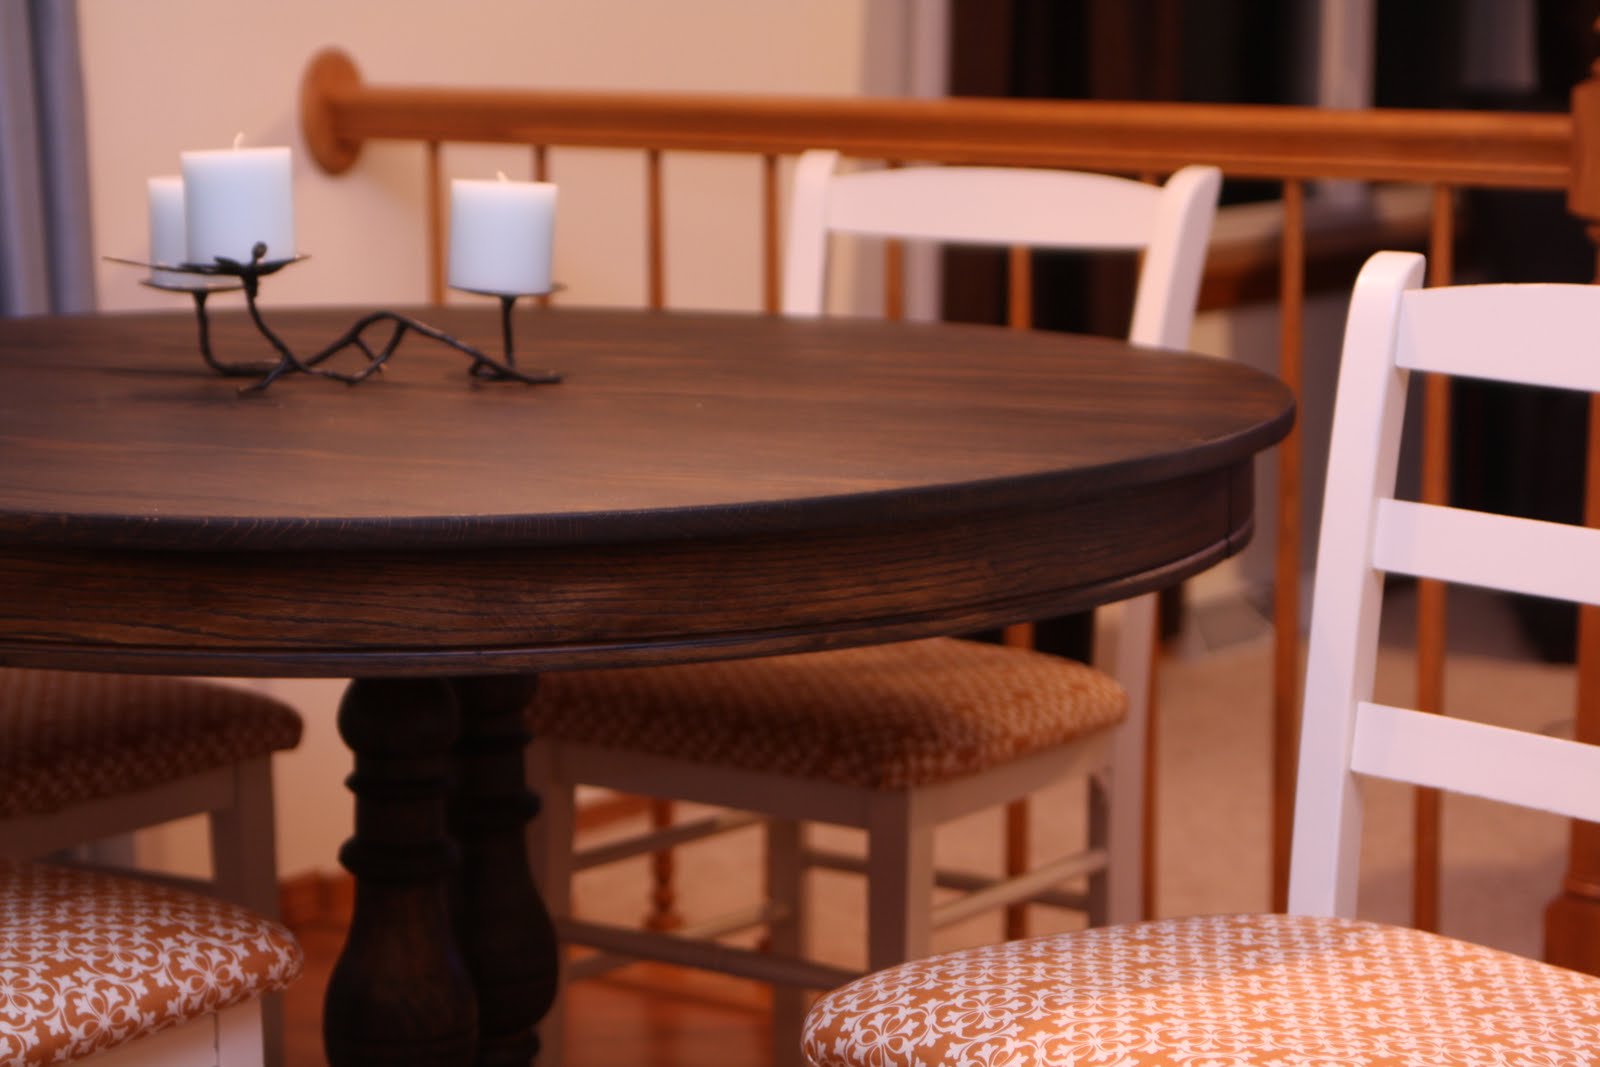
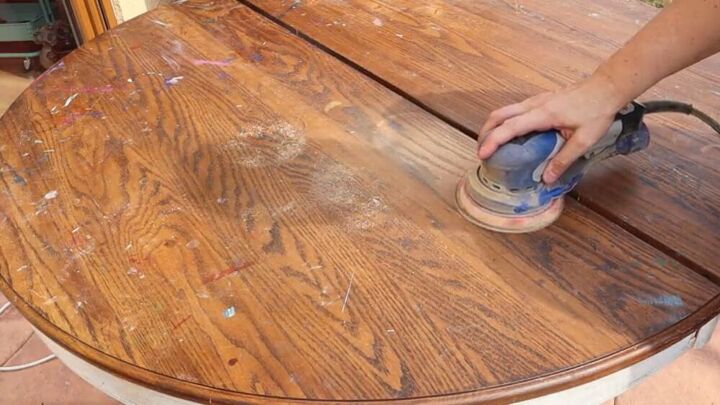
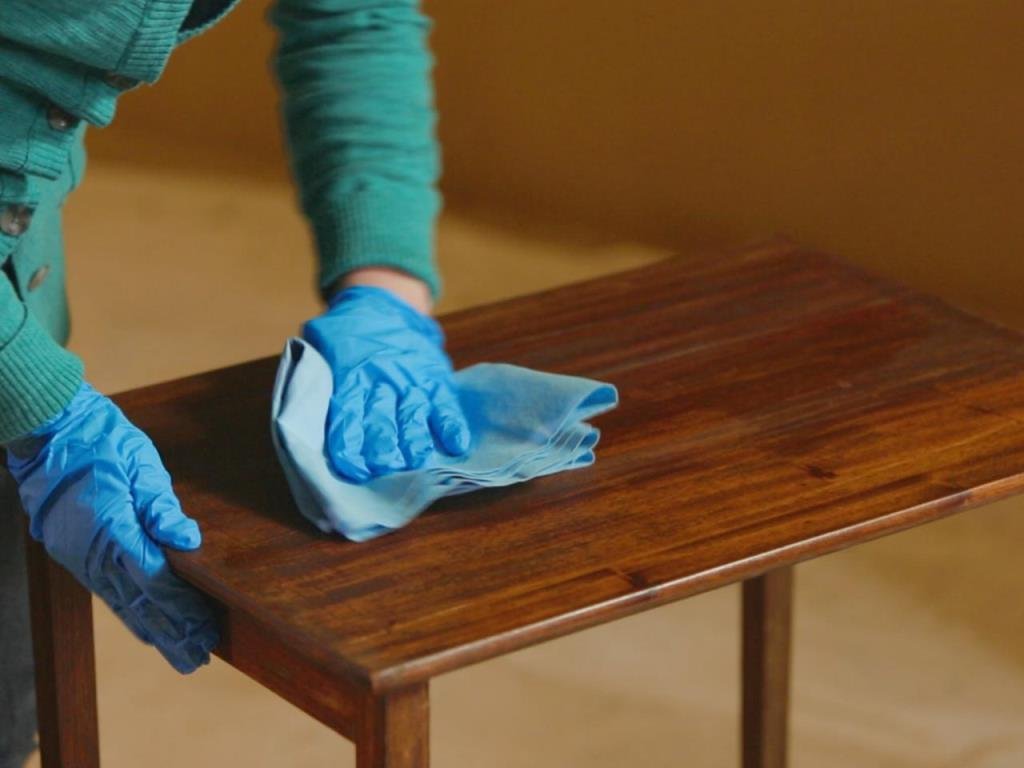
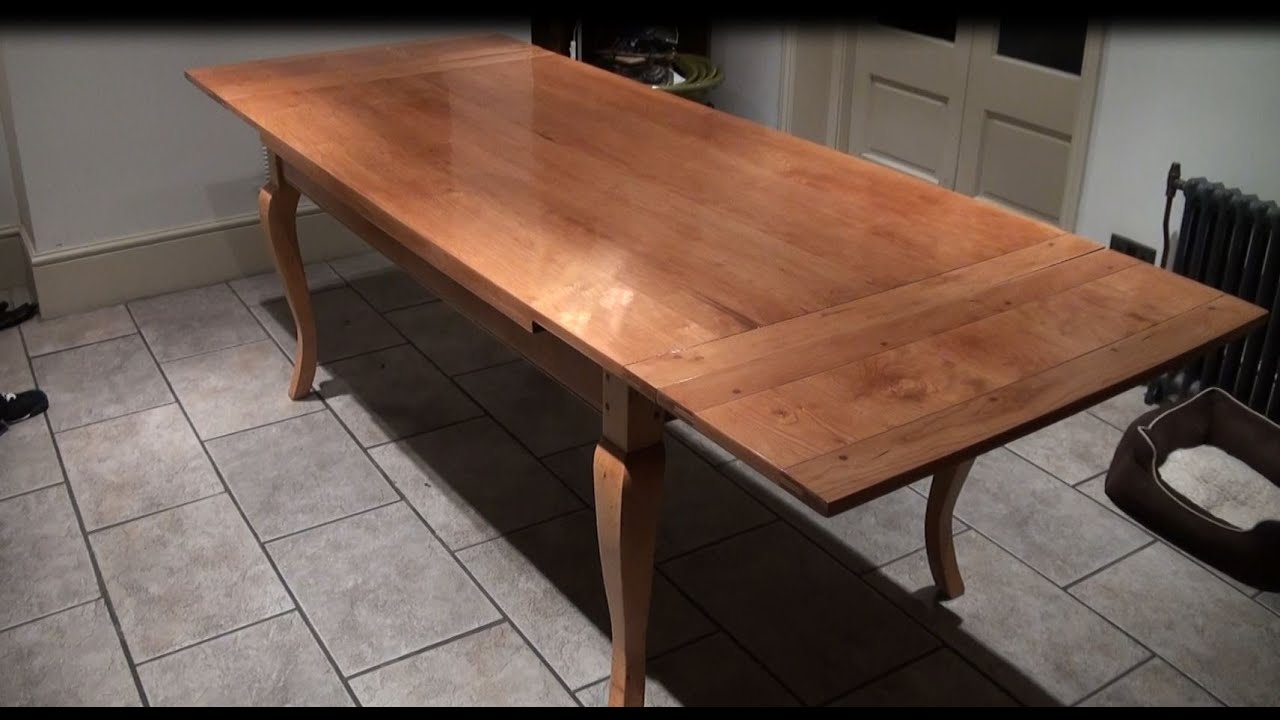
Refinishing a dining room table may seem like a daunting task, but with the right tools and techniques, it can be done easily. Here are the 7 steps to follow: Step 1: Prepare the Work Area Before starting your refinishing project, make sure you have a well-ventilated area to work in. Lay down a drop cloth or old newspapers to protect your floor from any spills or drips. It is also recommended to wear protective gear such as gloves and a mask to avoid any skin or respiratory irritation. Step 2: Gather Your Materials For this project, you will need sandpaper, wood stain, paintbrushes, and a wood sealer. You can choose from a variety of stains and finishes, such as oil-based or water-based, depending on your preference and the type of wood your dining table is made of. Step 3: Remove the Old Finish Using sandpaper or a sanding block, remove the old finish from your dining table. This will help the new stain and sealer adhere better to the wood. Make sure to sand in the direction of the wood grain for a smooth finish. Step 4: Clean the Surface After sanding, wipe down the table with a clean cloth to remove any dust or debris. This will ensure a clean and even surface for the new finish to be applied. Step 5: Apply the Stain Using a paintbrush, apply the stain to your dining table in long, even strokes. Make sure to follow the instructions on the stain for the recommended drying time and number of coats to achieve your desired color. Step 6: Seal the Wood Once the stain is completely dry, apply a wood sealer to protect the wood and give it a glossy finish. Apply the sealer in the same manner as the stain, making sure to cover the entire surface of the table. Step 7: Let it Dry Allow the sealer to dry completely before using your newly refinished dining table. This can take anywhere from 24-48 hours, depending on the type of sealer used. Once dry, you can enjoy your beautifully refinished dining room table.How to Refinish a Dining Room Table in 7 Easy Steps


How to Refinish a Dining Room Table in 7 Easy Steps


Refinishing a dining room table can be a fun and rewarding DIY project, but it's important to keep a few tips and tricks in mind for a professional finish: Tip 1: Choose the Right Stain When selecting a stain for your dining table, consider the type of wood it is made of and the color you want to achieve. Test the stain on a small inconspicuous area of the table first to ensure it is the desired color. Tip 2: Sand in Between Coats To achieve a smooth and even finish, lightly sand the table in between coats of stain and sealer. This will help remove any imperfections and create a professional-looking result. Tip 3: Don't Rush Allow each coat of stain and sealer to dry completely before applying the next coat. Rushing through this process can result in a subpar finish. Tip 4: Protect Your Work Area Make sure to cover your work area with drop cloths or old newspapers to protect it from any spills or drips. This will save you time and effort in cleaning up afterwards.Refinishing Dining Room Tables: Tips and Tricks for a Professional Finish


Refinishing Dining Room Tables: Tips and Tricks for a Professional Finish

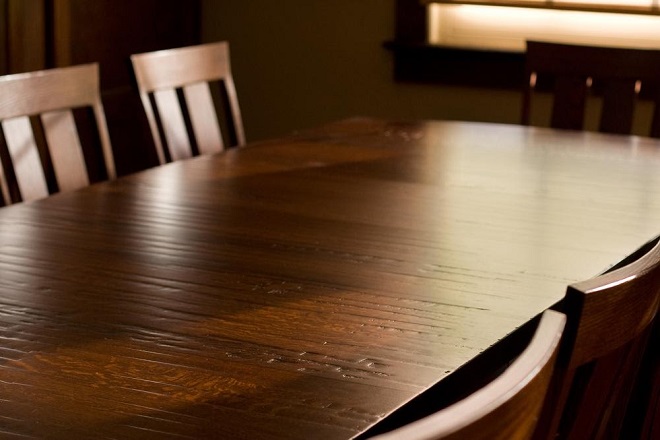
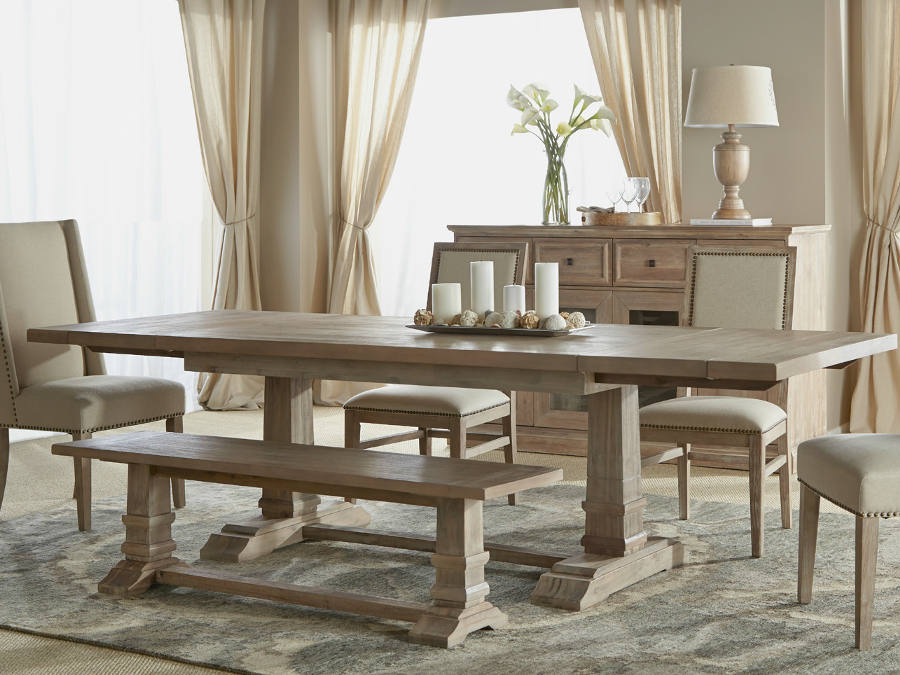
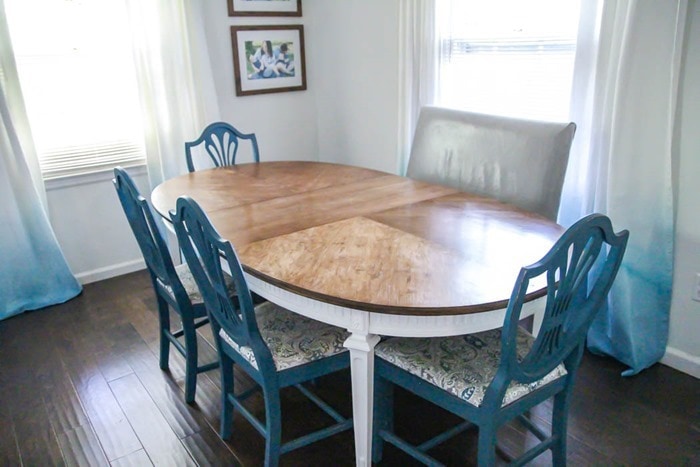
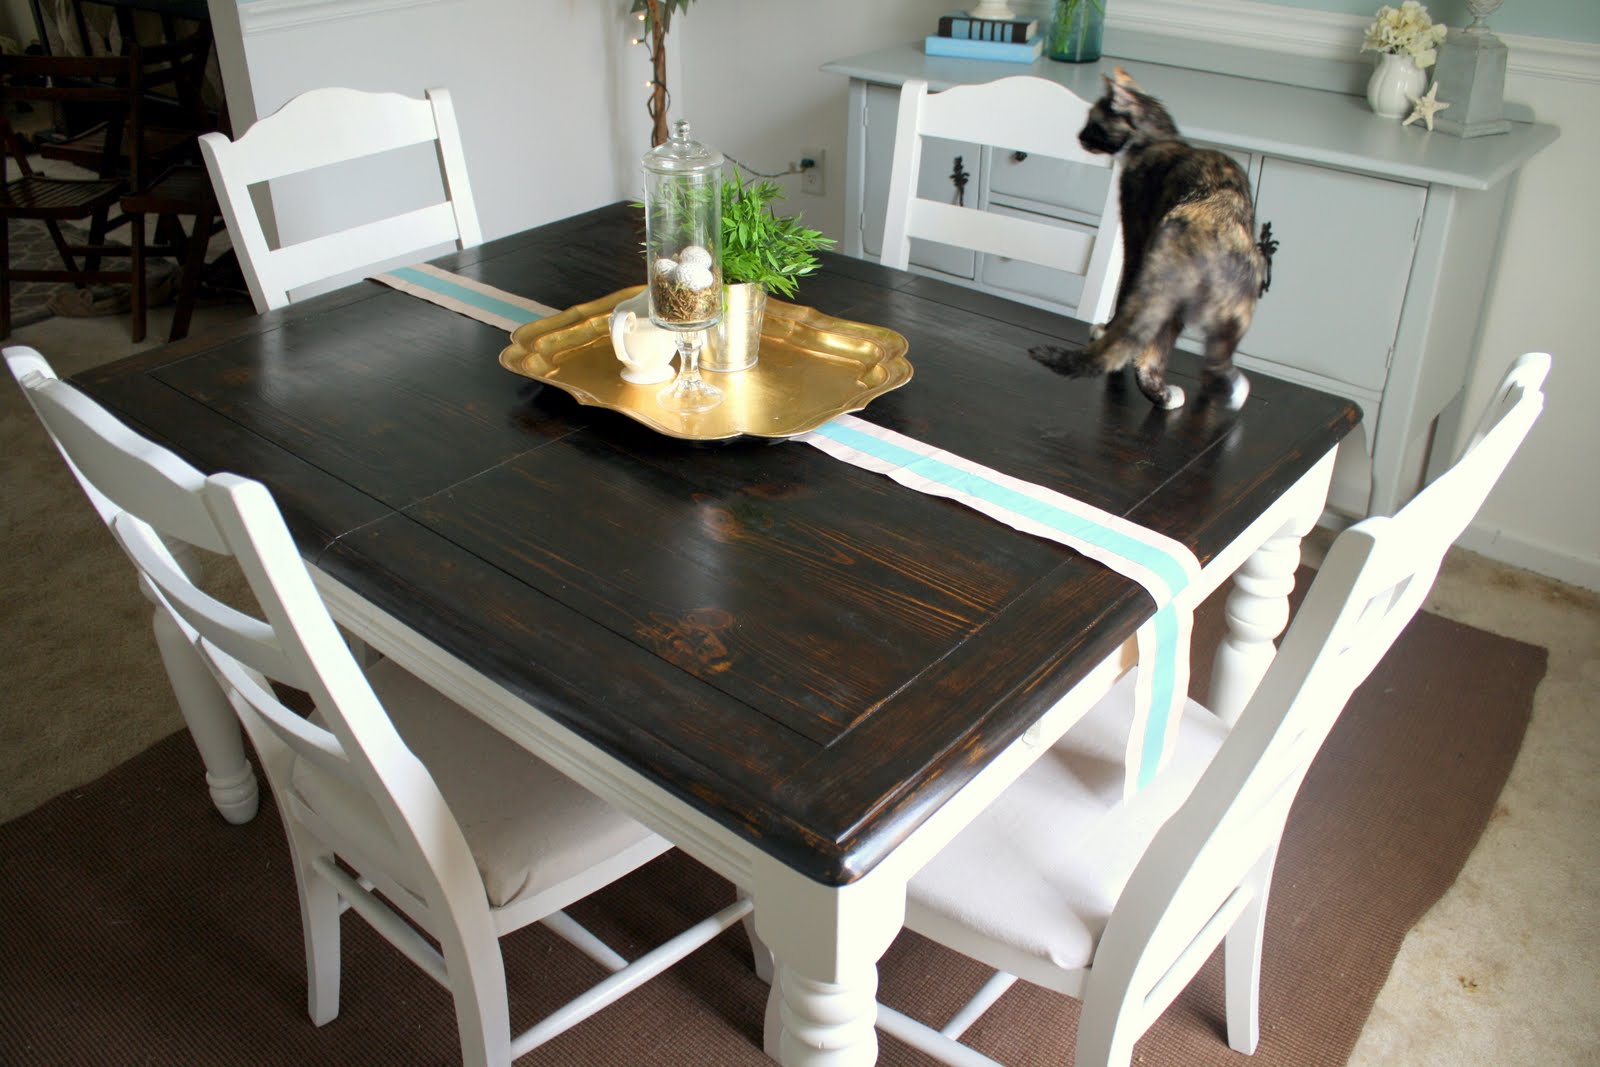
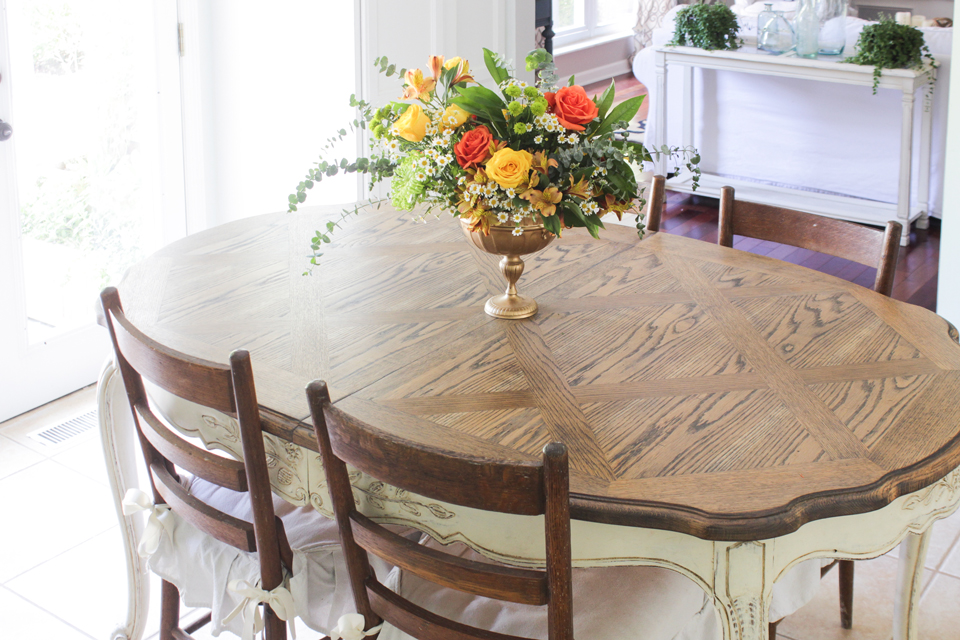
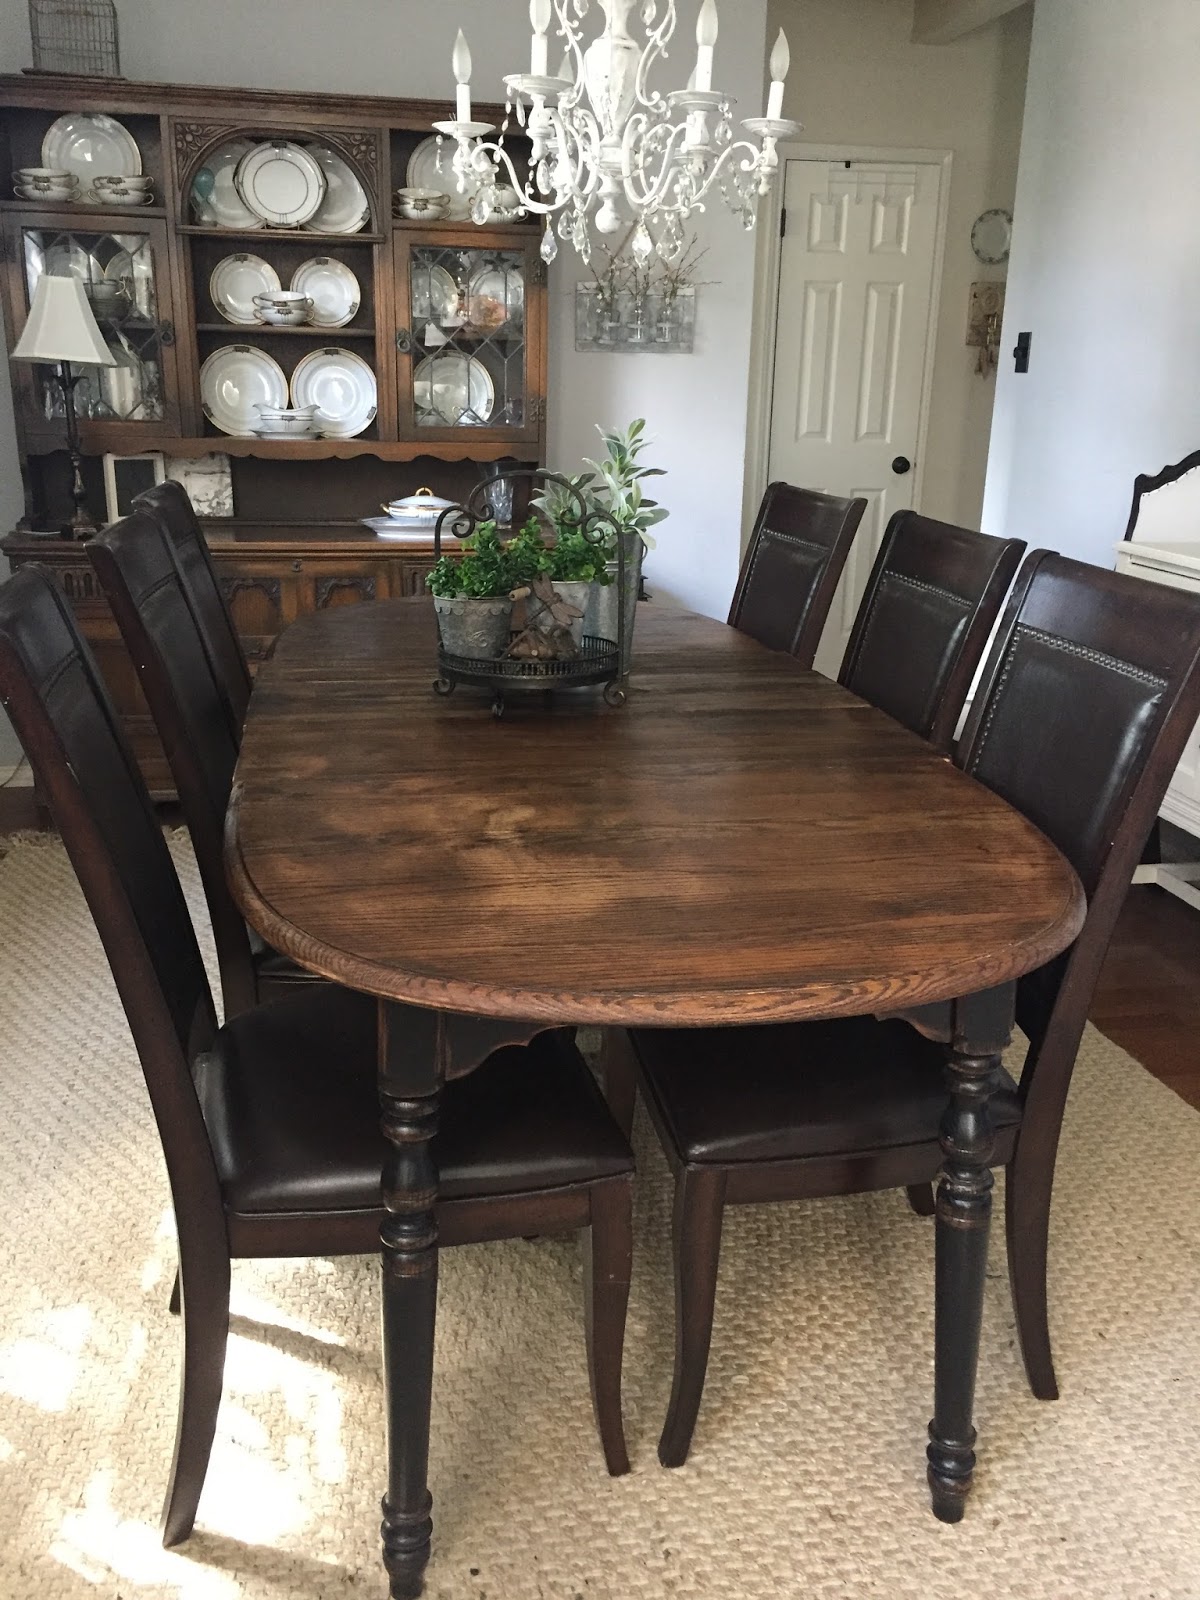
Refinishing your dining room table is not only a cost-effective solution, but it also allows you to transform your table into a unique and personalized piece of furniture. You can choose from a variety of stains and finishes to match your personal style and home décor. For a rustic look, consider using a distressed wood stain. This will give your table a weathered and aged appearance. For a more modern look, opt for a sleek black or white stain. The possibilities are endless when it comes to DIY refinishing.DIY Refinishing: How to Transform Your Dining Room Table


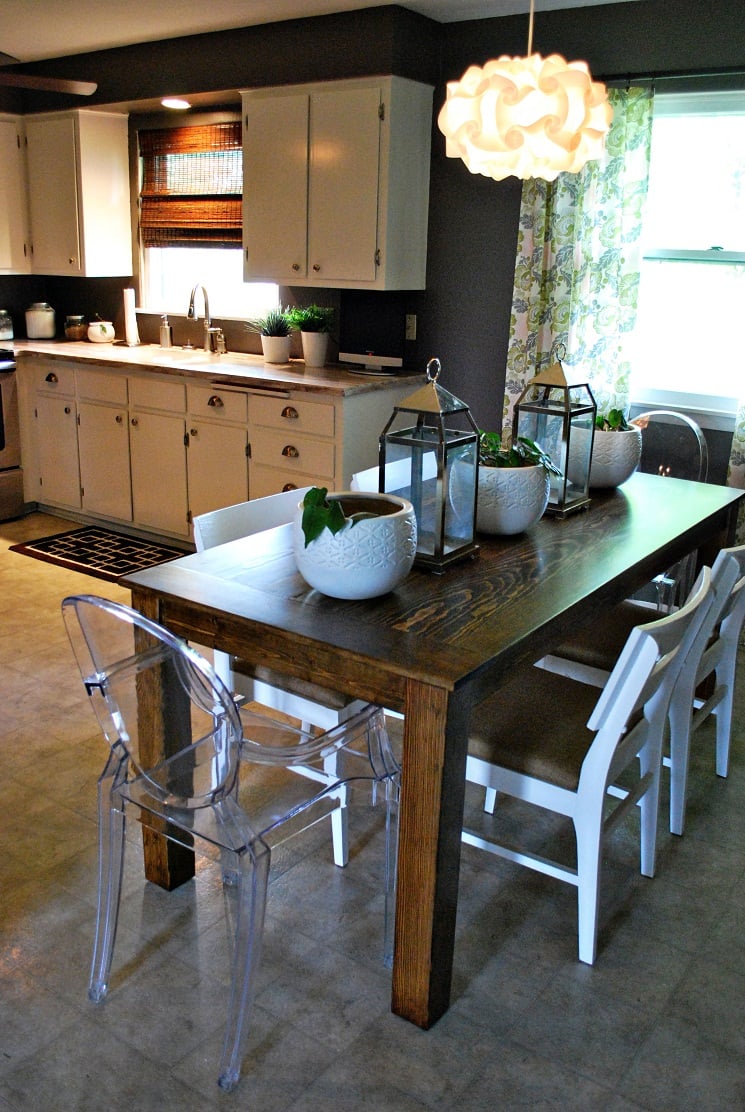
DIY Refinishing: How to Transform Your Dining Room Table


While refinishing a dining room table may seem like a simple project, there are some common mistakes that can lead to a less-than-desirable result. Here are some mistakes to avoid: Mistake 1: Skipping the Sanding Process Sanding is an important step in the refinishing process as it helps the new finish adhere to the wood. Skipping this step can result in a patchy and uneven finish. Mistake 2: Not Using Enough Stain Applying too little stain can result in a faded and uneven color. Make sure to apply enough stain to cover the entire surface of the table evenly. Mistake 3: Not Letting the Stain Dry Completely Rushing through the drying process can lead to a sticky and tacky finish. Make sure to allow each coat of stain and sealer to dry completely before applying the next one.Refinishing Dining Room Tables: Common Mistakes to Avoid
Refinishing Dining Room Tables: Common Mistakes to Avoid

Refinishing your dining room table is a great way to give your home a fresh new look without spending a lot of money. With a little time and effort, you can transform your old and worn-out table into a beautiful and modern piece of furniture. Not only will this save you money, but it will also give you a sense of accomplishment and pride in your DIY skills. So why not give it a try and see the amazing transformation for yourself?From Drab to Fab: Refinishing Your Dining Room Table for a Fresh Look


From Drab to Fab: Refinishing Your Dining Room Table for a Fresh Look


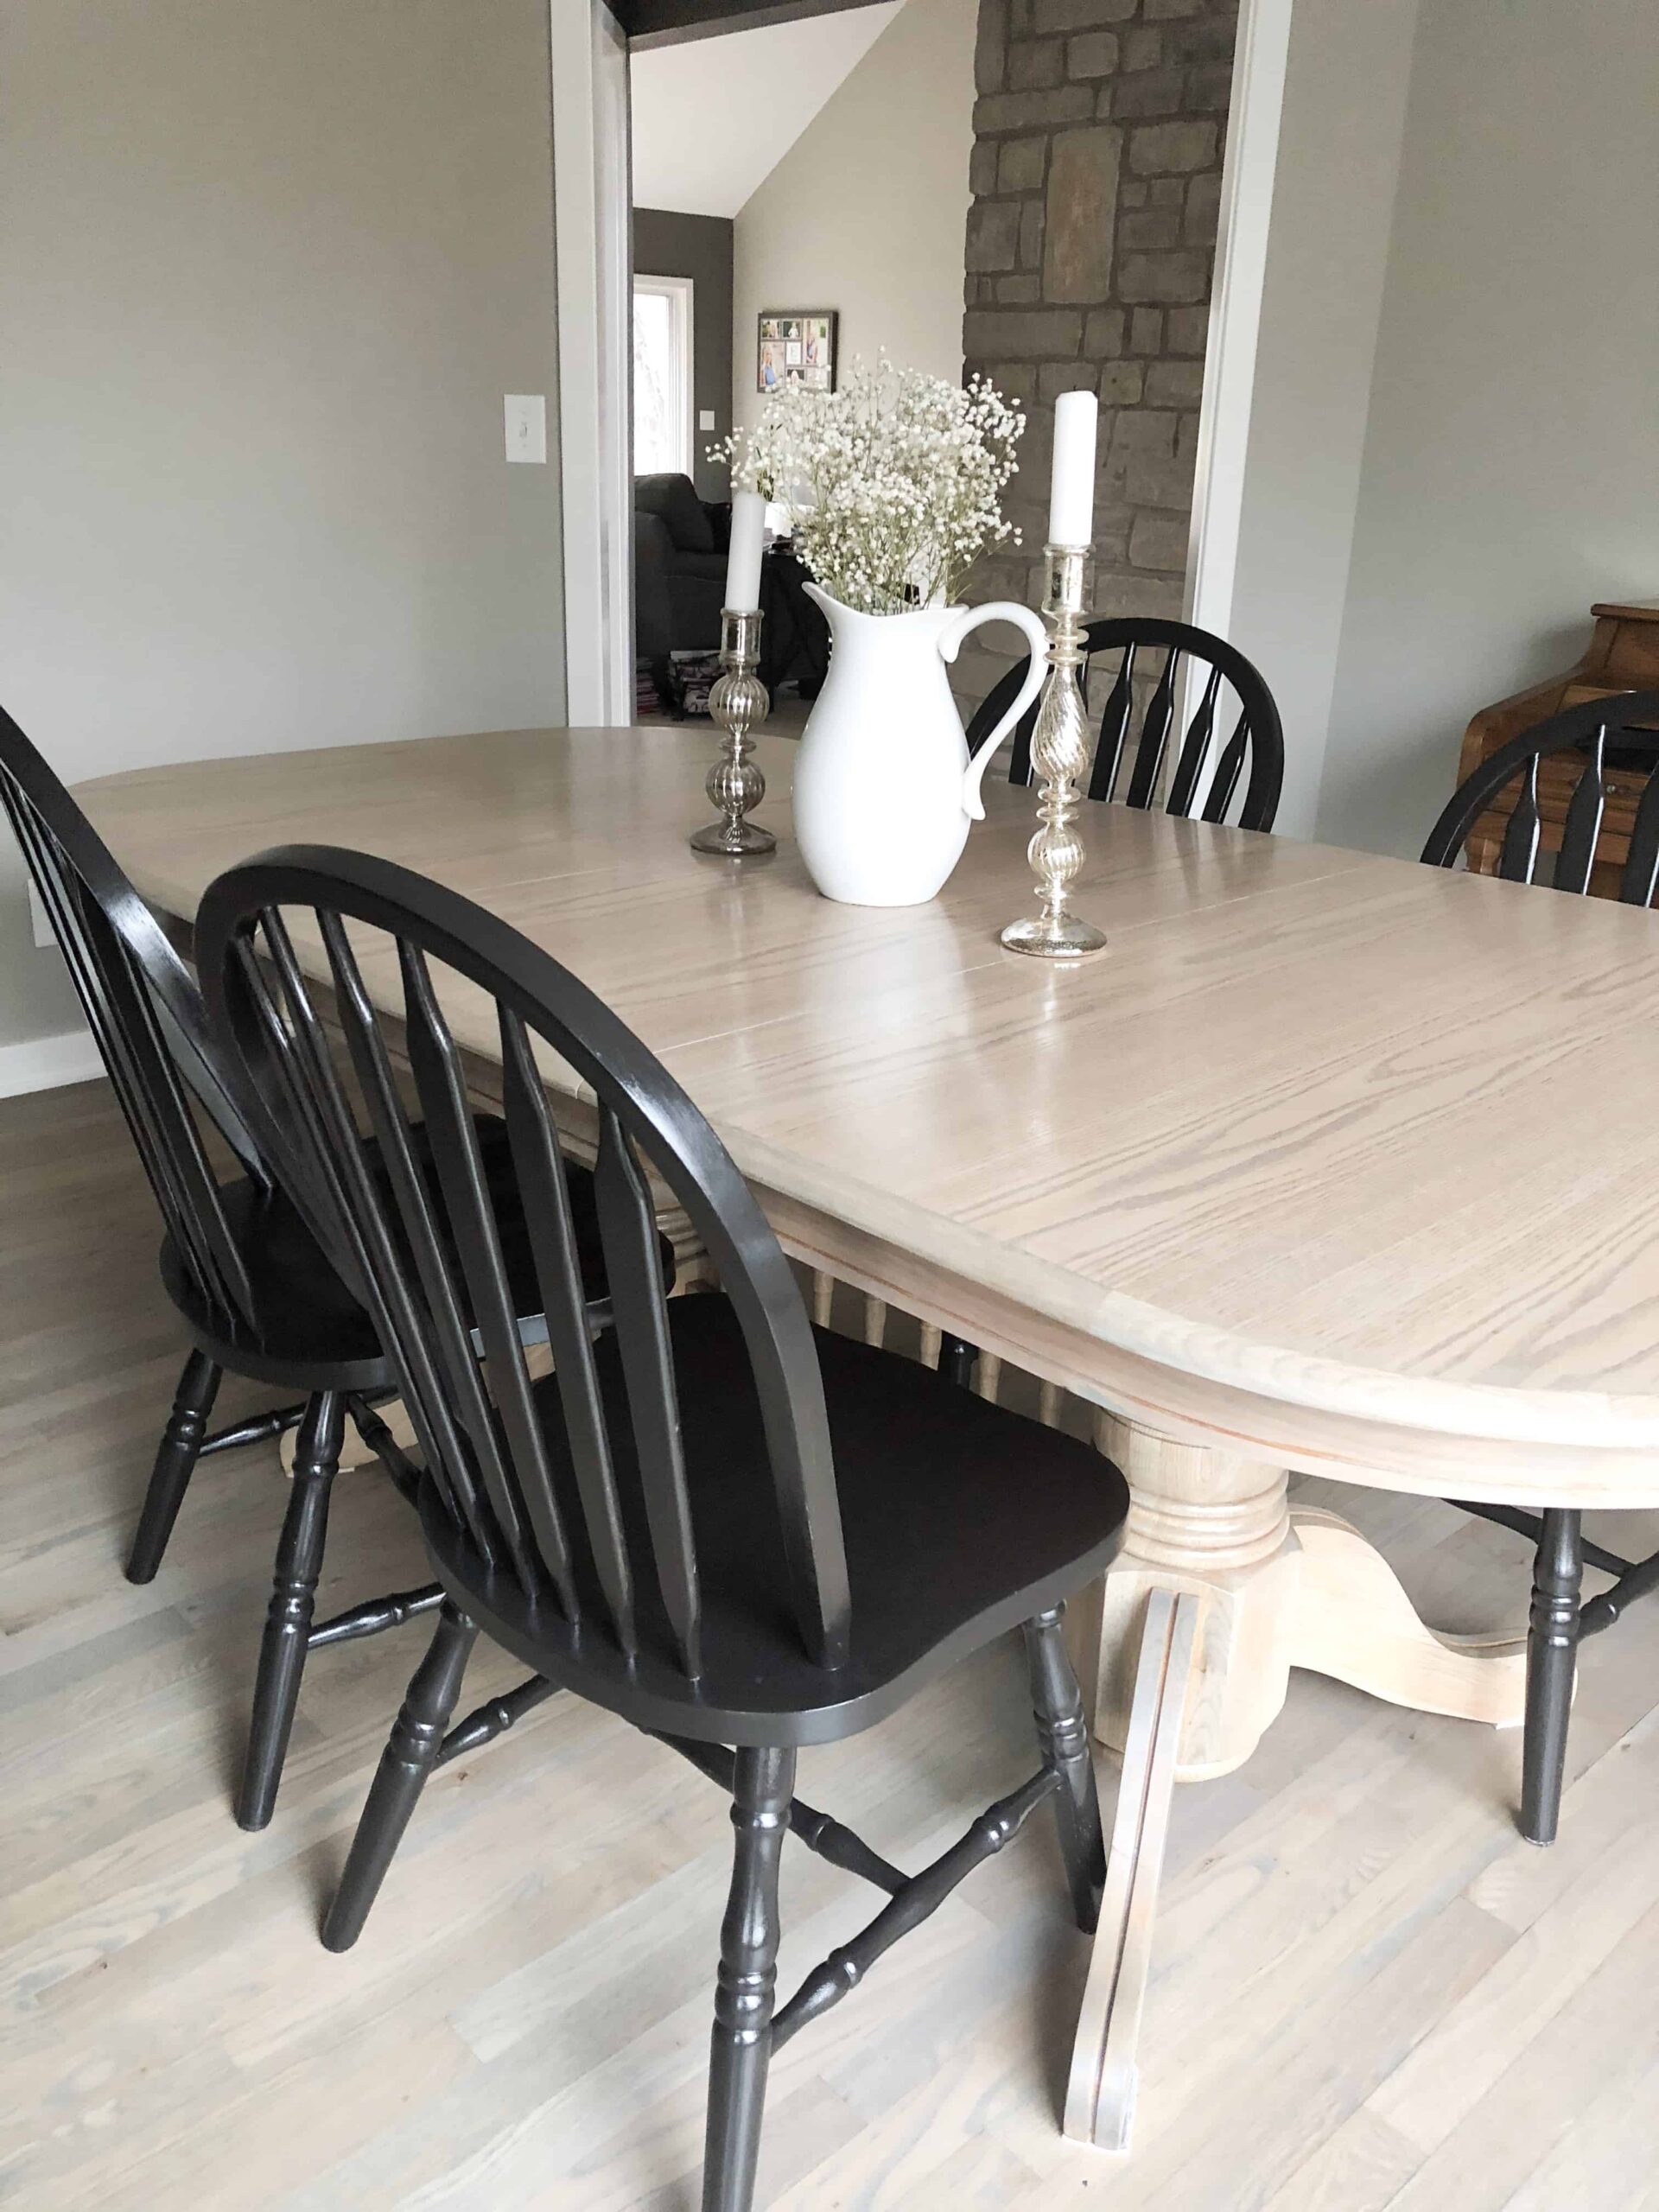
Choosing the right stain and finish for your dining room table is crucial in achieving the desired look. Here are some factors to consider when making your selection: Type of Wood The type of wood your dining table is made of will determine the best stain and finish to use. Some types of wood, such as oak and pine, absorb stain differently than others, so it is important to do some research before making your selection. Desired Color The color of stain you choose will greatly impact the overall look of your dining table. Lighter stains will give a more natural and rustic look, while darker stains will give a more modern and sophisticated feel. Personal Style Ultimately, the stain and finish you choose should reflect your personal style and complement your home décor. Don't be afraid to experiment with different colors and finishes to find the perfect fit for your dining room.Refinishing Dining Room Tables: Choosing the Right Stain and Finish


Refinishing Dining Room Tables: Choosing the Right Stain and Finish
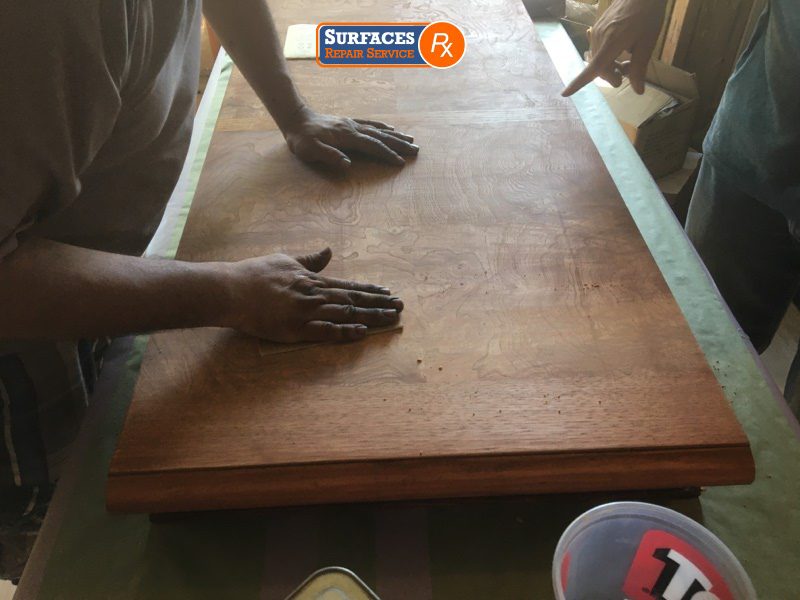
Sanding is a crucial step in the refinishing process, but it can also be a tedious and time-consuming task. Here are some tips for sanding your dining room table like a pro: Tip 1: Use the Right Grit Sandpaper For best results, start with a coarse grit sandpaper and gradually move to a finer grit. This will help remove any imperfections and create a smooth surface for the stain and sealer to adhere to. Tip 2: Sand in the Direction of the Wood Grain Sanding against the grain can result in scratches and an uneven finish. Make sure to sand in the direction of the wood grain for a smooth and professional-looking surface. Tip 3: Don't Press Too Hard Sanding too hard can damage the wood and create uneven patches. Apply light pressure and let the sandpaper do the work for a more even finish.Refinishing Dining Room Tables: Sanding Techniques for a Smooth Surface

Refinishing Dining Room Tables: Sanding Techniques for a Smooth Surface


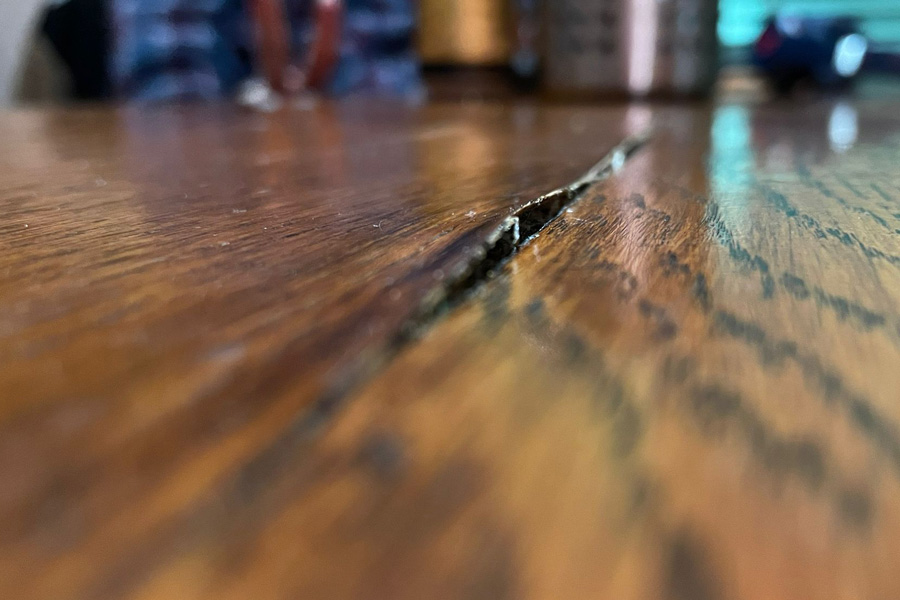
Over time, your dining room table may experience wear and tear, such as scratches and dents. Fortunately, these can be easily fixed during the refinishing process. Here's how: Scratches: Fill in scratches with wood filler and sand them down until smooth before applying the stain. Alternatively, you can use a scratch cover product to hide minor scratches. Dents: Use a damp cloth and a hot iron to steam out minor dents. If the dent is deeper, you may need to fill it in with wood filler and sand it down. Water Stains: Water stains can be removed by sanding the affected area and then applying a wood bleach solution. Allow it to dry completely before applying the stain.Refinishing Dining Room Tables: How to Repair Damaged Wood

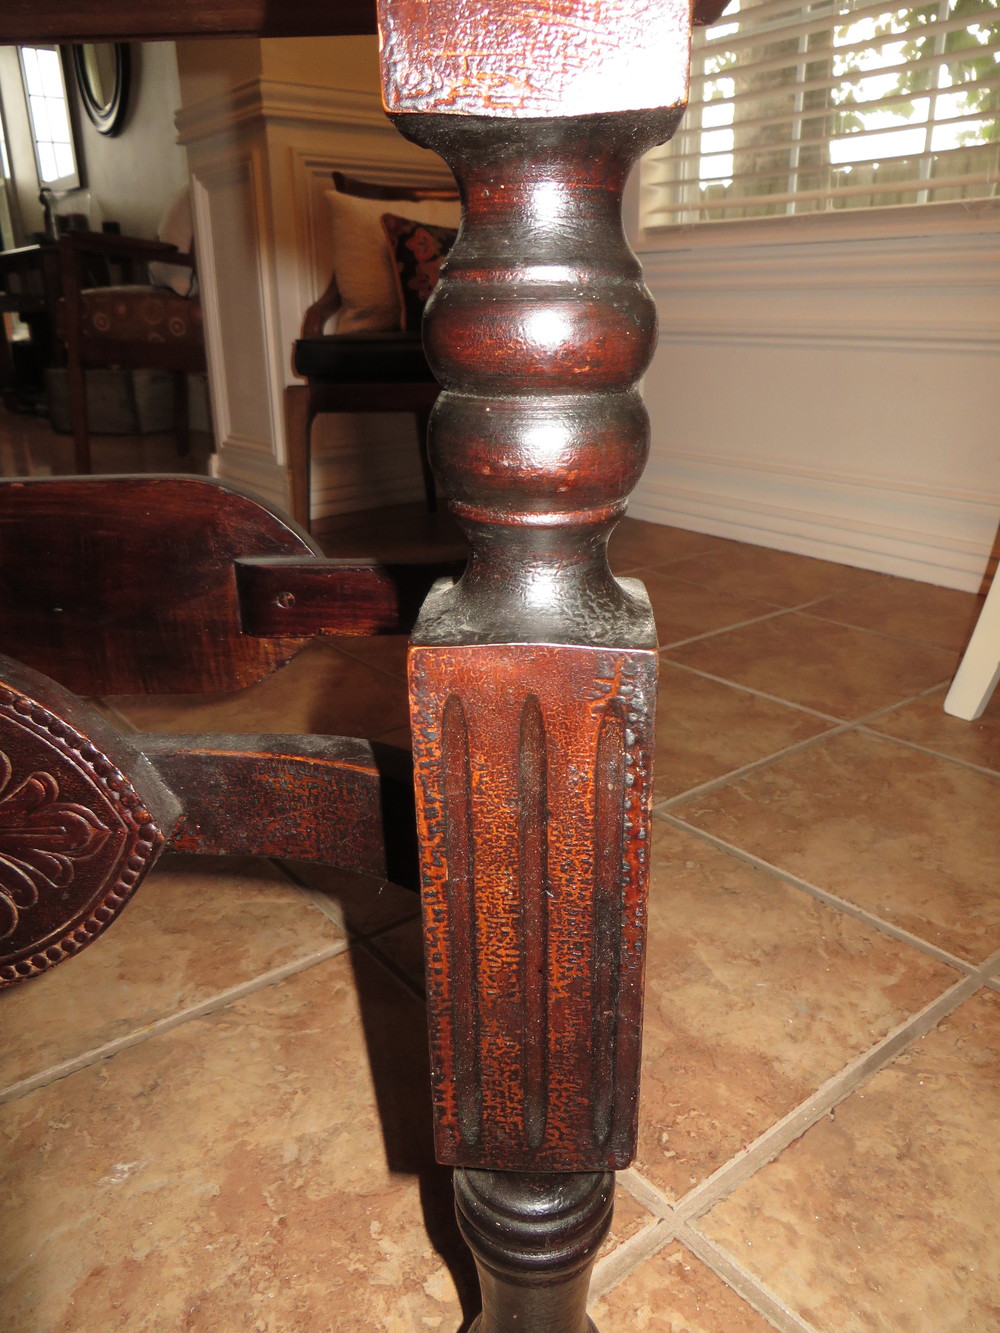
Refinishing Dining Room Tables: How to Repair Damaged Wood


While refinishing a dining room table can be a fun and rewarding DIY project, it is not for everyone. If you are not confident in your DIY skills or do not have the time to complete the project, consider hiring a professional. Here are some benefits of hiring a professional: Expertise: A professional refinishing company will have the knowledge and experience to achieve a high-quality finish on your dining room table. Time-Saving: Refinishing a dining room table can be a time-consuming task, but a professional will have the necessary tools and equipment to complete the job efficiently. Guaranteed Results: Hiring a professional means you can expect a flawless and professional-looking finish, giving you peace of mind and saving you from any potential mistakes. Now that you know the ins and outs of refinishing a dining room table, you can confidently take on the project yourself or hire a professional for a stunning result. Remember to follow these tips and tricks for a successful and satisfying refinishing experience. Say goodbye to your old and worn-out dining room table and hello to a beautiful and modern piece of furniture. Refinishing Dining Room Tables: The Benefits of Hiring a Professional


Refinishing Dining Room Tables: The Benefits of Hiring a Professional
The Benefits of Refinishing Your Dining Room Table

Enhances Aesthetic Appeal
 Refinishing your dining room table can greatly enhance the aesthetic appeal of your home. Over time, tables can become worn, scratched, and faded, making them look dull and uninviting. However, by refinishing your table, you can bring it back to its original beauty. This process involves sanding down the old finish, filling in any cracks or scratches, and applying a new coat of stain or paint. The end result is a table that looks brand new and adds a touch of elegance to your dining room.
Cost-Effective Solution
 Refinishing your dining room table is a cost-effective solution compared to buying a new one. It can be tempting to replace a worn-out table with a brand new one, but this can be a costly investment. By refinishing your existing table, you can save money while still achieving a fresh and updated look. Additionally, you can choose the type and color of stain or paint that best fits your budget and style, making it a customizable and budget-friendly option.
Preserves Sentimental Value
 Many families have dining room tables that have been passed down through generations, holding sentimental value. These tables may have scratches and imperfections, but refinishing them can help preserve their sentimental value. By restoring your family’s old dining room table, you are not only keeping a piece of your family’s history but also creating new memories around it.
Increases Durability
 Refinishing your dining room table can also increase its durability. Over time, the original finish on a table can wear off, leaving the wood exposed to potential damage. By refinishing the table, you are adding a new protective layer that will help prevent scratches, water damage, and other wear and tear. This will extend the lifespan of your table, making it a long-term and practical investment.
In conclusion, refinishing your dining room table has numerous benefits that go beyond just improving its appearance. It is a cost-effective solution, preserves sentimental value, and increases durability. By choosing to refinish your table, you are not only adding value to your home but also creating a beautiful and welcoming space for family and friends to gather around. So, don't hesitate to give your dining room table a new life through refinishing.
Refinishing your dining room table can also increase its durability. Over time, the original finish on a table can wear off, leaving the wood exposed to potential damage. By refinishing the table, you are adding a new protective layer that will help prevent scratches, water damage, and other wear and tear. This will extend the lifespan of your table, making it a long-term and practical investment.
In conclusion, refinishing your dining room table has numerous benefits that go beyond just improving its appearance. It is a cost-effective solution, preserves sentimental value, and increases durability. By choosing to refinish your table, you are not only adding value to your home but also creating a beautiful and welcoming space for family and friends to gather around. So, don't hesitate to give your dining room table a new life through refinishing.