Installing a drop in sink in your bathroom can be a great way to update the overall look and feel of the space. Whether you're looking to replace an old sink or simply want to give your bathroom a new look, a drop in sink is a popular and versatile option. In this guide, we'll walk you through the steps for installing a drop in sink in your bathroom. Drop in sink installation guide


Drop in sink installation guide


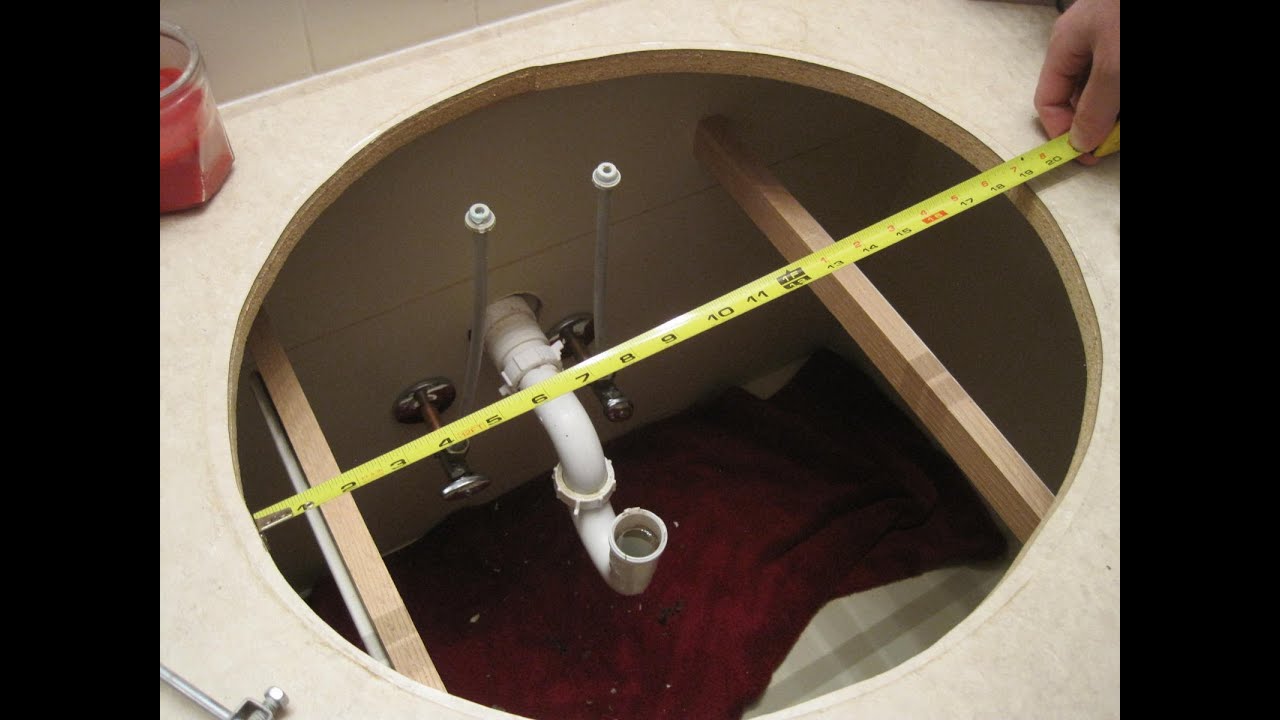
The first step in installing a drop in sink is to choose the right sink for your bathroom. Measure the dimensions of your current sink and choose a new one that will fit in the same space. You'll also want to consider the style and material of the sink to ensure it matches the overall aesthetic of your bathroom. Once you have your new sink, gather your tools and materials. You will need a drill, screwdriver, silicone caulk, plumber's putty, and a wrench. It's also a good idea to have a bucket and some rags on hand for any spills or messes. How to install a drop in bathroom sink


How to install a drop in bathroom sink

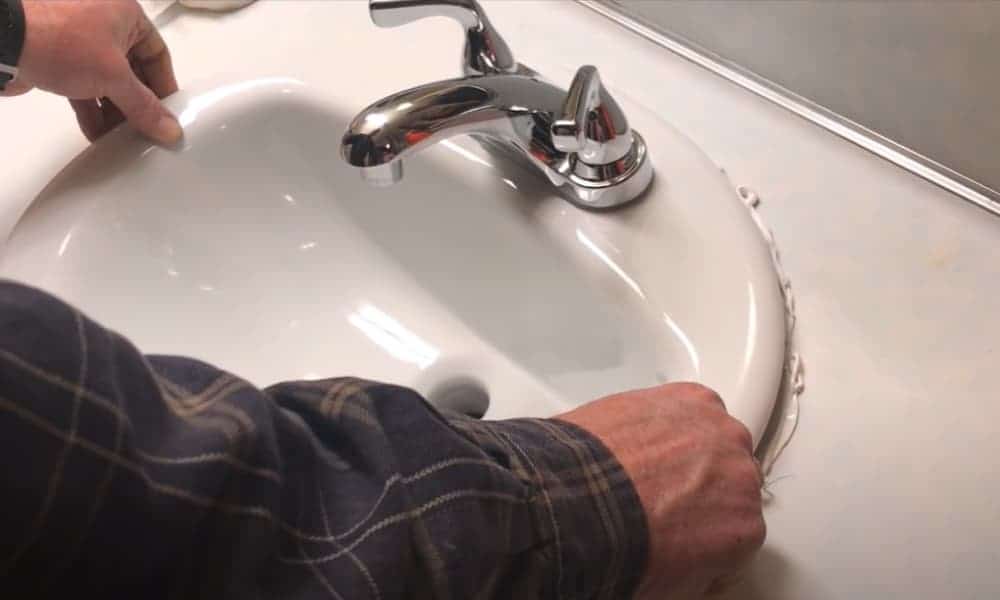


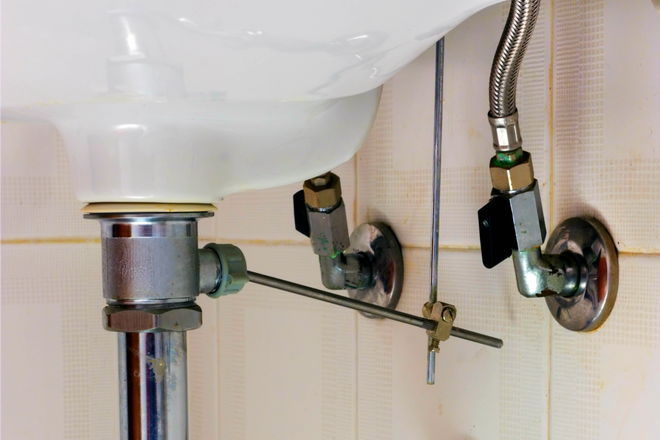
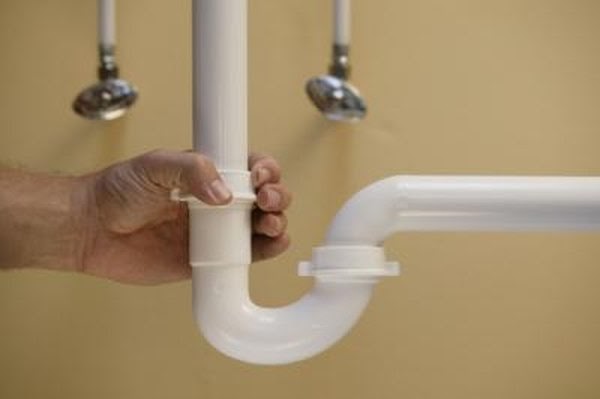
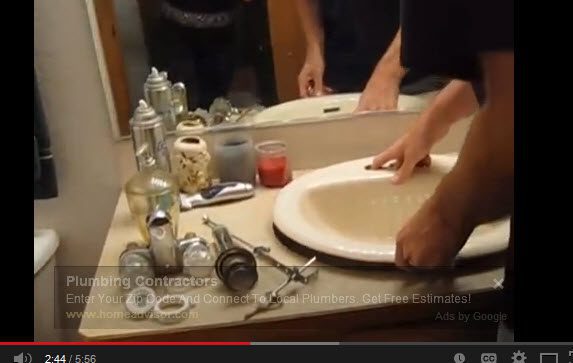
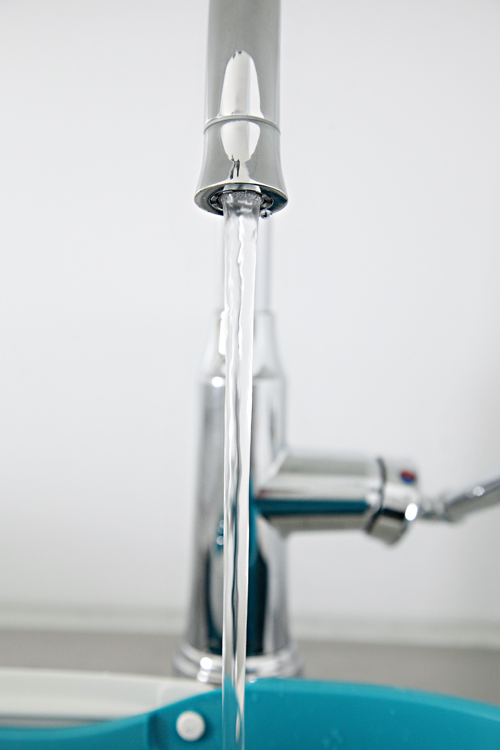
1. Start by turning off the water supply to your bathroom. This can usually be done by turning off the main water valve in your home. 2. Remove the old sink by disconnecting the water supply lines and loosening any mounting clips or brackets. Use a wrench if necessary. 3. Clean the area where the old sink was installed to prepare for the new sink. 4. Apply a thin layer of plumber's putty around the edges of the sink opening. This will help create a watertight seal between the sink and the countertop. 5. Carefully lower the sink into place, making sure it is centered and level. Press down firmly to secure the sink in place. 6. Use mounting clips or brackets to secure the sink to the countertop. Use a screwdriver or drill to tighten the clips or brackets into place. 7. Reconnect the water supply lines and turn the water back on. Check for any leaks and tighten connections if necessary. 8. Apply a line of silicone caulk around the edges of the sink to seal it to the countertop and prevent water from leaking underneath. 9. Wipe away any excess caulk and let it dry according to the manufacturer's instructions. 10. Once the caulk is dry, turn on the water and check for any leaks. If everything looks good, your new drop in sink is now installed! Step by step guide for installing a drop in sink


Step by step guide for installing a drop in sink


If you're considering installing a drop in sink yourself, it's important to have the right tools and knowledge. While it can be a relatively simple project, mistakes can be costly and time-consuming to fix. Make sure to do your research and follow the steps carefully to ensure a successful DIY installation. DIY drop in sink installation


DIY drop in sink installation


- Measure twice, cut once. Make sure to carefully measure the dimensions of your sink and countertop to ensure a proper fit. - Use a level to make sure your sink is straight and even before securing it in place. - Don't over tighten the mounting clips or brackets, as this can cause damage to your sink or countertop. - Use a high-quality silicone caulk to create a strong and waterproof seal. Tips for installing a drop in bathroom sink


Tips for installing a drop in bathroom sink


Some common mistakes when installing a drop in sink include not properly measuring or leveling the sink, not using enough plumber's putty or caulk, and over tightening the mounting clips or brackets. These mistakes can lead to leaks, an uneven sink, or damage to your sink or countertop. Common mistakes when installing a drop in sink


Common mistakes when installing a drop in sink


- Drill - Screwdriver - Silicone caulk - Plumber's putty - Wrench - Bucket and rags Tools needed for installing a drop in sink


Tools needed for installing a drop in sink


- Take your time and follow the steps carefully. - Have all necessary tools and materials on hand before starting the installation. - Double check your measurements and level the sink before securing it in place. - Use high-quality products for a strong and durable installation. Best practices for installing a drop in bathroom sink


Best practices for installing a drop in bathroom sink
:max_bytes(150000):strip_icc()/8_IMG_3767-56a4a2753df78cf772835b72.JPG)


If you prefer visual instructions, there are many helpful videos available online that can guide you through the process of installing a drop in sink. Make sure to choose a reputable source and follow their instructions carefully. Video tutorial for installing a drop in sink


Video tutorial for installing a drop in sink


While it is possible to install a drop in sink yourself, it may be best to leave it to the professionals if you are not confident in your abilities. A professional plumber will have the knowledge, tools, and experience to ensure a proper and secure installation, saving you time and potential costly mistakes. Overall, installing a drop in sink can be a great DIY project for those with experience and the right tools. However, if you are unsure or don't have the necessary skills, it may be best to leave it to the professionals for a hassle-free installation. Just make sure to choose a high-quality sink and follow the steps carefully for a beautiful and functional addition to your bathroom. Professional installation vs. DIY for drop in sinks


Professional installation vs. DIY for drop in sinks


The Benefits of Installing Drop-In Sinks in Your Bathroom
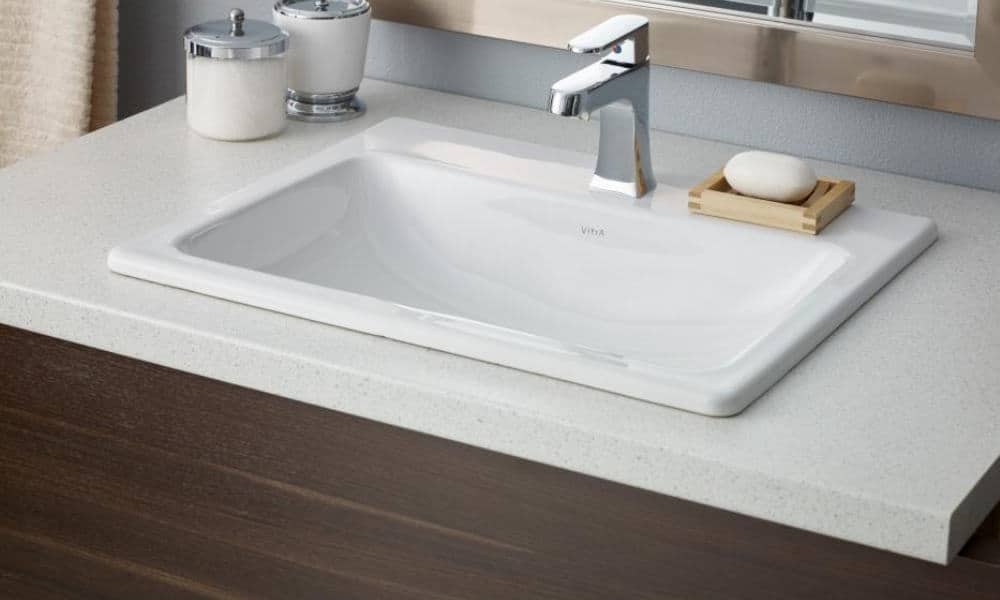
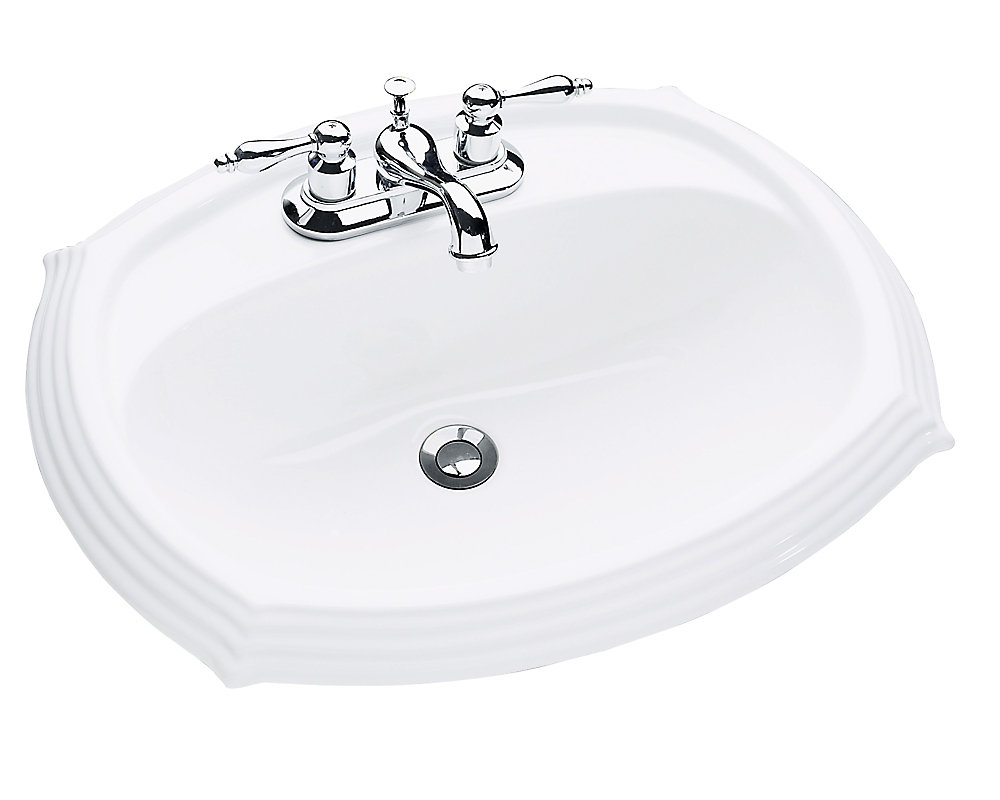
What Are Drop-In Sinks?
 Drop-in sinks
, also known as
self-rimming sinks
, are a popular choice for bathrooms due to their functionality and versatility. These sinks are designed to be
installed
from the top of the
counter
, with the rim of the sink resting on the surface. This creates a
seamless
look that is both
stylish
and
easy to clean
.
Drop-in sinks
, also known as
self-rimming sinks
, are a popular choice for bathrooms due to their functionality and versatility. These sinks are designed to be
installed
from the top of the
counter
, with the rim of the sink resting on the surface. This creates a
seamless
look that is both
stylish
and
easy to clean
.
Why Choose Drop-In Sinks for Your Bathroom?
 There are several reasons why
drop-in sinks
are a great option for your bathroom. Firstly, they come in
various shapes, sizes, and materials
, making it easy to find the perfect fit for your
design style
and
budget
. Additionally,
installation
is
simple and straightforward
, making it a great
DIY project
for homeowners.
Another benefit of
drop-in sinks
is their
durability
. These sinks are typically made from
durable materials
such as
porcelain, ceramic, or stone
, ensuring they can withstand daily use and last for years to come. They are also
less prone to chipping or cracking
compared to other sink types, making them a
low-maintenance
option for busy households.
There are several reasons why
drop-in sinks
are a great option for your bathroom. Firstly, they come in
various shapes, sizes, and materials
, making it easy to find the perfect fit for your
design style
and
budget
. Additionally,
installation
is
simple and straightforward
, making it a great
DIY project
for homeowners.
Another benefit of
drop-in sinks
is their
durability
. These sinks are typically made from
durable materials
such as
porcelain, ceramic, or stone
, ensuring they can withstand daily use and last for years to come. They are also
less prone to chipping or cracking
compared to other sink types, making them a
low-maintenance
option for busy households.
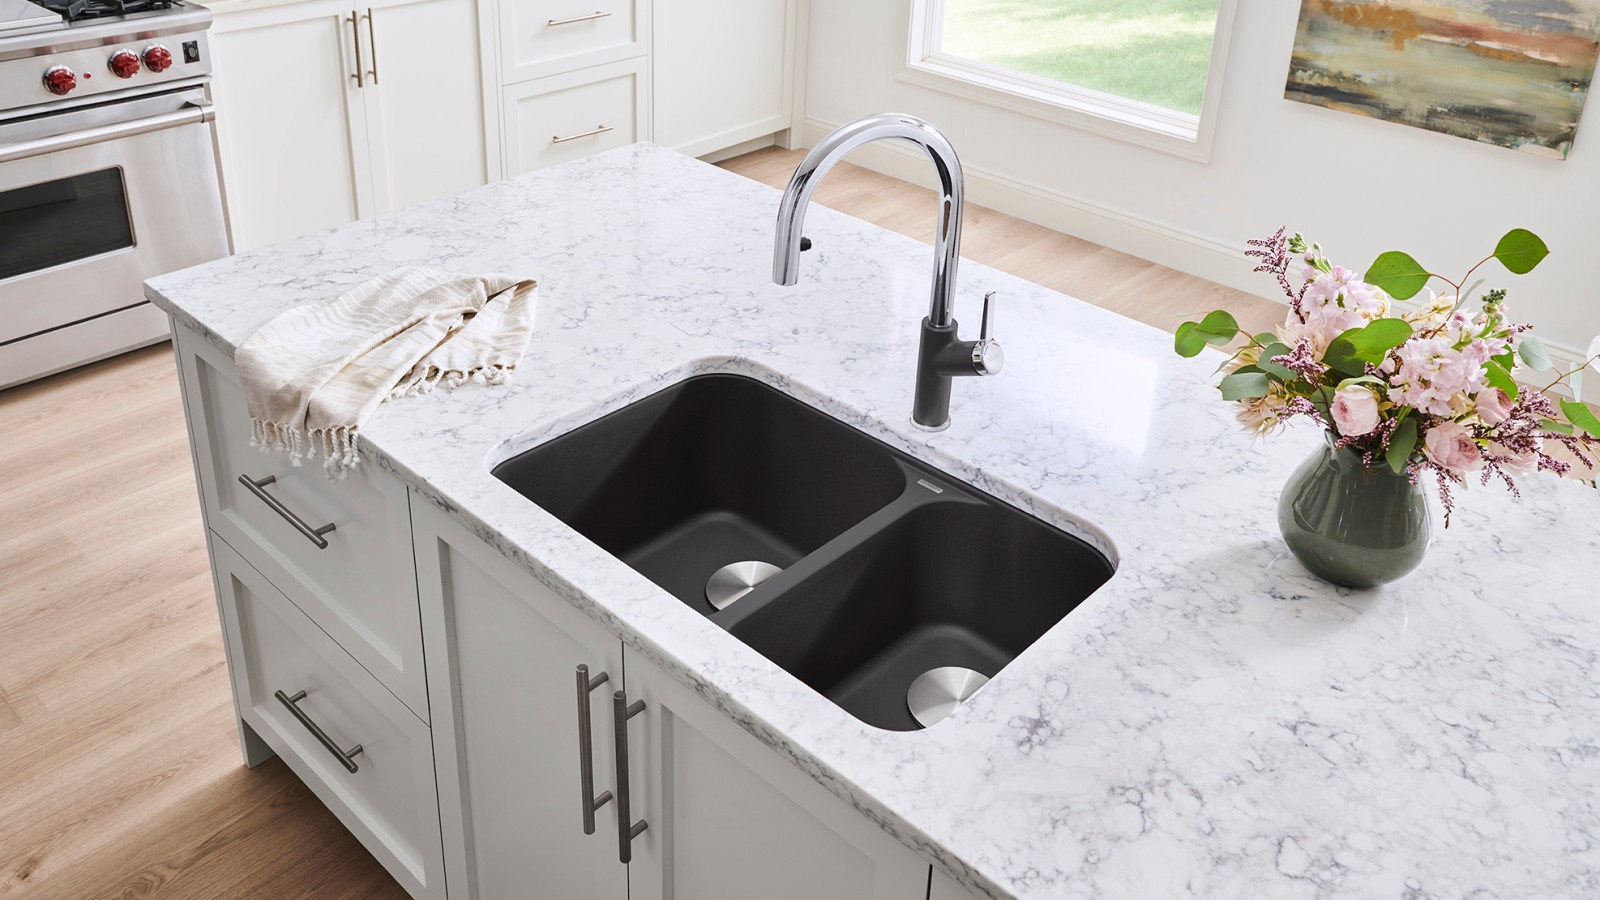
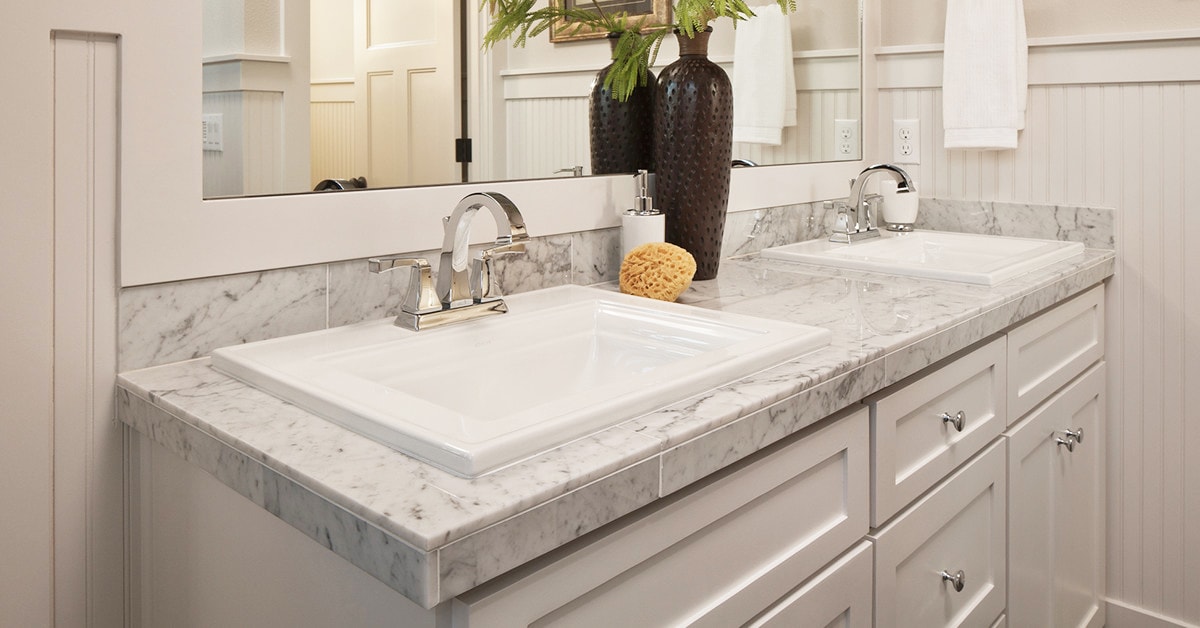
The Design Appeal of Drop-In Sinks
 One of the main reasons why
drop-in sinks
are a popular choice for bathrooms is their
design appeal
. The
seamless
installation of these sinks creates a
clean and modern look
that can elevate the overall aesthetic of your bathroom. They also come in a variety of
styles and finishes
, allowing you to
customize
your sink to match your
personal taste
and
existing bathroom decor
.
One of the main reasons why
drop-in sinks
are a popular choice for bathrooms is their
design appeal
. The
seamless
installation of these sinks creates a
clean and modern look
that can elevate the overall aesthetic of your bathroom. They also come in a variety of
styles and finishes
, allowing you to
customize
your sink to match your
personal taste
and
existing bathroom decor
.
Conclusion
 In conclusion,
drop-in sinks
are a great choice for any bathroom renovation or new construction project. They offer a
stylish and functional
addition to your space, with
easy installation
,
durability
, and
design versatility
. Consider incorporating a
drop-in sink
into your bathroom design for a
sleek and modern
touch.
In conclusion,
drop-in sinks
are a great choice for any bathroom renovation or new construction project. They offer a
stylish and functional
addition to your space, with
easy installation
,
durability
, and
design versatility
. Consider incorporating a
drop-in sink
into your bathroom design for a
sleek and modern
touch.