Is your kitchen sink arm broken or showing signs of wear and tear? It may be time to replace it. Replacing a kitchen sink arm may seem like a daunting task, but with the right tools and some basic knowledge, you can easily do it yourself. In this guide, we will walk you through the steps to replace your kitchen sink arm and have your sink looking as good as new.1. How to Replace a Kitchen Sink Arm


1. How to Replace a Kitchen Sink Arm


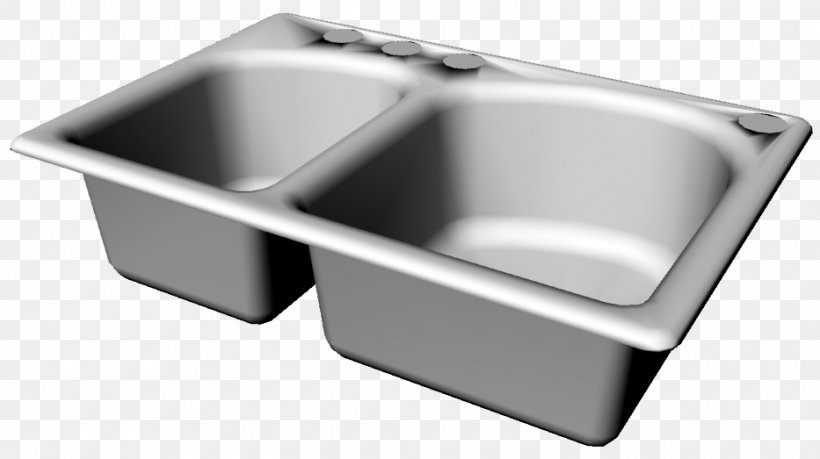
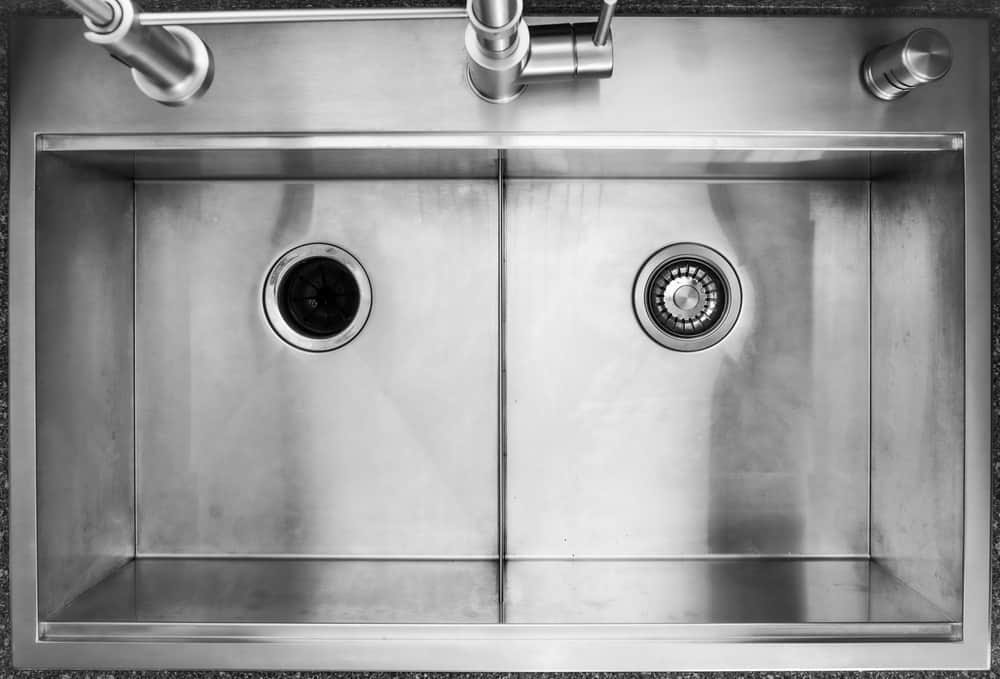
:max_bytes(150000):strip_icc()/kitchendoubleBasinsink-GettyImages-1098390260-420372a617b748d8a06491e6ad82d107.jpg)

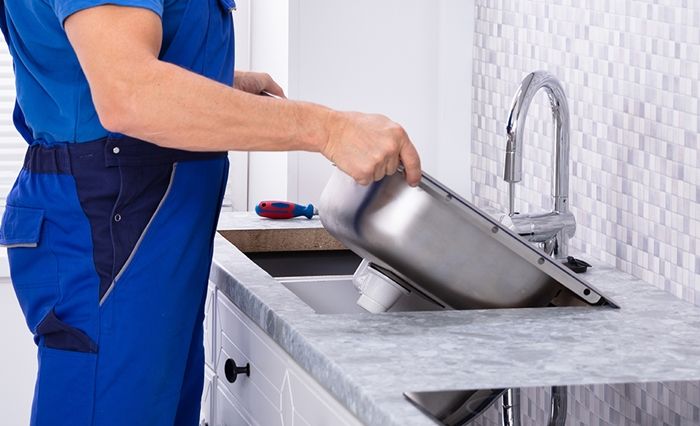
The first step in replacing a kitchen sink arm is to gather all the necessary tools. You will need an adjustable wrench, a screwdriver, and a new kitchen sink arm that matches the size and style of your current one. Once you have these tools, follow these steps:2. Step-by-Step Guide for Replacing a Kitchen Sink Arm


2. Step-by-Step Guide for Replacing a Kitchen Sink Arm


Replacing a kitchen sink arm is a simple DIY project that can save you time and money. Instead of calling a plumber, you can easily do it yourself with just a few tools and some basic knowledge. Not only will this give you a sense of accomplishment, but it will also ensure that your sink is functioning properly.3. DIY: Replacing the Arm on Your Kitchen Sink


3. DIY: Replacing the Arm on Your Kitchen Sink


When replacing your kitchen sink arm, there are a few tips and tricks that can make the process easier. Here are some things to keep in mind:4. Kitchen Sink Arm Replacement: Tips and Tricks


4. Kitchen Sink Arm Replacement: Tips and Tricks


Replacing a kitchen sink arm may seem like a daunting task, but with the right tools and some basic knowledge, it can be a quick and easy job. By following the steps outlined in this guide, you can have your sink arm replaced in no time and have a fully functioning sink once again.5. The Easy Way to Replace the Arm on Your Kitchen Sink


5. The Easy Way to Replace the Arm on Your Kitchen Sink


If you're experiencing issues with your kitchen sink arm, it may be time for a replacement. Luckily, replacing a kitchen sink arm is a simple process that can be done by anyone. With the right tools and some basic knowledge, you can easily replace your old arm and have your sink looking as good as new.6. Kitchen Sink Arm Replacement Made Simple


6. Kitchen Sink Arm Replacement Made Simple


Replacing a kitchen sink arm can seem like a daunting task if you've never done it before. That's why we've put together this comprehensive guide to walk you through the process step by step. With this guide, you'll have all the information you need to successfully replace your kitchen sink arm and have your sink functioning properly once again.7. A Comprehensive Guide to Replacing a Kitchen Sink Arm


7. A Comprehensive Guide to Replacing a Kitchen Sink Arm


While replacing a kitchen sink arm is a relatively easy task, there may be some common issues that you may encounter. Here are some troubleshooting tips to help you out:8. Troubleshooting: Common Issues with Kitchen Sink Arms


8. Troubleshooting: Common Issues with Kitchen Sink Arms


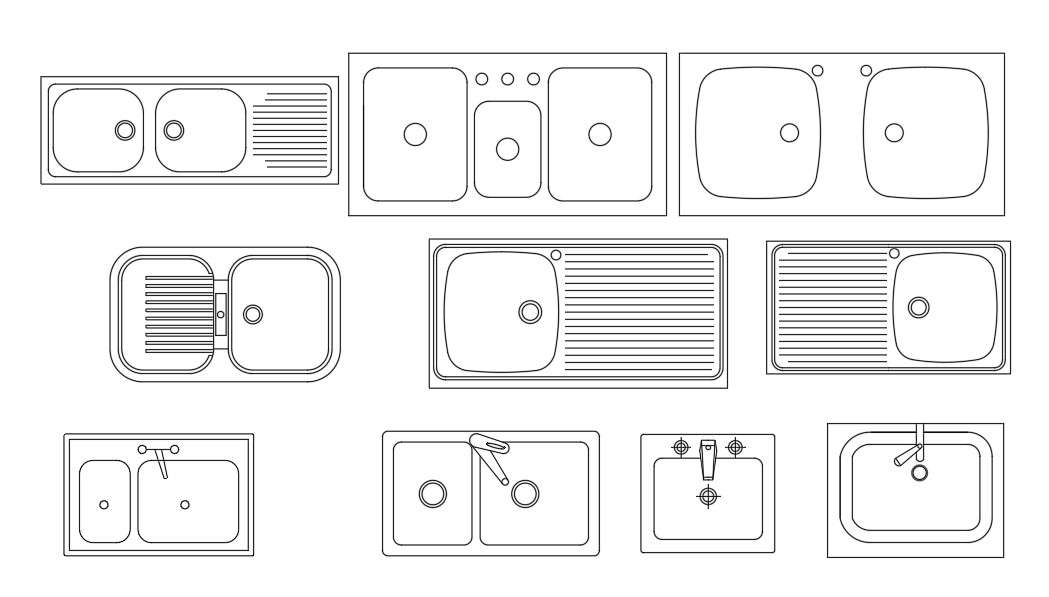
When it comes to choosing a replacement arm for your kitchen sink, there are a few things to consider. First, make sure to check the size and style of your old arm to ensure a proper fit. Additionally, look for a high-quality arm that is durable and will last for a long time. You may also want to consider the design and finish to match your kitchen aesthetic.9. How to Choose the Right Replacement Arm for Your Kitchen Sink


9. How to Choose the Right Replacement Arm for Your Kitchen Sink
:max_bytes(150000):strip_icc()/Basic-kitchen-sink-types-1821207_color_rev-0b539306b9ef4236a136624ad2a89a4c.jpg)

Replacing your kitchen sink arm not only fixes any issues you may be having with your sink, but it also comes with a few other benefits. These include improved functionality, efficiency, and overall appearance of your sink. By keeping your sink arm in good condition, you can avoid any potential problems and save yourself time and money in the long run.10. The Benefits of Replacing Your Kitchen Sink Arm


10. The Benefits of Replacing Your Kitchen Sink Arm


Introduction to Kitchen Sink Arm Replacement

Why Replace Your Kitchen Sink Arm?
 Replacing the arm on your kitchen sink may seem like a daunting task, but it is a necessary one. Over time, the arm of your kitchen sink may become damaged or corroded, causing leaks and reducing the functionality of your sink. This can lead to frustration and inconvenience in your daily life. Additionally, old and worn-out arms can also affect the overall aesthetic of your kitchen. Therefore, replacing the arm of your kitchen sink is not only important for practical reasons, but it can also improve the overall design of your kitchen.
Tools and Materials Needed
 Before starting the replacement process, it is important to gather all the necessary tools and materials. This will save you time and make the process smoother. The tools you will need include a wrench, pliers, and a screwdriver. You will also need a new arm, which can be purchased at any hardware store. Make sure to check the measurements of your current arm and purchase a replacement that is the same size. Having all the necessary tools and materials will ensure a successful and stress-free replacement process.
Step-by-Step Guide to Replacing Your Kitchen Sink Arm
 Now that you have all the required tools and materials, it is time to replace your kitchen sink arm. Follow these simple steps to get the job done efficiently:
Step 1: Shut off the water supply to your sink. This will prevent any water from spilling out during the replacement process.
Step 2: Use a wrench to loosen the nuts that connect the arm to the sink and the drain. Once loose, remove the old arm and set it aside.
Step 3: Take the new arm and connect it to the sink and the drain using the nuts. Tighten the nuts with a wrench to secure the arm in place.
Step 4: Turn on the water supply and check for any leaks. If there are any leaks, use pliers to tighten the nuts further.
Step 5: Test the functionality of the new arm by turning on the water and checking for proper water flow and drainage. Adjust the arm if necessary.
Following these steps will ensure a successful replacement of your kitchen sink arm. If you encounter any difficulties, do not hesitate to seek professional help.
Conclusion
 Replacing the arm of your kitchen sink may seem like a daunting task, but with the right tools and knowledge, it can be done easily. Not only is it important for practical reasons, but it can also improve the overall design of your kitchen. By following the steps outlined above, you can ensure a smooth and stress-free replacement process. So don't wait any longer, give your kitchen sink a new and functional arm today!