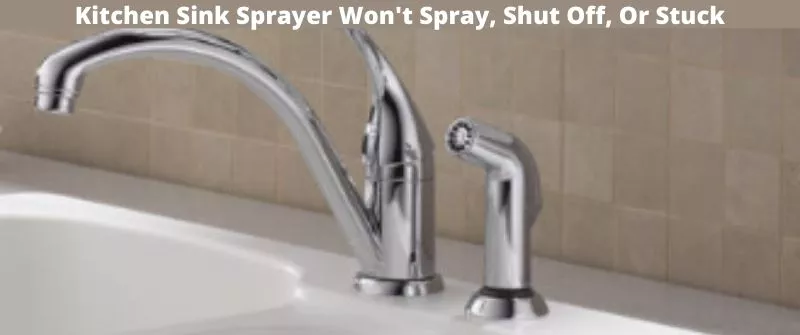
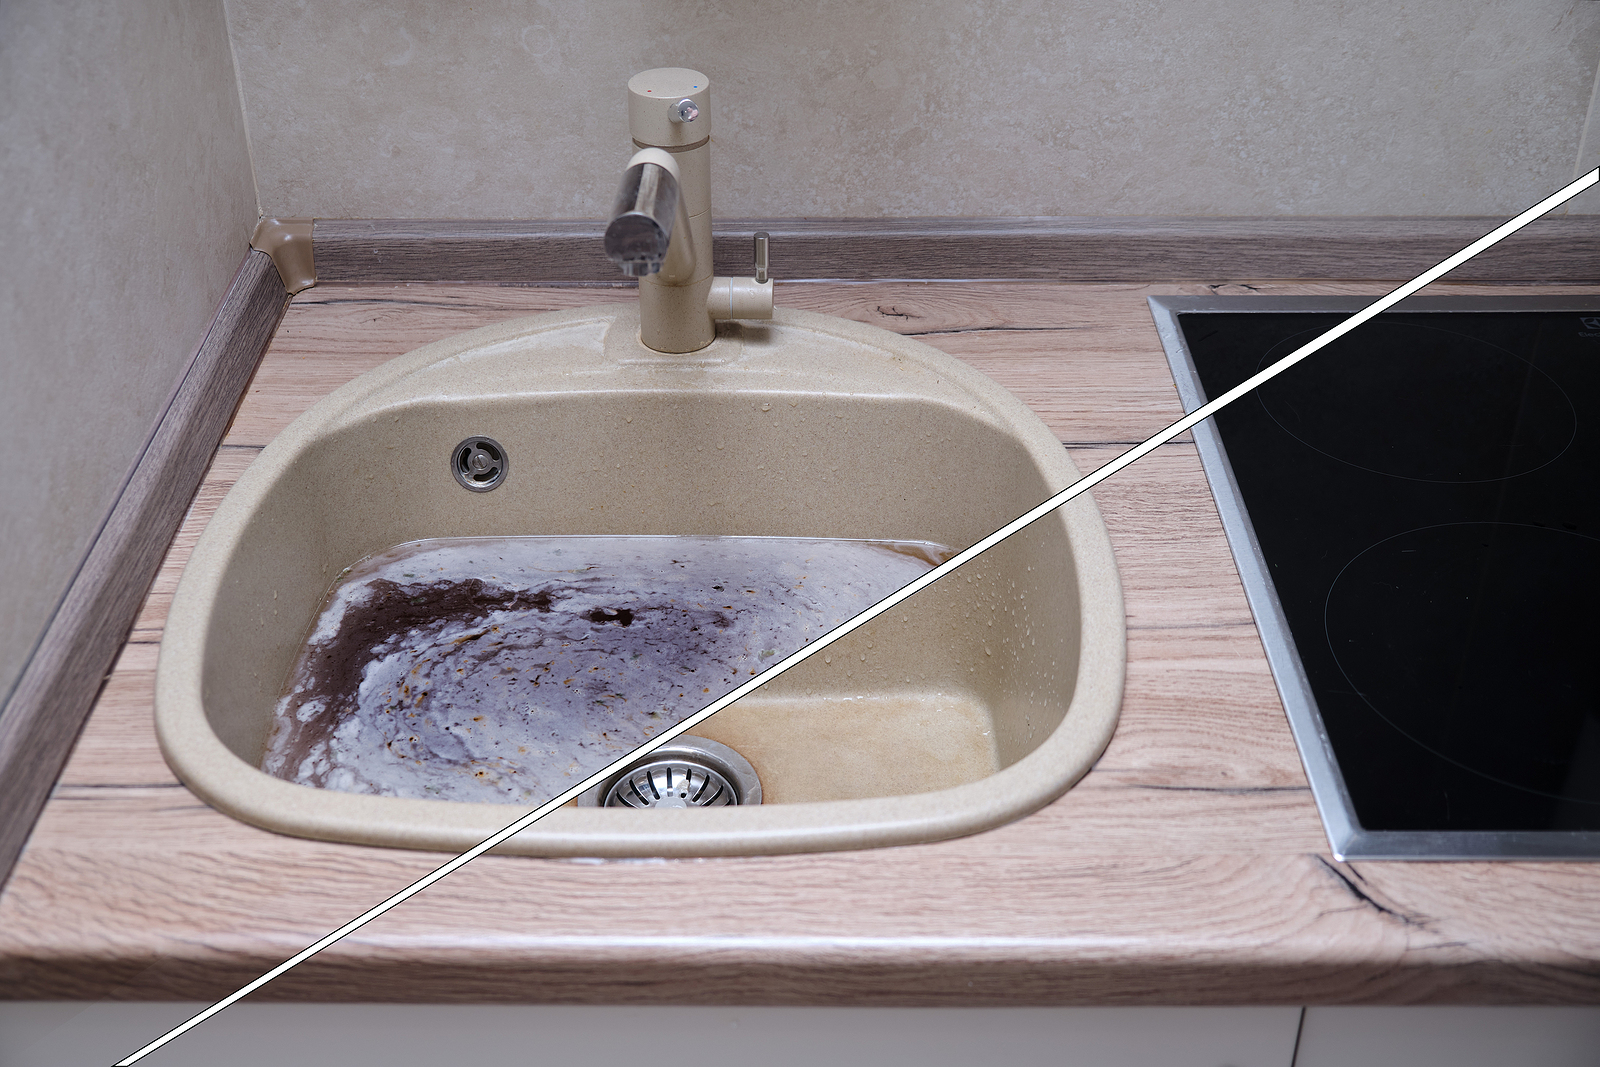
Dealing with a kitchen sink sprayer that won't turn off can be frustrating and can lead to a lot of wasted water. The good news is that this is a common problem and can usually be fixed easily. The first step is to identify the cause of the issue. It could be a problem with the sprayer itself or with the diverter valve. To determine the cause, follow these simple steps: - Start by turning off the water supply to the sink. - Unscrew the sprayer head from the hose and check if the water continues to flow out of the hose. If it does, then the problem is likely with the diverter valve. - If the water stops flowing, then the issue is with the sprayer itself. Once you have identified the cause, follow the appropriate steps below to fix the problem.1. How to Fix a Kitchen Sink Sprayer That Won't Turn Off
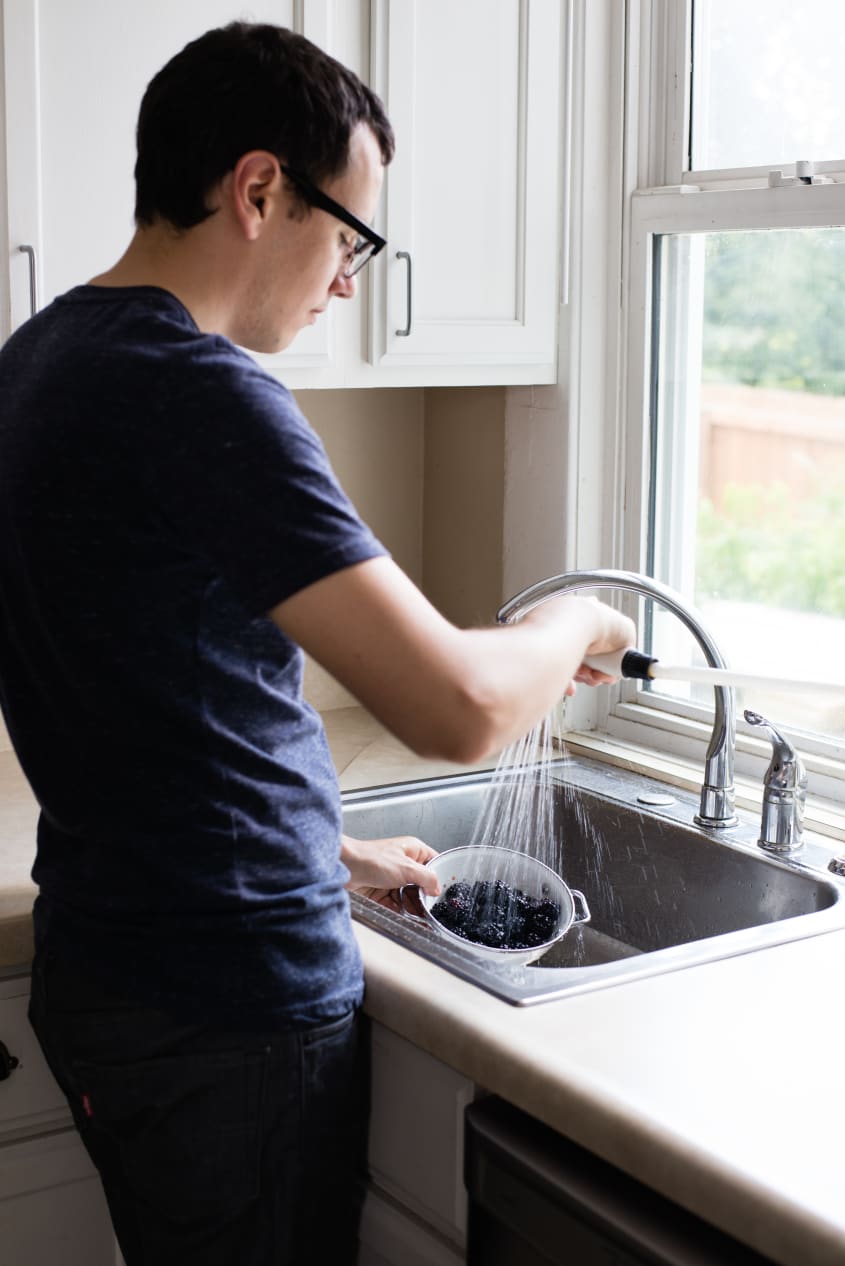


1. How to Fix a Kitchen Sink Sprayer That Won't Turn Off


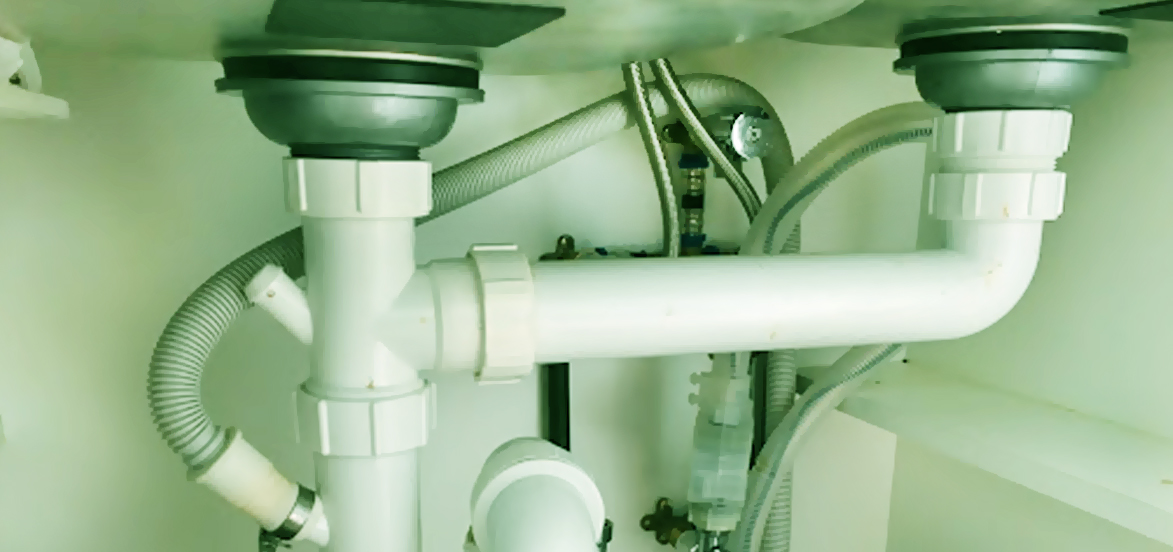
If the issue with your kitchen sink sprayer is with the diverter valve, here are the steps you can take to troubleshoot and fix it: - First, remove the sprayer head from the hose and clean it thoroughly to remove any debris or mineral buildup. - Next, locate the diverter valve usually found under the sink and check if it is clogged or damaged. - If it is clogged, clean it with vinegar or replace it if it is damaged. - Reattach the sprayer head and turn on the water supply. The issue should be resolved.2. Troubleshooting a Kitchen Sink Sprayer


2. Troubleshooting a Kitchen Sink Sprayer


A leaking kitchen sink sprayer can be a nuisance and can also lead to water damage if not fixed promptly. Here's how you can repair it: - Start by turning off the water supply to the sink. - Unscrew the sprayer head from the hose and check for any cracks or damaged parts. - If the sprayer head is damaged, replace it with a new one. - If the hose is the source of the leak, you can try to repair it with electrical tape or replace the entire hose. - Reattach the sprayer head and turn on the water supply. The leak should be fixed.3. How to Repair a Leaking Kitchen Sink Sprayer

3. How to Repair a Leaking Kitchen Sink Sprayer


If your kitchen sink sprayer feels loose or wobbly, it could be due to a loose connection. Here's how you can fix it: - Start by turning off the water supply to the sink. - Locate the nut that secures the sprayer head to the hose and tighten it with a wrench. - If the connection is still loose, you can try replacing the nut or the entire sprayer head. - Turn on the water supply and check if the sprayer is secure and no longer wobbly.4. Fixing a Loose Kitchen Sink Sprayer


4. Fixing a Loose Kitchen Sink Sprayer


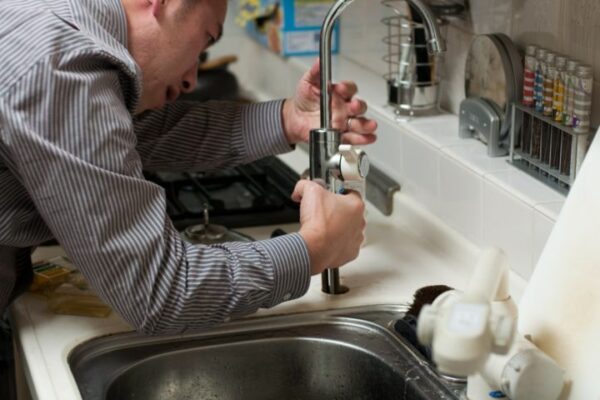


If your kitchen sink sprayer is beyond repair, you can easily replace it with a new one. Here's how: - Start by turning off the water supply to the sink. - Unscrew the sprayer head from the hose and remove the old sprayer. - Take the new sprayer and attach it to the hose. - Turn on the water supply and test the new sprayer to ensure it is working correctly.5. Replacing a Kitchen Sink Sprayer


5. Replacing a Kitchen Sink Sprayer


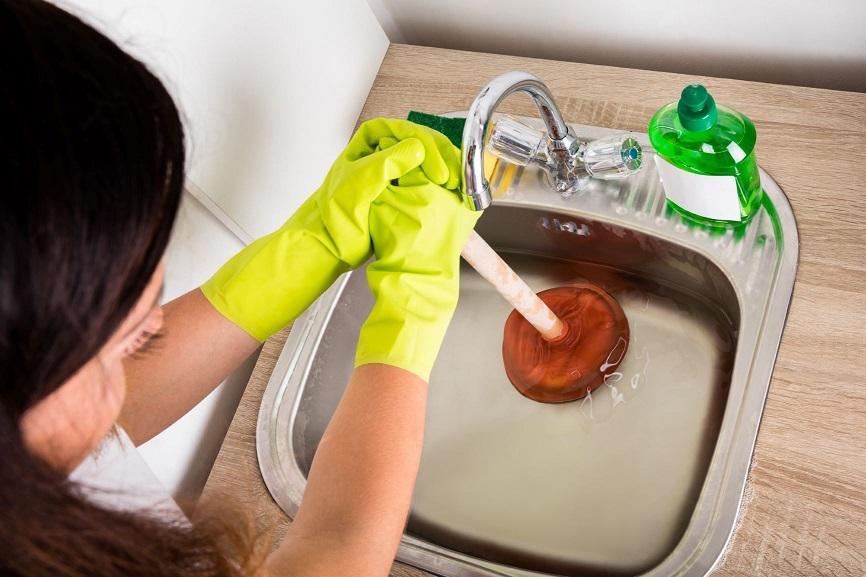
Mineral buildup and debris can clog the nozzle of your kitchen sink sprayer, causing it to spray water unevenly or not at all. Here's how you can clean it: - Start by turning off the water supply to the sink. - Unscrew the sprayer head from the hose and soak it in a solution of water and vinegar for a few hours. - Use a small brush or toothpick to remove any debris from the nozzle. - Rinse the sprayer head with clean water and reattach it to the hose. - Turn on the water supply and test the sprayer to ensure it is working correctly.6. How to Clean a Clogged Kitchen Sink Sprayer

6. How to Clean a Clogged Kitchen Sink Sprayer


:max_bytes(150000):strip_icc()/freshen-and-unclog-drain-with-baking-soda-1900466-22-bbf940b70afa4d5abef0c54da23b1d3f.jpg)

If your kitchen sink sprayer is spraying water too hard or too weak, you can adjust the water pressure to your liking. Here's how: - Start by turning off the water supply to the sink. - Locate the water pressure valve on the sprayer head and adjust it to your desired pressure. - Turn on the water supply and test the sprayer to ensure the pressure is to your liking.7. Adjusting the Water Pressure on a Kitchen Sink Sprayer


7. Adjusting the Water Pressure on a Kitchen Sink Sprayer


If your kitchen sink sprayer is not spraying any water, it could be due to a clog or a malfunctioning diverter valve. Here's how you can fix it: - Start by turning off the water supply to the sink. - Remove the sprayer head from the hose and soak it in a solution of water and vinegar for a few hours. - Use a small brush or toothpick to remove any debris from the nozzle. - If the issue persists, it could be due to a faulty diverter valve. You can try to clean or replace it to fix the problem. - Reattach the sprayer head and turn on the water supply. The sprayer should now be working correctly.8. Fixing a Kitchen Sink Sprayer That Won't Spray

8. Fixing a Kitchen Sink Sprayer That Won't Spray


If your kitchen sink sprayer hose is damaged or leaking, you can repair it with a few simple steps. Here's how: - Start by turning off the water supply to the sink. - Cut off the damaged part of the hose using a utility knife. - Take a coupling and attach it to the two ends of the hose using hose clamps. - Turn on the water supply and test the hose to ensure it is no longer leaking.9. Repairing a Kitchen Sink Sprayer Hose

9. Repairing a Kitchen Sink Sprayer Hose
:max_bytes(150000):strip_icc()/installing-a-kitchen-sink-sprayer-2718817-03-514088ddb922466eb3d4cd73f3aa85f4.jpg)


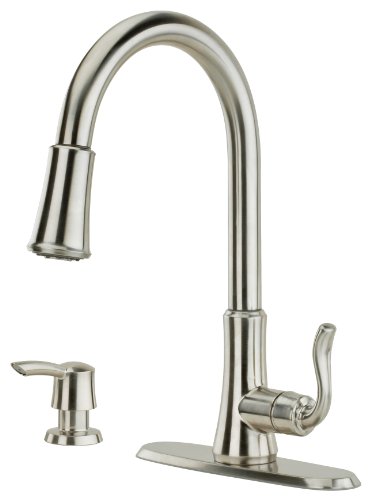
If you want to upgrade your kitchen sink sprayer or install a new one, here's how you can do it: - Start by turning off the water supply to the sink. - Remove the old sprayer and clean the area where the new sprayer will be installed. - Take the new sprayer and attach it to the hose. - Turn on the water supply and test the new sprayer to ensure it is working correctly. Installing a new kitchen sink sprayer can be a bit tricky, so if you are not confident in your skills, it's best to seek professional help. By following these simple steps, you can easily fix or replace your kitchen sink sprayer and have it working like new again. Remember to always turn off the water supply before attempting any repairs or replacements and seek professional help if you are not confident in your abilities. With a functioning kitchen sink sprayer, your daily chores will become much more manageable and efficient.10. How to Install a New Kitchen Sink Sprayer

10. How to Install a New Kitchen Sink Sprayer


The Importance of a Fully Functioning Sprayer on Your Kitchen Sink

Why a Broken Sprayer Can Cause Major Inconvenience
 Having a fully functioning
kitchen sink sprayer
may seem like a small detail in the grand scheme of house design, but it plays a crucial role in the functionality and convenience of your kitchen. A broken
sprayer
can cause major inconvenience, making everyday tasks such as washing dishes and cleaning the sink more difficult and time-consuming. Not to mention, if left unfixed, a broken
sprayer
can lead to more serious plumbing issues down the line, resulting in costly repairs.
Having a fully functioning
kitchen sink sprayer
may seem like a small detail in the grand scheme of house design, but it plays a crucial role in the functionality and convenience of your kitchen. A broken
sprayer
can cause major inconvenience, making everyday tasks such as washing dishes and cleaning the sink more difficult and time-consuming. Not to mention, if left unfixed, a broken
sprayer
can lead to more serious plumbing issues down the line, resulting in costly repairs.
The Steps to Fixing Your Sprayer
 The good news is that fixing a
sprayer on your kitchen sink
is a relatively simple task that can be done at home without the need for a professional plumber. First, you will need to identify the issue with your
sprayer
. It could be a clogged nozzle, a loose connection, or a worn-out hose. Once you have identified the problem, you can easily find replacement parts at your local hardware store or online. Make sure to turn off the water supply to your
sink
before attempting to fix the
sprayer
.
The good news is that fixing a
sprayer on your kitchen sink
is a relatively simple task that can be done at home without the need for a professional plumber. First, you will need to identify the issue with your
sprayer
. It could be a clogged nozzle, a loose connection, or a worn-out hose. Once you have identified the problem, you can easily find replacement parts at your local hardware store or online. Make sure to turn off the water supply to your
sink
before attempting to fix the
sprayer
.
The Benefits of a Fully Functioning Sprayer
 Investing the time and effort to fix your
sprayer
will not only save you from the inconvenience of a broken one but also bring many benefits to your daily routine. A fully functioning
kitchen sink sprayer
allows for easier and more efficient cleaning of dishes, pots, and pans, as well as the sink itself. It also ensures that your kitchen remains clean and hygienic, reducing the risk of bacteria buildup in and around the
sink
.
Investing the time and effort to fix your
sprayer
will not only save you from the inconvenience of a broken one but also bring many benefits to your daily routine. A fully functioning
kitchen sink sprayer
allows for easier and more efficient cleaning of dishes, pots, and pans, as well as the sink itself. It also ensures that your kitchen remains clean and hygienic, reducing the risk of bacteria buildup in and around the
sink
.
Final Thoughts
/25089301983_c5145fe85d_o-58418ef15f9b5851e5f392b5.jpg) In conclusion, the
sprayer on your kitchen sink
may seem like a small detail, but it plays a crucial role in the functionality and convenience of your kitchen. A broken
sprayer
can cause major inconvenience and lead to more serious plumbing issues if left unfixed. Therefore, it is important to regularly check and maintain your
sprayer
to ensure it is functioning properly. With a little effort and the right replacement parts, you can easily fix your
sprayer
and enjoy the many benefits of a fully functioning
kitchen sink sprayer
.
In conclusion, the
sprayer on your kitchen sink
may seem like a small detail, but it plays a crucial role in the functionality and convenience of your kitchen. A broken
sprayer
can cause major inconvenience and lead to more serious plumbing issues if left unfixed. Therefore, it is important to regularly check and maintain your
sprayer
to ensure it is functioning properly. With a little effort and the right replacement parts, you can easily fix your
sprayer
and enjoy the many benefits of a fully functioning
kitchen sink sprayer
.