Replacing a kitchen sink faucet may seem like a daunting task, but with the right tools and a little know-how, it can be a simple and cost-effective DIY project. Whether you're looking to upgrade your kitchen with a new faucet or your old one is leaking and in need of replacement, this step-by-step guide will walk you through the process. First, make sure to turn off the water supply to your sink. This can usually be done by turning off the main water valve under the sink or shutting off the water supply to your entire house. Once the water is off, turn on the faucet to release any built-up pressure. Next, use a wrench or pliers to disconnect the water supply lines from the faucet. This will allow you to easily remove the old faucet from the sink. Make sure to have a bucket or towel handy to catch any excess water. Now it's time to remove the old faucet. Unscrew any mounting nuts or clips that are holding the faucet in place. Once the faucet is loose, lift it out of the sink and set it aside. You may need to use a putty knife to scrape away any old caulk or putty that may be stuck to the sink. With the old faucet removed, it's time to prepare for the new one. If your new faucet is a different size or style, you may need to make some adjustments to the holes in your sink. Use a drill to widen or create new holes if necessary. Now it's time to install the new faucet. Follow the manufacturer's instructions for specific installation steps, but in general, you will need to attach any mounting hardware and gaskets and then insert the faucet into the holes in the sink. Make sure the faucet is secure and level before moving on to the next step. Next, connect the water supply lines to the new faucet. Make sure to use Teflon tape on the threads of the supply lines to prevent any leaks. Tighten the connections with a wrench or pliers, being careful not to overtighten. Once everything is connected, turn the water supply back on and test the faucet for any leaks. If everything looks good, you can secure the faucet in place with mounting nuts or clips. Use a putty knife to apply plumbers putty or silicone caulk around the base of the faucet to prevent any water from seeping underneath. Finally, clean up any excess putty or caulk and then test the faucet again for any leaks. If everything is working properly, you can now enjoy your new kitchen sink faucet!1. How to Replace a Kitchen Sink Faucet


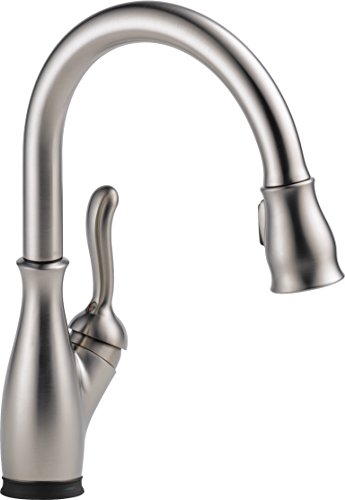
1. How to Replace a Kitchen Sink Faucet


If you're looking to save money and take on a DIY project, replacing your kitchen sink faucet is a great place to start. Not only will you save on labor costs, but you'll also have the satisfaction of completing the task yourself. Follow these simple steps for a successful DIY kitchen sink faucet replacement. Before you begin, gather all the necessary tools and materials. This may include a wrench or pliers, a putty knife, Teflon tape, and any caulking or putty needed for installation. You may also want to have a bucket or towel handy to catch any water that may drip during the process. Start by turning off the water supply to your sink. This can usually be done by turning off the main water valve under the sink or shutting off the water supply to your entire house. Once the water is off, turn on the faucet to release any remaining pressure. Next, disconnect the water supply lines from the old faucet using a wrench or pliers. This will allow you to remove the old faucet from the sink. Make sure to have a towel or bucket handy to catch any water that may drip. Once the old faucet is removed, you may need to make some adjustments to the holes in your sink to fit the new faucet. Use a drill to widen or create new holes if necessary. Now it's time to install the new faucet. Follow the manufacturer's instructions for specific installation steps, but in general, you will need to attach any mounting hardware and gaskets and then insert the faucet into the holes in the sink. Make sure the faucet is secure and level before moving on to the next step. Connect the water supply lines to the new faucet, making sure to use Teflon tape on the threads to prevent any leaks. Tighten the connections with a wrench or pliers, being careful not to overtighten. Turn the water supply back on and test the faucet for any leaks. If everything looks good, you can secure the faucet in place with mounting nuts or clips. Use a putty knife to apply plumbers putty or silicone caulk around the base of the faucet to prevent any water from seeping underneath. Finally, clean up any excess putty or caulk and then test the faucet again for any leaks. If everything is working properly, you have successfully completed a DIY kitchen sink faucet replacement!2. DIY Kitchen Sink Faucet Replacement


2. DIY Kitchen Sink Faucet Replacement


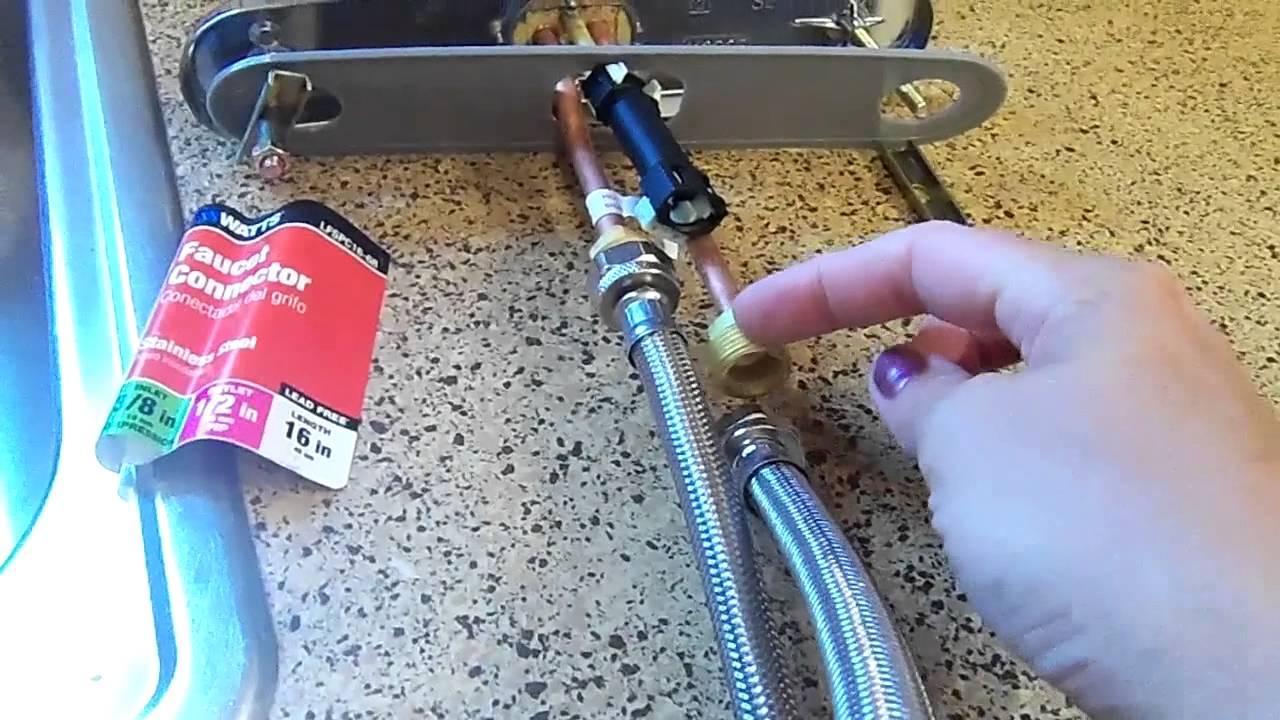


Replacing a kitchen sink faucet may seem like a daunting task, but with the right tools and a little know-how, it can be a simple and cost-effective DIY project. Follow this step-by-step guide for a successful kitchen sink faucet replacement. First, turn off the water supply to your sink. This can usually be done by turning off the main water valve under the sink or shutting off the water supply to your entire house. Once the water is off, turn on the faucet to release any built-up pressure. Next, use a wrench or pliers to disconnect the water supply lines from the faucet. This will allow you to easily remove the old faucet from the sink. Make sure to have a bucket or towel handy to catch any excess water. Now it's time to remove the old faucet. Unscrew any mounting nuts or clips that are holding the faucet in place. Once the faucet is loose, lift it out of the sink and set it aside. You may need to use a putty knife to scrape away any old caulk or putty that may be stuck to the sink. With the old faucet removed, it's time to prepare for the new one. If your new faucet is a different size or style, you may need to make some adjustments to the holes in your sink. Use a drill to widen or create new holes if necessary. Now it's time to install the new faucet. Follow the manufacturer's instructions for specific installation steps, but in general, you will need to attach any mounting hardware and gaskets and then insert the faucet into the holes in the sink. Make sure the faucet is secure and level before moving on to the next step. Next, connect the water supply lines to the new faucet. Make sure to use Teflon tape on the threads of the supply lines to prevent any leaks. Tighten the connections with a wrench or pliers, being careful not to overtighten. Once everything is connected, turn the water supply back on and test the faucet for any leaks. If everything looks good, you can secure the faucet in place with mounting nuts or clips. Use a putty knife to apply plumbers putty or silicone caulk around the base of the faucet to prevent any water from seeping underneath. Finally, clean up any excess putty or caulk and then test the faucet again for any leaks. If everything is working properly, you have successfully replaced your kitchen sink faucet.3. Step-by-Step Guide for Replacing a Kitchen Sink Faucet


3. Step-by-Step Guide for Replacing a Kitchen Sink Faucet


Looking to upgrade your kitchen with a new faucet or need to replace your old one? Don't spend money on hiring a professional, take on the task yourself with this easy DIY kitchen sink faucet replacement guide. Before you begin, gather all the necessary tools and materials. This may include a wrench or pliers, a putty knife, Teflon tape, and any caulking or putty needed for installation. You may also want to have a bucket or towel handy to catch any water that may drip during the process. Start by turning off the water supply to your sink. This can usually be done by turning off the main water valve under the sink or shutting off the water supply to your entire house. Once the water is off, turn on the faucet to release any remaining pressure. Next, disconnect the water supply lines from the old faucet using a wrench or pliers. This will allow you to remove the old faucet from the sink. Make sure to have a towel or bucket handy to catch any water that may drip. Once the old faucet is removed, you may need to make some adjustments to the holes in your sink to fit the new faucet. Use a drill to widen or create new holes if necessary. Now it's time to install the new faucet. Follow the manufacturer's instructions for specific installation steps, but in general, you will need to attach any mounting hardware and gaskets and then insert the faucet into the holes in the sink. Make sure the faucet is secure and level before moving on to the next step. Connect the water supply lines to the new faucet, making sure to use Teflon tape on the threads to prevent any leaks. Tighten the connections with a wrench or pliers, being careful not to overtighten. Turn the water supply back on and test the faucet for any leaks. If everything looks good, you can secure the faucet in place with mounting nuts or clips. Use a putty knife to apply plumbers putty or silicone caulk around the base of the faucet to prevent any water from seeping underneath. Finally, clean up any excess putty or caulk and then test the faucet again for any leaks. If everything is working properly, you have successfully completed an easy DIY kitchen sink faucet replacement.4. Easy DIY Kitchen Sink Faucet Replacement


4. Easy DIY Kitchen Sink Faucet Replacement


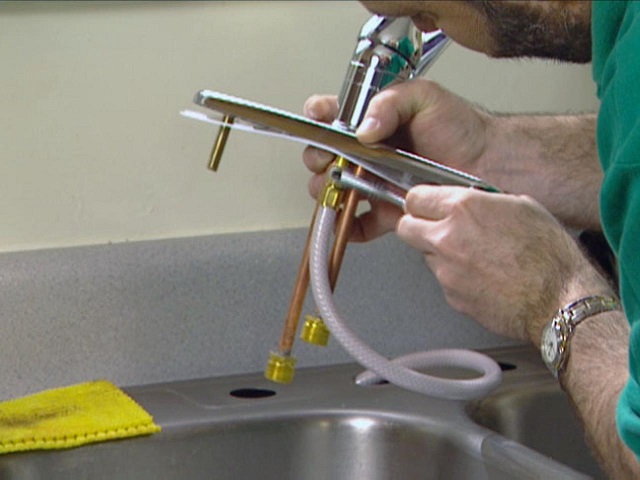
Replacing a kitchen sink faucet yourself can be a great way to save money and take on a DIY project. But before you dive in, here are some helpful tips to ensure a successful replacement. First, make sure to turn off the water supply to your sink. This can usually be done by turning off the main water valve under the sink or shutting off the water supply to your entire house. Once the water is off, turn on the faucet to release any built-up pressure. Before removing the old faucet, take a picture of the setup or mark the parts with tape or a marker. This will make it easier to remember how everything goes back together when installing the new faucet. Use a bucket or towel to catch any water that may drip during the process. This will prevent any messes and make for easier cleanup. When installing the new faucet, make sure to use Teflon tape on the threads of the supply lines to prevent any leaks. Also, be careful not to overtighten any connections as this can cause damage or leaks. After the new faucet is installed, run the water for a few minutes to flush out any debris. This will prevent any clogs or issues with the new faucet. Finally, test the faucet for any leaks and make any necessary adjustments before securing it in place. Once everything is working properly, you can enjoy your new kitchen sink faucet.5. Tips for Replacing a Kitchen Sink Faucet Yourself


5. Tips for Replacing a Kitchen Sink Faucet Yourself


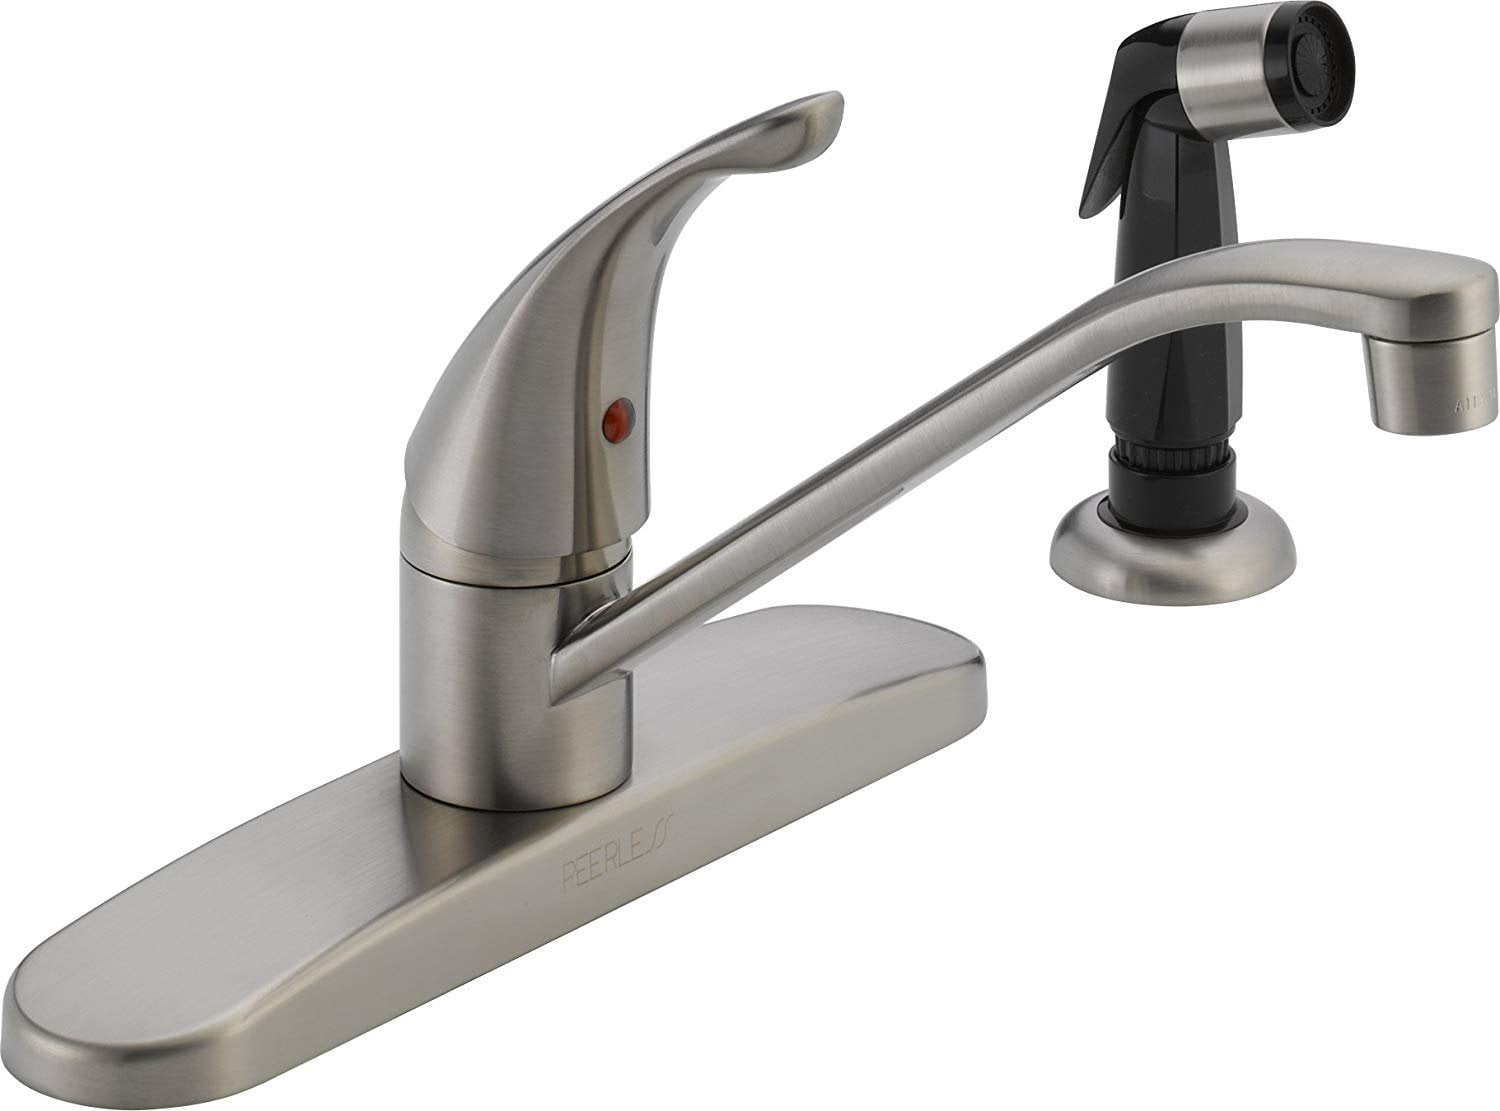
Installing a new kitchen sink faucet yourself can be a rewarding and cost-effective DIY project. Follow these steps for a successful installation. Before you begin, gather all the necessary tools and materials. This may include a wrench or pliers, a putty knife, Teflon tape, and any caulking or putty needed for installation. You may also want to have a bucket or towel handy to catch any water that may drip during the process. Start by turning off the water supply to your sink. This can usually be done by turning off the main water valve under the sink or shutting off the water supply to your entire house. Once the water is off, turn on the faucet to release any remaining pressure. Next, disconnect the water supply lines from the old faucet using a wrench or pliers. This will allow you to remove the old faucet from the sink. Make sure to have a towel or bucket handy to catch any water that may drip. Once the old faucet is removed, you may need to make some adjustments to the holes in your sink to fit the new faucet. Use a drill to widen or create new holes if necessary. Now it's time to install the new faucet. Follow the manufacturer's instructions for specific installation steps, but in general, you will need to attach any mounting hardware and gaskets and then insert the faucet into the holes in the sink. Make sure the faucet is secure and level before moving on to the next step. Connect the water supply lines to the new faucet, making sure to use Teflon tape on the threads to prevent any leaks. Tighten the connections with a wrench or pliers, being careful not to overtighten. Turn the water supply back on and test the faucet for any leaks. If everything looks good, you can secure the faucet in place with mounting nuts or clips. Use a putty knife to apply plumbers putty or silicone caulk around the base of the faucet to prevent any water from seeping underneath. Finally, clean up any excess putty or caulk and then test the faucet again for any leaks. If everything is working properly, you have successfully installed your new kitchen sink faucet.6. DIY Kitchen Sink Faucet Installation

6. DIY Kitchen Sink Faucet Installation


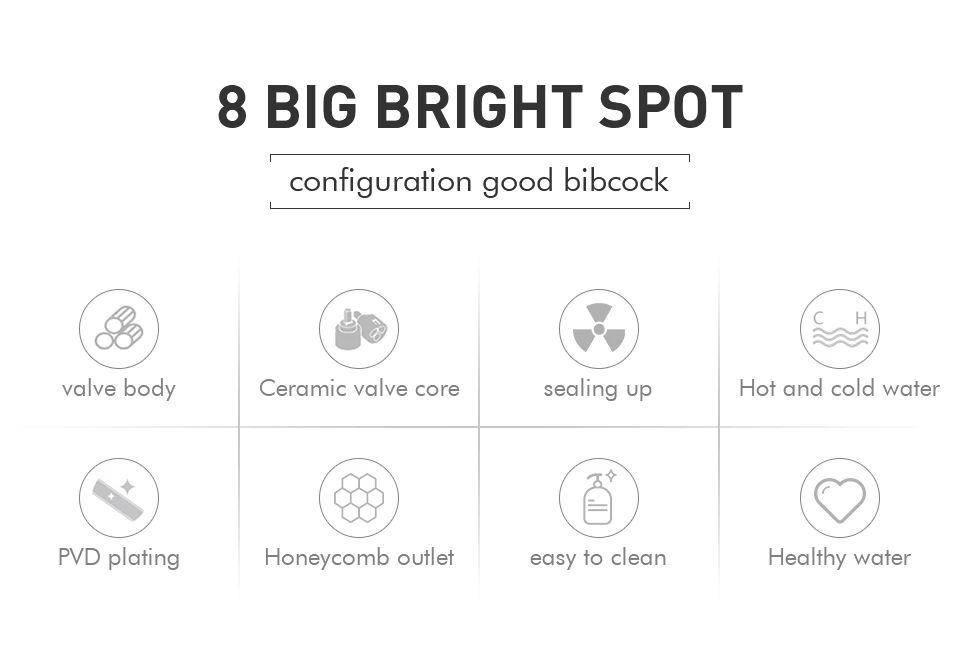
7. Tools and Materials Needed for Replacing a Kitchen Sink Faucet


7. Tools and Materials Needed for Replacing a Kitchen Sink Faucet

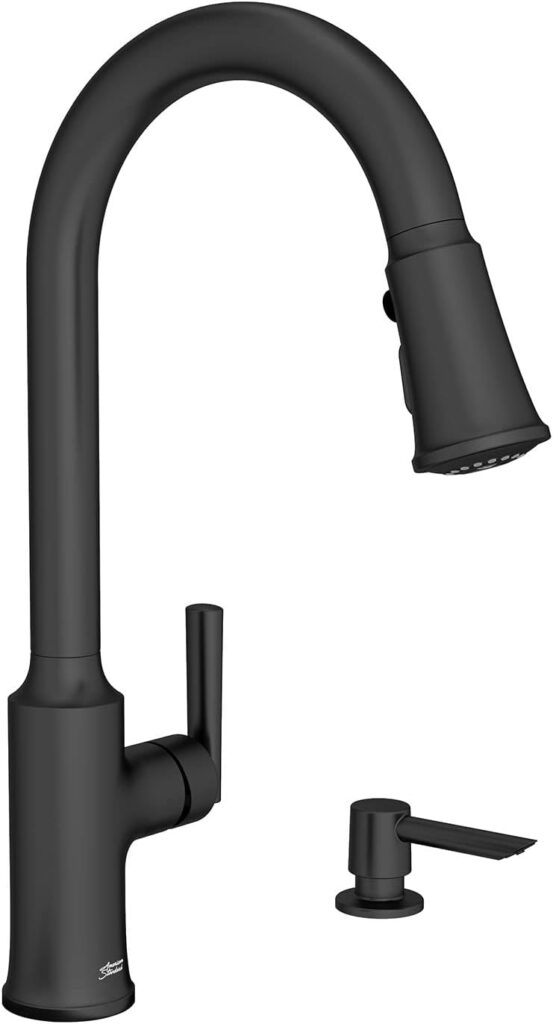
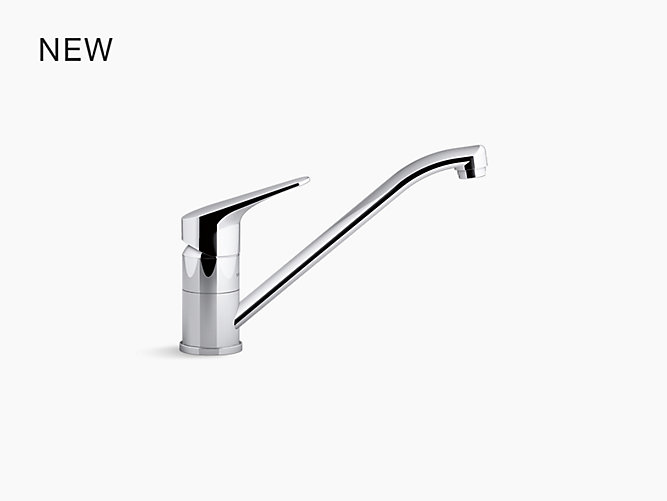
Why Replace Your Kitchen Sink Faucet?

The kitchen sink faucet is one of the most frequently used fixtures in any home. From washing dishes to filling up pots with water, it is an essential element in our daily routines. Over time, these faucets can become worn out, leaky, or simply outdated. This not only affects the functionality of your kitchen sink but also its overall appearance. So if you're tired of dealing with a faulty faucet, it may be time for a DIY replacement. Here's why:
1. Improved Functionality

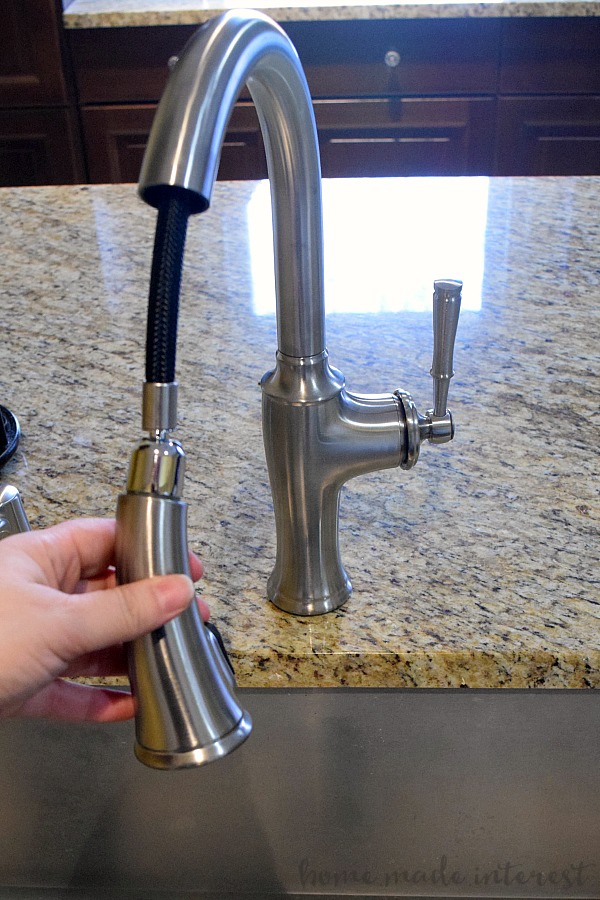
An old or malfunctioning kitchen sink faucet can be a major inconvenience. Drips, leaks, and low water pressure can make even the simplest tasks a hassle. By replacing your faucet, you can enjoy improved functionality and a more efficient kitchen. Choose a faucet with features such as a pull-out sprayer or touchless technology for added convenience.
2. Updated Look

The kitchen sink is often the focal point of the kitchen and a worn-out faucet can bring down the overall aesthetics of the space. By replacing your faucet, you can instantly update the look of your kitchen. Choose a modern and sleek design to give your kitchen a fresh and contemporary feel. With a wide range of styles and finishes available, you can easily find a faucet that complements your kitchen design.
3. Cost-Effective Solution

While hiring a professional plumber to replace your kitchen sink faucet can be costly, opting for a DIY replacement can save you money. With the right tools and instructions, you can easily replace the faucet yourself, eliminating the need for hiring a professional. Additionally, a new faucet can help save money in the long run by reducing water waste and energy costs.
4. Personalization

Replacing your kitchen sink faucet also allows you to personalize your space. From the style and finish to the features and functionality, you have the freedom to choose a faucet that best suits your needs and preferences. This can add a personal touch to your kitchen and make it a more enjoyable space to work in.
Overall, replacing your kitchen sink faucet is a simple and cost-effective way to improve the functionality and aesthetics of your kitchen. With a variety of options available, it's easy to find a faucet that fits your needs and complements your kitchen design. So why wait? Upgrade your kitchen sink faucet today and enjoy all the benefits it has to offer!


/Layerwhiteonwhite-34dd8cef8c89451887d51af215f76e60.jpg)