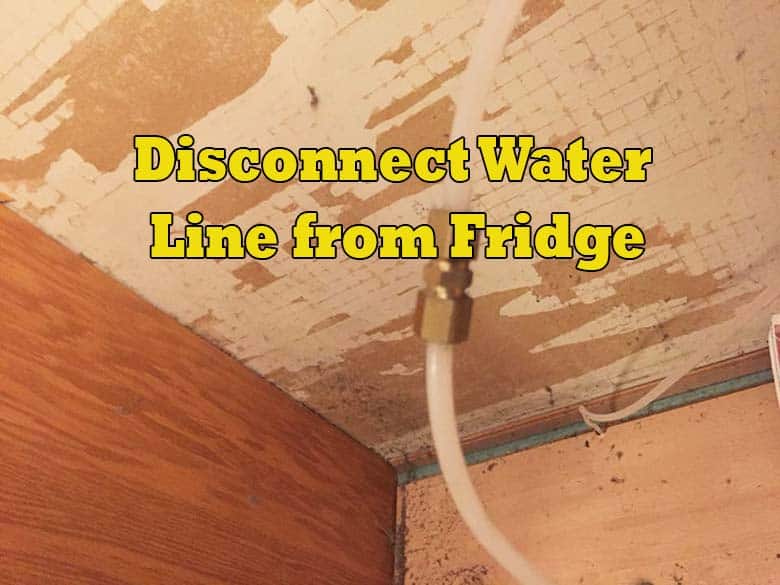
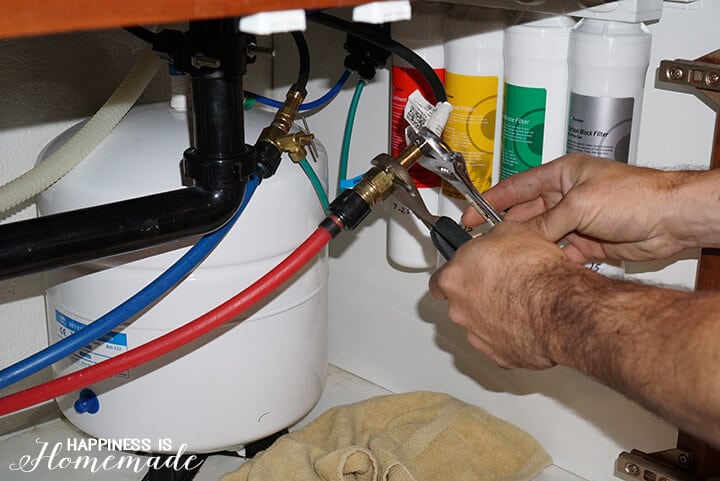
Disconnecting the plastic water line from your bathroom sink is a task that may seem daunting at first, but with the right tools and knowledge, it can be done easily. Whether you're looking to replace the water line or simply need to disconnect it for a plumbing repair, this step-by-step guide will walk you through the process.Disconnecting Plastic Water Line from Bathroom Sink


Disconnecting Plastic Water Line from Bathroom Sink


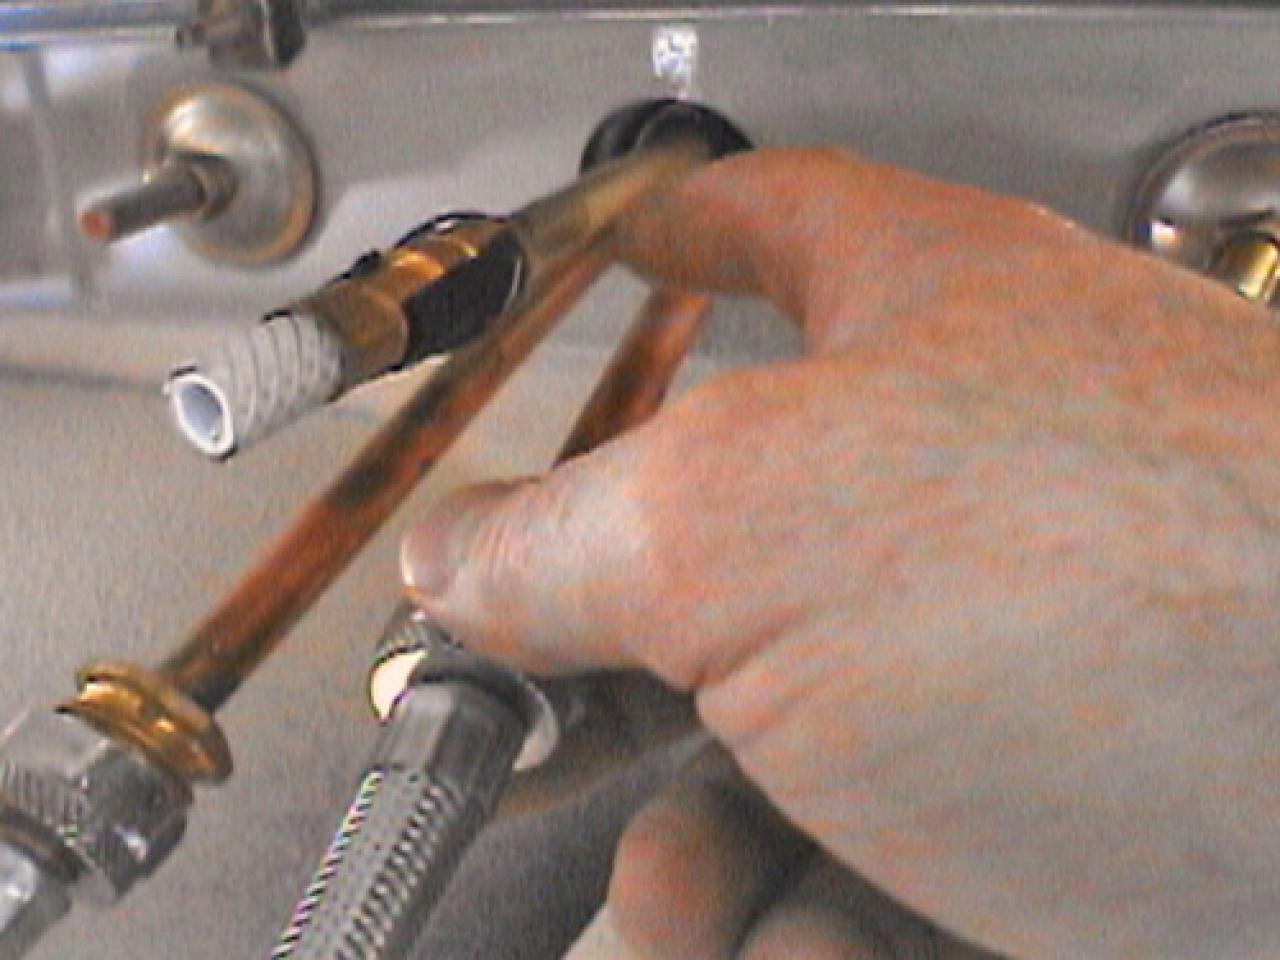
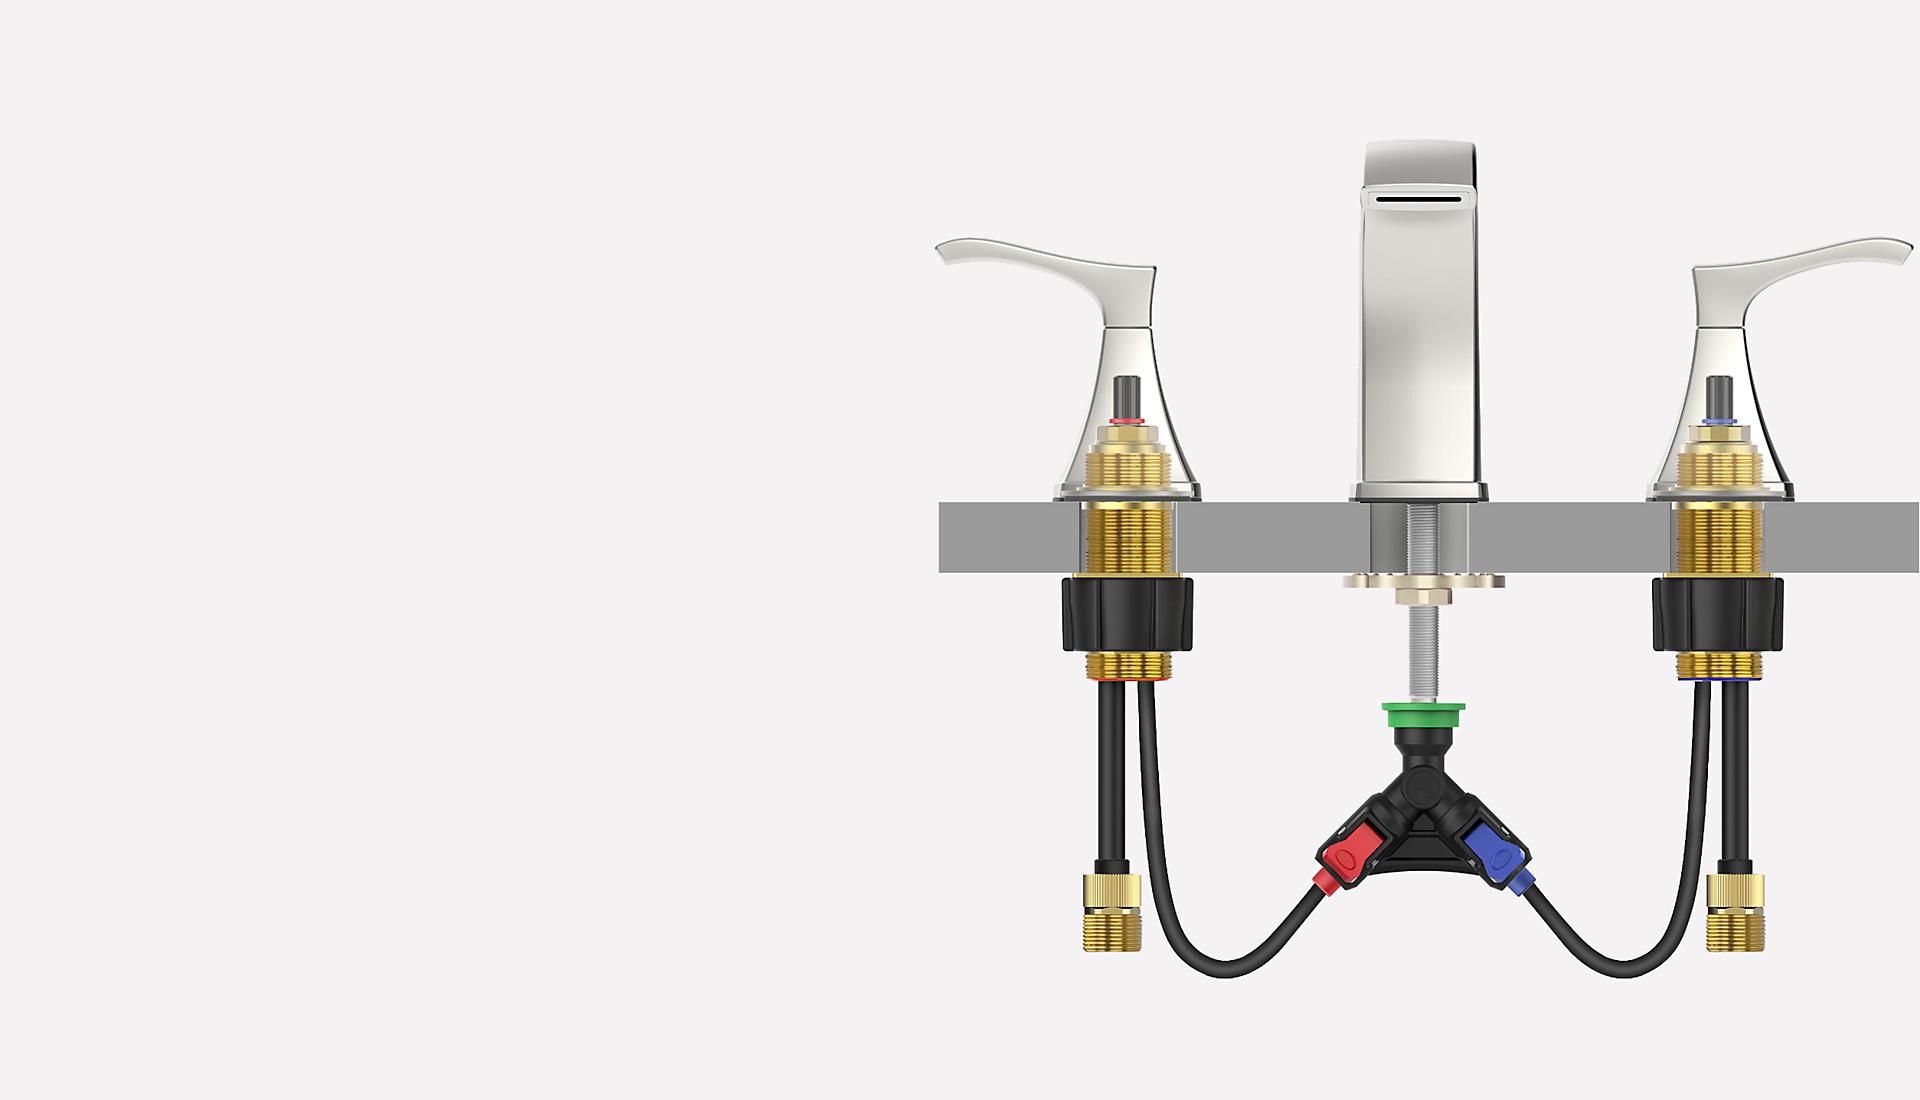
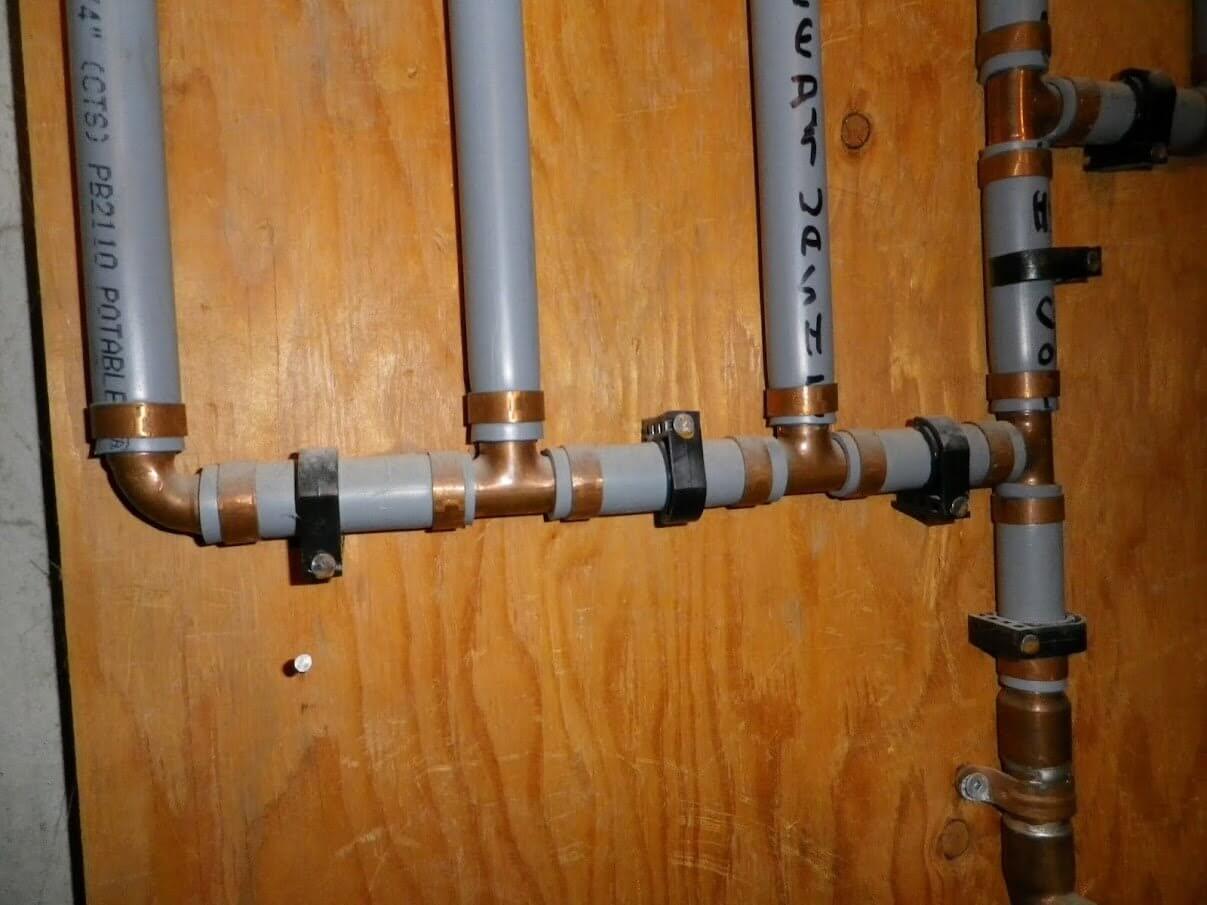
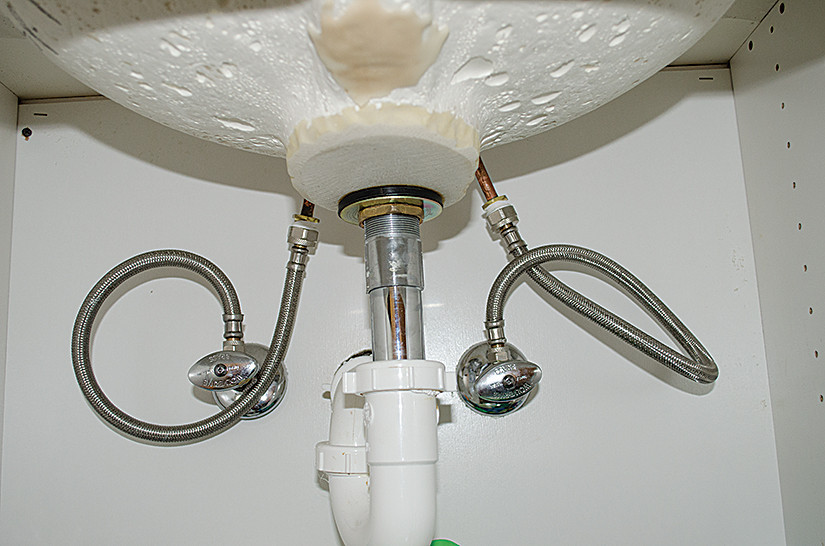
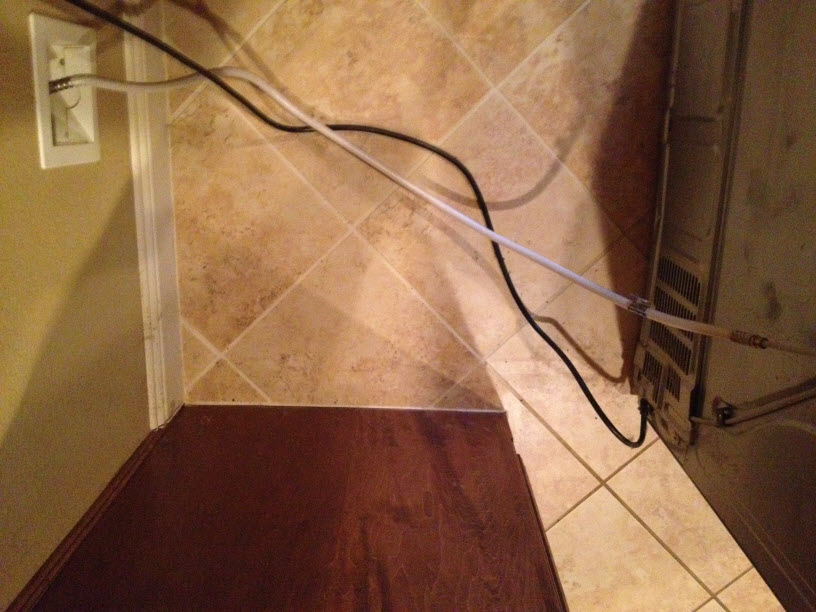
The first step in disconnecting the plastic water line from your bathroom sink is to gather all the necessary tools. You will need an adjustable wrench, a pair of pliers, and a bucket or towel to catch any water that may leak out. Once you have these items, follow these steps: Step 1: Locate the shut-off valve - Before beginning any work, you will need to locate the shut-off valve for the water line. This is typically located under the sink and can be turned off by turning the valve clockwise. Step 2: Remove the plastic nut - The water line is connected to the sink by a plastic nut. Use your adjustable wrench to loosen this nut by turning it counterclockwise. Once it is loose, you can use your fingers to unscrew it the rest of the way. Step 3: Disconnect the water line from the sink - With the nut removed, you can now pull the water line out of the sink. If it is stuck, you can use your pliers to gently twist and pull it out. Step 4: Remove the water line from the shut-off valve - Follow the water line to the shut-off valve and use your pliers to loosen the nut connecting it to the valve. Once it is loose, you can pull the water line out of the valve. Step 5: Clean the area - After the water line is disconnected, use a rag to clean up any excess water or debris from the area.How to Disconnect Plastic Water Line from Bathroom Sink


How to Disconnect Plastic Water Line from Bathroom Sink


If you need to completely remove the plastic water line from your bathroom sink, you can follow these additional steps: Step 6: Cut the water line - Use a pair of scissors or a utility knife to cut the water line at the desired length, leaving enough room to reconnect it if needed. Step 7: Remove any connectors - If there are any connectors or adapters attached to the water line, use your pliers to loosen and remove them. Step 8: Pull the water line out - With all connections and attachments removed, you can now pull the water line out of the sink and dispose of it properly.Removing Plastic Water Line from Bathroom Sink


Removing Plastic Water Line from Bathroom Sink


/close-up-of-overflowing-bathroom-sink-90201417-579787783df78ceb865822d8.jpg)
The process for disconnecting the plastic water line from your sink is similar to that of a bathroom sink, but there are a few additional steps to keep in mind: Step 1: Locate the shut-off valve - Just like with a bathroom sink, you will need to locate the shut-off valve for the water line before beginning any work. Step 2: Turn off the water - To ensure that no water leaks out while you are working, turn off the water by turning the shut-off valve clockwise. Step 3: Remove the plastic nut - Using your adjustable wrench, loosen and remove the plastic nut connecting the water line to the sink. Step 4: Disconnect the water line from the sink - With the nut removed, you can now pull the water line out of the sink. If it is stuck, use your pliers to gently twist and pull it out. Step 5: Clean the area - After the water line is disconnected, use a rag to clean up any excess water or debris from the area.Disconnecting Plastic Water Line from Sink


Disconnecting Plastic Water Line from Sink

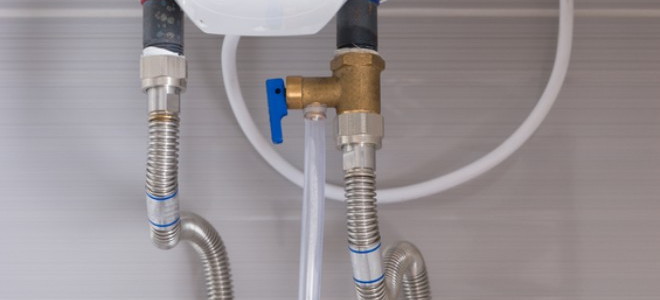
If you need to completely remove the plastic water line from your sink, you can follow these additional steps: Step 6: Cut the water line - Use a pair of scissors or a utility knife to cut the water line at the desired length, leaving enough room to reconnect it if needed. Step 7: Remove any connectors - If there are any connectors or adapters attached to the water line, use your pliers to loosen and remove them. Step 8: Pull the water line out - With all connections and attachments removed, you can now pull the water line out of the sink and dispose of it properly.Removing Plastic Water Line from Sink


Removing Plastic Water Line from Sink


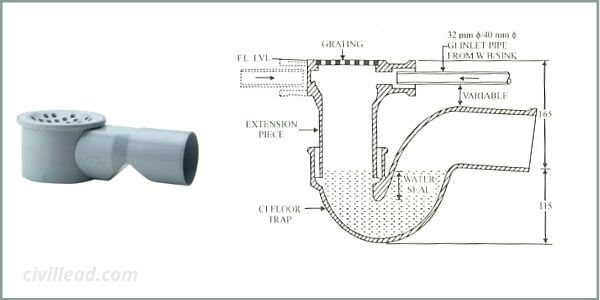
If you need to disconnect the plastic water line from your bathroom sink drain, follow these steps: Step 1: Locate the drain pipe - The drain pipe is typically located under the sink and is connected to the sink drain and the main plumbing line. Step 2: Loosen the nut - Using your adjustable wrench, loosen the nut connecting the water line to the drain pipe. You may need to hold onto the drain pipe with your pliers to prevent it from moving. Step 3: Disconnect the water line - With the nut loosened, you can now pull the water line out of the drain pipe. Step 4: Clean the area - After the water line is disconnected, use a rag to clean up any excess water or debris from the area.How to Disconnect Plastic Water Line from Bathroom Sink Drain

How to Disconnect Plastic Water Line from Sink


If you need to completely remove the plastic water line from your bathroom sink drain, you can follow these additional steps: Step 5: Cut the water line - Use a pair of scissors or a utility knife to cut the water line at the desired length, leaving enough room to reconnect it if needed. Step 6: Remove any connectors - If there are any connectors or adapters attached to the water line, use your pliers to loosen and remove them. Step 7: Pull the water line out - With all connections and attachments removed, you can now pull the water line out of the drain pipe and dispose of it properly. Disconnecting the plastic water line from your bathroom sink may seem like a daunting task, but with the right tools and knowledge, it can be done easily. By following these steps, you can safely and successfully disconnect the water line without causing any damage to your sink or plumbing system.Removing Plastic Water Line from Bathroom Sink Drain


Disconnecting Plastic Water Line from Bathroom Sink Drain


:max_bytes(150000):strip_icc()/bathroom-sink-drain-installation-2718843-02-61e5ecbee1e949be8d8f45ac4f5a6797.jpg)


Disconnecting the Plastic Water Line from Your Bathroom Sink

Why Disconnecting a Plastic Water Line is Important
 When it comes to home design, every detail matters. This includes not just the aesthetic appeal, but also the functionality of each element. One important aspect of home design is plumbing, specifically the water lines that supply water to different parts of your house. While plastic water lines are a popular choice due to their affordability and easy installation, there may come a time when you need to disconnect them, such as during a bathroom remodel or repair. In this article, we will guide you on how to properly disconnect a plastic water line from your bathroom sink.
Steps for Disconnecting a Plastic Water Line
 The process of disconnecting a plastic water line from your bathroom sink may seem daunting, but with the right tools and techniques, it can be a simple and stress-free task. Follow these steps to disconnect your plastic water line:
Step 1:
Turn off the water supply. Before disconnecting the water line, it is important to turn off the water supply to your bathroom sink. This can usually be done by turning off the main water valve or the individual valve for your bathroom.
Step 2:
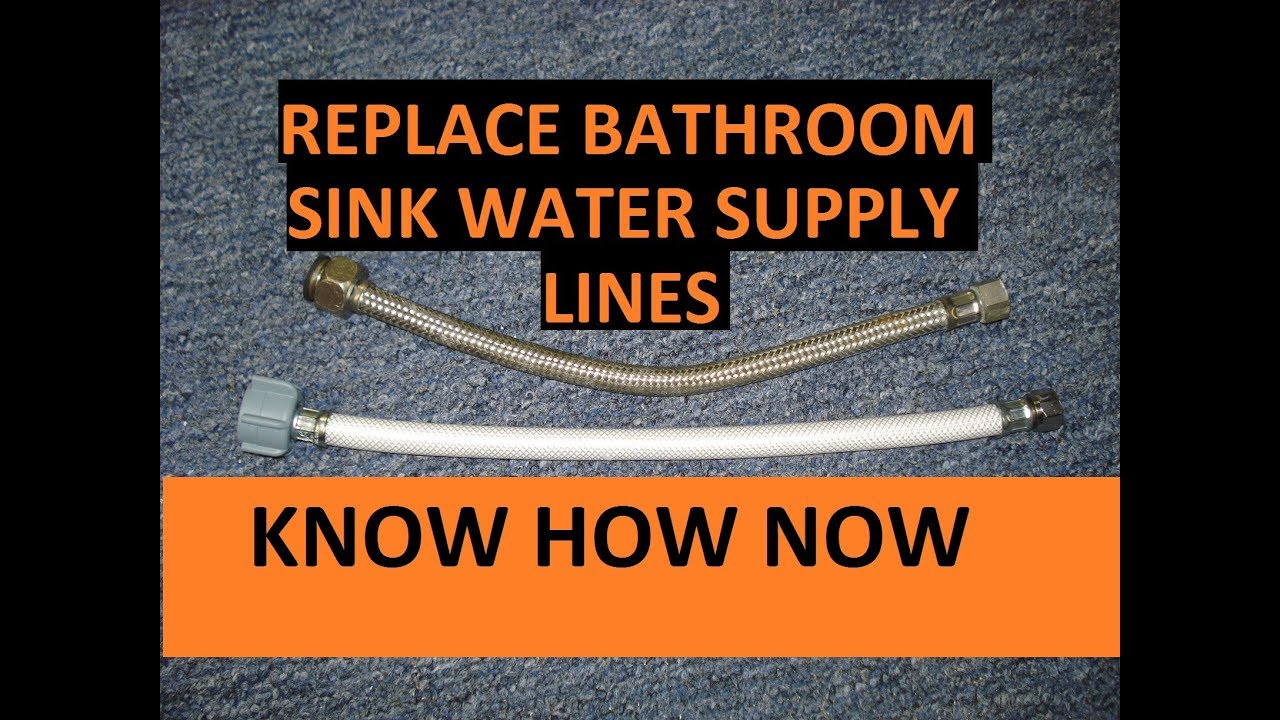
Remove the water line from the faucet. Locate the plastic water line connecting to your sink's faucet. Using a wrench, loosen the nuts on both ends of the water line and carefully remove it from the faucet.
Step 3:
Disconnect the water line from the supply valve. Next, locate the other end of the water line, which is connected to the supply valve. Similar to the previous step, use a wrench to loosen the nut and carefully remove the water line from the valve.
Step 4:
Prepare for disposal. Once the water line is disconnected, you can dispose of it properly. Be sure to remove any excess water from the line and dry it thoroughly before disposing of it.
The process of disconnecting a plastic water line from your bathroom sink may seem daunting, but with the right tools and techniques, it can be a simple and stress-free task. Follow these steps to disconnect your plastic water line:
Step 1:
Turn off the water supply. Before disconnecting the water line, it is important to turn off the water supply to your bathroom sink. This can usually be done by turning off the main water valve or the individual valve for your bathroom.
Step 2:
Remove the water line from the faucet. Locate the plastic water line connecting to your sink's faucet. Using a wrench, loosen the nuts on both ends of the water line and carefully remove it from the faucet.
Step 3:
Disconnect the water line from the supply valve. Next, locate the other end of the water line, which is connected to the supply valve. Similar to the previous step, use a wrench to loosen the nut and carefully remove the water line from the valve.
Step 4:
Prepare for disposal. Once the water line is disconnected, you can dispose of it properly. Be sure to remove any excess water from the line and dry it thoroughly before disposing of it.
Tips for Disconnecting a Plastic Water Line
 To ensure a smooth and hassle-free disconnection of your plastic water line, here are some additional tips to keep in mind:
- It is important to use the correct size of wrench to avoid damaging the nuts or the water line itself.
- If the water line is difficult to remove, try using a lubricant to loosen the nuts and make it easier to remove.
- It is always a good idea to have a bucket or towel nearby to catch any excess water that may leak out during the disconnection process.
- If you are unsure about disconnecting the water line yourself, it is best to seek the help of a professional plumber.
To ensure a smooth and hassle-free disconnection of your plastic water line, here are some additional tips to keep in mind:
- It is important to use the correct size of wrench to avoid damaging the nuts or the water line itself.
- If the water line is difficult to remove, try using a lubricant to loosen the nuts and make it easier to remove.
- It is always a good idea to have a bucket or towel nearby to catch any excess water that may leak out during the disconnection process.
- If you are unsure about disconnecting the water line yourself, it is best to seek the help of a professional plumber.
In Conclusion
 Disconnecting a plastic water line from your bathroom sink may seem like a daunting task, but with the right knowledge and tools, it can be a simple and straightforward process. By following the steps and tips outlined in this article, you can safely and easily disconnect your plastic water line and continue with your bathroom remodel or repair. Remember to always take caution and turn off the water supply before attempting to disconnect the water line.
/media/img/prizes/prizegrab-sleep-number-bed-sweepstakes.jpg)