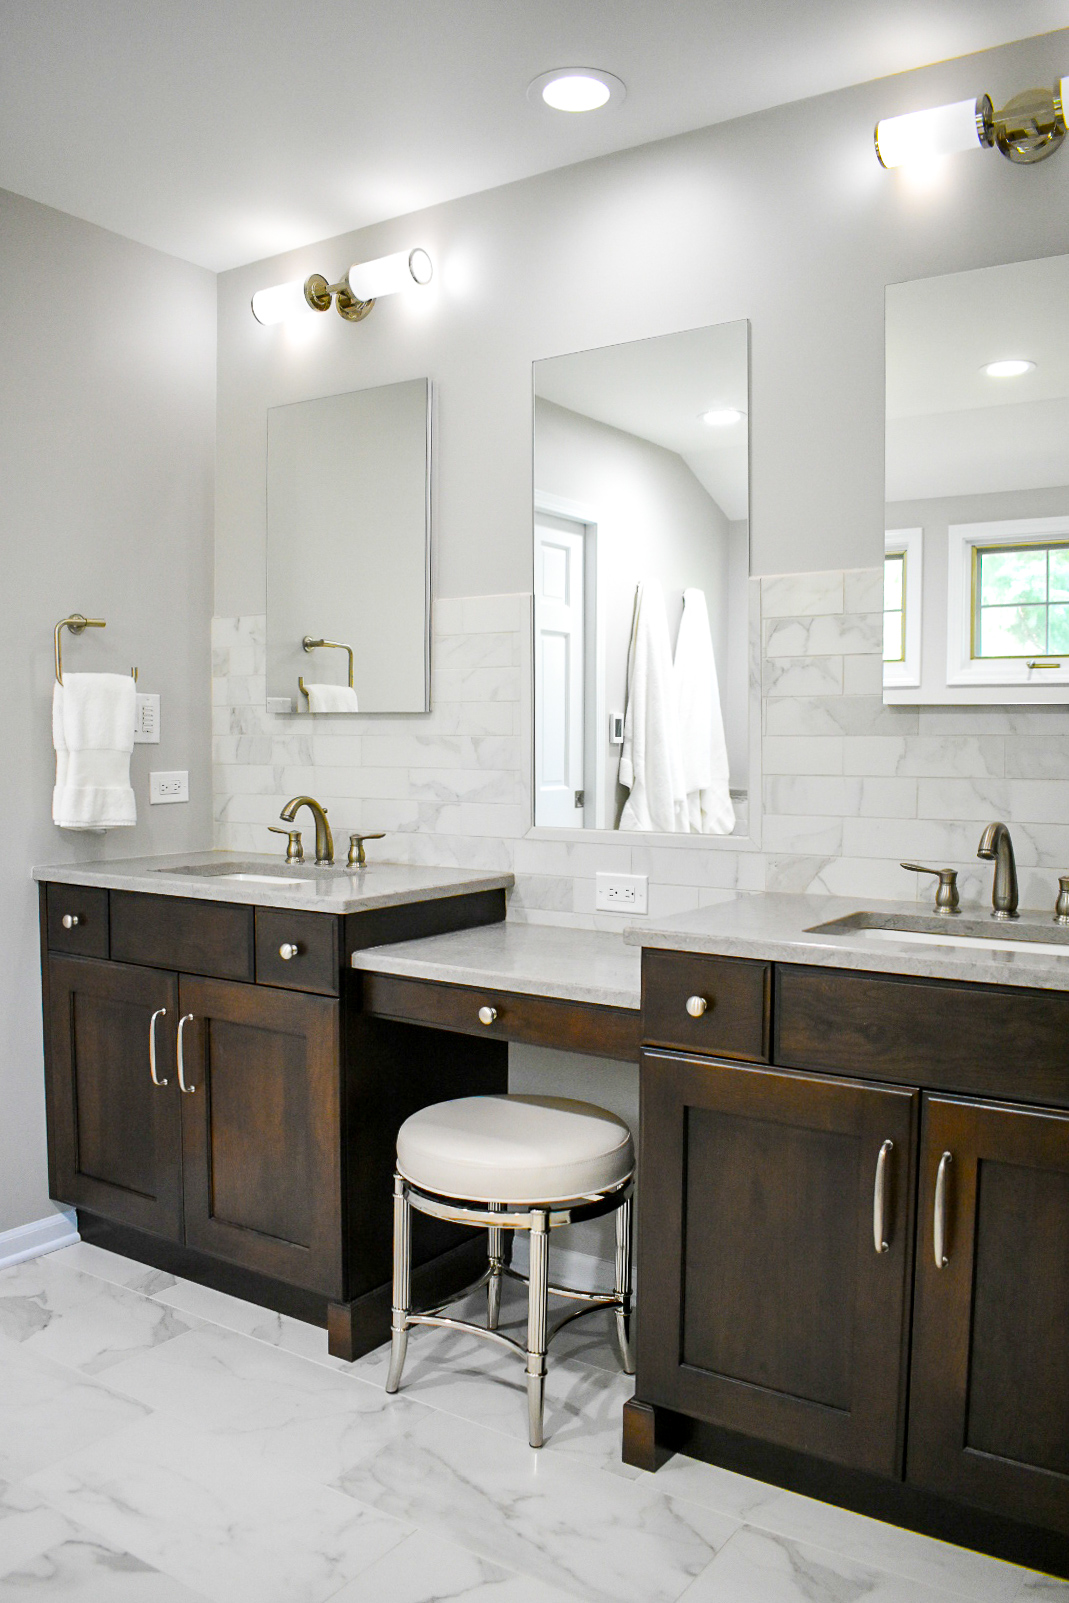
Shimming a bathroom vanity may seem like a daunting task, but with the right tools and techniques, it can be a simple and straightforward process. Whether you're installing a new vanity or trying to fix a wobbly one, shimming is an important step in ensuring your vanity is level and secure. In this guide, we'll walk you through the steps of shimming a bathroom vanity, as well as provide tips and tricks for a successful shimming experience. How to Shim a Bathroom Vanity


How to Shim a Bathroom Vanity


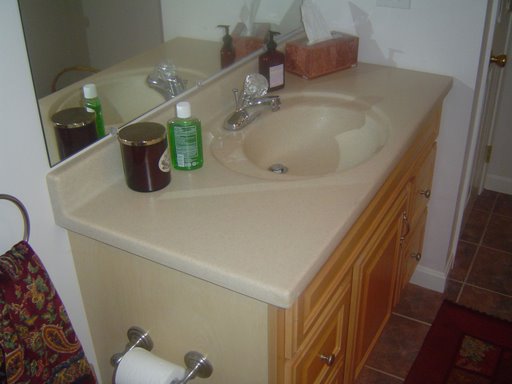
:max_bytes(150000):strip_icc()/6_IMG_3763-56a4a2733df78cf772835b6c.JPG)
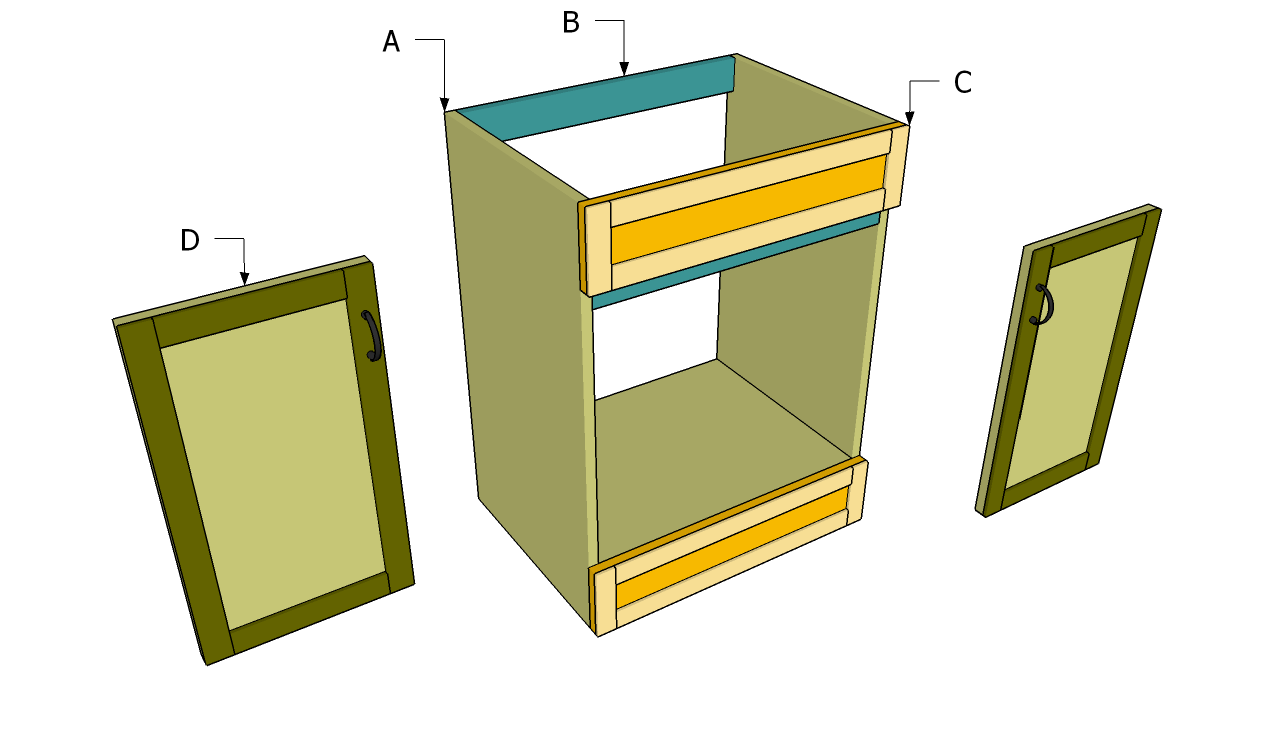


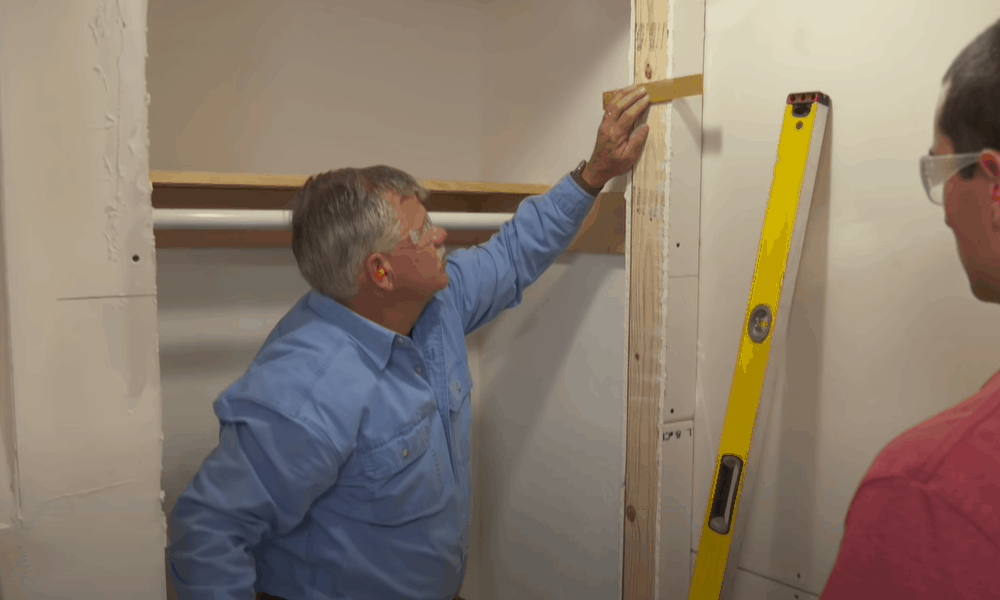
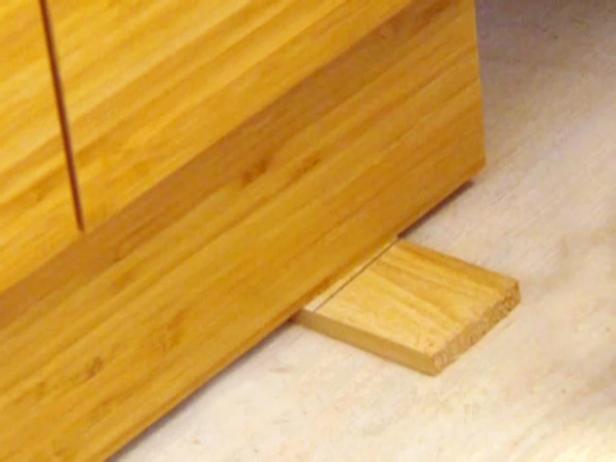
Step 1: Gather your tools - Before you begin shimming, make sure you have all the necessary tools. These may include a level, shims (thin pieces of wood or plastic), a screwdriver, and a hammer. Step 2: Prep the area - If you're installing a new vanity, make sure the area is clear and clean. If you're shimming an existing vanity, remove any items from inside and on top of the vanity. Step 3: Place the vanity - Position the vanity in its designated spot and use a level to check for any unevenness. If the vanity is already installed, use a level to check for any wobbling. Step 4: Start shimming - Begin by placing a shim under one corner of the vanity that needs to be raised. Use a hammer to gently tap the shim in until it is snug. Repeat this process for the other corners that need to be shimmed. Step 5: Check for levelness - Once all the shims are in place, use a level to check for any unevenness. If needed, adjust the shims by tapping them in further or removing them if they are too thick. Step 6: Secure the vanity - Once the vanity is level, use a screwdriver to secure the vanity to the wall or floor. This will prevent it from shifting or moving. Shimming a Bathroom Vanity: Step-by-Step Guide


Shimming a Bathroom Vanity: Step-by-Step Guide


Tip 1: Use multiple shims - Instead of using one thick shim, it's better to use multiple thinner ones. This allows for more precise adjustments. Tip 2: Place shims in different directions - Placing shims vertically and horizontally will provide better stability for the vanity. Tip 3: Use a waterproof adhesive - If you're shimming a vanity in a bathroom, it's important to use a waterproof adhesive to secure the shims and prevent water damage. Tip 4: Double-check levelness - Before securing the vanity, double-check for levelness. It's better to take the extra time to make sure it's level than to have to redo the shimming later. Tips for Shimming a Bathroom Vanity

Tips for Shimming a Bathroom Vanity


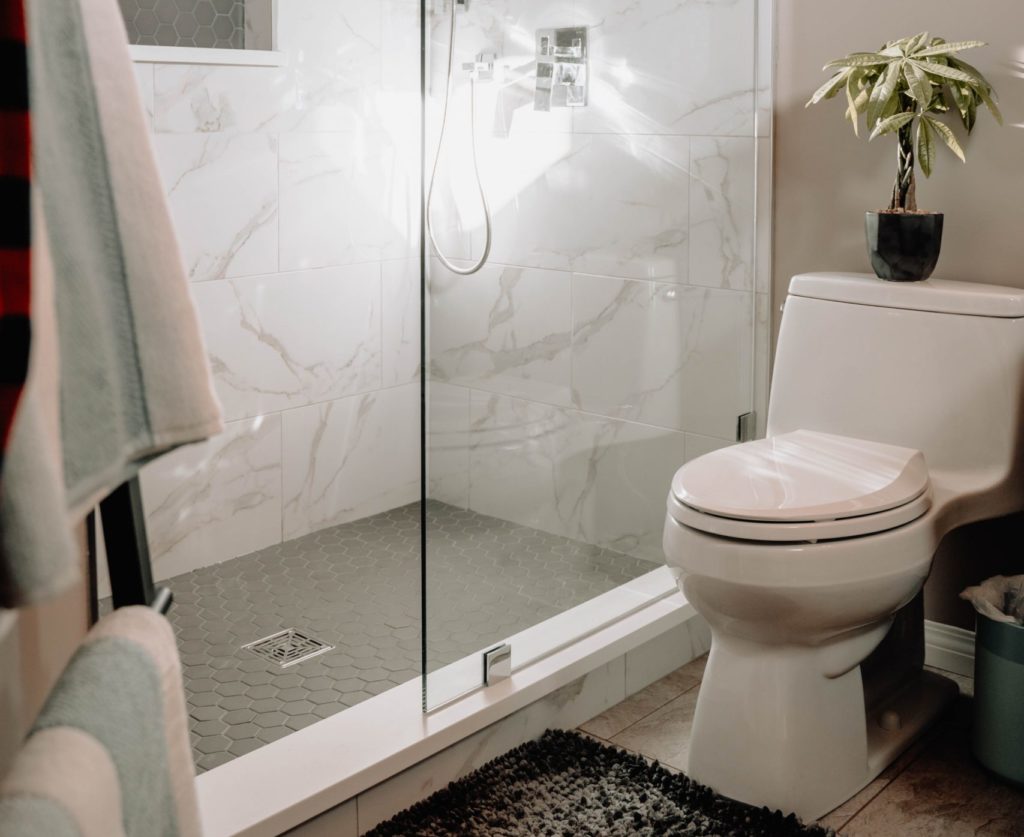
Properly shimming a bathroom vanity is crucial for its stability and longevity. Without proper shimming, the vanity may become unlevel, causing problems with the sink and plumbing. It can also lead to the vanity becoming wobbly and potentially falling or breaking. Shimming is especially important if your floor is uneven or if the vanity is being installed on an existing floor. It ensures that the vanity is secure and level, providing a stable surface for your sink and other items. The Importance of Properly Shimming a Bathroom Vanity


The Importance of Properly Shimming a Bathroom Vanity


Mistake 1: Using the wrong type of shim - When shimming a bathroom vanity, it's important to use shims specifically designed for this purpose. Using the wrong type of shim or material can lead to instability and damage. Mistake 2: Not using enough shims - It's better to use too many shims than not enough. Not using enough shims can result in an unlevel vanity and potential wobbling. Mistake 3: Not double-checking for levelness - As mentioned before, it's important to double-check for levelness before securing the vanity. Failing to do so can result in a crooked or unstable vanity. Common Mistakes When Shimming a Bathroom Vanity


Common Mistakes When Shimming a Bathroom Vanity


As mentioned earlier, the tools needed for shimming a bathroom vanity may include a level, shims, a screwdriver, and a hammer. It's also helpful to have a waterproof adhesive and a saw for cutting the shims if needed. Tools Needed for Shimming a Bathroom Vanity


Tools Needed for Shimming a Bathroom Vanity


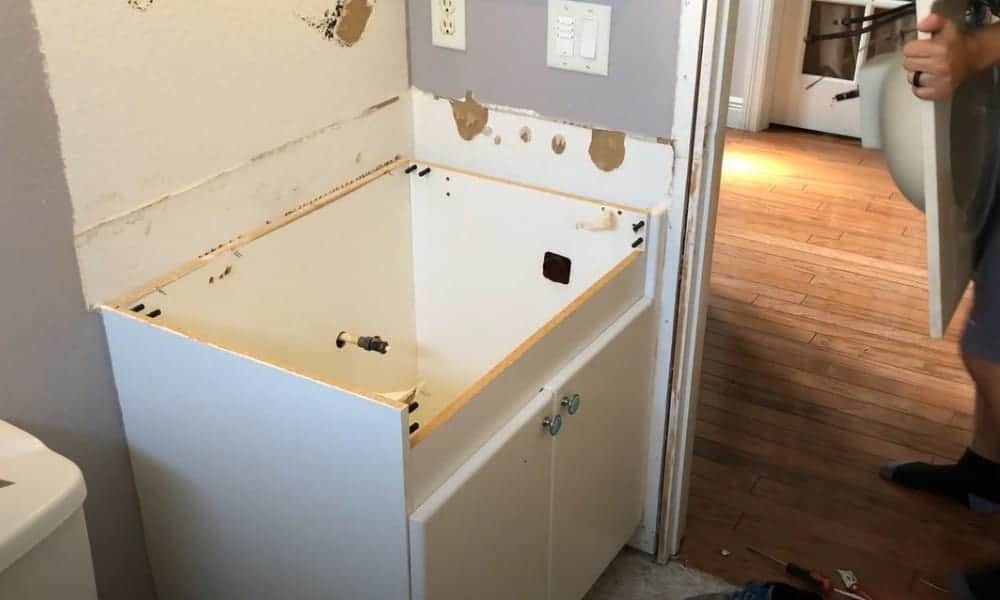
If you're installing a new vanity, it's important to check for levelness before beginning the shimming process. If you're experiencing any wobbling or unevenness with an existing vanity, it's likely that it needs to be shimmed. You may also notice that your sink is not draining properly or that items placed on top of the vanity are sliding or tipping. These are all signs that your vanity needs to be shimmed for stability. How to Know When Your Bathroom Vanity Needs Shimming


How to Know When Your Bathroom Vanity Needs Shimming


Shimming and leveling a bathroom vanity are often used interchangeably, but they are not the same thing. Shimming is the process of placing small pieces of material under the vanity to make it level. Leveling, on the other hand, is adjusting the vanity itself to make it level. Shimming is usually necessary when the floor is uneven or when the vanity is installed on an existing floor. Leveling is typically needed when the vanity itself is not level or if it has become unlevel over time. Shimming vs. Leveling a Bathroom Vanity: What's the Difference?


Shimming vs. Leveling a Bathroom Vanity: What's the Difference?


If you've noticed that your bathroom vanity is wobbly, it's likely that it needs to be shimmed. Follow the steps mentioned earlier in this guide to properly shim the vanity and secure it to the wall or floor. It's important to address a wobbly vanity as soon as possible to prevent any further damage and potential safety hazards. How to Fix a Wobbly Bathroom Vanity with Shims


How to Fix a Wobbly Bathroom Vanity with Shims


Shimming a bathroom vanity on an uneven floor can be a bit trickier, but it's not impossible. It's important to use multiple shims and to place them in different directions to ensure stability. If the floor is significantly uneven, you may need to use a saw to cut the shims to fit the space. It's also important to use a waterproof adhesive to secure the shims and prevent any potential water damage. Shimming a bathroom vanity is not a difficult task, but it's an important step in the installation process. By following these tips and techniques, you can ensure that your vanity is level and secure, providing a stable surface for your daily bathroom routine. Shimming a Bathroom Vanity on an Uneven Floor

Shimming a Bathroom Vanity on an Uneven Floor


Why Shimming A Bathroom Vanity is Crucial for House Design

What is Shimming?

Shimming is a common technique used in house design to create a level surface for various fixtures, such as bathroom vanities. It involves placing thin wedges, also known as shims, between the object and its support to adjust its position and ensure stability.
The Importance of Shimming Your Bathroom Vanity

When it comes to bathroom vanities, proper installation is crucial for both functionality and aesthetics. Shimming plays a significant role in achieving these goals.
First and foremost, shimming ensures that your vanity is level, which is essential for proper drainage. A tilted vanity can cause water to pool in certain areas, leading to potential water damage and mold growth. Additionally, a level vanity provides a sturdy base for the sink and countertops, preventing any wobbling or movement.
Moreover, shimming helps to align your vanity with other fixtures in the bathroom, such as the toilet and shower. This creates a cohesive and visually appealing design, making the bathroom look more put together and professional.
How to Shim a Bathroom Vanity
Shimming a bathroom vanity may seem like a daunting task, but it is a relatively simple process that can be done by anyone with the right tools and knowledge.
First, gather your supplies, including shims, a level, a drill, and screws. Then, place the vanity in its designated spot and check for levelness using the level. If it is not level, insert shims under the vanity's corners until it is perfectly level.
Next, secure the vanity to the wall using screws, making sure to go through the shims for added stability. Finally, trim any excess shims and cover them with molding or caulking for a seamless finish.
Final Thoughts

Shimming a bathroom vanity may seem like a small and insignificant step in house design, but it can make a significant difference in the functionality and overall look of your bathroom. By taking the time to properly shim your vanity, you can ensure a beautiful and functional bathroom for years to come.

:no_upscale()/cdn.vox-cdn.com/uploads/chorus_image/image/62570452/Hell_s_Kitchen___MAIN_PHOTO.0.0.jpg)


:max_bytes(150000):strip_icc()/Warm-and-cozy-living-room-Amy-Youngblood-589f82173df78c47587b80b6.png)
