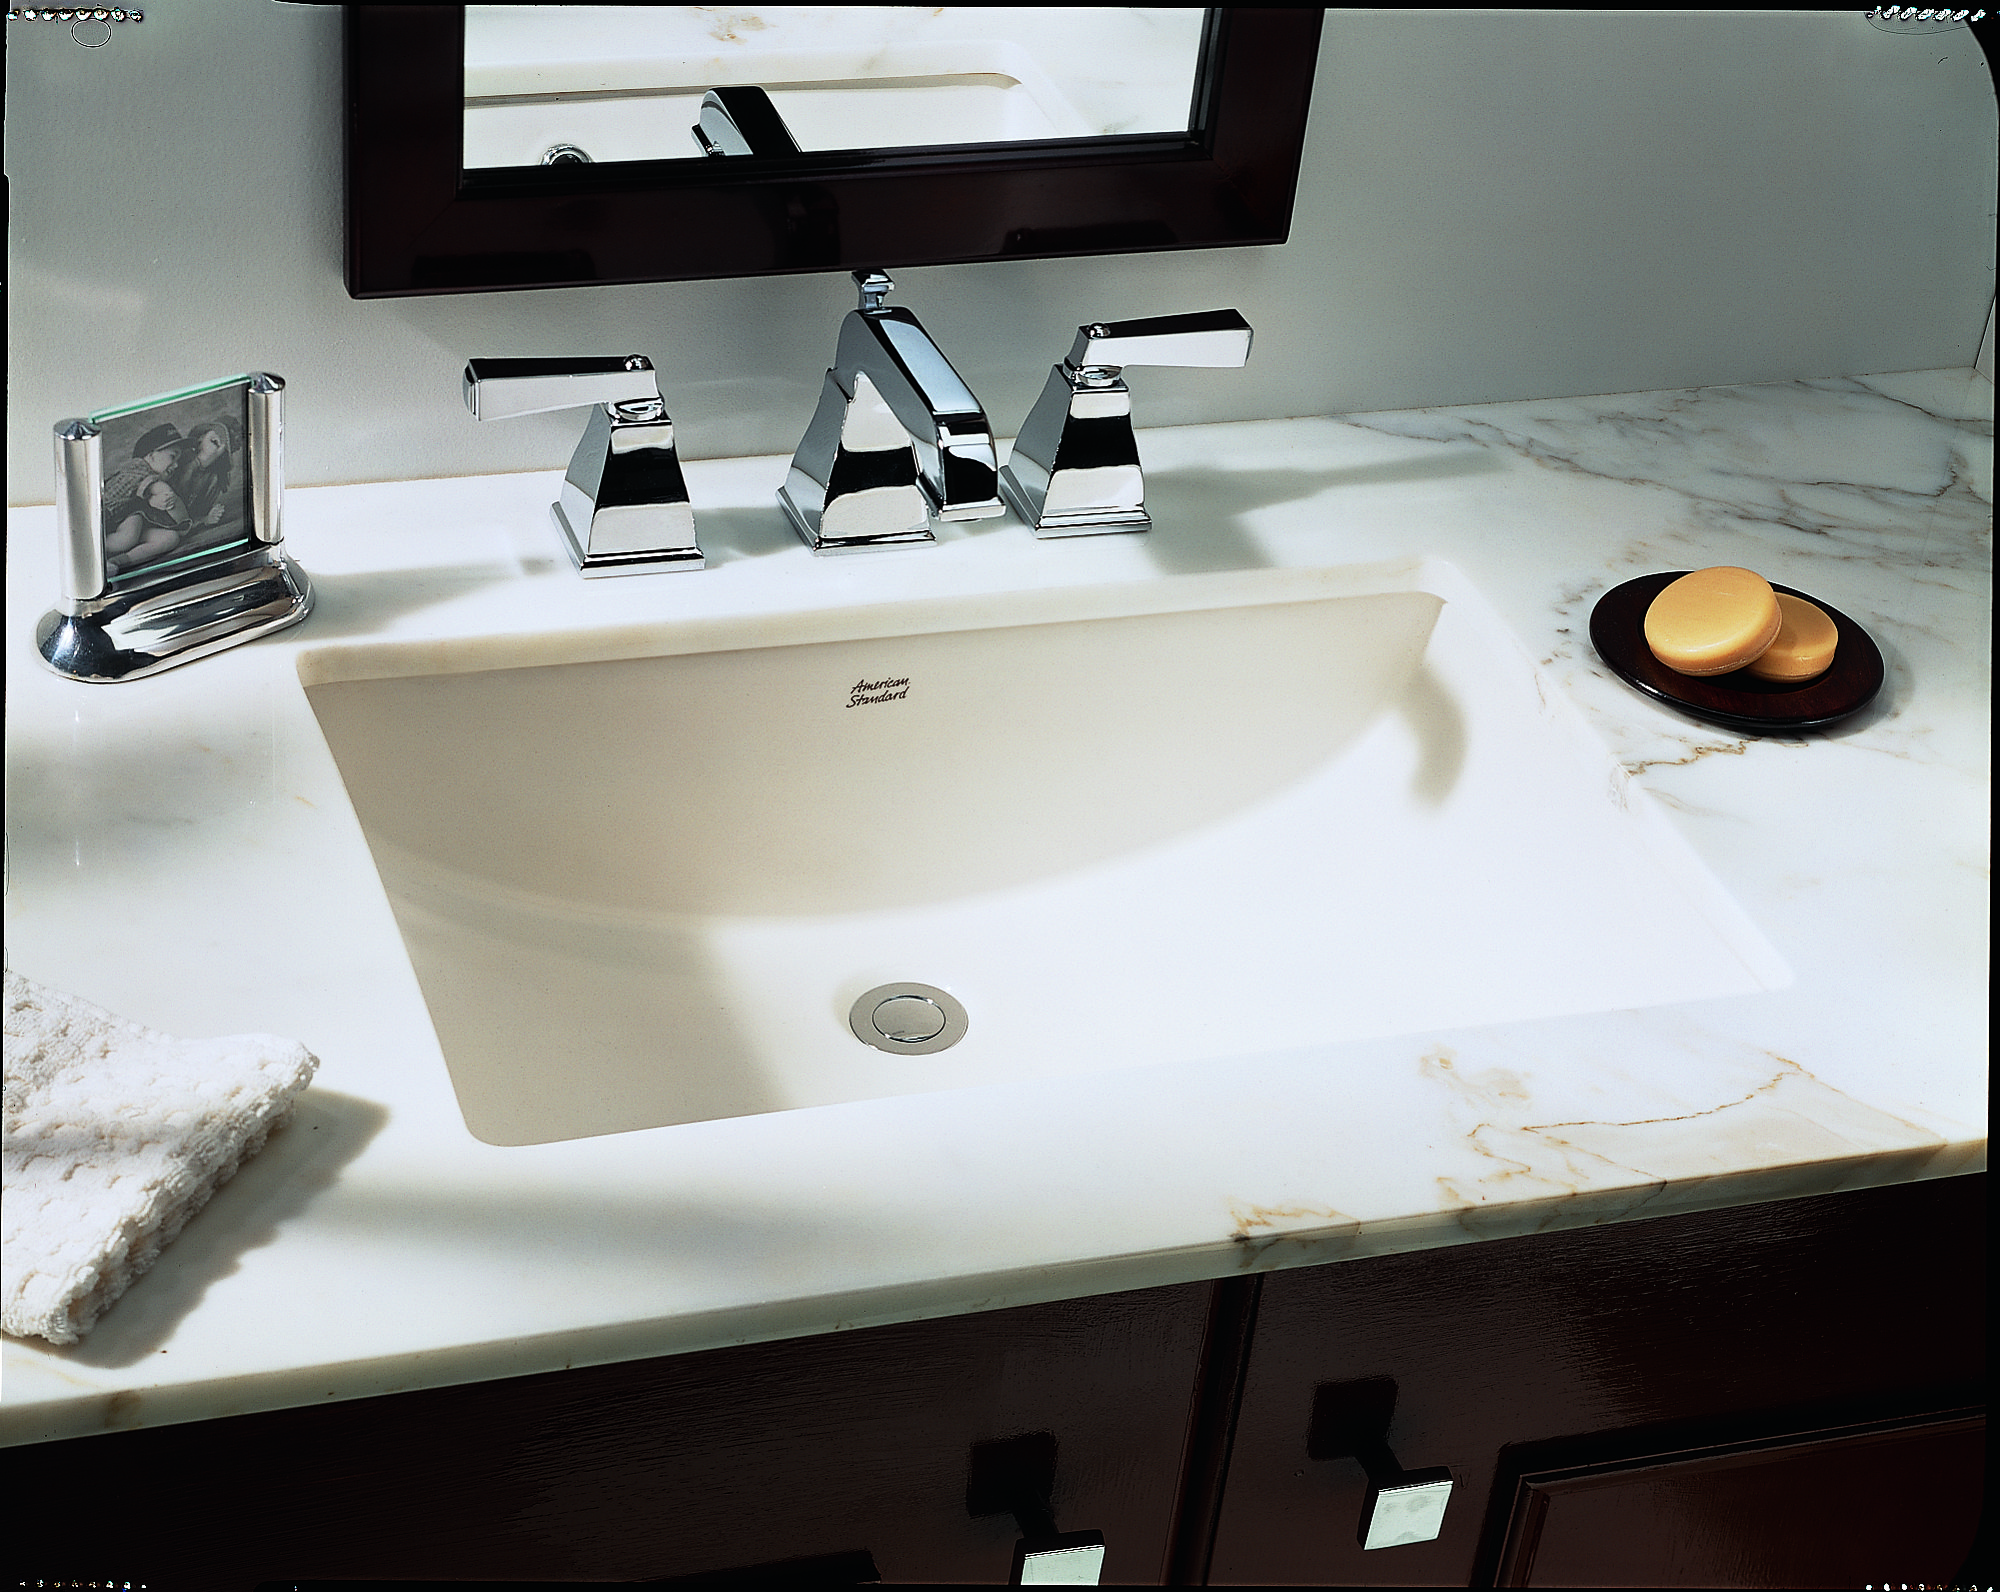
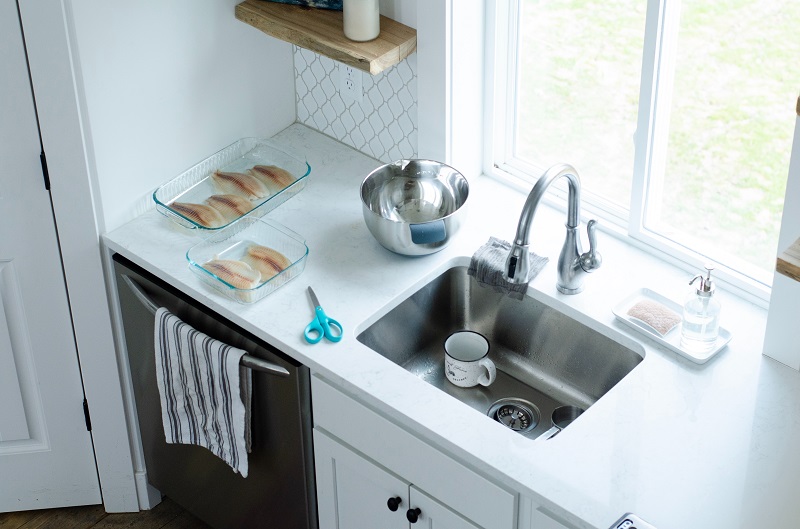
If you're looking to give your bathroom a fresh new look, replacing your undermount bathroom sink is a great place to start. This simple upgrade can make a big impact on the overall aesthetic and functionality of your bathroom. However, before you dive into the project, there are a few things you need to know. So, let's take a look at what you need to know before replacing your undermount bathroom sink.Replacing Undermount Bathroom Sink: What You Need to Know


Replacing Undermount Bathroom Sink: What You Need to Know


Replacing an undermount bathroom sink may seem like a daunting task, but with the right tools and knowledge, it can be a simple DIY project. The key is to have a plan and follow the right steps. Here's a step-by-step guide on how to replace an undermount bathroom sink.How to Replace an Undermount Bathroom Sink


How to Replace an Undermount Bathroom Sink
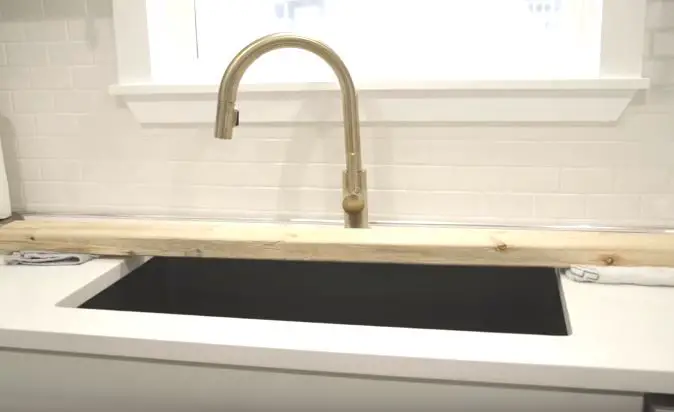

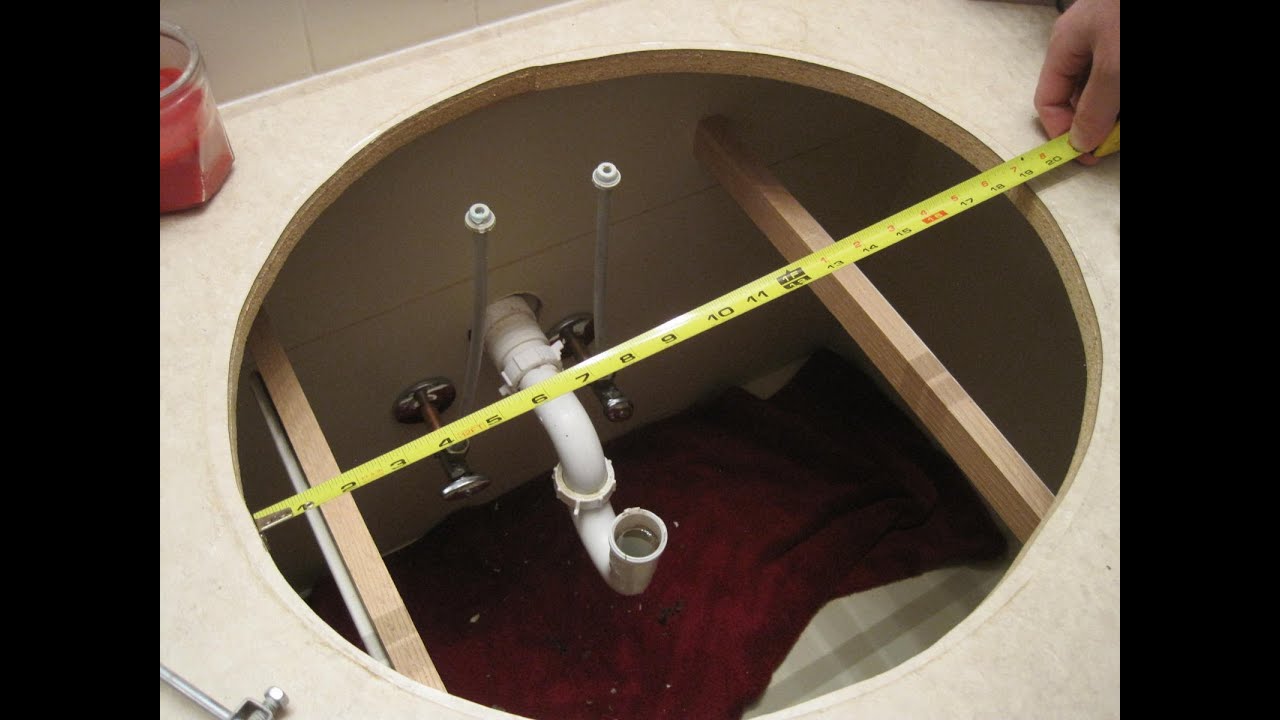
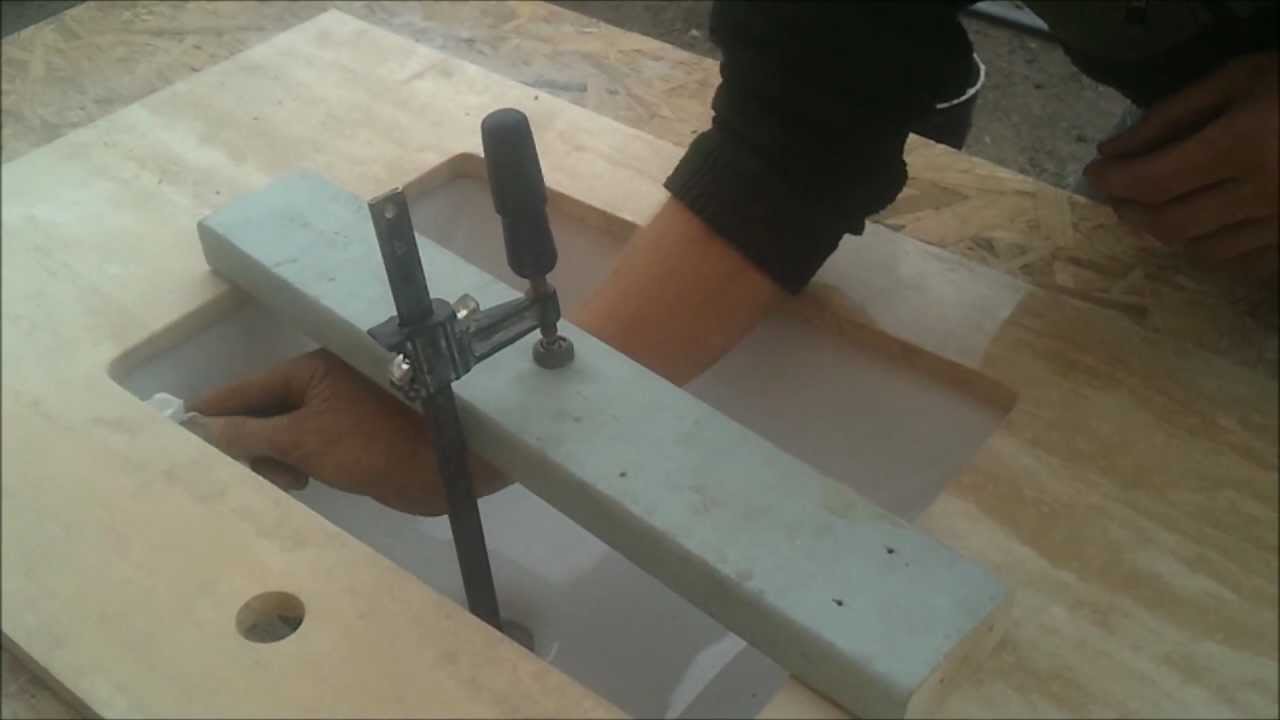
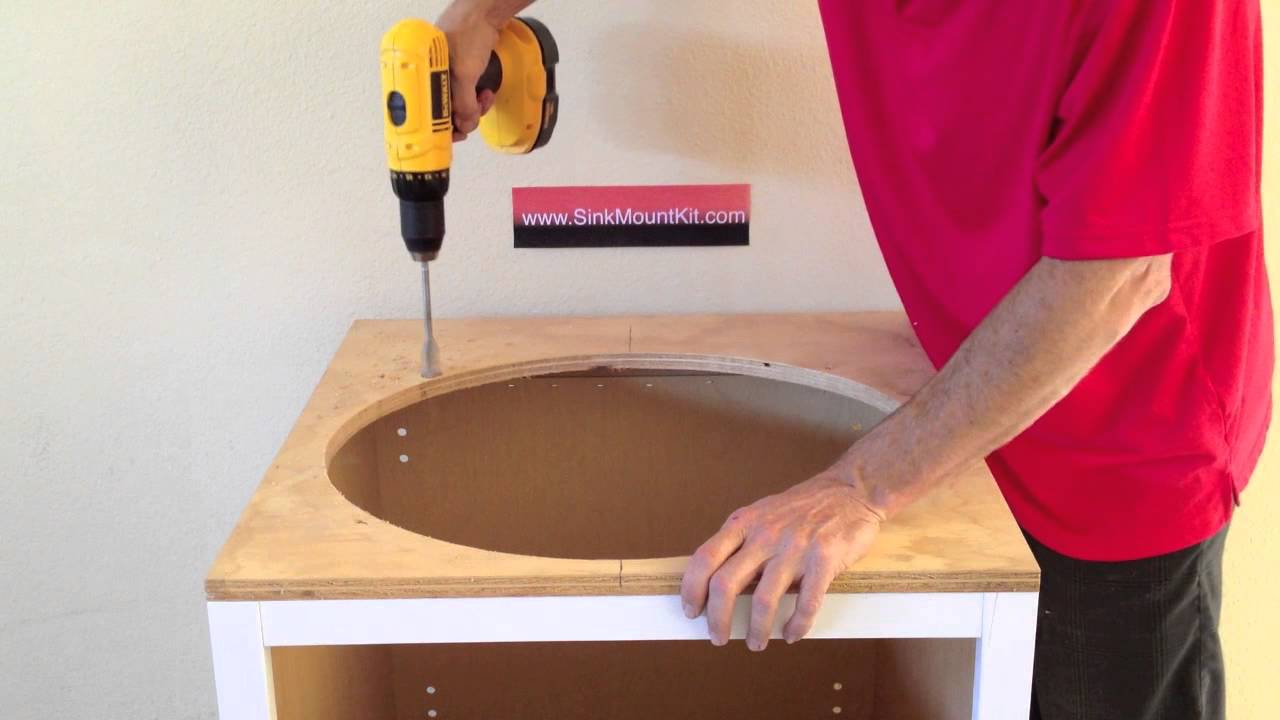
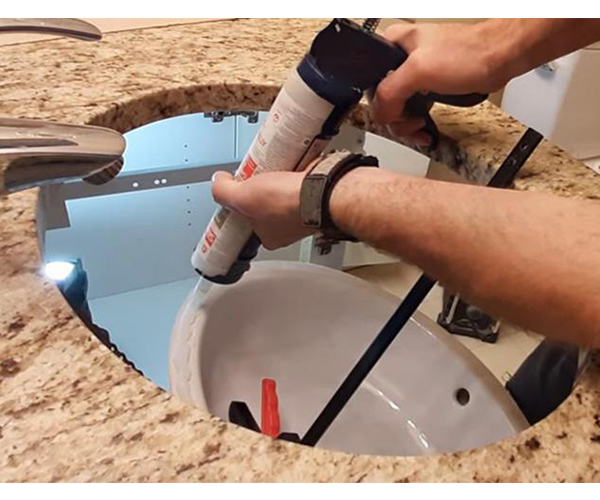
Step 1: Remove the old sink - Start by disconnecting the water supply and drain pipes from the sink. Then, use a utility knife to cut any caulk or adhesive holding the sink in place. Carefully lift the sink out and set it aside. Step 2: Clean the area - Use a scraper to remove any remaining caulk or adhesive from the countertop. Then, clean the area with a mild cleaner and let it dry completely. Step 3: Measure and mark - Place the new sink on top of the counter and use a pencil to mark the outline of the sink. Make sure to also mark where the faucet and drain holes will be. Step 4: Cut the faucet and drain holes - Use a hole saw or jigsaw to cut out the faucet and drain holes according to your markings. Step 5: Install the new sink - Apply a thin bead of caulk around the edge of the sink and carefully place it into the cutout. Press down firmly to secure it in place. Step 6: Connect the plumbing - Reconnect the water supply and drain pipes to the new sink. Make sure everything is properly tightened and secured. Step 7: Apply new caulk - Use a caulk gun to apply a fresh bead of caulk around the edge of the sink to seal it in place. Step 8: Let it dry - Let the caulk dry completely before using the sink.Step-by-Step Guide to Replacing an Undermount Bathroom Sink


Step-by-Step Guide to Replacing an Undermount Bathroom Sink


Replacing an undermount bathroom sink may seem like a straightforward task, but there are a few tips and tricks that can make the process even smoother: - Use a silicone-based caulk for a longer-lasting seal. - Make sure to properly support the sink when cutting the faucet and drain holes. - Apply a small amount of plumber's putty around the drain flange before installing it for a better seal.Replacing an Undermount Bathroom Sink: Tips and Tricks


Replacing an Undermount Bathroom Sink: Tips and Tricks


Replacing an undermount bathroom sink can be a DIY project, but it's important to have a comprehensive guide to ensure success. This includes knowing the right tools and materials needed, understanding the steps involved, and being aware of common mistakes to avoid. By following a comprehensive guide, you can save time and money while achieving professional-looking results.DIY Undermount Bathroom Sink Replacement: A Comprehensive Guide
:max_bytes(150000):strip_icc()/open-simple-blue-vanity-32366fec-cedb074f8ff9499fa7e993416f2d9eb8.jpg)

DIY Undermount Bathroom Sink Replacement: A Comprehensive Guide


As with any DIY project, there are common mistakes that can easily be made when replacing an undermount bathroom sink. These include: - Not properly supporting the sink when cutting the faucet and drain holes, resulting in cracks or damage to the sink. - Improperly measuring and cutting the holes, leading to an ill-fitting sink. - Not using the right type of caulk, leading to a shorter lifespan of the seal. By being aware of these mistakes, you can avoid them and ensure a successful undermount bathroom sink replacement.Undermount Bathroom Sink Replacement: Common Mistakes to Avoid


Undermount Bathroom Sink Replacement: Common Mistakes to Avoid


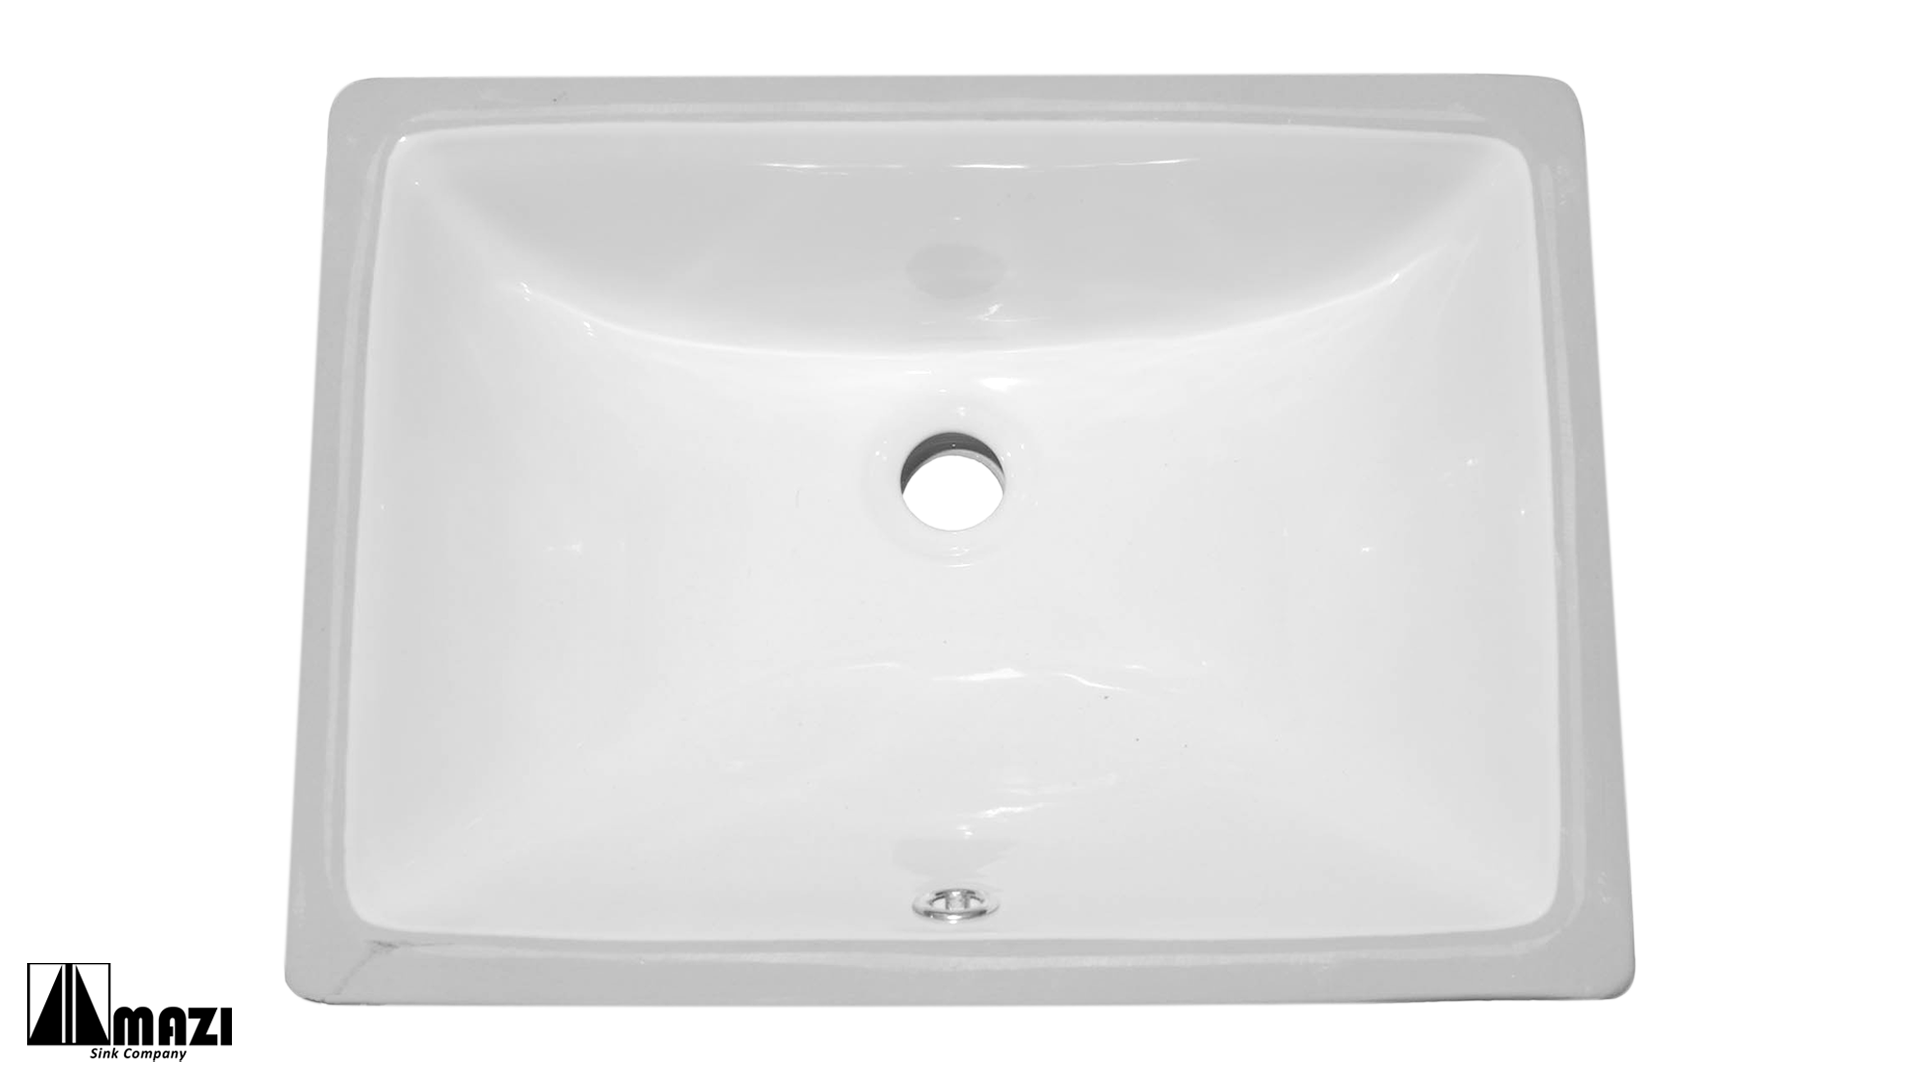
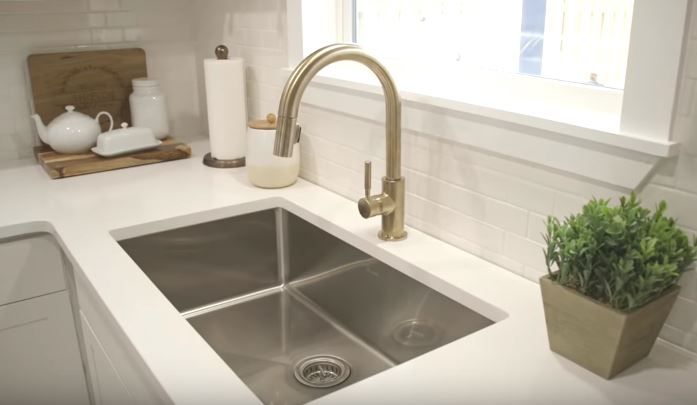
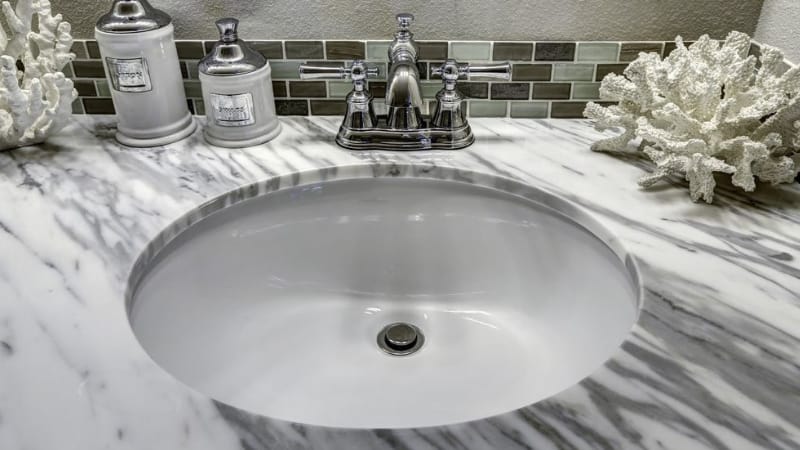
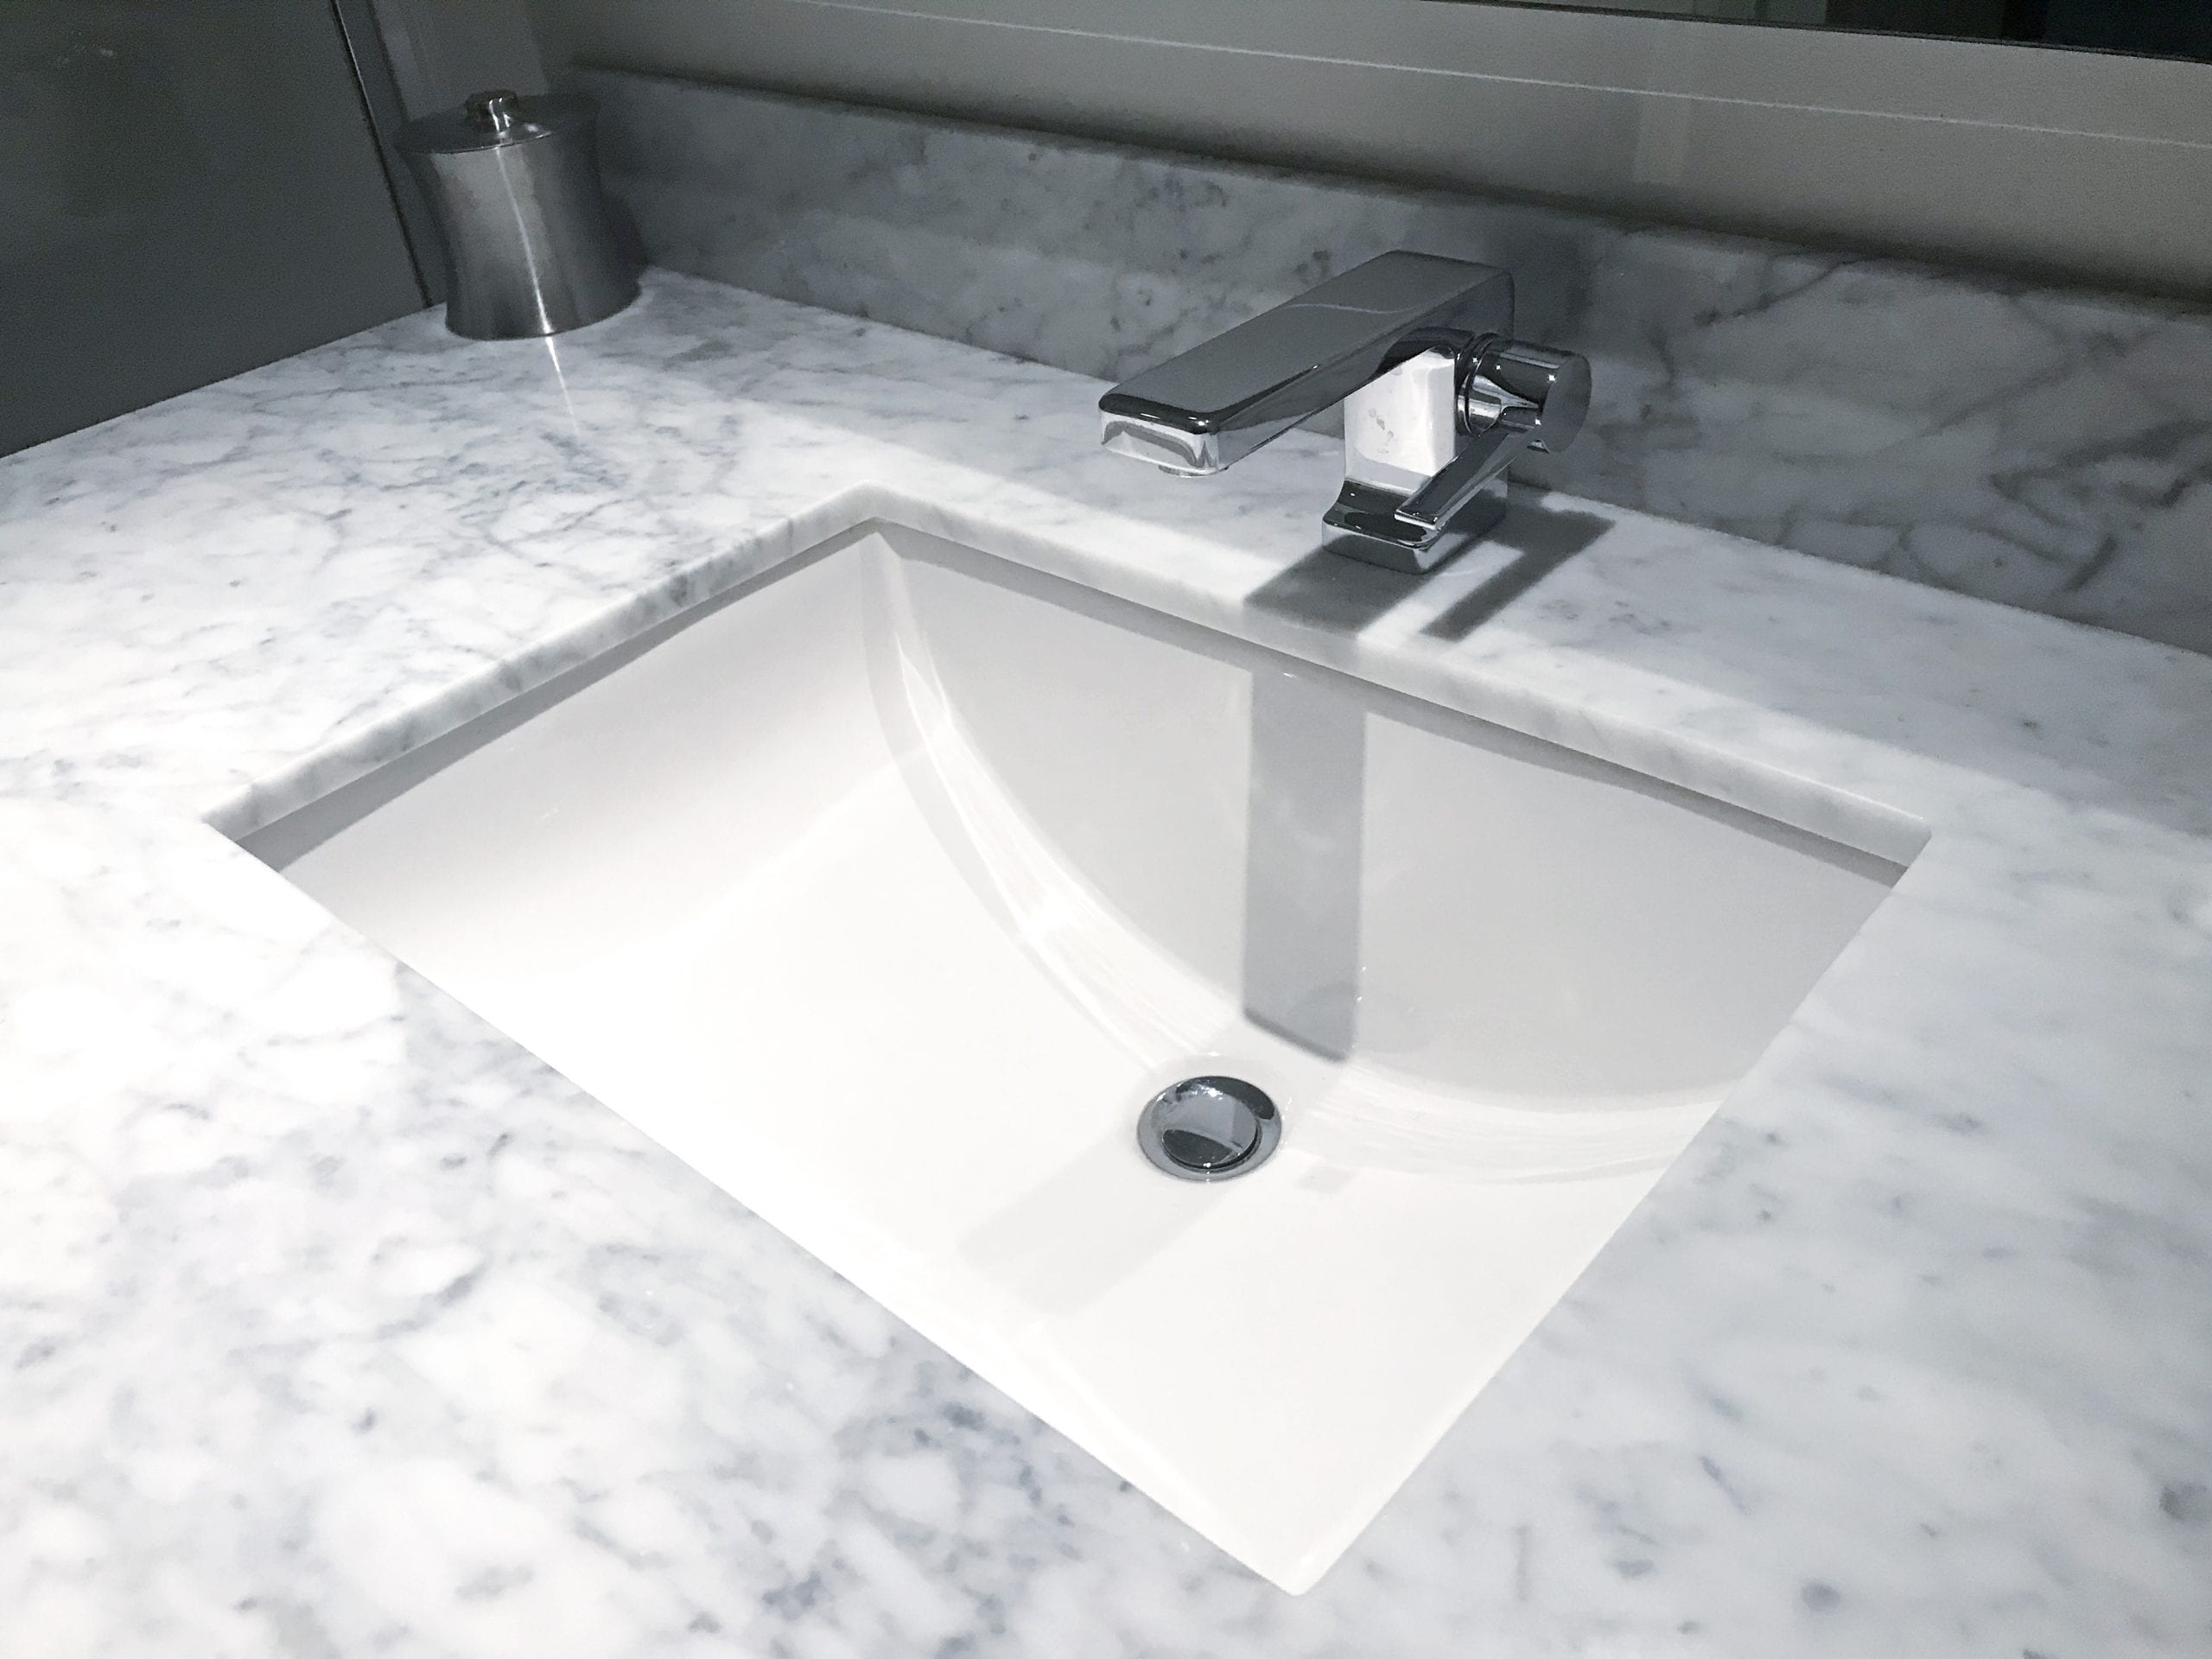
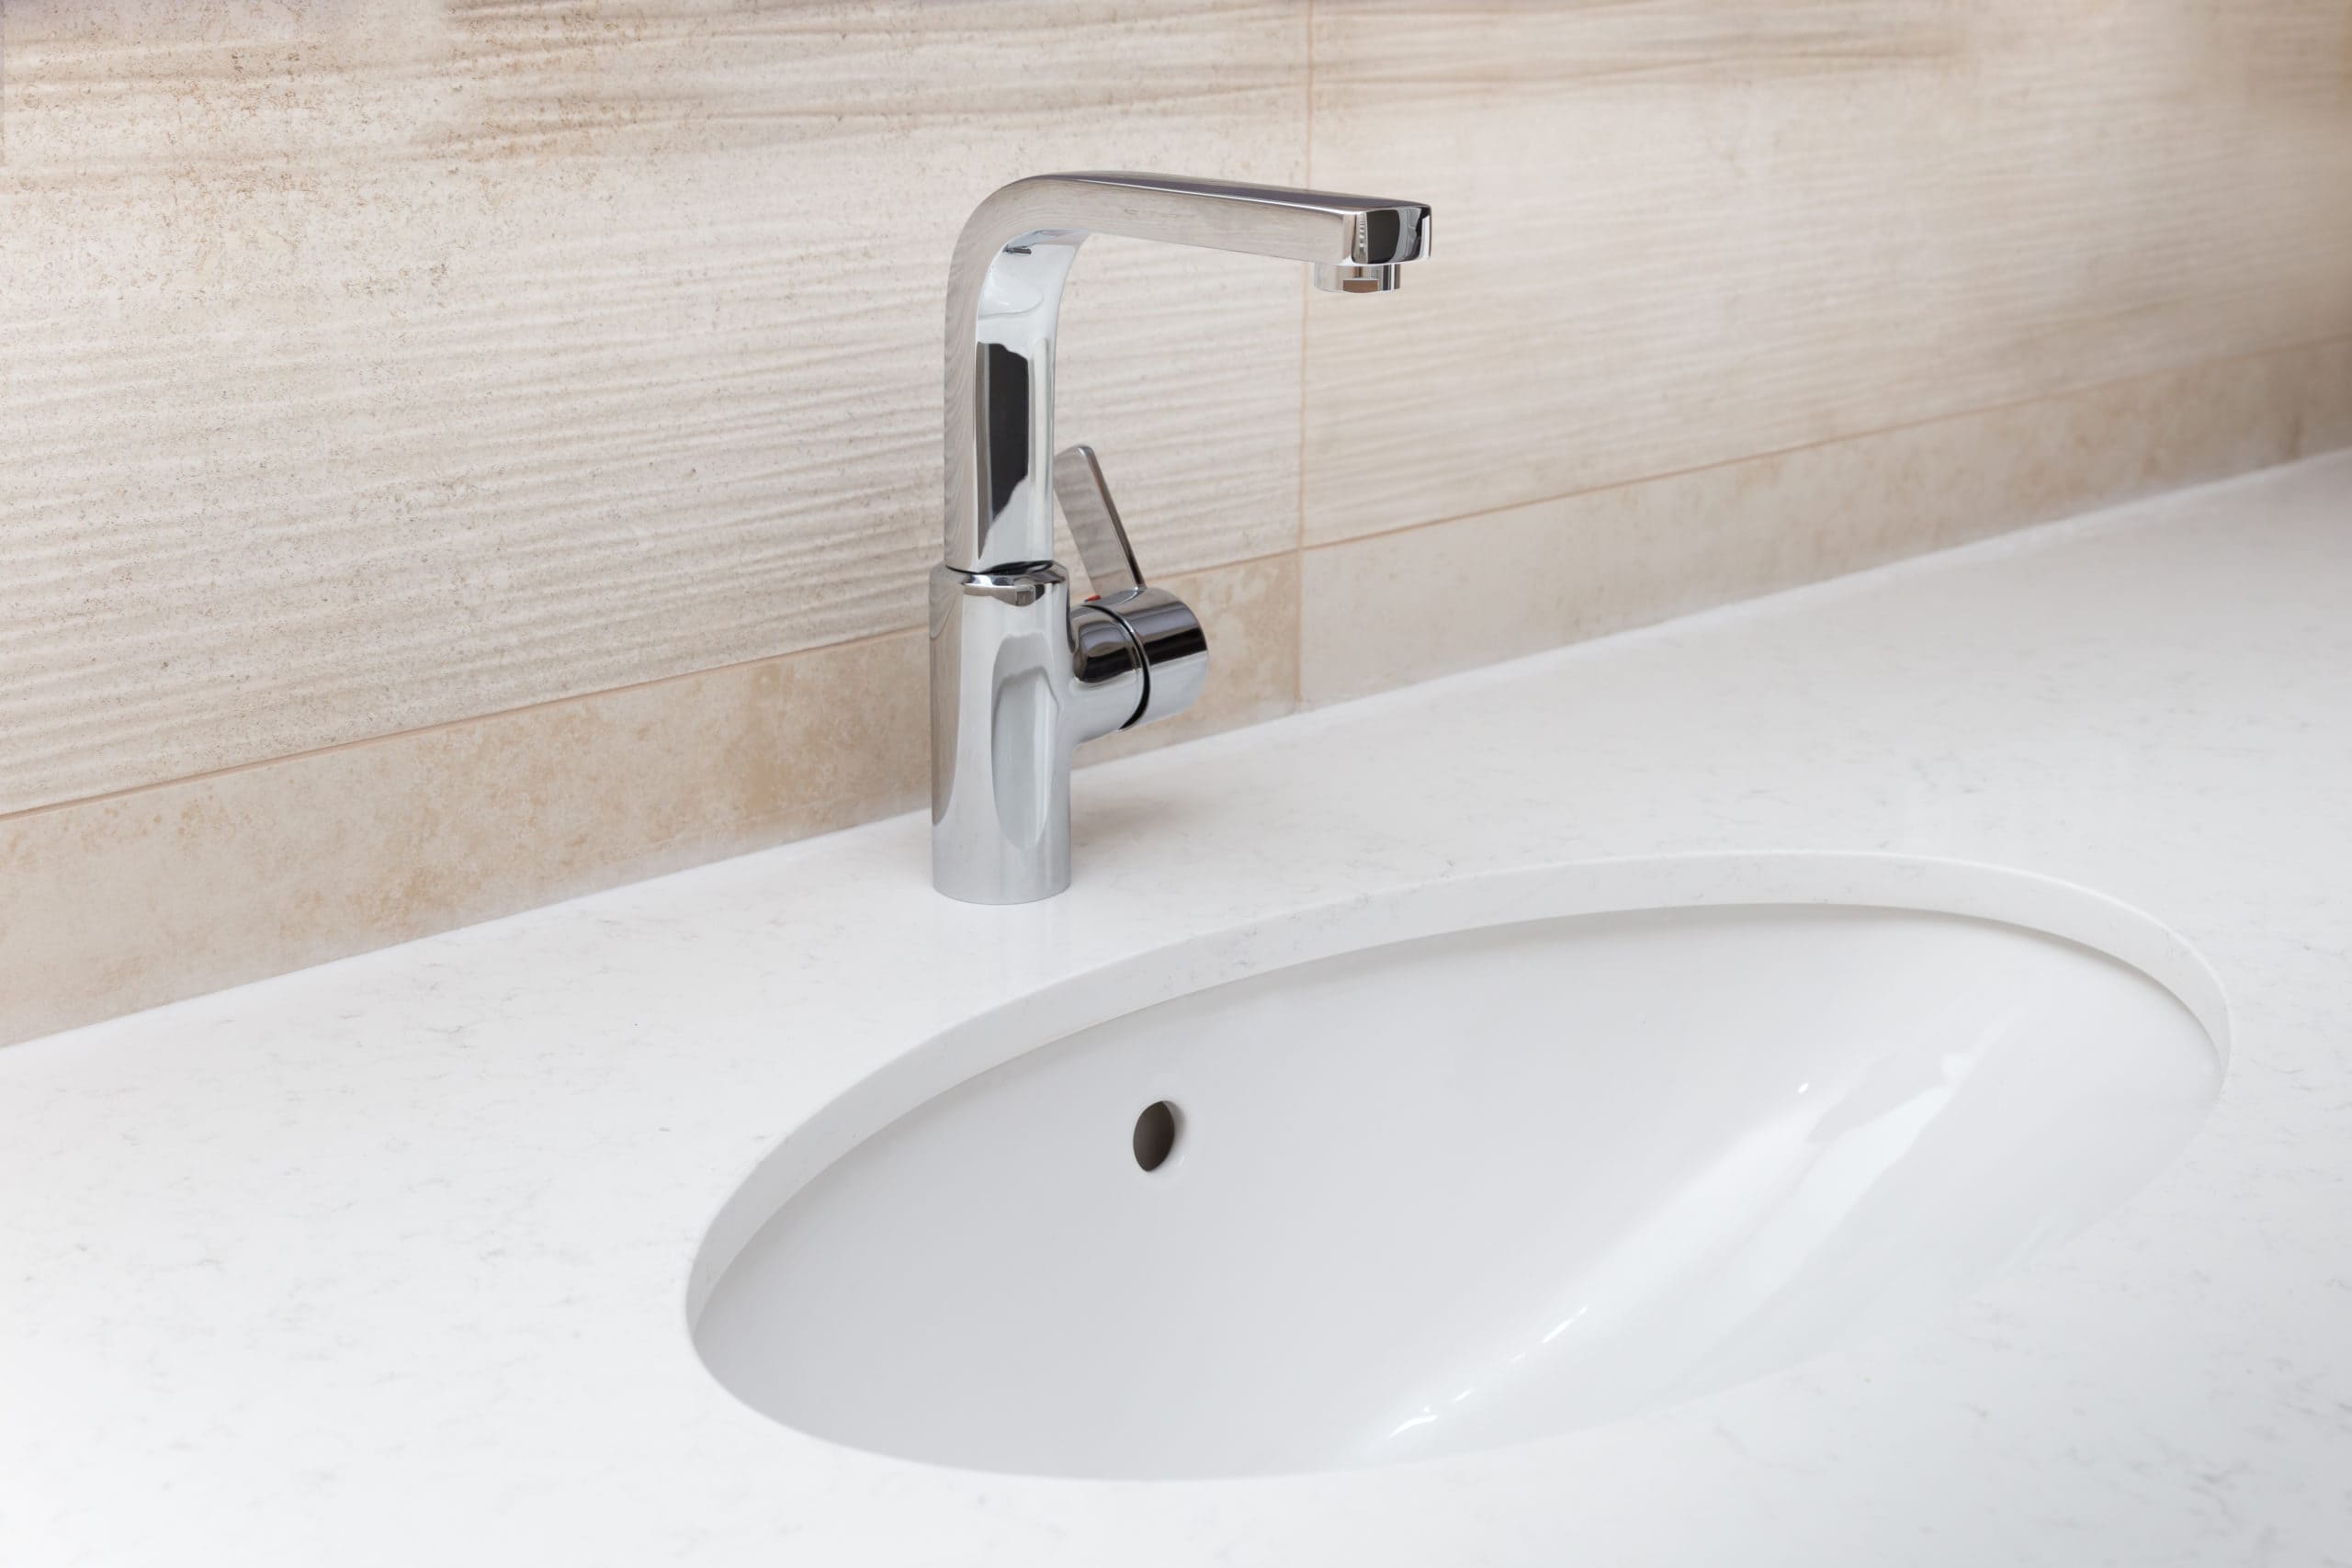
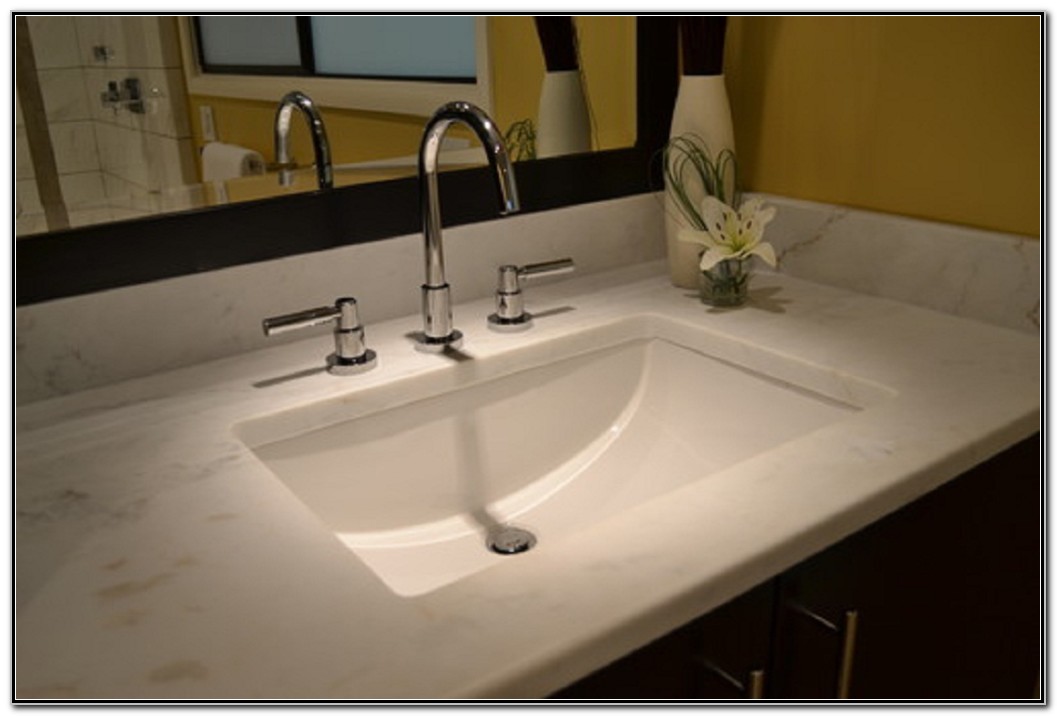
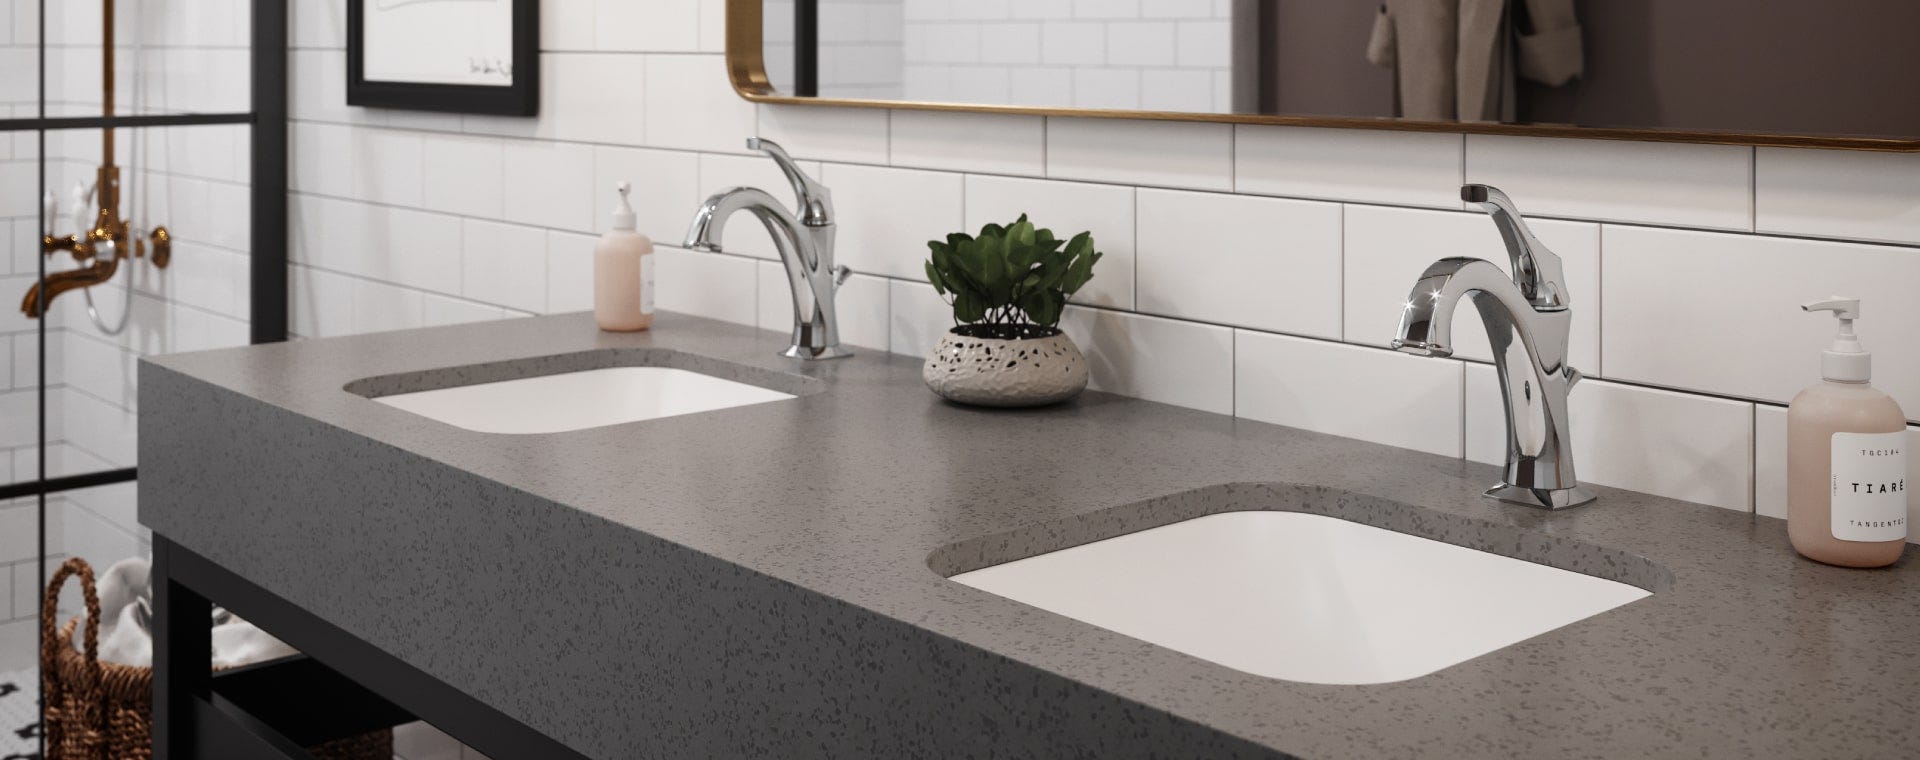
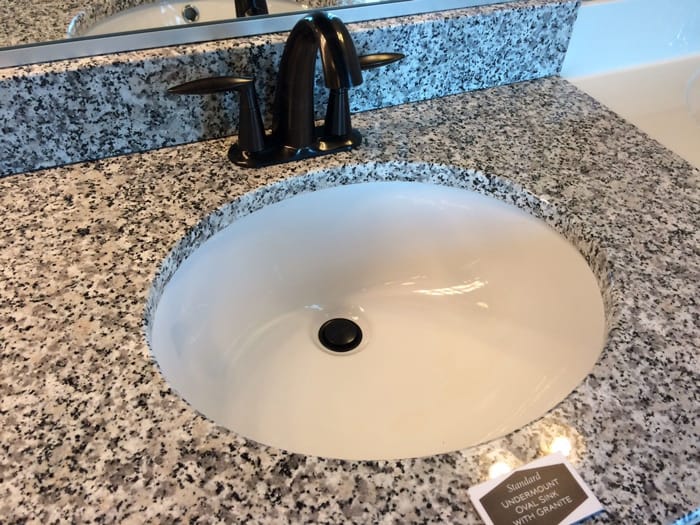
When it comes to choosing the right undermount bathroom sink for your replacement, there are a few things to consider: - Size and shape - Make sure to measure your countertop and choose a sink that fits properly. - Material - Undermount bathroom sinks come in a variety of materials, such as porcelain, stainless steel, and granite. Choose one that fits your budget and style. - Faucet and drain hole placements - Make sure the sink you choose has the appropriate hole placements for your faucet and drain.Choosing the Right Undermount Bathroom Sink for Your Replacement

Choosing the Right Undermount Bathroom Sink for Your Replacement


The cost and time considerations for replacing an undermount bathroom sink will depend on various factors, such as the size and material of the sink, any additional plumbing work needed, and whether you choose to hire a professional or do it yourself. On average, the cost can range from $150 to $500, and the project can take anywhere from 2-4 hours.Undermount Bathroom Sink Replacement: Cost and Time Considerations


Undermount Bathroom Sink Replacement: Cost and Time Considerations

If you're planning to replace your undermount bathroom sink as a DIY project, here are the tools and materials you'll need: - Utility knife - Scraper - Caulk gun - Silicone-based caulk - Plumber's putty - Hole saw or jigsaw - Adjustable wrench - Screwdriver - Bucket - TowelsReplacing an Undermount Bathroom Sink: Tools and Materials You'll Need

Replacing an Undermount Bathroom Sink: Tools and Materials You'll Need


While replacing an undermount bathroom sink can be a DIY project, some may prefer to hire a professional. Here are some pros and cons to consider: Professional: Pros: - Experienced and efficient - Guarantees a professional-looking result - Can save time and effort Cons: - Can be costly - May not be necessary for a simple sink replacement project DIY: Pros: - Can save money - Allows for creative control and personalization - Can be a fulfilling DIY project Cons: - Requires time, effort, and some DIY skills - May not achieve the same professional-looking result By considering the pros and cons, you can decide whether to hire a professional or tackle the undermount bathroom sink replacement as a DIY project. In conclusion, replacing an undermount bathroom sink is a simple and cost-effective way to give your bathroom a fresh new look. By following the right steps, using the right tools and materials, and being aware of common mistakes, you can successfully replace your undermount bathroom sink and transform your bathroom into a more functional and aesthetically pleasing space.Undermount Bathroom Sink Replacement: Professional vs. DIY

Undermount Bathroom Sink Replacement: Professional vs. DIY
Why Replace Your Undermount Bathroom Sink?
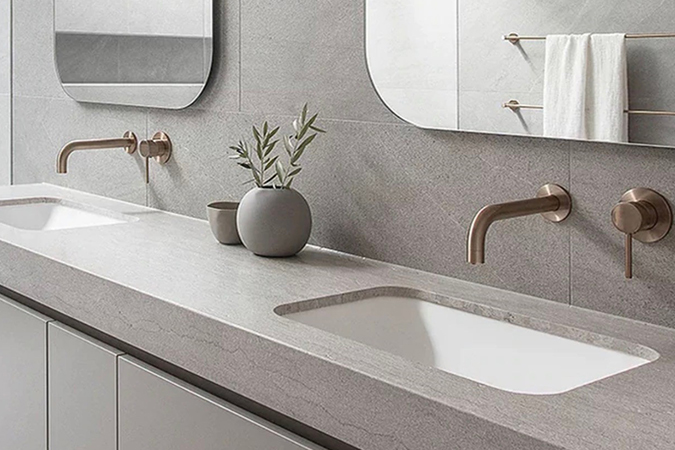
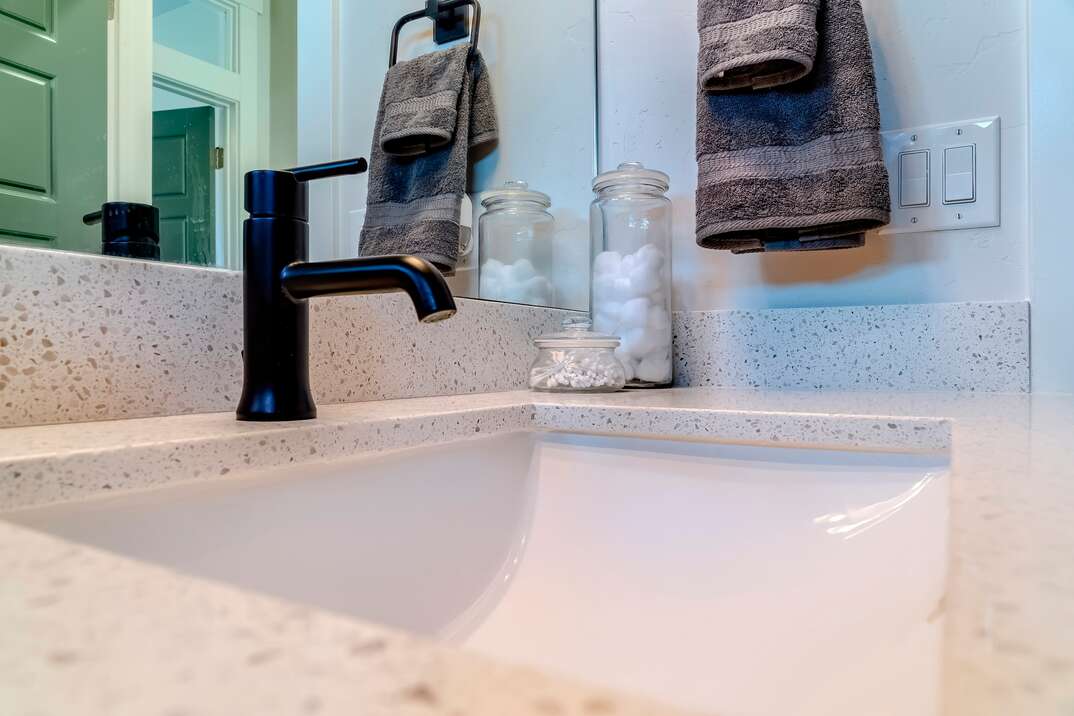
Upgrade Your Bathroom Design
 If you're looking to give your bathroom a fresh new look, replacing your undermount bathroom sink is a great place to start. The sink is often one of the main focal points in a bathroom and can greatly impact the overall design. By upgrading your sink, you can create a more modern and stylish look that will enhance the aesthetic of your bathroom. Plus, with a variety of styles, materials, and colors to choose from, you can easily find a sink that fits your unique design preferences.
Improve Functionality
 In addition to upgrading your bathroom's design, replacing your undermount sink can also improve functionality. Over time, sinks can become worn and damaged, leading to leaks, cracks, and other issues. By replacing your sink, you can ensure that it functions properly and doesn't cause any problems for you in the future. Additionally, new sinks often come with updated features such as built-in soap dispensers, under-sink storage, and touchless faucets, making them more convenient to use.
Address Safety Concerns
 Older undermount sinks may also pose safety concerns, especially if they are made of materials like porcelain or glass. These sinks can easily crack or shatter, causing potential hazards in your bathroom. By replacing your sink with a newer, sturdier material like ceramic or stainless steel, you can eliminate these safety concerns and create a safer bathroom environment for you and your family.
Increase Home Value
 Replacing your undermount sink is not only beneficial for your own enjoyment and safety, but it can also increase the value of your home. A modern and well-designed bathroom is a major selling point for potential buyers, and a new undermount sink can make a big difference in the overall appeal of your bathroom. So, if you're looking to sell your home in the future, investing in a new undermount sink now can pay off in the long run.
In conclusion,
replacing your undermount bathroom sink is a simple and effective way to upgrade your bathroom's design, improve functionality and safety, and increase the value of your home. With so many options to choose from, it's easy to find a sink that fits your personal style and budget. So, don't hesitate to make this small but impactful change in your bathroom and enjoy the many benefits it can bring.
Replacing your undermount sink is not only beneficial for your own enjoyment and safety, but it can also increase the value of your home. A modern and well-designed bathroom is a major selling point for potential buyers, and a new undermount sink can make a big difference in the overall appeal of your bathroom. So, if you're looking to sell your home in the future, investing in a new undermount sink now can pay off in the long run.
In conclusion,
replacing your undermount bathroom sink is a simple and effective way to upgrade your bathroom's design, improve functionality and safety, and increase the value of your home. With so many options to choose from, it's easy to find a sink that fits your personal style and budget. So, don't hesitate to make this small but impactful change in your bathroom and enjoy the many benefits it can bring.