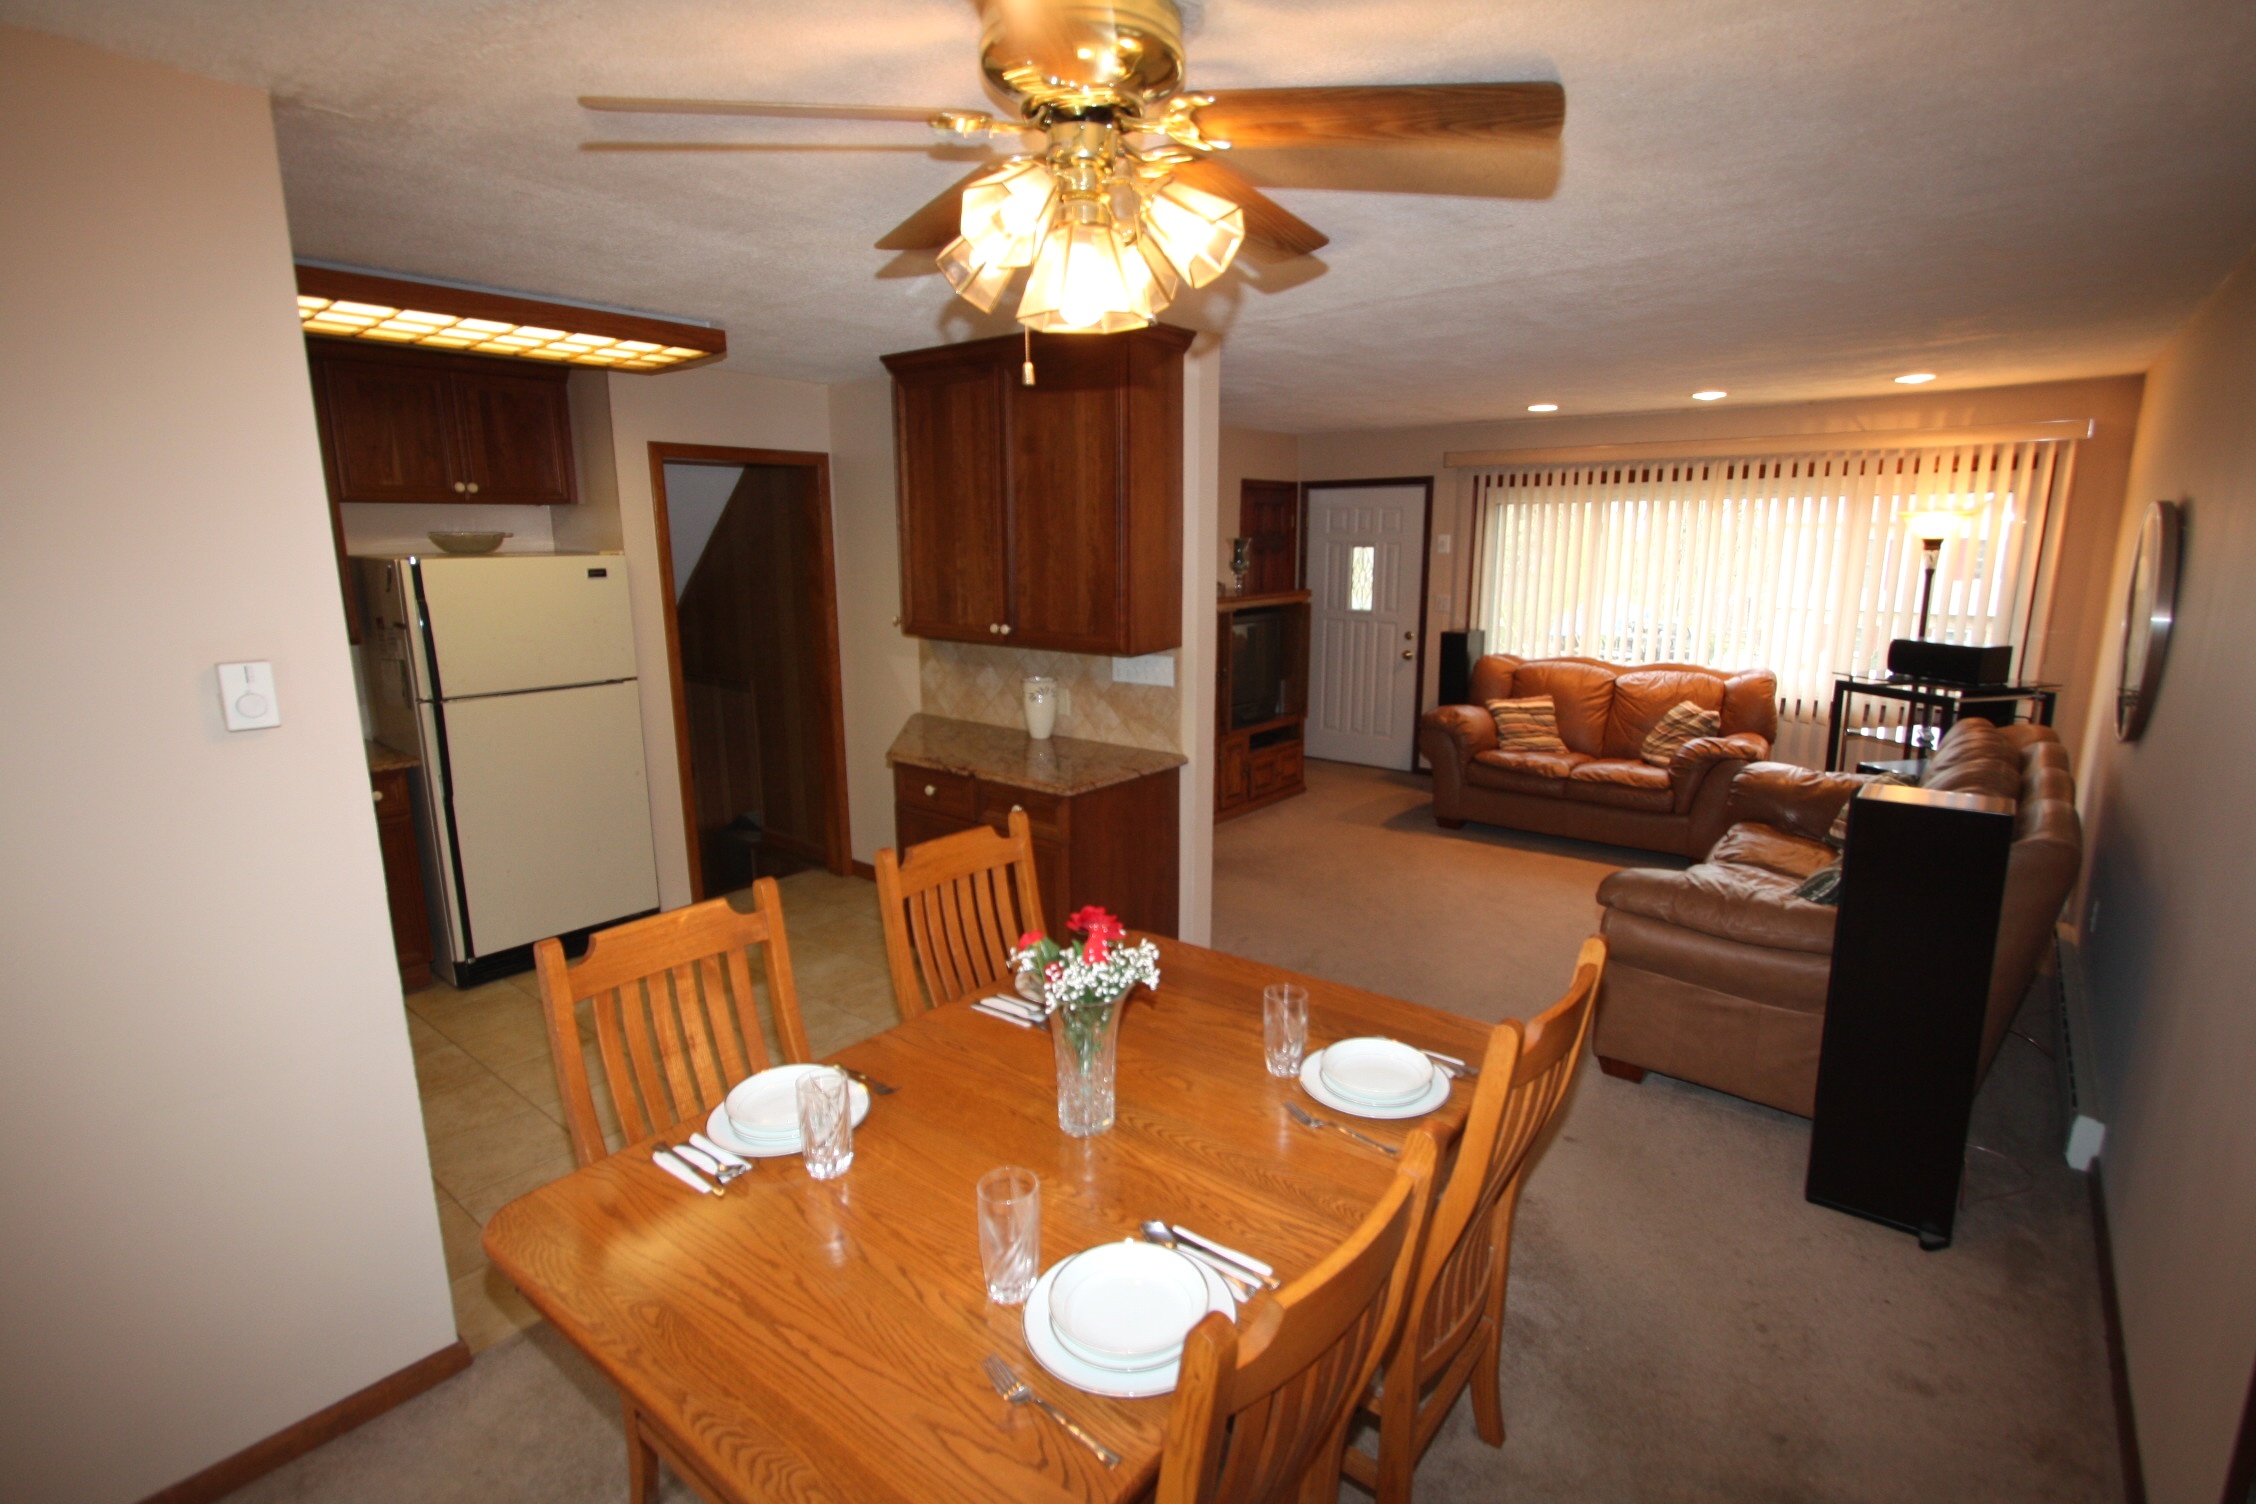
If you're looking to upgrade your dining room, one simple yet effective change you can make is replacing your old ceiling fan. Not only can a new fan improve the overall look of your space, but it can also provide better air flow and lighting. However, replacing a ceiling fan can seem like a daunting task. Don't worry, we've got you covered with this step-by-step guide for replacing a dining room ceiling fan. Whether you're a seasoned DIY-er or new to home improvement projects, we've got tips and tricks to ensure a successful replacement.Replacing a Dining Room Ceiling Fan


Replacing a Dining Room Ceiling Fan


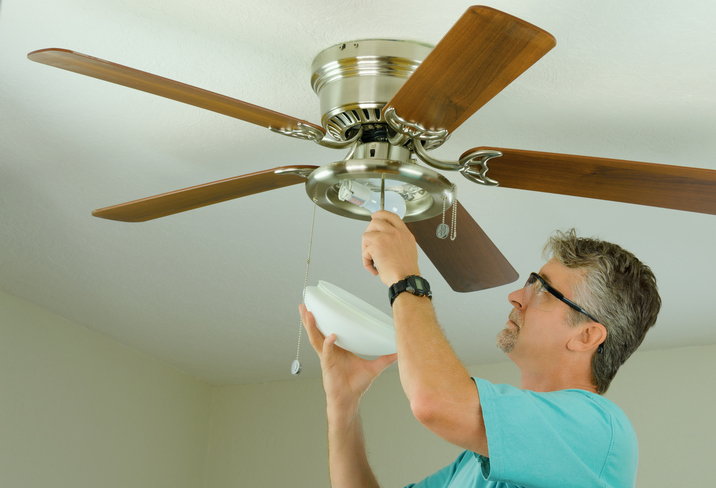
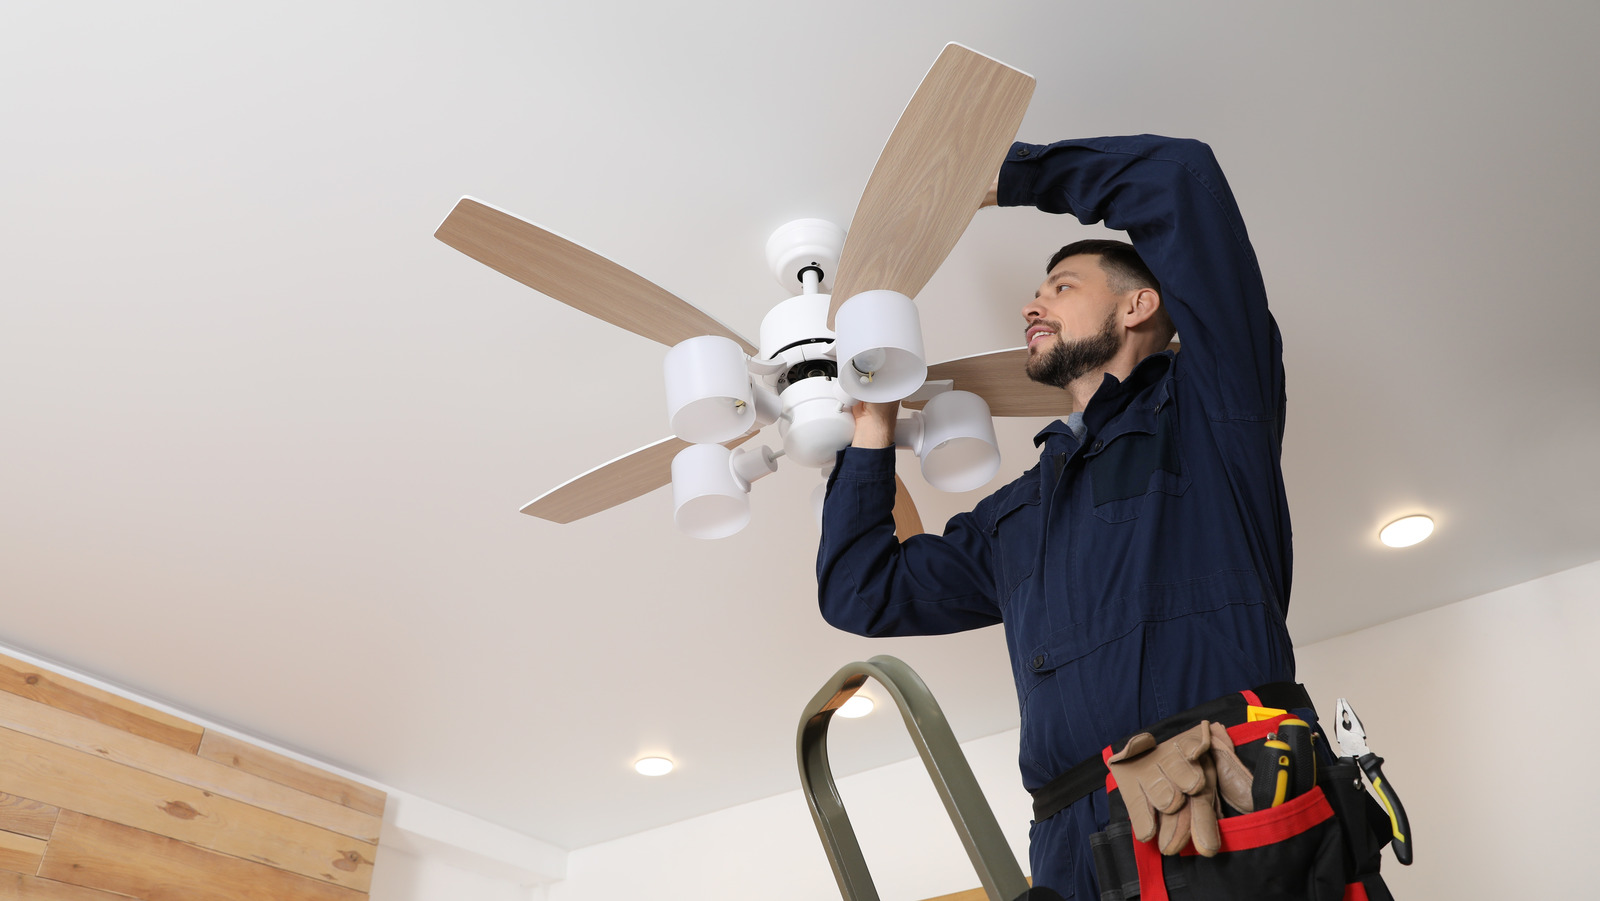
Before you begin, make sure to turn off the power to your current ceiling fan. This can usually be done at the circuit breaker. Then, gather all necessary tools such as a ladder, screwdriver, pliers, and wire strippers. Once you have everything you need, follow these steps: Step 1: Remove the old ceiling fan blades and light fixture (if applicable) by unscrewing them from the fan motor. Step 2: Disconnect the wires from the fan motor using wire nuts. Make sure to take note of which wire goes where or take a picture for reference. Step 3: Unscrew and remove the fan motor from the ceiling. You may need a helper to hold the motor while you remove it. Step 4: Install the mounting bracket for the new fan by following the manufacturer's instructions. This will typically involve attaching the bracket to the ceiling and securing it with screws. Step 5: Connect the wires from the new fan to the corresponding wires in the ceiling using wire nuts. Step 6: Lift the fan motor and attach it to the mounting bracket, securing it with screws. Step 7: Attach the fan blades and light fixture (if applicable) to the fan motor using screws. Step 8: Turn the power back on at the circuit breaker and test the new fan to make sure it is functioning properly. Congratulations! You have successfully replaced your dining room ceiling fan.How to Replace a Dining Room Ceiling Fan


How to Replace a Dining Room Ceiling Fan


Now that you know the basic steps for replacing a ceiling fan, let's dive deeper into each step to ensure a smooth and successful replacement process.Step-by-Step Guide for Replacing a Dining Room Ceiling Fan


Step-by-Step Guide for Replacing a Dining Room Ceiling Fan


While hiring a professional may seem like the easier option, replacing a ceiling fan is a task that can easily be done by a confident DIY-er. Not only will you save money, but you'll also have the satisfaction of completing a home improvement project on your own. Just make sure to follow the manufacturer's instructions and take all necessary safety precautions.DIY: Replacing a Dining Room Ceiling Fan


DIY: Replacing a Dining Room Ceiling Fan

Here are a few tips and tricks to keep in mind when replacing your dining room ceiling fan: - Make sure to turn off the power at the circuit breaker before beginning. - Have a helper on hand to assist with holding the fan motor while installing it. - Take pictures or notes when disconnecting the wires to make reconnection easier. - Use a voltage tester to double check that the power is off before touching any wires. - If your new fan has a light fixture, consider upgrading to LED bulbs for energy efficiency and longevity.Replacing a Dining Room Ceiling Fan: Tips and Tricks


Replacing a Dining Room Ceiling Fan: Tips and Tricks

Here are some mistakes to avoid when replacing a dining room ceiling fan: - Not turning off the power before beginning. - Not taking proper safety precautions, such as using a ladder and wearing protective gear. - Not properly connecting the wires, which can lead to a fire hazard. - Installing the fan with the blades too close to the ceiling, which can affect air flow and create noise.Replacing a Dining Room Ceiling Fan: Common Mistakes to Avoid


Replacing a Dining Room Ceiling Fan: Common Mistakes to Avoid

Here are the tools you'll need to successfully replace your dining room ceiling fan: - Screwdriver - Pliers - Wire strippers - Ladder - Voltage testerTools You'll Need for Replacing a Dining Room Ceiling Fan

Tools You'll Need for Replacing a Dining Room Ceiling Fan


As with any home improvement project, it's important to take safety precautions when replacing a dining room ceiling fan. Here are some tips to keep in mind: - Turn off the power at the circuit breaker before beginning. - Use a sturdy ladder to reach the ceiling fan. - Wear protective gear, such as safety glasses and gloves. - Have a helper on hand to assist with holding the fan motor.Replacing a Dining Room Ceiling Fan: Safety Precautions


Replacing a Dining Room Ceiling Fan: Safety Precautions
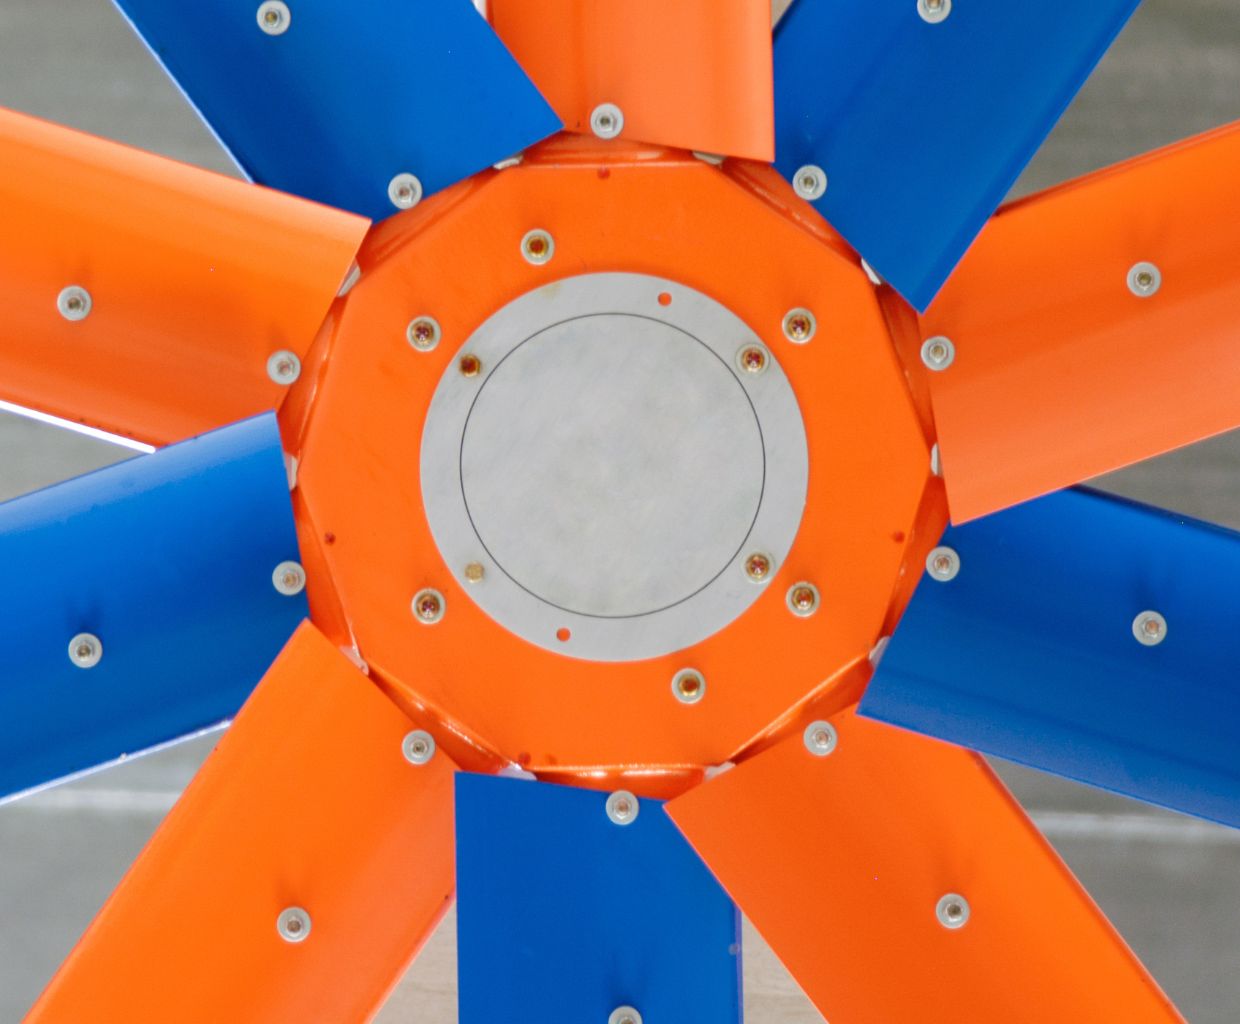

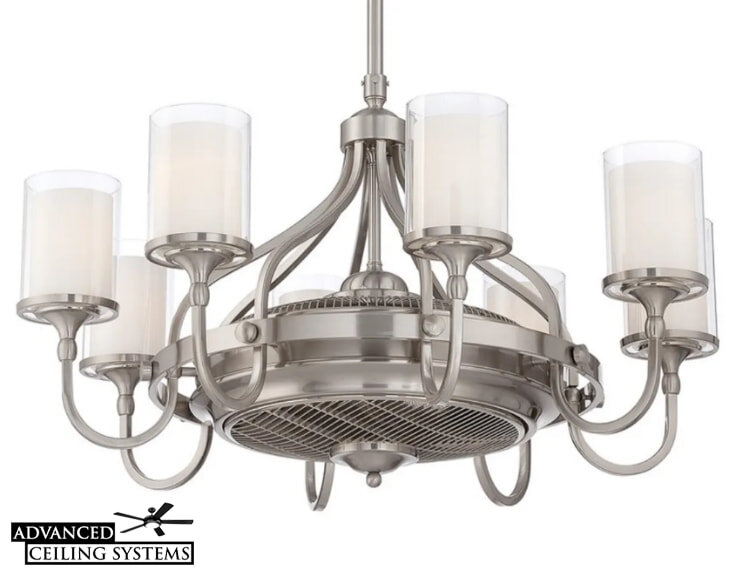
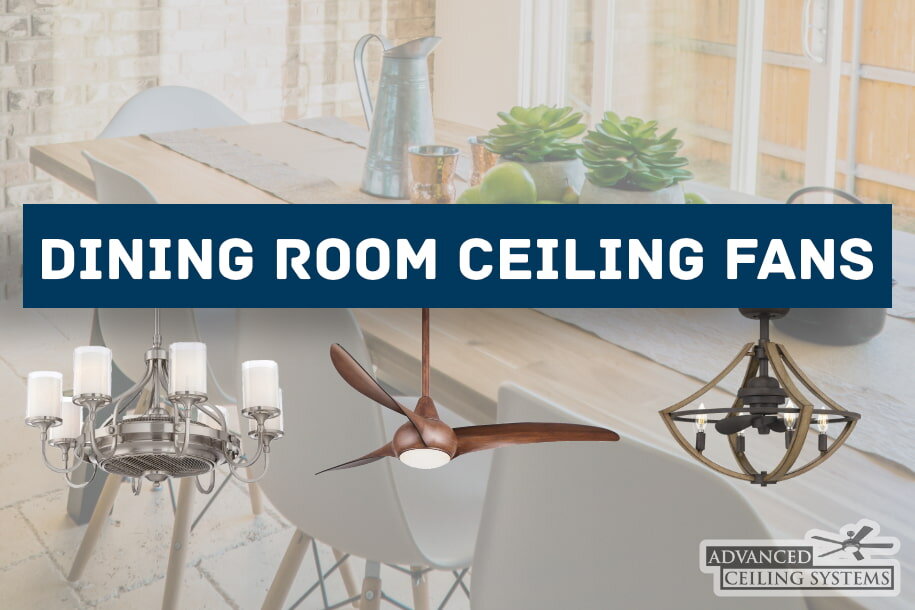
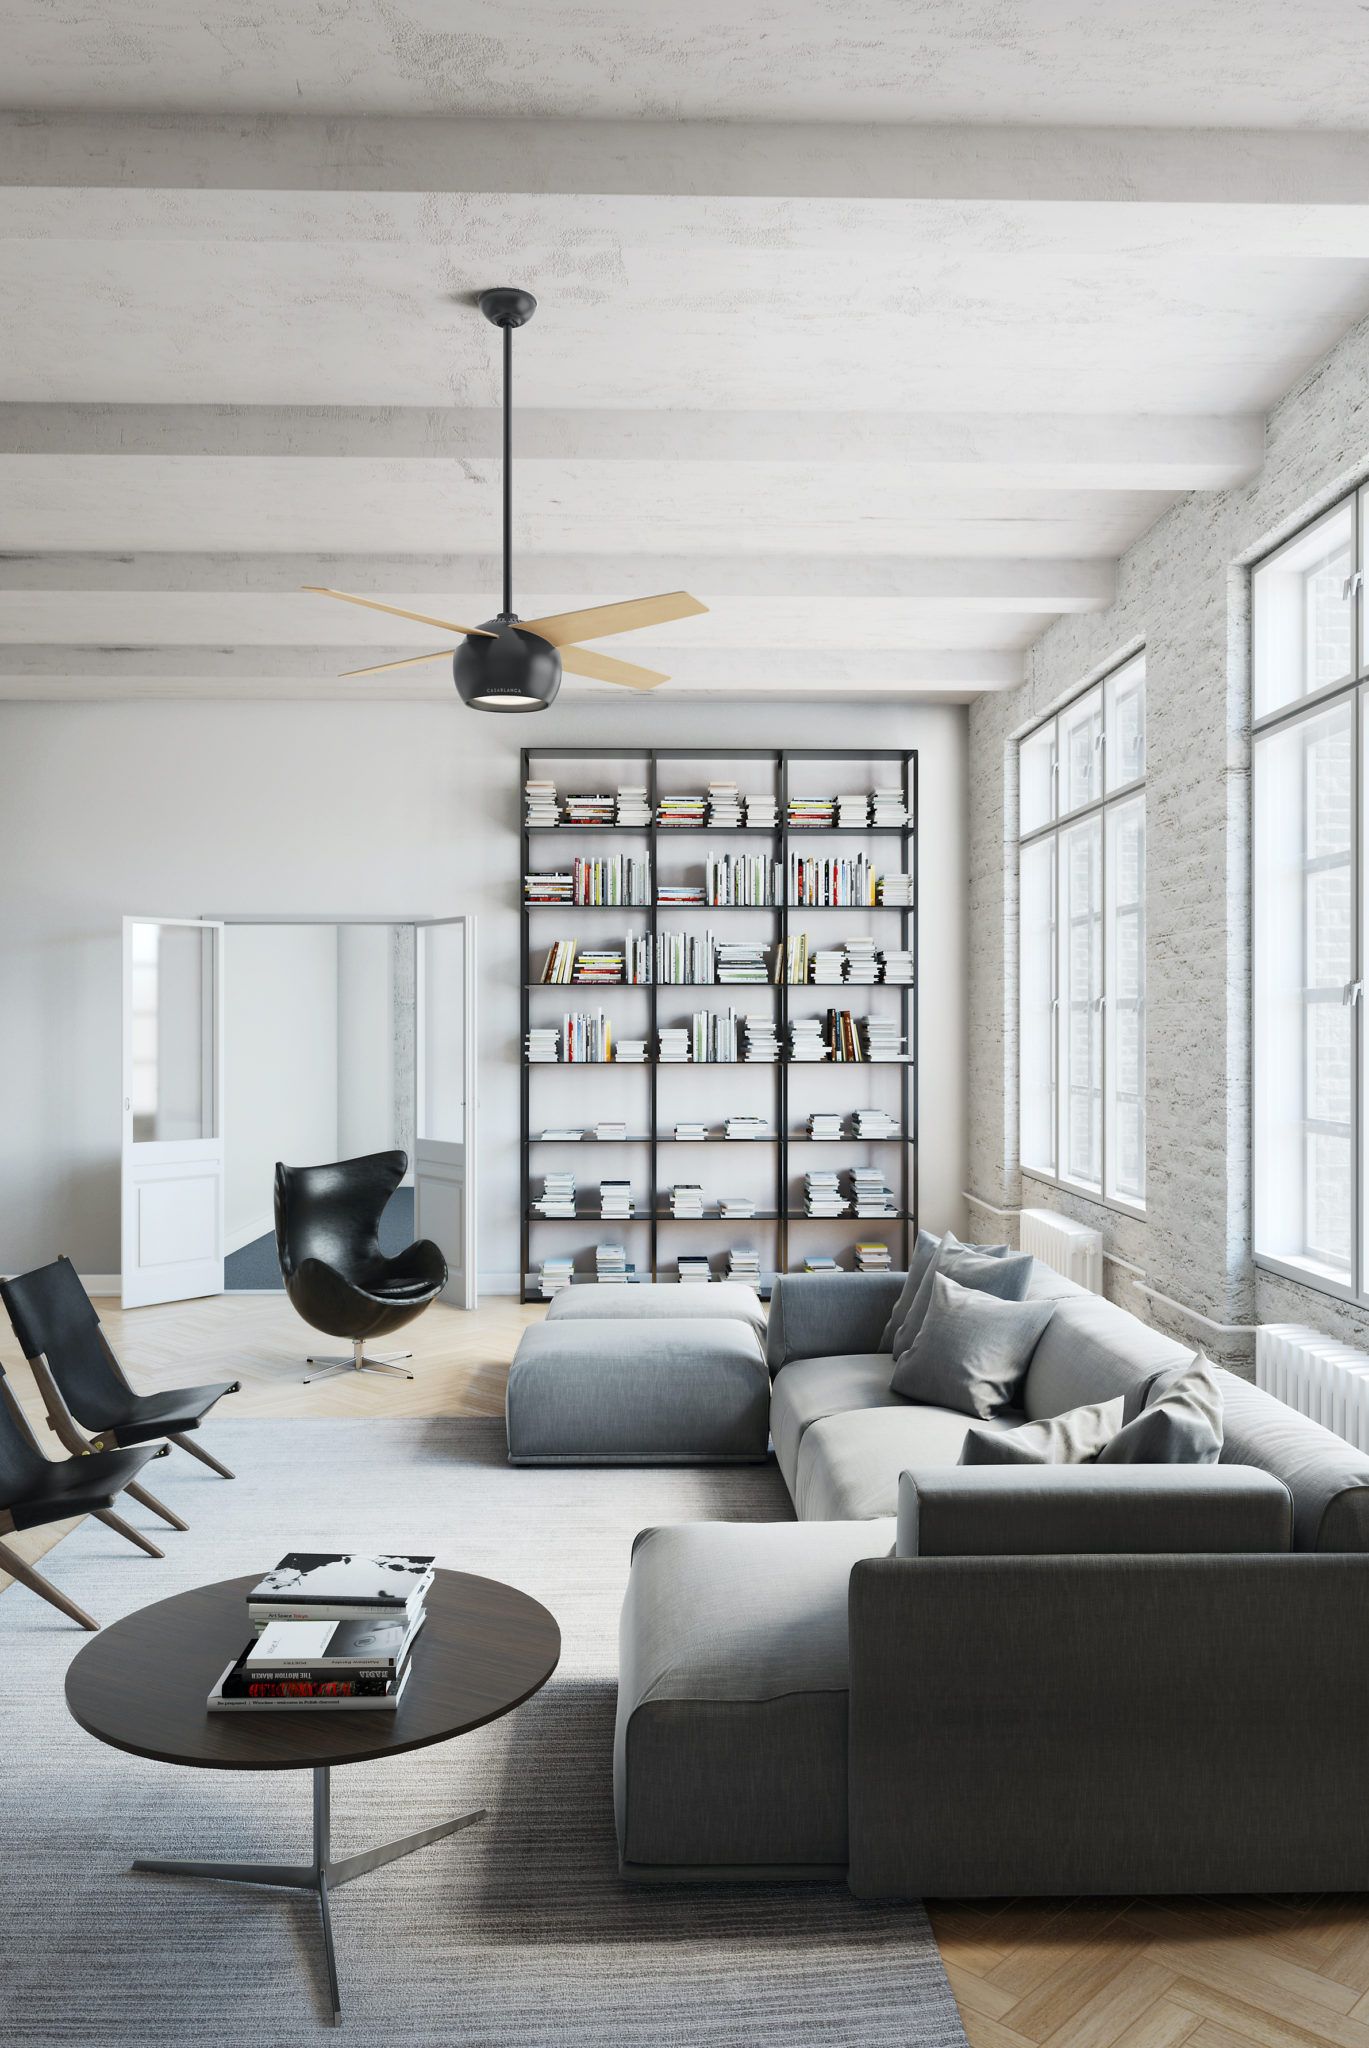
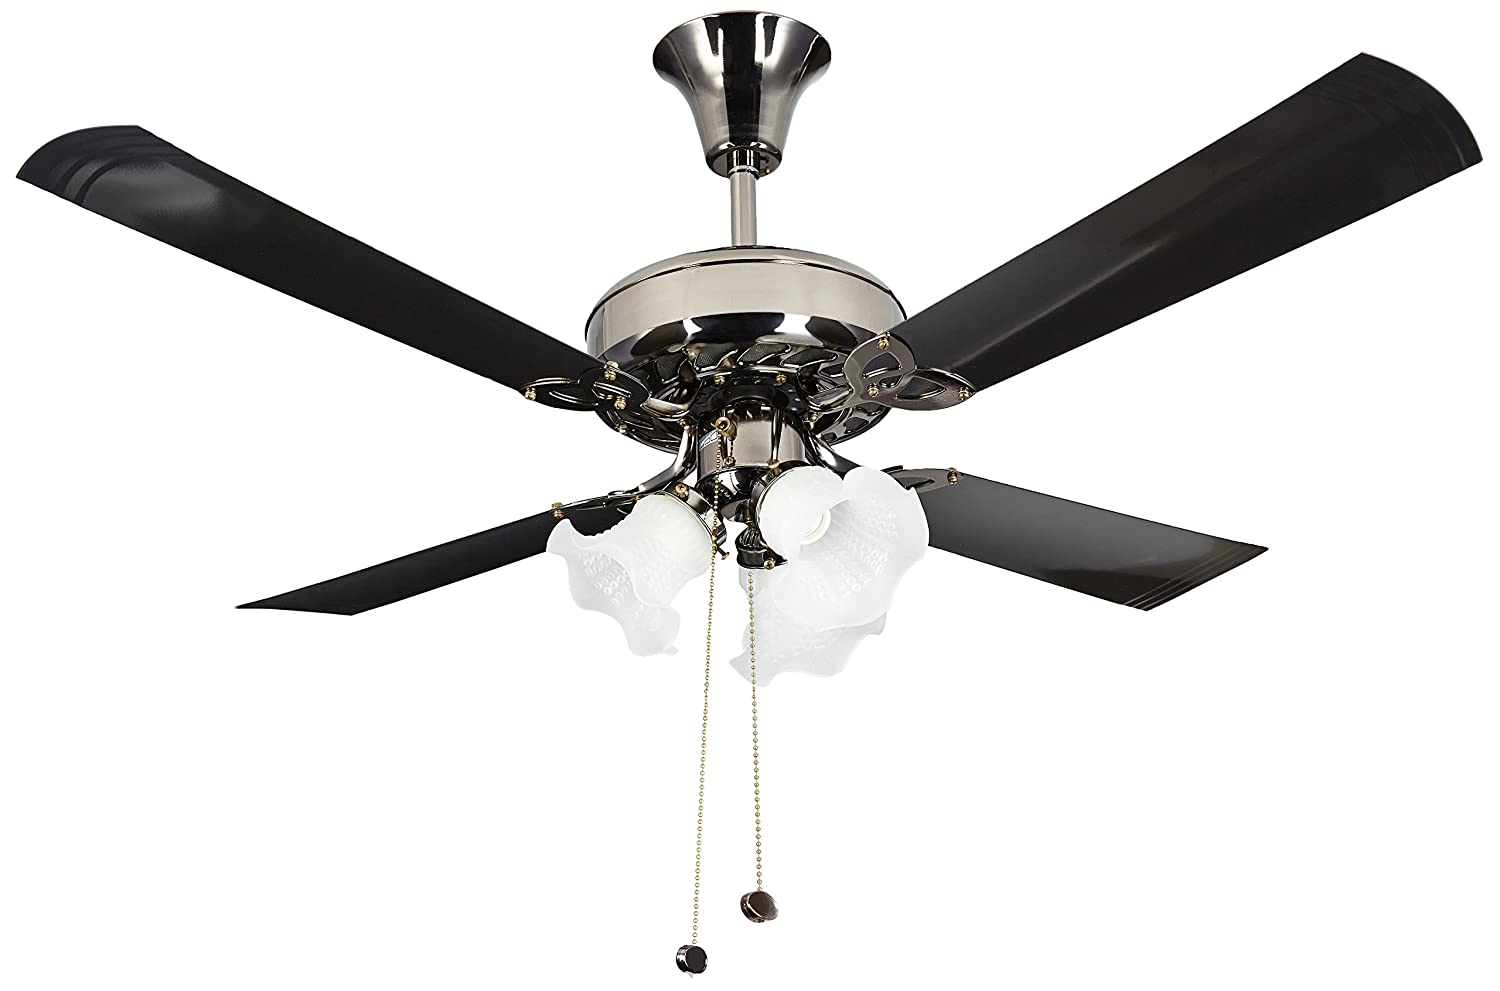
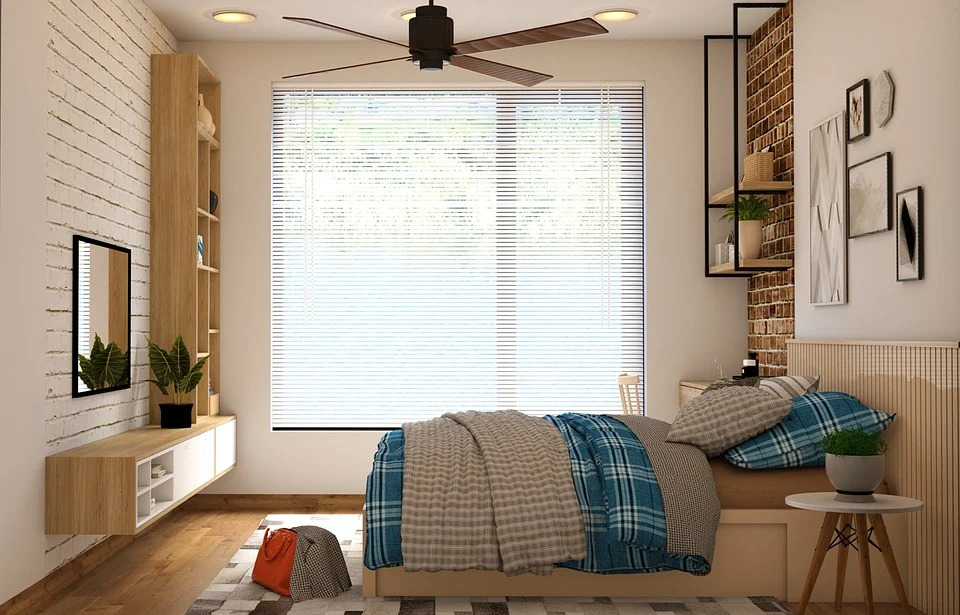
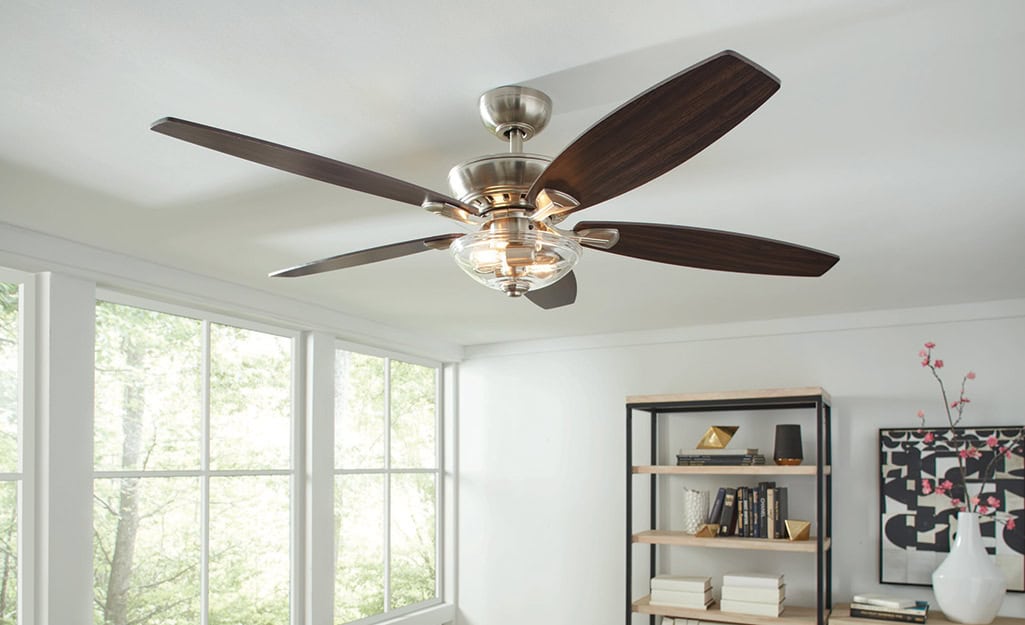
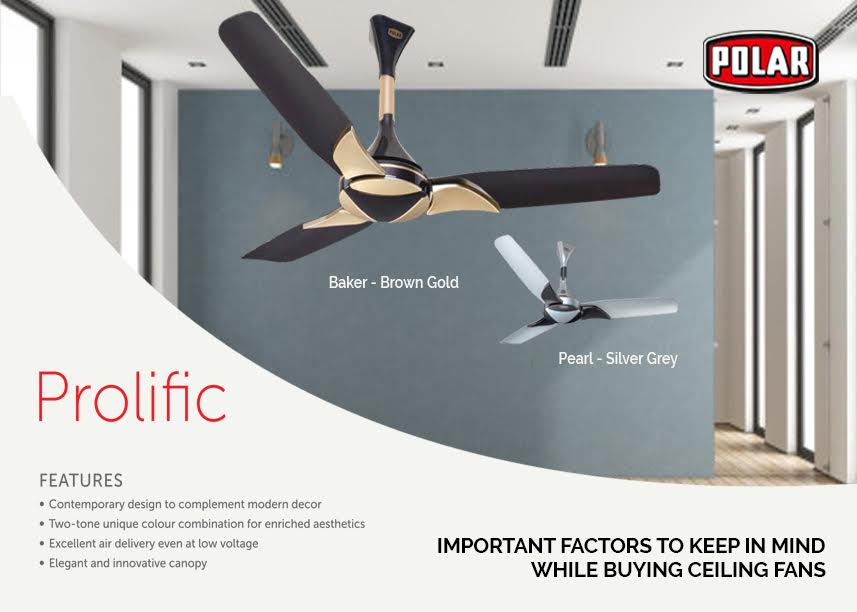
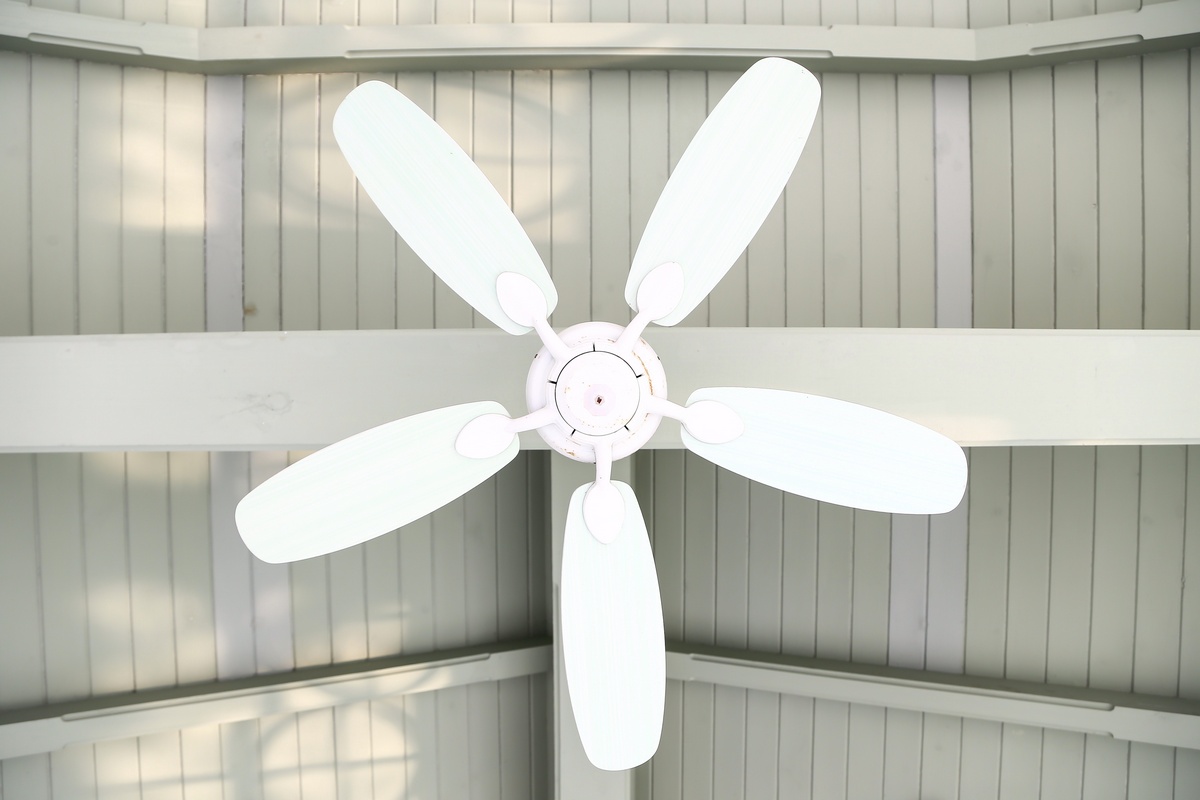
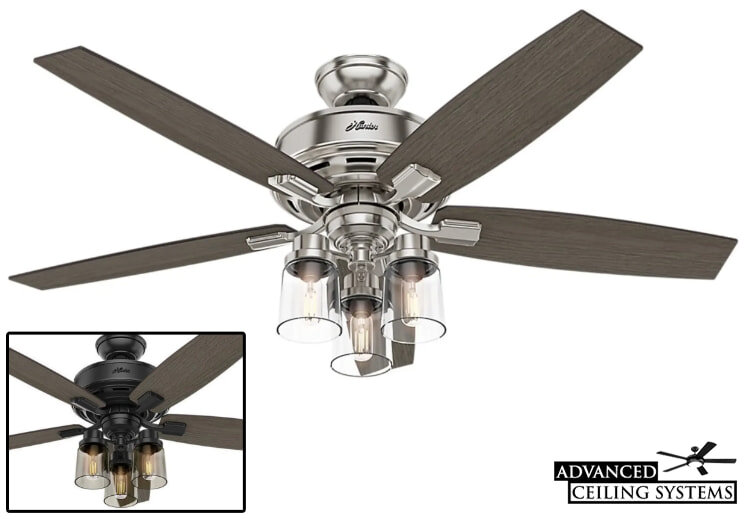
When choosing a replacement ceiling fan for your dining room, there are a few factors to consider: - Size: Make sure to choose a fan that is the appropriate size for your dining room. A fan that is too small may not provide enough air flow, while a fan that is too large may overpower the space. - Style: Consider the overall aesthetic of your dining room and choose a fan that complements it. - Features: Do you want a fan with a light fixture or remote control? Consider which features are important to you.How to Choose the Right Replacement Ceiling Fan for Your Dining Room


How to Choose the Right Replacement Ceiling Fan for Your Dining Room


Ultimately, the decision to hire a professional or DIY your ceiling fan replacement depends on your comfort level and budget. If you are unsure or uncomfortable with electrical work, it may be best to hire a professional to ensure a safe and proper installation. However, if you are confident in your DIY skills and are looking to save money, replacing a ceiling fan is a project that can easily be done on your own. Now that you have all the information and tips for replacing a dining room ceiling fan, you can confidently upgrade your space and enjoy improved air flow and lighting. Remember to always follow safety precautions and manufacturer's instructions for a successful replacement process. Happy DIY-ing!Hiring a Professional vs. DIY: Replacing a Dining Room Ceiling Fan


.JPG)
Hiring a Professional vs. DIY: Replacing a Dining Room Ceiling Fan
Why Replacing Your Dining Room Ceiling Fan is the Perfect Upgrade for Your Home

The Importance of Choosing the Right Ceiling Fan
 When it comes to designing and decorating your home, every detail matters. This includes the often-overlooked aspect of ceiling fans. While they may seem like a minor addition to a room, the right ceiling fan can actually make a big impact on both the functionality and aesthetic of your space. This is especially true for your dining room, where the right fan can provide both comfort and style while you enjoy meals with family and friends.
Replacing your dining room ceiling fan may not be the first thing that comes to mind when considering home upgrades, but it should definitely be on your list. Not only can it add a touch of elegance and sophistication to your dining area, but it also serves a practical purpose in keeping the room cool and comfortable. With the wide variety of options available today, you can easily choose a fan that complements your existing decor and enhances the overall design of your home.
The Benefits of Upgrading Your Dining Room Ceiling Fan
 Aside from the obvious aesthetic appeal, there are several other reasons why
replacing your dining room ceiling fan
is a worthwhile investment. First and foremost, modern ceiling fans are designed to be energy-efficient, making them a cost-effective alternative to traditional air conditioning. They also come equipped with various features such as remote controls, dimmable lights, and even smartphone connectivity, providing convenience and customization options for your dining experience.
Aside from the obvious aesthetic appeal, there are several other reasons why
replacing your dining room ceiling fan
is a worthwhile investment. First and foremost, modern ceiling fans are designed to be energy-efficient, making them a cost-effective alternative to traditional air conditioning. They also come equipped with various features such as remote controls, dimmable lights, and even smartphone connectivity, providing convenience and customization options for your dining experience.
Additionally, a new ceiling fan can improve the air circulation and ventilation in your dining room, creating a more comfortable and inviting atmosphere. This is especially beneficial for households with young children or elderly family members who may be more sensitive to temperature changes. With the right fan, you can regulate the airflow and keep your dining room at the perfect temperature for everyone to enjoy.
Expert Tips for Choosing the Perfect Ceiling Fan
 When considering
replacing your dining room ceiling fan
, there are a few key factors to keep in mind to ensure you make the best decision for your home. Firstly, consider the size of your dining room and choose a fan with an appropriate blade span to effectively circulate air. Secondly, pay attention to the fan's design and make sure it complements the overall style of your dining room. Lastly, consider the motor and energy efficiency of the fan to ensure it operates quietly and saves you money on your energy bills.
When considering
replacing your dining room ceiling fan
, there are a few key factors to keep in mind to ensure you make the best decision for your home. Firstly, consider the size of your dining room and choose a fan with an appropriate blade span to effectively circulate air. Secondly, pay attention to the fan's design and make sure it complements the overall style of your dining room. Lastly, consider the motor and energy efficiency of the fan to ensure it operates quietly and saves you money on your energy bills.
In conclusion, replacing your dining room ceiling fan is a simple yet impactful upgrade that can enhance the functionality and design of your home. By carefully selecting a fan that meets your needs and complements your dining room, you can create a comfortable and stylish space for all your dining occasions. So don't overlook this important element of home design and make the switch to a new and improved ceiling fan today.