If you're looking to give your bathroom a fresh new look, one of the first things you may want to do is replace your old vanity top. This can instantly transform the look and feel of your bathroom, giving it a more modern and updated appearance. However, removing an old vanity top may seem like a daunting task, especially if you're not sure where to start. But fear not, with this step-by-step guide, you'll be able to remove your old bathroom vanity top like a pro.1. Removing Old Bathroom Vanity Top: A Step-by-Step Guide

Removing Old Bathroom Vanity Top

Before you begin, it's important to gather all the necessary tools and materials. This will make the process much smoother and save you from having to make multiple trips to the hardware store. Some of the essential tools you'll need for removing a vanity top include a screwdriver, utility knife, pry bar, hammer, and a putty knife. You may also need a plumber's wrench and a container to catch any water that may come out of the sink.2. Removing Vanity Top: Tools You'll Need


Removing Vanity Top


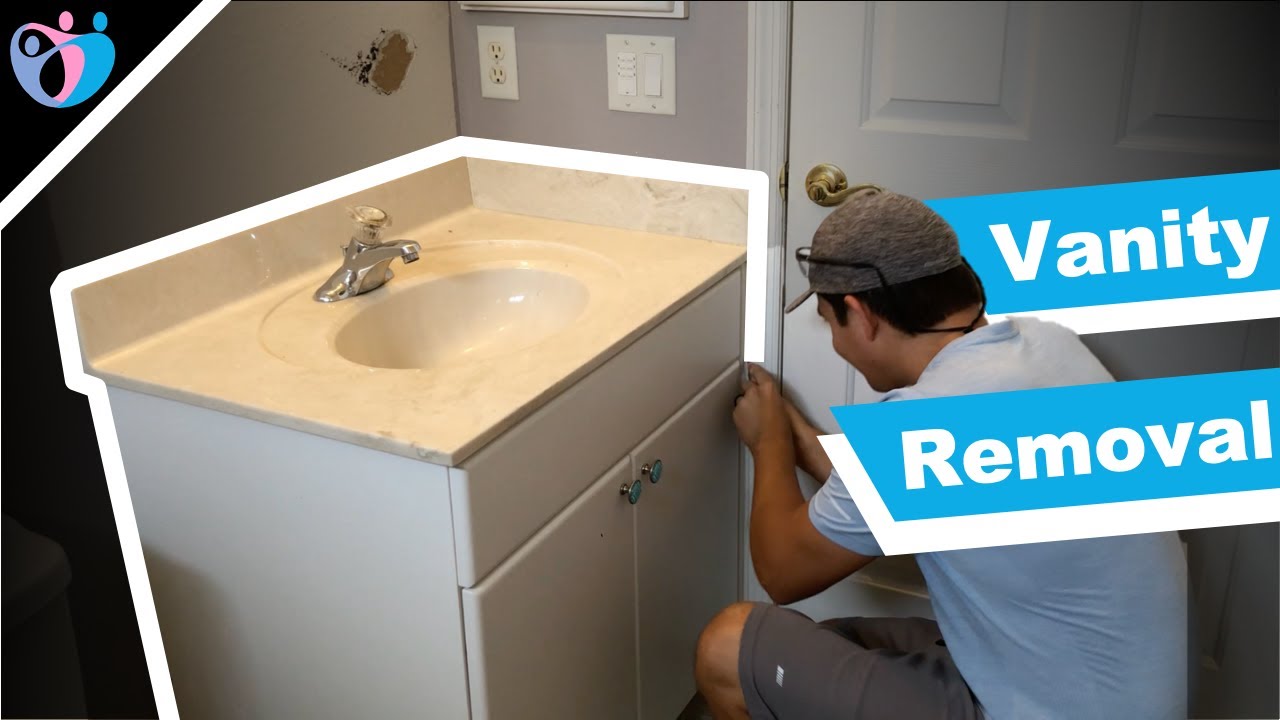
Before you start removing the old vanity top, you'll want to take some preparatory measures to protect your bathroom. Lay down a drop cloth or old towels to catch any debris that may fall during the removal process. You may also want to turn off the water supply to the bathroom to avoid any potential leaks.3. Replacing Bathroom Vanity Top: Preparation

Replacing Bathroom Vanity Top


:max_bytes(150000):strip_icc()/8_IMG_3767-56a4a2753df78cf772835b72.JPG)
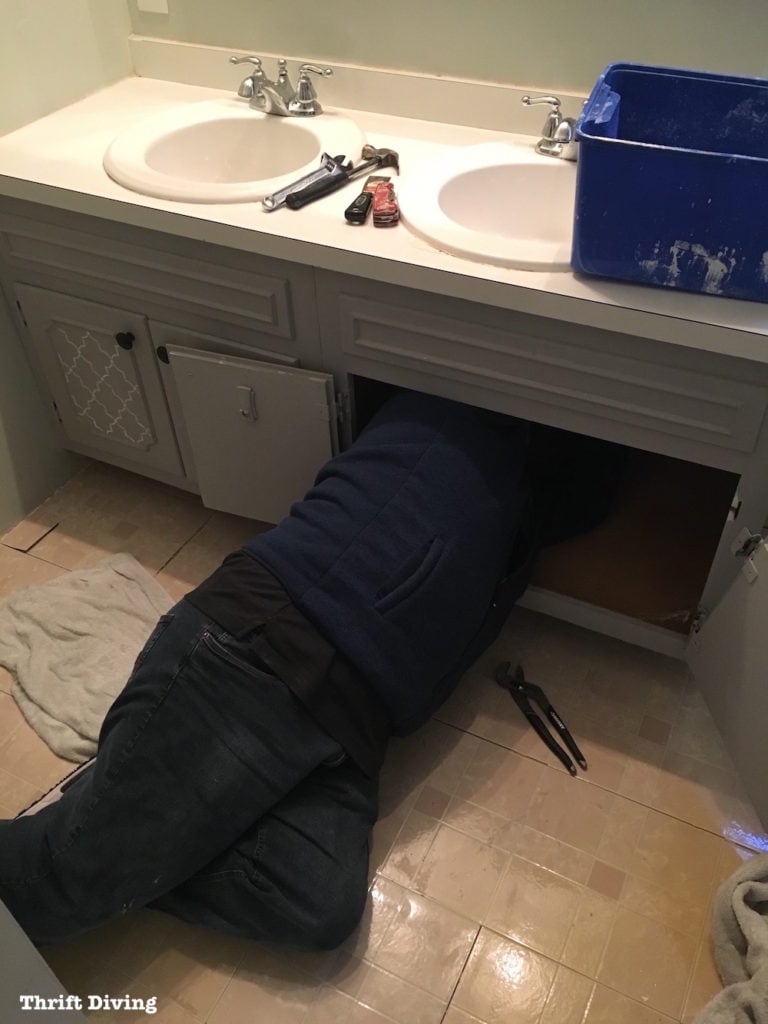
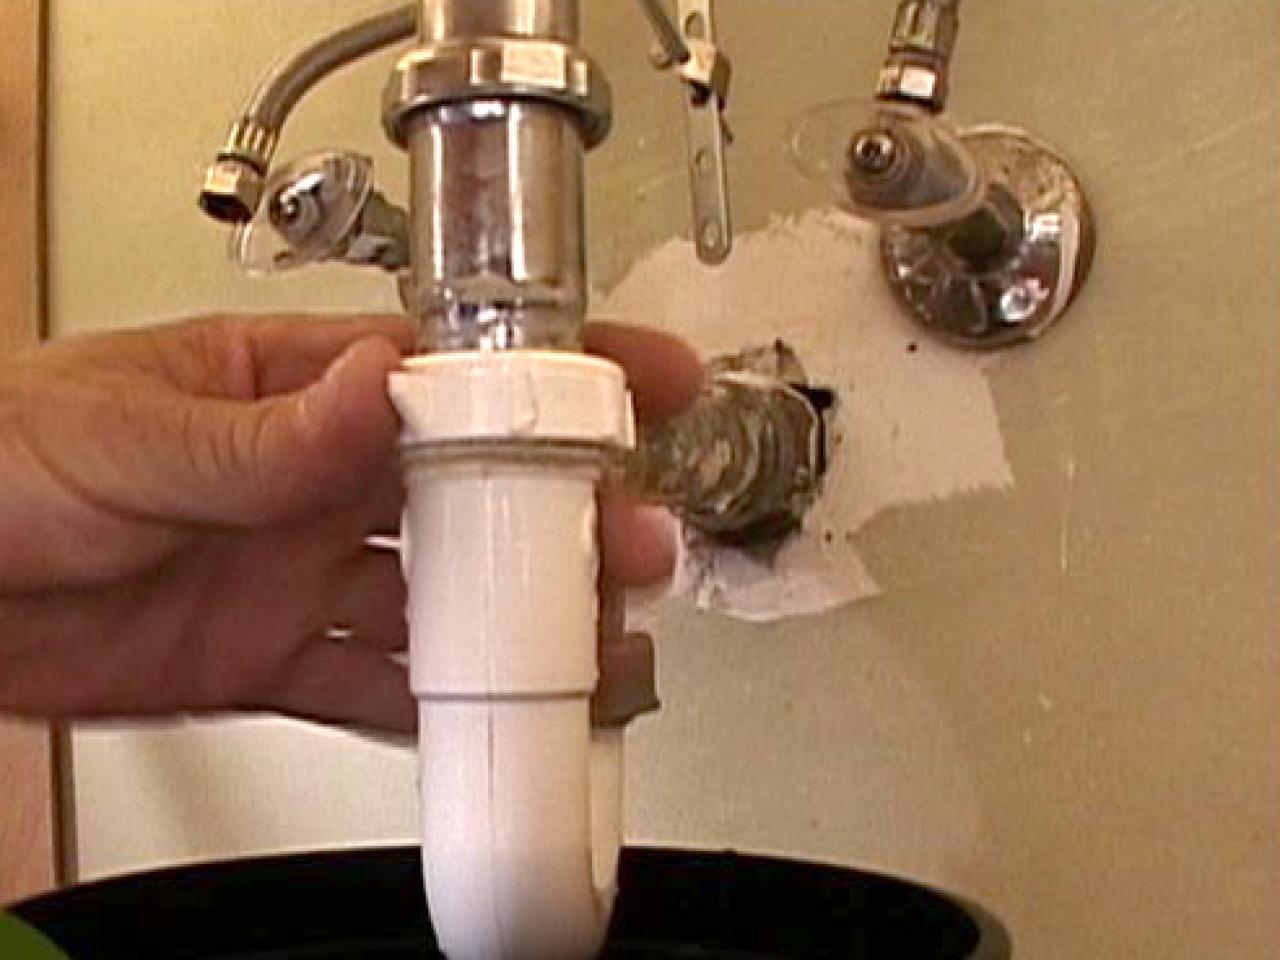
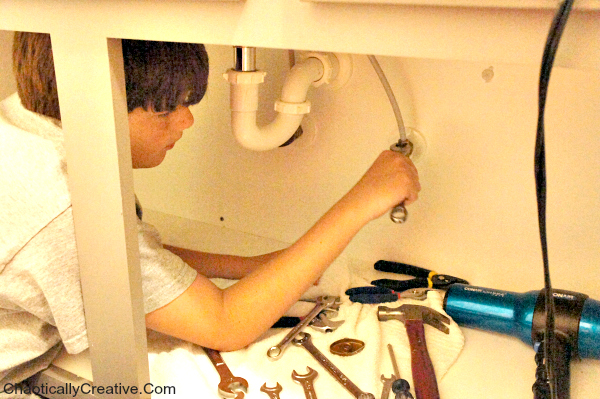
The first step in removing your old vanity top is to disconnect the plumbing. This will involve turning off the water supply and disconnecting the water supply lines from the sink. Use a plumber's wrench to loosen and remove the connections. It's a good idea to place a container under the sink to catch any water that may come out when the lines are disconnected.4. Removing Old Vanity: Disconnecting the Plumbing


Removing Old Vanity
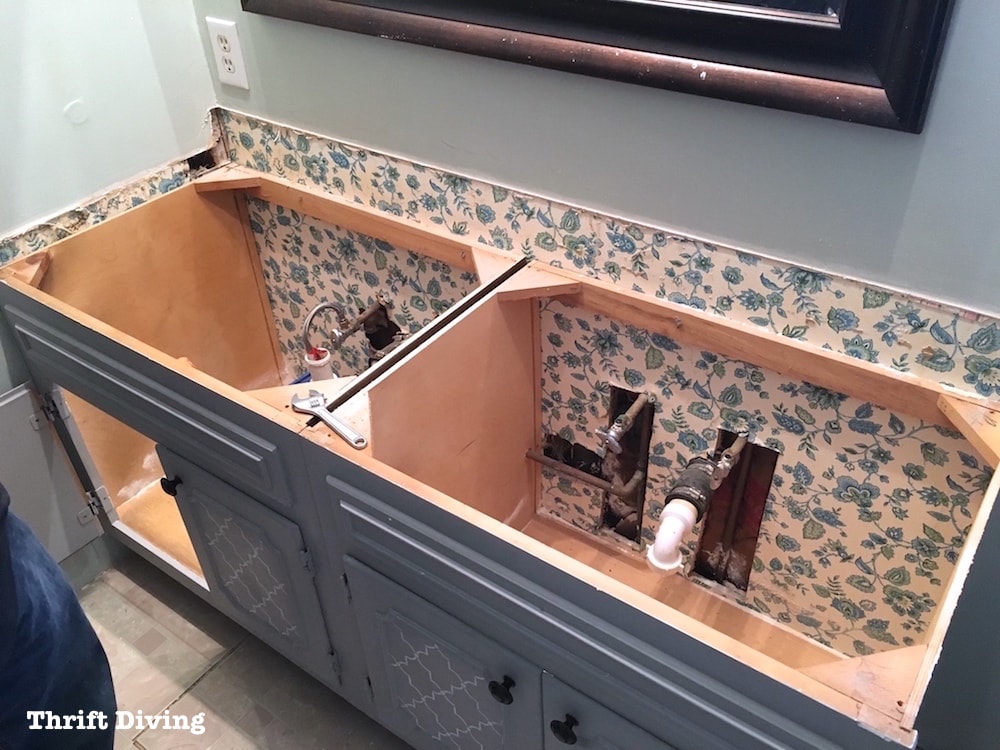


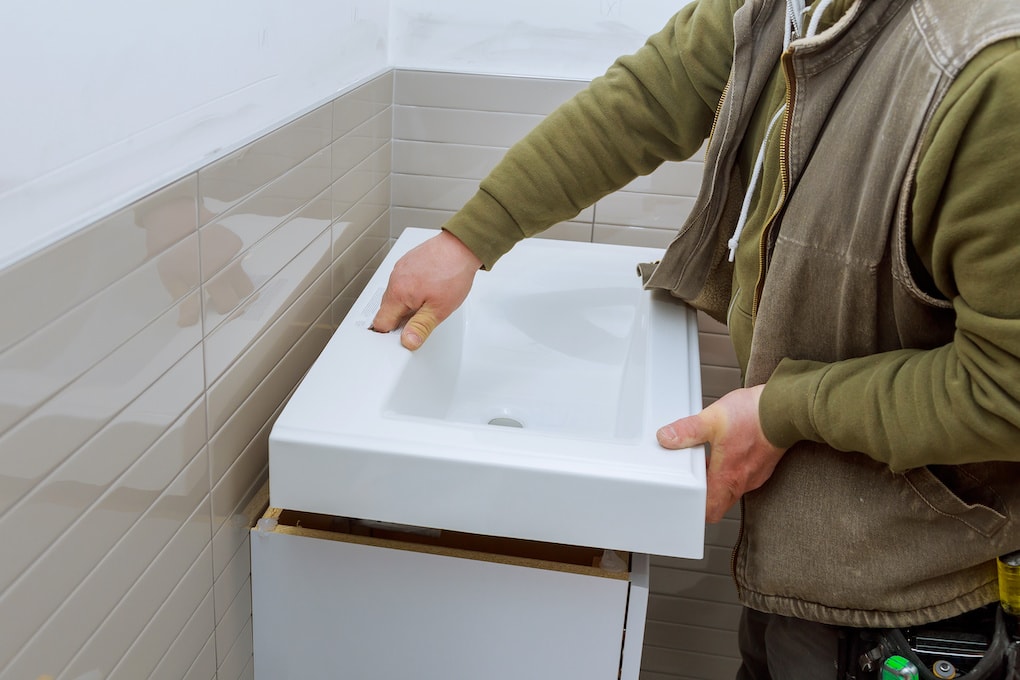
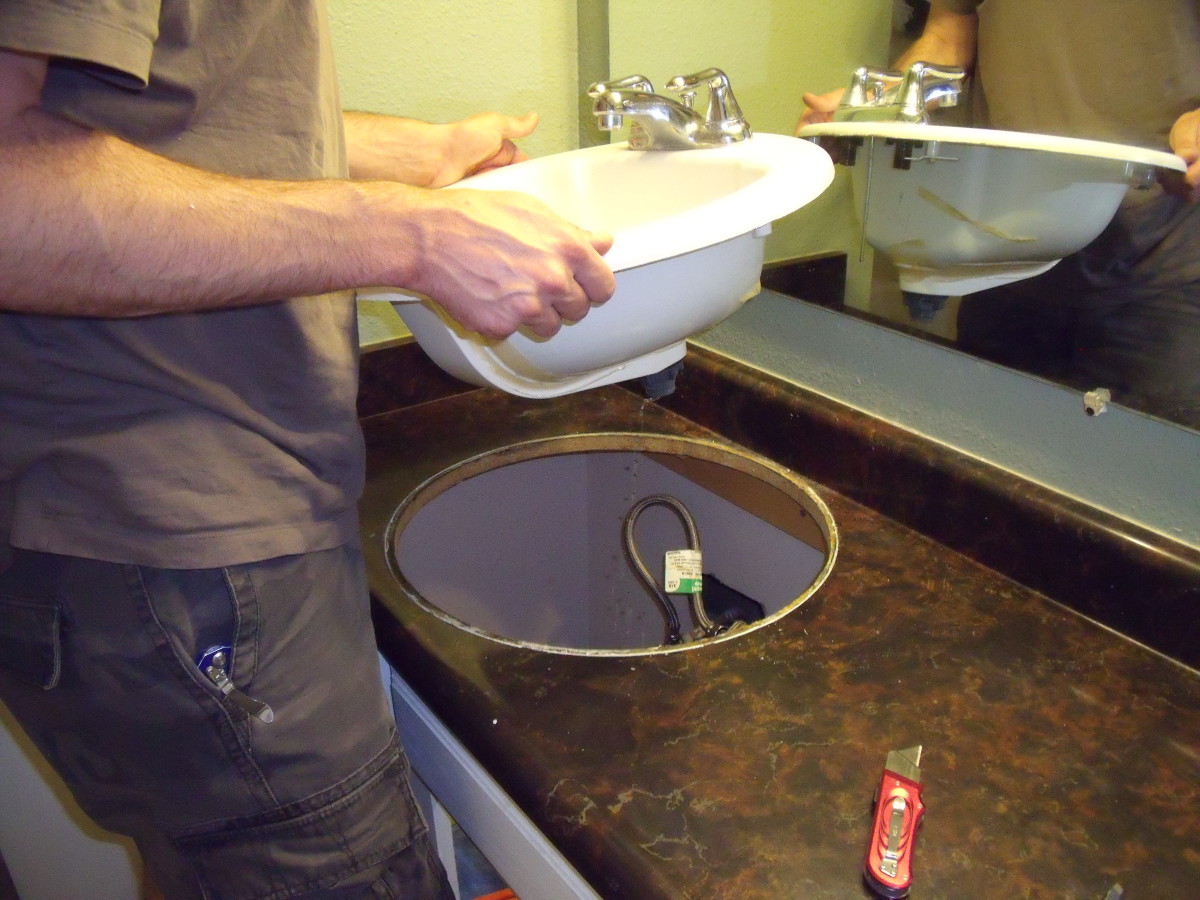
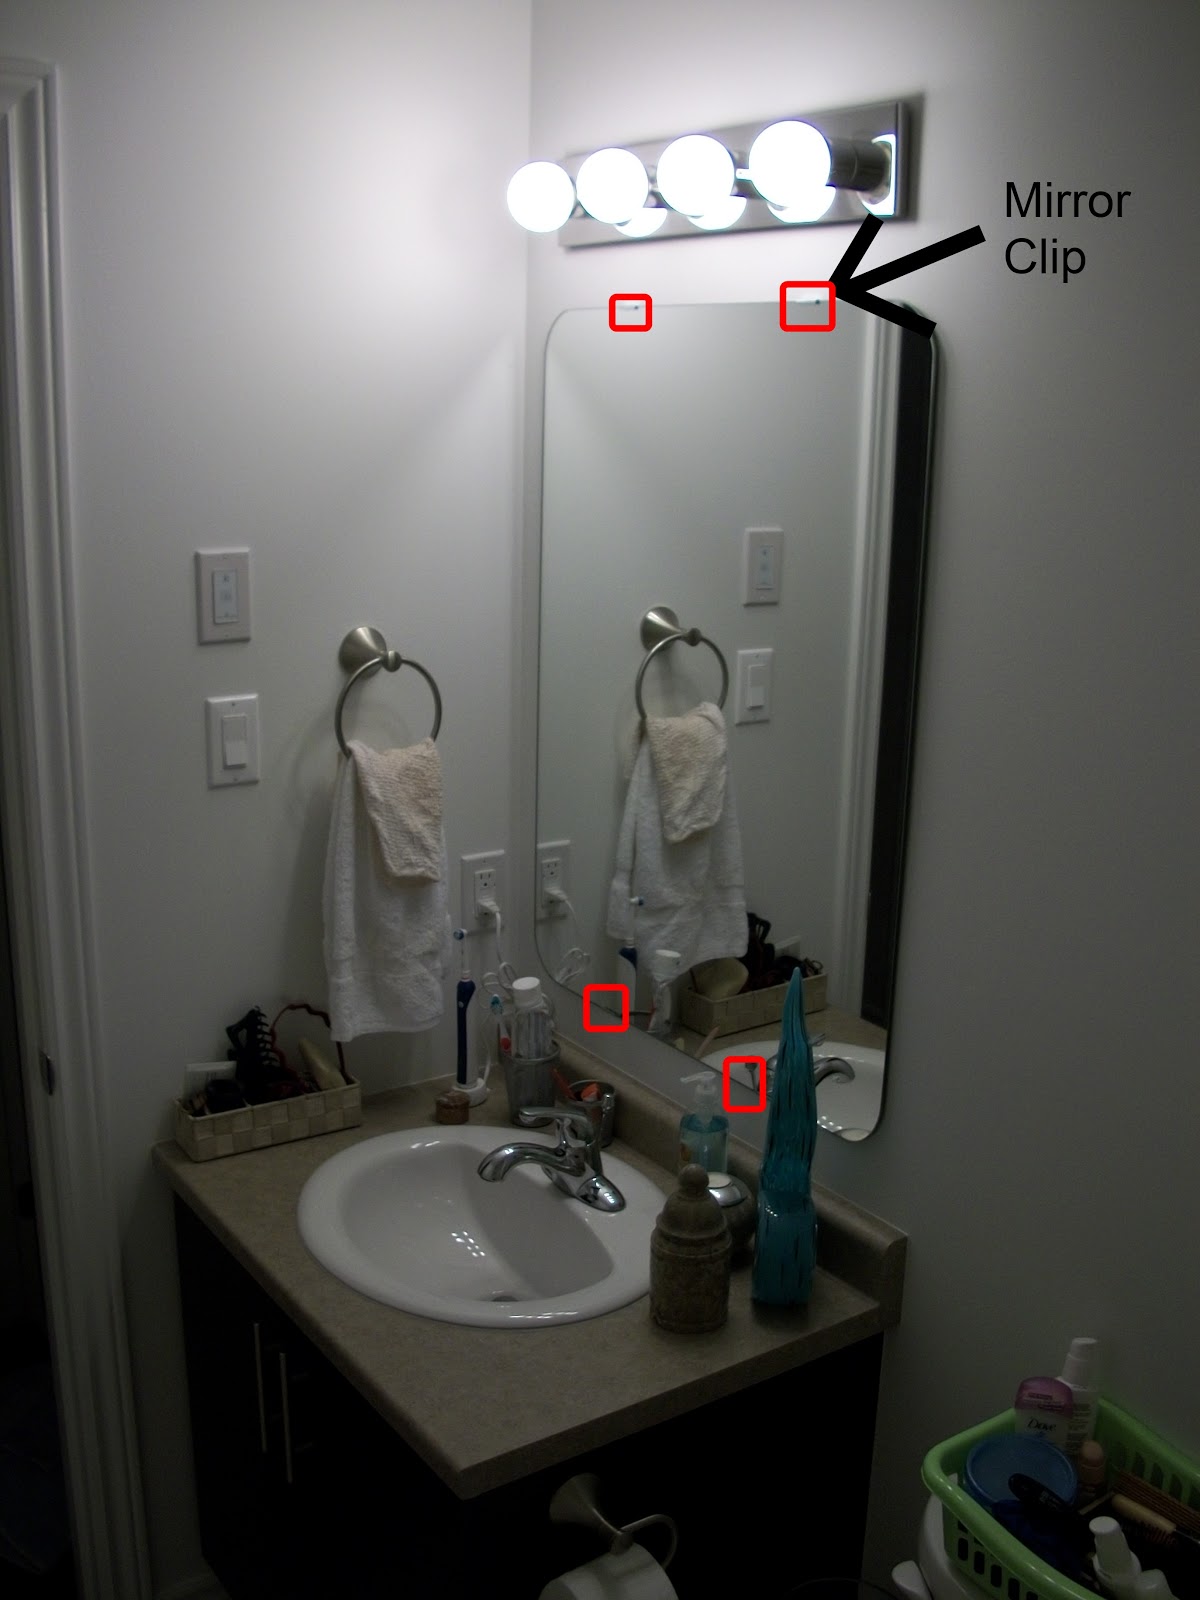
Once the water supply lines are disconnected, you can move on to removing the sink. This is usually held in place by clips or brackets underneath the sink. Use a screwdriver to remove these and then gently lift the sink off the vanity top. Be careful not to damage the sink or the surrounding area.5. Removing Bathroom Countertop: Removing the Sink


Removing Bathroom Countertop
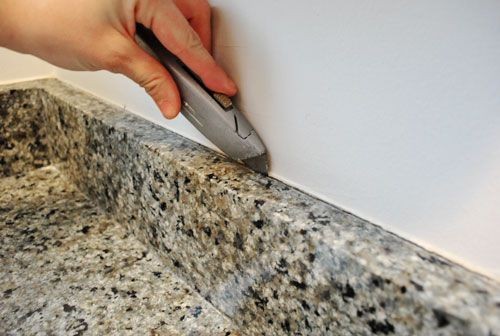


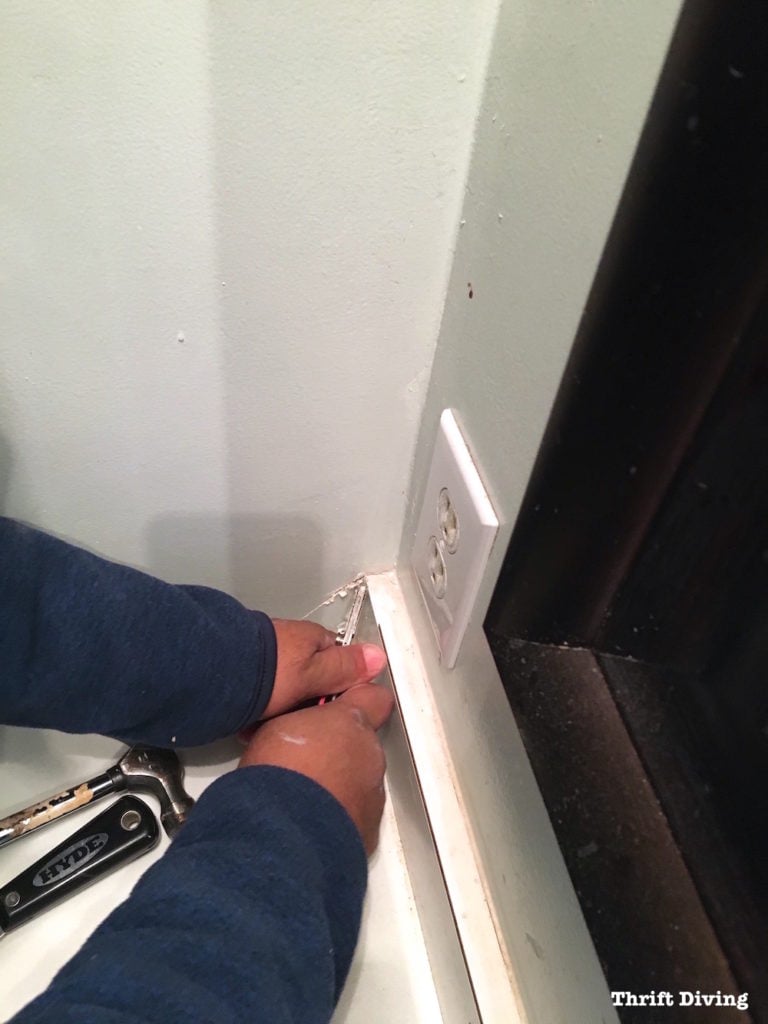
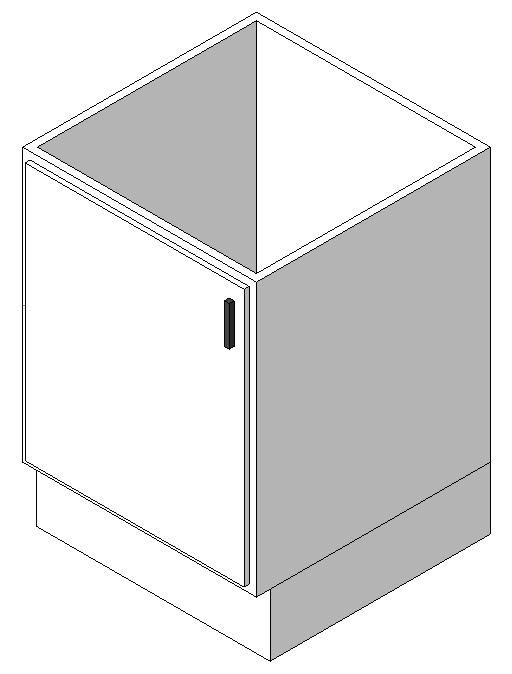
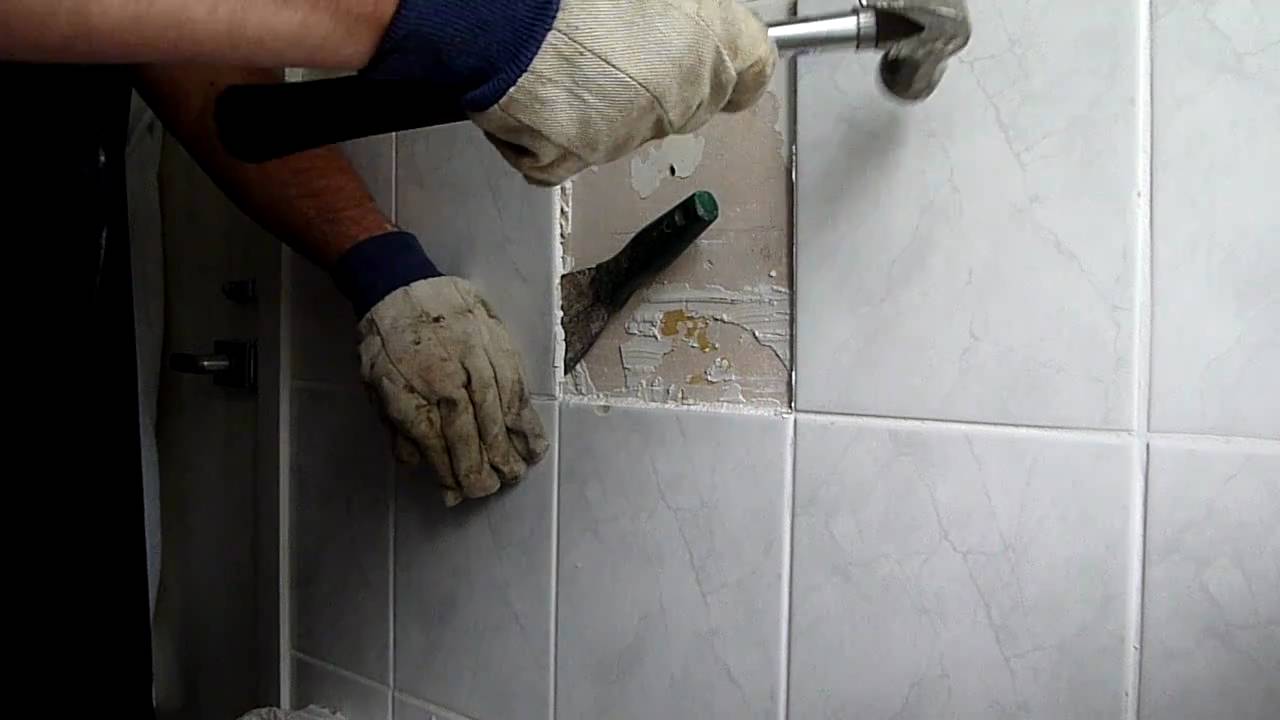
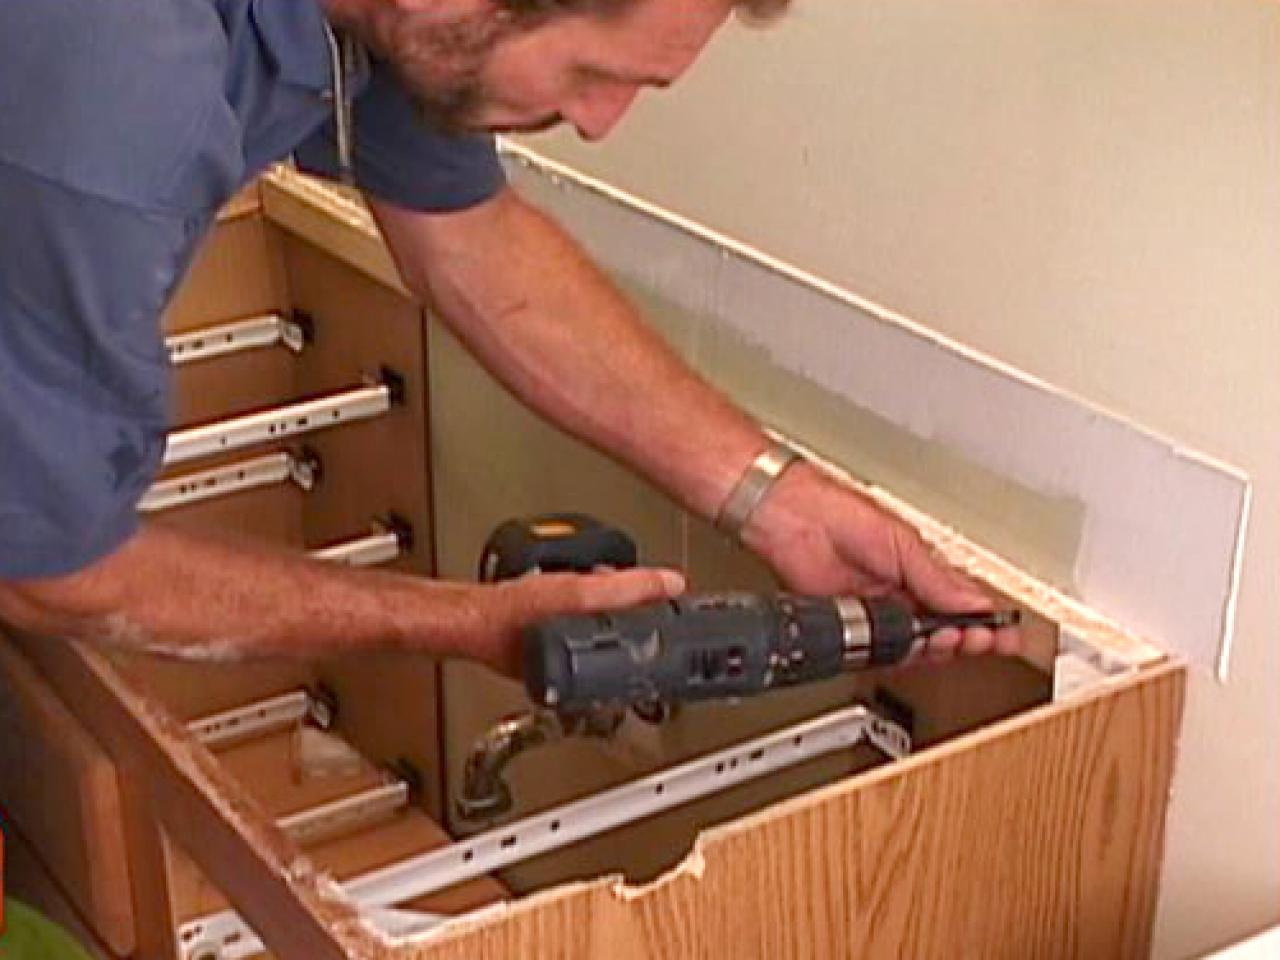
With the plumbing and sink removed, you can now focus on removing the vanity top. Start by using a utility knife to cut through any caulking between the vanity top and the wall. Then, using a pry bar and hammer, gently lift and loosen the vanity top from the vanity cabinet. Be careful not to damage the cabinet or the walls as you remove the vanity top.6. Replacing Vanity Top: Removing the Vanity Top

Replacing Vanity Top




With the old vanity top removed, you'll want to clean up any debris and leftover caulking. Use a putty knife to scrape off any remaining caulking and then wipe down the vanity cabinet and surrounding area to ensure it's clean and ready for the new vanity top.7. Removing Old Sink: Cleaning Up


Removing Old Sink


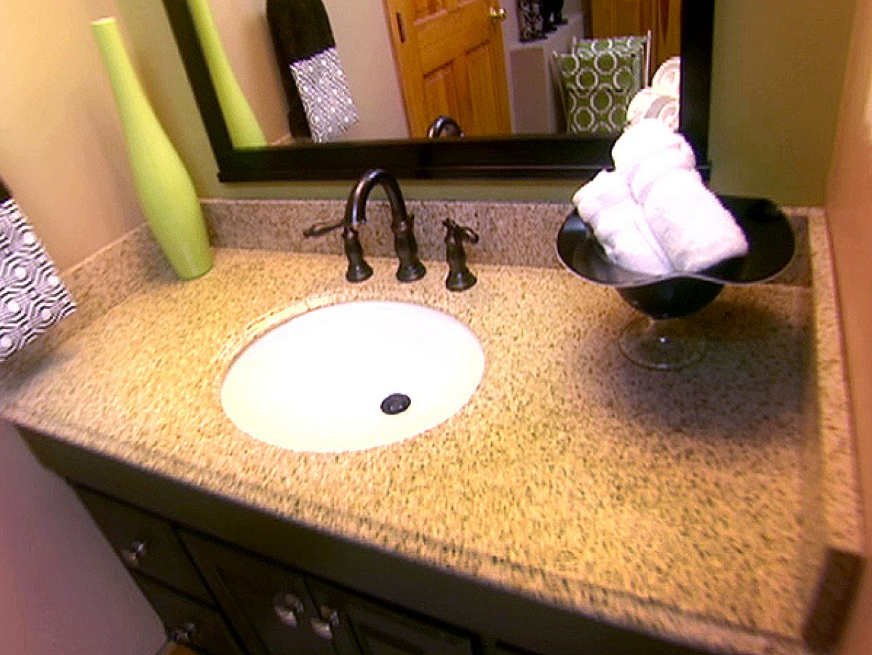
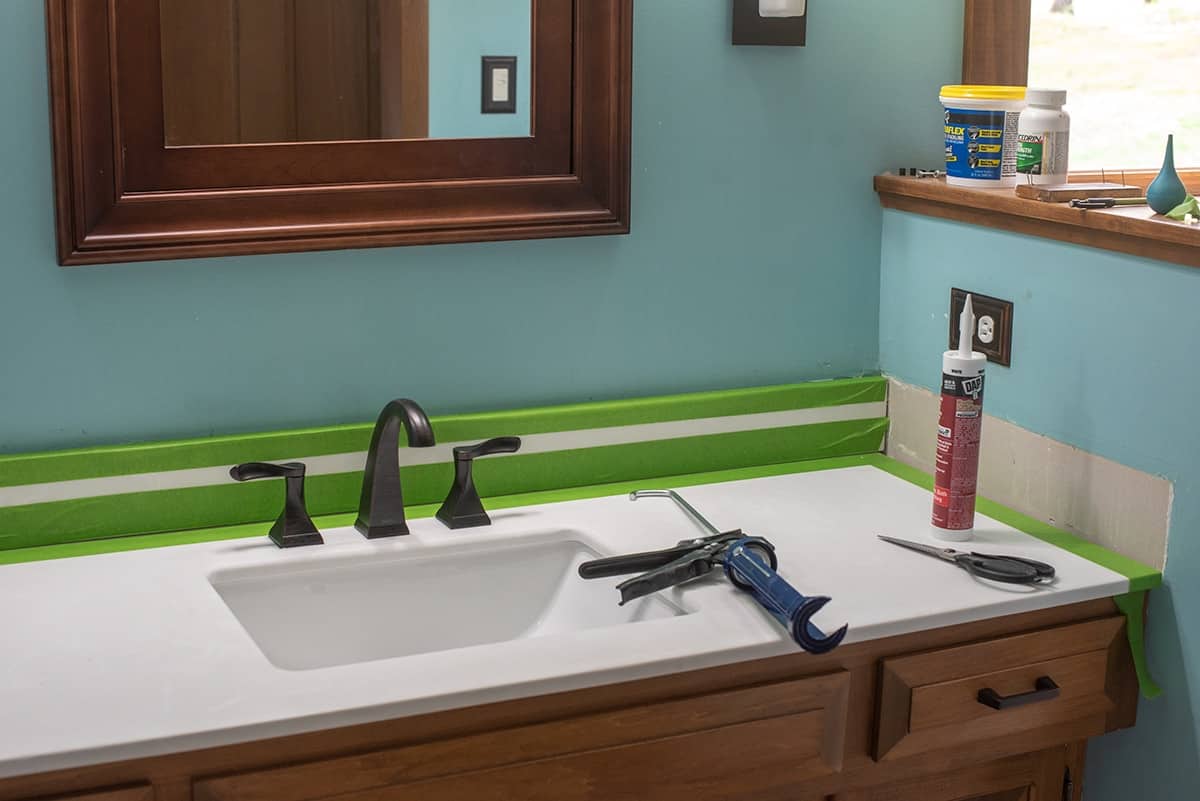
Now that you have a clean and prepared space, it's time to install the new vanity top. This will involve following the manufacturer's instructions and using any necessary tools to secure the top to the vanity cabinet. You'll also need to install the new sink and reconnect the plumbing.8. Removing Old Faucet: Installing the New Vanity Top


Removing Old Faucet


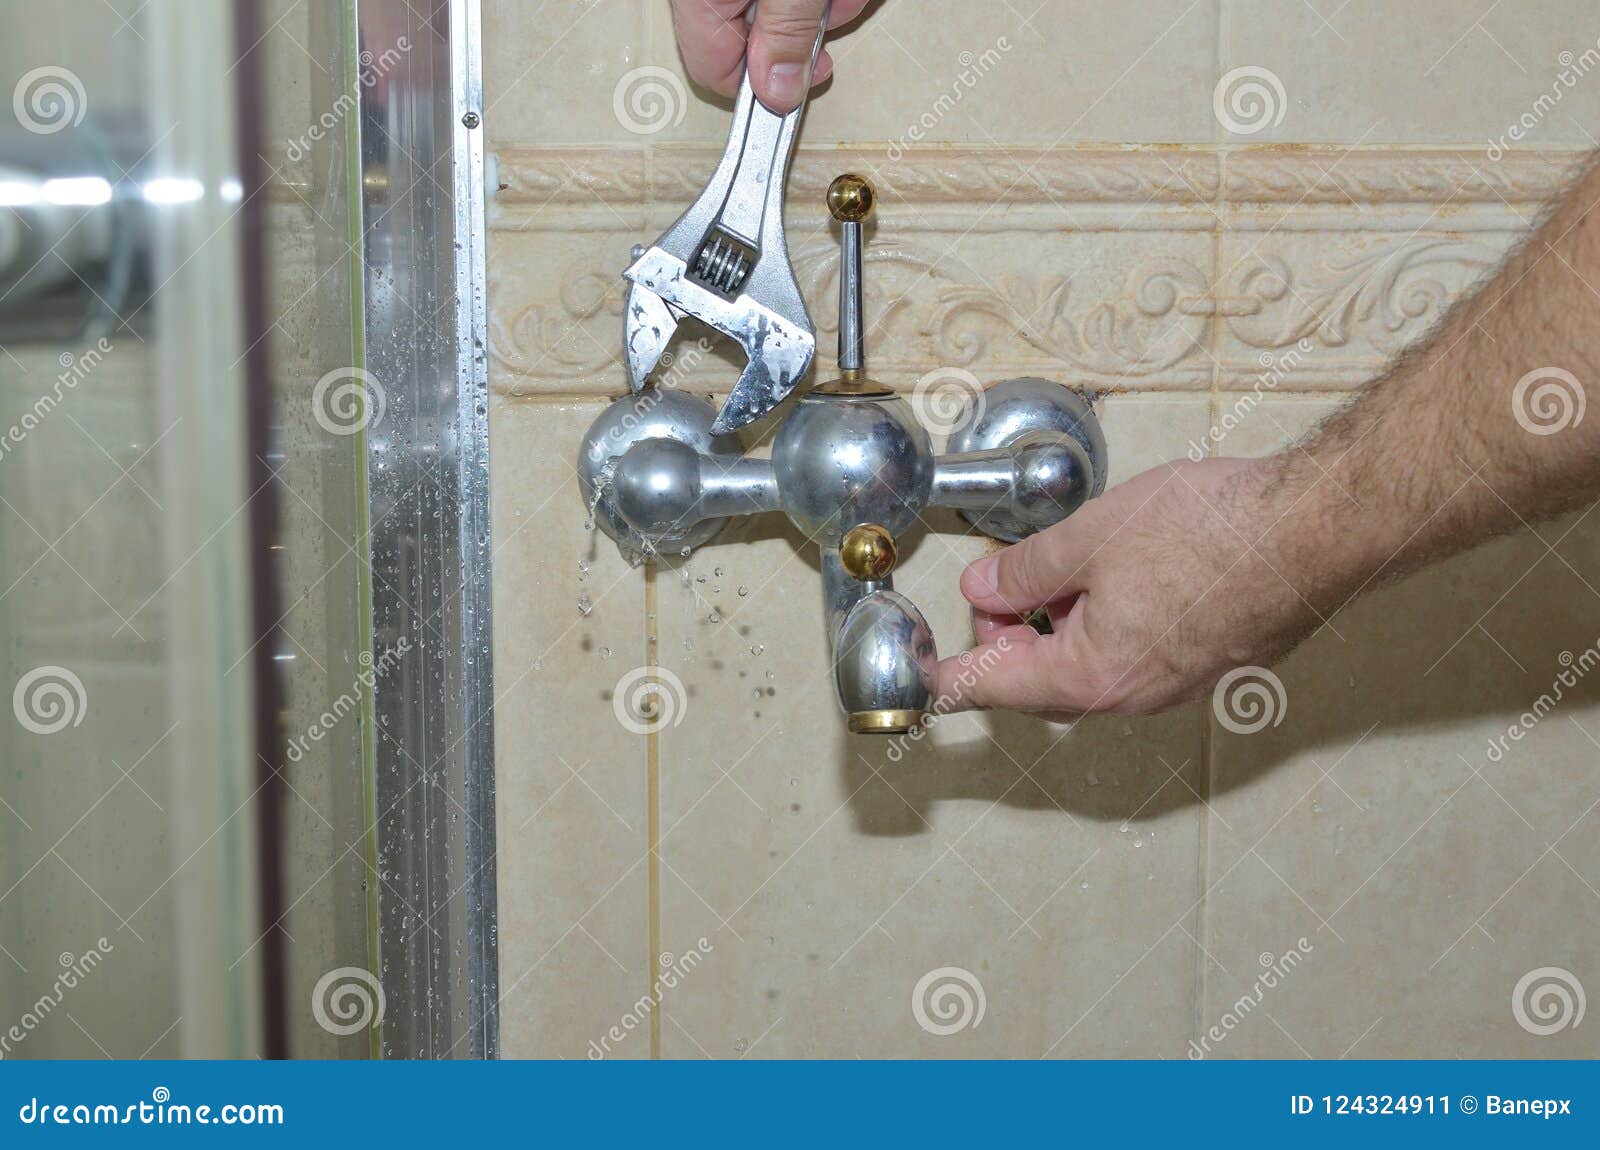


Once the new vanity top is installed, you can add some finishing touches to complete the look. This may include installing a new faucet, adding caulk around the edges of the vanity top, and attaching any necessary hardware or accessories.9. Removing Old Vanity Cabinet: Finishing Touches


Removing Old Vanity Cabinet


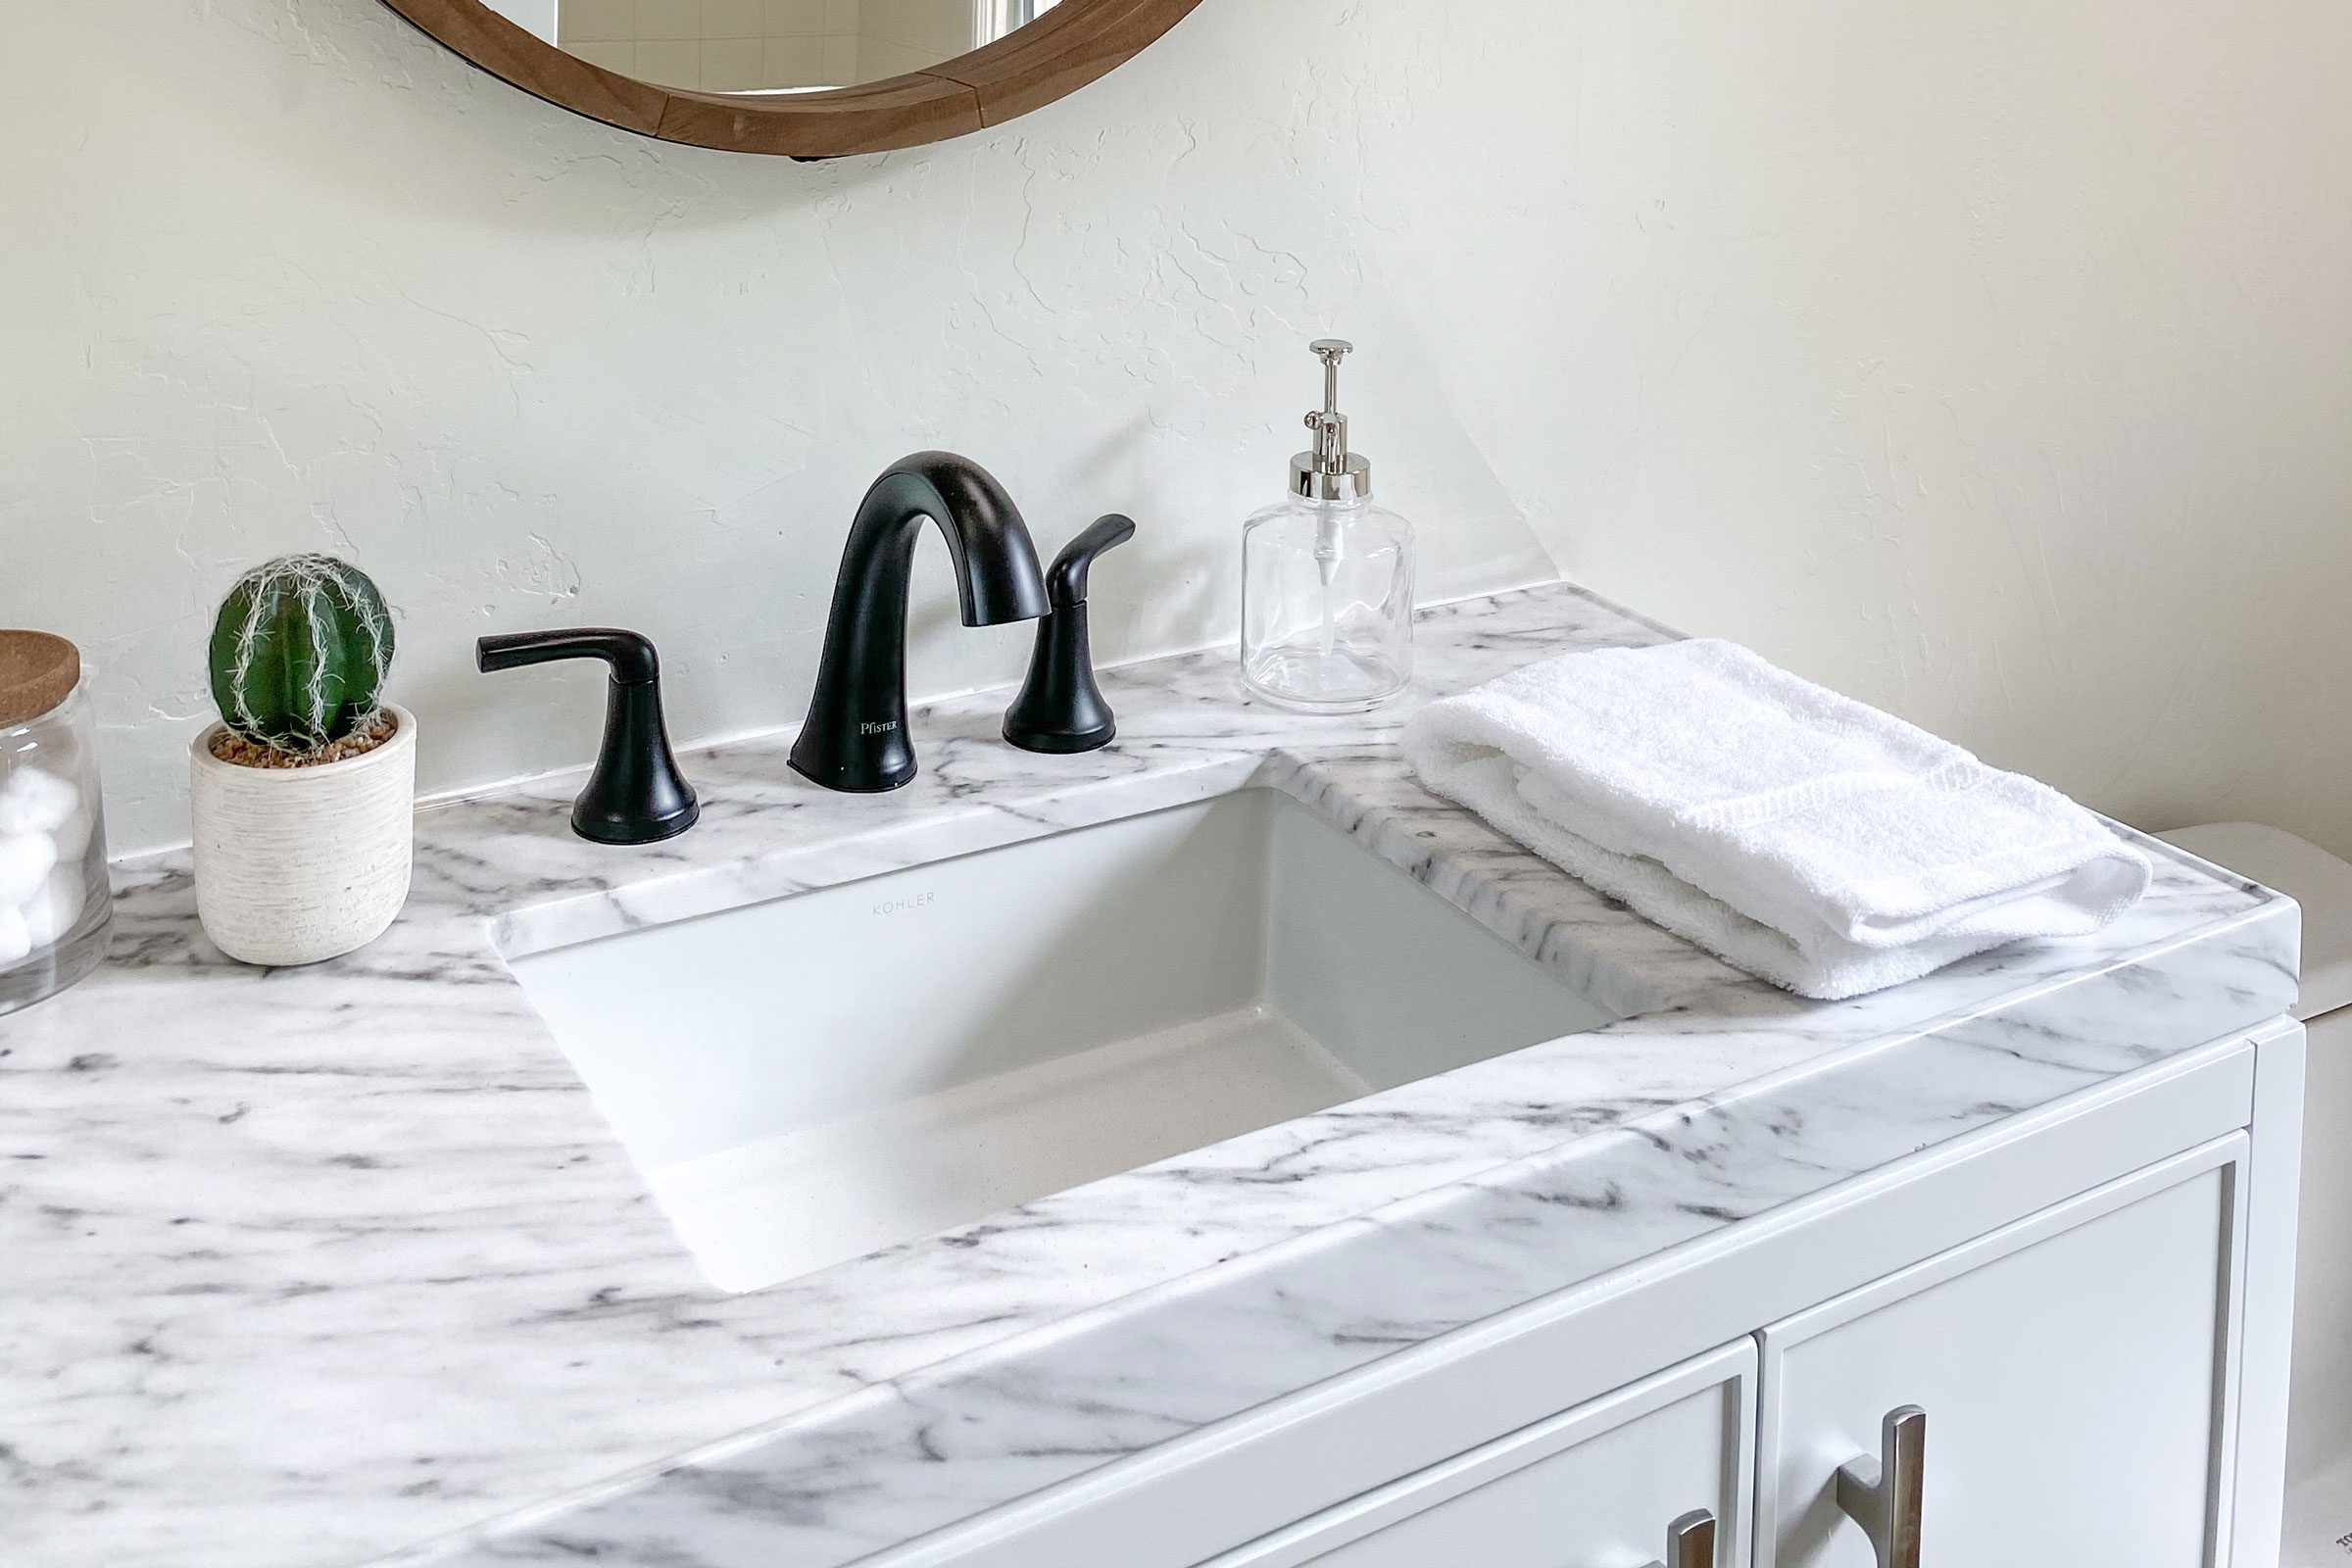
With the installation process complete, you can now step back and admire your newly installed vanity top. Not only does it look great, but it also adds value to your bathroom. So go ahead, give yourself a pat on the back for successfully removing your old bathroom vanity top and enjoy your updated space.10. Removing Old Mirror: Enjoy Your New Vanity Top


Removing Old Mirror


Why Removing Your Old Bathroom Vanity Top Can Transform Your Space
A Quick and Easy Way to Update Your Bathroom
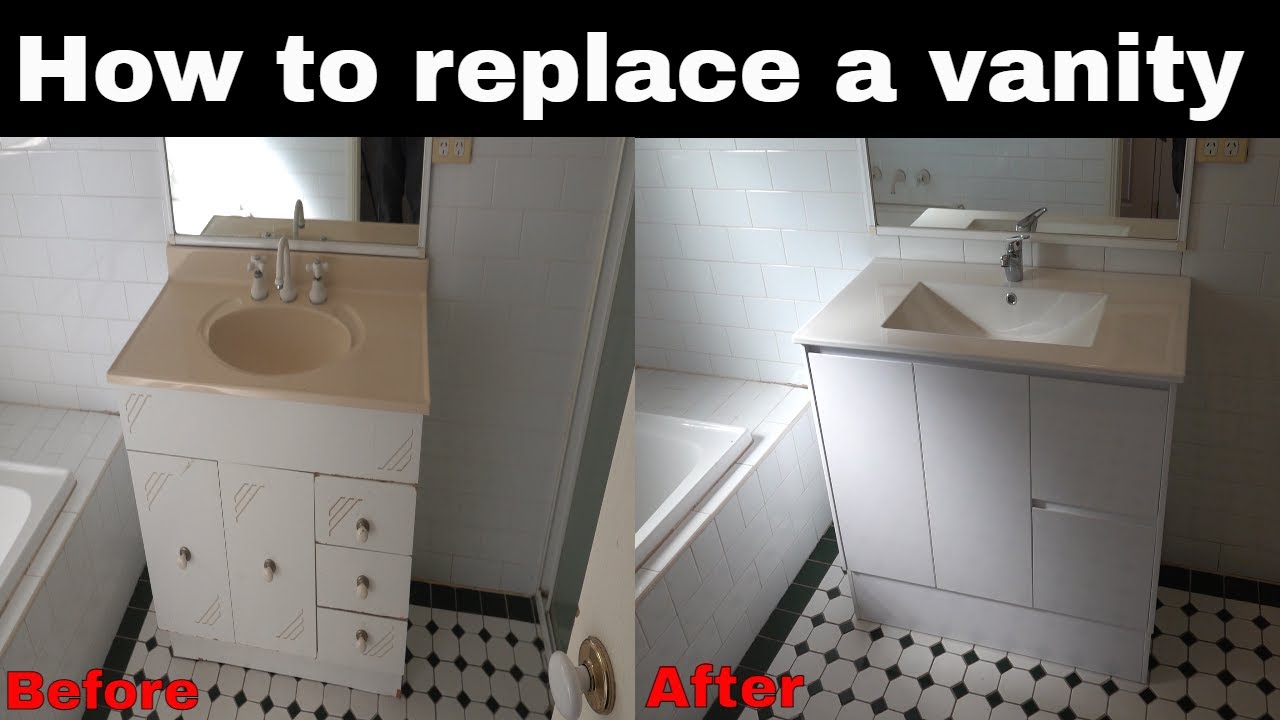 If you're looking to give your bathroom a fresh new look without breaking the bank, one simple solution is to replace your old vanity top. Not only is it a cost-effective option, but it can also completely transform the overall look and feel of your bathroom.
Removing an old bathroom vanity top
may seem like a daunting task, but with the right tools and techniques, it can be a quick and easy project that will leave you with a beautiful and updated space.
If you're looking to give your bathroom a fresh new look without breaking the bank, one simple solution is to replace your old vanity top. Not only is it a cost-effective option, but it can also completely transform the overall look and feel of your bathroom.
Removing an old bathroom vanity top
may seem like a daunting task, but with the right tools and techniques, it can be a quick and easy project that will leave you with a beautiful and updated space.
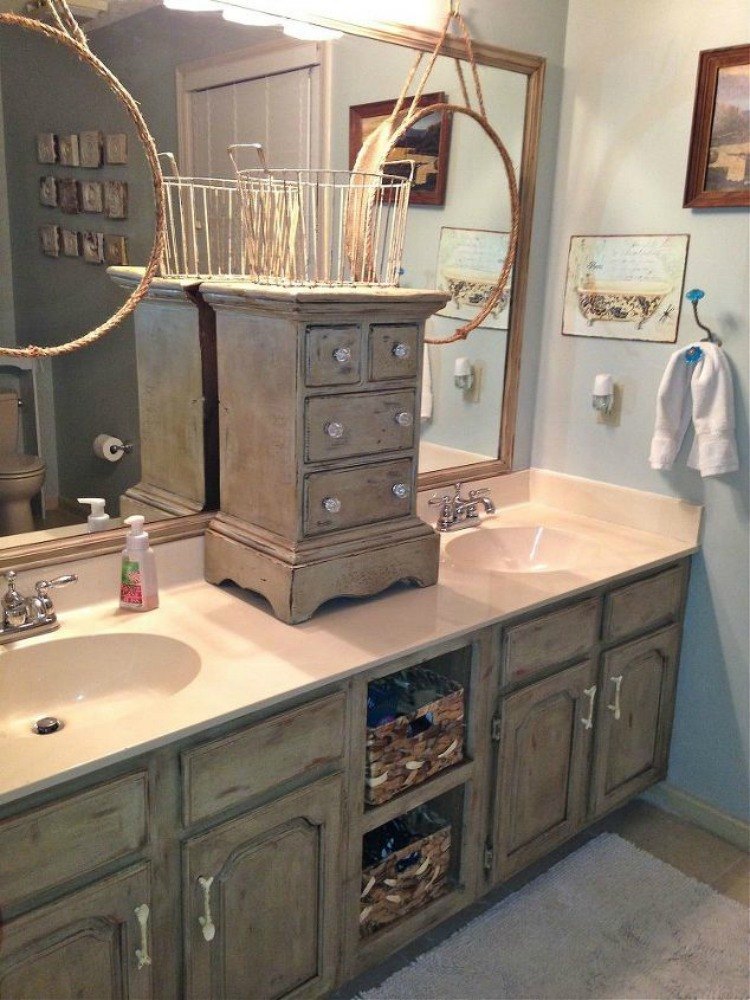
Outdated Vanity Tops Can Bring Down the Aesthetic of Your Bathroom
 Over time, your bathroom vanity top can become worn, stained, and chipped, making your entire bathroom look outdated and drab. This can greatly affect the overall aesthetic of your space and can leave you feeling uninspired and unhappy with your bathroom design.
Removing the old vanity top
and replacing it with a new one can instantly give your bathroom a fresh and modern look, making it a more inviting and enjoyable space.
Over time, your bathroom vanity top can become worn, stained, and chipped, making your entire bathroom look outdated and drab. This can greatly affect the overall aesthetic of your space and can leave you feeling uninspired and unhappy with your bathroom design.
Removing the old vanity top
and replacing it with a new one can instantly give your bathroom a fresh and modern look, making it a more inviting and enjoyable space.
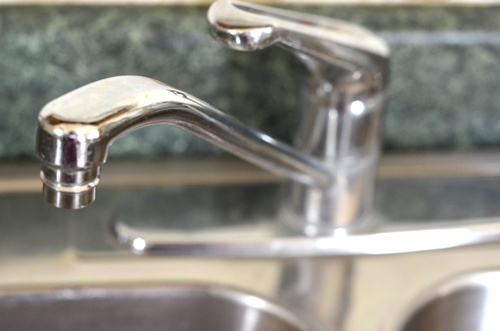
Upgrade to a More Functional and Durable Option
 Not only can an old vanity top make your bathroom look outdated, but it can also affect its functionality. A cracked or damaged vanity top can make it difficult to use your sink and can even lead to water damage. By
removing your old bathroom vanity top
and replacing it with a new one, you can choose a more durable and functional option that will not only look great but also stand the test of time.
Not only can an old vanity top make your bathroom look outdated, but it can also affect its functionality. A cracked or damaged vanity top can make it difficult to use your sink and can even lead to water damage. By
removing your old bathroom vanity top
and replacing it with a new one, you can choose a more durable and functional option that will not only look great but also stand the test of time.
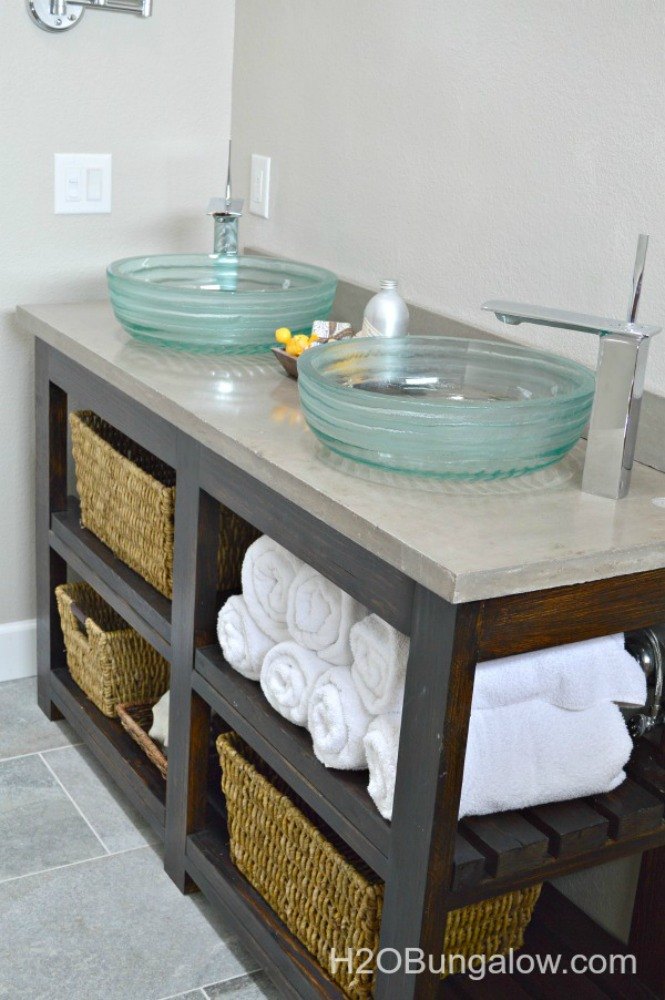
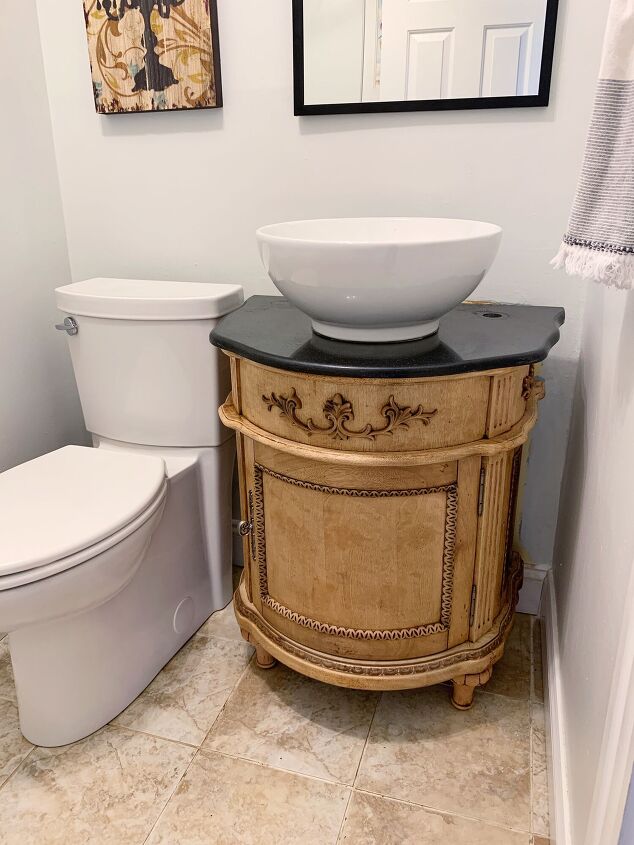
Customize Your Space with a New Vanity Top
 One of the best things about replacing your old vanity top is that you have the opportunity to customize your space exactly how you want it. Whether you prefer a sleek and modern design or a more traditional look, there are endless options available to suit your personal style. You can choose from a variety of materials, colors, and finishes to create a unique and personalized bathroom that you'll love.
Conclusion
 Removing your old bathroom vanity top
is a simple and effective way to update your bathroom and give it a whole new look. Not only can it improve the aesthetic of your space, but it can also increase its functionality and allow you to customize it to your liking. So, if you're looking to give your bathroom a makeover, consider replacing your old vanity top for a quick and easy transformation.
Removing your old bathroom vanity top
is a simple and effective way to update your bathroom and give it a whole new look. Not only can it improve the aesthetic of your space, but it can also increase its functionality and allow you to customize it to your liking. So, if you're looking to give your bathroom a makeover, consider replacing your old vanity top for a quick and easy transformation.