Caulk is a type of sealant that is commonly used in kitchens and bathrooms to create a watertight seal around sinks, bathtubs, and showers. Over time, caulk can become cracked, discolored, or moldy, making it necessary to remove and replace it. Removing caulk around a kitchen sink may seem like a daunting task, but with the right tools and techniques, it can be a simple and straightforward process. In this guide, we will walk you through the steps to successfully remove caulk around your kitchen sink.How to Remove Caulk Around a Kitchen Sink


How to Remove Caulk Around a Kitchen Sink


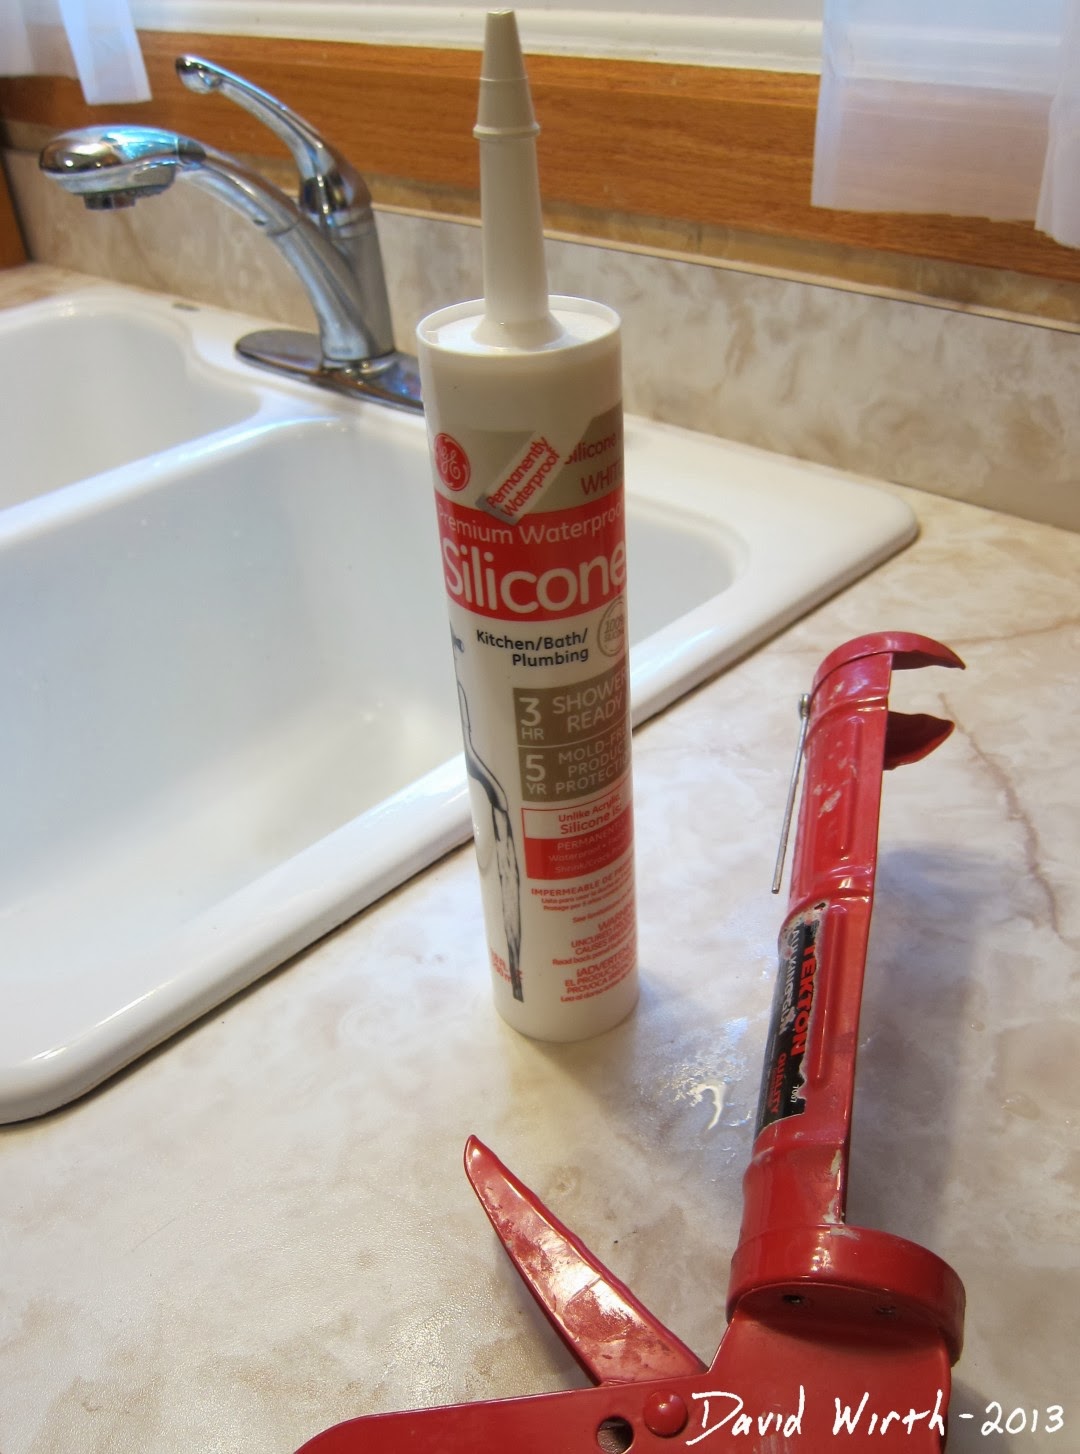
Before you can begin removing caulk, you need to determine whether you have silicone or acrylic caulk. Silicone caulk is more durable and waterproof, while acrylic caulk is easier to remove. To determine the type of caulk you have, use a utility knife to make a small cut in the caulk. If the caulk is easy to cut and has a rubbery texture, it is most likely silicone caulk. If it is harder to cut and has a more plastic-like texture, it is most likely acrylic caulk.How to Remove Old Caulk From a Kitchen Sink


How to Remove Old Caulk From a Kitchen Sink


:max_bytes(150000):strip_icc()/how-to-remove-old-caulk-1824827-01-3d0370c59e124dbbaa6560c68bab111c.jpg)


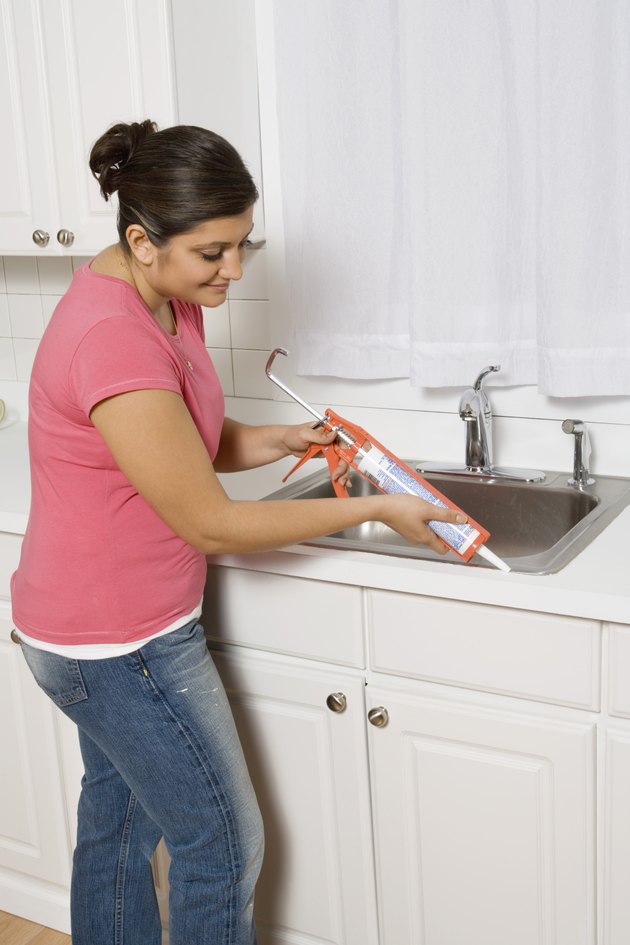
If you are looking to save some money and tackle the task yourself, removing caulk from a kitchen sink is a great DIY project. Here are the steps to follow:DIY: Removing Caulk From a Kitchen Sink
.jpg)


DIY: Removing Caulk From a Kitchen Sink

If you prefer a more detailed, step-by-step guide, here is a breakdown of the process for removing caulk around a kitchen sink:Step-by-Step Guide to Removing Caulk Around a Kitchen Sink

Step-by-Step Guide to Removing Caulk Around a Kitchen Sink


There are a few different methods for removing caulk around a kitchen sink, and the best one for you will depend on your preferences and the type of caulk you are removing. Some other methods you may want to consider include using a heat gun, using a caulk remover gel, or using a combination of a caulk softener and a caulk removal tool.Best Methods for Removing Caulk Around a Kitchen Sink


Best Methods for Removing Caulk Around a Kitchen Sink


Here are a few tips and tricks to keep in mind when removing caulk around a kitchen sink:Removing Caulk Around a Kitchen Sink: Tips and Tricks


Removing Caulk Around a Kitchen Sink: Tips and Tricks
/caulk-removal-tool-56ec7f1b3df78ce5f83535fe.jpg)


If you are short on time or simply want a quick and easy way to remove caulk from a kitchen sink, here are some methods you may want to try:Easy Ways to Remove Caulk From a Kitchen Sink

Easy Ways to Remove Caulk From a Kitchen Sink


While removing caulk may seem like a simple task, there are a few common mistakes you will want to avoid:Removing Caulk Around a Kitchen Sink: Common Mistakes to Avoid


Removing Caulk Around a Kitchen Sink: Common Mistakes to Avoid

As mentioned earlier, there are a few different tools you may need for removing caulk around a kitchen sink depending on the method you choose. Here is a list of tools you may want to have on hand:Tools You'll Need for Removing Caulk Around a Kitchen Sink


Tools You'll Need for Removing Caulk Around a Kitchen Sink
:max_bytes(150000):strip_icc()/caulk-removal-tool-56ec7f1b3df78ce5f83535fe.jpg)

While removing caulk from a kitchen sink can be a DIY project, there are situations where it may be best to call a professional. If you have a large area of caulk to remove or are having trouble with the process, it may be worth hiring a professional to ensure the job is done correctly and efficiently. Removing caulk around a kitchen sink may seem like a daunting task, but with the right tools and techniques, it can be a simple and straightforward process. Whether you choose to tackle the project yourself or hire a professional, following these tips and methods will help you successfully remove old caulk and create a clean and watertight seal around your kitchen sink.Removing Caulk Around a Kitchen Sink: When to Call a Professional


Removing Caulk Around a Kitchen Sink: When to Call a Professional
Why is it important to remove old caulk around your kitchen sink?

Protect your kitchen from water damage
 Old caulk around your kitchen sink can become cracked, discolored, and moldy over time. This not only looks unsightly, but it can also lead to water damage if left unchecked.
Water can seep into cracks in the caulk and eventually make its way into the walls or cabinets below the sink, causing rot and mold growth.
By removing old caulk and replacing it with new, you can prevent this potential water damage and keep your kitchen in top condition.
Old caulk around your kitchen sink can become cracked, discolored, and moldy over time. This not only looks unsightly, but it can also lead to water damage if left unchecked.
Water can seep into cracks in the caulk and eventually make its way into the walls or cabinets below the sink, causing rot and mold growth.
By removing old caulk and replacing it with new, you can prevent this potential water damage and keep your kitchen in top condition.
Improve the appearance of your kitchen
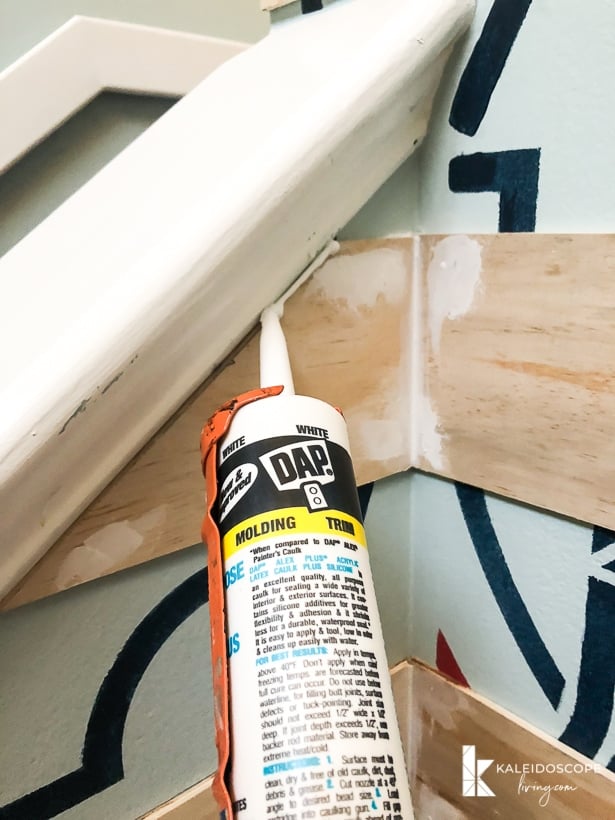
:max_bytes(150000):strip_icc()/caulk-removal-tool-56ec7f1b3df78ce5f83535fe.jpg) Caulk is used to seal the gap between your sink and countertop, creating a seamless and clean look. However, over time, caulk can become discolored and stained, making your kitchen appear dirty and unkempt.
By removing old caulk and applying new, fresh caulk, you can instantly improve the appearance of your kitchen.
Choose a caulk color that matches your sink and countertop for a cohesive and polished look.
Caulk is used to seal the gap between your sink and countertop, creating a seamless and clean look. However, over time, caulk can become discolored and stained, making your kitchen appear dirty and unkempt.
By removing old caulk and applying new, fresh caulk, you can instantly improve the appearance of your kitchen.
Choose a caulk color that matches your sink and countertop for a cohesive and polished look.
Prevent bacteria and mold growth
 The kitchen sink is a prime area for bacteria and mold to grow due to its constant exposure to water and food debris. Old caulk can provide a breeding ground for these harmful microorganisms, as it is difficult to clean and can trap moisture.
By removing old caulk and replacing it with new caulk, you can eliminate potential bacteria and mold growth and keep your kitchen a hygienic and healthy space.
The kitchen sink is a prime area for bacteria and mold to grow due to its constant exposure to water and food debris. Old caulk can provide a breeding ground for these harmful microorganisms, as it is difficult to clean and can trap moisture.
By removing old caulk and replacing it with new caulk, you can eliminate potential bacteria and mold growth and keep your kitchen a hygienic and healthy space.
Prepare for future renovations
 If you have plans for a kitchen renovation in the future, it is important to have a clean and well-maintained sink area. Old caulk can make it difficult to remove and replace countertops or sinks, causing unnecessary damage and delays in your renovation process.
By removing old caulk beforehand, you can make the renovation process smoother and easier.
Plus, it will ensure that your new countertops and sink are properly sealed and protected against water damage.
If you have plans for a kitchen renovation in the future, it is important to have a clean and well-maintained sink area. Old caulk can make it difficult to remove and replace countertops or sinks, causing unnecessary damage and delays in your renovation process.
By removing old caulk beforehand, you can make the renovation process smoother and easier.
Plus, it will ensure that your new countertops and sink are properly sealed and protected against water damage.
In conclusion, removing old caulk around your kitchen sink is an important maintenance task that should not be overlooked. By doing so, you can protect your kitchen from water damage, improve its appearance, prevent bacteria and mold growth, and prepare for future renovations. So, don't wait any longer – grab your caulk removal tool and get to work!