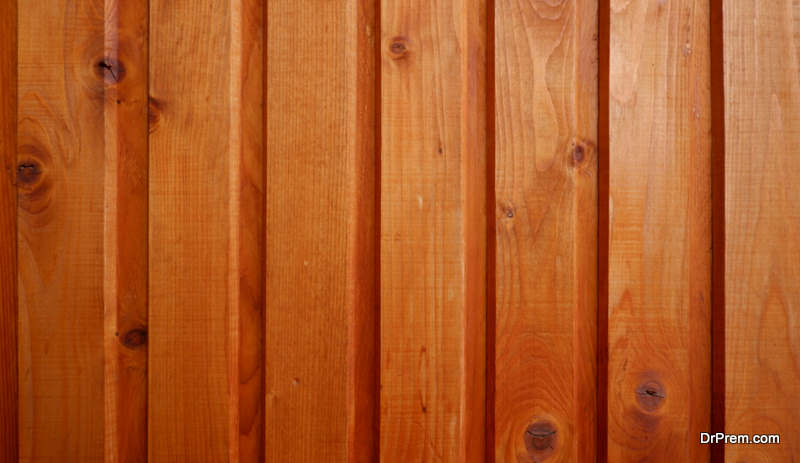
If you have a sticky kitchen table that's seen better days, don't worry – you don't have to replace it. With some elbow grease and a few simple steps, you can refinish your table and make it look as good as new. The first step in refinishing a sticky kitchen table is to sand it down. This will remove any old finish and reveal the natural wood underneath. Using a medium-grit sandpaper, sand the entire surface of the table in the direction of the wood grain. This will help to smooth out any rough spots and remove any sticky residue. Once you've sanded the entire surface, wipe it down with a damp cloth to remove any dust or debris. Featured keywords: refinishing, sticky kitchen table, sanding, old finish, wood grain, smooth, residue, damp cloth, dust, debris1. Sanding and Refinishing Your Sticky Kitchen Table


1. Sanding and refinishing your sticky kitchen table


The next step in refinishing your sticky kitchen table is to apply a new finish. There are several options for finishes, such as paint, stain, or varnish. Choose the one that best suits your style and the look you want to achieve for your table. Using a clean paintbrush, apply the finish in long, even strokes in the direction of the wood grain. Apply multiple coats if necessary, allowing each coat to dry completely before adding the next. Once you're satisfied with the color and coverage, let the table dry for a full 24 hours before using it again. Featured keywords: refinishing, sticky kitchen table, finish, paint, stain, varnish, style, wood grain, coats, dry2. How to Refinish a Sticky Kitchen Table


2. How to refinish a sticky kitchen table

If you're feeling handy and want to save some money, you can refinish your sticky kitchen table yourself. This DIY guide will walk you through the steps to transform your table into a beautiful and functional piece of furniture. Start by gathering all the necessary materials, including sandpaper, paint or stain, a paintbrush, and a cloth. Follow the steps outlined in the previous sections, and don't be afraid to get creative with your finish. You can also add a protective topcoat to ensure your table stays looking great for years to come. Featured keywords: DIY, refinishing, sticky kitchen table, materials, sandpaper, paint, stain, paintbrush, cloth, creative, protective topcoat3. DIY Guide for Refinishing a Sticky Kitchen Table


3. DIY guide for refinishing a sticky kitchen table
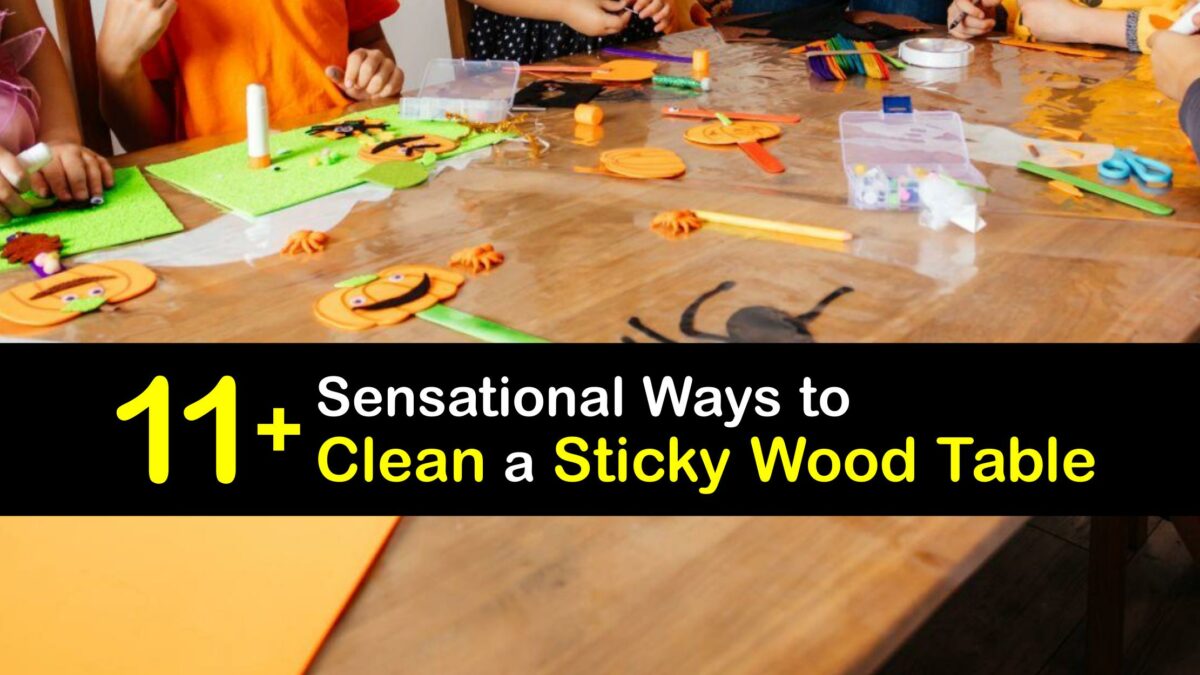


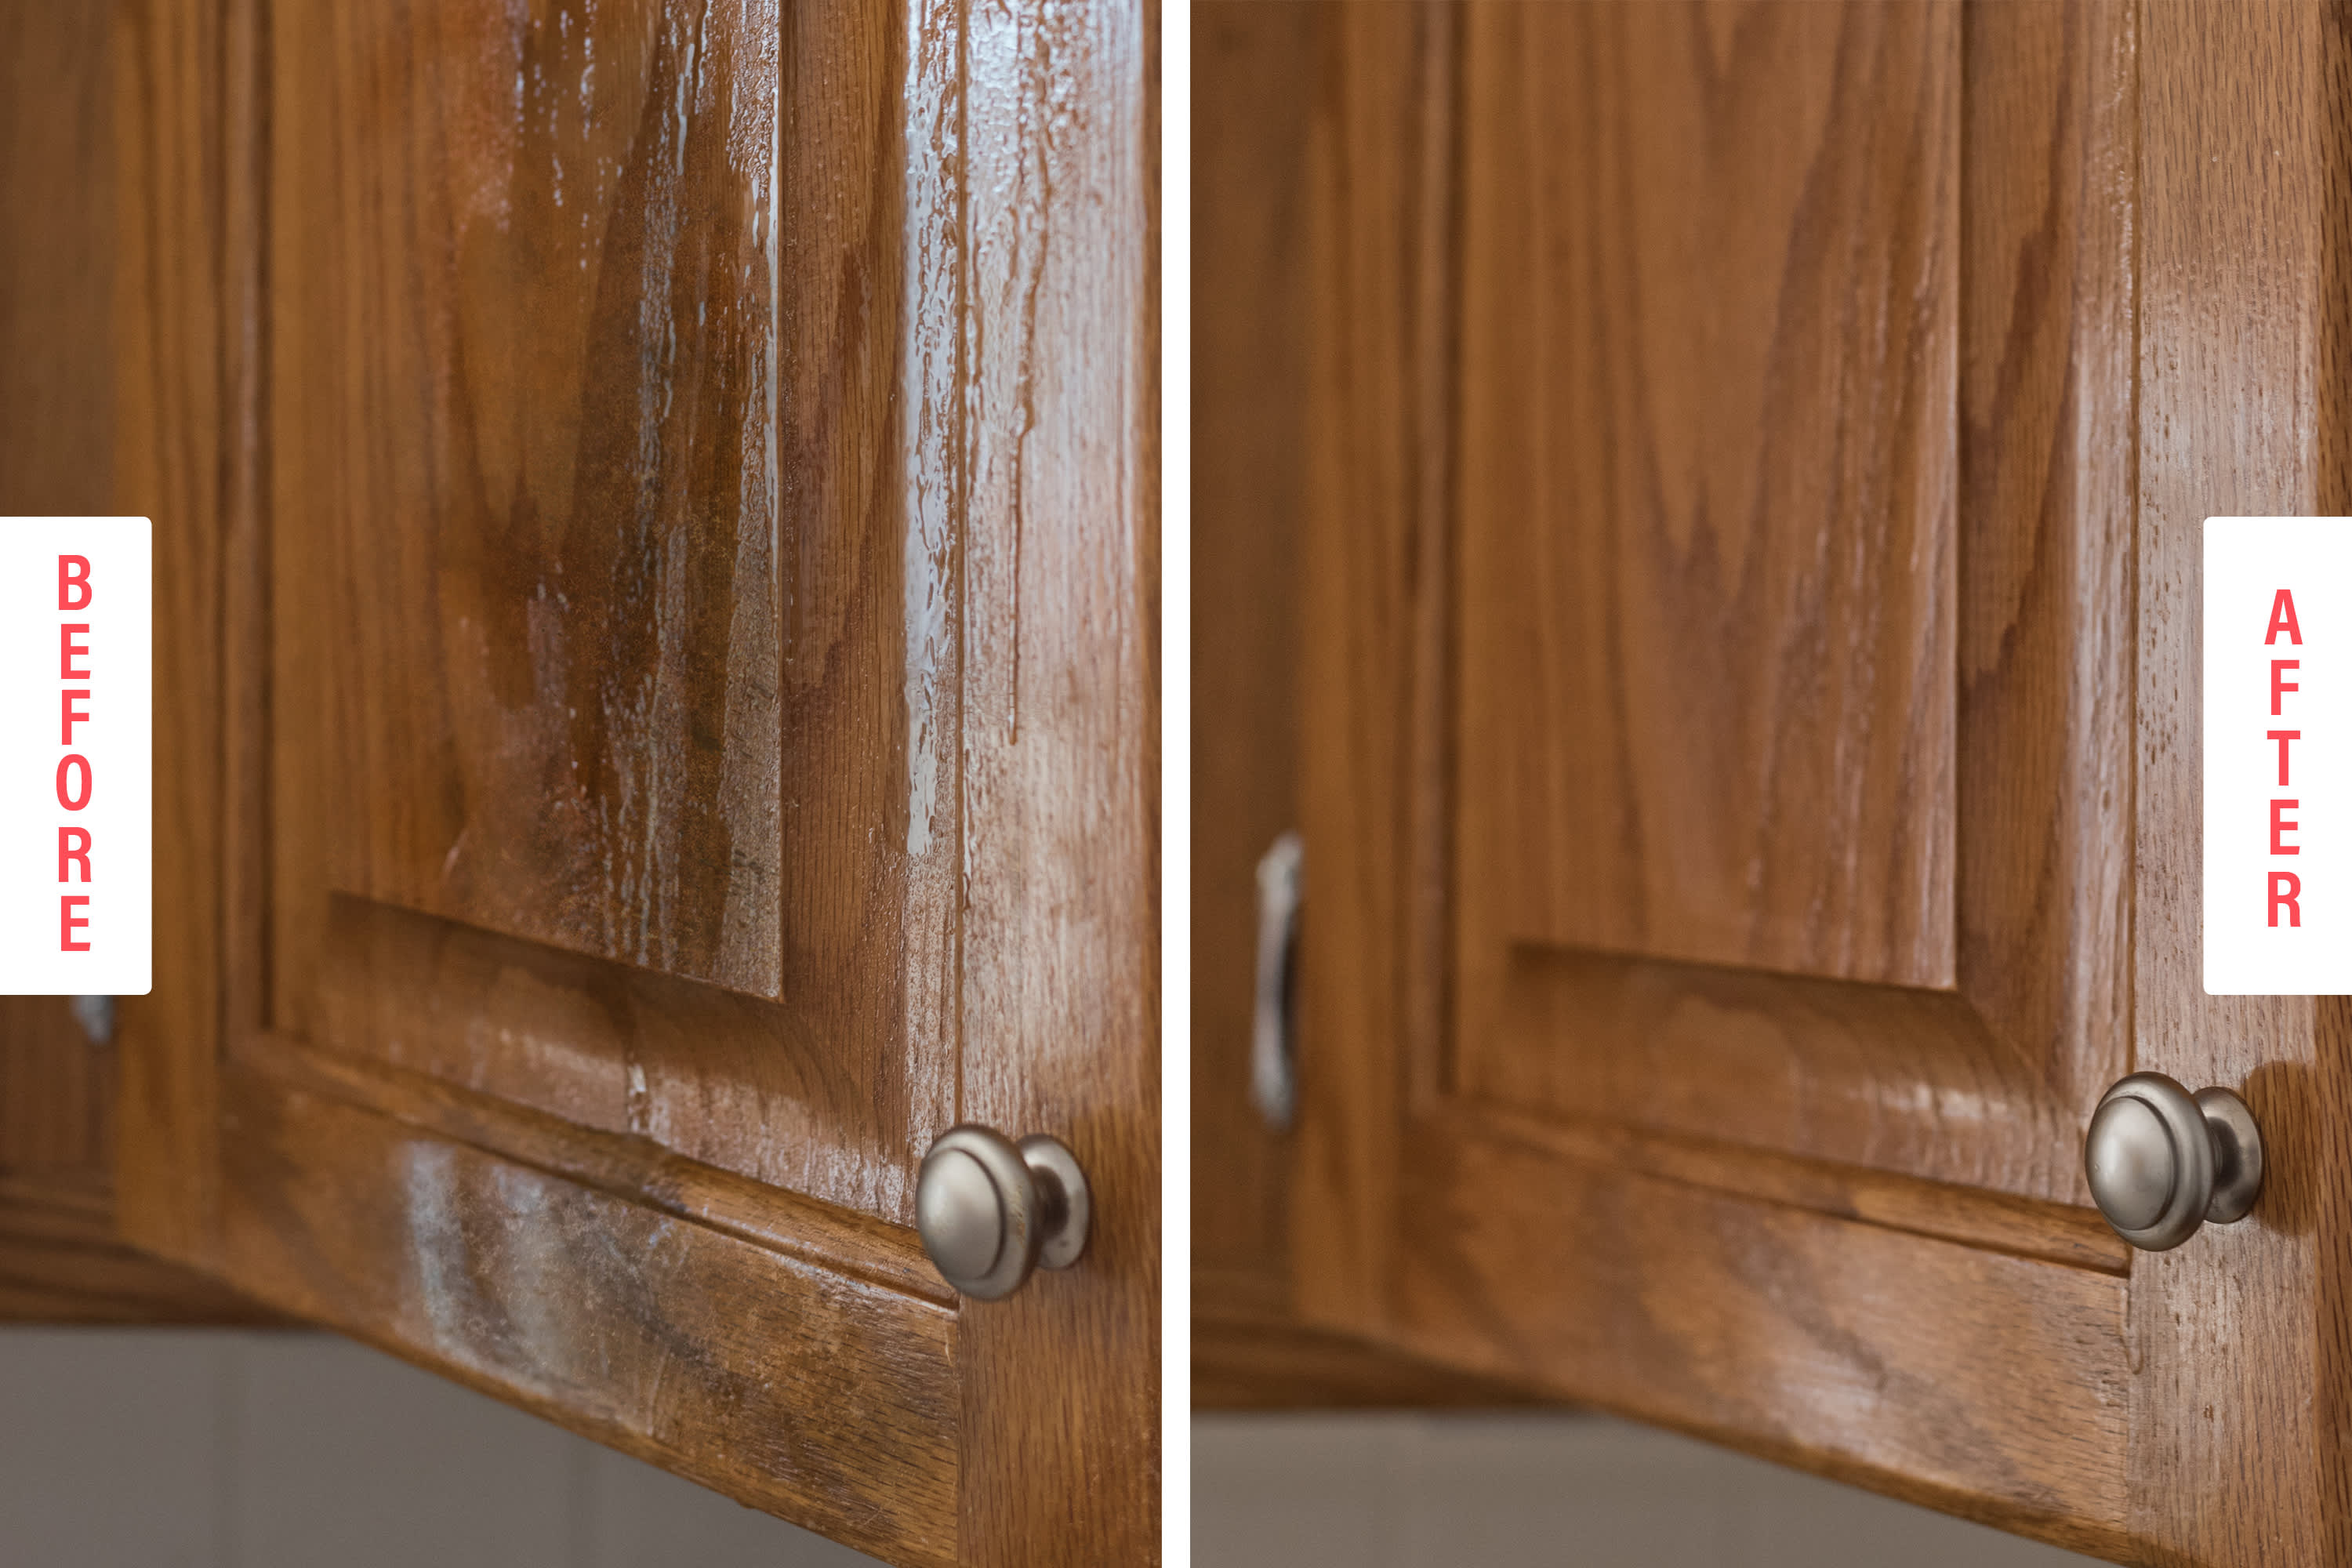
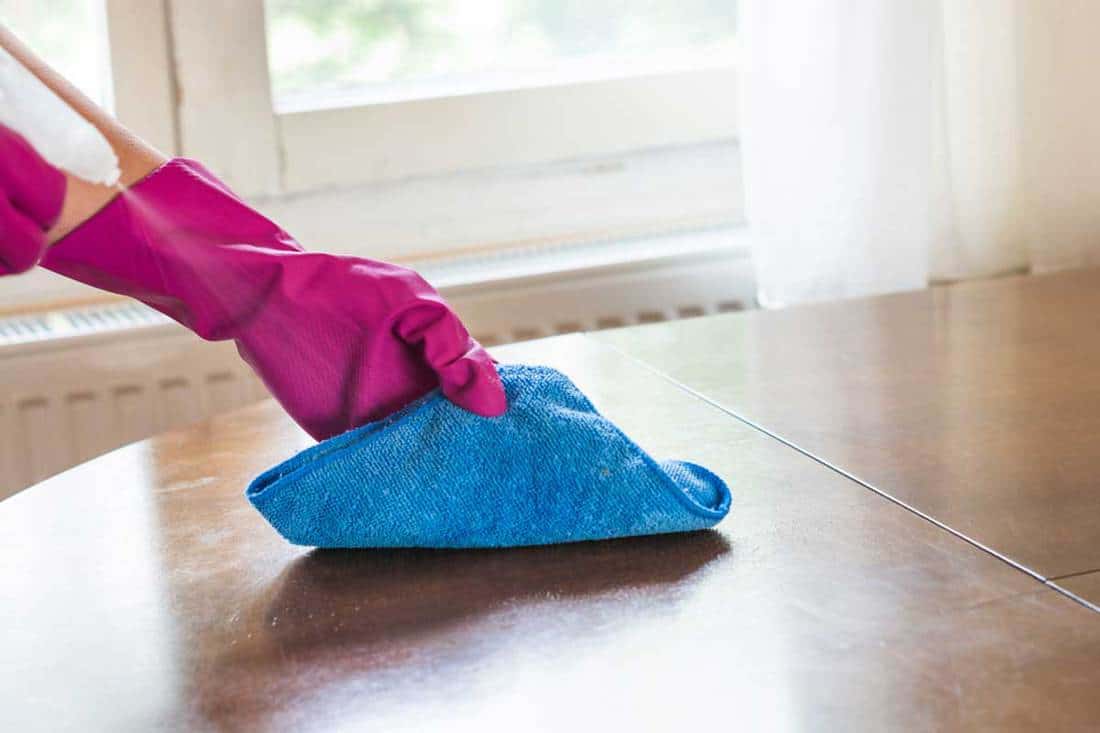
Before you start sanding and refinishing your sticky kitchen table, it's important to remove as much stickiness as possible. This will ensure that your new finish adheres properly and gives you the best results. Here are a few tips to help you get rid of sticky residue:4. Tips for Removing Stickiness from a Kitchen Table Before Refinishing


4. Tips for removing stickiness from a kitchen table before refinishing


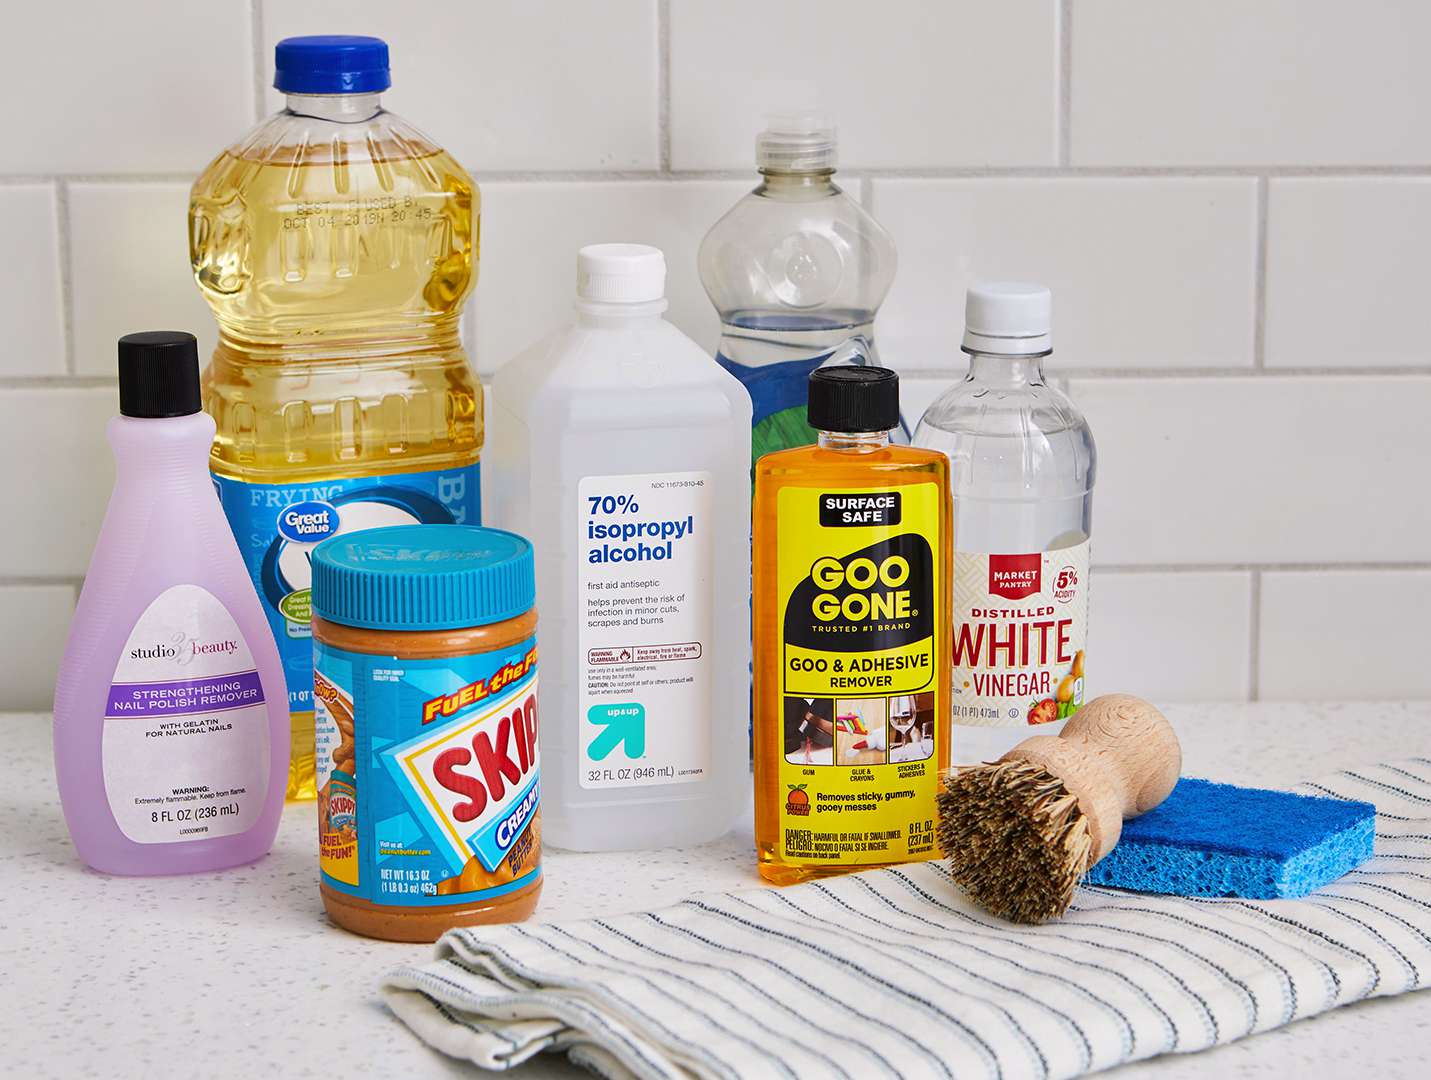
When it comes to refinishing a sticky kitchen table, having the right products can make all the difference. While the type of finish you choose will depend on your personal preference, here are some top-rated products to consider:5. Best Products for Refinishing a Sticky Kitchen Table
5. Best products for refinishing a sticky kitchen table


If you're a visual learner, a step-by-step tutorial can be helpful in guiding you through the process of refinishing a sticky kitchen table. There are many tutorials available online that can provide you with detailed instructions and tips for achieving the best results. Here are a few things to keep in mind when following a tutorial:6. Step-by-Step Tutorial for Refinishing a Sticky Kitchen Table


6. Step-by-step tutorial for refinishing a sticky kitchen table


Refinishing a sticky kitchen table may seem like a simple task, but there are some common mistakes that can easily be made. Here are a few to watch out for:7. Common Mistakes to Avoid When Refinishing a Sticky Kitchen Table


7. Common mistakes to avoid when refinishing a sticky kitchen table


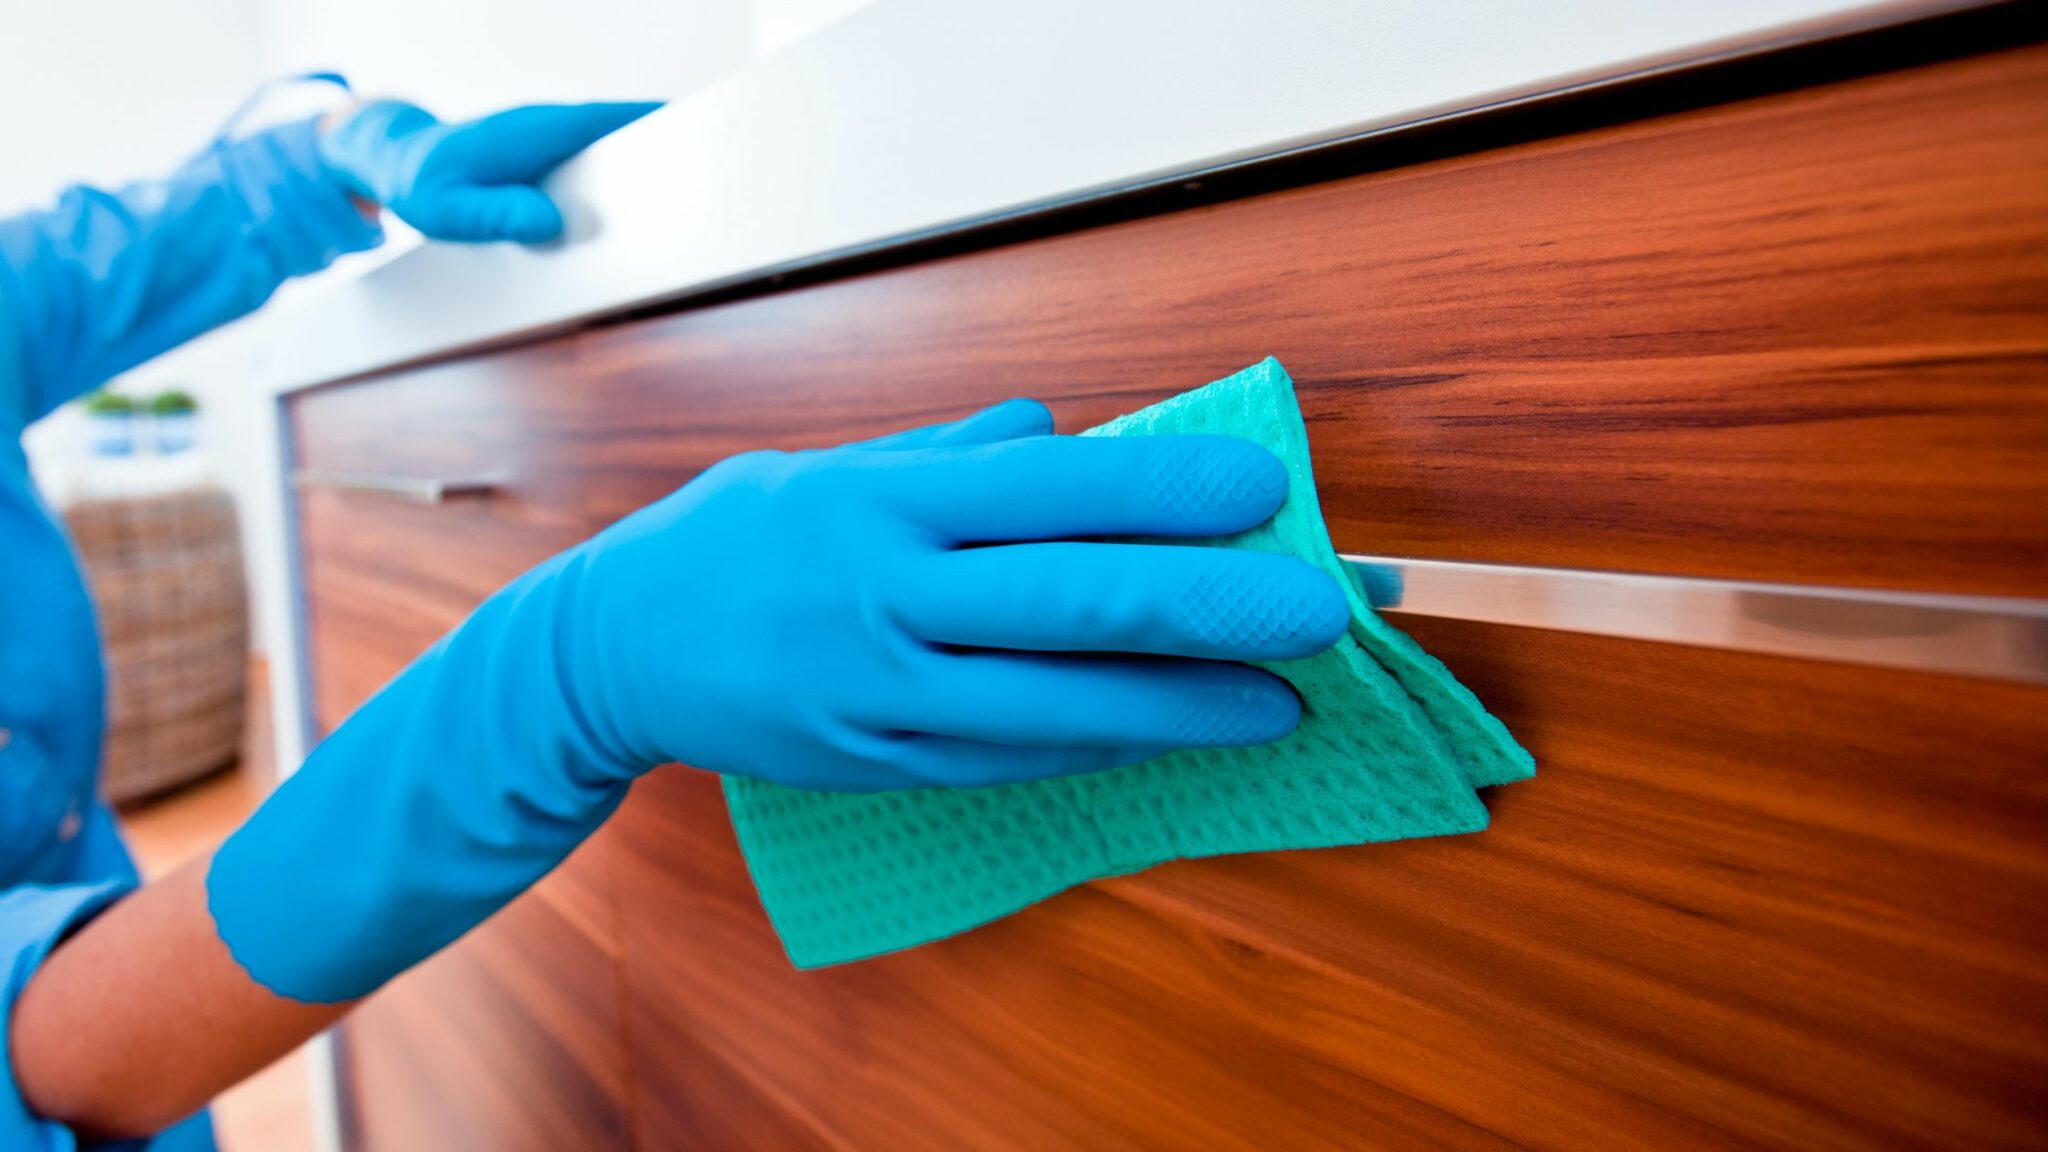
Before you start refinishing your sticky kitchen table, it's important to properly prepare the surface. This will ensure that the finish adheres properly and gives you the best results. Here are some steps to follow when prepping your table:8. How to Properly Prep Your Kitchen Table for Refinishing

8. How to properly prep your kitchen table for refinishing


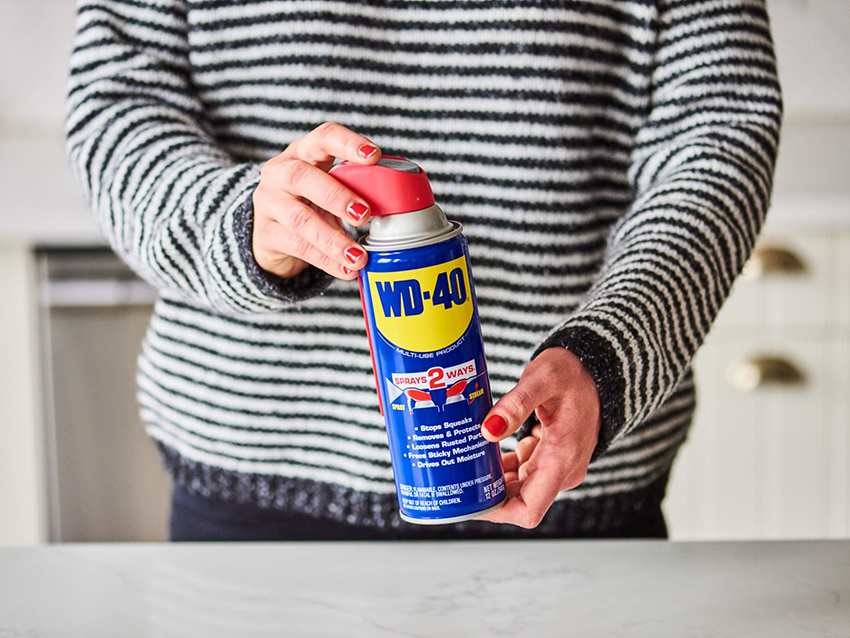
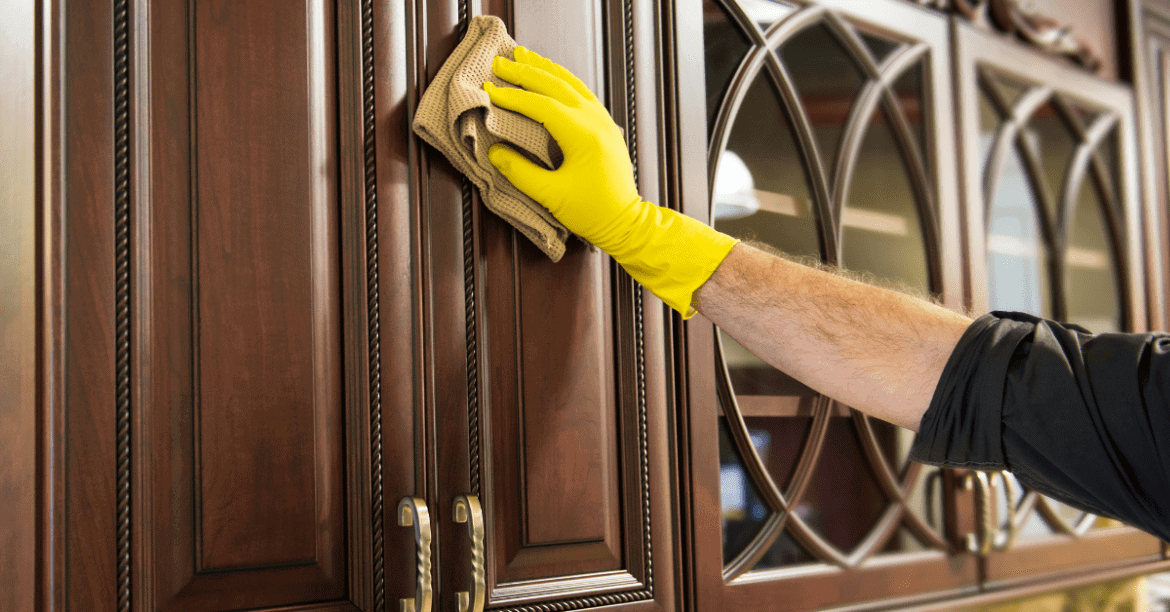
If you don't have the time or energy to sand down your sticky kitchen table, there are still options for refinishing it. Some products, such as gel stains, can be applied directly over the old finish without sanding. However, keep in mind that this may not give you the best results and the finish may not adhere as well. If you want to avoid sanding, consider hiring a professional refinishing service to ensure your table is properly refinished without any shortcuts. Featured keywords: refinishing, sticky kitchen table, sanding, products, gel stains, old finish, professional service, shortcuts9. Refinishing a Sticky Kitchen Table Without Sanding


9. Refinishing a sticky kitchen table without sanding


If you're not confident in your DIY skills or want a guaranteed professional finish, consider hiring a refinishing service for your sticky kitchen table. These professionals have the experience and tools to properly sand, prep, and finish your table for a flawless result. Be sure to research and read reviews of different refinishing services in your area to find the best one for your needs and budget. Featured keywords: professional, refinishing services, sticky kitchen table, DIY, experience, tools, sand, prep, finish, flawless, research, reviews, area, needs, budget10. Professional Refinishing Services for Sticky Kitchen Tables


10. Professional refinishing services for sticky kitchen tables


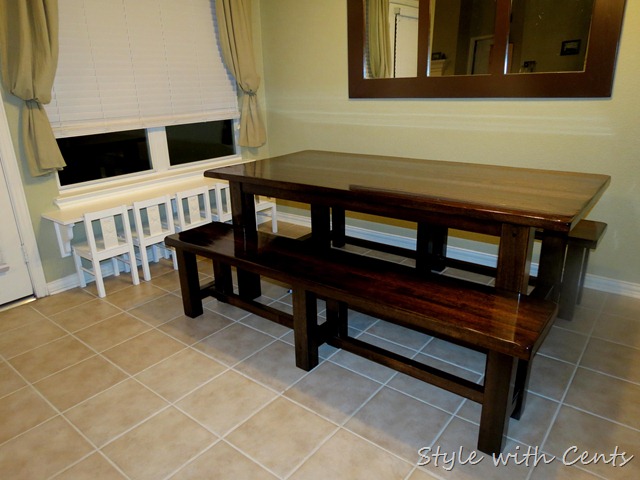
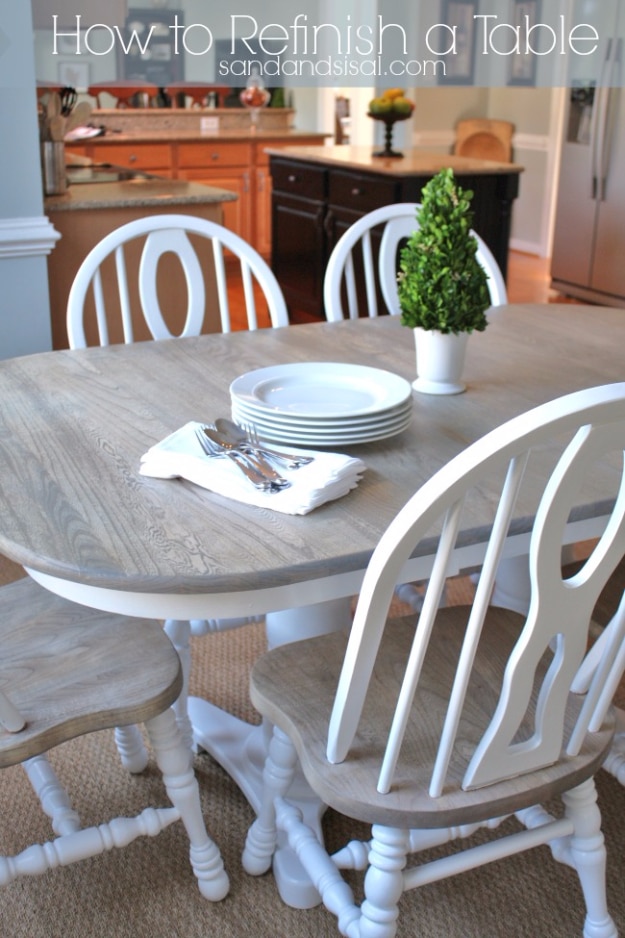
How to Refinish a Sticky Kitchen Table

Restore Your Kitchen's Centerpiece to Its Former Glory
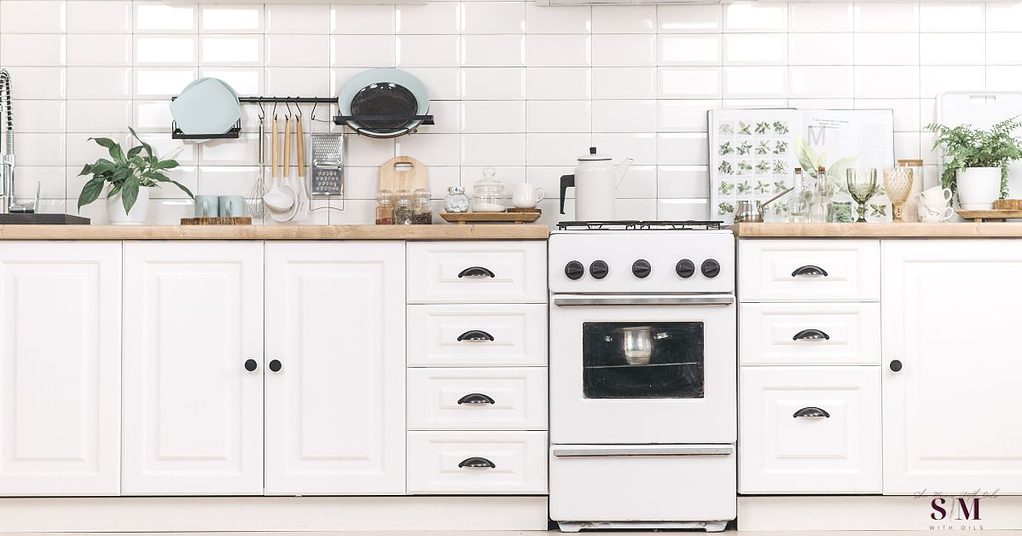
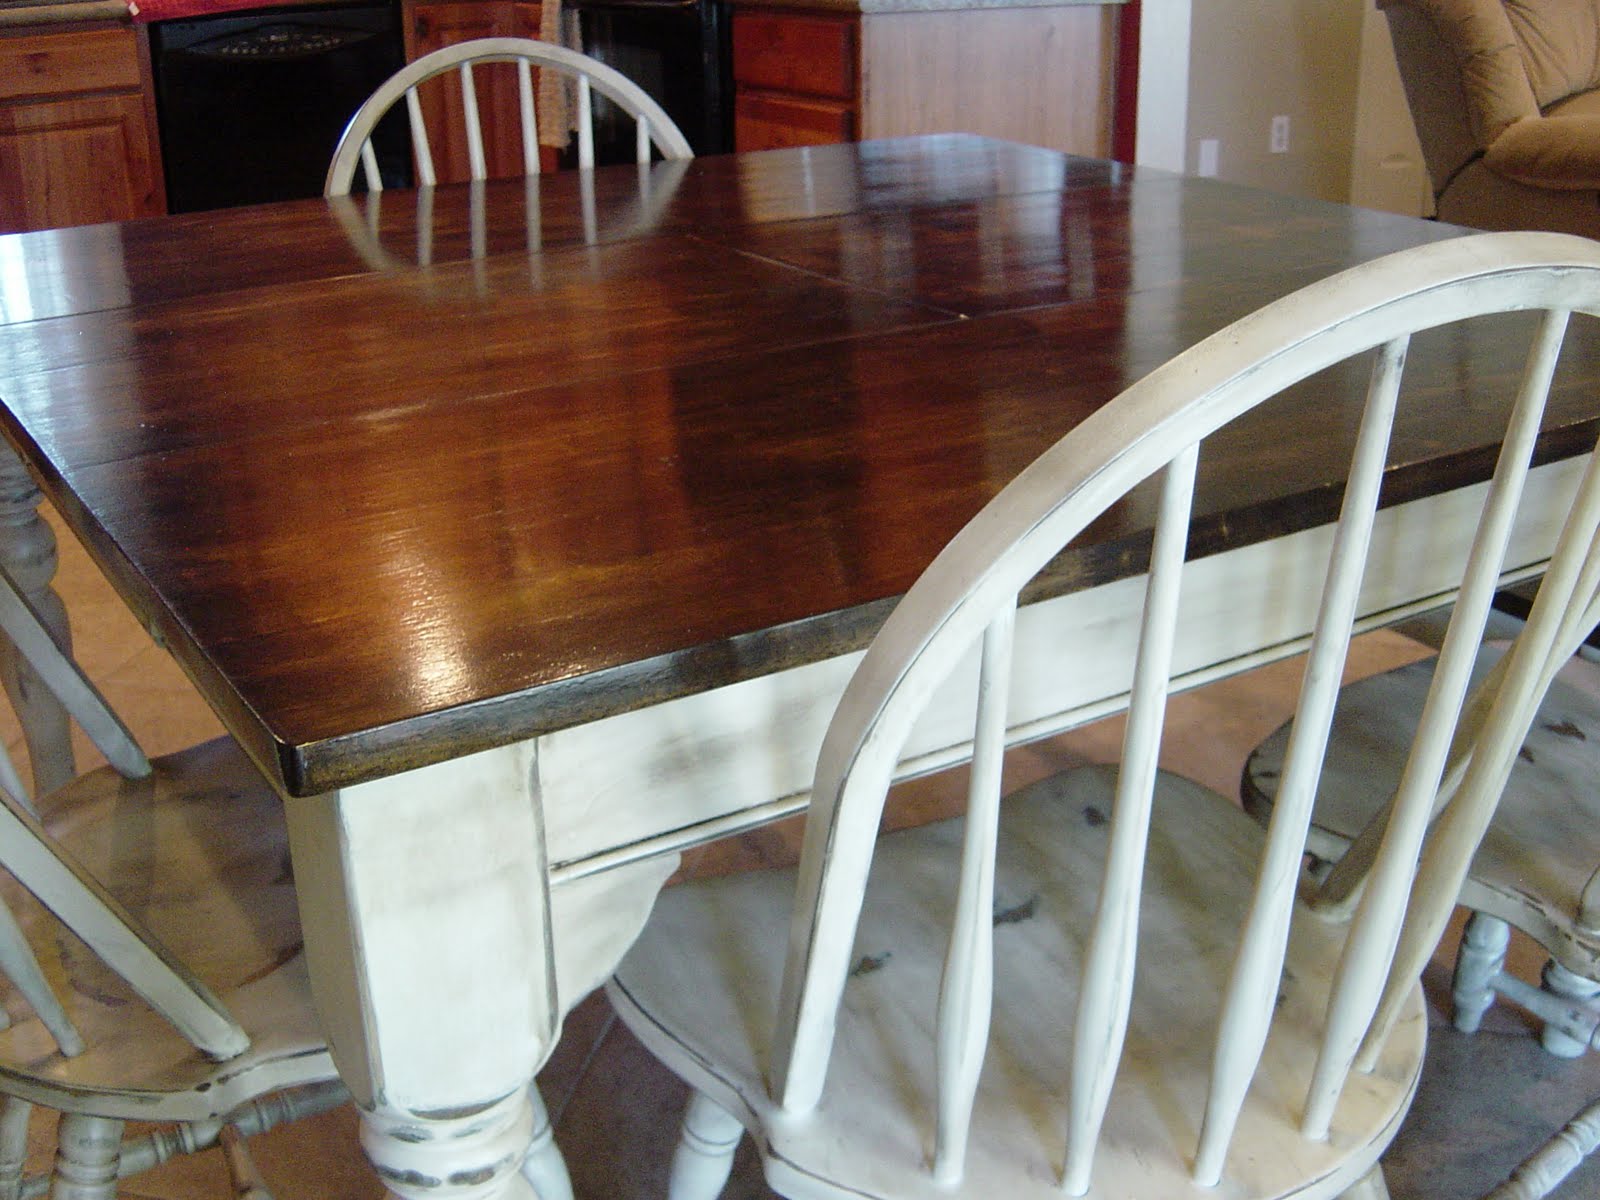
 If you have a kitchen table that has seen better days, with a sticky surface that is impossible to clean, it may be time to refinish it. A refinished kitchen table not only looks brand new, but it also adds a fresh touch to your kitchen's overall design. Refinishing a sticky kitchen table may seem like a daunting task, but with the right tools and techniques, you can easily transform it into a beautiful and functional centerpiece. In this article, we will guide you through the process of refinishing a sticky kitchen table and give you tips on how to maintain its shine for years to come.
Gather Your Supplies
 Before you begin the refinishing process, gather all the necessary supplies. This includes a sander, sandpaper, wood stain, polyurethane, paintbrushes, and a clean cloth. Make sure to choose a wood stain color that matches your kitchen's design and complements the existing furniture. You may also need to purchase a wood filler if your table has any scratches or dents that need to be filled in.
Preparation is Key
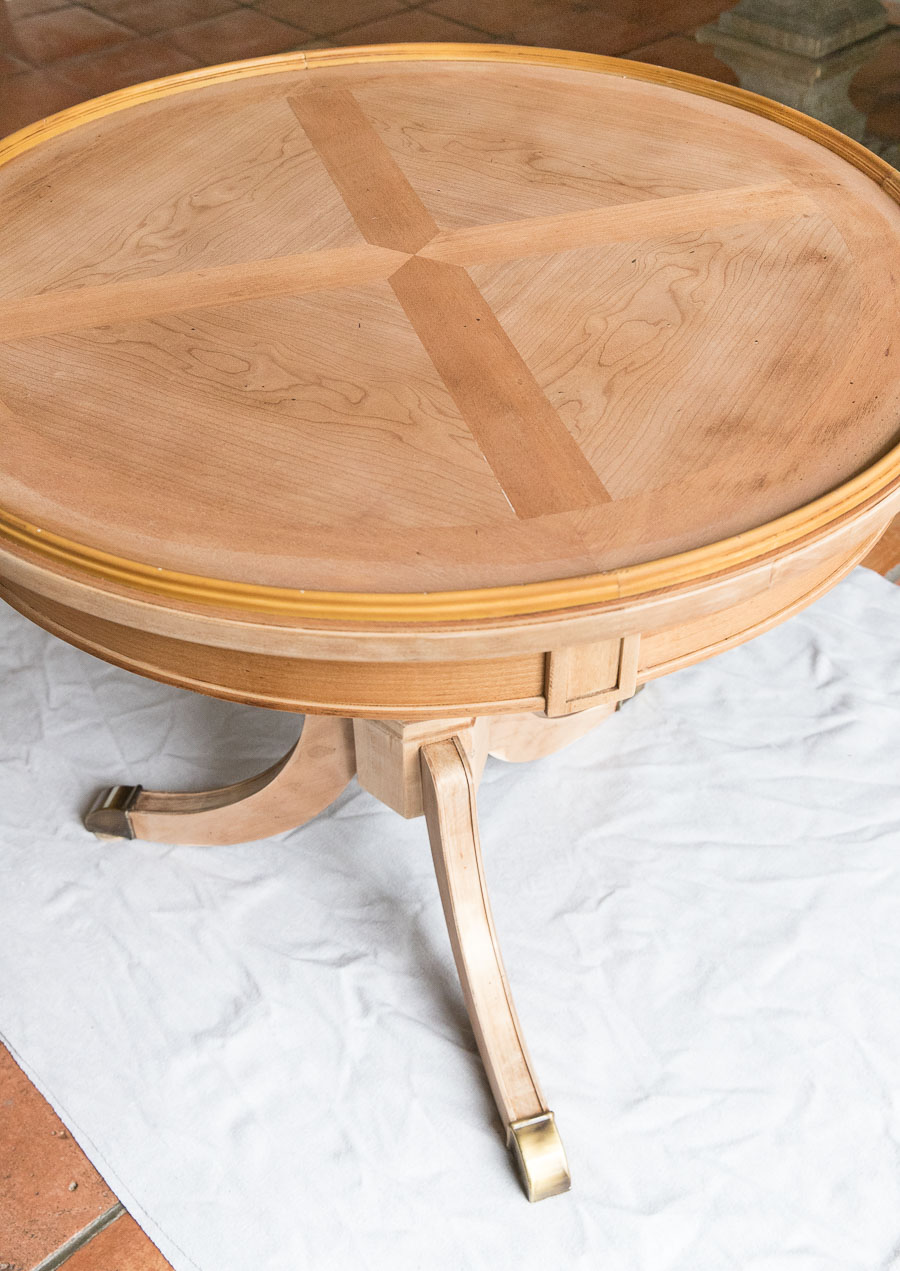
 The key to a successful refinishing project is proper preparation. Start by removing any hardware or accessories from your kitchen table, such as knobs or decorative elements. Next, use a sander with a medium-grit sandpaper to remove the old finish and any rough spots on the surface. Make sure to sand in the direction of the wood grain to avoid any scratches. Once the old finish is removed, switch to a fine-grit sandpaper to smooth out the surface.
Stain and Seal
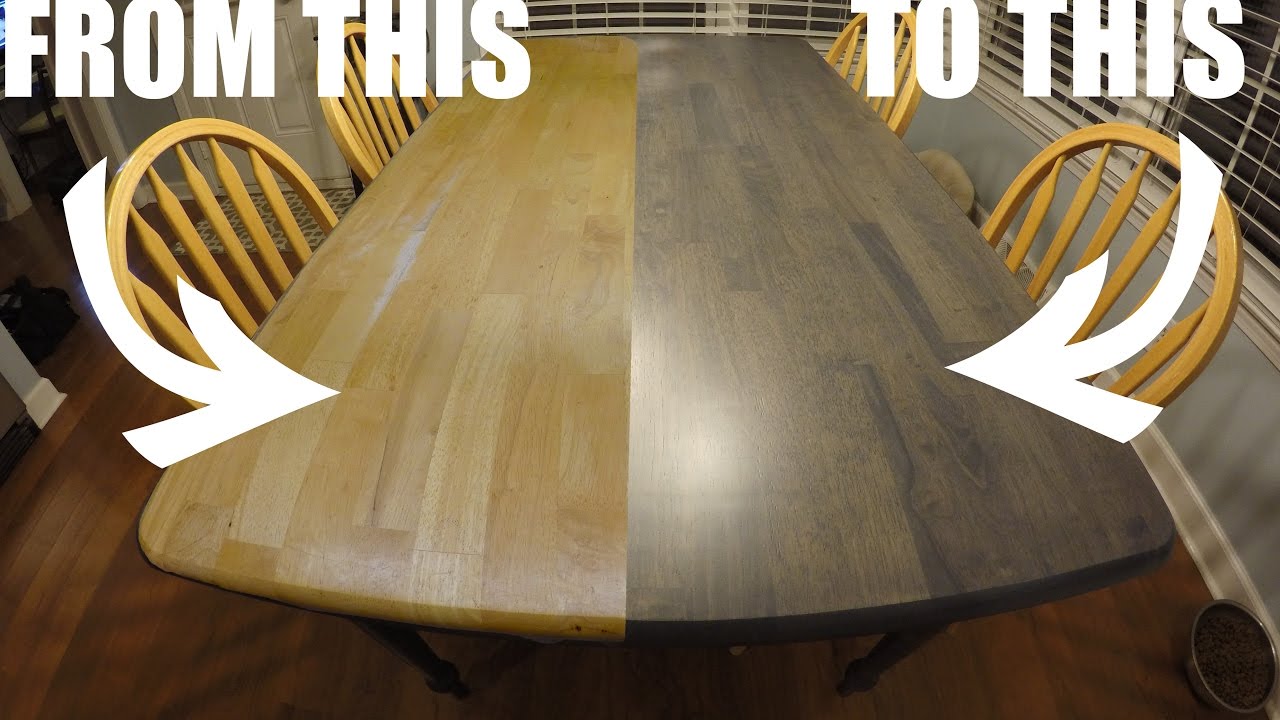
 After sanding, wipe down the kitchen table with a clean cloth to remove any dust or debris. Then, using a clean brush, apply the wood stain in long, even strokes in the direction of the wood grain.
Pro tip:
test the stain on a small inconspicuous area first to ensure you are happy with the color.
Once the stain is dry, use a paintbrush to apply a coat of polyurethane. This will not only protect the wood but also give it a glossy finish. Let the first coat dry completely before applying a second coat for added protection.
After sanding, wipe down the kitchen table with a clean cloth to remove any dust or debris. Then, using a clean brush, apply the wood stain in long, even strokes in the direction of the wood grain.
Pro tip:
test the stain on a small inconspicuous area first to ensure you are happy with the color.
Once the stain is dry, use a paintbrush to apply a coat of polyurethane. This will not only protect the wood but also give it a glossy finish. Let the first coat dry completely before applying a second coat for added protection.
Maintain the Shine
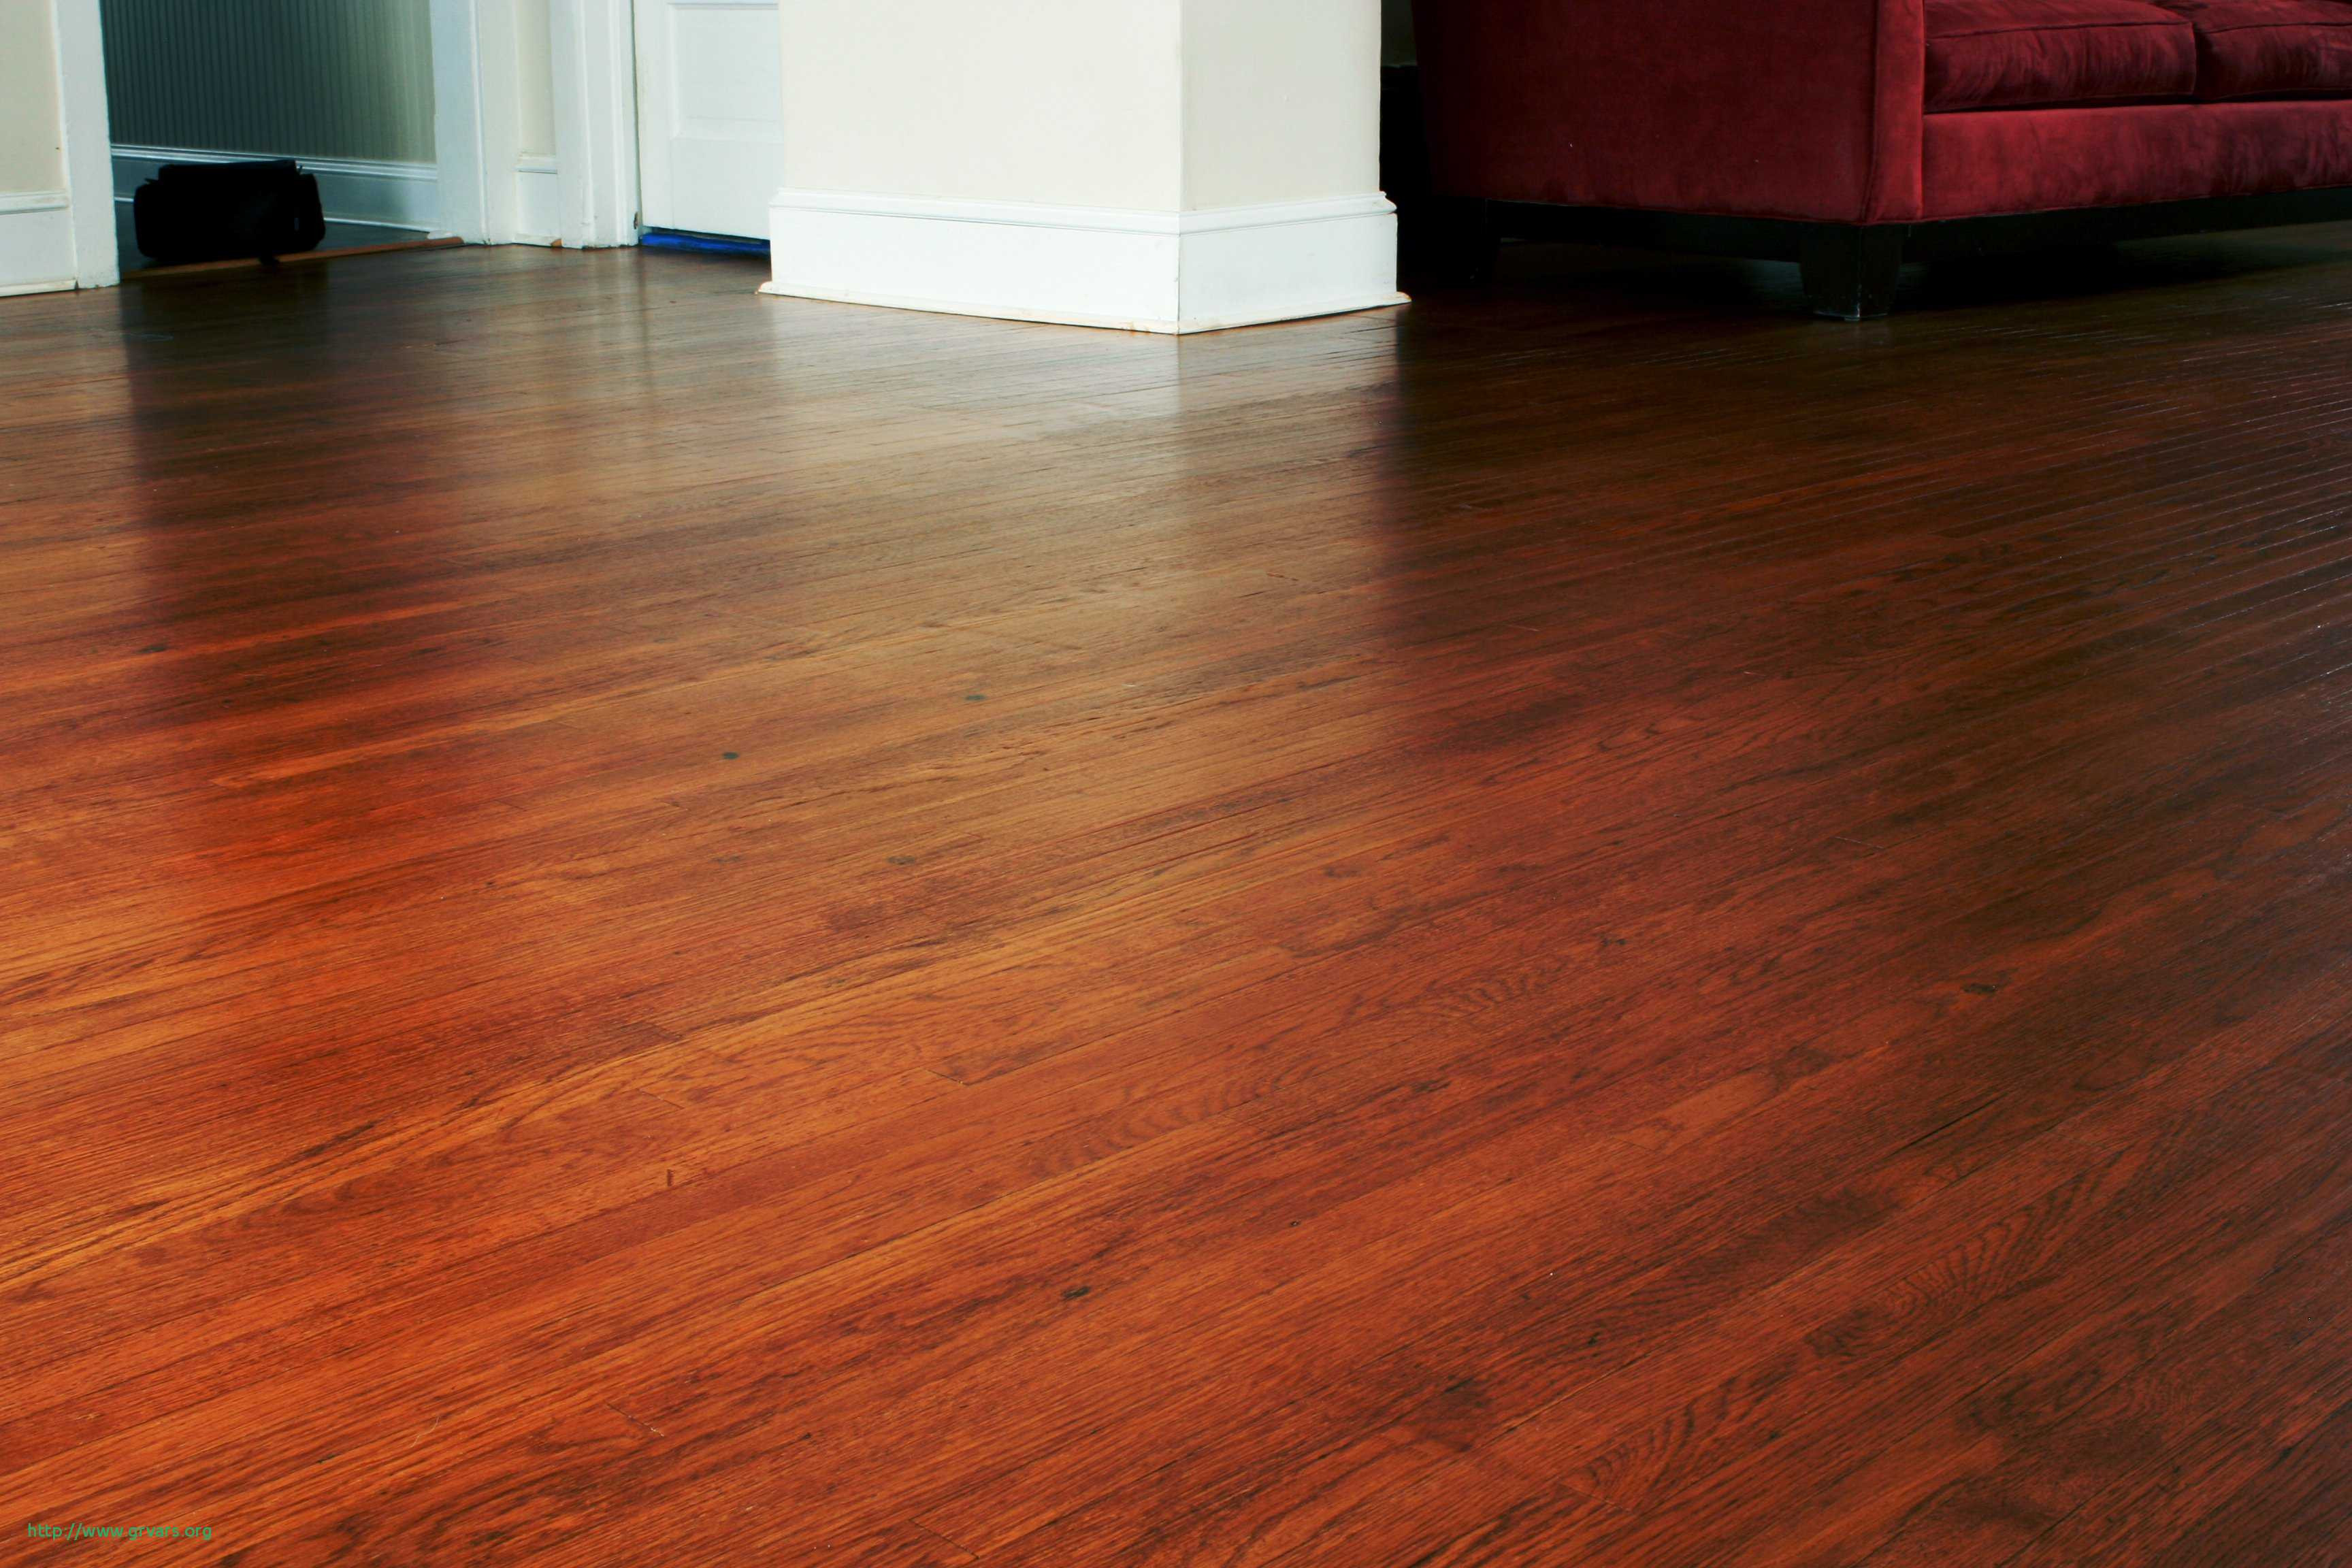
 To maintain the shine of your newly refinished kitchen table, avoid placing hot or wet items directly on the surface. Use coasters and placemats to protect the wood from heat and spills. Regularly dust and wipe down the table with a clean, damp cloth to prevent any buildup of dirt or grime.
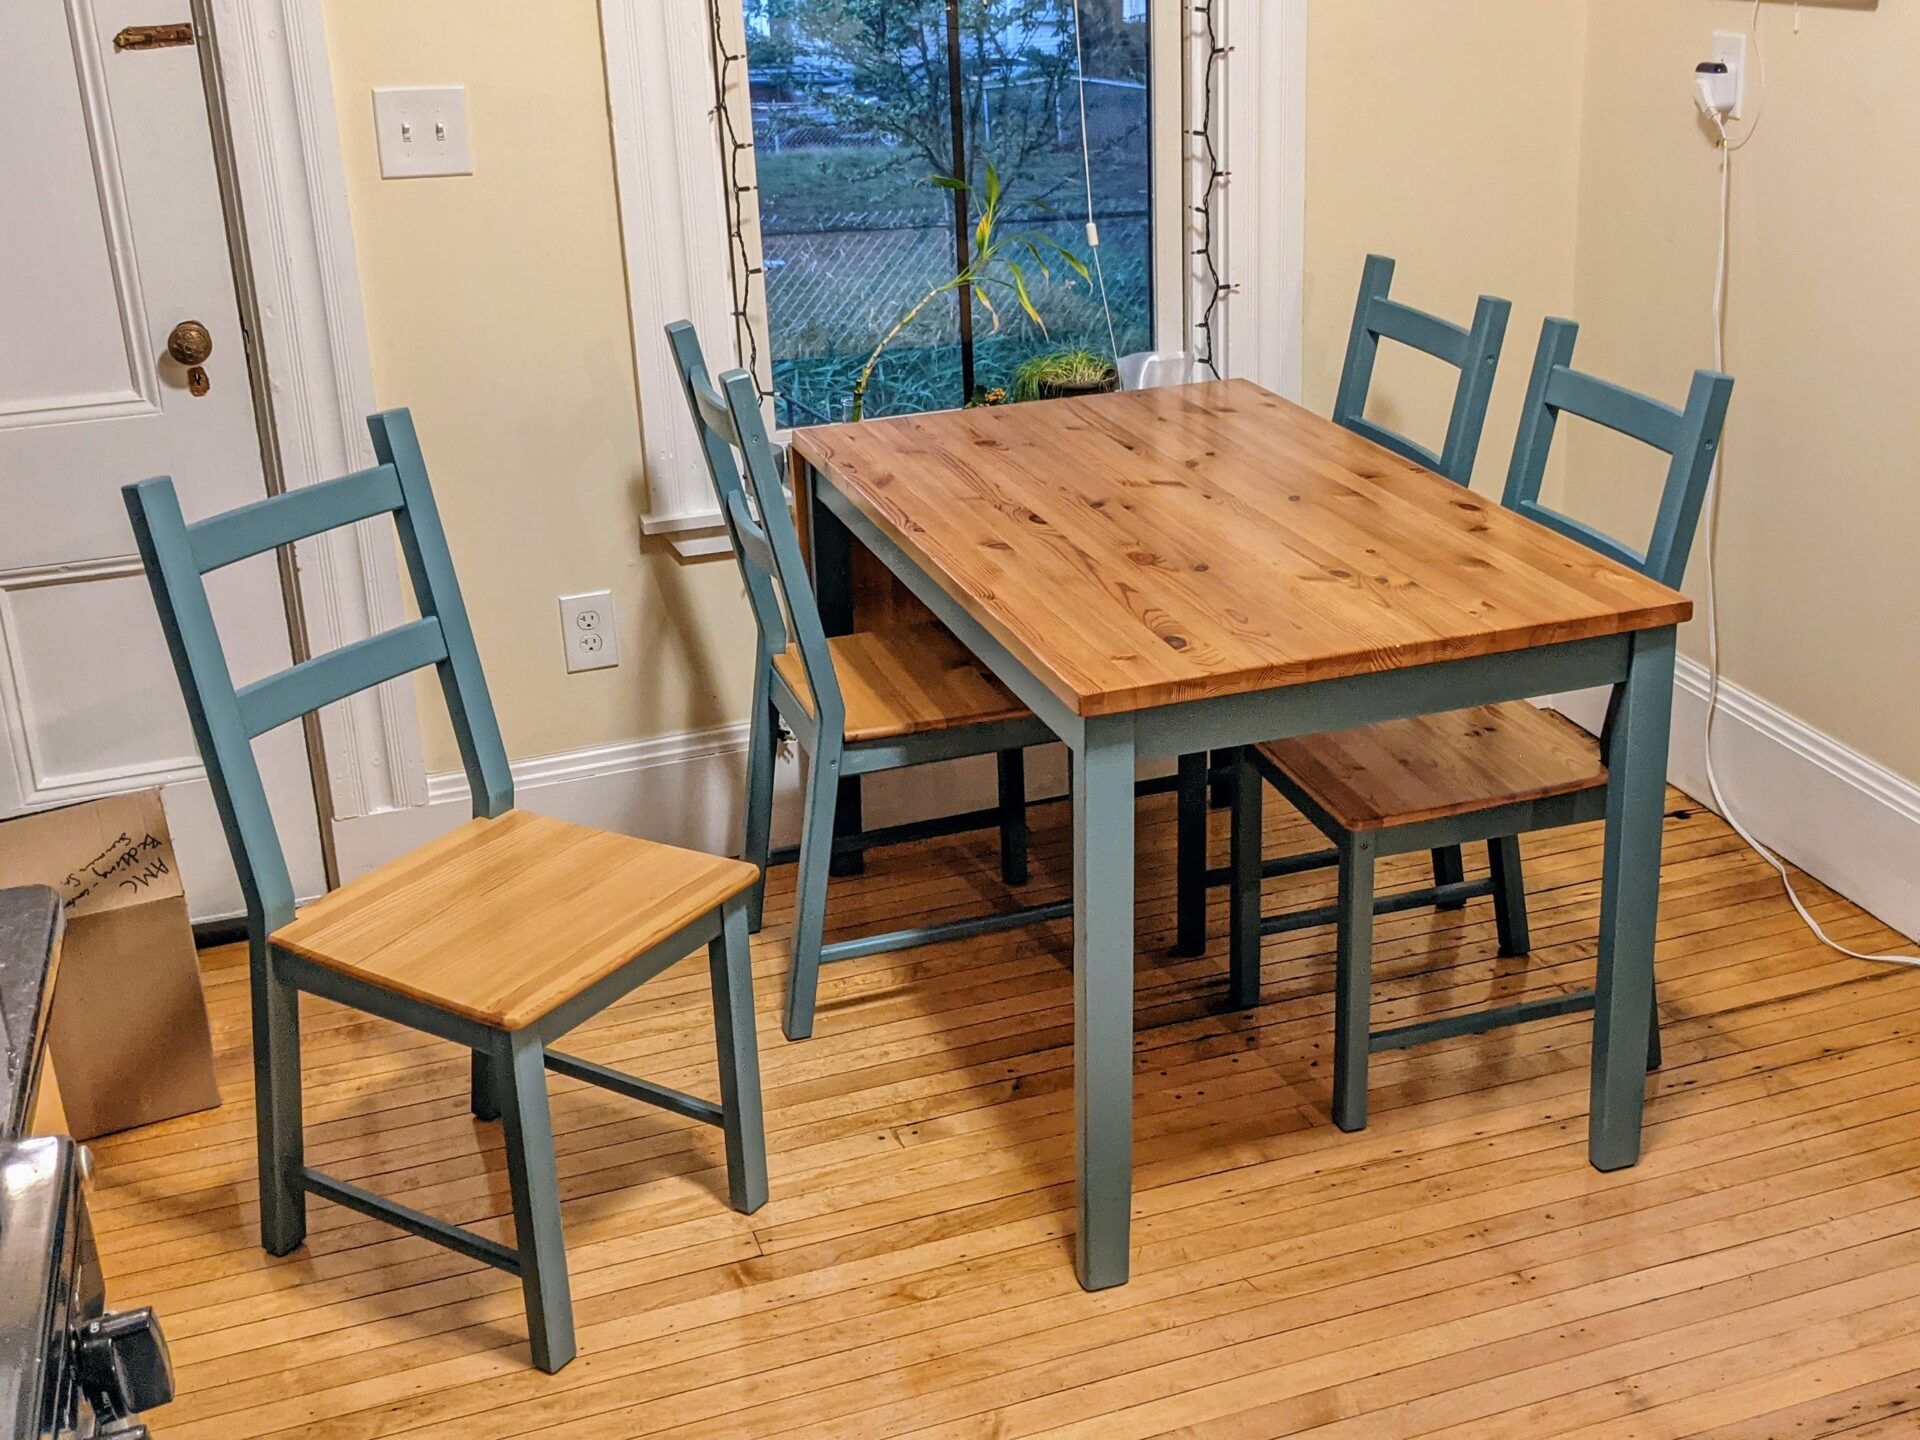
In Conclusion
 Refinishing a sticky kitchen table is a simple and cost-effective way to give your kitchen a fresh new look. With the right supplies and preparation, you can easily transform your old, worn out table into a beautiful and functional centerpiece. Follow these steps and
enjoy your newly refinished kitchen table for years to come.
Refinishing a sticky kitchen table is a simple and cost-effective way to give your kitchen a fresh new look. With the right supplies and preparation, you can easily transform your old, worn out table into a beautiful and functional centerpiece. Follow these steps and
enjoy your newly refinished kitchen table for years to come.
HTML Code
 <
<
How to Refinish a Sticky Kitchen Table</h2>
<
Restore Your Kitchen's Centerpiece to Its Former Glory</h3>
If you have a kitchen table that has seen better days, with a sticky surface that is impossible to clean, it may be time to refinish it. A refinished kitchen table not only looks brand new, but it also adds a fresh touch to your kitchen's overall design. Refinishing a sticky kitchen table may seem like a daunting task, but with the right tools and techniques, you can easily transform it into a beautiful and functional centerpiece. In this article, we will guide you through the process of refinishing a sticky kitchen table and give you tips on how to maintain its shine for years to come.
<
Gather Your Supplies</h3>
Before you begin the refinishing process, gather all the necessary supplies. This includes a sander, sandpaper, wood stain, polyurethane, paintbrushes, and a clean cloth. Make sure to choose a wood stain color that matches your kitchen's design and complements the existing furniture. You may also need to purchase a wood filler if your table has any scratches or dents that need to be filled in.
<
Preparation is Key</h3>
The key to a successful refinishing project is proper preparation. Start by removing any hardware or accessories from your kitchen table, such as knobs or decorative elements. Next, use a sander with a medium-grit sandpaper to remove the old finish and any rough spots on the surface. Make sure to sand in the direction of