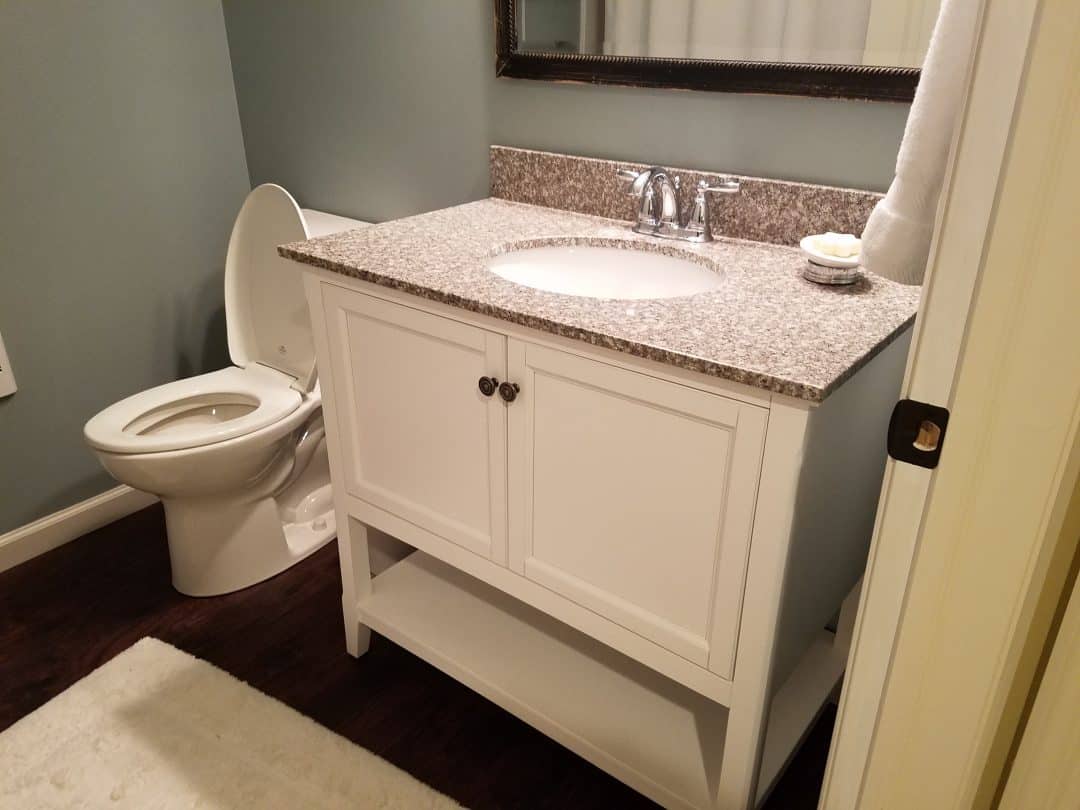
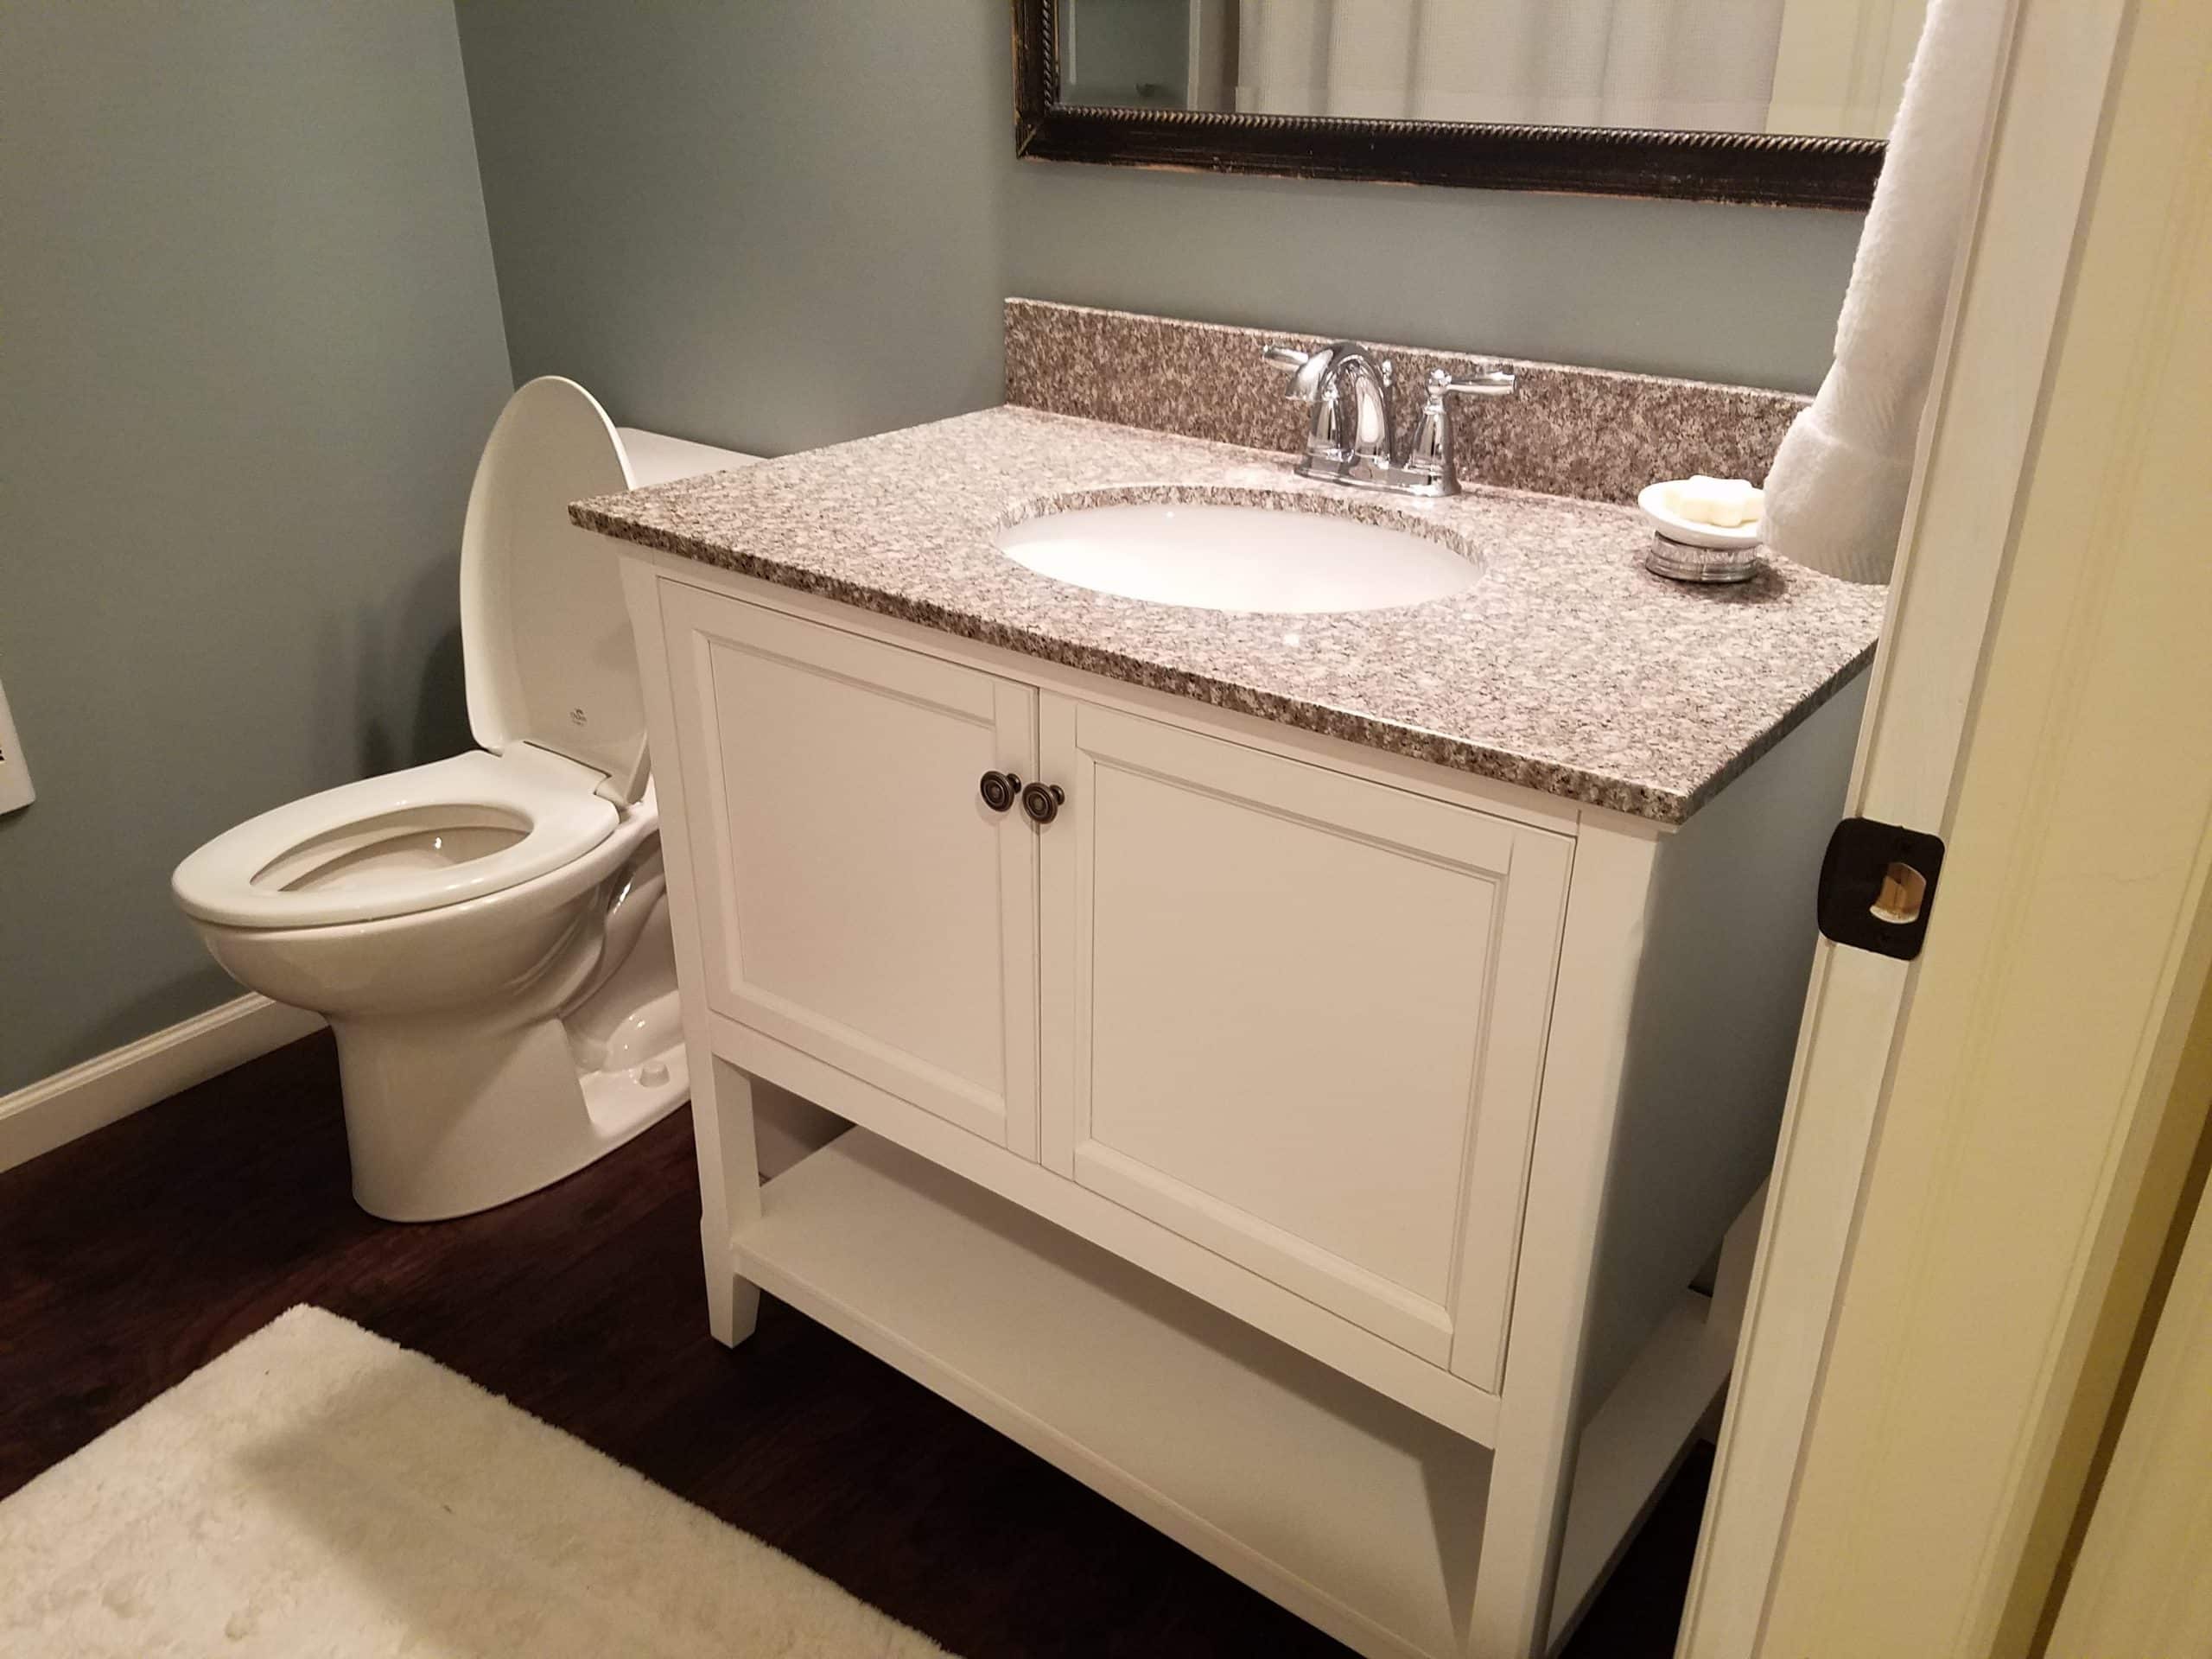
Are you looking to give your bathroom a new look? One way to make a big impact without breaking the bank is by raising your installed bathroom vanity. This simple DIY project can add style and functionality to your bathroom while also making it easier to clean. In this guide, we will walk you through the steps of raising an installed bathroom vanity, including tips, tools needed, and common mistakes to avoid.How to Raise an Installed Bathroom Vanity


How to Raise an Installed Bathroom Vanity


Before starting the project, make sure to turn off the water supply and disconnect any plumbing connected to the vanity. Then, follow these steps:Steps for Raising an Installed Bathroom Vanity


Steps for Raising an Installed Bathroom Vanity


Now that you know the basic steps for raising an installed bathroom vanity, let's dive into the process in more detail. Step 1: Measure the height of your current vanity and determine how much higher you want it to be. If you are unsure, consider the height of the people who will be using the vanity. You want it to be comfortable for the tallest person in your household. Keep in mind that the standard height for a bathroom vanity is 32 inches, but you can raise it to your desired height. Step 2: Once you have determined the height, remove the vanity top by unscrewing it from the vanity base. This will give you access to the bottom of the vanity. Step 3: Use a saw to carefully cut off the legs of the vanity, leaving enough space for the new legs to be attached. If your vanity does not have legs, you can skip this step and move on to step four. Step 4: Once the legs are removed, sand down the edges of the vanity base to create a smooth surface for attaching the new legs. Step 5: Next, attach the new legs to the vanity base using screws or adhesive. Make sure they are securely attached to prevent any wobbling or instability. Step 6: Carefully place the vanity top back on the base and secure it in place. You may need help with this step, as the vanity top can be heavy. Step 7: Reconnect any plumbing that was disconnected and turn the water supply back on. Make sure to check for any leaks before using the vanity. Step 8: If desired, you can paint or stain the new legs to match the rest of the vanity and give it a cohesive look.Raising an Installed Bathroom Vanity: A Step-by-Step Guide

Raising an Installed Bathroom Vanity: A Step-by-Step Guide


Here are a few tips to keep in mind when raising an installed bathroom vanity:Tips for Raising an Installed Bathroom Vanity


Tips for Raising an Installed Bathroom Vanity


Here are the tools you will need to successfully raise an installed bathroom vanity:Tools Needed to Raise an Installed Bathroom Vanity


Tools Needed to Raise an Installed Bathroom Vanity


While raising an installed bathroom vanity is a relatively simple project, there are a few common mistakes that can easily be avoided:Common Mistakes to Avoid When Raising an Installed Bathroom Vanity


Common Mistakes to Avoid When Raising an Installed Bathroom Vanity


When working on any DIY project, it is important to take safety precautions to prevent accidents and injuries. Here are a few safety tips for raising an installed bathroom vanity:Safety Precautions for Raising an Installed Bathroom Vanity


Safety Precautions for Raising an Installed Bathroom Vanity


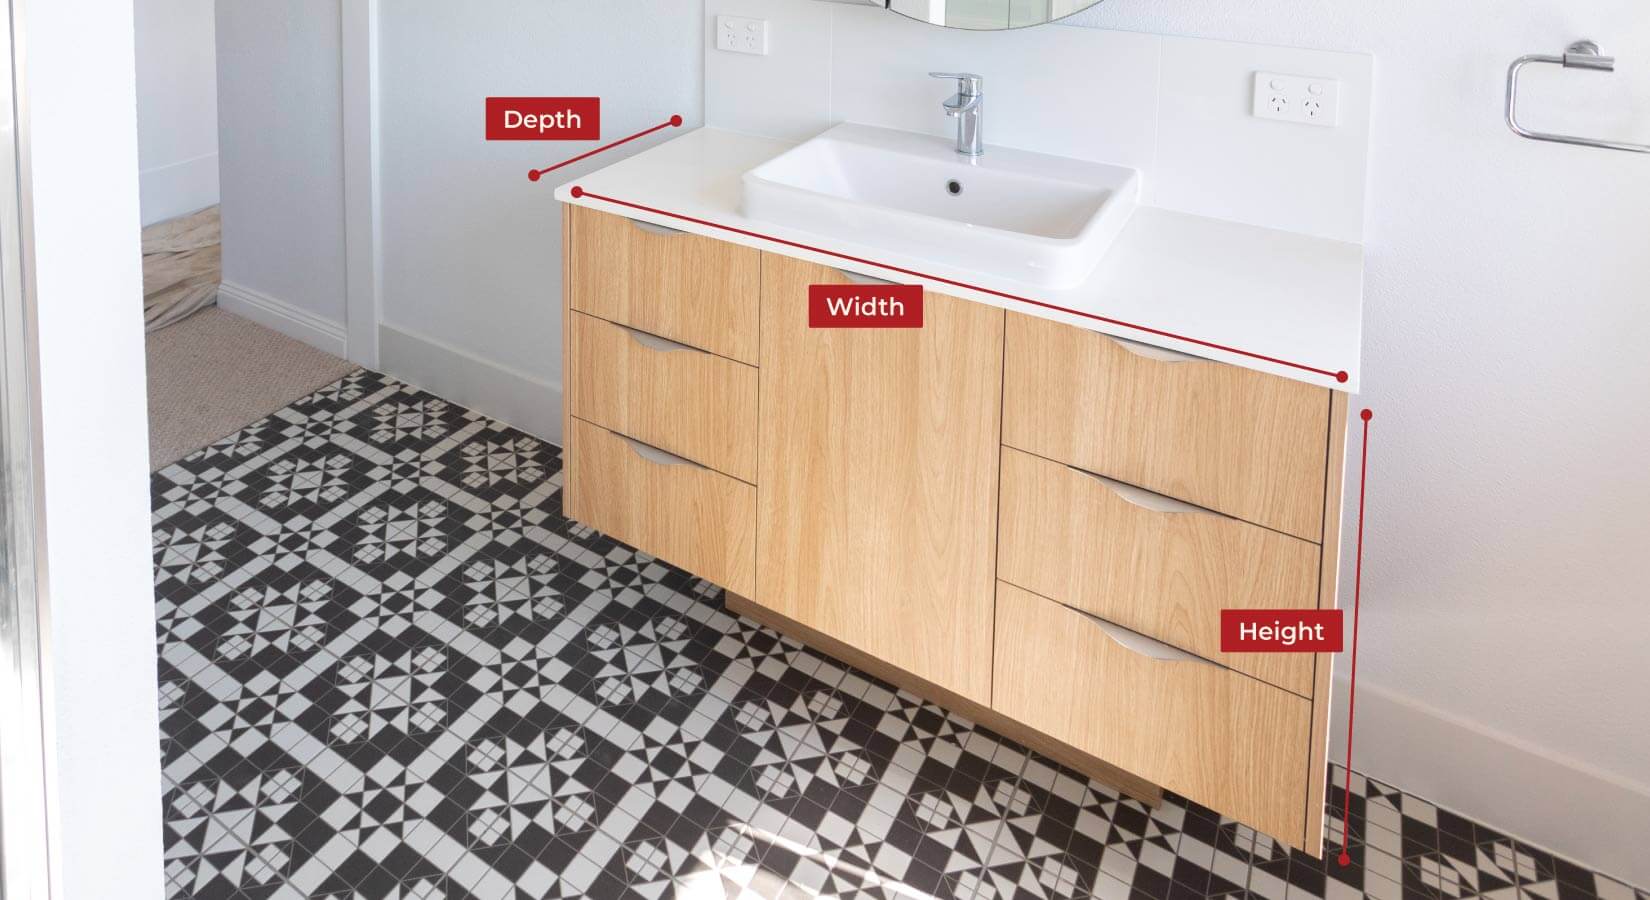
To ensure the success of your project, it is important to measure accurately. Here are the steps to properly measure for raising an installed bathroom vanity:How to Properly Measure for Raising an Installed Bathroom Vanity

How to Properly Measure for Raising an Installed Bathroom Vanity


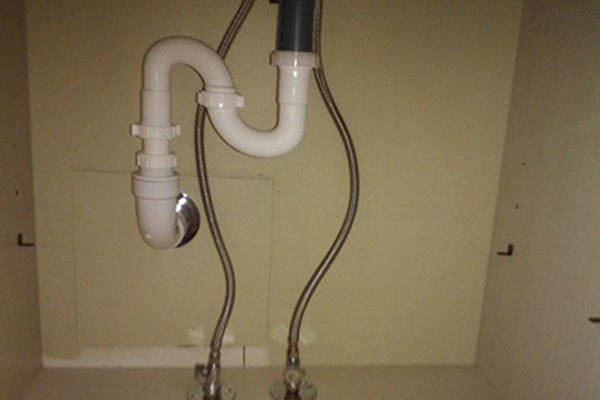
If you are raising the vanity more than a few inches, you may need to adjust the plumbing to accommodate the new height. This may require cutting and extending the pipes, or hiring a professional plumber to assist with the project.Adjusting Plumbing for a Raised Bathroom Vanity


Adjusting Plumbing for a Raised Bathroom Vanity


Raising an installed bathroom vanity offers several benefits, including:Benefits of Raising an Installed Bathroom Vanity

Benefits of Raising an Installed Bathroom Vanity


Why You Should Consider Raising An Installed Bathroom Vanity
The Benefits of Raising Your Bathroom Vanity
 If you're looking to give your bathroom a fresh new look, one simple and effective way to do so is by raising your installed bathroom vanity. This small change can make a big impact on the overall design and functionality of your bathroom. Here are some reasons why you should consider raising your bathroom vanity:
Maximize Storage Space:
By raising your bathroom vanity, you create more space underneath for storage. This is especially useful in smaller bathrooms where storage is often limited. You can now store extra towels, cleaning supplies, and other bathroom essentials out of sight, giving your bathroom a cleaner and more organized look.
Improve Accessibility:
For taller individuals, a standard height vanity can be uncomfortable to use. By raising the vanity, you can customize it to your preferred height, making it more comfortable and convenient for daily use. This is also beneficial for individuals with mobility issues or disabilities, as a higher vanity can be easier to access.
Create the Illusion of a Bigger Bathroom:
Raising your bathroom vanity can make your bathroom appear larger than it actually is. By creating more space underneath, you give the illusion of a bigger room, making your bathroom feel more open and spacious.
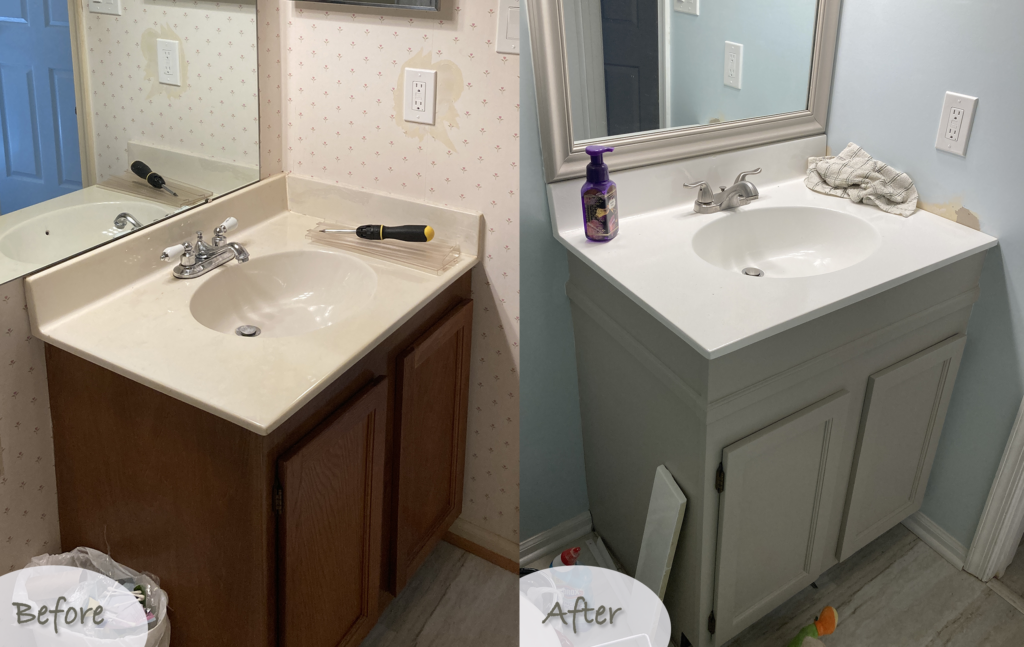
Add a Modern Touch:
Raising your bathroom vanity can instantly give your bathroom a modern and stylish look. It is a simple and cost-effective way to update your bathroom without having to do a major renovation. Plus, with the variety of styles and materials available, you can choose a vanity that best fits your personal taste and complements the rest of your bathroom design.
If you're looking to give your bathroom a fresh new look, one simple and effective way to do so is by raising your installed bathroom vanity. This small change can make a big impact on the overall design and functionality of your bathroom. Here are some reasons why you should consider raising your bathroom vanity:
Maximize Storage Space:
By raising your bathroom vanity, you create more space underneath for storage. This is especially useful in smaller bathrooms where storage is often limited. You can now store extra towels, cleaning supplies, and other bathroom essentials out of sight, giving your bathroom a cleaner and more organized look.
Improve Accessibility:
For taller individuals, a standard height vanity can be uncomfortable to use. By raising the vanity, you can customize it to your preferred height, making it more comfortable and convenient for daily use. This is also beneficial for individuals with mobility issues or disabilities, as a higher vanity can be easier to access.
Create the Illusion of a Bigger Bathroom:
Raising your bathroom vanity can make your bathroom appear larger than it actually is. By creating more space underneath, you give the illusion of a bigger room, making your bathroom feel more open and spacious.
Add a Modern Touch:
Raising your bathroom vanity can instantly give your bathroom a modern and stylish look. It is a simple and cost-effective way to update your bathroom without having to do a major renovation. Plus, with the variety of styles and materials available, you can choose a vanity that best fits your personal taste and complements the rest of your bathroom design.
The Process of Raising Your Bathroom Vanity
 Raising an installed bathroom vanity may seem like a daunting task, but it can easily be done with the right tools and techniques. Here's a step-by-step guide on how to raise your bathroom vanity:
Step 1: Measure and Mark:
Measure the height of your current vanity and determine how much higher you want it to be. Use a level and a pencil to mark the new height on the wall.
Step 2: Disconnect Plumbing:
Before raising the vanity, make sure to disconnect the plumbing and turn off the water supply. This will prevent any accidents or damage to your bathroom.
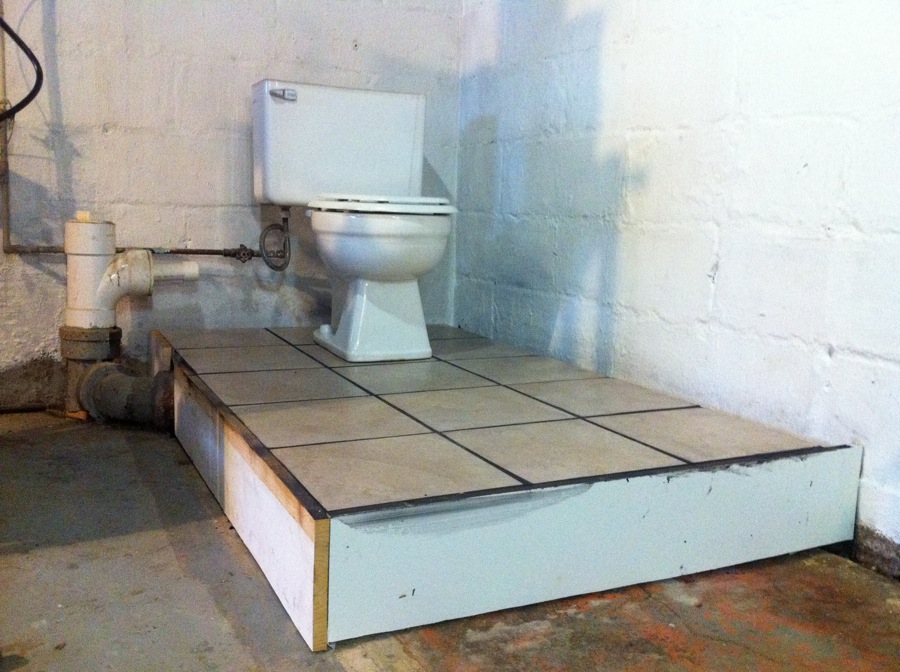
Step 3: Raise the Vanity:
With the help of a friend, carefully lift the vanity off the wall and place wood blocks or shims underneath to support the new height. Use a level to make sure the vanity is straight and secure it in place with screws.
Step 4: Reconnect Plumbing:
Once the vanity is securely in place, reconnect the plumbing and turn the water supply back on. Check for any leaks and make sure everything is functioning properly.
Raising an installed bathroom vanity may seem like a daunting task, but it can easily be done with the right tools and techniques. Here's a step-by-step guide on how to raise your bathroom vanity:
Step 1: Measure and Mark:
Measure the height of your current vanity and determine how much higher you want it to be. Use a level and a pencil to mark the new height on the wall.
Step 2: Disconnect Plumbing:
Before raising the vanity, make sure to disconnect the plumbing and turn off the water supply. This will prevent any accidents or damage to your bathroom.
Step 3: Raise the Vanity:
With the help of a friend, carefully lift the vanity off the wall and place wood blocks or shims underneath to support the new height. Use a level to make sure the vanity is straight and secure it in place with screws.
Step 4: Reconnect Plumbing:
Once the vanity is securely in place, reconnect the plumbing and turn the water supply back on. Check for any leaks and make sure everything is functioning properly.
Conclusion
 Raising an installed bathroom vanity is a simple and effective way to update your bathroom and improve its functionality. With the added storage space, improved accessibility, and modern touch, it's a home design change worth considering. Just remember to measure carefully, use the right tools, and take your time to ensure a successful and safe installation.