If you have a cheap air mattress that has sprung a leak, don't worry! Patching it up is a simple and affordable solution that will extend its lifespan and save you money in the long run. With the right materials and techniques, you can easily fix your air mattress and have it ready for your next camping trip or overnight guests. Follow this guide for the top 10 ways to patch a cheap air mattress.How to Patch a Cheap Air Mattress


How to Patch a Cheap Air Mattress


Forget about expensive repair kits – you can easily patch up your air mattress with items you probably already have at home. One of the most common and effective methods is using duct tape. Simply cut a piece of duct tape and stick it over the hole, making sure to smooth out any air bubbles. You can also use a patch kit designed specifically for air mattresses, which usually includes adhesive patches and a sealant for a more durable fix.DIY Air Mattress Patching Guide


DIY Air Mattress Patching Guide


/KingKoilAirMattress-4ba7f380d38b481987203547a2a98298.jpg)
If you're short on time or don't have any patching materials on hand, there are still ways to temporarily fix your air mattress. One method is using a piece of duct tape and a plastic bag. Cut a piece of duct tape and place it over the hole, then cover it with a plastic bag and secure it with more duct tape. This will create a barrier between the air and the hole, preventing any further leaks. Another quick fix is using a hot glue gun to seal the hole, but keep in mind that this may not be as effective for larger tears or holes.Quick and Easy Air Mattress Patching Techniques


Quick and Easy Air Mattress Patching Techniques


While there are many methods for patching an air mattress, some materials are more effective than others. In addition to duct tape and patch kits, you can also use rubber cement or a vinyl patch. These materials are specifically designed for inflatable products and can provide a more secure and lasting fix. You can also try using a latex-based adhesive, which is flexible and works well on plastic materials.Best Materials for Patching a Cheap Air Mattress
Best Materials for Patching a Cheap Air Mattress
:max_bytes(150000):strip_icc()/81QHm8NXr2L._AC_SL1500_1-17bafdc326cf4922b0d8acca4d9b5639.jpg)


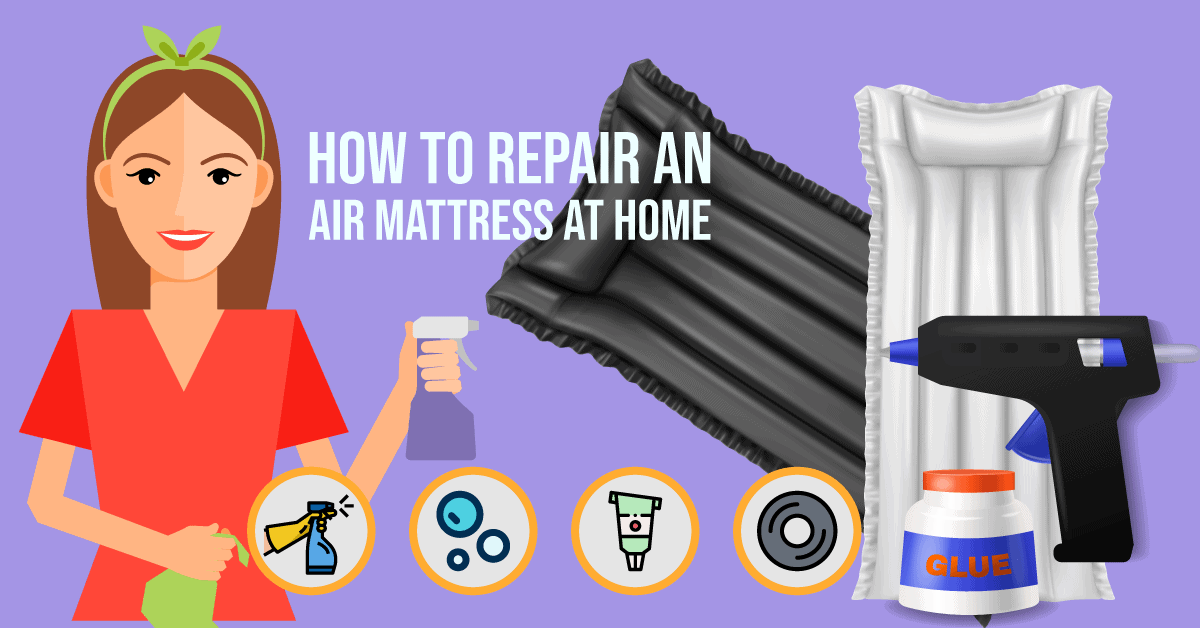
For a more detailed and long-term fix, follow these steps to patch your air mattress: Step 1: Locate the hole or leak by inflating the mattress and listening for any hissing sounds or using soapy water to find bubbles. Step 2: Clean the area around the hole with rubbing alcohol to remove any dirt or debris. Step 3: Cut a patch from a piece of duct tape or a patch kit, making sure it is slightly larger than the hole. Step 4: Apply a layer of adhesive or sealant to the patch and place it over the hole, pressing down firmly to ensure it sticks. Step 5: Wait for the adhesive to dry completely before using the air mattress again.Step-by-Step Guide for Patching a Cheap Air Mattress


Step-by-Step Guide for Patching a Cheap Air Mattress


If your air mattress has multiple leaks or has become worn over time, there are still ways to repair it and extend its lifespan. One option is to use a vinyl repair kit, which includes adhesive and patches specifically designed for repairing vinyl materials. You can also try using a vinyl adhesive or a sewing patch to mend any tears or holes in the mattress.Effective Ways to Repair a Cheap Air Mattress


Effective Ways to Repair a Cheap Air Mattress


When it comes to patching your air mattress, prevention is key. Here are some tips to help you avoid any future leaks or damages: Tip 1: Always check your air mattress for any signs of damage before using it. Tip 2: Store your air mattress in a dry and cool place to prevent mold or mildew from forming. Tip 3: Avoid placing sharp objects or heavy items on the mattress. Tip 4: Use a mattress protector or a thick blanket underneath the air mattress for added protection.Top Tips for Patching a Cheap Air Mattress


Top Tips for Patching a Cheap Air Mattress
While patching an air mattress may seem like a simple task, there are some common mistakes that can lead to a less effective repair. These include using inadequate patch materials, not letting the adhesive dry completely, and not properly cleaning the area around the hole. Make sure to follow the instructions carefully and use high-quality materials for the best results.Common Mistakes to Avoid When Patching a Cheap Air Mattress


Common Mistakes to Avoid When Patching a Cheap Air Mattress


With proper maintenance and patching, your cheap air mattress can last for many years. Regularly check for any leaks or damages, and patch them up immediately to prevent them from getting worse. Also, make sure to store the mattress properly and follow the manufacturer's instructions for use and care.How to Extend the Lifespan of a Cheap Air Mattress with Patching


How to Extend the Lifespan of a Cheap Air Mattress with Patching


If you're on a budget, don't worry – there are plenty of affordable solutions for patching a cheap air mattress. In addition to the DIY methods mentioned earlier, you can also try using a bicycle tire patch or a swimming pool repair kit, which both work well on vinyl materials. You can also check your local hardware store for any inexpensive patching materials. Don't let a small hole or leak ruin your air mattress. With these top 10 ways to patch a cheap air mattress, you can easily repair it and have it ready for your next adventure or overnight guests. Remember to always properly clean and maintain your air mattress for maximum durability, and use high-quality materials for the best results. Happy patching!Affordable Solutions for Patching a Cheap Air Mattress


Affordable Solutions for Patching a Cheap Air Mattress

Patching a Cheap Air Mattress: A Simple Guide

Why Patching Your Air Mattress is Important
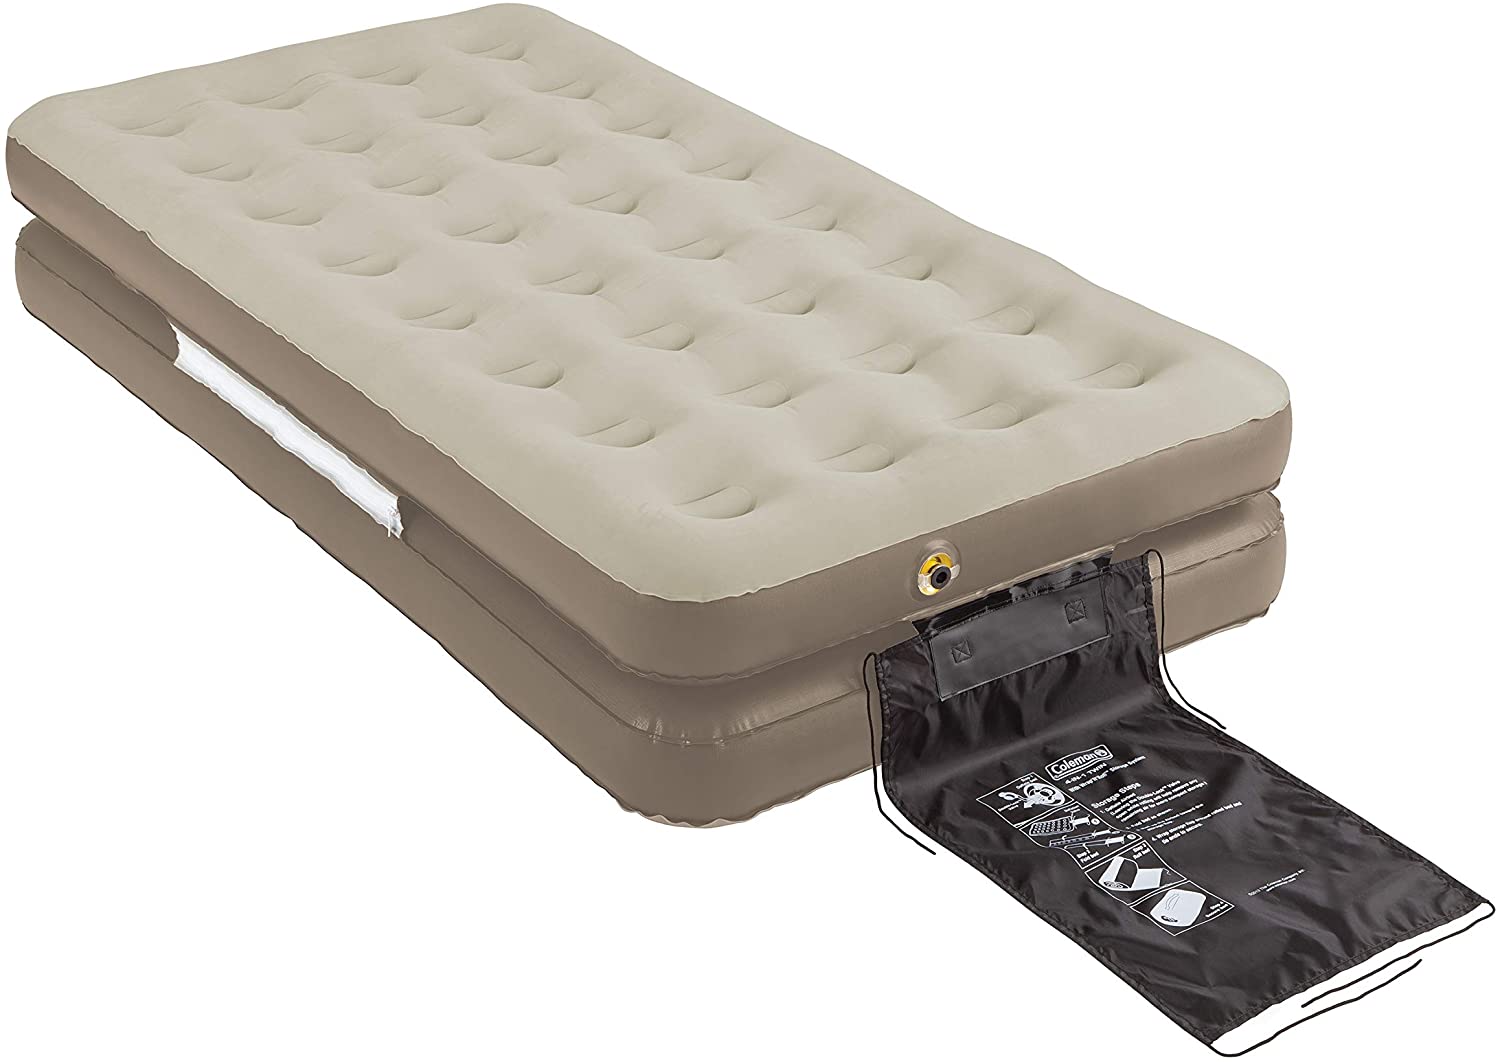
 Air mattresses
are a popular choice for temporary sleeping arrangements and camping trips due to their portability and affordability. However, these mattresses are prone to punctures and tears, especially if you have pets or children in the house. If left unrepaired, a small hole can quickly turn into a big problem, causing discomfort and disrupting your sleep. It is important to know how to properly patch your
cheap air mattress
to ensure its longevity and your comfort.
Air mattresses
are a popular choice for temporary sleeping arrangements and camping trips due to their portability and affordability. However, these mattresses are prone to punctures and tears, especially if you have pets or children in the house. If left unrepaired, a small hole can quickly turn into a big problem, causing discomfort and disrupting your sleep. It is important to know how to properly patch your
cheap air mattress
to ensure its longevity and your comfort.
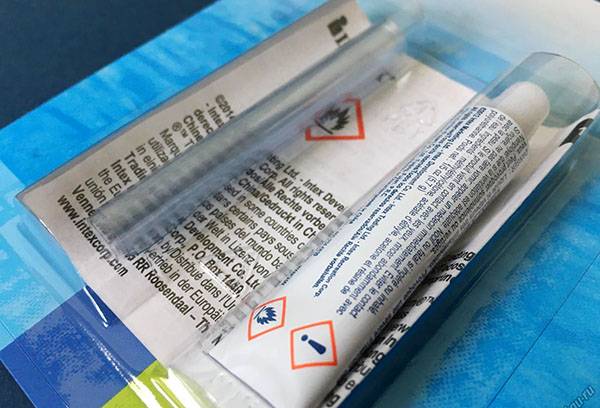
Materials Needed
 To effectively
patch a cheap air mattress
, you will need a few basic materials that can easily be found at home or purchased at a low cost. These include a patch kit, scissors, sandpaper, and rubbing alcohol. It is important to use a patch kit specifically designed for
air mattresses
to ensure a strong and durable repair.
To effectively
patch a cheap air mattress
, you will need a few basic materials that can easily be found at home or purchased at a low cost. These include a patch kit, scissors, sandpaper, and rubbing alcohol. It is important to use a patch kit specifically designed for
air mattresses
to ensure a strong and durable repair.
The Patching Process
 Step 1: Locate the Leak
The first step in patching your
cheap air mattress
is to locate the leak. Inflate the mattress and listen for the sound of escaping air. If you can't hear it, apply a mixture of soap and water to the mattress and look for bubbles where the air is escaping.
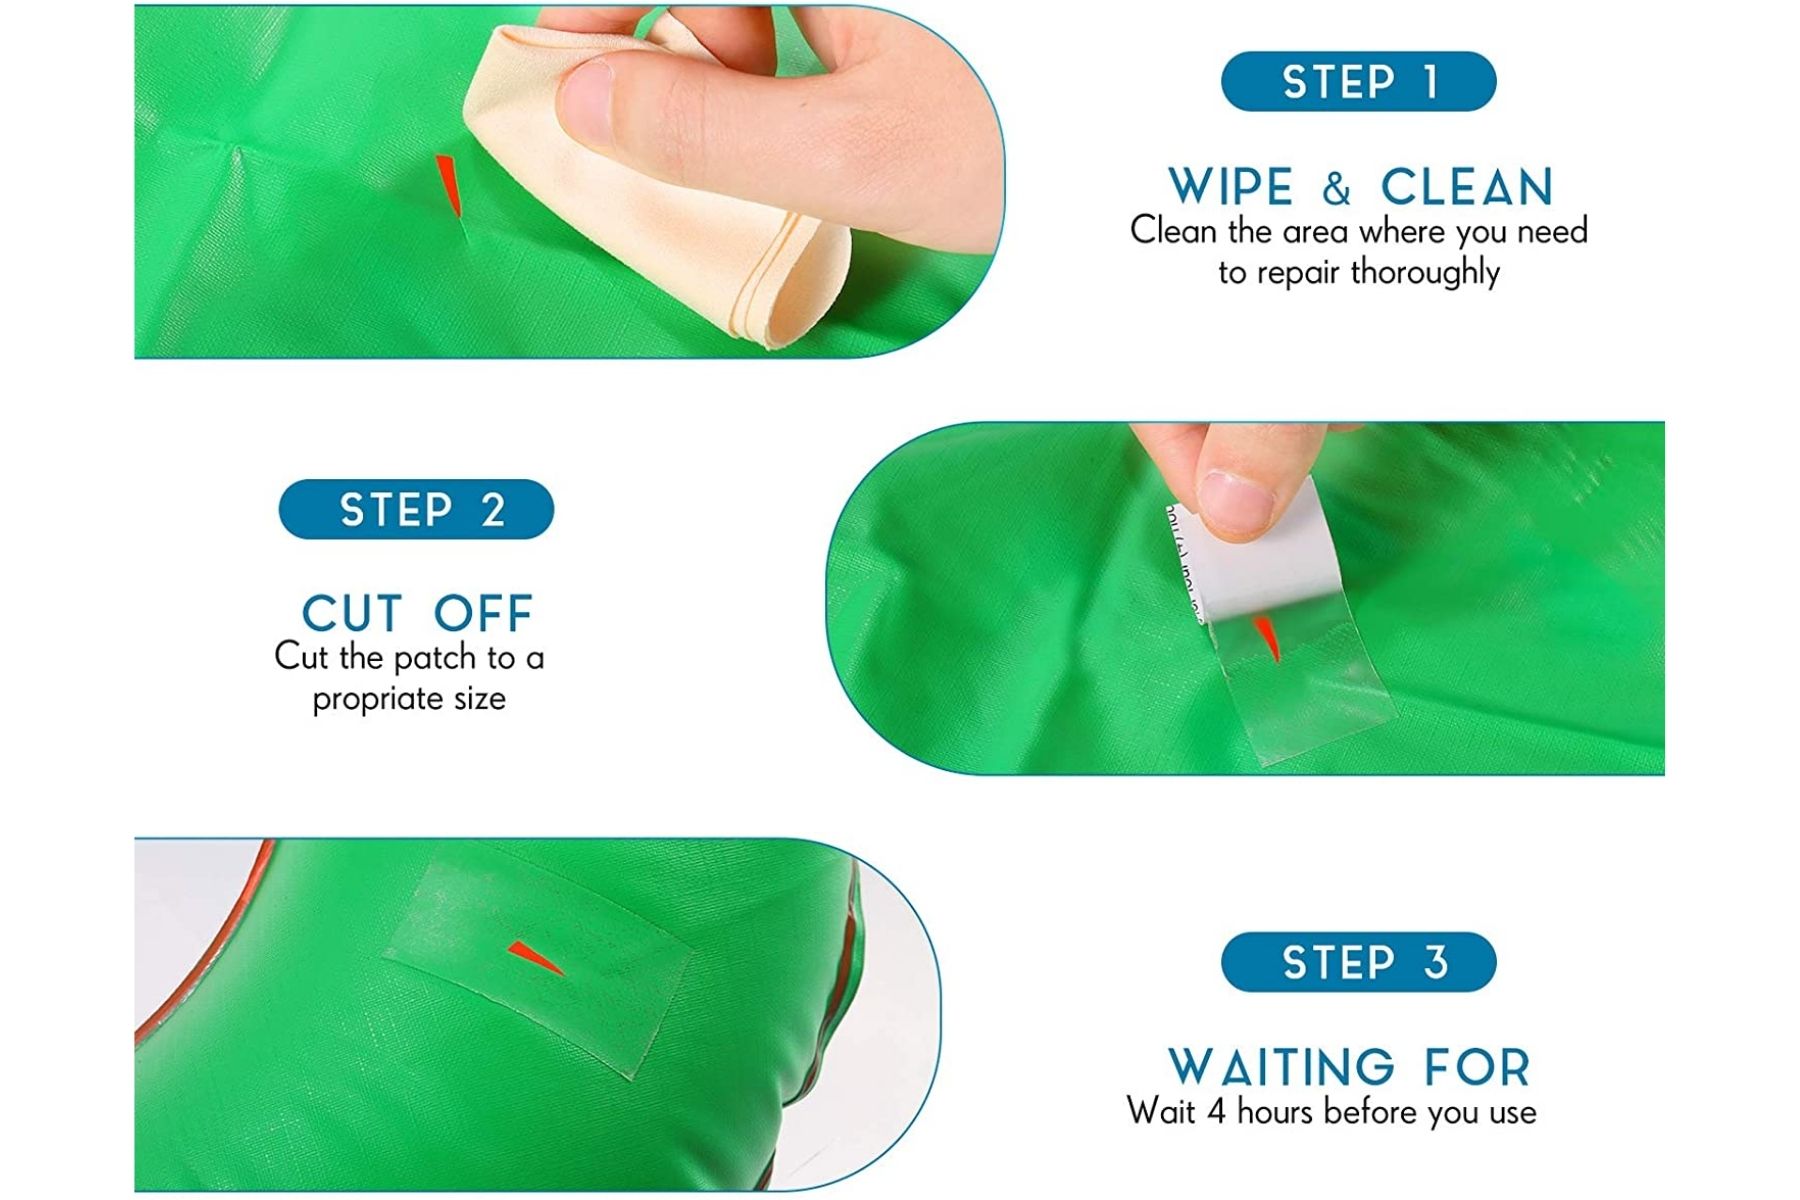
Step 2: Clean and Dry the Area
Once you have located the leak, clean the area with rubbing alcohol and let it dry completely. This will ensure that the patch adheres properly to the mattress.
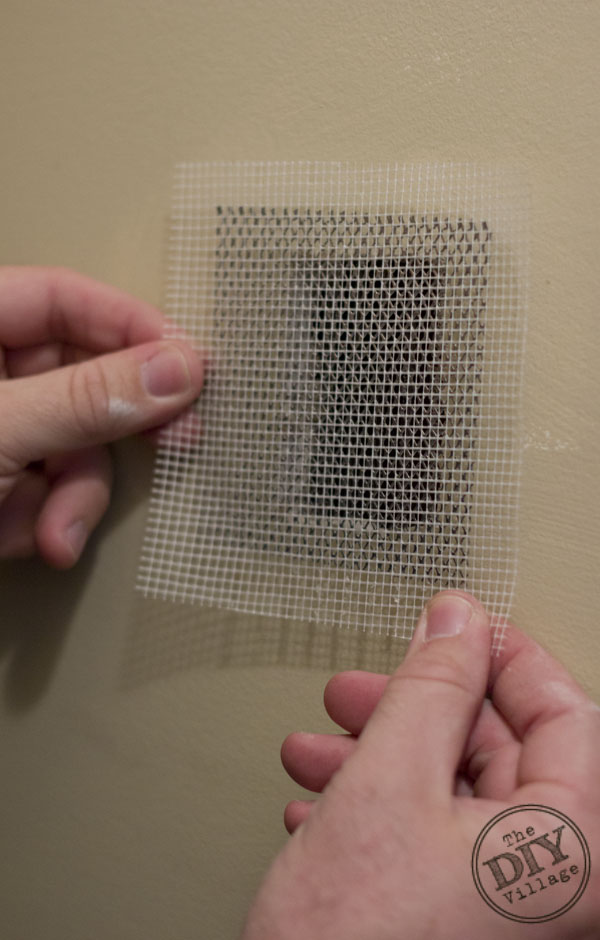
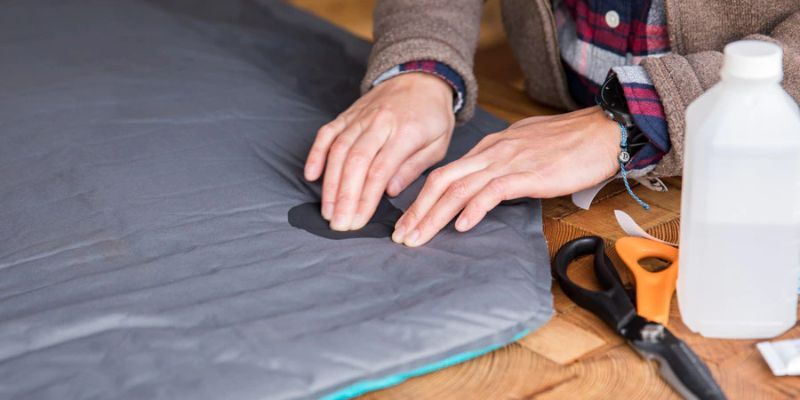
Step 3: Cut and Prep the Patch
Using scissors, cut a circular patch from the patch kit that is slightly larger than the hole. Then, roughen the edges of the patch with sandpaper. This will help the adhesive stick better to the patch and the mattress.
Step 4: Apply the Patch
Apply a thin layer of adhesive to the back of the patch and place it over the hole, pressing down firmly. Make sure there are no wrinkles or air bubbles. Let it dry for at least an hour before inflating the mattress again.
Step 5: Reinforce the Patch
For extra reinforcement, you can also apply a second patch on the other side of the mattress. This will provide added protection and prevent the patch from coming loose.
Step 1: Locate the Leak
The first step in patching your
cheap air mattress
is to locate the leak. Inflate the mattress and listen for the sound of escaping air. If you can't hear it, apply a mixture of soap and water to the mattress and look for bubbles where the air is escaping.
Step 2: Clean and Dry the Area
Once you have located the leak, clean the area with rubbing alcohol and let it dry completely. This will ensure that the patch adheres properly to the mattress.
Step 3: Cut and Prep the Patch
Using scissors, cut a circular patch from the patch kit that is slightly larger than the hole. Then, roughen the edges of the patch with sandpaper. This will help the adhesive stick better to the patch and the mattress.
Step 4: Apply the Patch
Apply a thin layer of adhesive to the back of the patch and place it over the hole, pressing down firmly. Make sure there are no wrinkles or air bubbles. Let it dry for at least an hour before inflating the mattress again.
Step 5: Reinforce the Patch
For extra reinforcement, you can also apply a second patch on the other side of the mattress. This will provide added protection and prevent the patch from coming loose.
Final Thoughts
 Patching a
cheap air mattress
is a simple process that can save you time and money in the long run. By following these steps, you can easily repair any holes or tears in your mattress and ensure a comfortable and uninterrupted sleep. Remember to always keep a patch kit on hand for quick and easy repairs.
Patching a
cheap air mattress
is a simple process that can save you time and money in the long run. By following these steps, you can easily repair any holes or tears in your mattress and ensure a comfortable and uninterrupted sleep. Remember to always keep a patch kit on hand for quick and easy repairs.


:no_upscale()/cdn.vox-cdn.com/uploads/chorus_asset/file/4098248/local-kitchen-wine-bar-interior.0.jpg)