If you have an old kitchen sink, chances are the upper trim may be showing signs of wear and tear. It's a common problem that may seem daunting to fix, but fear not! With a little bit of know-how and some simple tools, you can repair your old kitchen sink upper trim and have it looking as good as new in no time. Here's how:Old Kitchen Sink Upper Trim Repair


Old Kitchen Sink Upper Trim Repair


Before you begin any repairs, it's important to assess the damage to your kitchen sink trim. Is it loose? Is it cracked or broken? Are there any missing pieces? Once you have identified the issue, you can then proceed with the appropriate repair method. If the upper trim is loose, it may just need to be re-secured to the sink. You can use a strong adhesive to glue it back into place. Make sure the surface is clean and dry before applying the adhesive. Once it's in place, hold it firmly for a few minutes to allow the adhesive to set. If the trim is cracked or broken, you may need to replace it. This will involve removing the old trim and installing a new one. We'll go into more detail about this process in the next section.How to Repair a Kitchen Sink


How to Repair a Kitchen Sink


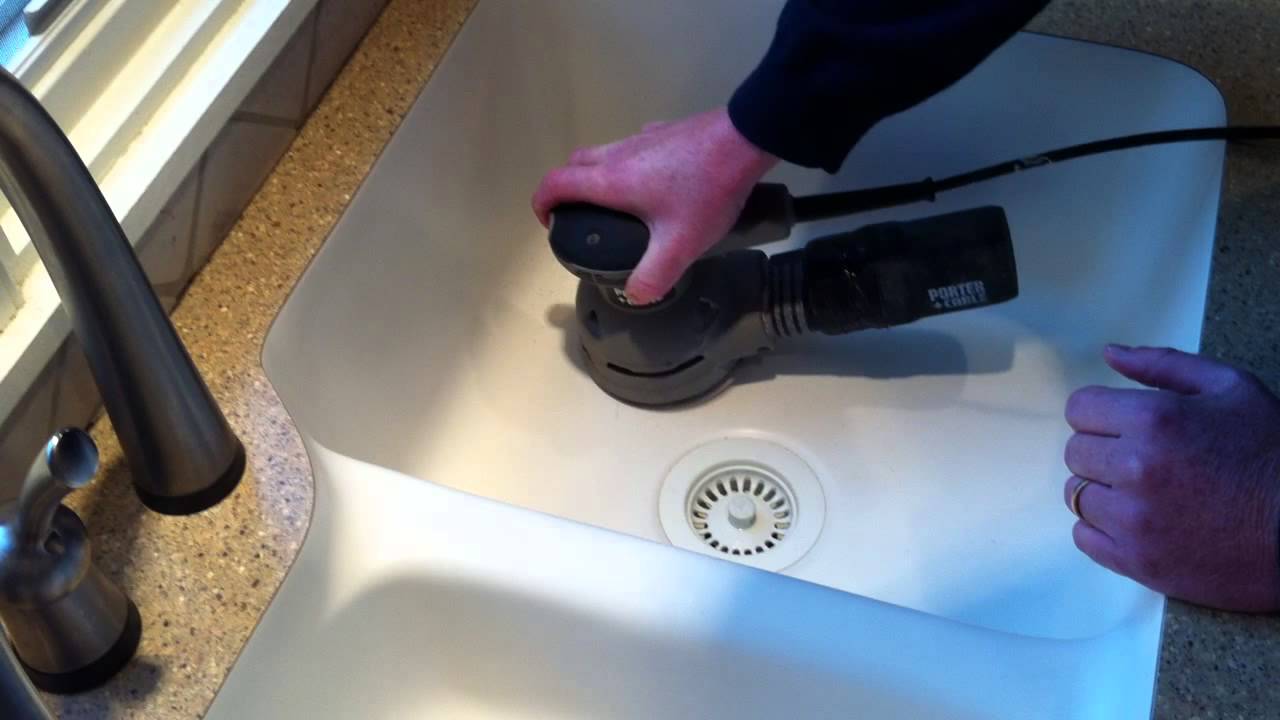

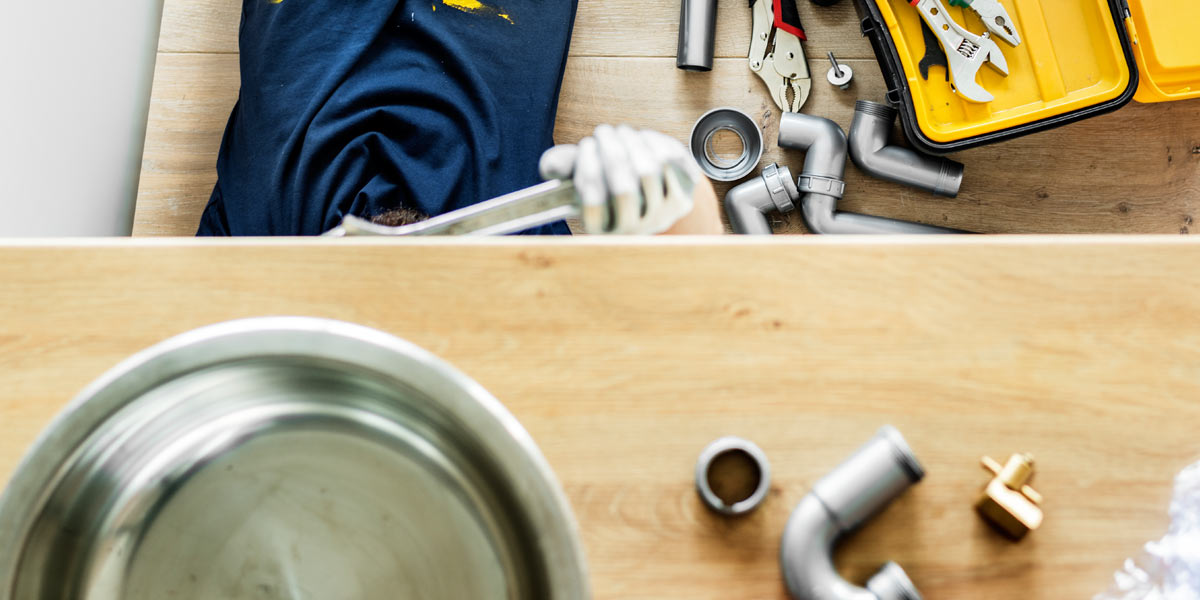
If you're feeling handy and want to save some money, you can attempt to repair your kitchen sink trim yourself. Here's how to do it: First, you'll need to gather your tools and materials. You will need a screwdriver, pliers, adhesive, a putty knife, and replacement trim (if necessary). Next, you'll need to remove the old trim. This may involve unscrewing it or prying it off with a putty knife. Be gentle to avoid damaging the sink or the trim. If you're replacing the trim, use the old piece as a template to cut the new trim to the correct size. Then, follow the instructions for attaching the trim to the sink. If you're re-securing the old trim, make sure to clean the surface and apply a strong adhesive. Hold the trim in place until the adhesive sets. Once your repair is complete, allow it to dry or set according to the instructions on the adhesive. Then, you can enjoy your repaired kitchen sink trim!DIY Kitchen Sink Repair


DIY Kitchen Sink Repair


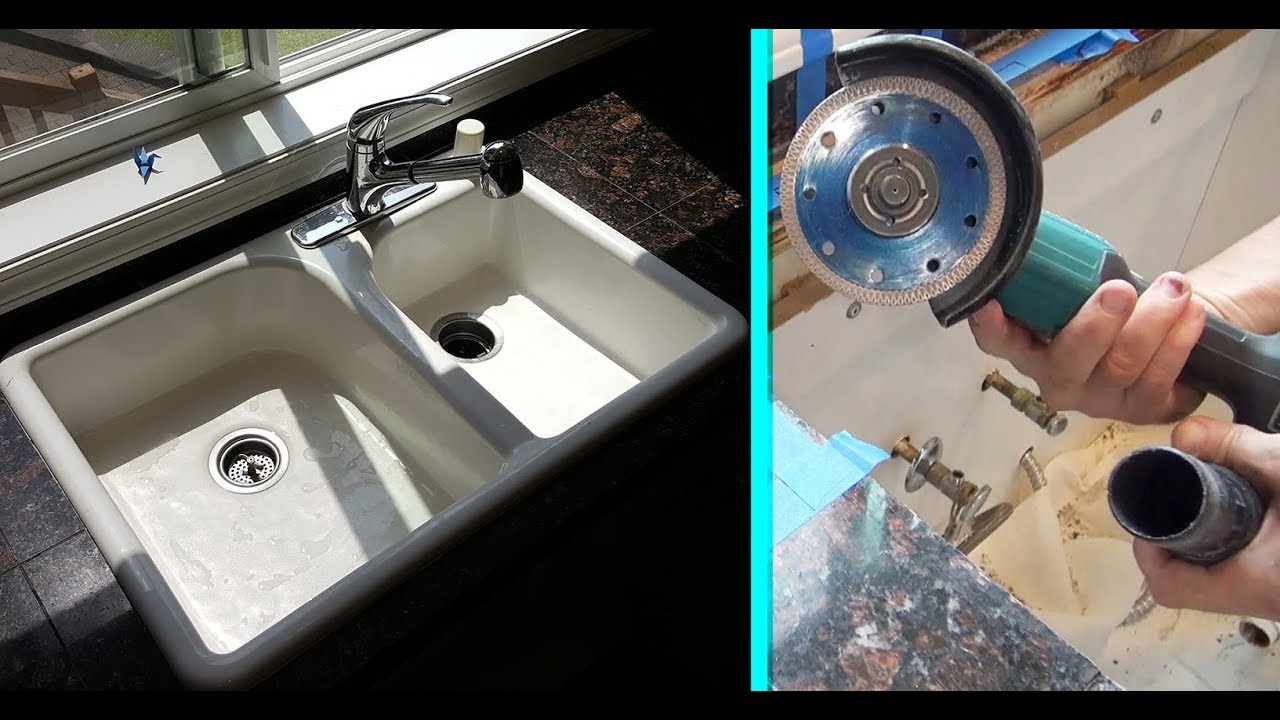
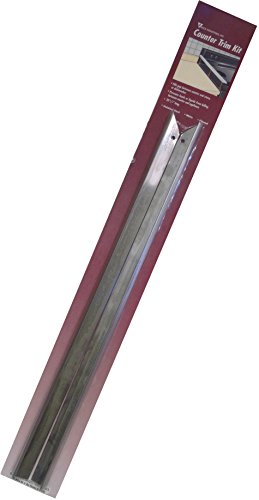
If your old kitchen sink trim is beyond repair, you may need to replace it entirely. Here's how: Start by removing the old trim as mentioned in the previous section. Then, measure the length of the trim you need. You can purchase replacement trim at any hardware or home improvement store. Using a putty knife, apply adhesive to the back of the new trim and then press it into place on the sink. Make sure to align it properly and hold it in place until the adhesive sets. Once the adhesive has dried or set, you can touch up any visible edges with paint or caulk to give it a seamless look.Kitchen Sink Trim Replacement


Kitchen Sink Trim Replacement


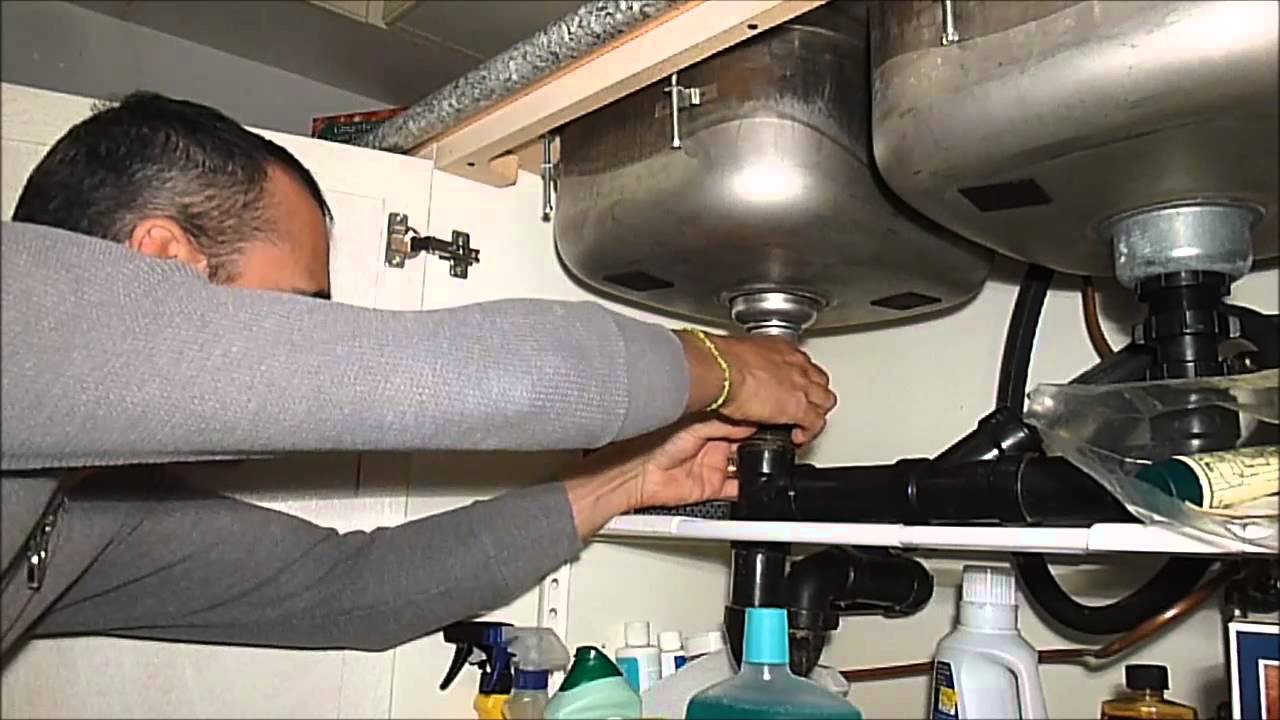
One of the most common issues with old kitchen sink trim is it becoming loose. This can be caused by years of use and wear, or even just a poor installation. Luckily, it's a relatively easy fix. Start by removing the loose trim and cleaning the surface of any old adhesive. Then, apply a strong adhesive to the back of the trim and press it back into place. Hold it firmly for a few minutes to allow the adhesive to set. If the trim continues to become loose, you may need to reinforce it with some small screws. This will provide extra stability and prevent it from coming loose again in the future.Fixing a Loose Kitchen Sink Trim

Fixing a Loose Kitchen Sink Trim


Over time, even the best quality kitchen sink trim can become worn and damaged. If your old trim is showing signs of wear, it's time to replace it. Here's how: Start by removing the old trim and cleaning the surface. Then, measure the length of the new trim you need and purchase it from your local hardware or home improvement store. Next, follow the instructions for attaching the new trim to the sink. This may involve using adhesive or screws. Make sure to align it properly and hold it in place until it sets. Lastly, touch up any visible edges with paint or caulk to give it a polished look.Replacing Old Kitchen Sink Trim


Replacing Old Kitchen Sink Trim


One of the most important parts of repairing kitchen sink trim is making sure it is securely attached to the sink. This will prevent any future issues and keep your sink looking its best. Here are some tips to help with upper trim repair: - Clean the surface thoroughly before attaching the trim to ensure a strong bond with the adhesive. - Use a strong adhesive specifically designed for kitchen and bathroom use. - If the trim continues to come loose, consider reinforcing it with small screws. - When replacing the trim, make sure to measure accurately and align it properly for a seamless look.Upper Trim Repair for Kitchen Sink

Upper Trim Repair for Kitchen Sink


To summarize, here are the steps for repairing kitchen sink trim: 1. Assess the damage and determine the appropriate repair method. 2. Gather the necessary tools and materials. 3. Remove the old trim. 4. Repair or replace the trim as needed. 5. Allow the adhesive to dry or set. 6. Touch up any visible edges for a polished look.Steps for Repairing Kitchen Sink Trim


Steps for Repairing Kitchen Sink Trim


Here are a few additional tips to keep in mind when fixing old kitchen sink trim: - If you're unsure about how to repair the trim, consult with a professional for guidance. - Always use caution when handling tools and chemicals. - Take your time and be patient to ensure a proper repair. - Regularly inspect your kitchen sink trim for any signs of wear and tear to address issues early on.Tips for Fixing Old Kitchen Sink Trim


Tips for Fixing Old Kitchen Sink Trim


Some common problems with kitchen sink trim include becoming loose, cracked, or broken. These issues can be easily fixed by following the steps outlined in this article. Regular maintenance and repairs can help prevent these problems from occurring in the first place, saving you time and money in the long run. By following these tips and techniques, you can easily repair your old kitchen sink upper trim and keep it looking its best for years to come.Common Problems with Kitchen Sink Trim and How to Fix Them


Common Problems with Kitchen Sink Trim and How to Fix Them


Why Repairing Your Old Kitchen Sink Upper Trim is Essential for a Beautiful Home Design

Transform Your Kitchen with a Simple Repair
 When it comes to designing your dream home, every detail matters. From the color of the walls to the style of the furniture, each element plays a crucial role in creating the perfect living space. However, one area that is often overlooked is the kitchen sink upper trim. This small but essential component can make a significant impact on the overall design of your kitchen. That's why it's crucial to repair and maintain it regularly.
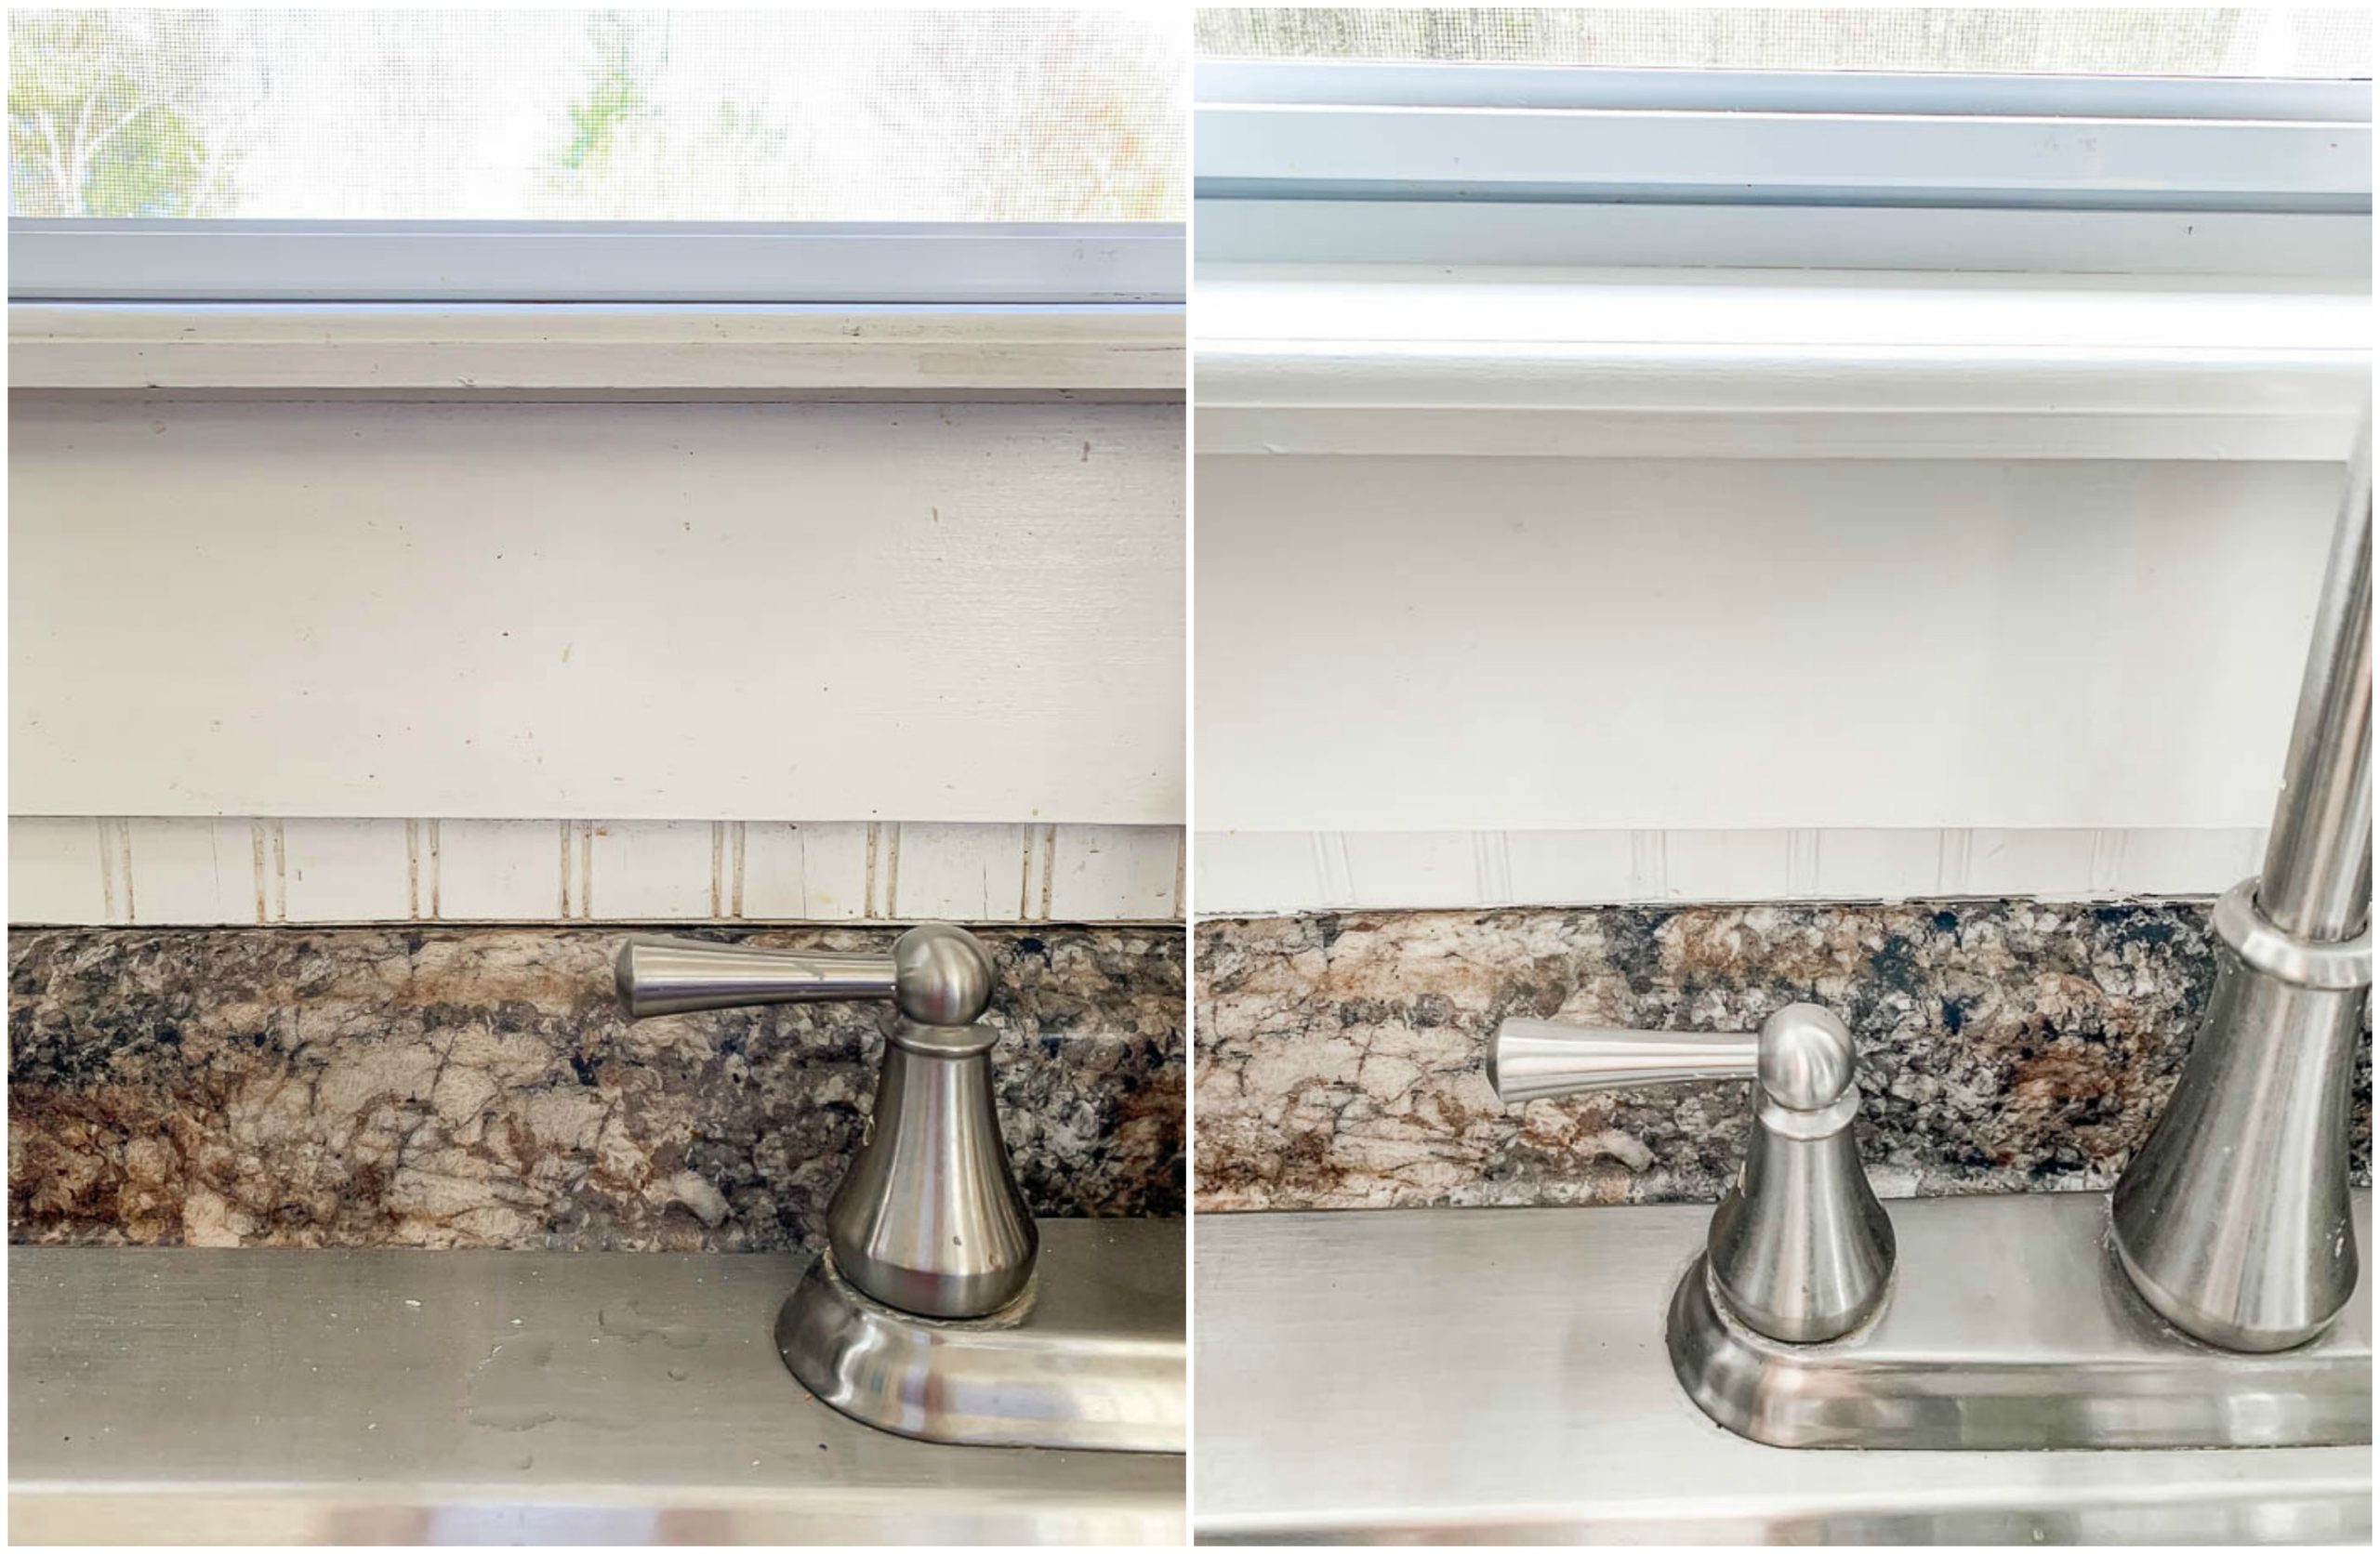
Old kitchen sink upper trim repair
is a simple yet effective way to transform the look of your kitchen. Over time, the upper trim can become worn out, damaged, or discolored, which can take away from the beauty of your space. By repairing it, you can restore its original appearance and give your kitchen a fresh, new look.
When it comes to designing your dream home, every detail matters. From the color of the walls to the style of the furniture, each element plays a crucial role in creating the perfect living space. However, one area that is often overlooked is the kitchen sink upper trim. This small but essential component can make a significant impact on the overall design of your kitchen. That's why it's crucial to repair and maintain it regularly.
Old kitchen sink upper trim repair
is a simple yet effective way to transform the look of your kitchen. Over time, the upper trim can become worn out, damaged, or discolored, which can take away from the beauty of your space. By repairing it, you can restore its original appearance and give your kitchen a fresh, new look.
Enhance the Aesthetics of Your Kitchen
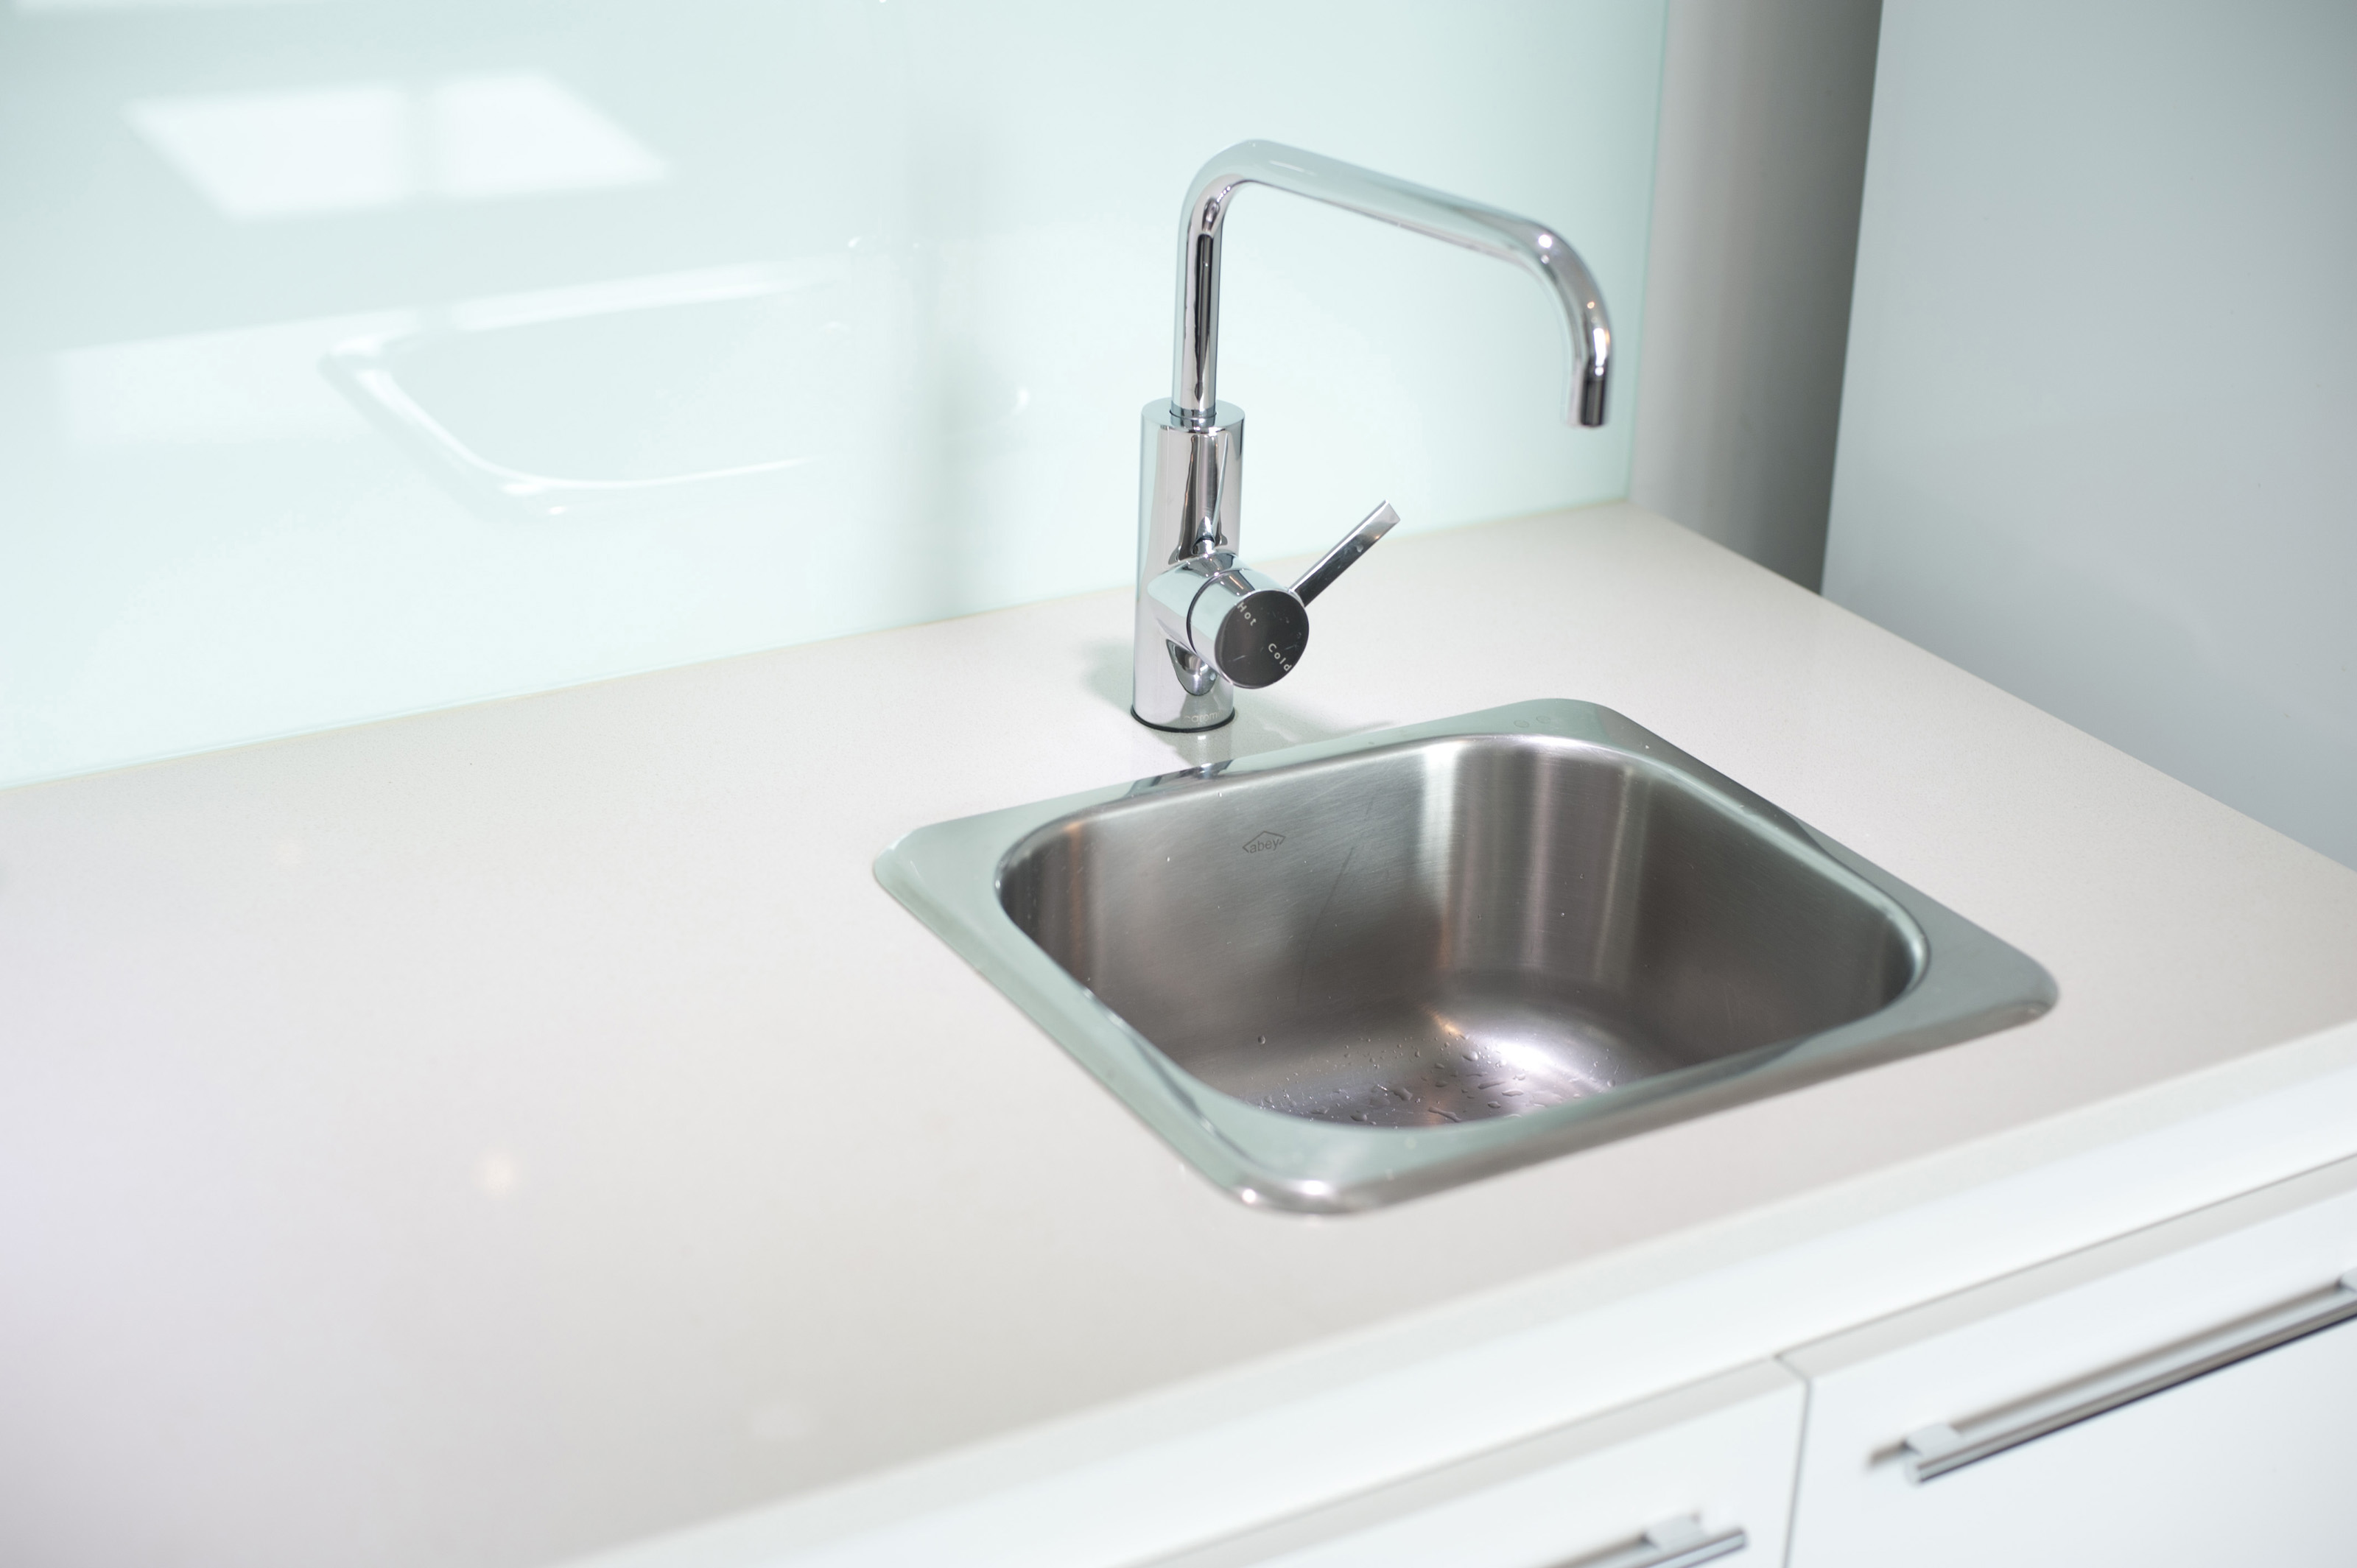
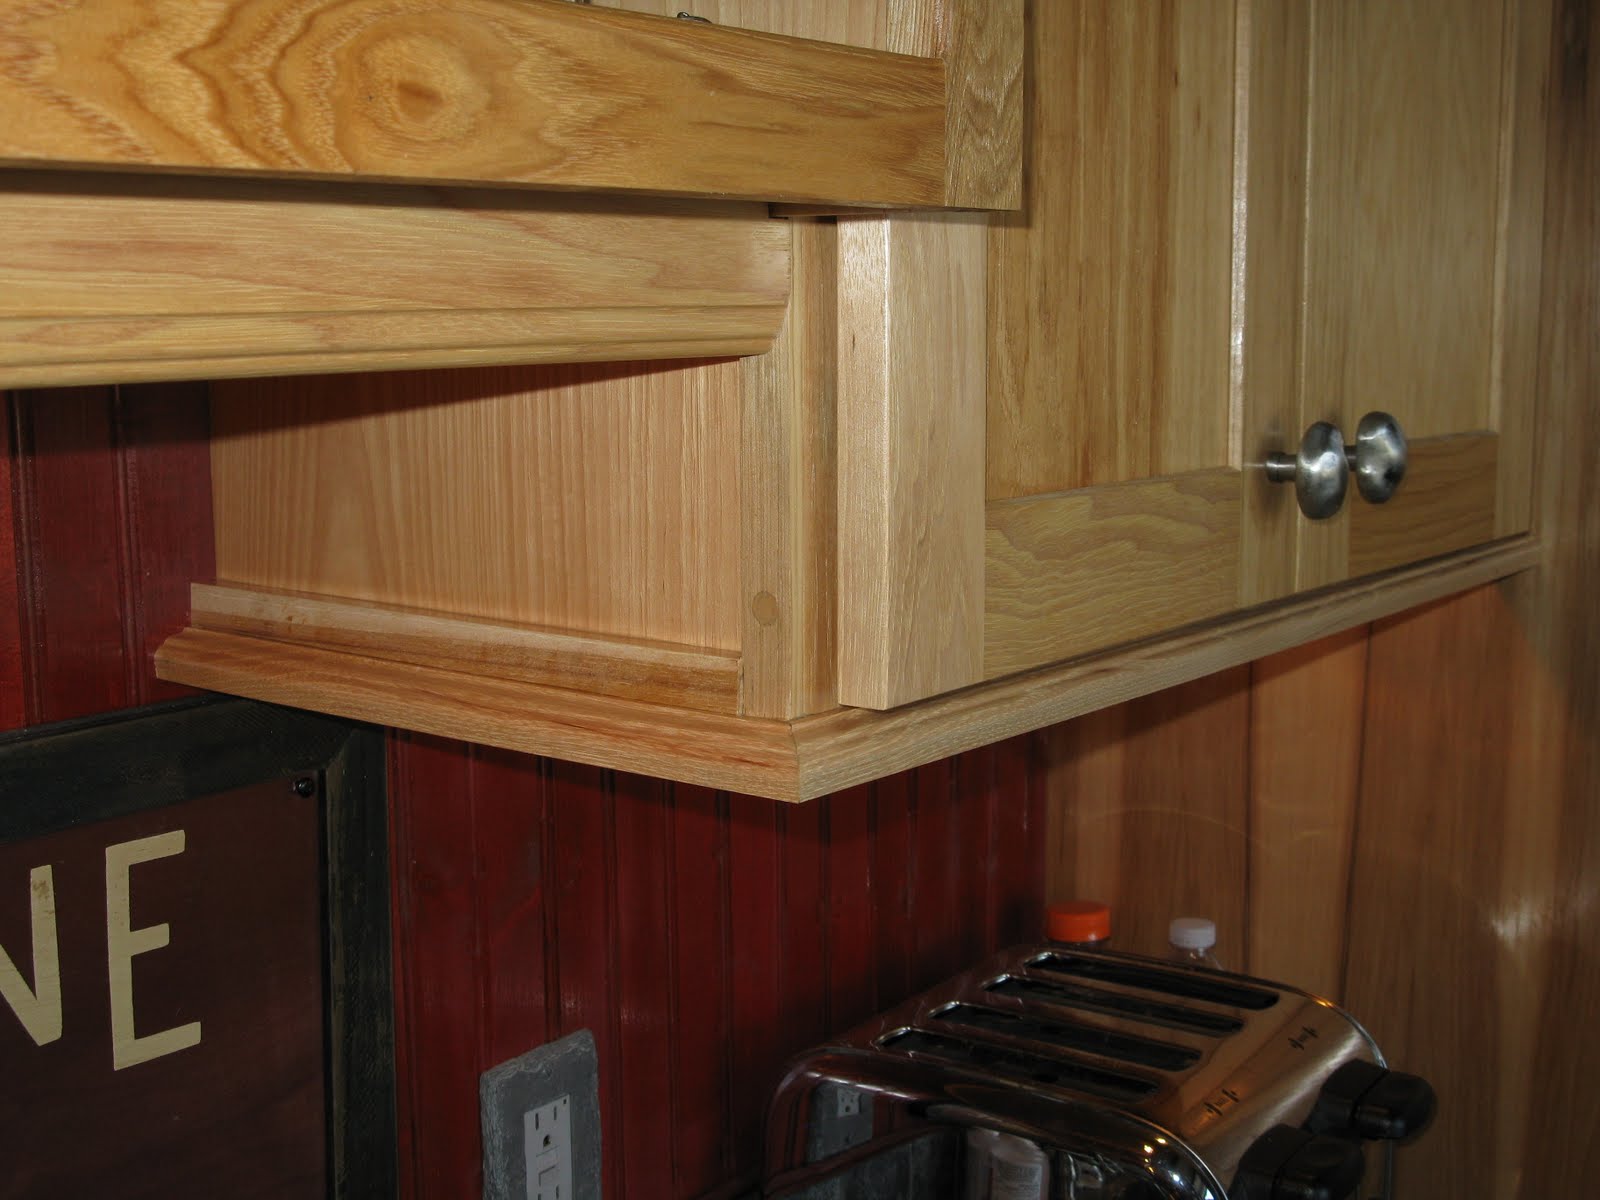
 The upper trim of your kitchen sink not only serves a functional purpose but also adds to the aesthetics of your kitchen. It acts as a border between the sink and the countertop, and a damaged or outdated trim can make the entire area look unappealing. By repairing or replacing it, you can instantly enhance the overall look of your kitchen.
Moreover, with a wide range of materials and designs available, you can choose a trim that complements the style of your kitchen and adds a touch of elegance. Whether you prefer a modern, sleek look or a more traditional and rustic feel, there is a trim option to suit your taste and elevate the design of your kitchen.
The upper trim of your kitchen sink not only serves a functional purpose but also adds to the aesthetics of your kitchen. It acts as a border between the sink and the countertop, and a damaged or outdated trim can make the entire area look unappealing. By repairing or replacing it, you can instantly enhance the overall look of your kitchen.
Moreover, with a wide range of materials and designs available, you can choose a trim that complements the style of your kitchen and adds a touch of elegance. Whether you prefer a modern, sleek look or a more traditional and rustic feel, there is a trim option to suit your taste and elevate the design of your kitchen.
Prevent Further Damage and Save Money
 Apart from its aesthetic value, repairing your old kitchen sink upper trim is also crucial for the longevity of your kitchen. A damaged or worn out trim can lead to water leaks, which can cause extensive damage to your sink, countertop, and even the cabinets below. This not only affects the functionality of your kitchen but also adds to your repair and maintenance costs.
By addressing the issue early on, you can prevent further damage and save money in the long run. Regularly inspecting and repairing your upper trim can also help you identify any underlying issues with your sink or countertop, allowing you to address them before they become more significant and expensive problems.
In conclusion, repairing your old kitchen sink upper trim is essential for maintaining the beauty and functionality of your kitchen. It's a simple yet effective way to transform the look of your space, enhance its aesthetics, and prevent further damage. So don't overlook this small but crucial component in your home design and make sure to include it in your regular maintenance routine. Trust us, your kitchen will thank you for it.
Apart from its aesthetic value, repairing your old kitchen sink upper trim is also crucial for the longevity of your kitchen. A damaged or worn out trim can lead to water leaks, which can cause extensive damage to your sink, countertop, and even the cabinets below. This not only affects the functionality of your kitchen but also adds to your repair and maintenance costs.
By addressing the issue early on, you can prevent further damage and save money in the long run. Regularly inspecting and repairing your upper trim can also help you identify any underlying issues with your sink or countertop, allowing you to address them before they become more significant and expensive problems.
In conclusion, repairing your old kitchen sink upper trim is essential for maintaining the beauty and functionality of your kitchen. It's a simple yet effective way to transform the look of your space, enhance its aesthetics, and prevent further damage. So don't overlook this small but crucial component in your home design and make sure to include it in your regular maintenance routine. Trust us, your kitchen will thank you for it.