Are you tired of looking at the worn and outdated oak kitchen table in your home? It may be time for a makeover! Refinishing your oak kitchen table is a cost-effective and easy way to give it a new lease on life. With a few simple steps, you can transform your old table into a beautiful and modern piece of furniture. Start by cleaning the table thoroughly with a mixture of warm water and mild soap. Use a soft cloth to gently scrub away any dirt or grime. Once the table is clean and dry, sand it down with a fine-grit sandpaper to remove the existing finish and create a smooth surface for the new stain or paint. Next, choose your desired finish. You can either stain the table to enhance the natural beauty of the wood or paint it for a more dramatic change. Whichever option you choose, be sure to use a high-quality product that is suitable for oak wood. Apply the stain or paint evenly with a brush or cloth, following the direction of the wood grain. Allow it to dry completely before adding a second coat if needed. Finally, protect your newly refinished table by adding a clear coat of polyurethane. This will provide a durable and waterproof finish, ensuring that your table will last for years to come. Be sure to read the instructions carefully and apply the polyurethane in a well-ventilated area. Once the clear coat is dry, your oak kitchen table makeover is complete!1. How to Refinish an Oak Kitchen Table


1. How to Refinish an Oak Kitchen Table


If you're on a budget but still want to give your oak kitchen table a fresh new look, a DIY makeover is the perfect solution. With a little bit of creativity and some elbow grease, you can transform your table into a unique and personalized piece of furniture. Start by assessing the current condition of your table. Does it have scratches, dents, or other imperfections? If so, you may want to start by sanding down the surface to create a smooth and even base for your makeover. Alternatively, if your table is in good condition, you can skip this step and move on to the fun part - painting or staining! For a painted finish, choose a color that complements your kitchen decor. You can even add a pop of color by painting the legs or base of the table a different shade. Use a high-quality paint and apply it with a brush or roller, making sure to cover the entire surface evenly. Once the paint is dry, you can distress it for a shabby chic look or add a clear coat for a smooth and modern finish. If you prefer a stained finish, select a color that enhances the natural beauty of the oak wood. Apply the stain with a brush or cloth, following the direction of the wood grain. You can also get creative by using a combination of stains to achieve a unique and custom look. Finish off with a coat of polyurethane to protect the table from wear and tear.2. DIY Oak Kitchen Table Makeover


2. DIY Oak Kitchen Table Makeover


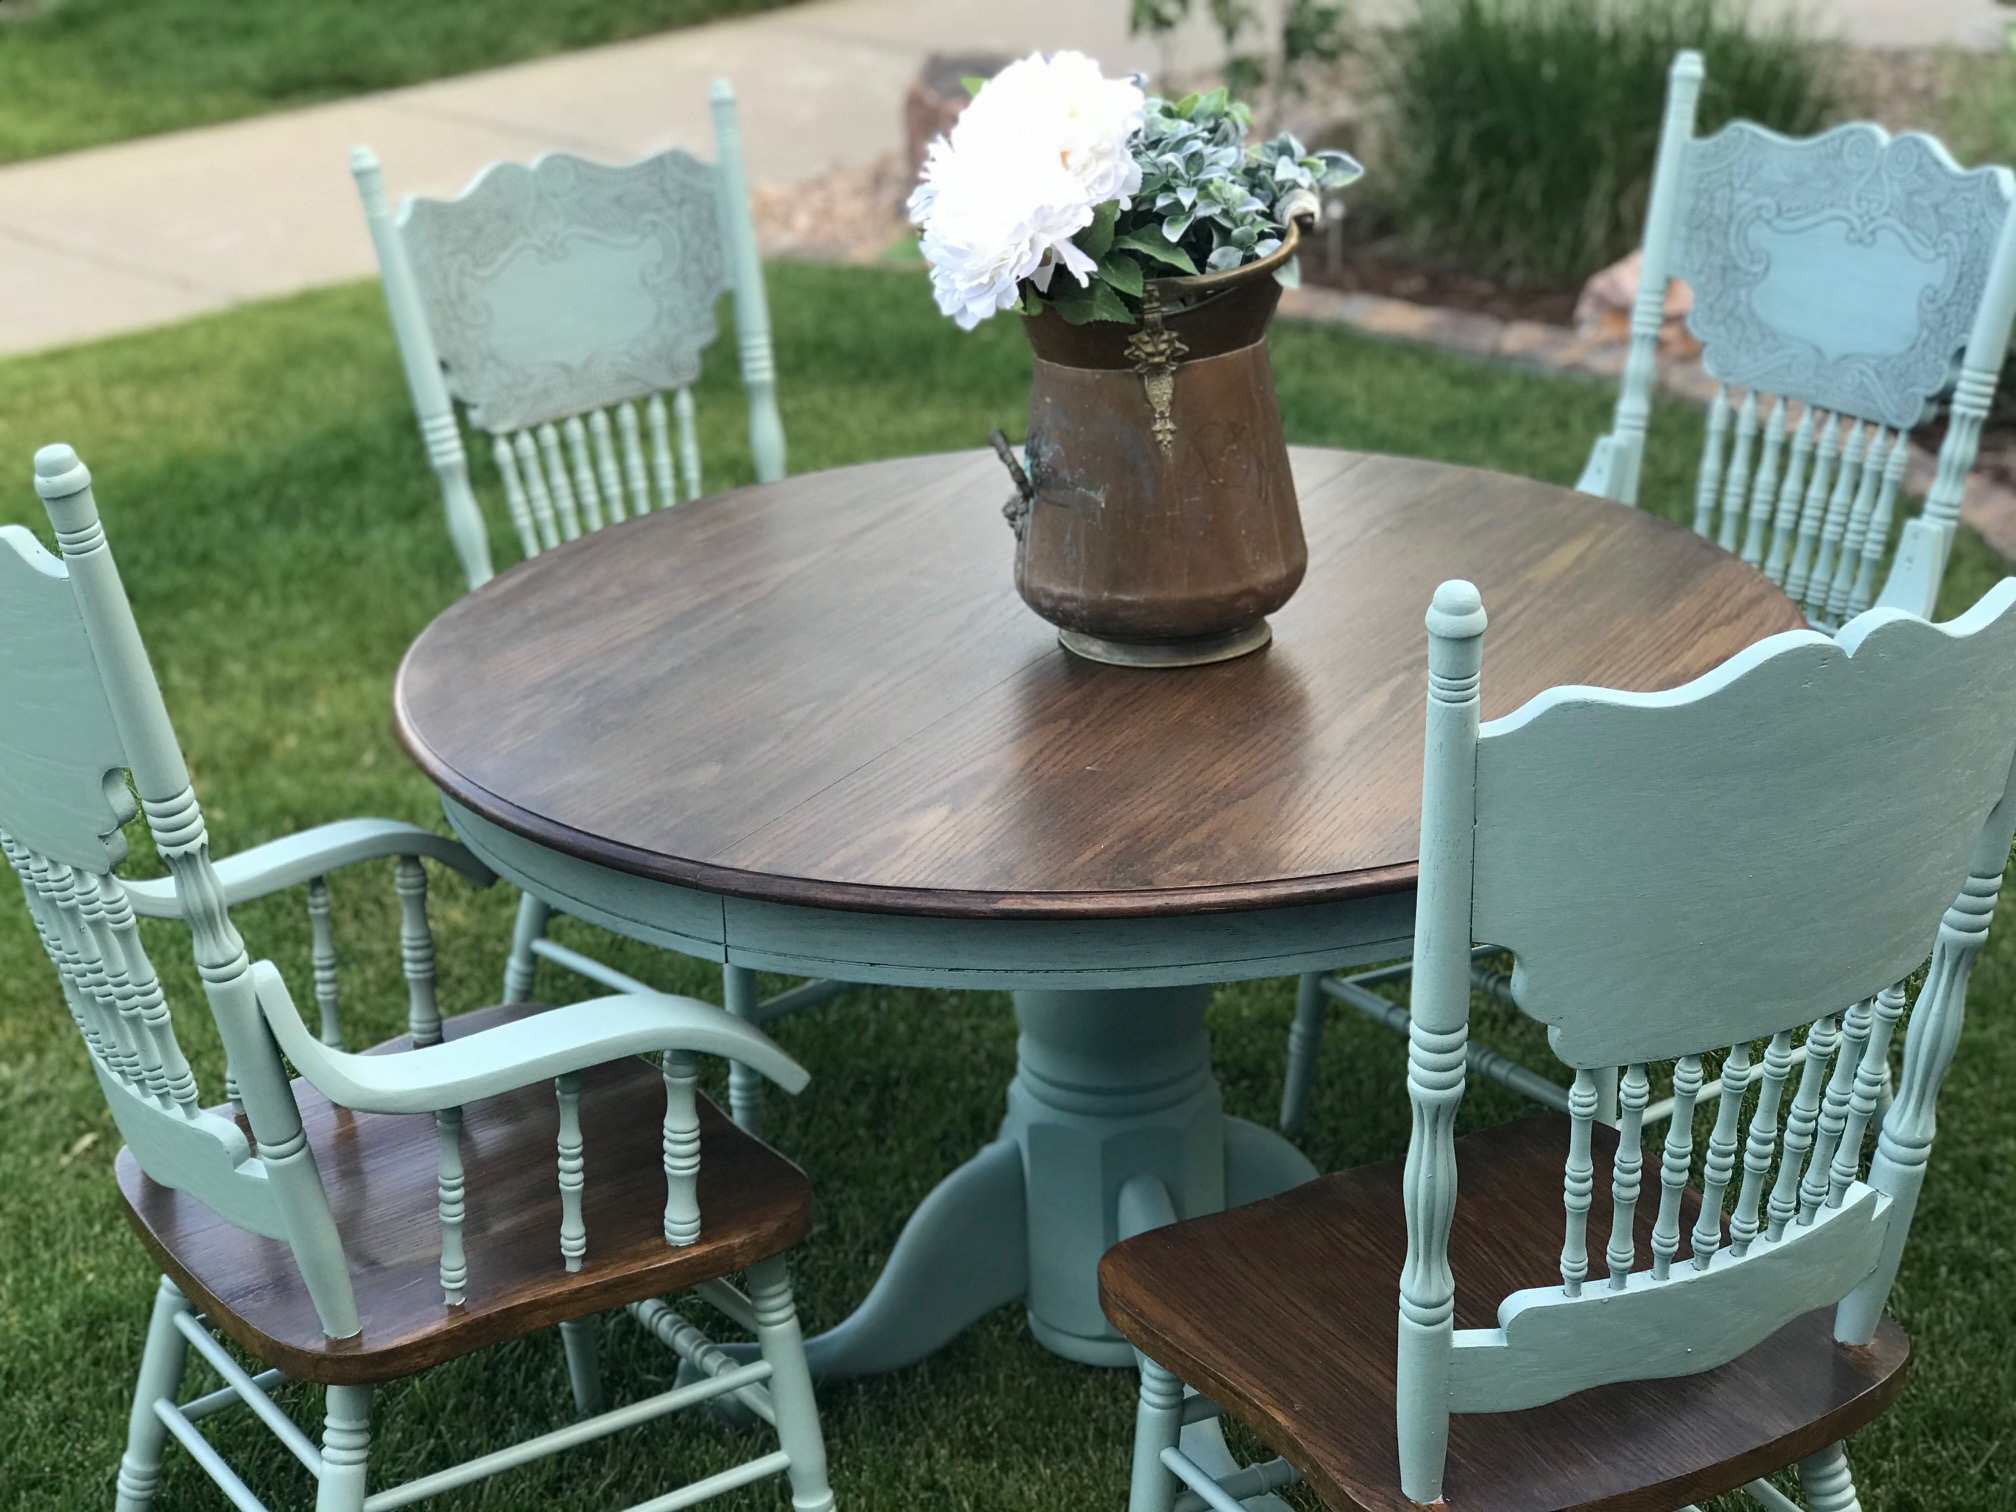
Painting an oak kitchen table is a great way to give your space a fresh and modern feel. With endless color options and techniques, you can truly make your table stand out. Before you begin, make sure to properly prepare the table by cleaning and sanding it down. If there are any deep scratches or imperfections, consider using wood filler to fill them in before painting. Next, choose your paint color and apply it evenly with a brush or roller. You can also use a spray paint for a smooth and professional finish. Allow the paint to dry completely before adding a second coat if needed. To add some character to your table, consider using a distressing technique. This involves sanding down certain areas of the table to reveal the wood underneath, creating a vintage look. Another popular technique is the ombre effect, where you use multiple shades of the same color to create a gradient effect. Have fun experimenting with different techniques and finishes to make your oak kitchen table truly unique.3. Painting an Oak Kitchen Table

3. Painting an Oak Kitchen Table


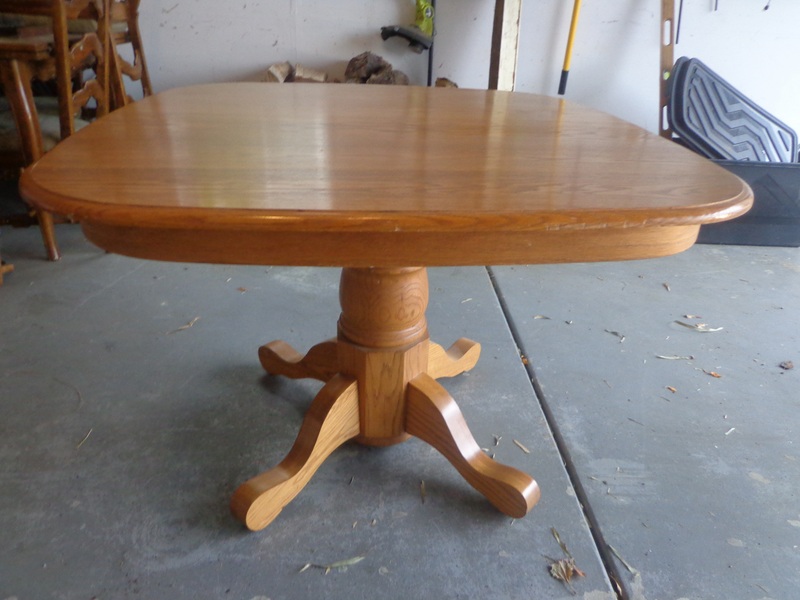
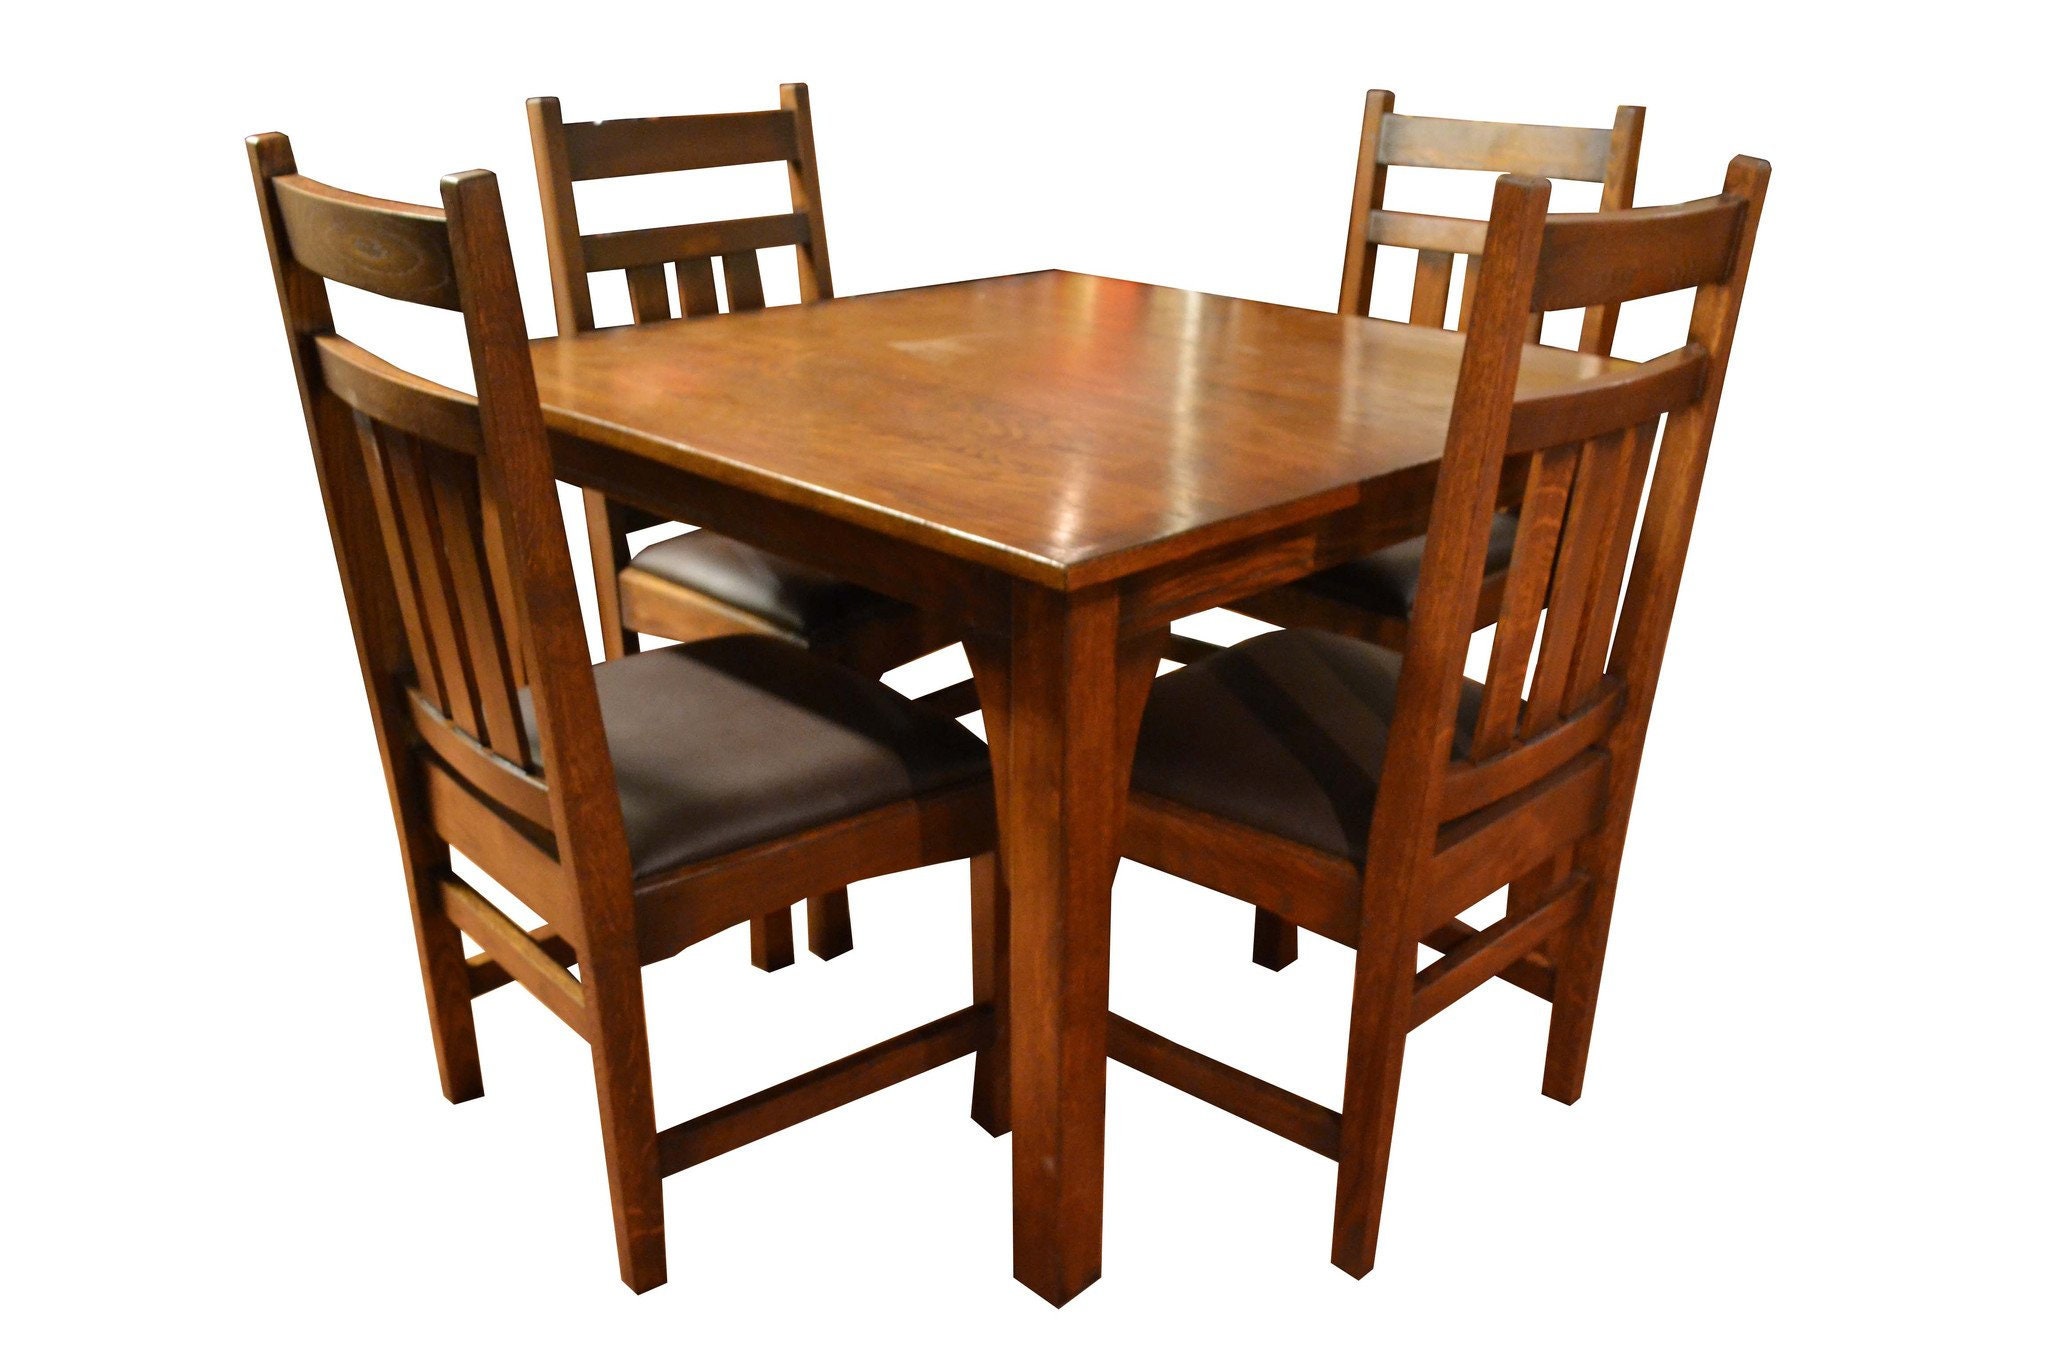
Do you have an old oak kitchen table that has been passed down through generations or found at a thrift store? Restoring it to its former glory can be a satisfying and rewarding project. Start by assessing the condition of the table. If it has been neglected for a long time, it may require a bit more work to bring it back to life. Clean the table thoroughly and sand down any rough or damaged areas. If the table is very old and has a lot of character, you may want to preserve its natural patina by simply adding a clear coat of polyurethane. For a more drastic transformation, consider painting or staining the table. You can also replace the legs or add new hardware to give it a fresh and updated look. Just be careful not to change too much and lose the charm of the original piece. With some care and attention, you can restore your old oak kitchen table and make it a focal point in your home.4. Restoring an Old Oak Kitchen Table


4. Restoring an Old Oak Kitchen Table


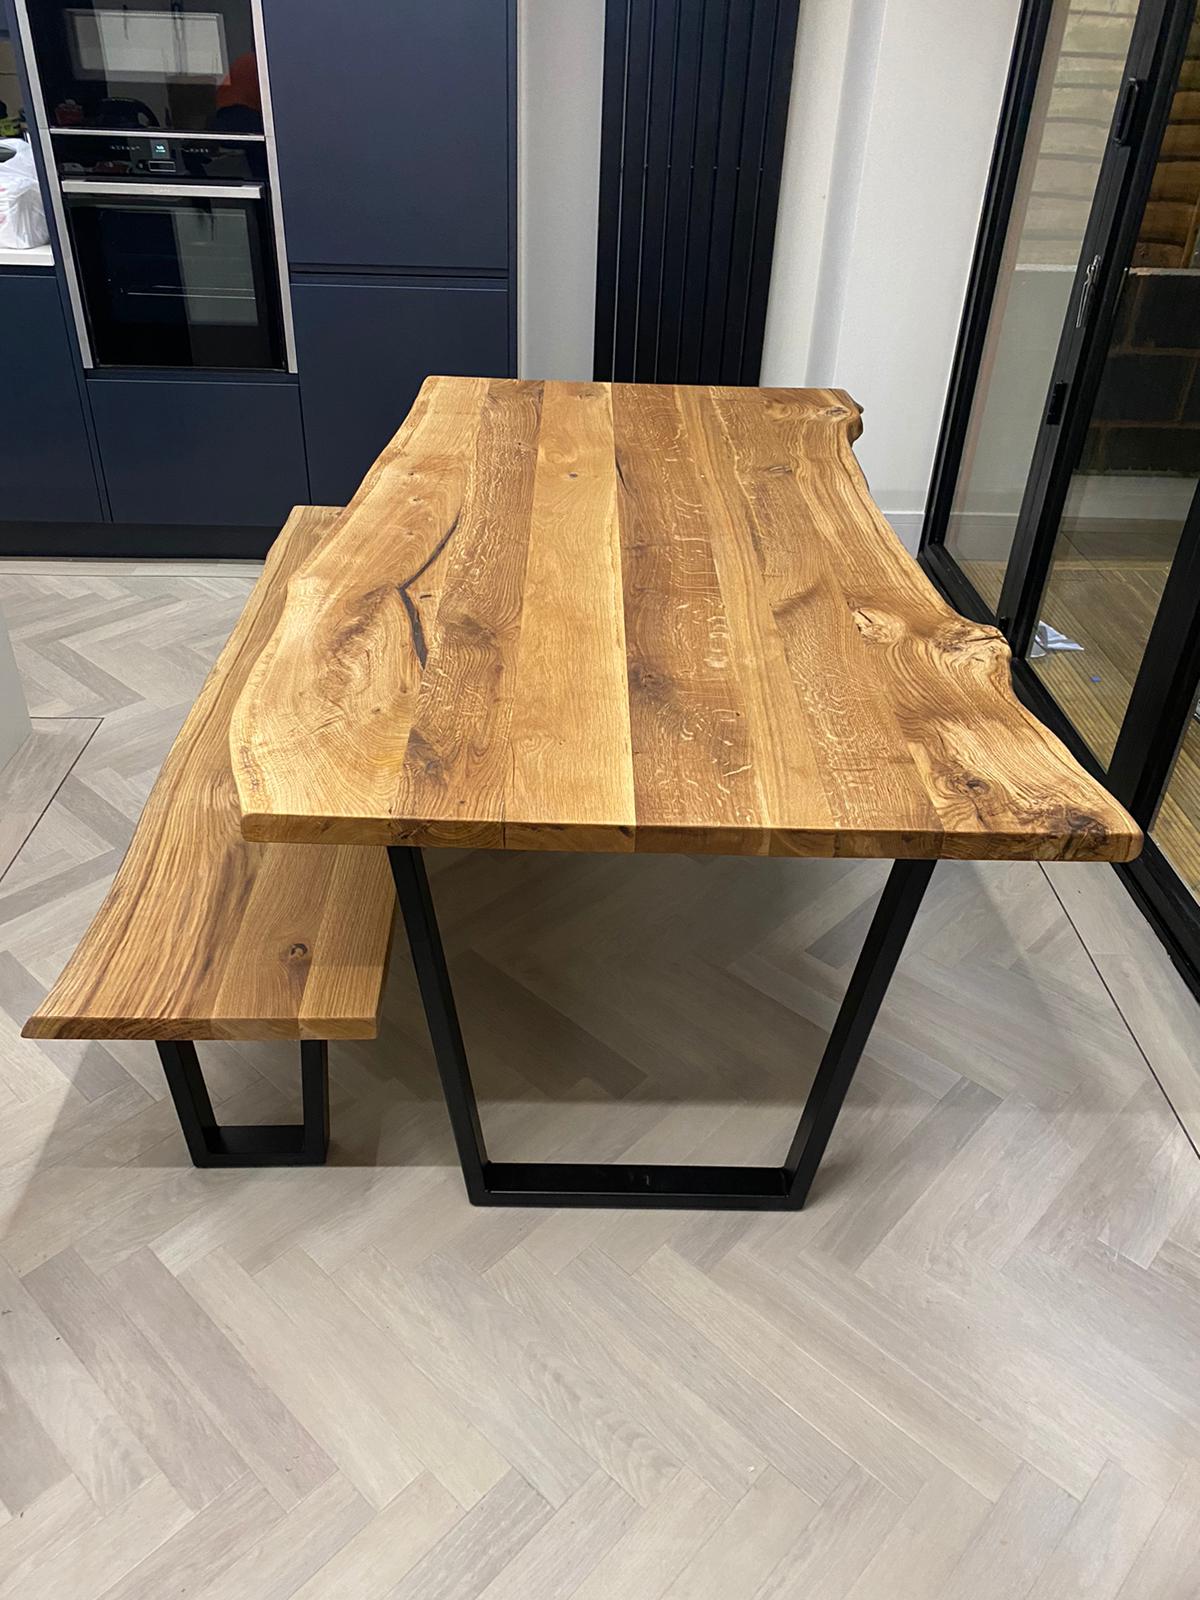
If you're looking for inspiration for your oak kitchen table makeover, the possibilities are endless. Here are some ideas to help get your creative juices flowing:5. Oak Kitchen Table Makeover Ideas


5. Oak Kitchen Table Makeover Ideas


Staining an oak kitchen table is a great way to enhance the natural beauty of the wood and give it a timeless and elegant look. Before staining, make sure to prepare the table by cleaning and sanding it down. You can also use a wood conditioner to help the stain penetrate evenly and prevent blotchiness. Choose a stain color that complements your kitchen decor and apply it with a brush or cloth, following the direction of the wood grain. Allow it to dry completely before adding a second coat if desired. If you want to add some depth and character to your table, consider using a combination of stains. For example, you can use a darker stain on the edges and a lighter stain in the middle for a two-tone effect. Finish off with a coat of polyurethane to protect the table and make the stain pop.6. Staining an Oak Kitchen Table


6. Staining an Oak Kitchen Table


If your oak kitchen table is in good condition but just needs a bit of a refresh, there are simple ways to update it without doing a full makeover. Start by cleaning the table and sanding down any rough areas. If the table has a dated or worn finish, you can use a gel stain to cover it up and give it a new look. Alternatively, you can add a new coat of paint in a different color or even just change the hardware to give it a fresh and modern feel. Another way to update your table is by adding a new top. You can purchase a piece of marble or granite to create a more luxurious and elegant look, or use a different type of wood for a rustic and unique touch. Just make sure the new top is securely attached to the table base.7. Updating an Oak Kitchen Table


7. Updating an Oak Kitchen Table


If your oak kitchen table is in need of some TLC, refurbishing it can bring it back to life and make it a beautiful addition to your home. Start by cleaning the table and sanding down any rough areas. If the table has scratches or dents, you can use wood filler to fill them in before sanding. Next, choose your desired finish - whether it be staining, painting, or a combination of both. Apply the finish evenly and allow it to dry completely before adding a protective coat of polyurethane. You can also refurbish your table by adding new legs or hardware, or even giving it a distressed or ombre finish for a unique and personalized look. Just remember to take your time and pay attention to detail to achieve the best results.8. Refurbishing an Oak Kitchen Table


8. Refurbishing an Oak Kitchen Table

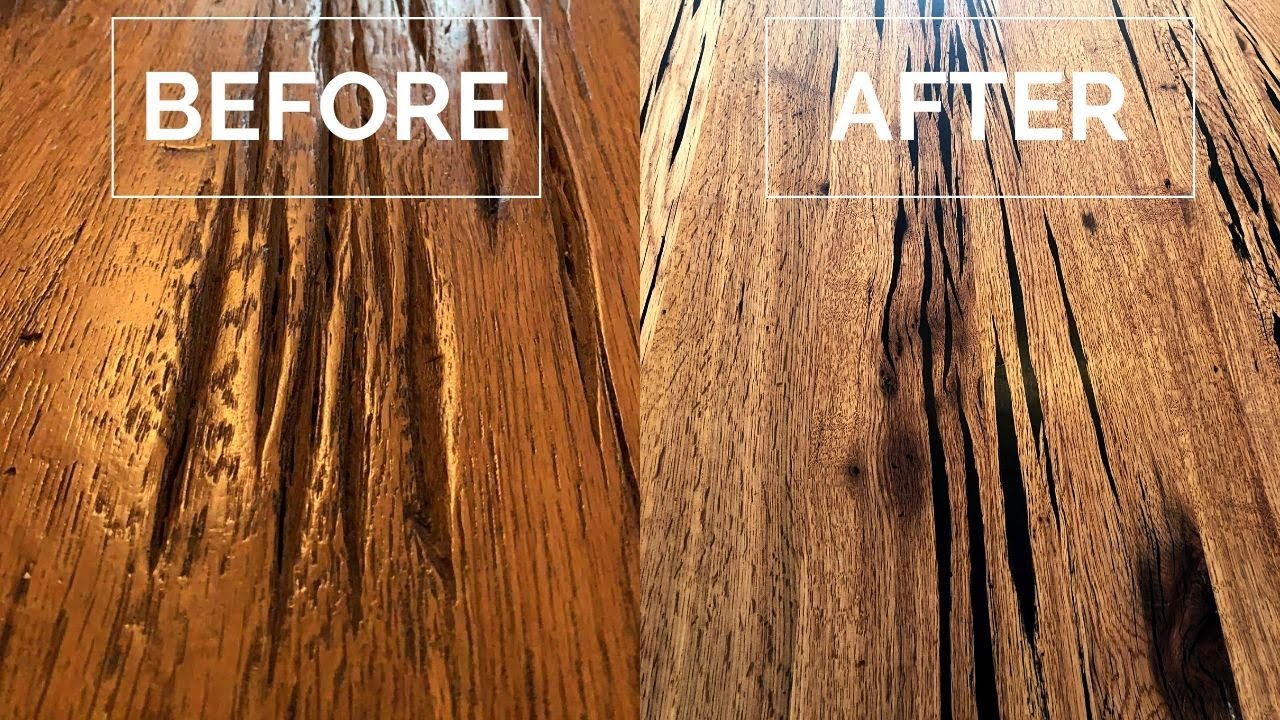


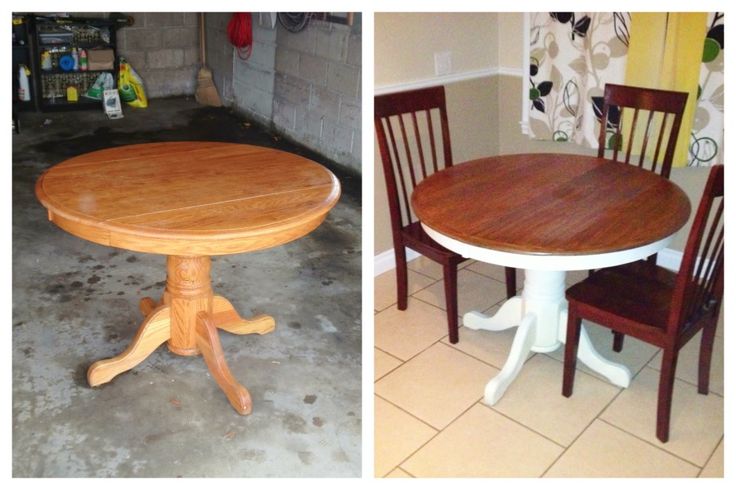
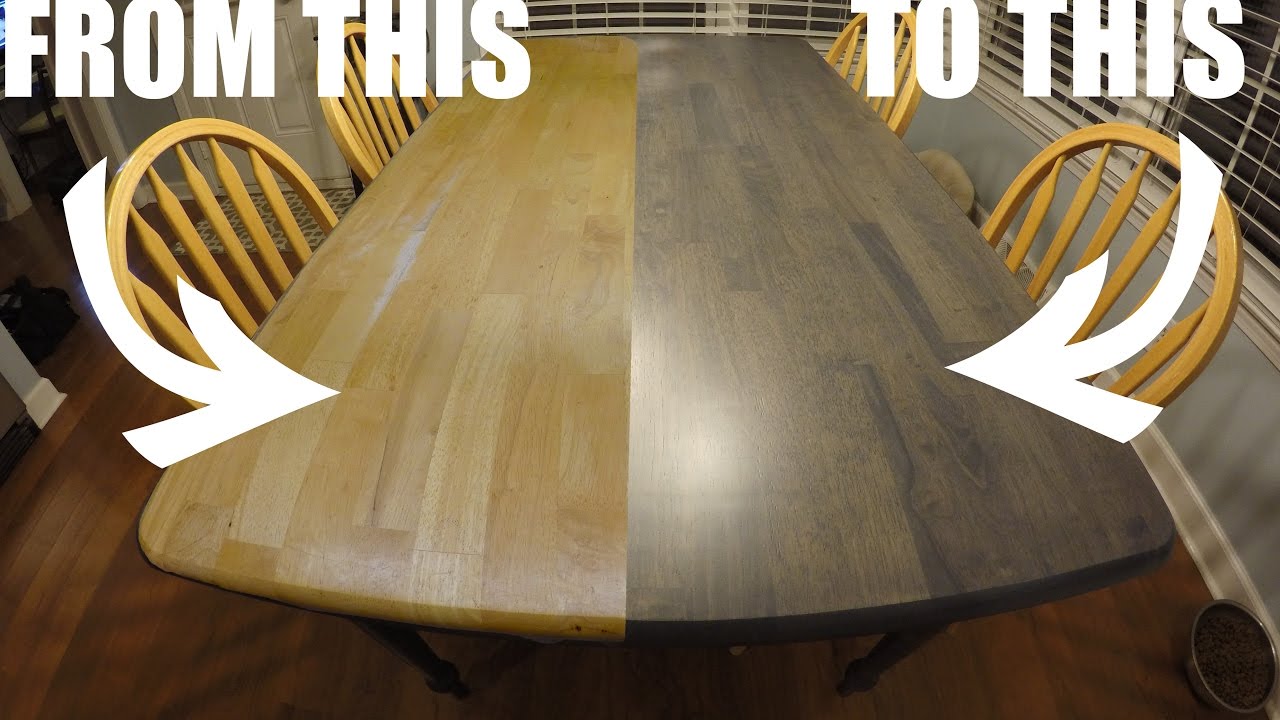
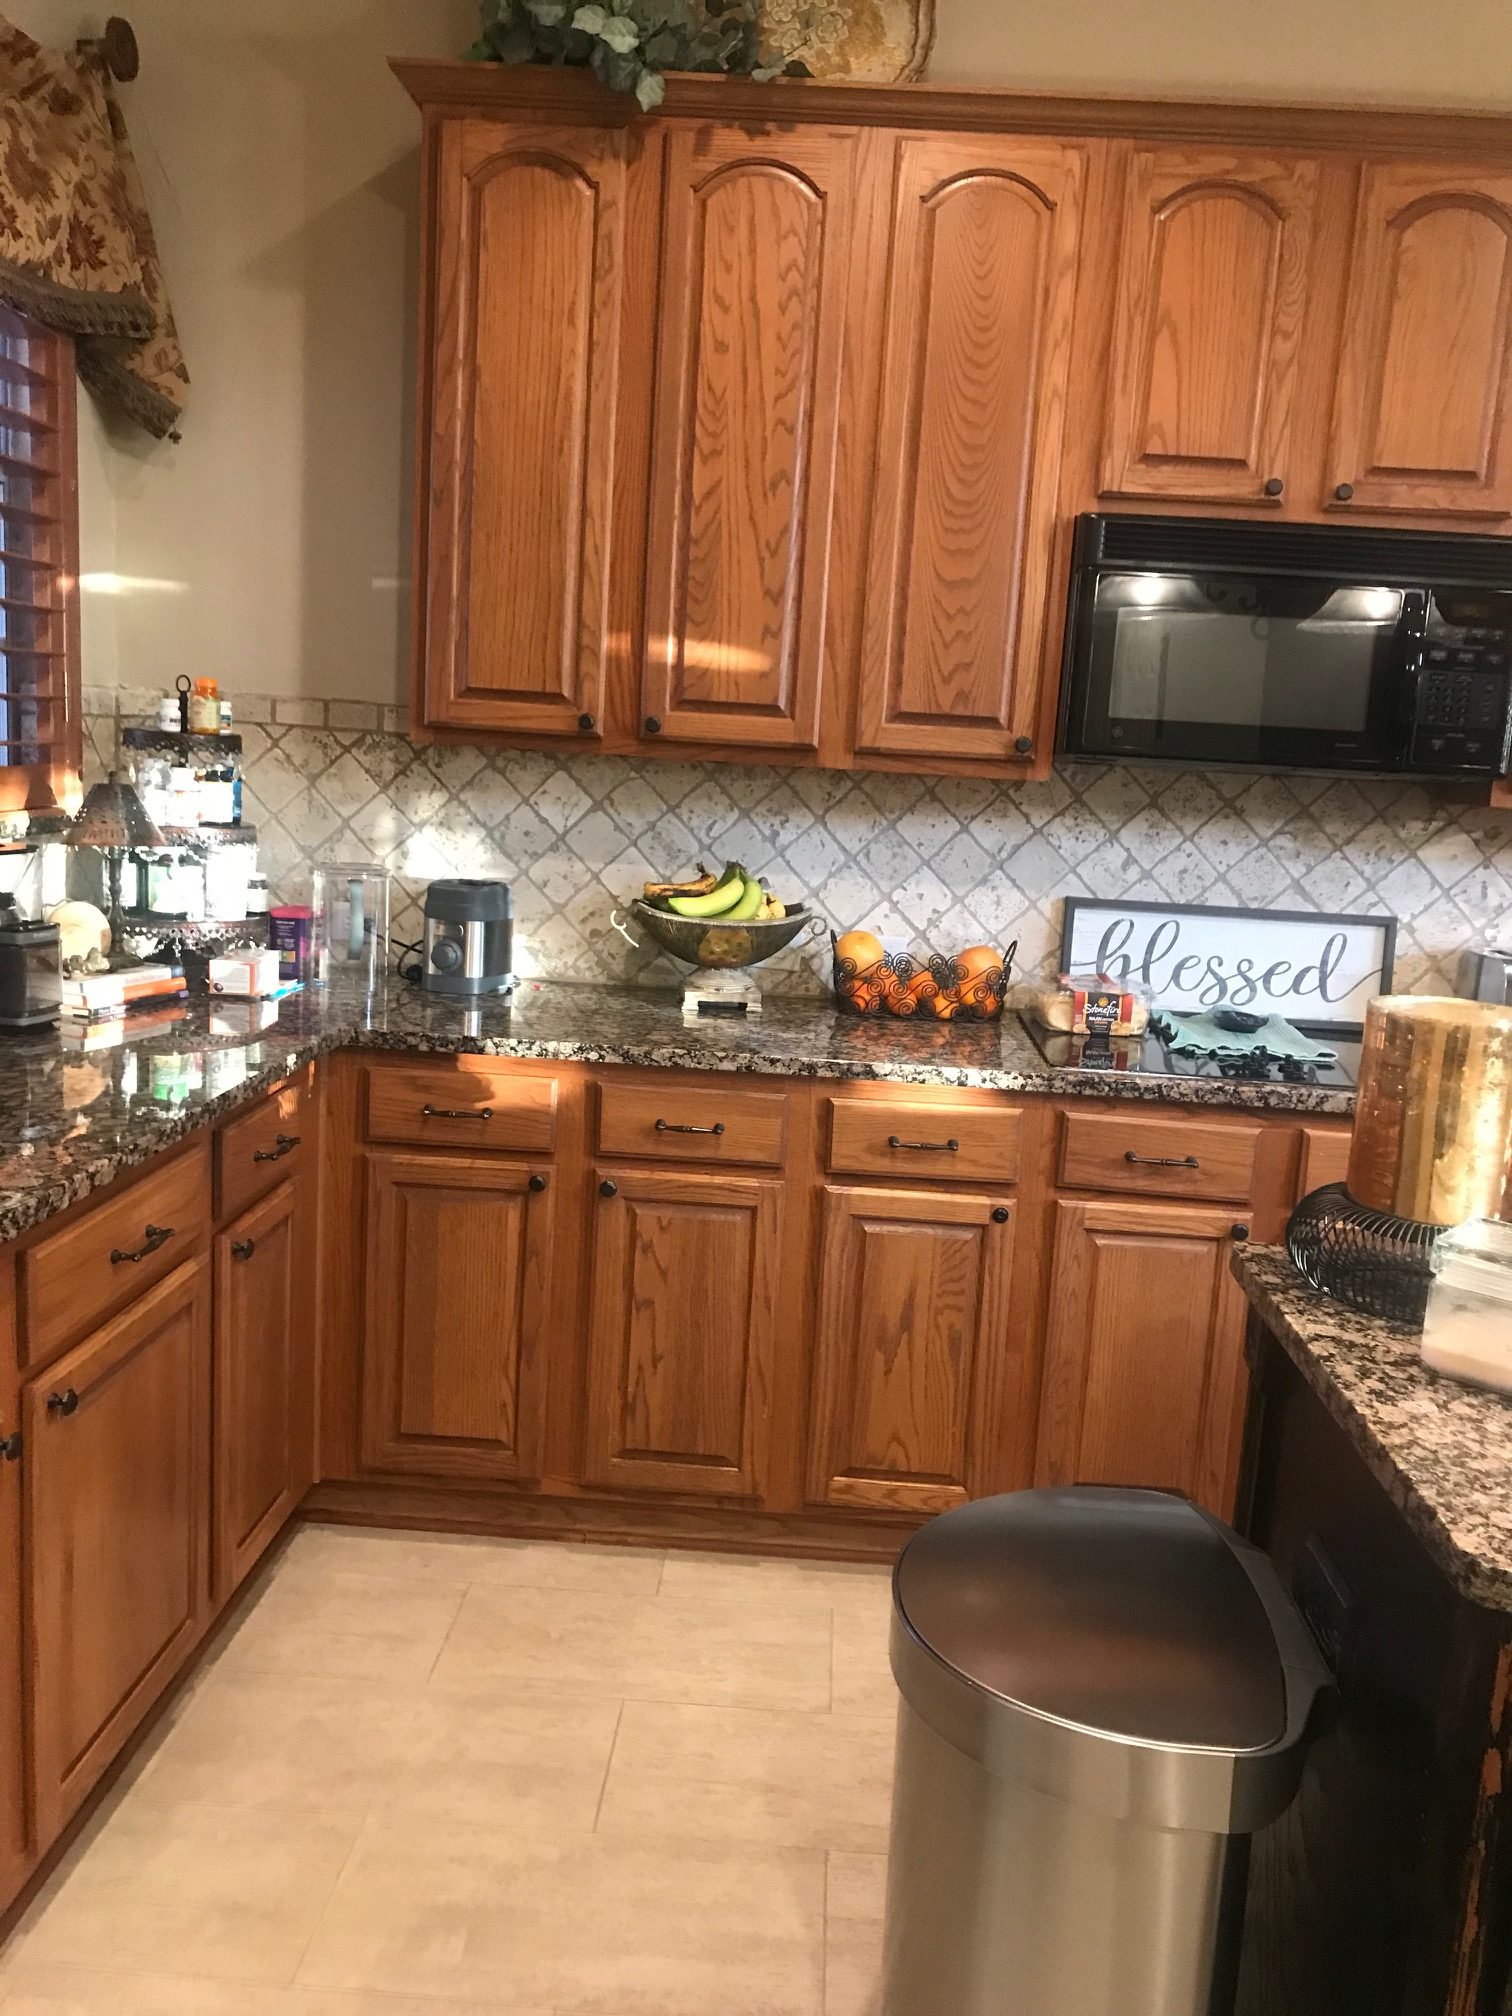
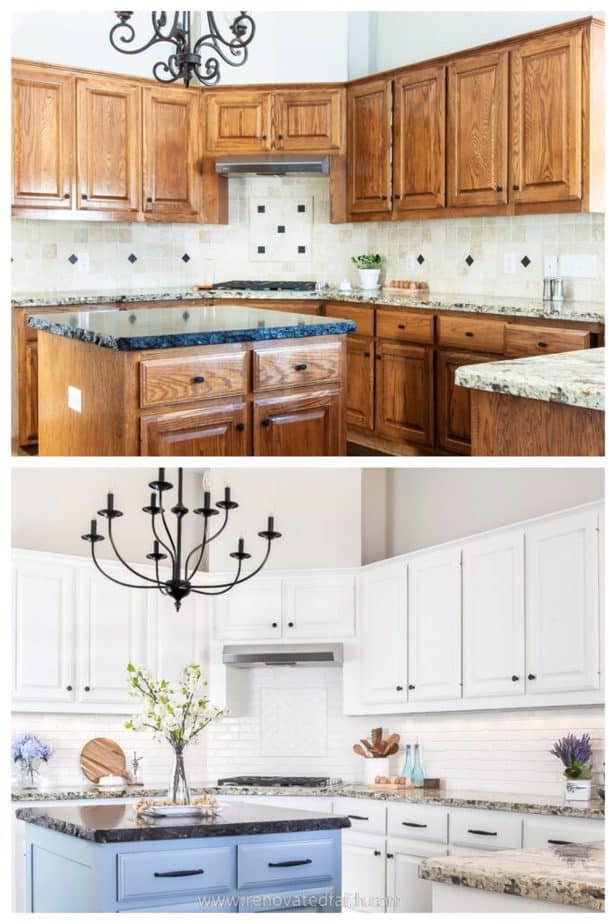
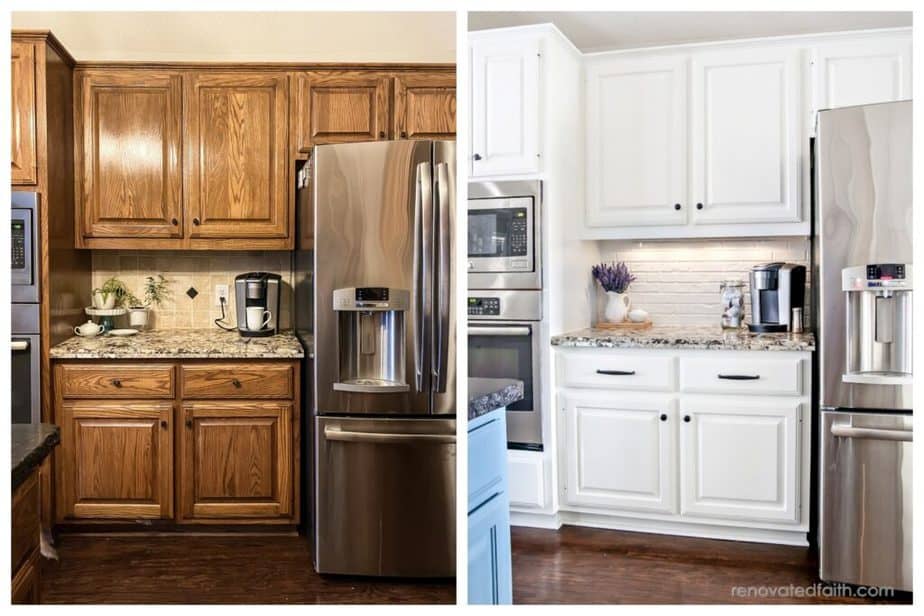
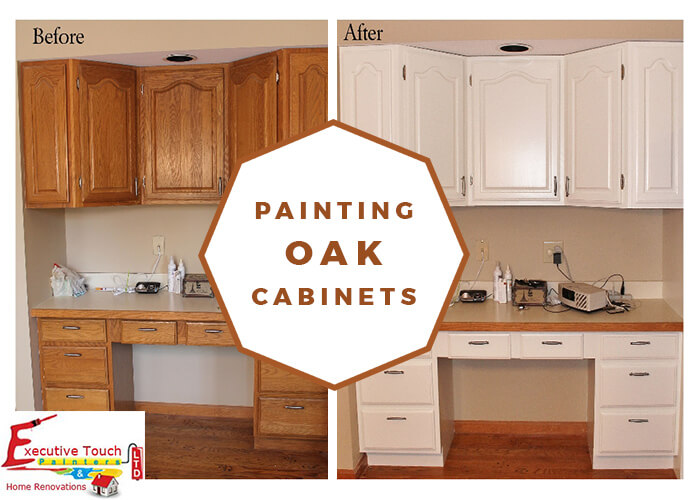
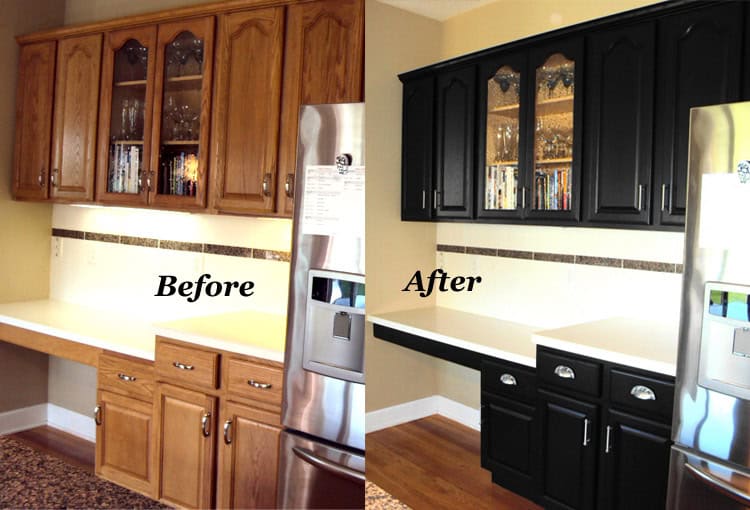
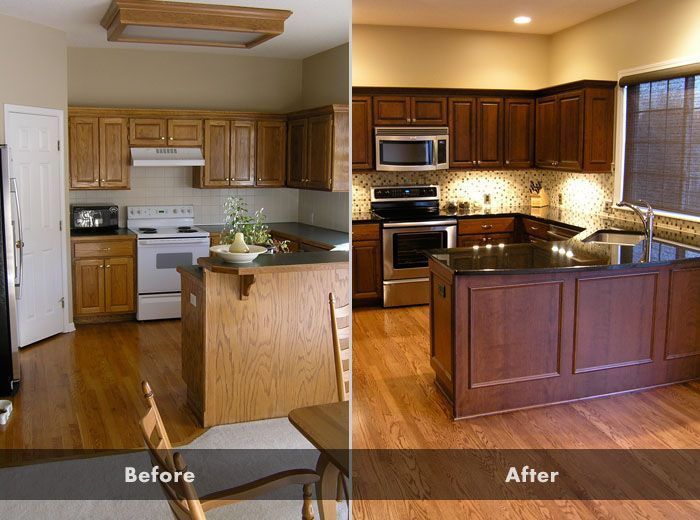
They say a picture is worth a thousand words, and this is definitely true when it comes to a before and after of an oak kitchen table makeover. Take a look at the transformation of your table and be proud of the work you put into it. You can even take it a step further and share your before and after photos on social media for others to see and get inspired by. Don't forget to include a description of the process and any tips or tricks you learned along the way.9. Oak Kitchen Table Makeover Before and After


9. Oak Kitchen Table Makeover Before and After


Sometimes all your oak kitchen table needs is a little bit of love and attention to give it a new look. Start by assessing the condition of the table and deciding on the desired finish. Remember to properly prepare the table by cleaning and sanding it before applying any finish. Next, choose a high-quality product and apply it evenly, following the instructions carefully. Allow it to dry completely before adding a second coat if needed. Finally, add a protective coat of polyurethane to keep your table looking beautiful for years to come. Be sure to take your time and have fun with the process to create a stunning and unique oak kitchen table that you can be proud of.10. How to Give Your Oak Kitchen Table a New Look


10. How to Give Your Oak Kitchen Table a New Look


The Power of a Fresh Coat of Paint
Transforming Your Space

When it comes to designing your home, one simple change can make a huge impact – a fresh coat of paint. This is especially true when it comes to furniture, like an oak kitchen table. With just a few hours of work and some basic painting supplies , you can completely transform your kitchen and give it a whole new look.
Choosing the Right Color

Before you start the painting process, it's important to choose the right color . Consider the overall theme and color scheme of your kitchen, as well as your personal style. Do you want a bold pop of color or a more subtle and neutral tone? Keep in mind that lighter colors can make a space feel larger, while darker colors can add warmth and coziness. Don't be afraid to get creative and try something new!
Prepping Your Table

Now that you have chosen your color, it's time to prep your table . Start by sanding the surface of the table to remove any rough spots or old finish. This will help the paint adhere better and create a smooth and even surface. Next, clean the table with a mild soap and water, and let it dry completely.
The Painting Process

Once your table is prepped, it's time to start painting. Protect your floors and surrounding area with a drop cloth or newspaper, and use painter's tape to cover any areas you don't want to get paint on. Start by priming the table with a coat of primer , and let it dry according to the instructions on the can. Then, apply two coats of your chosen paint color, allowing each coat to dry completely before applying the next.
The Finishing Touches

After the paint has dried, it's time to add some finishing touches to your table. You can add stencils or patterns for a unique and personalized look, or use sanding techniques to create a distressed or vintage effect. Finally, seal the paint with a clear coat to protect the surface and give it a professional finish.
Bringing It All Together

With just a few simple steps, your oak kitchen table makeover is complete. Not only does it add a new and fresh look to your kitchen, but it also saves you the cost of buying a new table. So next time you're looking to update your home decor, remember the power of a fresh coat of paint.
Whether you're a seasoned DIY-er or just starting out, this is a simple and budget-friendly way to give your home a new look. So grab your paintbrush and get ready to see the amazing transformation a little bit of paint can bring.