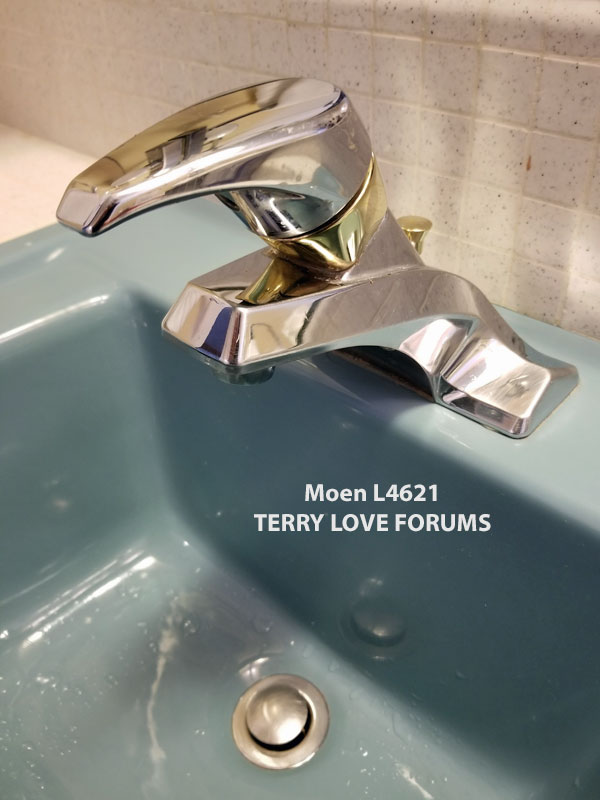
A leaking bathroom faucet can be a major inconvenience and can lead to water damage if left unfixed. If you have a Moen bathroom faucet that is leaking under the sink, it's important to address the issue as soon as possible. In this article, we will discuss the top 10 ways to fix a leaking Moen bathroom faucet under the sink. Moen Bathroom Faucet Leaking Under Sink:


Moen Bathroom Faucet Leaking Under Sink:

If you notice that your Moen bathroom faucet is leaking under the sink, there are a few steps you can take to fix the issue. Here's what you need to do: 1. Turn off the Water Supply: Before starting any repairs, make sure to turn off the water supply to the faucet. This will prevent any water from flowing while you work on fixing the leak. 2. Identify the Source of the Leak: The first step in fixing a leaky faucet is to identify where the leak is coming from. Check for any cracks or holes in the pipes or faucet itself. 3. Tighten Loose Connections: If the leak is coming from a loose connection, use a wrench to tighten it. Be careful not to overtighten as this can cause further damage. 4. Replace the O-ring: The O-ring is a small rubber ring that helps to create a seal and prevent leaks. If this ring is worn or damaged, it will need to be replaced. 5. Clean or Replace the Cartridge: The cartridge is the part of the faucet that controls the flow of water. If it is dirty or damaged, it can cause leaks. Clean or replace the cartridge if necessary. 6. Check the Valve Seat: The valve seat is the connection between the faucet and the spout. If it is corroded or damaged, it can cause leaks. Use a valve seat wrench to remove and replace the seat if needed. 7. Inspect the Supply Line: The supply line is the pipe that connects the faucet to the water supply. If it is damaged or worn, it can cause leaks. Replace the supply line if necessary. 8. Install New Washers: The washers are small rubber discs that help create a seal. Over time, they can become worn and cause leaks. Install new washers to prevent future leaks. 9. Reassemble the Faucet: Once you have completed all necessary repairs, reassemble the faucet and turn the water supply back on. Check for any remaining leaks and make adjustments if needed. 10. Call a Professional: If you are not comfortable or skilled in fixing a leaking Moen bathroom faucet, it's best to call a professional plumber. They have the expertise and tools to fix the issue quickly and effectively. How to Fix a Leaky Moen Bathroom Faucet Under the Sink


How to Fix a Leaky Moen Bathroom Faucet Under the Sink


If your Moen bathroom faucet is still leaking after attempting to fix it, there may be a more serious issue at hand. Here are some troubleshooting steps you can take to identify the problem: 1. Check the Water Pressure: If your water pressure is too high, it can cause leaks in your faucet. Use a pressure gauge to check the water pressure and adjust if needed. 2. Inspect the Pipes: If the pipes under your sink are old or damaged, they may be the source of the leak. Inspect the pipes for any cracks or holes and replace them if necessary. 3. Look for Mineral Buildup: Mineral buildup can cause clogs and leaks in your faucet. Use a solution of vinegar and water to dissolve any buildup and prevent future leaks. 4. Check the Water Heater: If your water heater is set too high, it can cause pressure to build up and lead to leaks in your faucet. Turn down the temperature on your water heater to prevent this issue. Troubleshooting a Leaking Moen Bathroom Faucet Under the Sink
Troubleshooting a Leaking Moen Bathroom Faucet Under the Sink


There are several reasons why your Moen bathroom faucet may be leaking under the sink. Here are some of the most common causes: 1. Worn or Damaged Parts: Over time, the various parts of your faucet can wear down or become damaged, causing leaks. 2. Loose Connections: If the connections between the different parts of your faucet are loose, it can lead to leaks. 3. Corroded or Clogged Pipes: Corrosion or mineral buildup in your pipes can cause them to become clogged or damaged, resulting in leaks. 4. High Water Pressure: Water pressure that is too high can put strain on your faucet and cause leaks. Common Causes of a Leaking Moen Bathroom Faucet Under the Sink
Common Causes of a Leaking Moen Bathroom Faucet Under the Sink

If you're ready to tackle the task of fixing your leaking Moen bathroom faucet under the sink, here is a step-by-step guide to help you through the process: 1. Gather Your Tools: Before starting any repairs, make sure you have all the necessary tools, including a wrench, screwdriver, and replacement parts. 2. Prepare the Area: Lay down a towel or plastic sheet to catch any water that may leak during the repair process. 3. Turn off the Water Supply: Before disassembling the faucet, make sure to turn off the water supply to prevent any further leaks. 4. Disassemble the Faucet: Use a wrench or screwdriver to remove the various parts of the faucet, starting with the handle and working your way down to the cartridge. 5. Inspect and Clean the Parts: Inspect each part for any damage or buildup and clean them with a solution of vinegar and water if needed. 6. Replace Worn or Damaged Parts: If any parts are worn or damaged, replace them with new ones before reassembling the faucet. 7. Reassemble the Faucet: Once all repairs have been made and the parts are cleaned, reassemble the faucet in the reverse order that you disassembled it. 8. Turn on the Water Supply: Turn the water supply back on and check for any remaining leaks. If necessary, make any adjustments or repairs. Step-by-Step Guide to Repairing a Leaking Moen Bathroom Faucet Under the Sink


Step-by-Step Guide to Repairing a Leaking Moen Bathroom Faucet Under the Sink

To avoid the inconvenience and potential damage of a leaking Moen bathroom faucet under the sink, here are some tips to prevent leaks from occurring: 1. Regularly Inspect and Maintain Your Faucet: Regularly inspect your faucet for any signs of wear or damage and make necessary repairs to prevent leaks. 2. Clean Your Faucet: Regularly clean your faucet to remove any mineral buildup that can cause clogs and leaks. 3. Don't Overtighten: When making repairs, be careful not to overtighten any connections as this can cause damage and lead to leaks. 4. Turn Down the Water Pressure: High water pressure can put strain on your faucet and cause leaks. Make sure to adjust the water pressure to a safe level. Tips for Preventing a Moen Bathroom Faucet from Leaking Under the Sink


Tips for Preventing a Moen Bathroom Faucet from Leaking Under the Sink

As mentioned earlier, the first step in fixing a leaking Moen bathroom faucet under the sink is to identify where the leak is coming from. Here are some tips to help you determine the source of the leak: 1. Check for Cracks or Holes: Inspect the various parts of your faucet, including the handle, cartridge, and supply line, for any cracks or holes that may be causing the leak. 2. Look for Loose Connections: Check all connections between the different parts of your faucet to make sure they are tight and secure. 3. Inspect the Pipes: Check the pipes under your sink for any signs of corrosion, mineral buildup, or damage that may be causing the leak. 4. Use a Pressure Gauge: If the source of the leak is not obvious, use a pressure gauge to test the water pressure and see if it may be a contributing factor. Moen Bathroom Faucet Leaking Under Sink: How to Identify the Source of the Leak
Moen Bathroom Faucet Leaking Under Sink: How to Identify the Source of the Leak

If your Moen bathroom faucet is beyond repair, you may need to replace the entire unit. Here's how to do it: 1. Gather Your Tools: You will need a wrench, screwdriver, and replacement faucet to complete this task. 2. Turn off the Water Supply: Before starting any repairs, make sure to turn off the water supply to prevent any further leaks. 3. Remove the Old Faucet: Use a wrench or screwdriver to remove the old faucet from the sink and disconnect it from the water supply. 4. Install the New Faucet: Follow the manufacturer's instructions to install the new faucet, making sure all connections are secure. 5. Turn on the Water Supply: Turn the water supply back on and check for any leaks. How to Replace a Leaking Moen Bathroom Faucet Under the Sink


How to Replace a Leaking Moen Bathroom Faucet Under the Sink

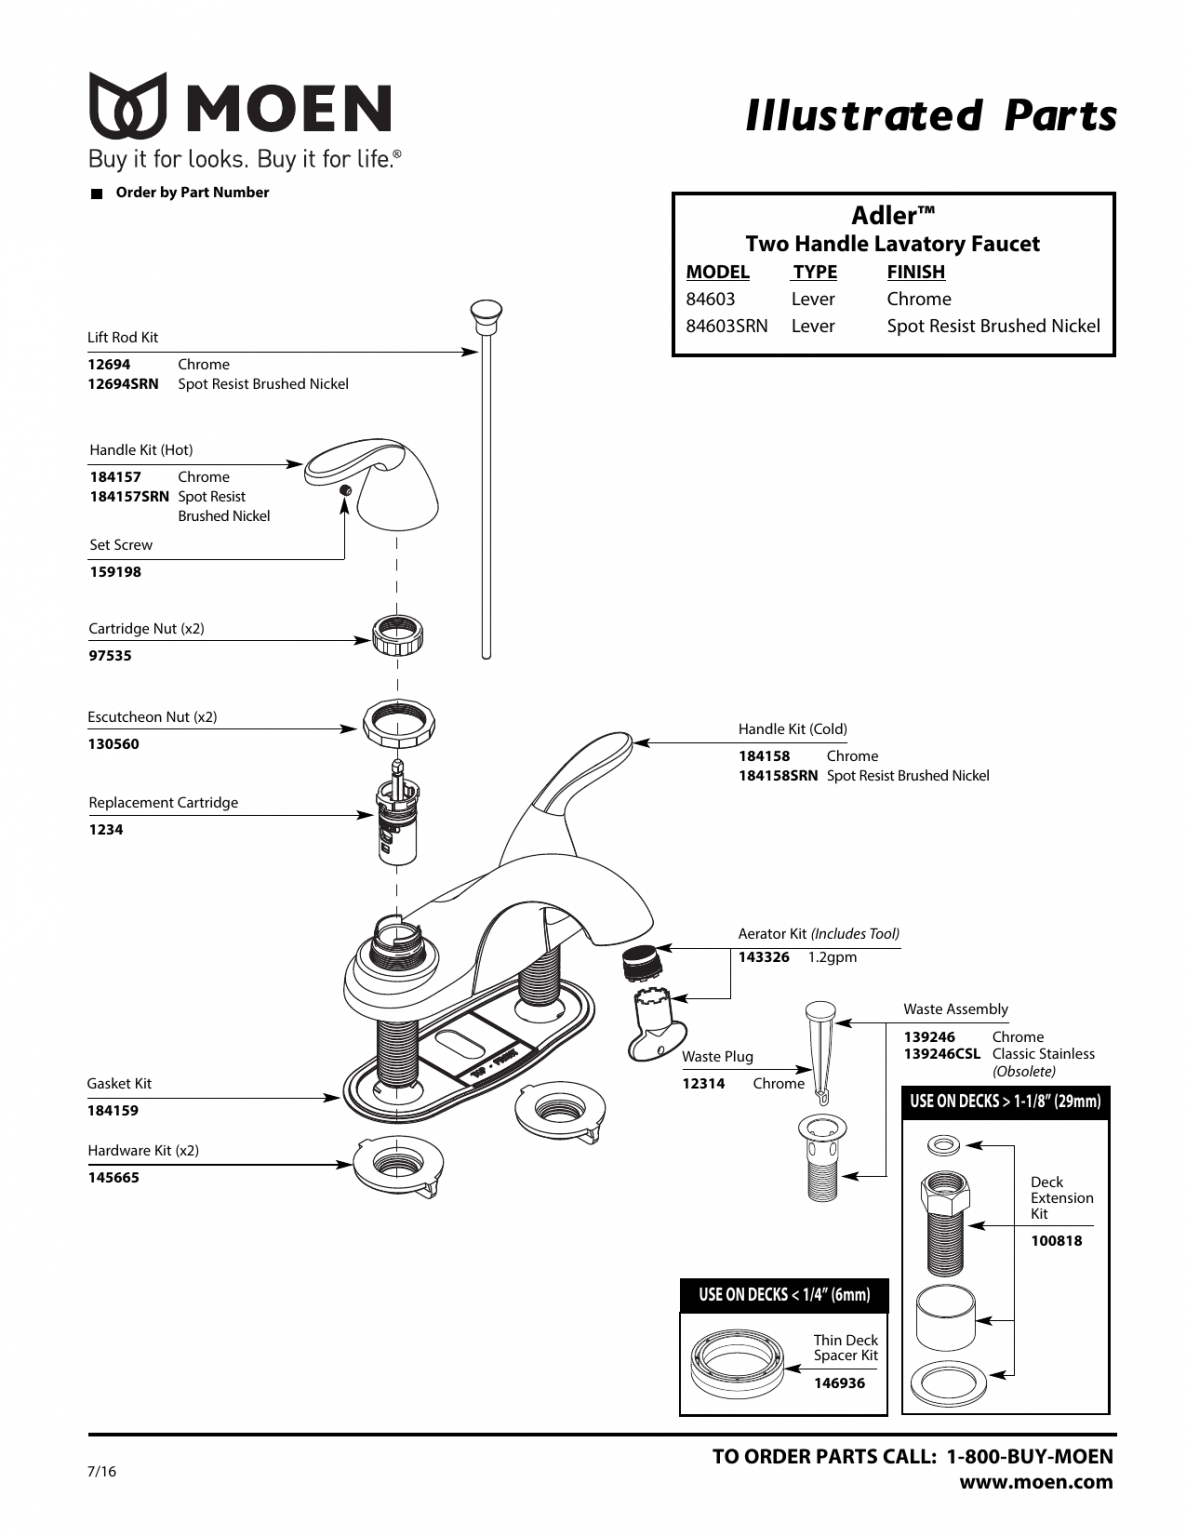
To effectively fix a leaking Moen bathroom faucet under the sink, it's important to understand the different parts that make up the faucet. Here are the main parts you will need to know: 1. Handle: The handle is the part of the faucet that controls the water flow and temperature. 2. Cartridge: The cartridge is the part of the faucet that controls the flow of water. It is usually located under the handle. 3. O-ring: The O-ring is a small rubber ring that helps to create a seal and prevent leaks. 4. Valve Seat: The valve seat is the connection between the faucet and the spout. If it is corroded or damaged, it can cause leaks. 5. Supply Line: The supply line is the pipe that connects the faucet to the water supply. Understanding the Parts of a Moen Bathroom Faucet to Fix a Leak Under the Sink

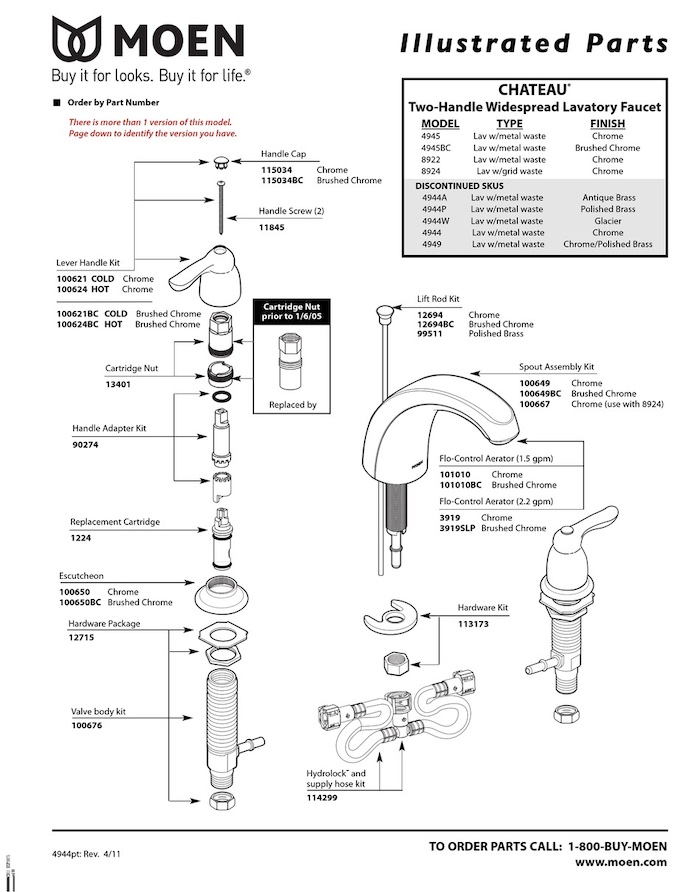
Understanding the Parts of a Moen Bathroom Faucet to Fix a Leak Under the Sink


If you are not comfortable or skilled in fixing a leaking Moen bathroom faucet under the sink, it's best to call a professional plumber. They have the expertise and tools to fix the issue quickly and effectively, ensuring that the problem is resolved and any potential damage is avoided. Don't hesitate to seek professional help if needed. In conclusion, a leaking Moen bathroom faucet under the sink can be a frustrating and potentially damaging issue. However, with the right knowledge and tools, you can effectively fix the problem and prevent future leaks. Use the tips and steps outlined in this article to address a leaking Moen bathroom faucet and enjoy a fully functional and leak-free faucet once again. Professional Plumbing Services for Fixing a Leaking Moen Bathroom Faucet Under the Sink

Professional Plumbing Services for Fixing a Leaking Moen Bathroom Faucet Under the Sink

How to Fix a Leaking Moen Bathroom Faucet Under Your Sink

Identifying the Issue
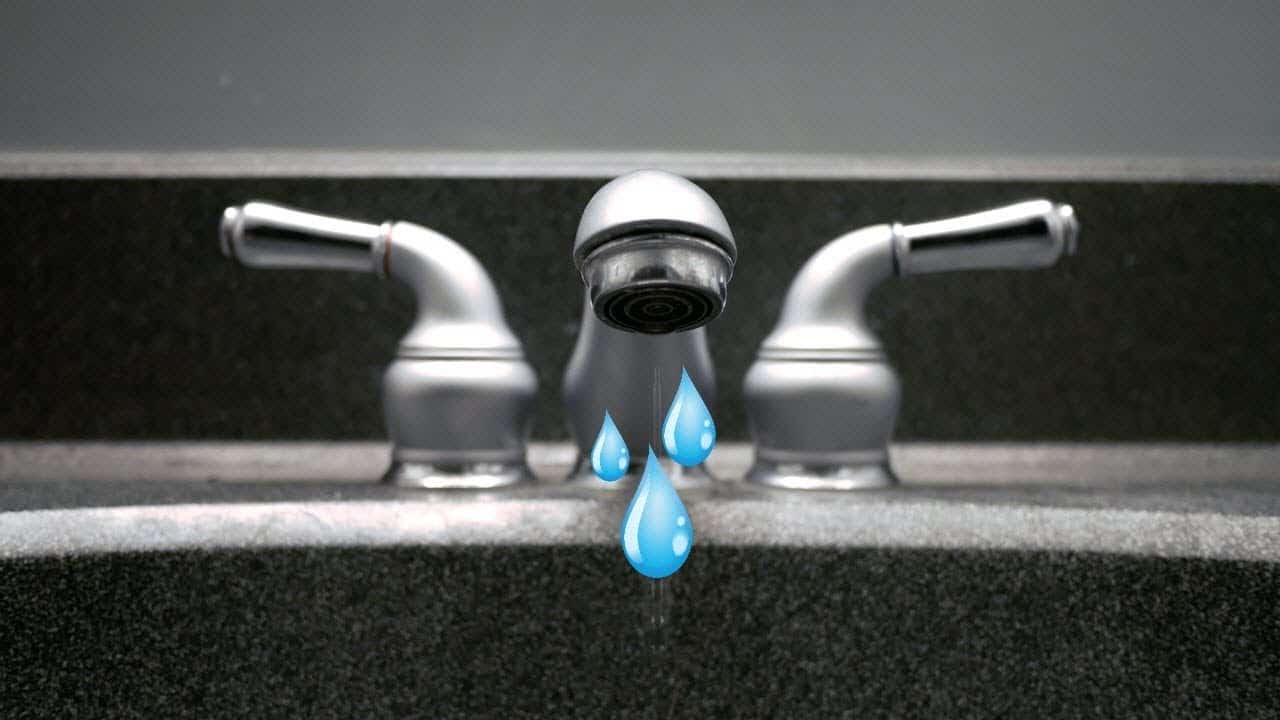
 If you have noticed water pooling under your bathroom sink, chances are your Moen faucet is leaking. This can be a frustrating and inconvenient issue, but with the right tools and knowledge, it can be easily fixed. Before diving into the repair process, it is important to first identify the source of the leak. There are a few common causes of a leaking Moen bathroom faucet, such as a worn out cartridge, a loose connection, or a damaged seal. By pinpointing the problem, you can save time and ensure the proper fix.
Tools and Materials Needed
 To fix a leaking Moen bathroom faucet, you will need a few tools and materials. These include a screwdriver, adjustable wrench, replacement cartridge, pliers, and plumber's tape. It is also helpful to have a towel or rag on hand to clean up any water that may spill during the repair process.
Step-by-Step Repair Process
 Step 1:
Begin by turning off the water supply to your bathroom sink. This can usually be done by turning the shut-off valves located under the sink in a clockwise direction.
Step 2:
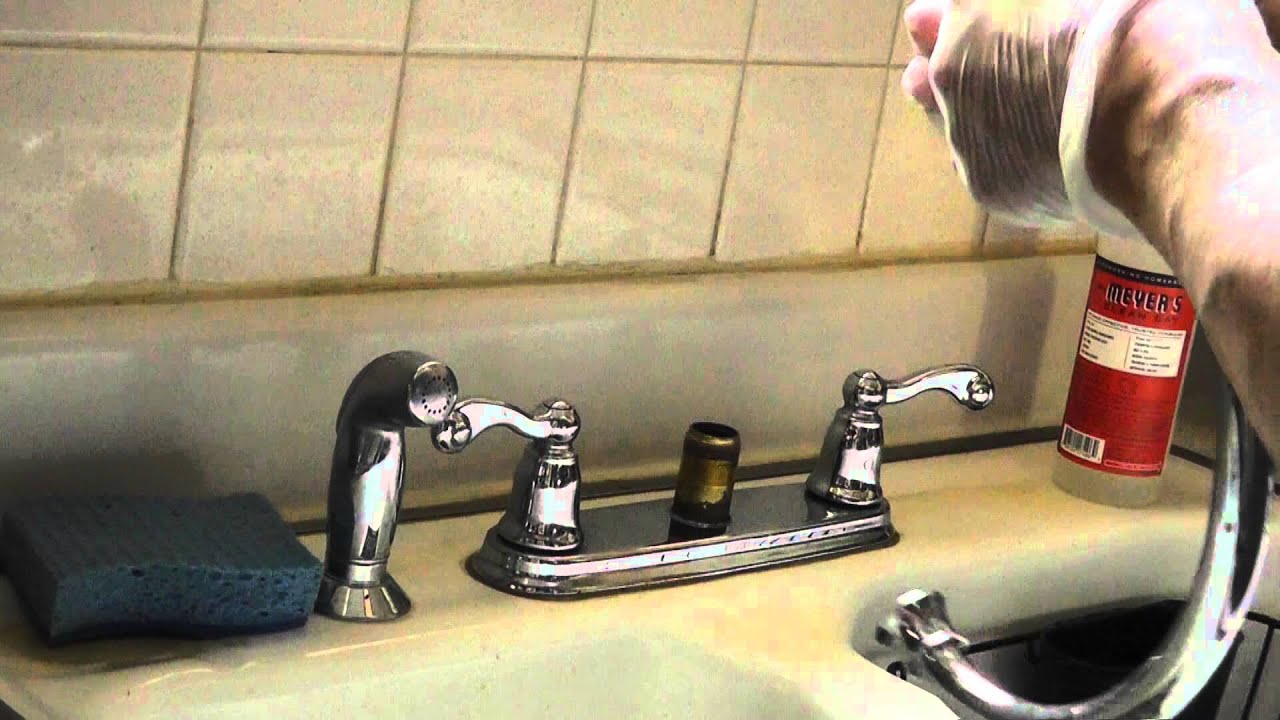
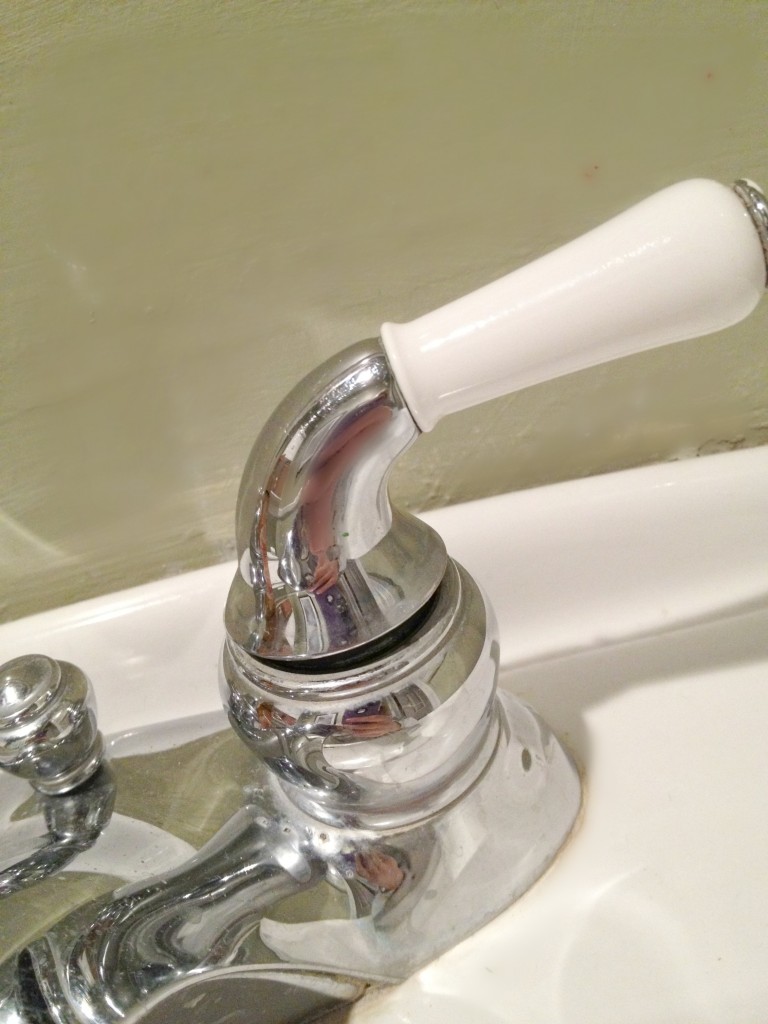
Next, remove the handle of your Moen faucet by unscrewing the set screw located on the back of the handle. Use a screwdriver to loosen and remove the screw, then pull the handle off.
Step 3:
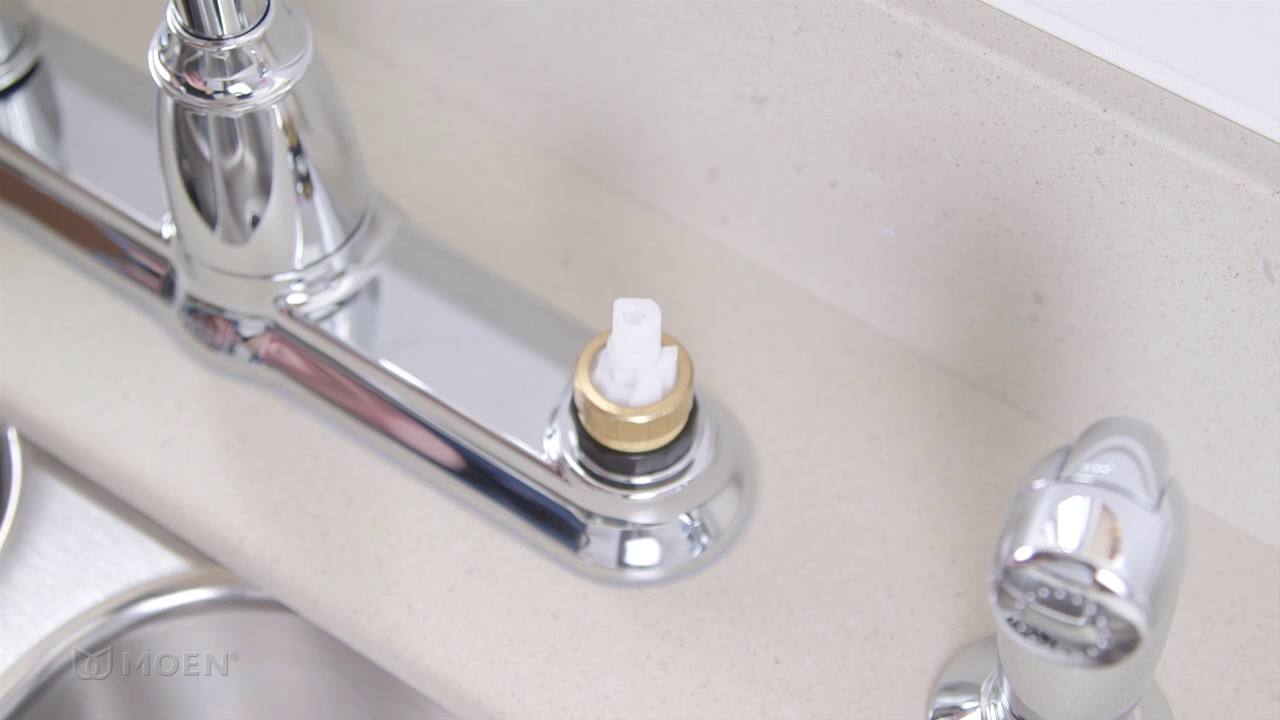
Once the handle is removed, use an adjustable wrench to loosen and remove the retaining nut. This nut holds the cartridge in place and may require some force to loosen.
Step 4:
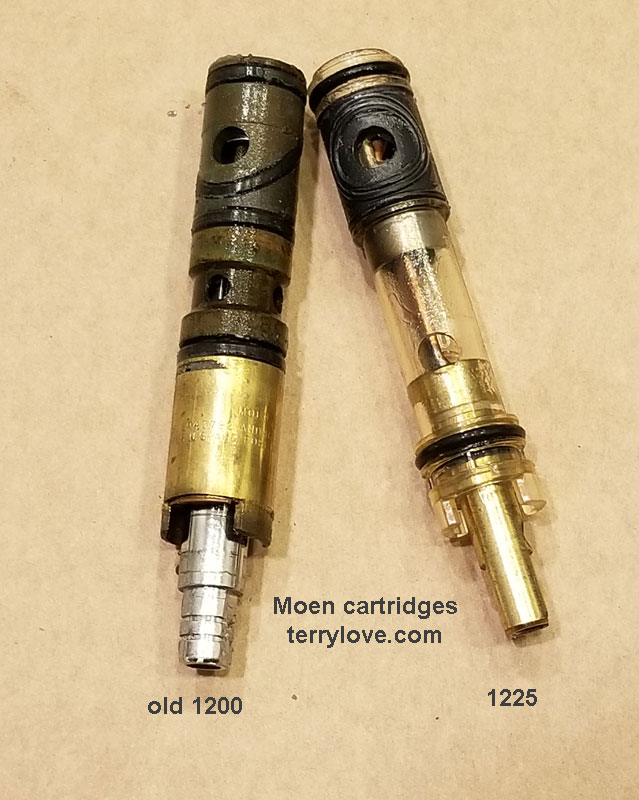
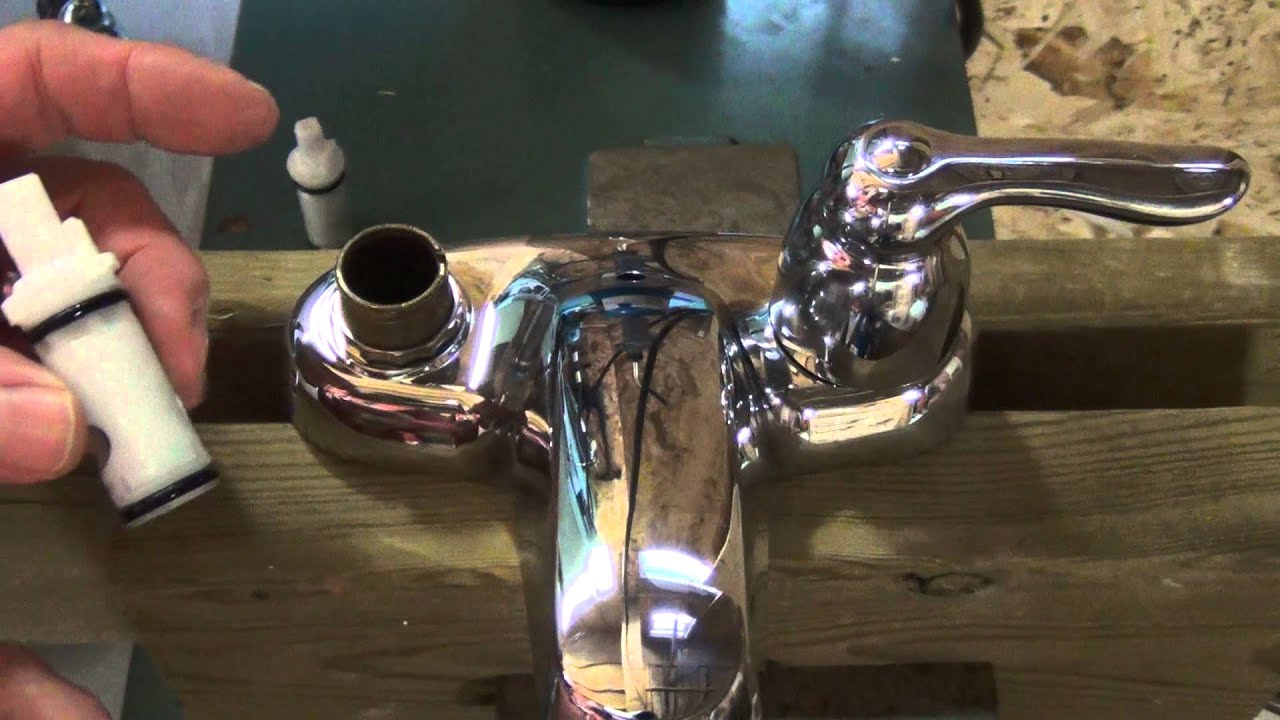
With the retaining nut removed, you can now pull out the old cartridge. Inspect it for any signs of damage or wear and tear, and if needed, replace it with a new one.
Step 5:
Before installing the new cartridge, wrap plumber's tape around the threads of the valve to create a tighter seal.
Step 6:
Insert the new cartridge into the valve and secure it with the retaining nut. Use your wrench to tighten the nut and ensure a secure fit.
Step 7:
Reattach the handle by aligning it with the valve and screwing the set screw back in place. Give it a tight turn to ensure it is secure.
Step 8:
Finally, turn the water supply back on and test your faucet for any leaks. If there are still signs of leaking, check the connections and seals to make sure they are properly secured.
Step 1:
Begin by turning off the water supply to your bathroom sink. This can usually be done by turning the shut-off valves located under the sink in a clockwise direction.
Step 2:
Next, remove the handle of your Moen faucet by unscrewing the set screw located on the back of the handle. Use a screwdriver to loosen and remove the screw, then pull the handle off.
Step 3:
Once the handle is removed, use an adjustable wrench to loosen and remove the retaining nut. This nut holds the cartridge in place and may require some force to loosen.
Step 4:
With the retaining nut removed, you can now pull out the old cartridge. Inspect it for any signs of damage or wear and tear, and if needed, replace it with a new one.
Step 5:
Before installing the new cartridge, wrap plumber's tape around the threads of the valve to create a tighter seal.
Step 6:
Insert the new cartridge into the valve and secure it with the retaining nut. Use your wrench to tighten the nut and ensure a secure fit.
Step 7:
Reattach the handle by aligning it with the valve and screwing the set screw back in place. Give it a tight turn to ensure it is secure.
Step 8:
Finally, turn the water supply back on and test your faucet for any leaks. If there are still signs of leaking, check the connections and seals to make sure they are properly secured.
Conclusion
 By following these simple steps, you can easily fix a leaking Moen bathroom faucet under your sink. It is important to regularly check and maintain your faucets to prevent any future leaks and ensure they are functioning properly. Taking care of small repairs like this can save you time and money in the long run, and keep your bathroom looking and functioning its best.