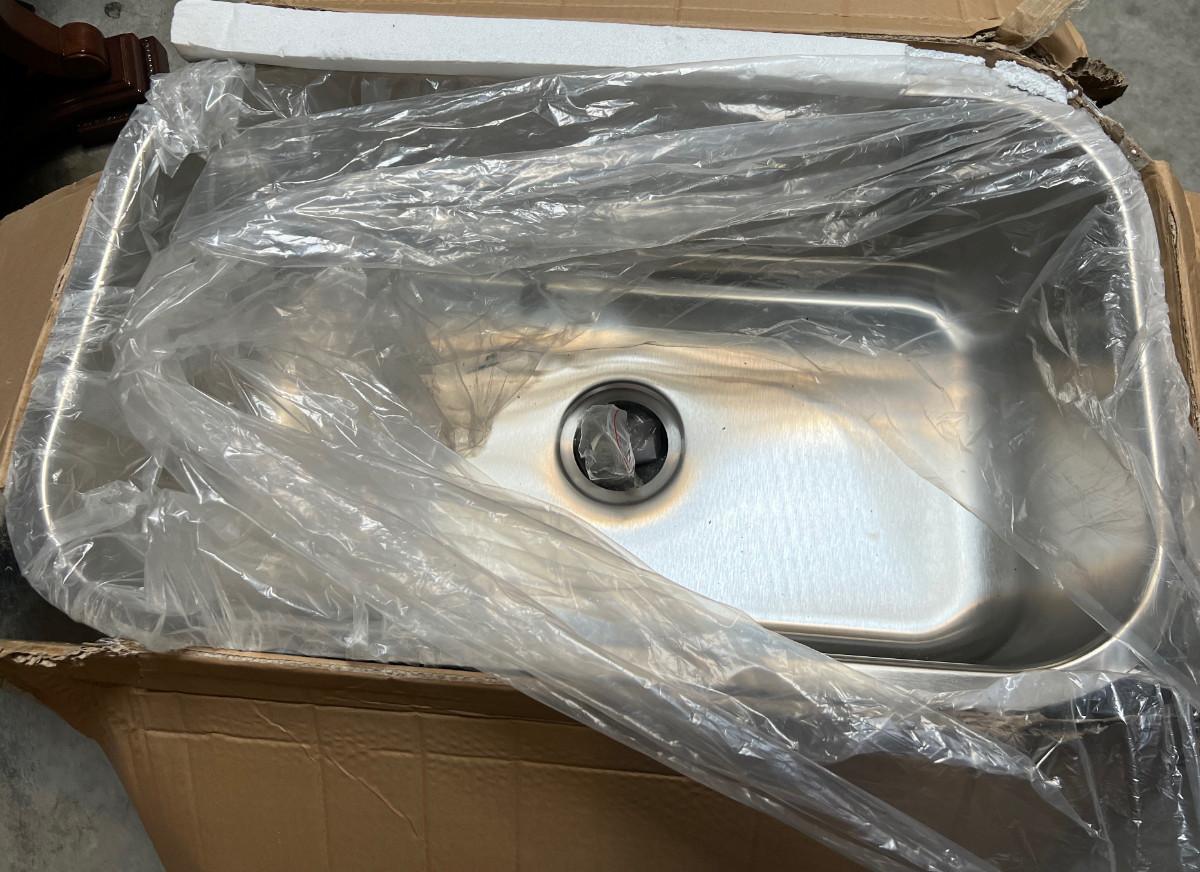
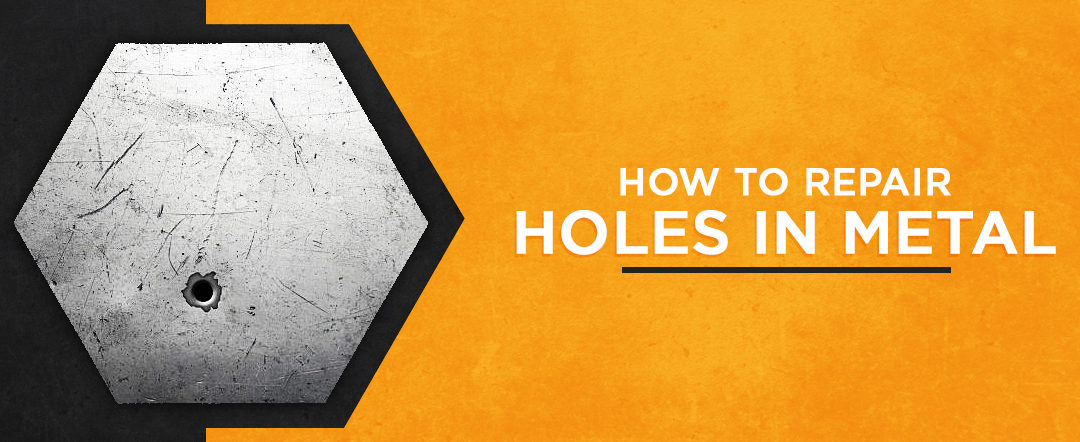
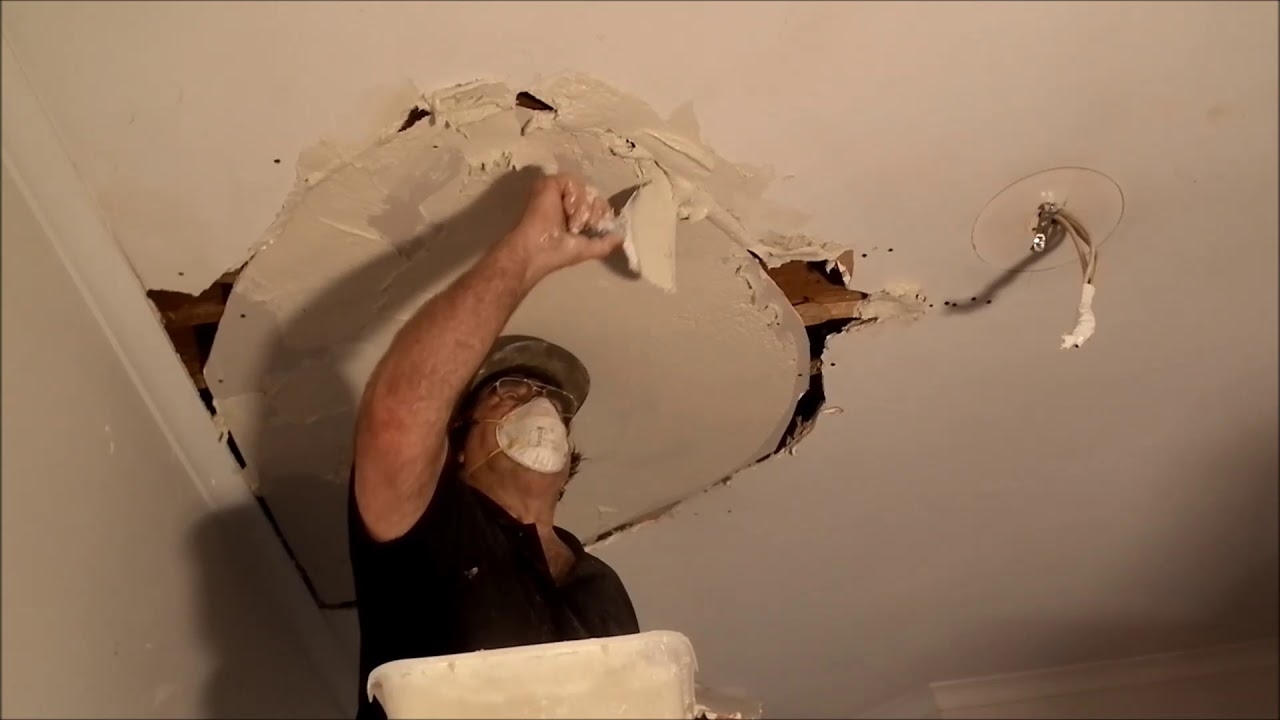
If you have noticed a hole in your stainless steel sink, don't panic. It may seem like a major problem, but it can actually be easily fixed. Here's a step-by-step guide on how to repair a hole in a stainless steel sink: Step 1: Assess the Damage The first thing you need to do is to carefully assess the size and depth of the hole. This will determine the method you will use for the repair. If the hole is small and shallow, you can easily fix it with a simple patch. But if the hole is larger and deeper, you may need to use a more extensive repair method. Step 2: Gather Your Materials Once you have assessed the damage, gather all the necessary materials for the repair. This may include a patching kit, epoxy, sandpaper, and a putty knife. Step 3: Clean the Area Clean the area around the hole with a mild detergent and water. This will ensure that the patch or epoxy will adhere properly to the sink surface. Step 4: Apply the Patch or Epoxy If you are using a patching kit, follow the instructions on the package to apply it over the hole. If you are using epoxy, mix it according to the instructions and apply it over the hole using a putty knife. Make sure to smooth out the surface and remove any excess epoxy. Step 5: Let it Dry Allow the patch or epoxy to dry completely before using the sink again. This can take anywhere from a few hours to a full day, depending on the product you used. Step 6: Sand and Polish Once the patch or epoxy has completely dried, use sandpaper to smooth out the surface and make it even with the rest of the sink. Then, polish the area to blend it in with the rest of the sink.1. How to Repair a Hole in a Stainless Steel Sink


1. How to Repair a Hole in a Stainless Steel Sink


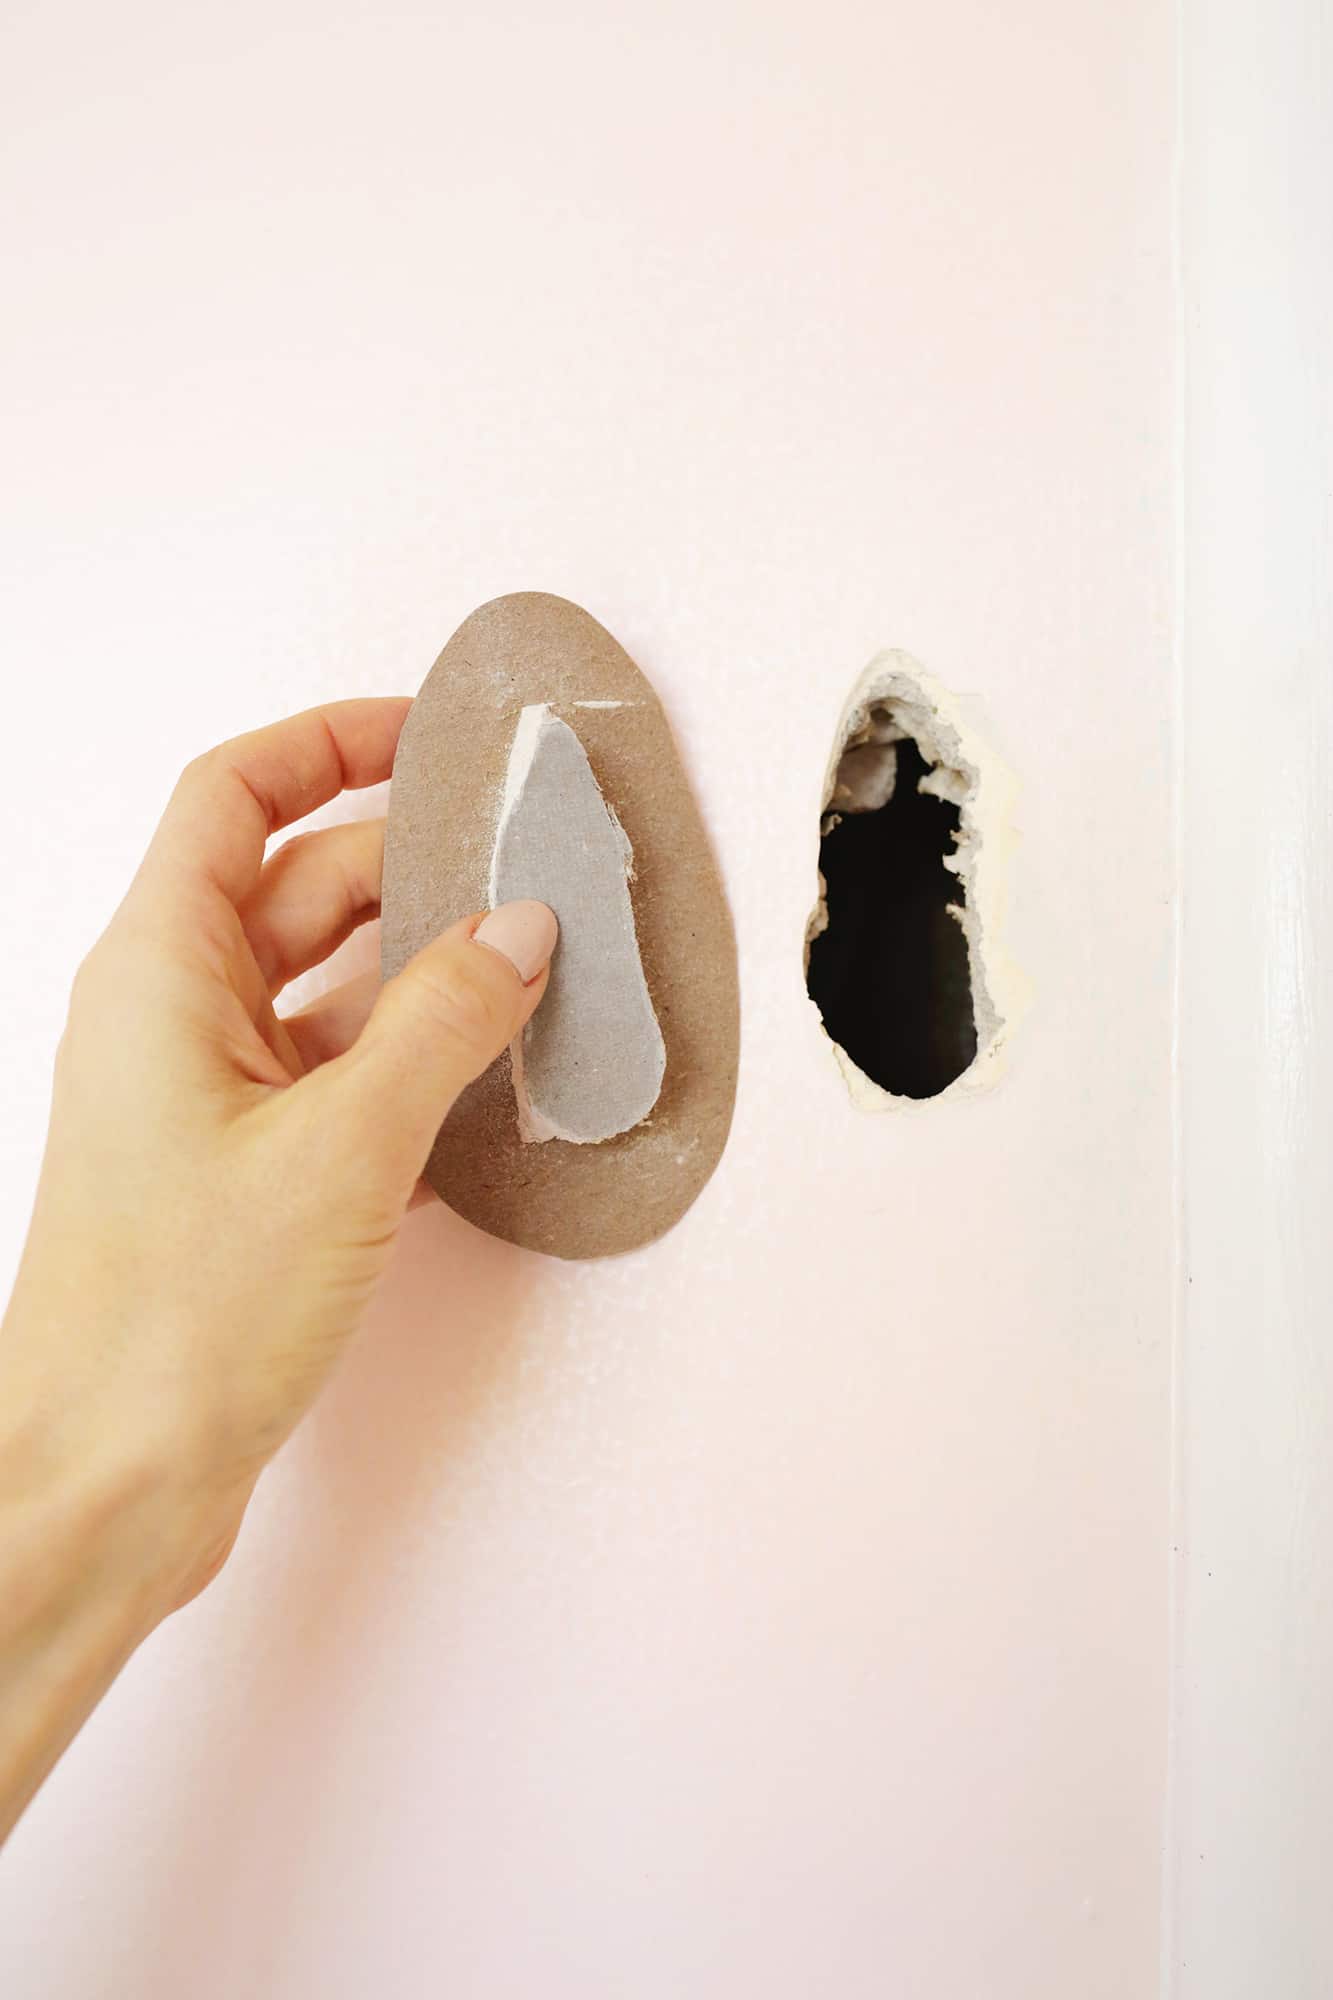
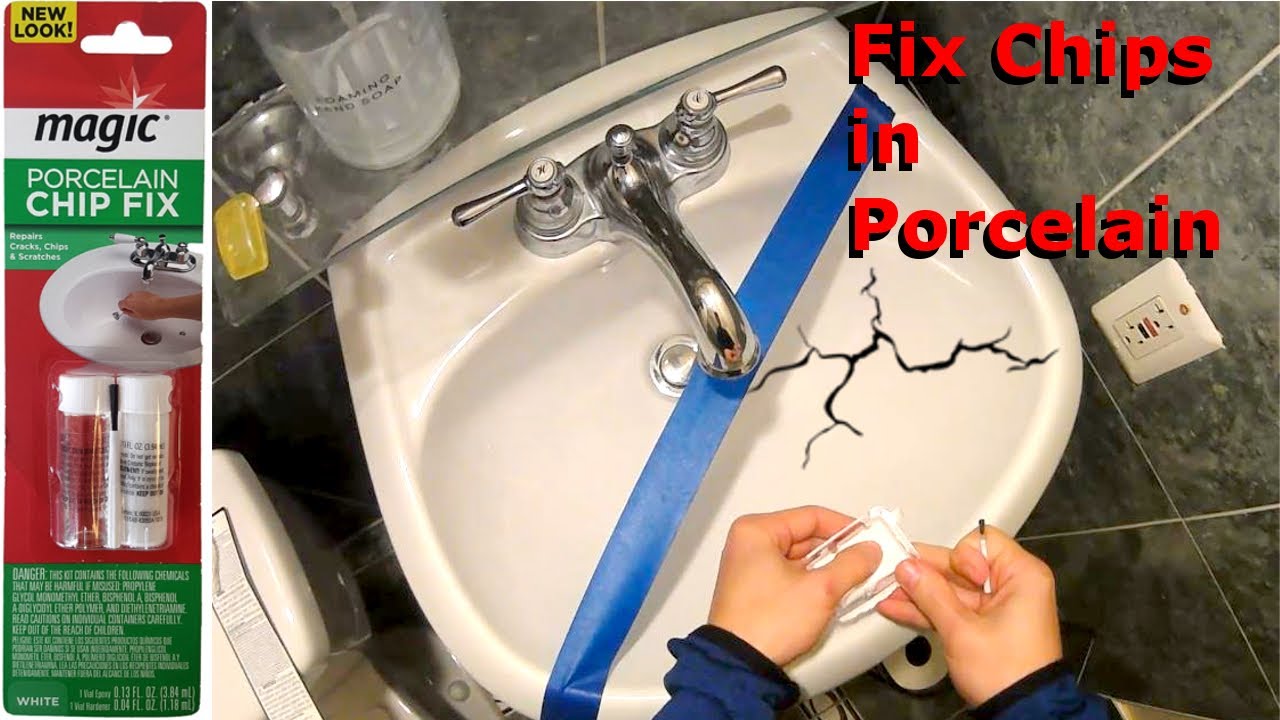
Porcelain sinks are known for their durability and beauty, but they can still get damaged over time. If you have a hole in your porcelain sink, you can easily fix it yourself with some basic materials and tools. Here's how to fix a hole in a porcelain sink: Step 1: Gather Your Materials You will need a porcelain repair kit, which usually includes a filler compound, sandpaper, and a brush. You will also need a putty knife, a damp cloth, and some masking tape. Step 2: Clean the Area Before starting the repair, make sure to clean the area around the hole with a mild detergent and water. This will ensure that the filler compound will adhere properly. Step 3: Apply the Filler Compound Use the putty knife to apply the filler compound over the hole. Make sure to fill the hole completely and smooth out the surface. Use the damp cloth to wipe away any excess compound. Step 4: Let it Dry Allow the filler compound to dry completely. This can take a few hours, depending on the product you used. Step 5: Sand and Polish Once the filler compound has dried, use sandpaper to smooth out the surface and make it even with the rest of the sink. Then, polish the area to blend it in with the rest of the sink. Step 6: Remove the Masking Tape Once the repair is complete, carefully remove the masking tape. This will reveal a clean and polished repair.2. DIY Kitchen Sink Repair: How to Fix a Hole in a Porcelain Sink


2. DIY Kitchen Sink Repair: How to Fix a Hole in a Porcelain Sink


Discovering a hole in your kitchen sink can be a stressful experience, especially if you are not sure how to fix it. But fear not, as there is a quick and easy fix for a hole in the kitchen sink. Here's what you need to do: Step 1: Clean the Area The first thing you need to do is to clean the area around the hole with a mild detergent and water. This will ensure that the repair material will adhere properly. Step 2: Apply Epoxy Use a putty knife to apply epoxy over the hole. Make sure to fill the hole completely and smooth out the surface. Remove any excess epoxy with a damp cloth. Step 3: Let it Dry Allow the epoxy to dry completely. This can take a few hours, depending on the product you used. Step 4: Sand and Polish Once the epoxy has dried, use sandpaper to smooth out the surface and make it even with the rest of the sink. Then, polish the area to blend it in with the rest of the sink.3. Quick and Easy Fix for a Hole in the Kitchen Sink


3. Quick and Easy Fix for a Hole in the Kitchen Sink


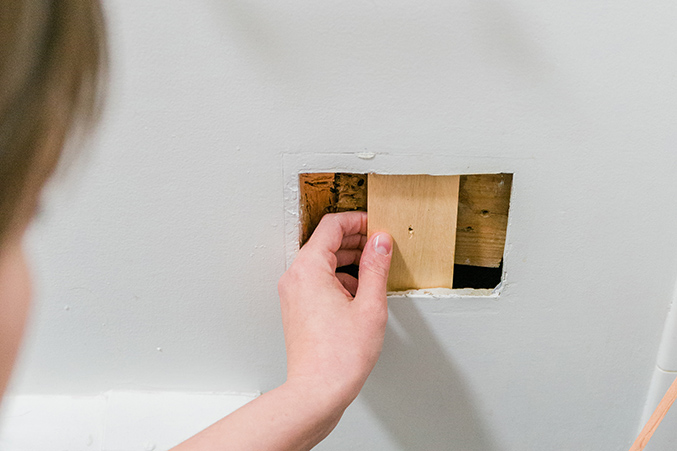
If you have a hole in your sink, don't rush to replace the entire unit. With the right materials and techniques, you can easily patch a hole in a sink. Here's how: Step 1: Gather Your Materials You will need a sink patching kit, which usually includes a patching compound, sandpaper, and a putty knife. You will also need a damp cloth and some masking tape. Step 2: Clean the Area Clean the area around the hole with a mild detergent and water. This will ensure that the patching compound will adhere properly. Step 3: Apply the Patching Compound Use the putty knife to apply the patching compound over the hole. Make sure to fill the hole completely and smooth out the surface. Use the damp cloth to wipe away any excess compound. Step 4: Let it Dry Allow the patching compound to dry completely. This can take a few hours, depending on the product you used. Step 5: Sand and Polish Once the patching compound has dried, use sandpaper to smooth out the surface and make it even with the rest of the sink. Then, polish the area to blend it in with the rest of the sink. Step 6: Remove the Masking Tape Carefully remove the masking tape to reveal a clean and polished repair.4. How to Patch a Hole in a Sink


4. How to Patch a Hole in a Sink


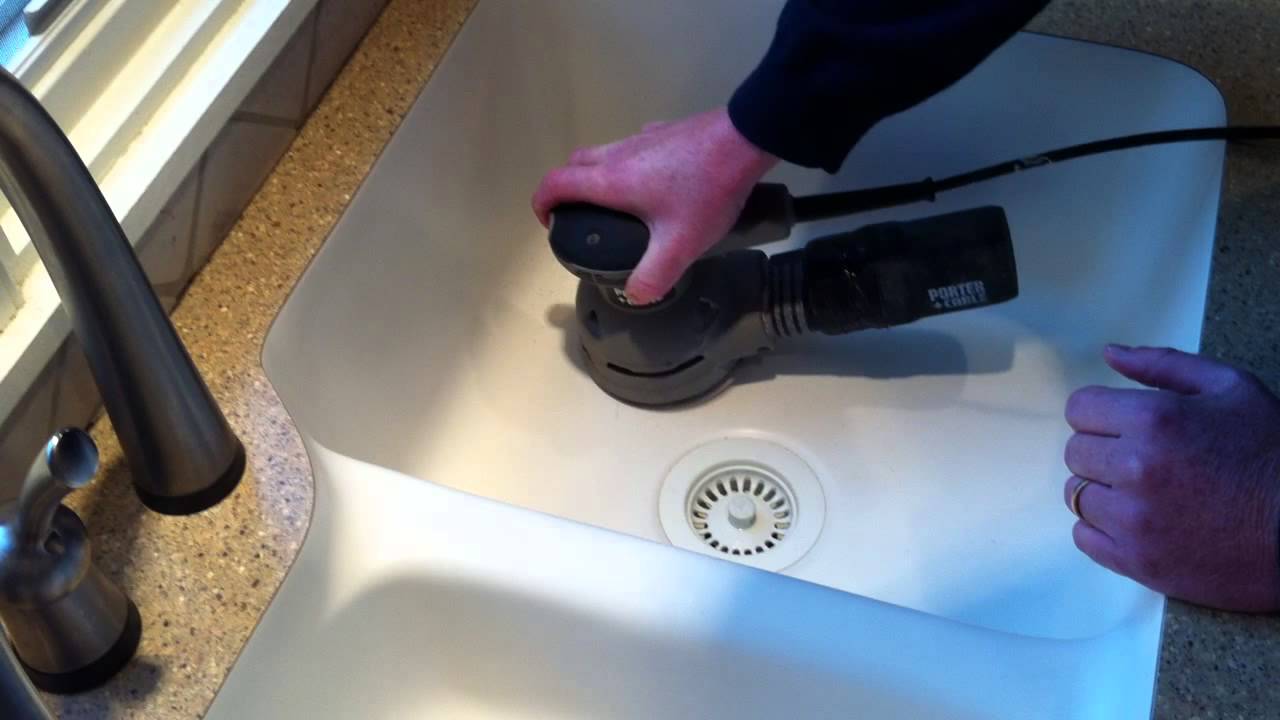
A hole in your sink may seem like a major problem, but it can actually be easily fixed with the right techniques. Here's how to fix a hole in a sink: Step 1: Assess the Damage First, assess the size and depth of the hole to determine the best repair method. Step 2: Gather Your Materials Gather all the necessary materials for the repair, which may include a patching kit, epoxy, and sandpaper. Step 3: Clean the Area Clean the area around the hole with a mild detergent and water to ensure proper adhesion of the repair material. Step 4: Apply the Repair Material Follow the instructions on the product you are using and apply the repair material over the hole. Smooth out the surface and remove any excess material. Step 5: Let it Dry Allow the repair material to dry completely before using the sink again. Step 6: Sand and Polish Once the repair has dried, use sandpaper to smooth out the surface and polish it to blend it in with the rest of the sink.5. Sink Repair: How to Fix a Hole in a Sink


5. Sink Repair: How to Fix a Hole in a Sink


Having a hole in your kitchen sink can be a nuisance, but it can be easily fixed with the right tools and techniques. Here's how to fix a hole in a sink: Step 1: Assess the Damage Determine the size and depth of the hole to choose the appropriate repair method. Step 2: Gather Your Materials Gather all the necessary materials, such as a patching kit, epoxy, and sandpaper. Step 3: Clean the Area Thoroughly clean the area around the hole to ensure proper adhesion of the repair material. Step 4: Apply the Repair Material Follow the instructions on the repair product and apply it over the hole. Smooth out the surface and remove any excess material. Step 5: Let it Dry Allow the repair material to dry completely before using the sink again. Step 6: Sand and Polish Once the repair has dried, use sandpaper to smooth out the surface and polish it to blend it in with the rest of the sink.6. Kitchen Sink Repair: How to Fix a Hole in a Sink


6. Kitchen Sink Repair: How to Fix a Hole in a Sink


Ceramic sinks are known for their durability, but they can still get damaged over time. If you have a hole in your ceramic sink, don't worry. Here's how to repair it: Step 1: Gather Your Materials You will need a ceramic repair kit, which usually includes a filler compound, sandpaper, and a brush. You will also need a putty knife, a damp cloth, and some masking tape. Step 2: Clean the Area Clean the area around the hole with a mild detergent and water. This will ensure that the filler compound will adhere properly. Step 3: Apply the Filler Compound Use the putty knife to apply the filler compound over the hole. Make sure to fill the hole completely and smooth out the surface. Use the damp cloth to wipe away any excess compound. Step 4: Let it Dry Allow the filler compound to dry completely. This can take a few hours, depending on the product you used. Step 5: Sand and Polish Once the filler compound has dried, use sandpaper to smooth out the surface and make it even with the rest of the sink. Then, polish the area to blend it in with the rest of the sink. Step 6: Remove the Masking Tape Once the repair is complete, carefully remove the masking tape to reveal a clean and polished repair.7. How to Repair a Hole in a Ceramic Sink


7. How to Repair a Hole in a Ceramic Sink


Discovering a hole in your kitchen sink can be a stressful experience, but it doesn't have to be. With some basic materials and tools, you can easily fix a hole in the kitchen sink. Here's how: Step 1: Clean the Area Before starting the repair, clean the area around the hole with a mild detergent and water. Step 2: Apply Epoxy Use a putty knife to apply epoxy over the hole. Make sure to fill the hole completely and smooth out the surface. Remove any excess epoxy with a damp cloth. Step 3: Let it Dry Allow the epoxy to dry completely. This can take a few hours, depending on the product you used. Step 4: Sand and Polish Once the epoxy has dried, use sandpaper to smooth out the surface and make it even with the rest of the sink. Then, polish the area to blend it in with the rest of the sink.8. Easy DIY Fix for a Hole in the Kitchen Sink


8. Easy DIY Fix for a Hole in the Kitchen Sink


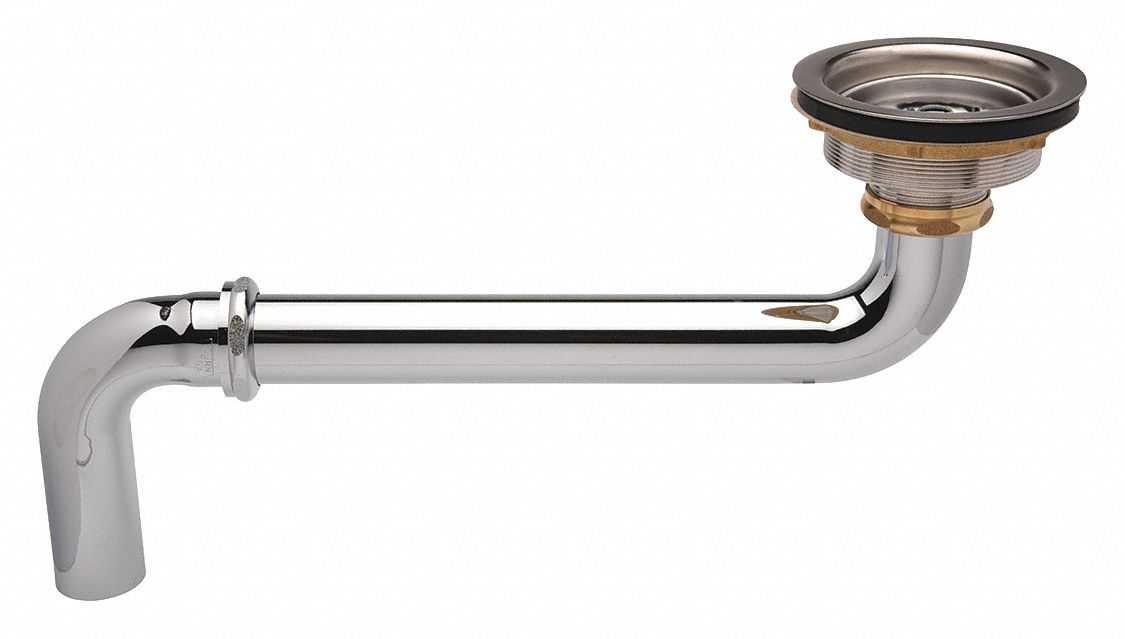
Epoxy is a versatile and strong material that can be used to fix a hole in a sink. Here's how to do it: Step 1: Assess the Damage Determine the size and depth of the hole to choose the appropriate repair method. Step 2: Gather Your Materials You will need epoxy, a putty knife, and sandpaper. Step 3: Clean the Area Thoroughly clean the area around the hole to ensure proper adhesion of the epoxy. Step 4: Apply the Epoxy Follow the instructions on the product and apply the epoxy over the hole. Smooth out the surface and remove any excess material. Step 5: Let it Dry Allow the epoxy to dry completely before using the sink again.9. How to Fix a Hole in a Sink with Epoxy


9. How to Fix a Hole in a Sink with Epoxy


Hole in Kitchen Sink Repair: A Necessary Fix for a Functional Kitchen
The Importance of a Well-Maintained Kitchen Sink
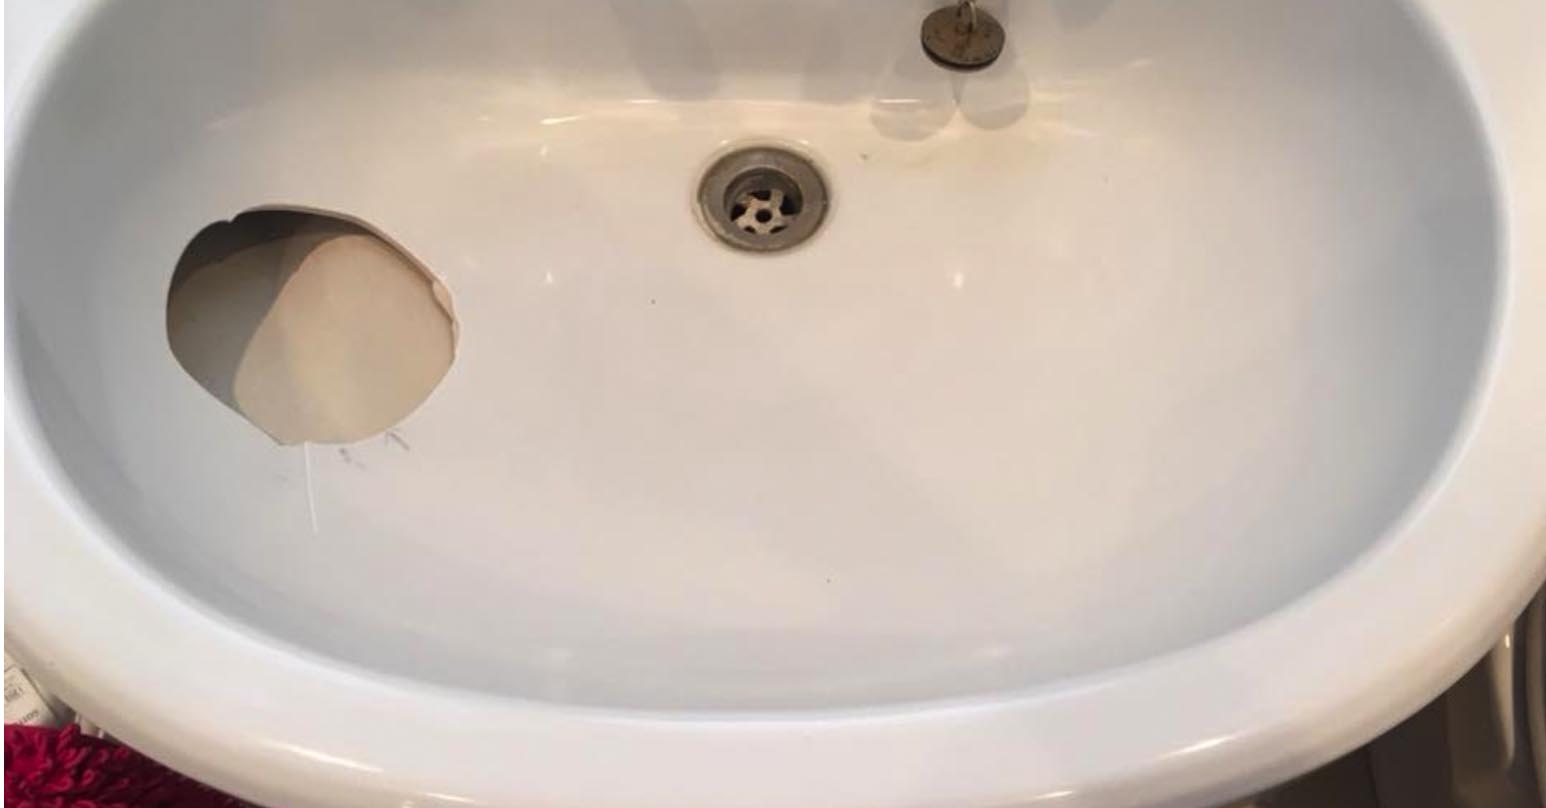
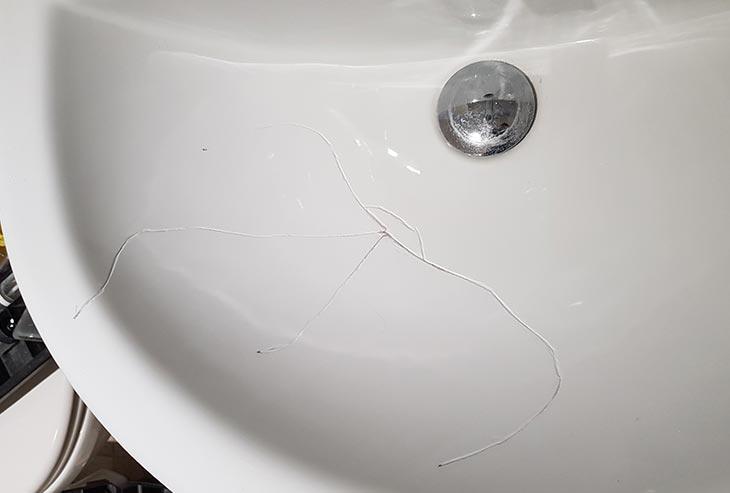
 A kitchen sink is an essential part of any kitchen. It is where we wash our dishes, clean our fruits and vegetables, and even fill up our water bottles. A well-maintained kitchen sink not only keeps our dishes clean but also helps maintain good hygiene in the kitchen. However, even the smallest problem in the sink can cause inconvenience and disrupt the smooth functioning of our daily tasks. One of the most common issues that homeowners face is a hole in the kitchen sink. This can be caused by various reasons such as wear and tear, accidental damage, or poor installation. However, no matter the cause, it is crucial to address this issue immediately to avoid any further damage and ensure a functional kitchen.
The Dangers of Neglecting a Hole in the Kitchen Sink
 At first, a small hole in the kitchen sink may not seem like a big deal. However, ignoring it can lead to more significant problems in the future. A hole in the sink can cause leaks, leading to water damage in the cabinets and countertops. This can weaken the structure of your kitchen and lead to costly repairs. Moreover, if left untreated, the hole can grow bigger, making it even more challenging to fix. It can also become a breeding ground for bacteria, putting your family's health at risk. Therefore, it is essential to address a hole in the kitchen sink as soon as it is noticed.
The Repair Process
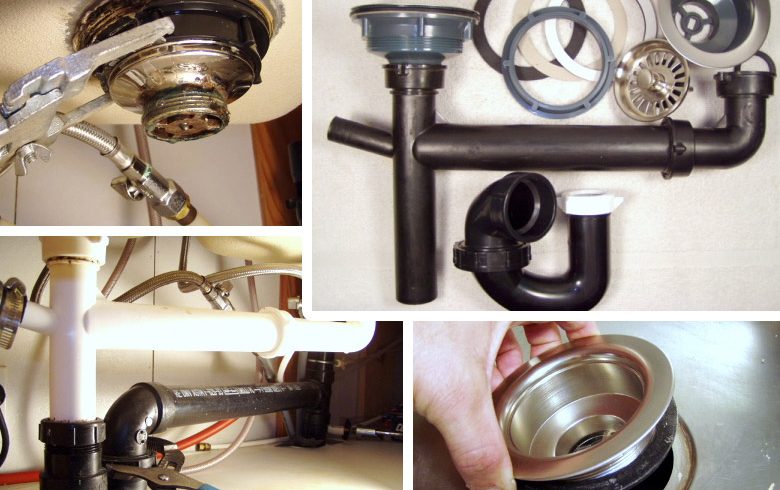
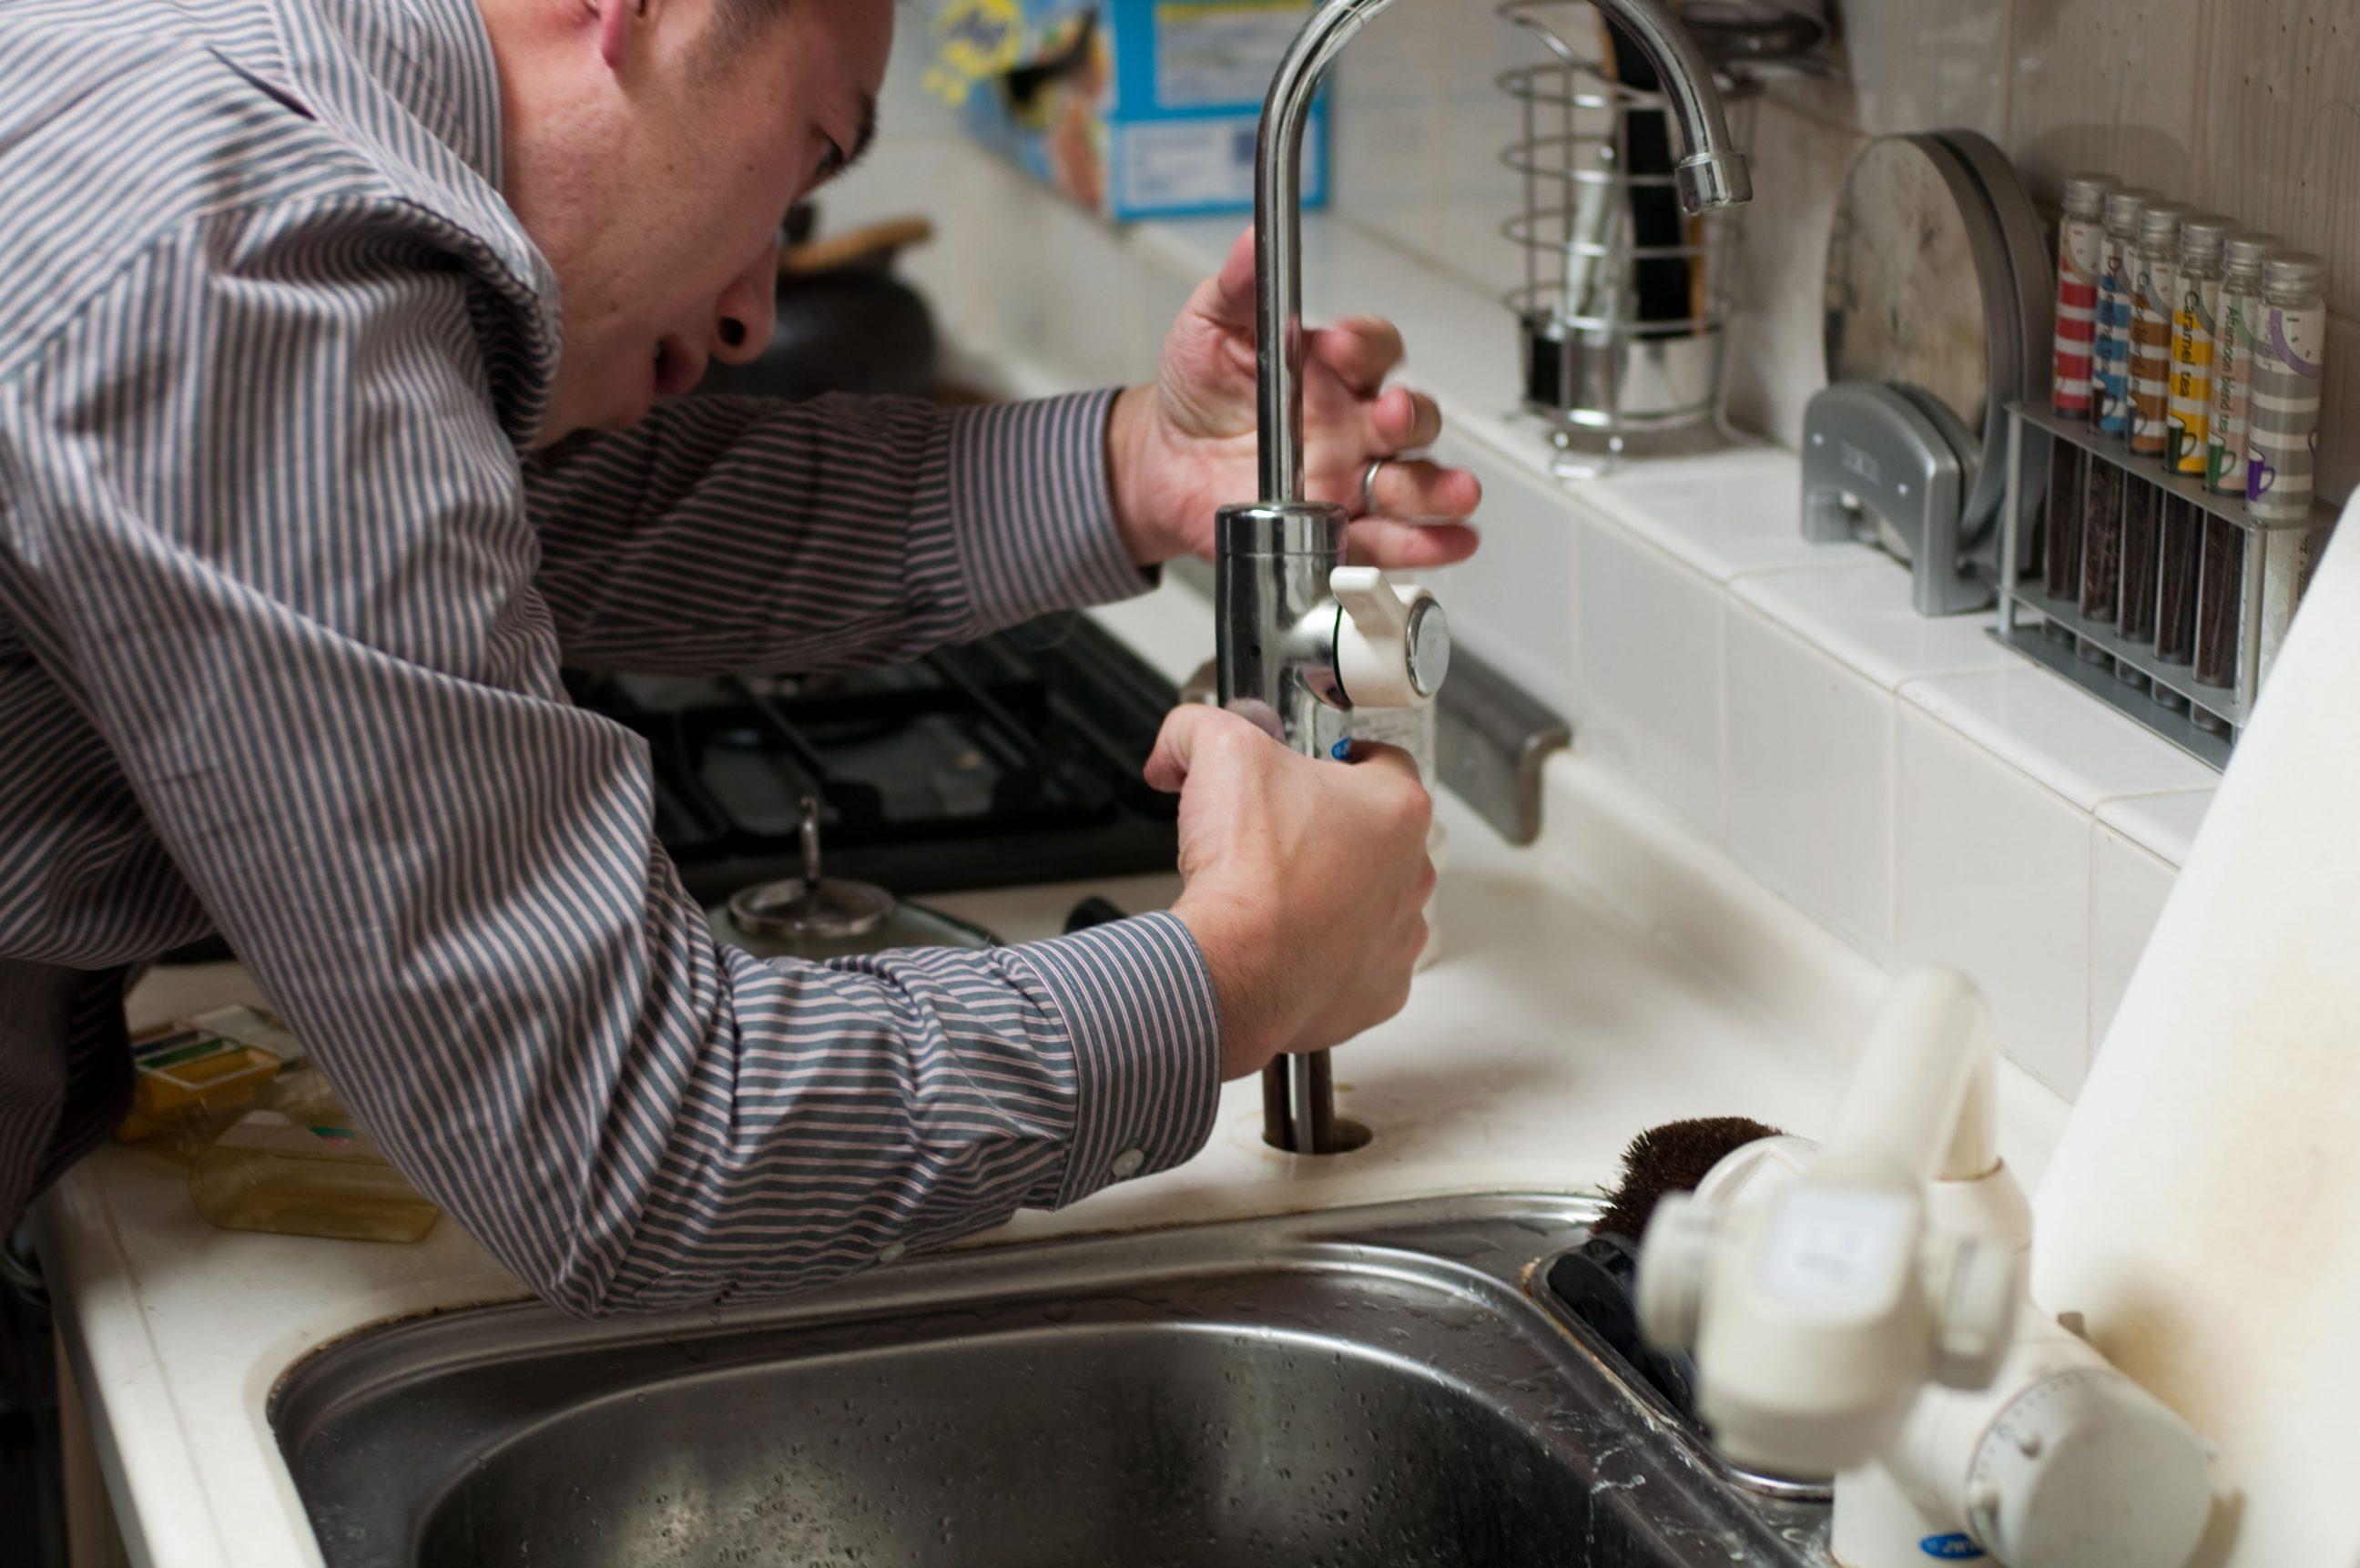
 The repair process for a hole in the kitchen sink depends on the size and severity of the damage. For smaller holes, a quick fix can be done using a patch or epoxy. However, for larger holes, it is best to seek professional help. A skilled plumber can assess the damage and determine the best course of action. They may suggest replacing the sink altogether if the damage is severe. It is essential to hire a reputable and experienced plumber to ensure a proper and long-lasting repair.
Preventative Measures for a Longer-Lasting Sink
 To avoid future holes in the kitchen sink, it is crucial to take preventative measures. Use a cutting board when chopping food to avoid scratches and dents in the sink. Avoid pouring hot oil or boiling water directly into the sink, as this can cause damage. Regularly clean your sink with mild soap and water to prevent any build-up that can lead to corrosion. Additionally, check the sink for any signs of wear and tear and address them promptly.
In Conclusion
 A hole in the kitchen sink may seem like a minor issue, but it can quickly escalate into a more significant problem if left untreated. It is essential to address it immediately to avoid any further damage and maintain a functional and hygienic kitchen. By taking preventative measures and seeking professional help when needed, you can ensure a longer-lasting sink and a hassle-free kitchen experience. Don't let a hole in your kitchen sink bring down the functionality and aesthetics of your kitchen. Take action now and enjoy a well-maintained kitchen for years to come.