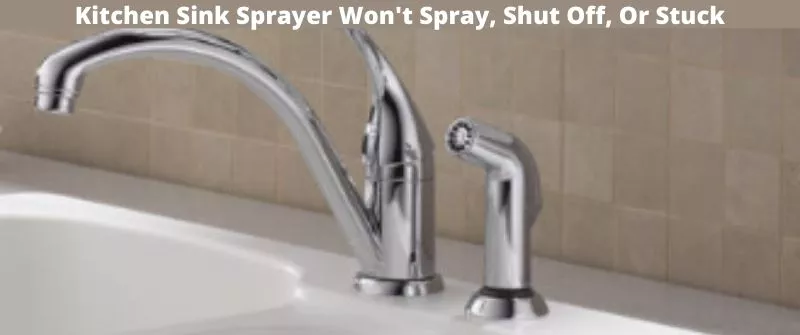
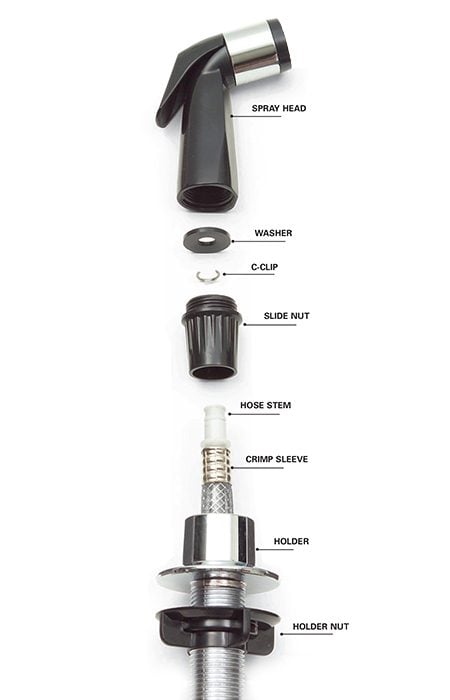
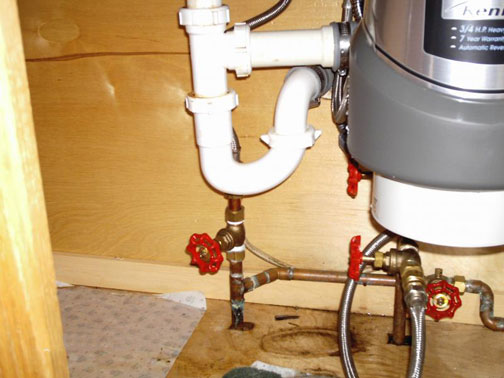
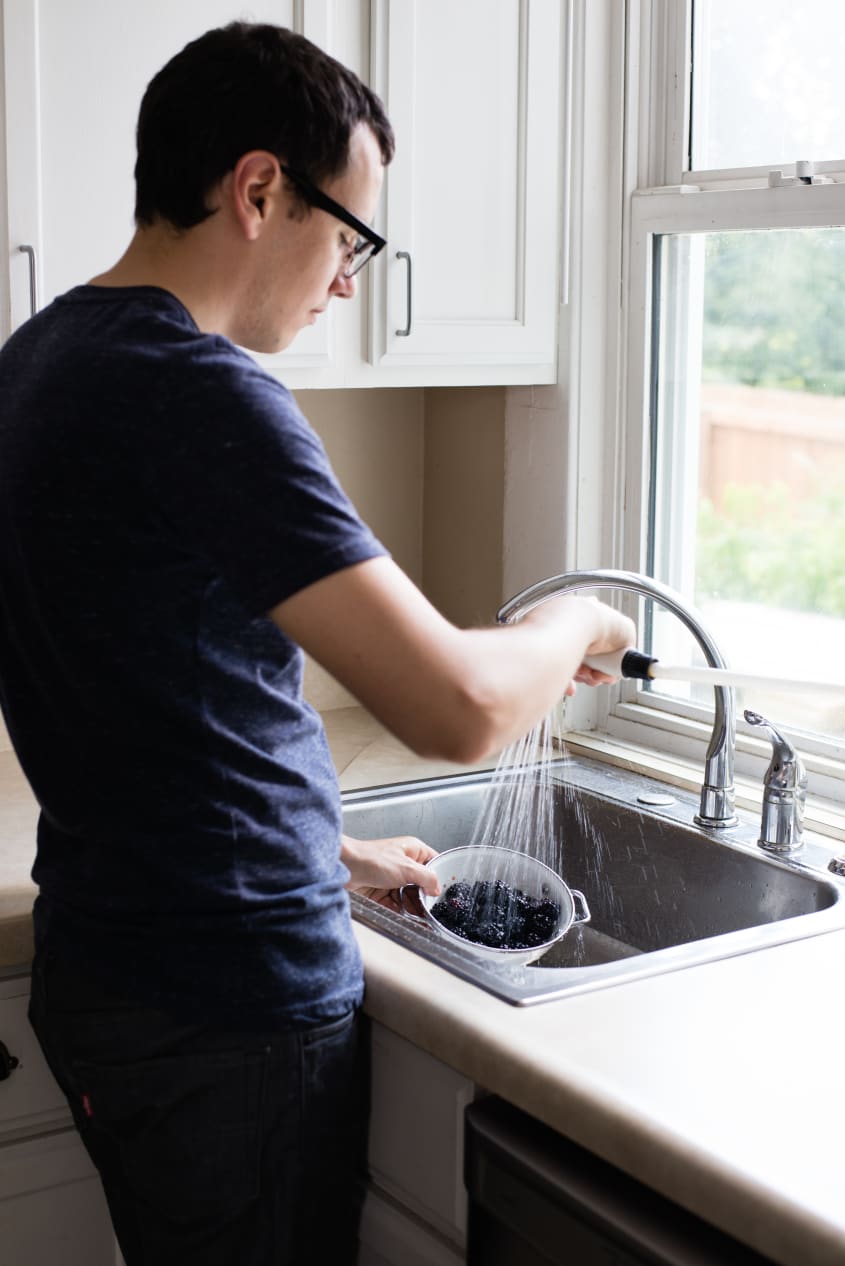
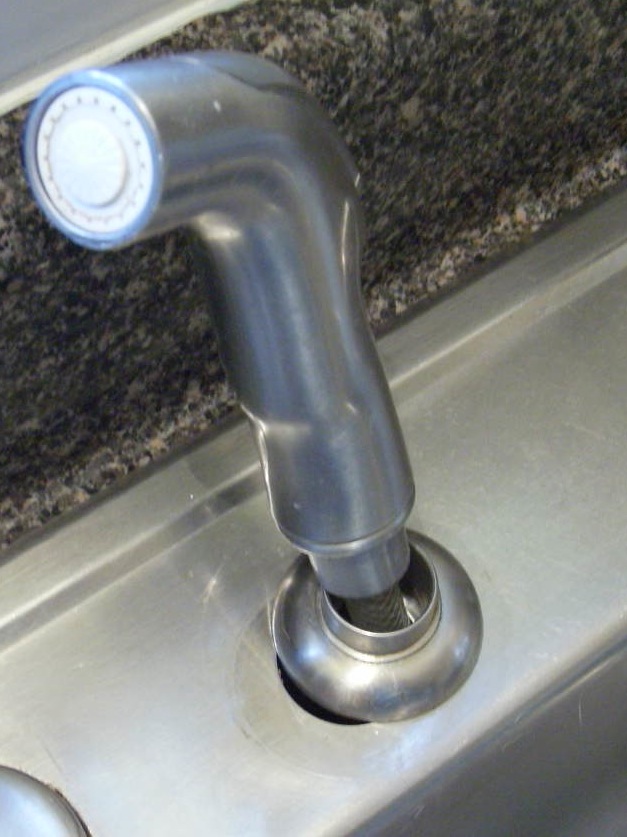
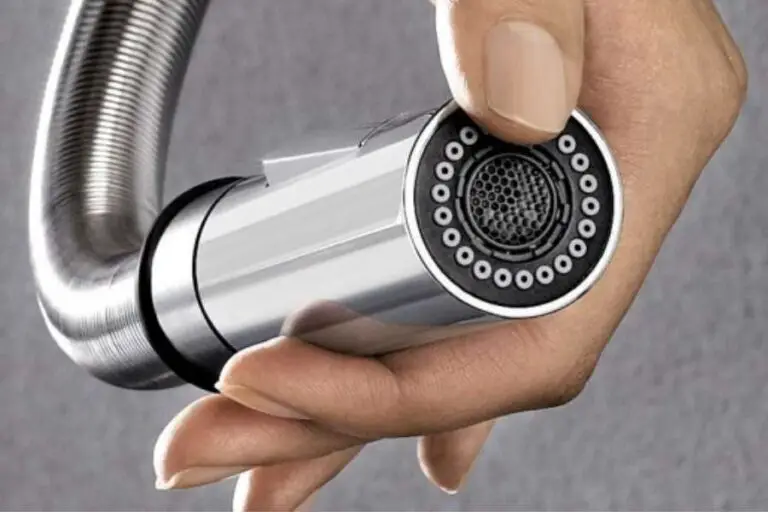
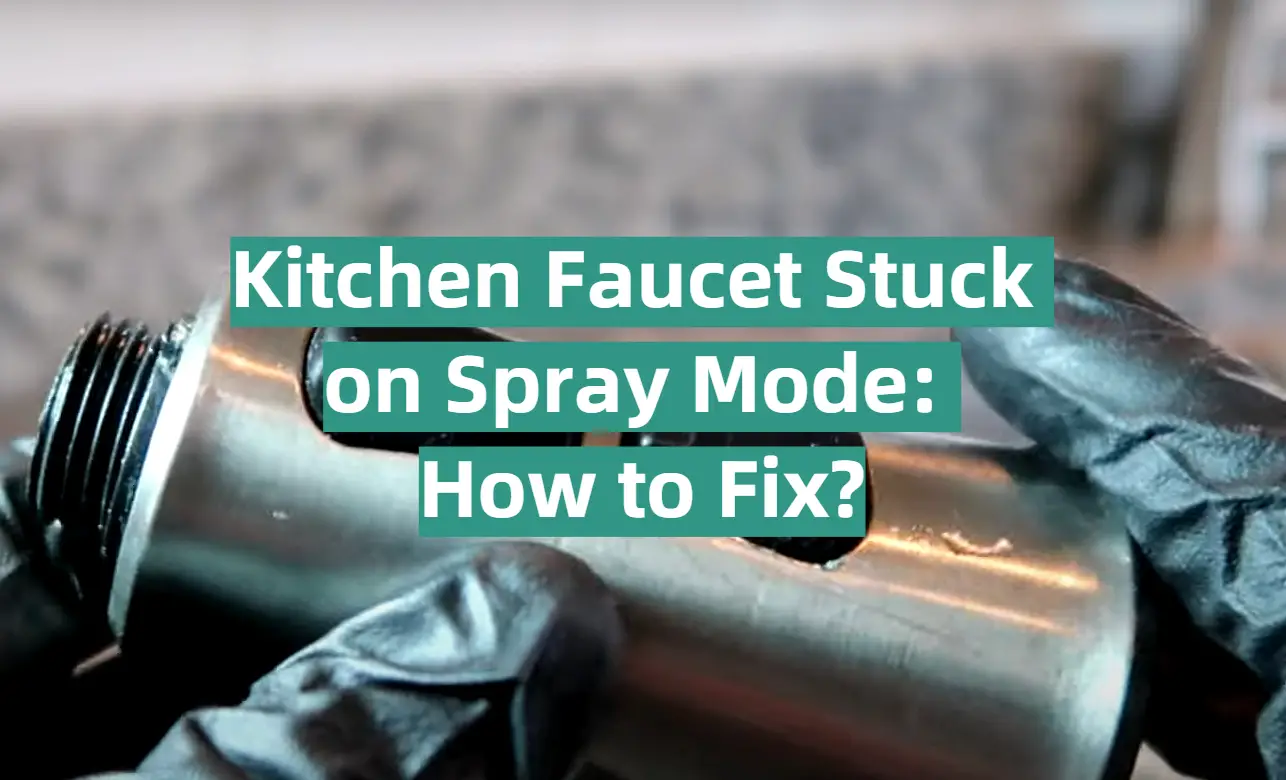
If you're dealing with a kitchen sink sprayer that just won't seem to turn off, you're not alone. This is a common problem that many homeowners face, but luckily, it's also a problem that can be easily fixed with a few simple steps. Whether your sprayer is constantly running or just won't shut off completely, here's how to get it back in working order. Featured Keywords: fix, kitchen sink sprayer, turn off First, start by turning off the water supply to your kitchen sink. This is usually done by turning the shut-off valve located under the sink in a clockwise direction. Next, remove the sprayer head by unscrewing it from the hose. Inspect the sprayer head for any clogs or debris that may be causing it to stay in the on position. If you notice any buildup, clean it out with a small brush or toothpick. Main Keywords: clogs, debris, clean If the sprayer head appears to be clean, the issue may be with the diverter valve. This valve is responsible for redirecting the water from the faucet to the sprayer. To access the diverter valve, you'll need to detach the sprayer hose from the faucet. This can usually be done by unscrewing the hose from the faucet or by pressing a release button. Once the hose is detached, check the diverter valve for any blockages or damage. If you notice any issues, you can replace the valve with a new one. If the valve appears to be functioning properly, the problem may be with the sprayer hose itself. Featured Keywords: diverter valve, faucet, sprayer hose1. How to Fix a Kitchen Sink Sprayer That Won't Turn Off


1. How to Fix a Kitchen Sink Sprayer That Won't Turn Off


If your kitchen sink sprayer is not functioning at all, there are a few troubleshooting steps you can take to identify and fix the problem. First, check the water supply valve under the sink to make sure it is fully open. If it is, the problem may be with the sprayer head or hose. Next, check the sprayer head for any clogs or debris. If it appears to be clean, the issue may be with the aerator. The aerator is responsible for regulating the water flow and can become clogged with mineral deposits or debris. To clean it, unscrew the aerator from the end of the sprayer head and soak it in a mixture of water and vinegar for 30 minutes. Once clean, reattach it to the sprayer head and test the sprayer. Featured Keywords: troubleshooting, water supply valve, aerator If these steps do not solve the issue, the problem may be with the sprayer hose. Check the hose for any kinks or damage, and if necessary, replace it with a new one. Another common issue with kitchen sink sprayers is low water pressure. If you notice that your sprayer is not spraying with as much force as it used to, the problem may be with the water pressure. Check the aerator for any blockages, and if necessary, clean or replace it. You can also try adjusting the water pressure at the shut-off valve under the sink. Main Keywords: clogged, mineral deposits, damaged, low water pressure2. Troubleshooting a Kitchen Sink Sprayer


2. Troubleshooting a Kitchen Sink Sprayer


A leaky kitchen sink sprayer can be a frustrating problem, but it's one that can be easily fixed with a few simple steps. Here's a step-by-step guide to fixing a leaky kitchen sink sprayer: Step 1: Start by turning off the water supply to the sink using the shut-off valve located under the sink. Step 2: Next, unscrew the sprayer head from the hose and inspect it for any cracks or damage. If the sprayer head appears to be damaged, it will need to be replaced. Step 3: If the sprayer head is in good condition, the problem may be with the O-ring. The O-ring is a small rubber ring that helps create a seal between the sprayer head and the hose. Check the O-ring for any damage or wear and tear, and if necessary, replace it with a new one. Step 4: Once the O-ring has been replaced, reattach the sprayer head to the hose and turn the water supply back on. Test the sprayer to make sure the leak has been fixed. Step 5: If the sprayer is still leaking, the issue may be with the diverter valve. Follow the steps outlined in the first section to access and inspect the diverter valve. Main Keywords: leaky, O-ring, damaged, replaced3. Step-by-Step Guide to Fixing a Leaky Kitchen Sink Sprayer


3. Step-by-Step Guide to Fixing a Leaky Kitchen Sink Sprayer


Kitchen sink sprayers may seem like a simple and convenient addition to your sink, but they can also be a source of frustration when they start to malfunction. Here are some common problems with kitchen sink sprayers and their solutions: Problem: The sprayer won't turn off. Solution: Check the sprayer head for any clogs or debris and clean it out. If that doesn't work, check the diverter valve for any blockages or damage. Problem: The sprayer won't spray. Solution: Check the water supply valve to make sure it is fully open. If it is, the problem may be with the aerator or the sprayer hose. Problem: Low water pressure from the sprayer. Solution: Clean or replace the aerator to improve water flow. You can also adjust the water pressure at the shut-off valve under the sink. Main Keywords: malfunction, clogs, debris, blockages, damage, low water pressure4. Common Problems and Solutions for a Kitchen Sink Sprayer


4. Common Problems and Solutions for a Kitchen Sink Sprayer


If your kitchen sink sprayer is beyond repair, you may need to replace it with a new one. While this may seem like a daunting task, it can easily be done with a few simple tools and some basic DIY skills. Here's how to replace a kitchen sink sprayer: Step 1: Start by turning off the water supply to the sink using the shut-off valve located under the sink. Step 2: Next, remove the old sprayer head by unscrewing it from the hose. Step 3: Detach the hose from the faucet by unscrewing it or pressing the release button. Step 4: Install the new sprayer head onto the hose and attach the hose to the faucet. Step 5: Turn the water supply back on and test the new sprayer to make sure it is functioning properly. Main Keywords: replace, tools, DIY skills, unscrewing, detach, install, functioning5. DIY: How to Replace a Kitchen Sink Sprayer
5. DIY: How to Replace a Kitchen Sink Sprayer


/installing-a-kitchen-sink-sprayer-2718817-hero-2b7047468d594da6be2494ba0eebb480.jpg)


If you find yourself struggling with a stuck kitchen sink sprayer, don't panic. This is a common problem that can be easily fixed with a quick and easy solution. Here's how to get your sprayer unstuck: Step 1: Start by turning off the water supply to the sink using the shut-off valve located under the sink. Step 2: Next, remove the sprayer head from the hose and inspect it for any clogs or debris. Clean it out if necessary. Step 3: Detach the hose from the faucet and check for any kinks or damage. Straighten out the hose if needed. Step 4: Reattach the hose to the faucet and turn the water supply back on. Test the sprayer to make sure it is now working properly. Main Keywords: stuck, panic, clogs, detach, kinks, straighten out, working properly6. Quick and Easy Fix for a Stuck Kitchen Sink Sprayer


6. Quick and Easy Fix for a Stuck Kitchen Sink Sprayer


Proper maintenance is key to keeping your kitchen sink sprayer in good working condition. Here's how to clean and maintain your sprayer: Step 1: Regularly clean the sprayer head and aerator to prevent buildup and maintain water flow. Step 2: Check the sprayer hose for any kinks or damage and replace it if necessary. Step 3: Inspect and clean the diverter valve as needed. Step 4: If you notice any leaks or issues with the sprayer, address them promptly to prevent further damage. Main Keywords: maintenance, clean, buildup, water flow, kinks, damage, leaks, issues7. How to Clean and Maintain a Kitchen Sink Sprayer


7. How to Clean and Maintain a Kitchen Sink Sprayer


If you're in the market for a new kitchen sink sprayer, it's important to choose the right one for your needs. Here are some tips to keep in mind while shopping for a replacement sprayer: Tip 1: Consider the style and design of your kitchen sink. Choose a sprayer that will complement the overall look of your sink. Tip 2: Look for a sprayer with adjustable water flow and multiple spray settings for added versatility. Tip 3: Check the material and durability of the sprayer to ensure it will last for years to come. Tip 4: Read reviews and check ratings to see what other customers have to say about the sprayer's performance. Main Keywords: replacement, style, design, complement, adjust, versatility, material, durability, reviews, ratings8. Tips for Choosing the Right Replacement Kitchen Sink Sprayer


8. Tips for Choosing the Right Replacement Kitchen Sink Sprayer


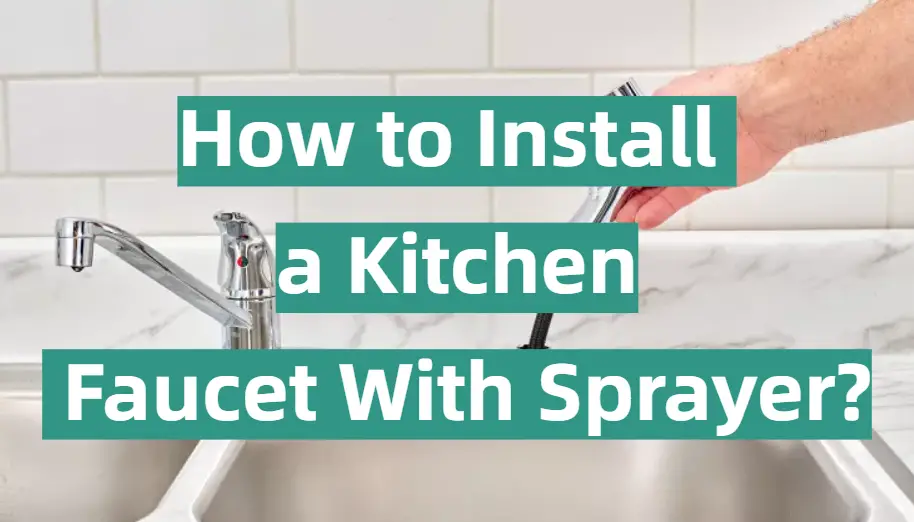
If you're handy with DIY projects, you may be able to install a new kitchen sink sprayer yourself. Here's how to do it: Step 1: Start by turning off the water supply to the sink using the shut-off valve located under the sink. Step 2: Remove the old sprayer head and detach the hose from the faucet. Step 3: Install the new sprayer head onto the hose and attach the hose to the faucet. Step 4: Turn the water supply back on and test the new sprayer to make sure it is functioning properly. Main Keywords: install, DIY projects, turning off, remove, detach, attach, functioning properly9. How to Install a New Kitchen Sink Sprayer


9. How to Install a New Kitchen Sink Sprayer


If your kitchen sink sprayer is not spraying water, there are a few troubleshooting steps you can take to identify and fix the problem: Step 1: Check the water supply valve to make sure it is fully open. Step 2: Inspect the sprayer head for any clogs or debris and clean it out if necessary. Step 3: Check the aerator for any blockages and clean or replace it. Step 4: If the issue persists, check the sprayer hose for any damage or kinks and replace it if needed. Step 5: If all else fails, the problem may be with the diverter valve. Follow the steps outlined in the first section to access and inspect the valve. Main Keywords: troubleshooting, identify, clogs, debris, clean, blockages, damage, kinks, replace, access, inspect10. Troubleshooting Tips for a Kitchen Sink Sprayer That Won't Spray
10. Troubleshooting Tips for a Kitchen Sink Sprayer That Won't Spray


Why a Functional Hand Sprayer is Essential for a Well-Designed Kitchen Sink

The Importance of a Hand Sprayer in the Kitchen
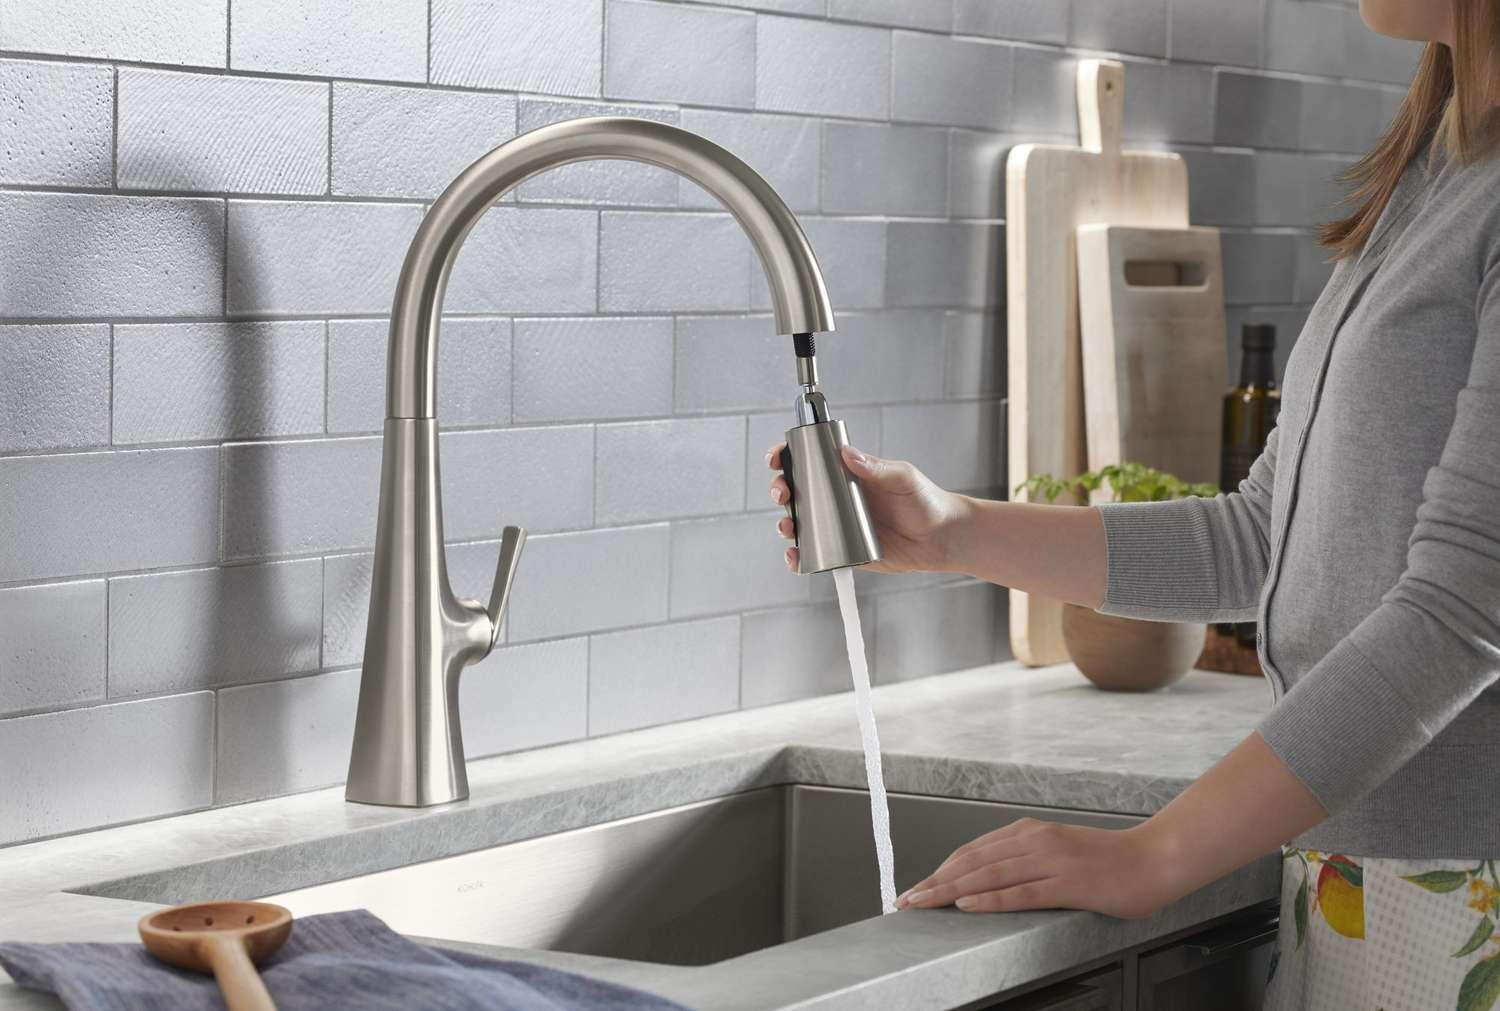
 When it comes to designing a functional and efficient kitchen, every detail matters. From the layout to the appliances, everything should be carefully considered to create a space that is both practical and aesthetically pleasing. One often overlooked but essential element in the kitchen is the hand sprayer on the sink. This small but mighty tool can make a big difference in the overall functionality of your kitchen sink.
The Benefits of a Hand Sprayer
 A hand sprayer, also known as a pull-out or pull-down sprayer, is a faucet accessory that allows you to extend the faucet head and direct the water flow to specific areas. This feature comes in handy when washing dishes, filling large pots, or cleaning the sink. It also allows for more flexibility and control over the water flow, making everyday tasks in the kitchen more manageable and efficient.
Adding a hand sprayer to your kitchen sink can also save you money on your water bill.
With a traditional faucet, you may end up using more water than necessary to rinse dishes or wash fruits and vegetables. A hand sprayer, on the other hand, has a more concentrated and powerful flow, allowing you to use less water while still getting the job done.
A hand sprayer, also known as a pull-out or pull-down sprayer, is a faucet accessory that allows you to extend the faucet head and direct the water flow to specific areas. This feature comes in handy when washing dishes, filling large pots, or cleaning the sink. It also allows for more flexibility and control over the water flow, making everyday tasks in the kitchen more manageable and efficient.
Adding a hand sprayer to your kitchen sink can also save you money on your water bill.
With a traditional faucet, you may end up using more water than necessary to rinse dishes or wash fruits and vegetables. A hand sprayer, on the other hand, has a more concentrated and powerful flow, allowing you to use less water while still getting the job done.
Fixing a Hand Sprayer on Your Kitchen Sink
 While hand sprayers are a valuable addition to any kitchen, they can sometimes malfunction or break. The most common issue is a leaky sprayer, which can be caused by a worn-out O-ring or a clogged aerator. Fortunately, fixing a hand sprayer is a relatively simple DIY task that can save you the cost and hassle of hiring a plumber.
To fix a leaky hand sprayer, start by turning off the water supply to the sink.
Then, unscrew the sprayer head and check the O-ring for any signs of damage. If it looks worn out, replace it with a new one. If the O-ring is in good condition, the problem may be a clogged aerator. To clean it, remove the aerator from the sprayer head and soak it in a mixture of warm water and vinegar for a few hours. Rinse it thoroughly and reattach it to the sprayer head.
For more serious issues, such as a cracked sprayer head or a faulty hose, it's best to replace the entire hand sprayer.
Most hardware stores carry universal hand sprayers that can easily be installed with a few tools and some basic plumbing knowledge. However, if you're unsure or uncomfortable with the installation process, it's always best to call a professional.
While hand sprayers are a valuable addition to any kitchen, they can sometimes malfunction or break. The most common issue is a leaky sprayer, which can be caused by a worn-out O-ring or a clogged aerator. Fortunately, fixing a hand sprayer is a relatively simple DIY task that can save you the cost and hassle of hiring a plumber.
To fix a leaky hand sprayer, start by turning off the water supply to the sink.
Then, unscrew the sprayer head and check the O-ring for any signs of damage. If it looks worn out, replace it with a new one. If the O-ring is in good condition, the problem may be a clogged aerator. To clean it, remove the aerator from the sprayer head and soak it in a mixture of warm water and vinegar for a few hours. Rinse it thoroughly and reattach it to the sprayer head.
For more serious issues, such as a cracked sprayer head or a faulty hose, it's best to replace the entire hand sprayer.
Most hardware stores carry universal hand sprayers that can easily be installed with a few tools and some basic plumbing knowledge. However, if you're unsure or uncomfortable with the installation process, it's always best to call a professional.
In Conclusion
 A hand sprayer is a small but essential tool that can greatly improve the functionality and convenience of your kitchen sink. From saving water to making everyday tasks easier, this faucet accessory is a must-have for any well-designed kitchen. And with a little bit of maintenance and DIY skills, you can keep your hand sprayer in top working condition for years to come.