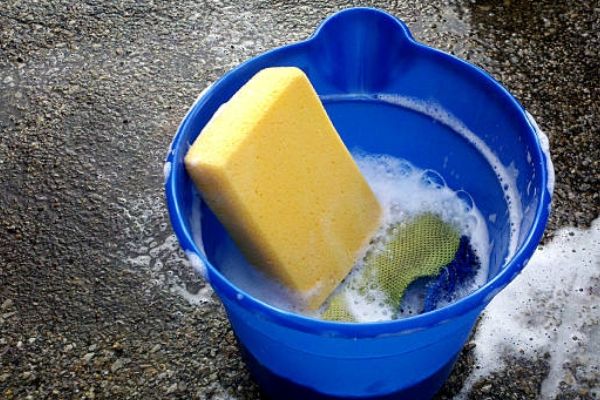
If you suspect that your air mattress has a slow leak, one of the easiest ways to find it is by using soapy water. Start by inflating your mattress and then mix a solution of water and dish soap in a spray bottle. Spray the solution onto the mattress and carefully watch for any bubbles forming. If there is a leak, the escaping air will cause the soap to bubble up, making it easy to pinpoint the location of the leak.1. Use soapy water to locate the leak


1. Use soapy water to locate the leak


If you are unable to locate the leak using the soapy water method, try listening for a hissing sound. Inflate the mattress and then place your ear close to the surface, moving it around to different areas of the mattress. If there is a leak, you should be able to hear a faint hissing sound where the air is escaping. This method may take a bit of patience, but it can be effective in finding small leaks.2. Listen for a hissing sound


2. Listen for a hissing sound
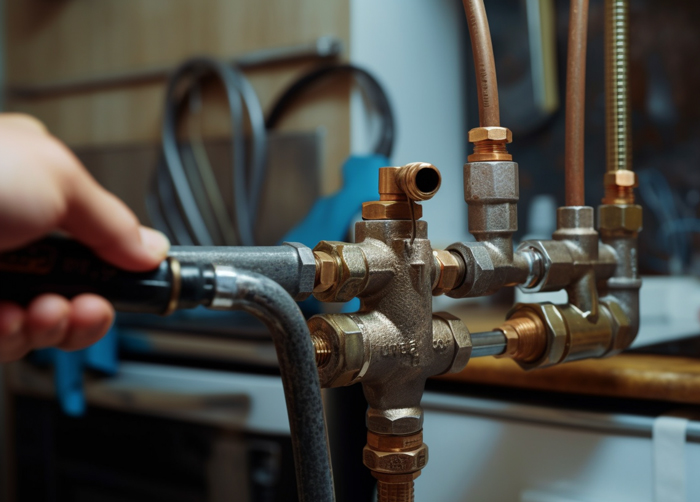


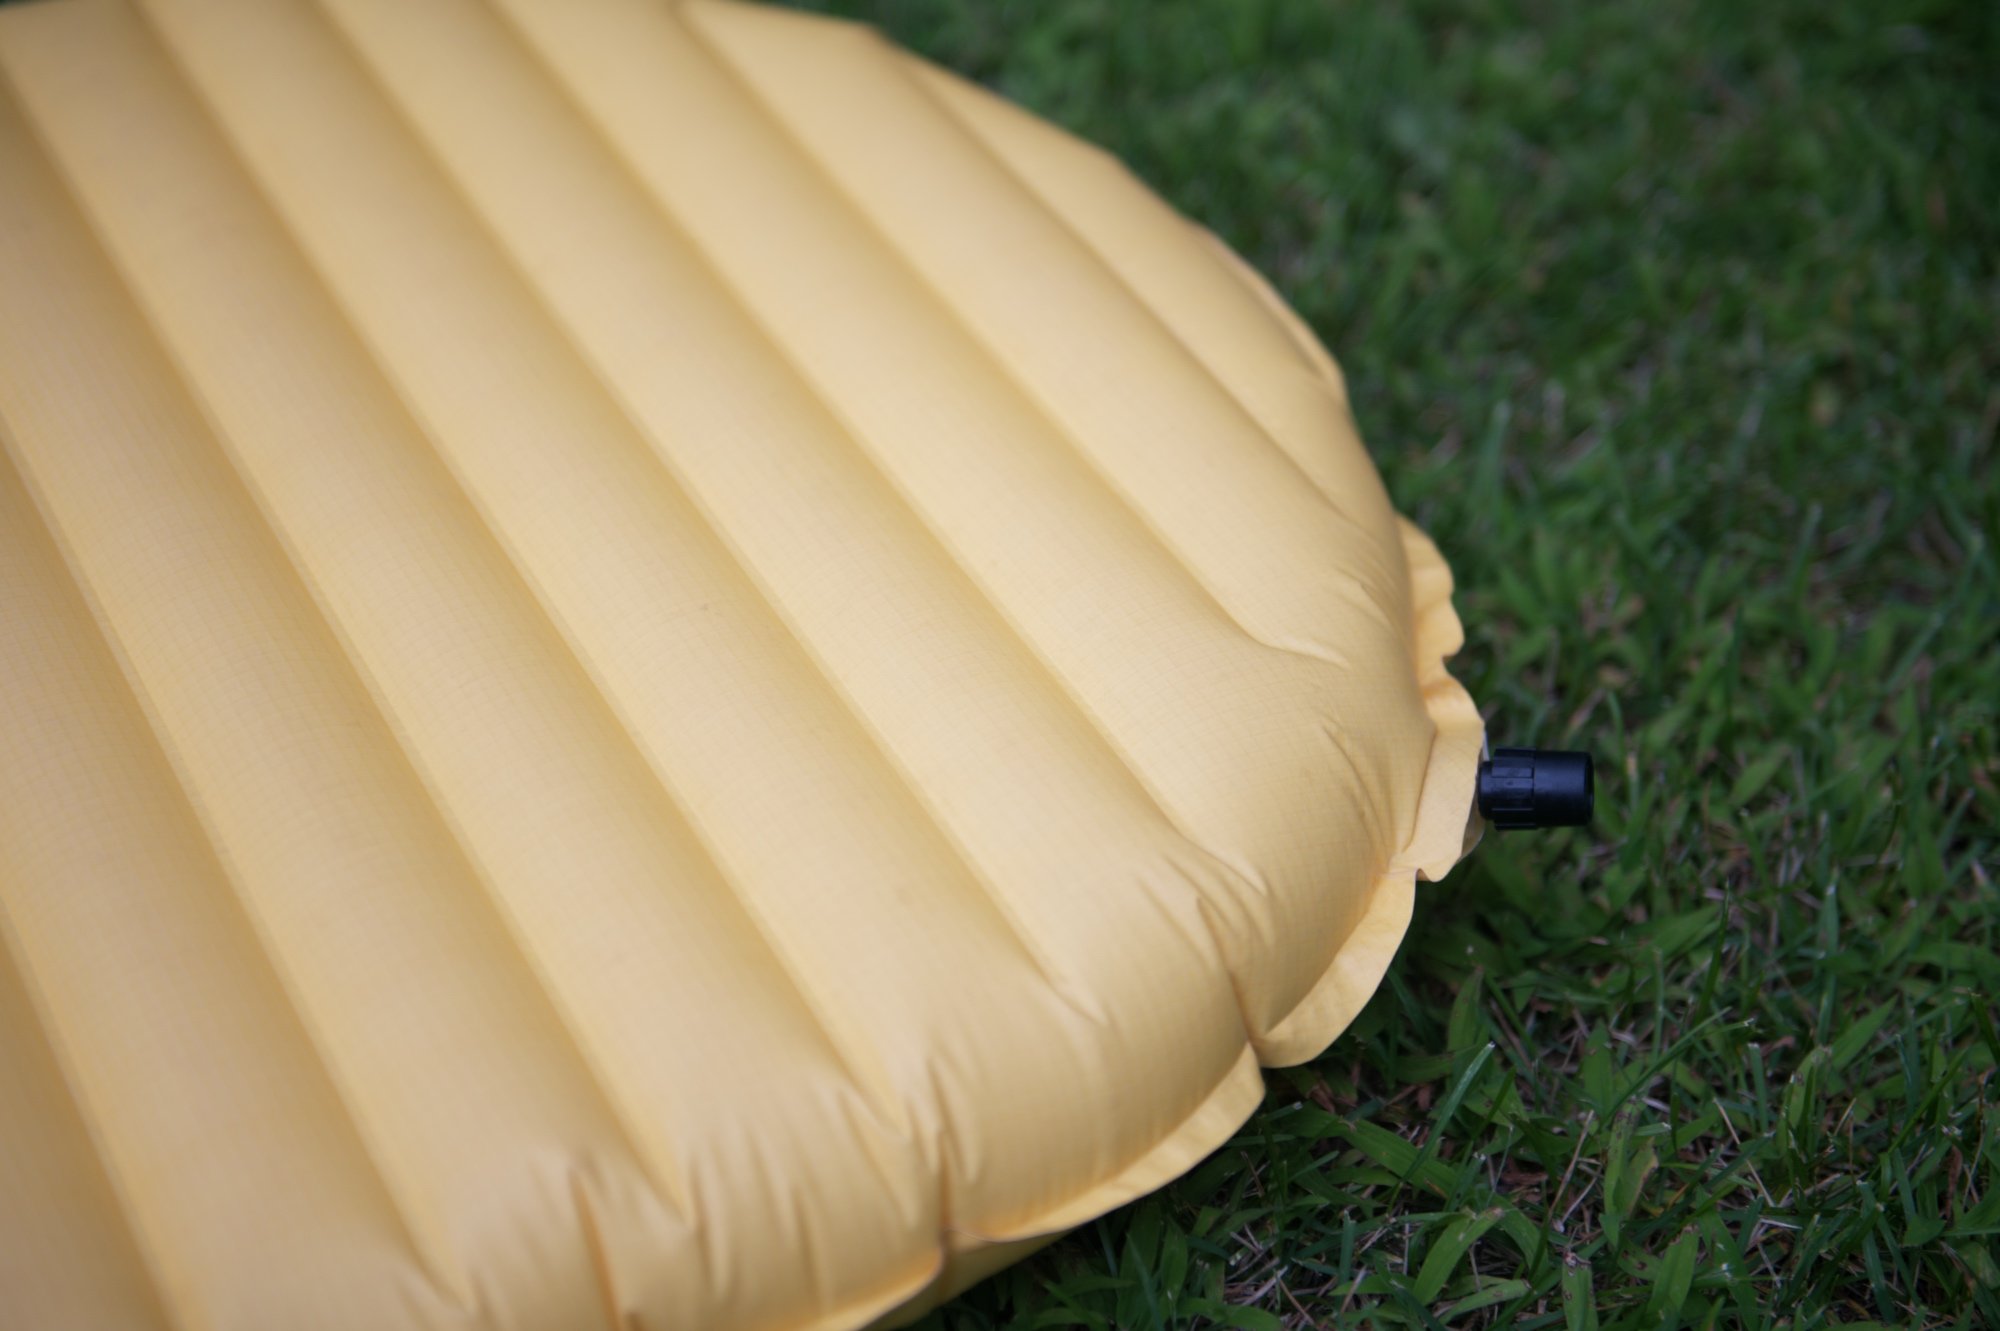
The valve of your air mattress is a common area for leaks to occur. Check the valve for any visible signs of damage or wear. If you notice any cracks or holes, this could be the source of your slow leak. You can also try tightening the valve to see if that stops the leak. If not, you may need to replace the valve or use a valve sealant to fix the leak.3. Check the valve for leaks


3. Check the valve for leaks


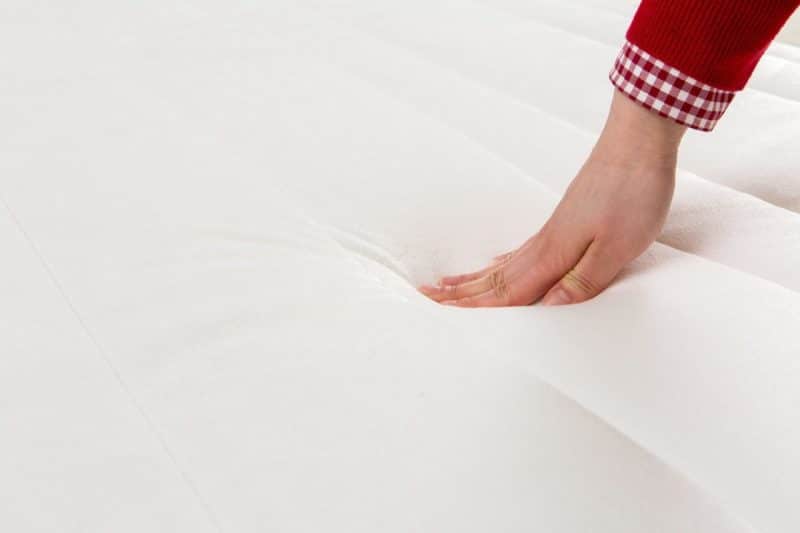
Inflating your mattress and then carefully running your hands over the surface can also help you locate a slow leak. Pay attention to any areas where you feel a slight rush of air or a change in the firmness of the mattress. This method may take some time, but it can be effective in finding small leaks that may not be visible to the naked eye.4. Inflate the mattress and feel for air escaping


4. Inflate the mattress and feel for air escaping


If you are still unable to find the leak, try submerging your mattress in water. Fill a bathtub or large container with water and then carefully place the inflated mattress in the water. Watch for any bubbles or air escaping from the mattress. This method can be helpful in finding small leaks that may be difficult to see or hear.5. Submerge the mattress in water


5. Submerge the mattress in water


If your air mattress has a darker color or pattern, it can be challenging to see small holes or tears. In this case, using a flashlight can be helpful. In a dark room, shine a flashlight over the surface of the mattress. The light will reflect off any holes or tears, making them easier to spot.6. Use a flashlight to look for holes


6. Use a flashlight to look for holes


If you do not have access to soapy water, you can also try using a piece of tissue paper to locate the leak. Inflate your mattress and then carefully run the tissue paper over the surface. The tissue paper will be drawn towards the leak, making it easier to find. This method works best for larger leaks.7. Use a piece of tissue paper to find the leak


7. Use a piece of tissue paper to find the leak


The seams of your air mattress are another common area for leaks to occur. Carefully inspect the seams for any signs of tears or holes. If you notice any damage, you can use a repair patch to fix the leak. It is essential to fix any tears in the seams as they can quickly worsen and cause more significant problems with your mattress.8. Check the seams for tears


8. Check the seams for tears


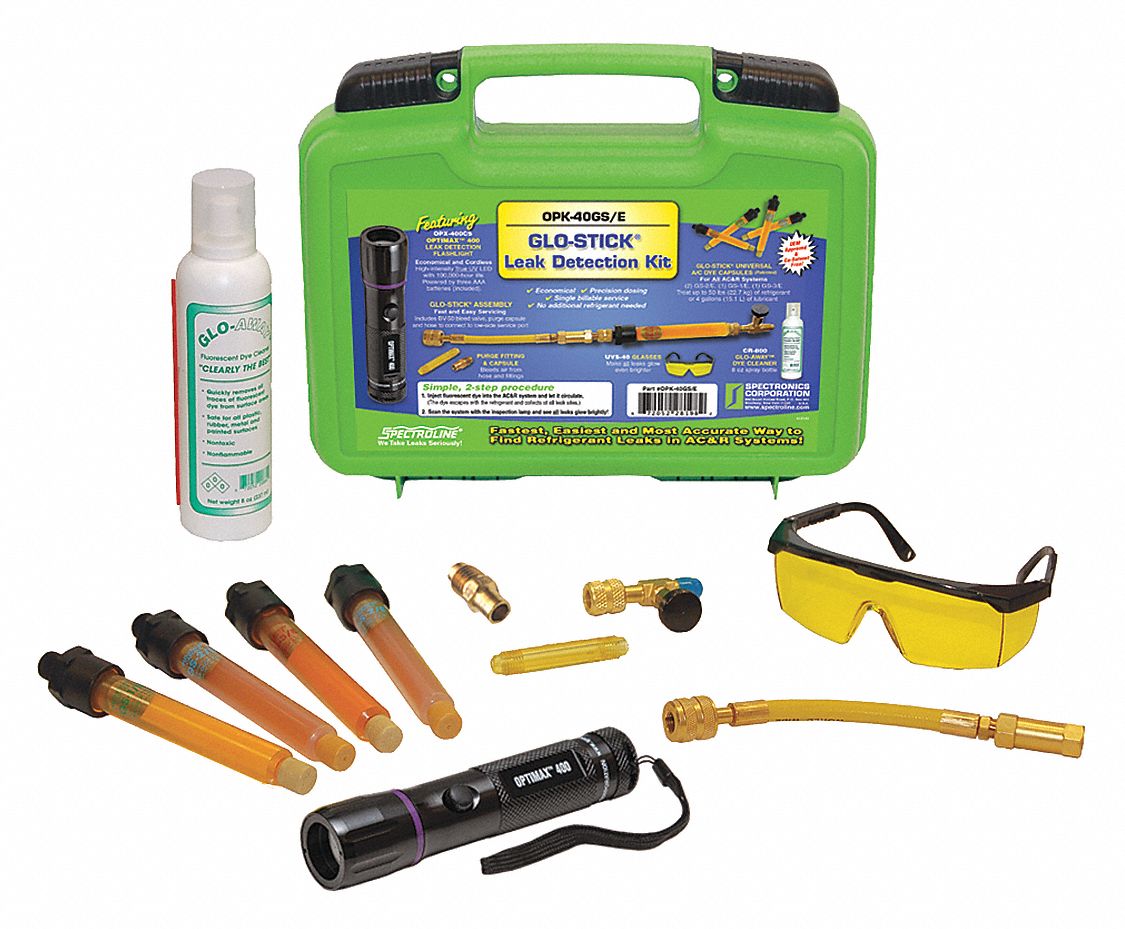
If you are still unable to find the leak, you can try using a leak detection kit. These kits typically come with a solution that you can spray onto your mattress to locate the leak. Follow the instructions carefully, and the solution will reveal the location of the leak. Keep in mind that these kits can be more expensive than other methods, but they can be very effective at finding difficult leaks.9. Use a leak detection kit


9. Use a leak detection kit


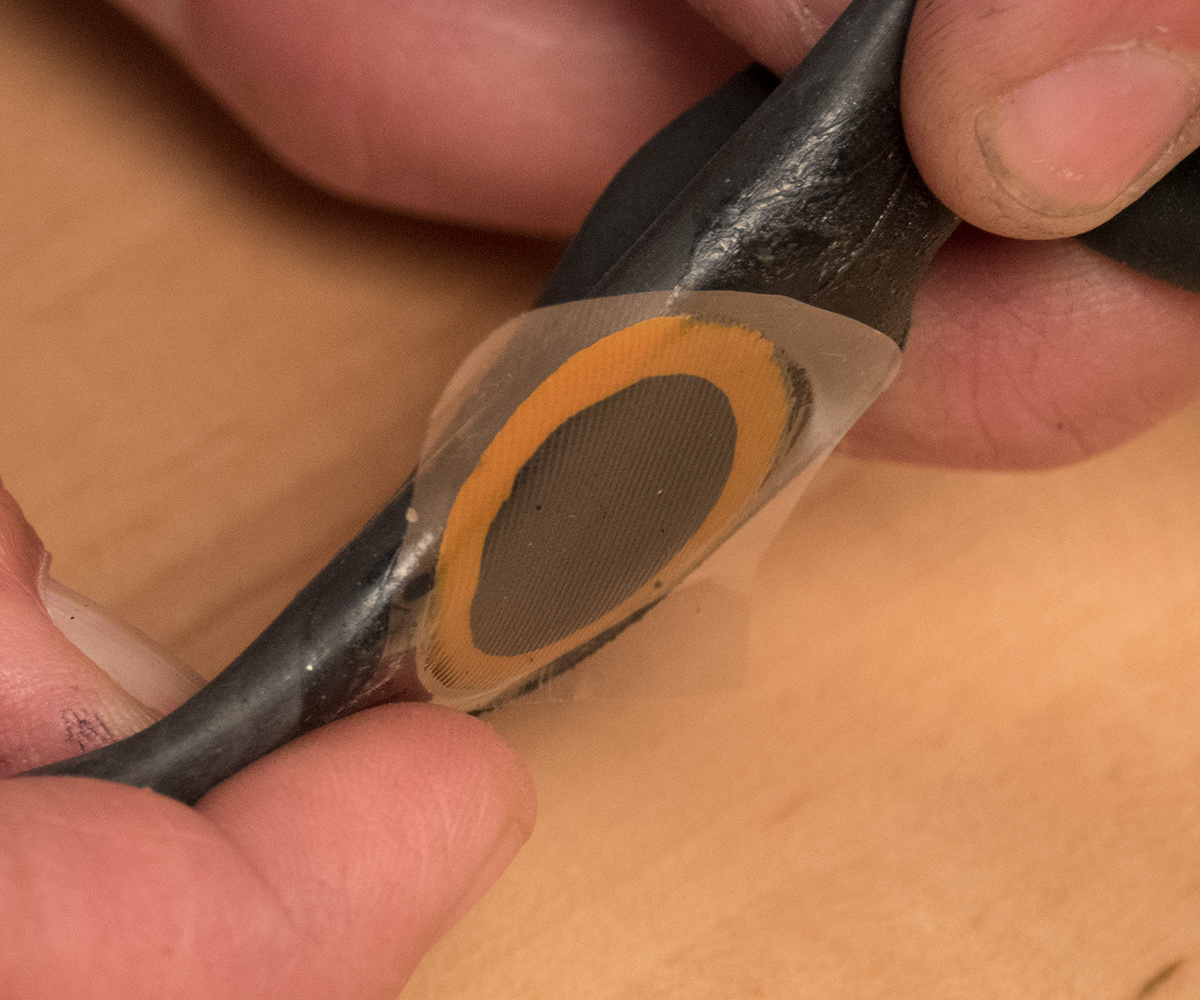
If you have located the leak, the next step is to fix it. One of the most effective ways to repair a slow leak in an air mattress is by using a repair patch. These patches are designed to adhere to the surface of the mattress and seal any holes or tears. Follow the instructions carefully, and your air mattress should be good as new.10. Try using a repair patch


10. Try using a repair patch


How to Easily Find a Slow Leak in an Air Mattress
Introduction
 When it comes to house design, one of the key elements is ensuring that your home is comfortable and functional. And what could be more essential to comfort than a good night's sleep? Air mattresses are a popular choice for many households as they provide a comfortable and affordable option for hosting guests or as a temporary bedding solution. However, like any other inflatable item, air mattresses are prone to leaks over time. Finding and fixing a slow leak in an air mattress may seem like a daunting task, but with the right methods, it can be done easily and effectively. In this article, we will guide you through the process of finding a slow leak in an air mattress, so you can rest easy knowing your guests or family members will have a comfortable place to sleep.
Step 1: Gather Your Supplies
 Before you begin your hunt for the elusive leak, make sure you have all the necessary supplies ready. This will save you time and frustration in the long run. You will need a spray bottle filled with soapy water, a towel, a patch kit, and a pump.
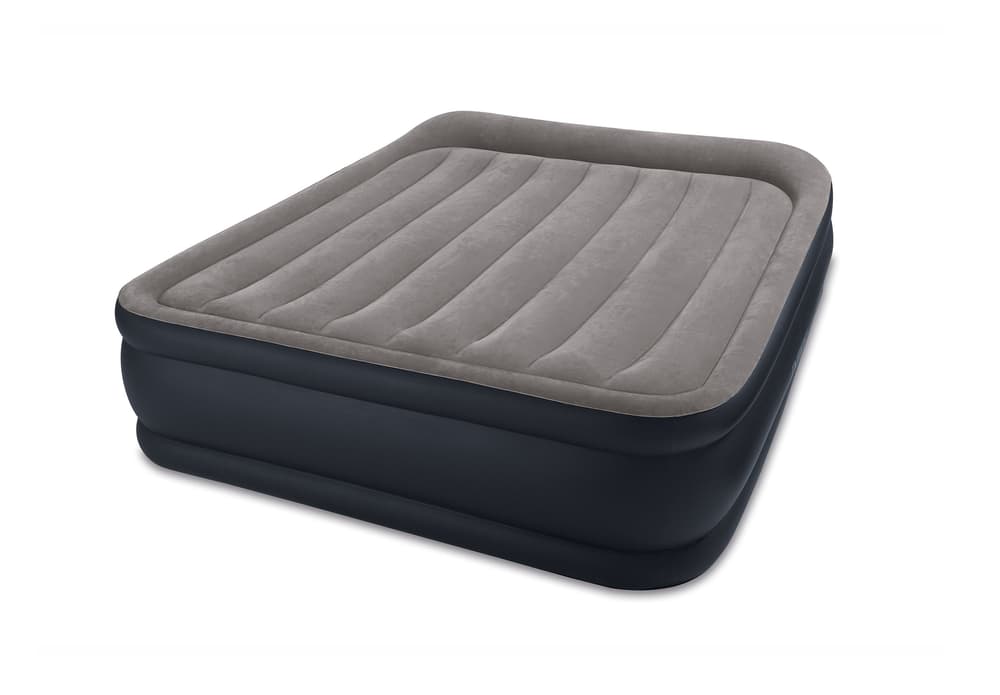
Step 2: Inflate the Mattress
 Using the pump, fully inflate your air mattress. This will help you to detect any visible signs of damage, such as tears or holes. Once the mattress is fully inflated, use your hands to feel for any air escaping from the surface. If you feel any air, mark the spot with a piece of tape.
Step 3: Check the Valve
 The next step is to check the valve of your air mattress. This is a common area for leaks to occur. Make sure the valve is tightly closed and not damaged in any way. If you notice any cracks or damage, you may need to replace the valve.
Step 4: Spray the Mattress with Soapy Water
 Mix a few drops of dish soap with water in a spray bottle. Spray the soapy water over the entire surface of the air mattress, paying special attention to the areas you marked with tape. The soap will create bubbles where there is a leak, making it easier to identify the source.
Step 5: Patch the Leak
 Once you have located the leak, dry the area with a towel and use the patch kit to seal it. Make sure to follow the instructions on the patch kit carefully for the best results. Once the patch is applied, let it dry completely before using the mattress again.
Conclusion
 By following these simple steps, you can easily find and fix a slow leak in your air mattress. Regularly checking for leaks and promptly fixing them will not only prolong the life of your air mattress, but it will also ensure a comfortable night's sleep for you and your guests. So, the next time you notice your air mattress losing air, don't panic. With a little bit of patience and the right tools, you can easily repair it and continue enjoying its benefits.