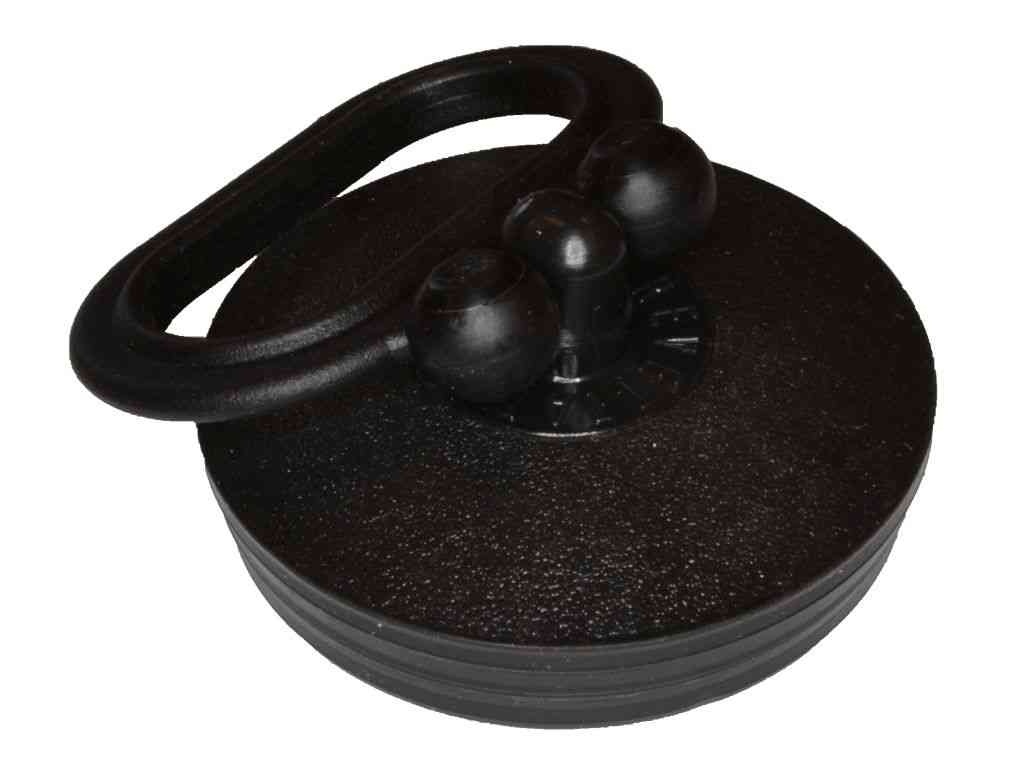
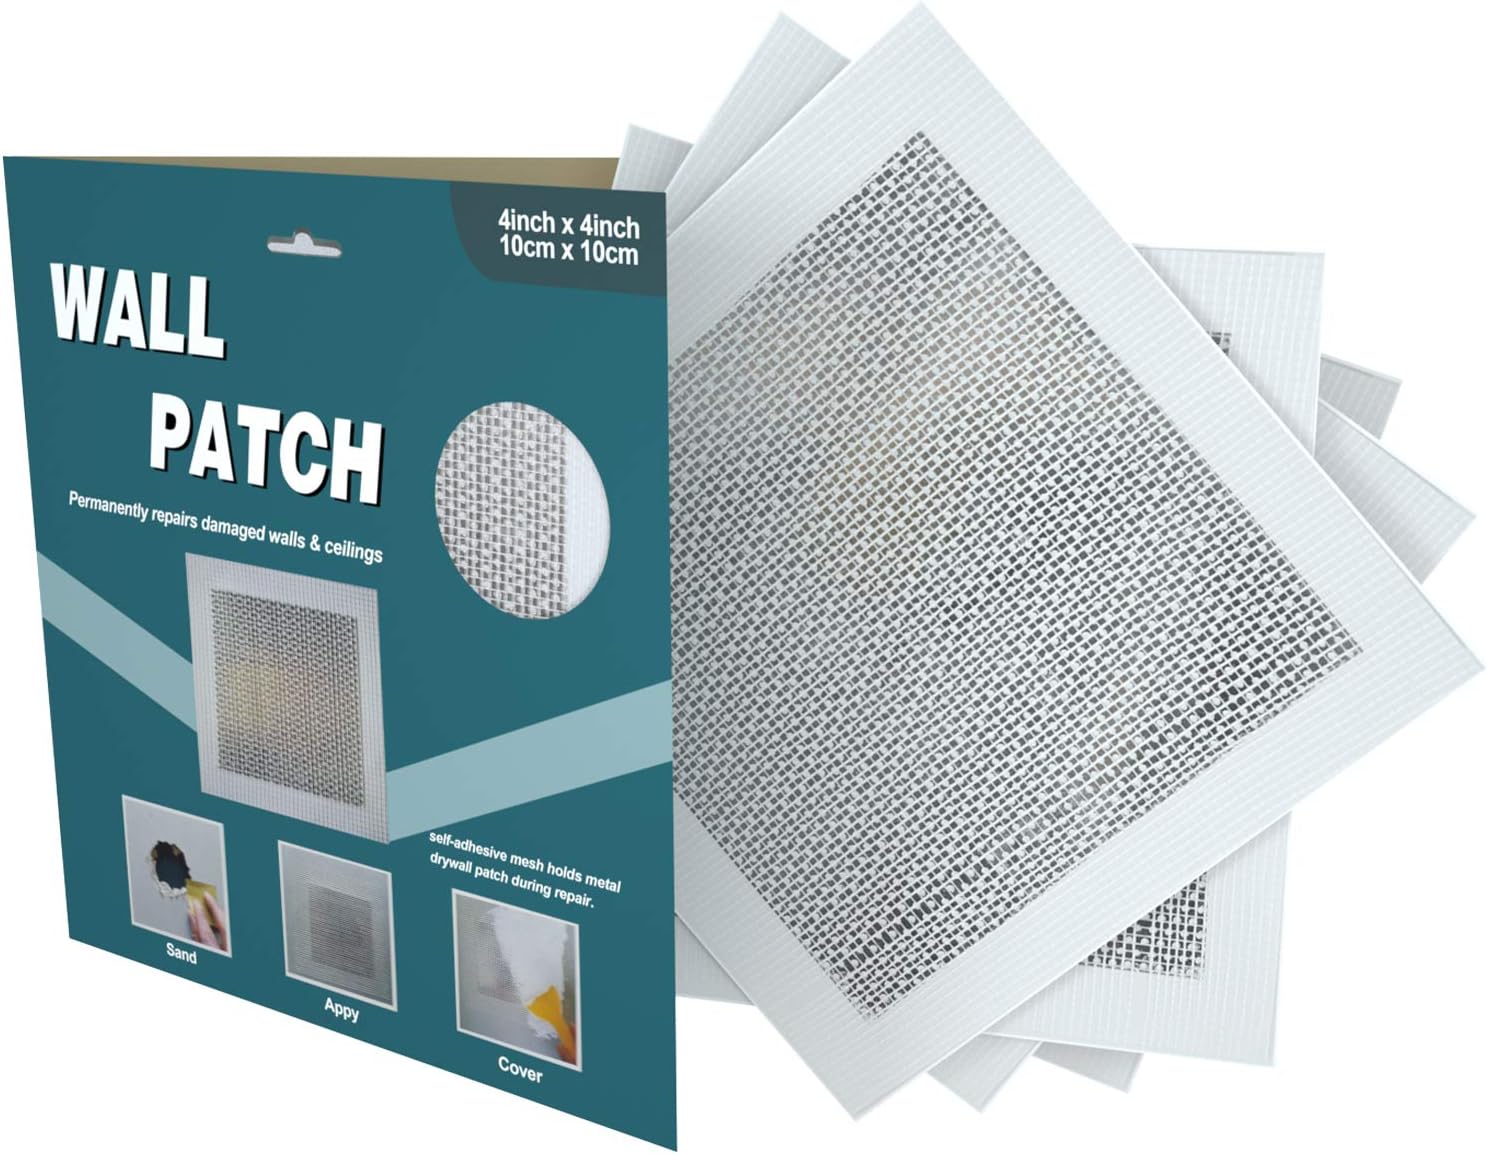
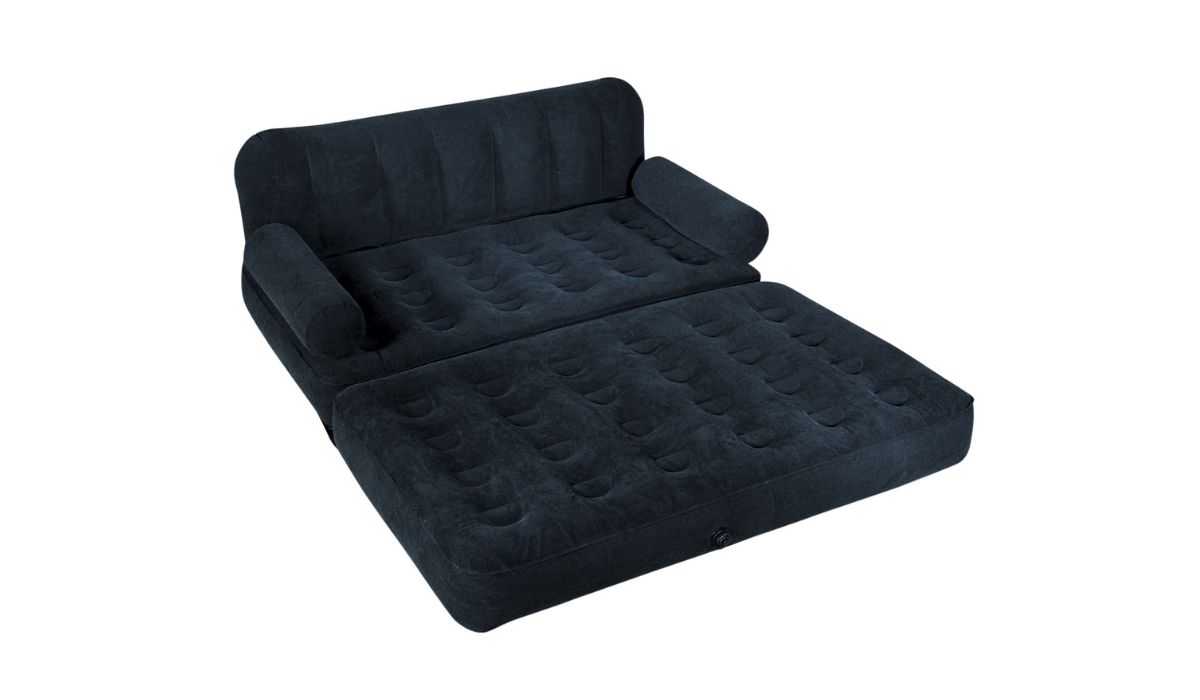
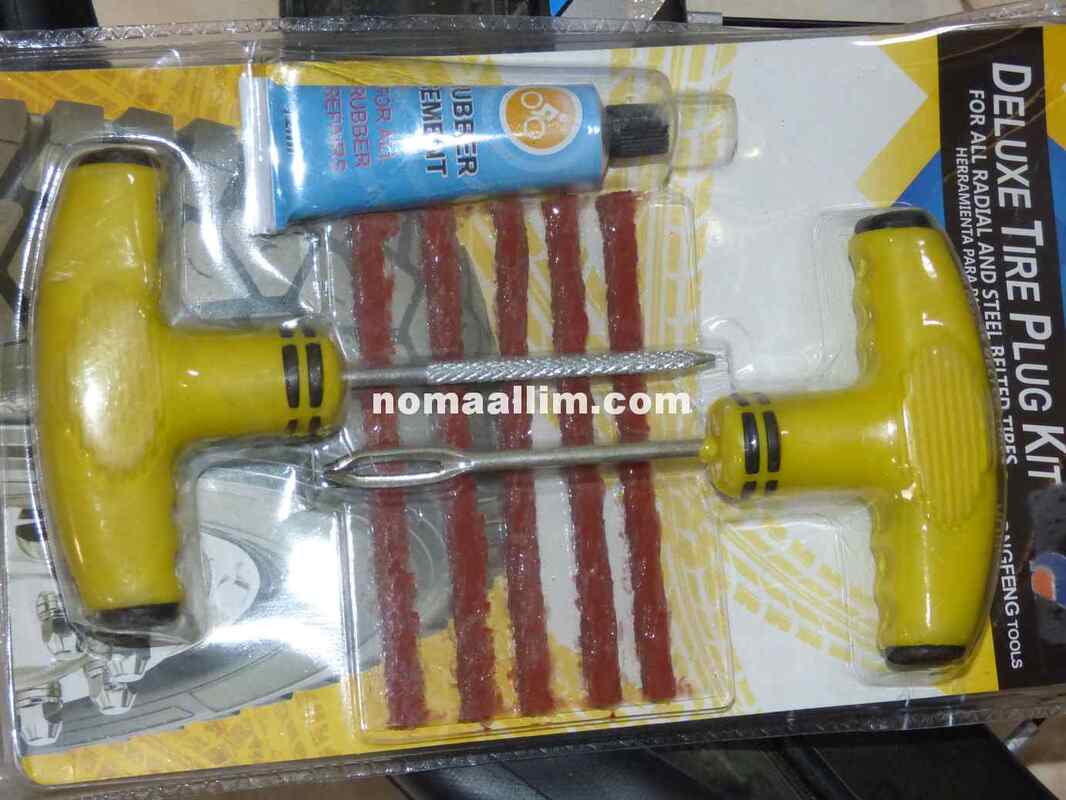
If you have an air mattress that has sprung a leak, don't worry – it's not the end of the world! With the right tools and a little bit of patience, you can easily patch up your air mattress and have it ready for use in no time. One of the easiest and most effective ways to patch an air mattress is to use a patch kit specifically designed for this purpose. These kits can be found at most home improvement or outdoor stores and come with all the necessary materials to repair your air mattress. They typically include adhesive, patches, and sometimes even a small piece of sandpaper to roughen up the surface of the mattress for better adhesion.1. Use a patch kit specifically designed for air mattresses

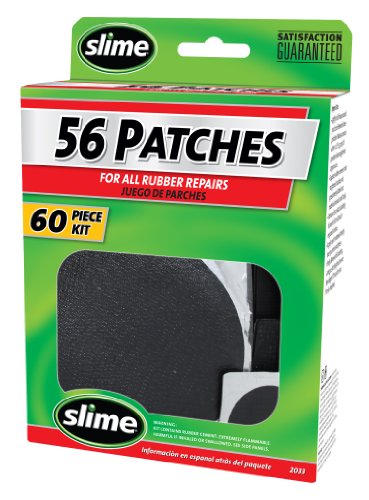

1. Use a patch kit specifically designed for air mattresses

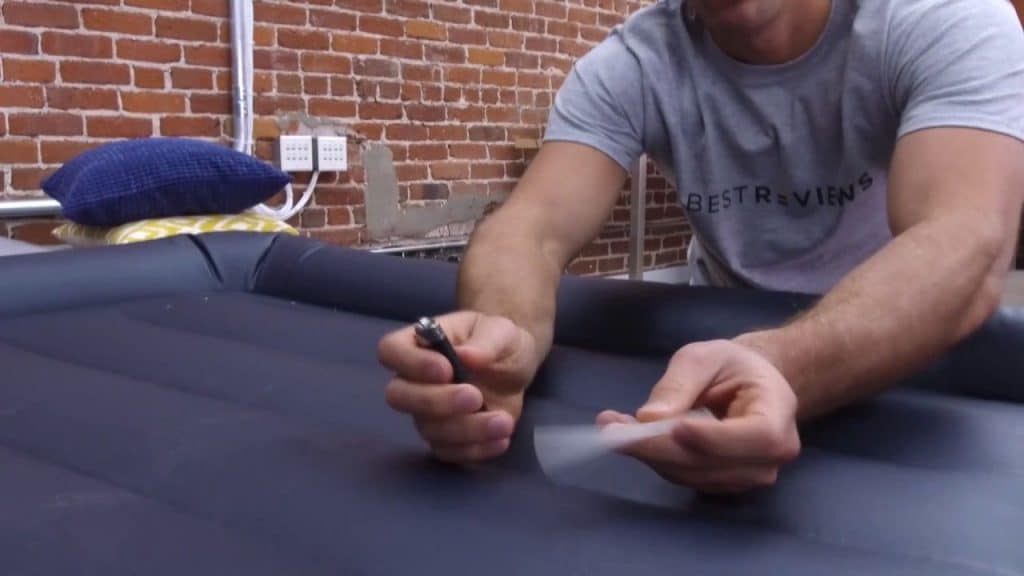


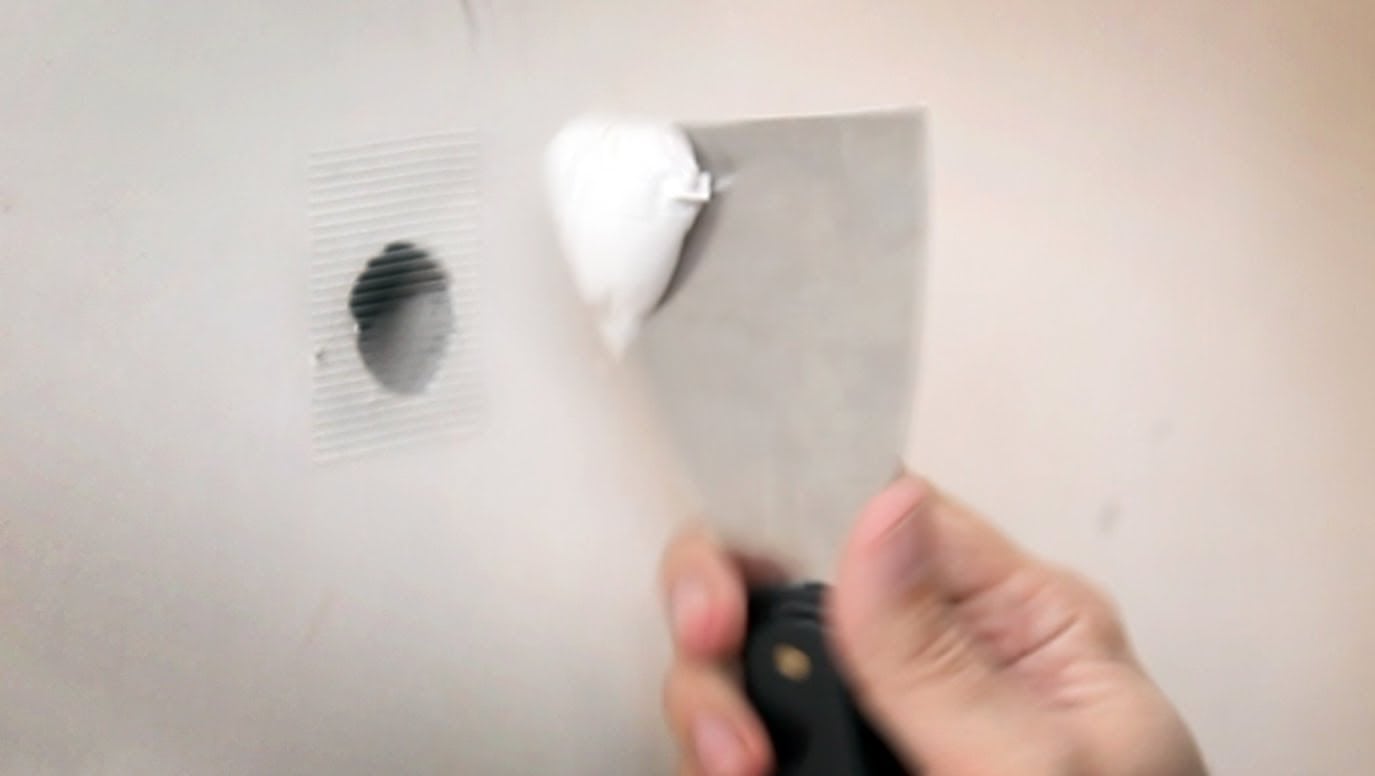
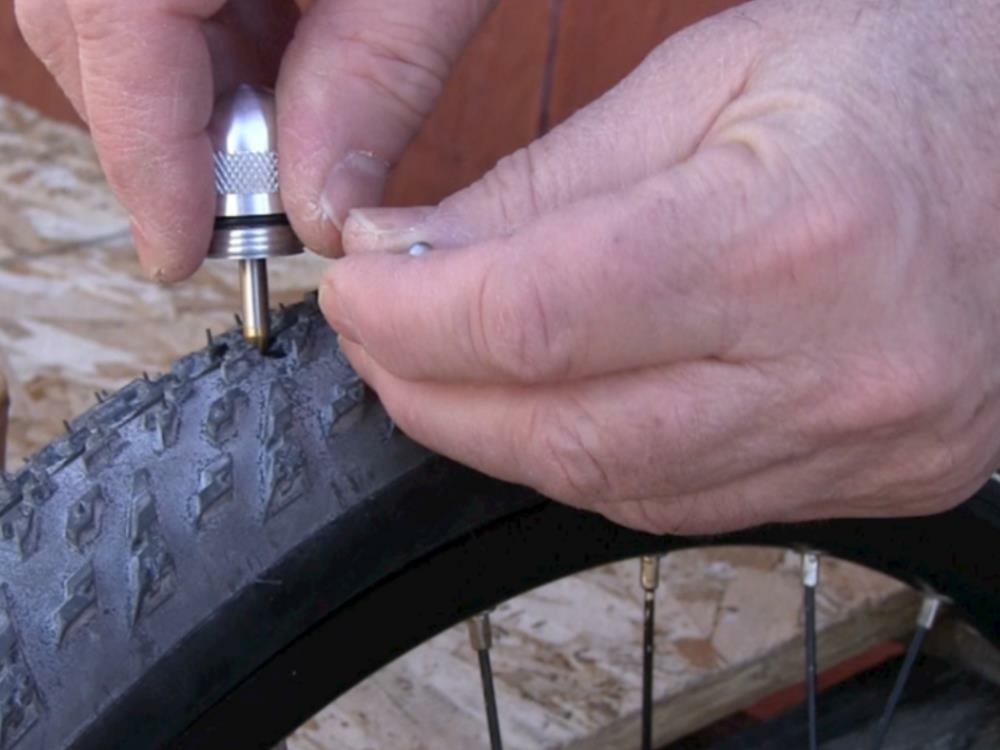
Before you start patching, it's important to clean and dry the area around the hole on your air mattress. Use a damp cloth to wipe away any dirt or debris and then use a dry cloth to thoroughly dry the area. This will ensure that the adhesive sticks properly and the patch holds up over time.2. Clean and dry the area around the hole


2. Clean and dry the area around the hole


Next, take a patch from the kit and cut it to a size that will cover the hole on your air mattress. Make sure to cut the patch at least an inch larger than the hole to ensure full coverage.3. Cut a patch from the kit to cover the hole
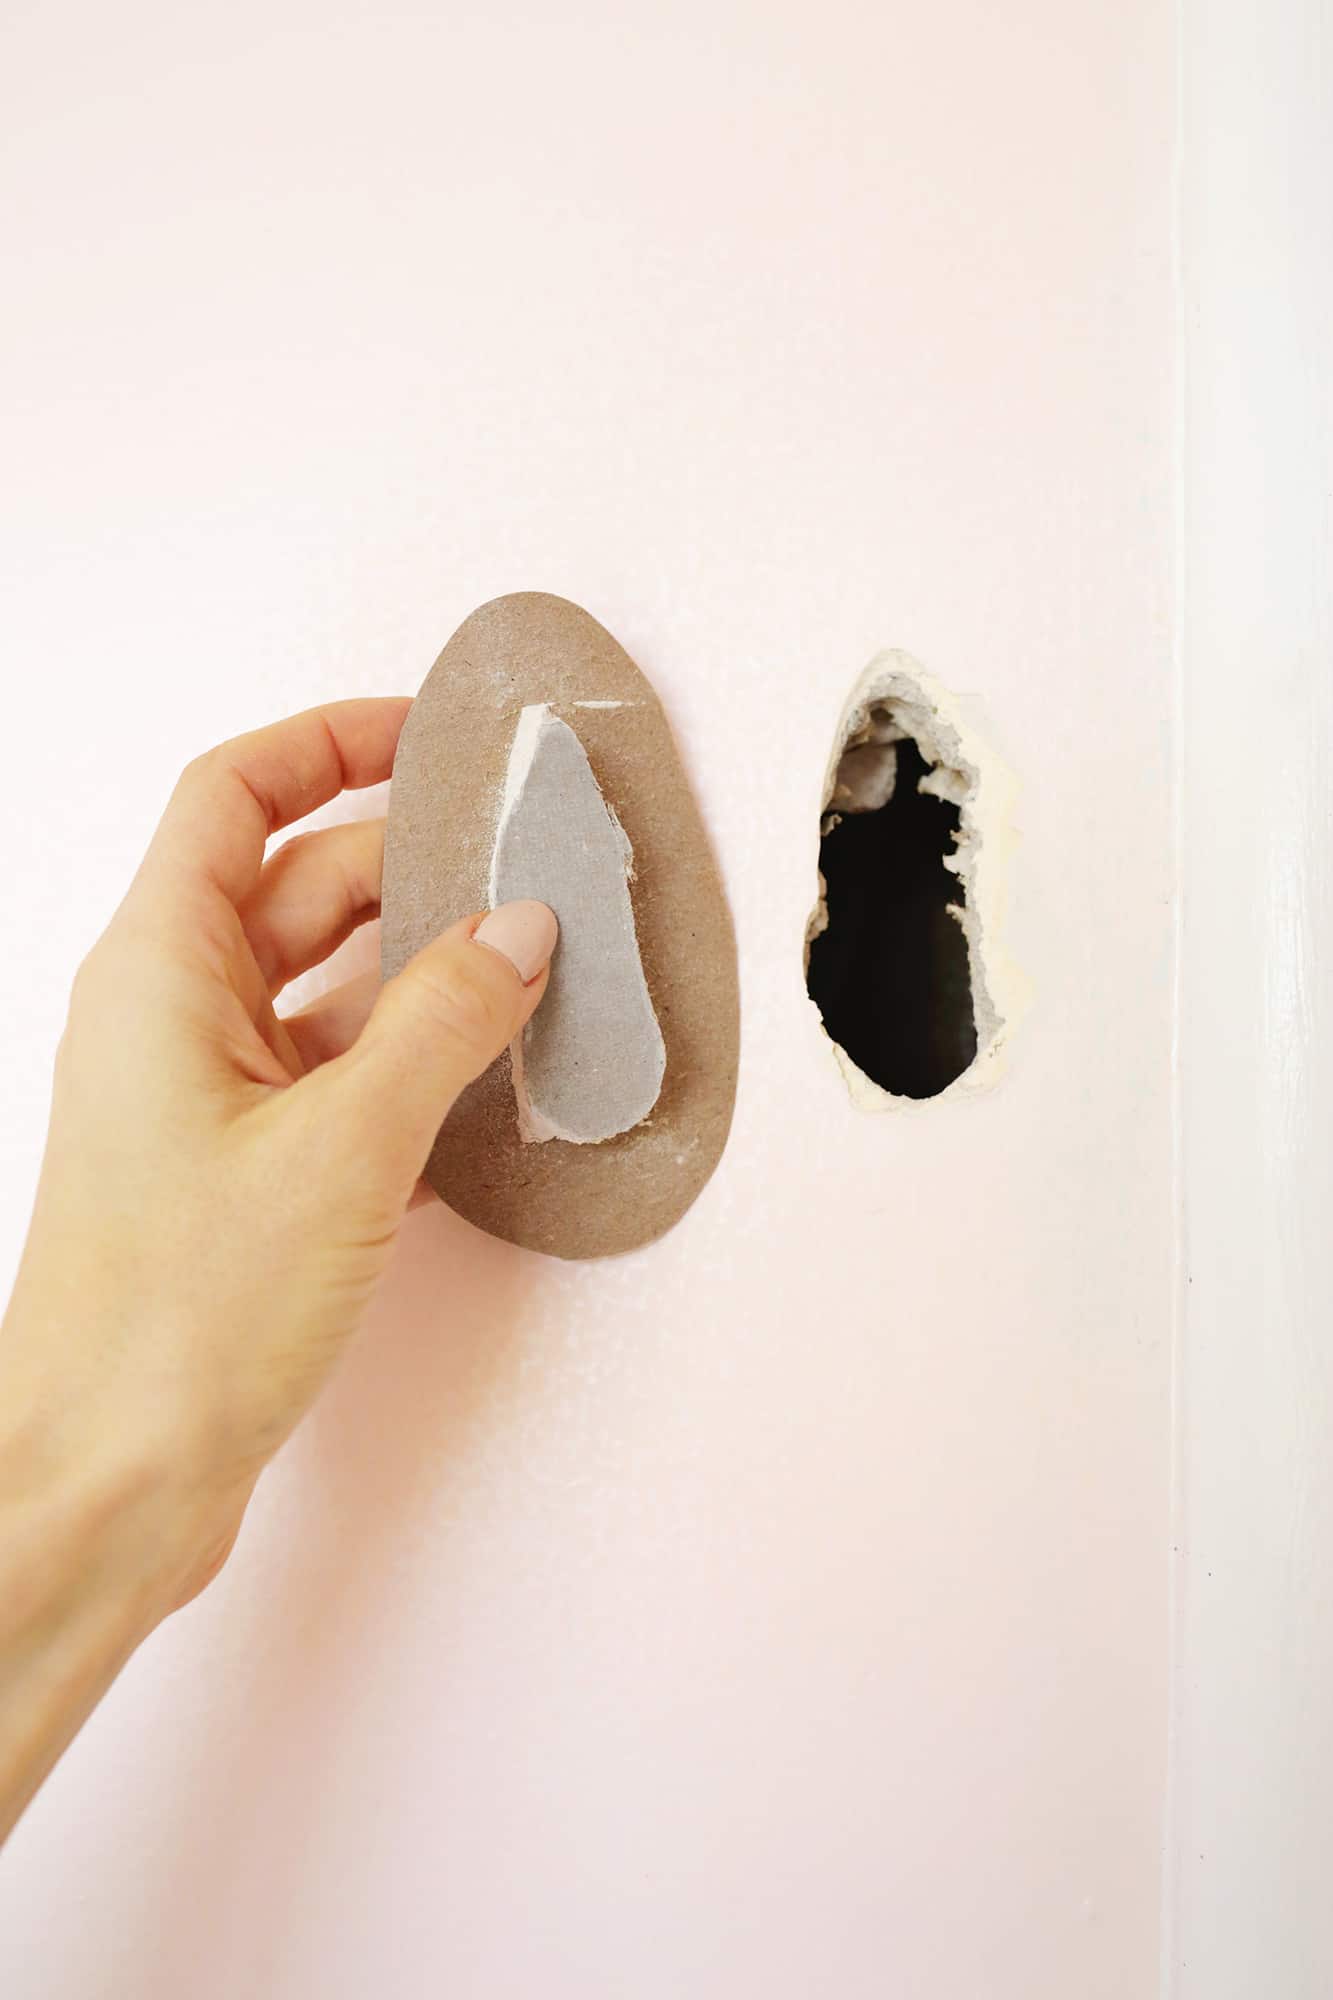


3. Cut a patch from the kit to cover the hole


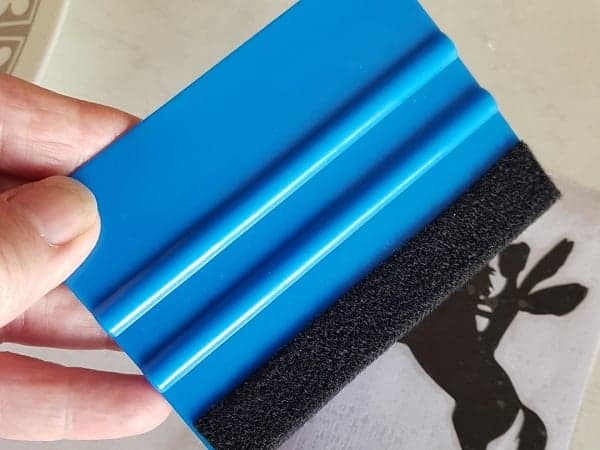
Using the adhesive provided in the patch kit, apply a thin layer to the back of the patch and the area around the hole on the air mattress. Make sure to spread the adhesive evenly and cover the entire surface area.4. Apply adhesive to the patch and the area around the hole


4. Apply adhesive to the patch and the area around the hole


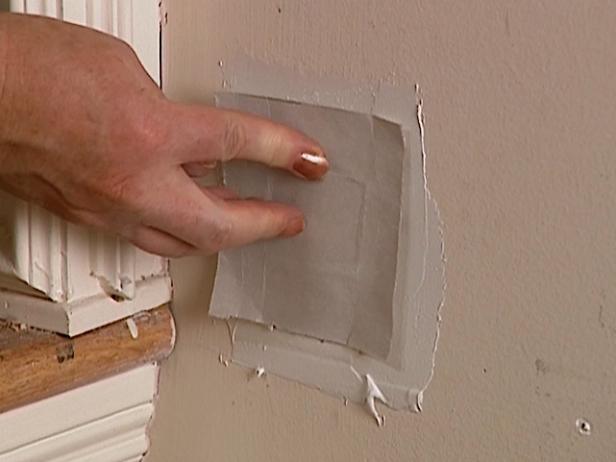
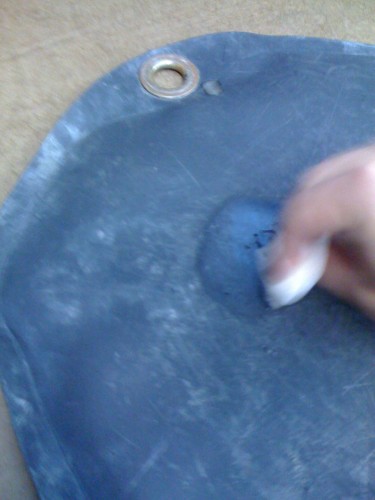
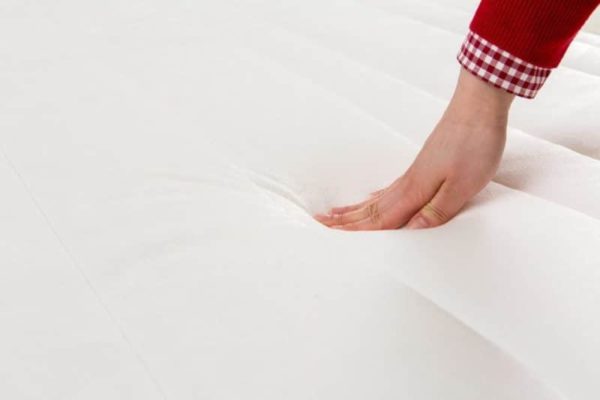
Once the adhesive has been applied, carefully place the patch onto the hole on the air mattress. Make sure to press down firmly and smooth out any air bubbles or wrinkles. The patch should be securely in place and fully covering the hole.5. Press the patch firmly onto the hole


5. Press the patch firmly onto the hole


After pressing the patch onto the hole, allow the adhesive to dry completely. This can take anywhere from 15 minutes to an hour, depending on the type of adhesive used. Make sure to read the instructions on the patch kit for specific drying times.6. Allow the adhesive to dry completely


6. Allow the adhesive to dry completely


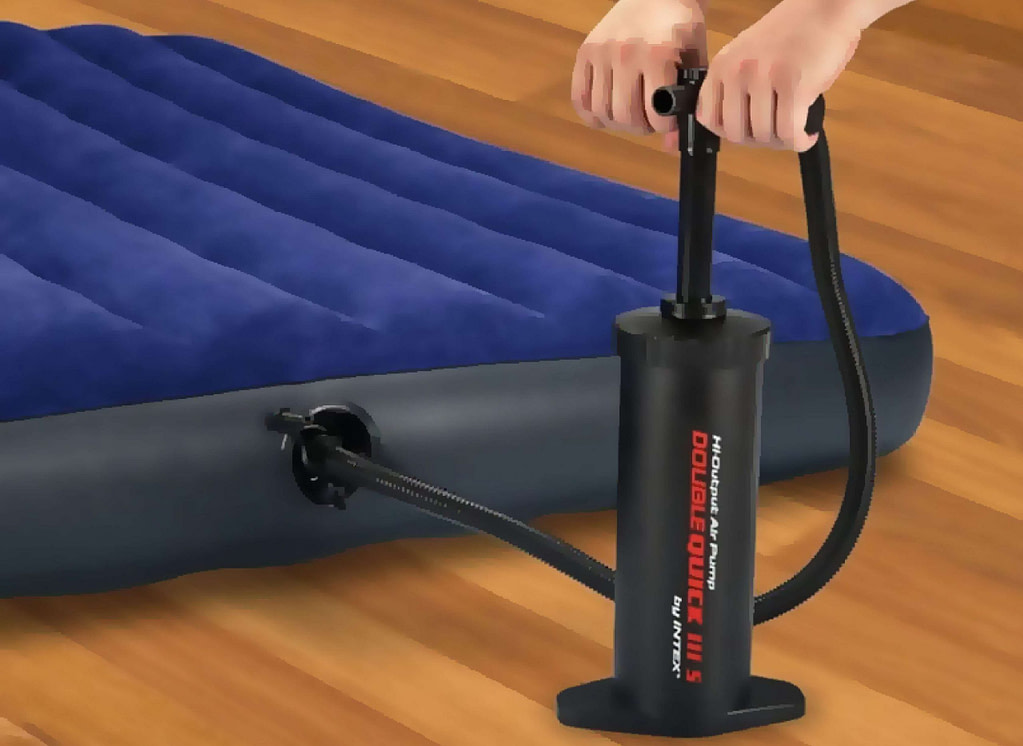
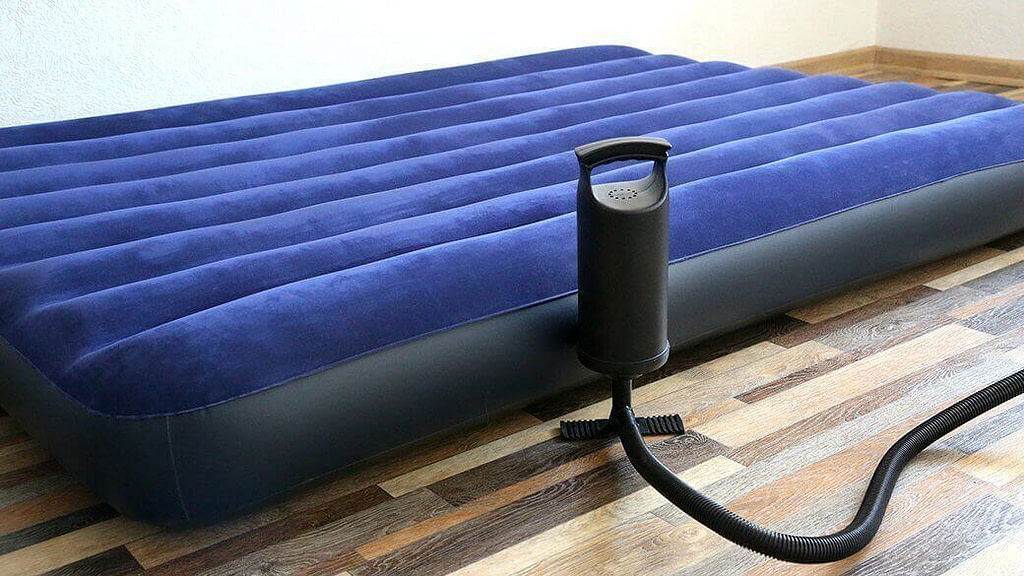
Once the adhesive has dried, inflate your air mattress and check for any leaks. If the patch has been applied correctly, there should be no more air escaping from the hole. If you notice any leaks, simply repeat the patching process or try a different method.7. Inflate the air mattress and check for leaks


7. Inflate the air mattress and check for leaks


If you don't have a patch kit specifically designed for air mattresses, you can also use a bicycle tire repair kit as an alternative. These kits come with similar materials and can be just as effective in patching up your air mattress.8. Use a bicycle tire repair kit as an alternative

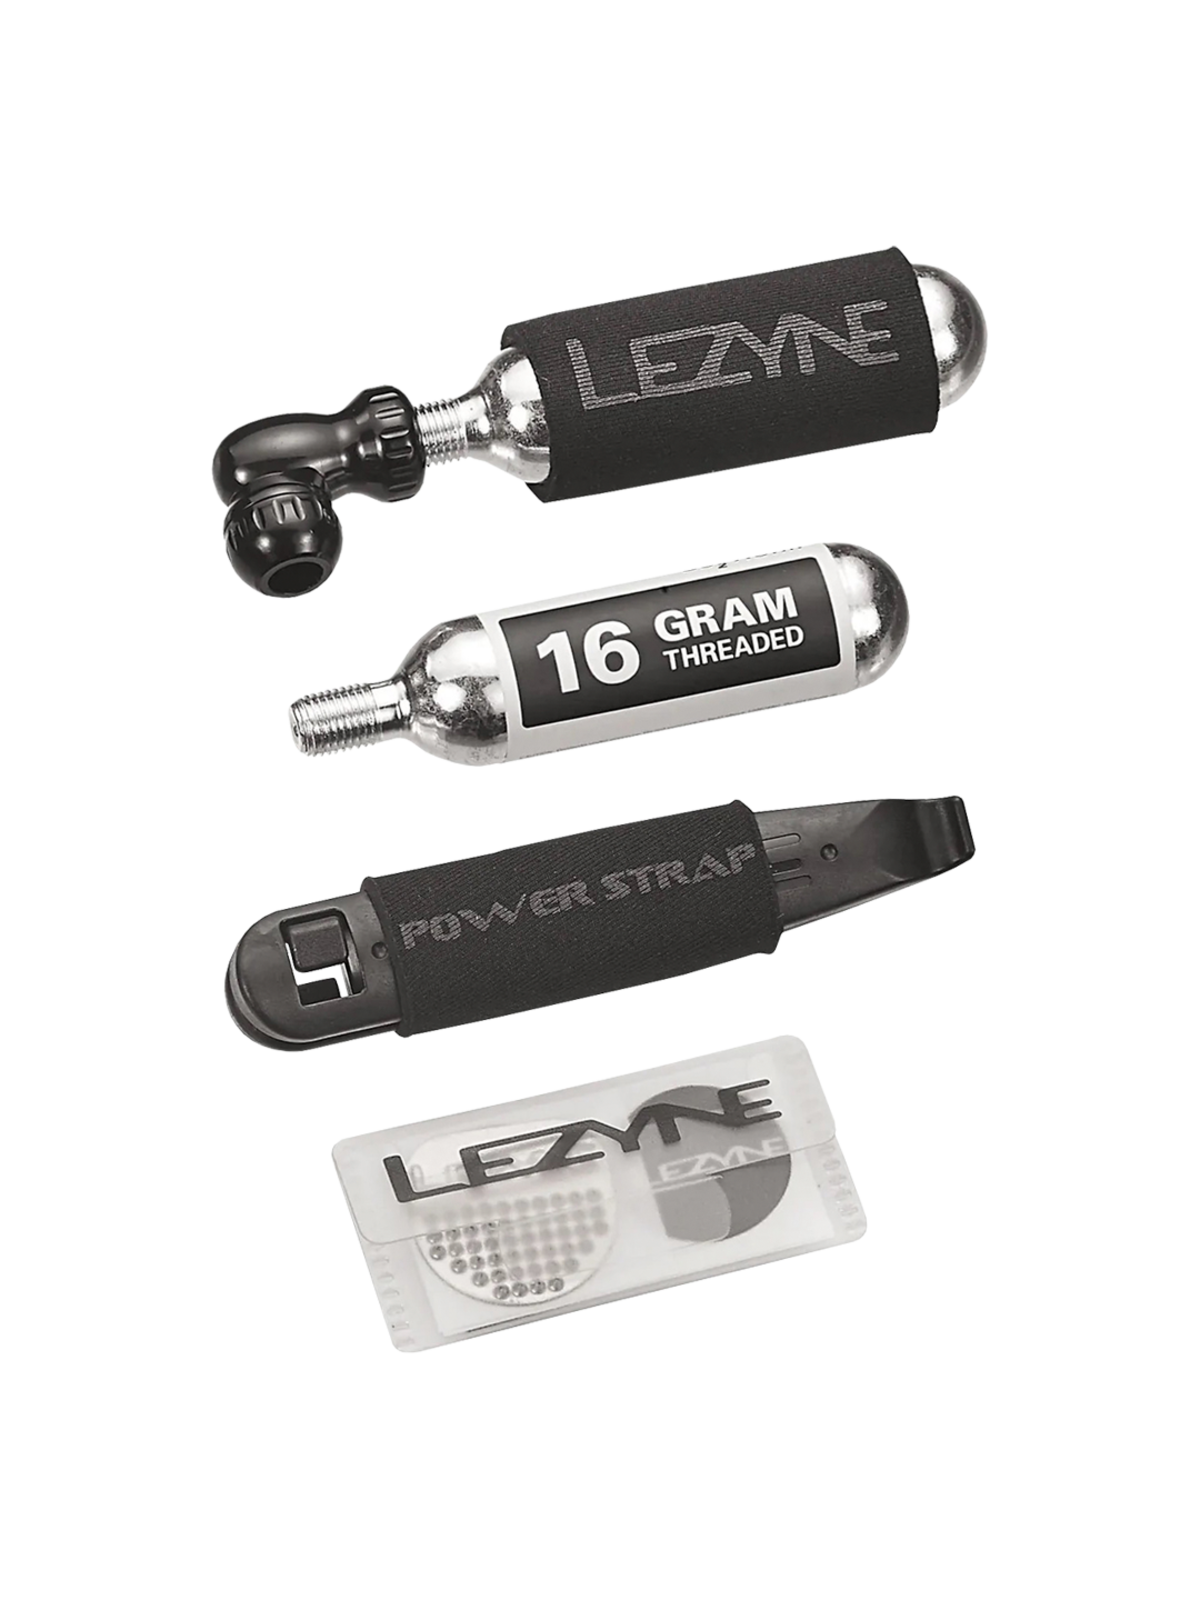
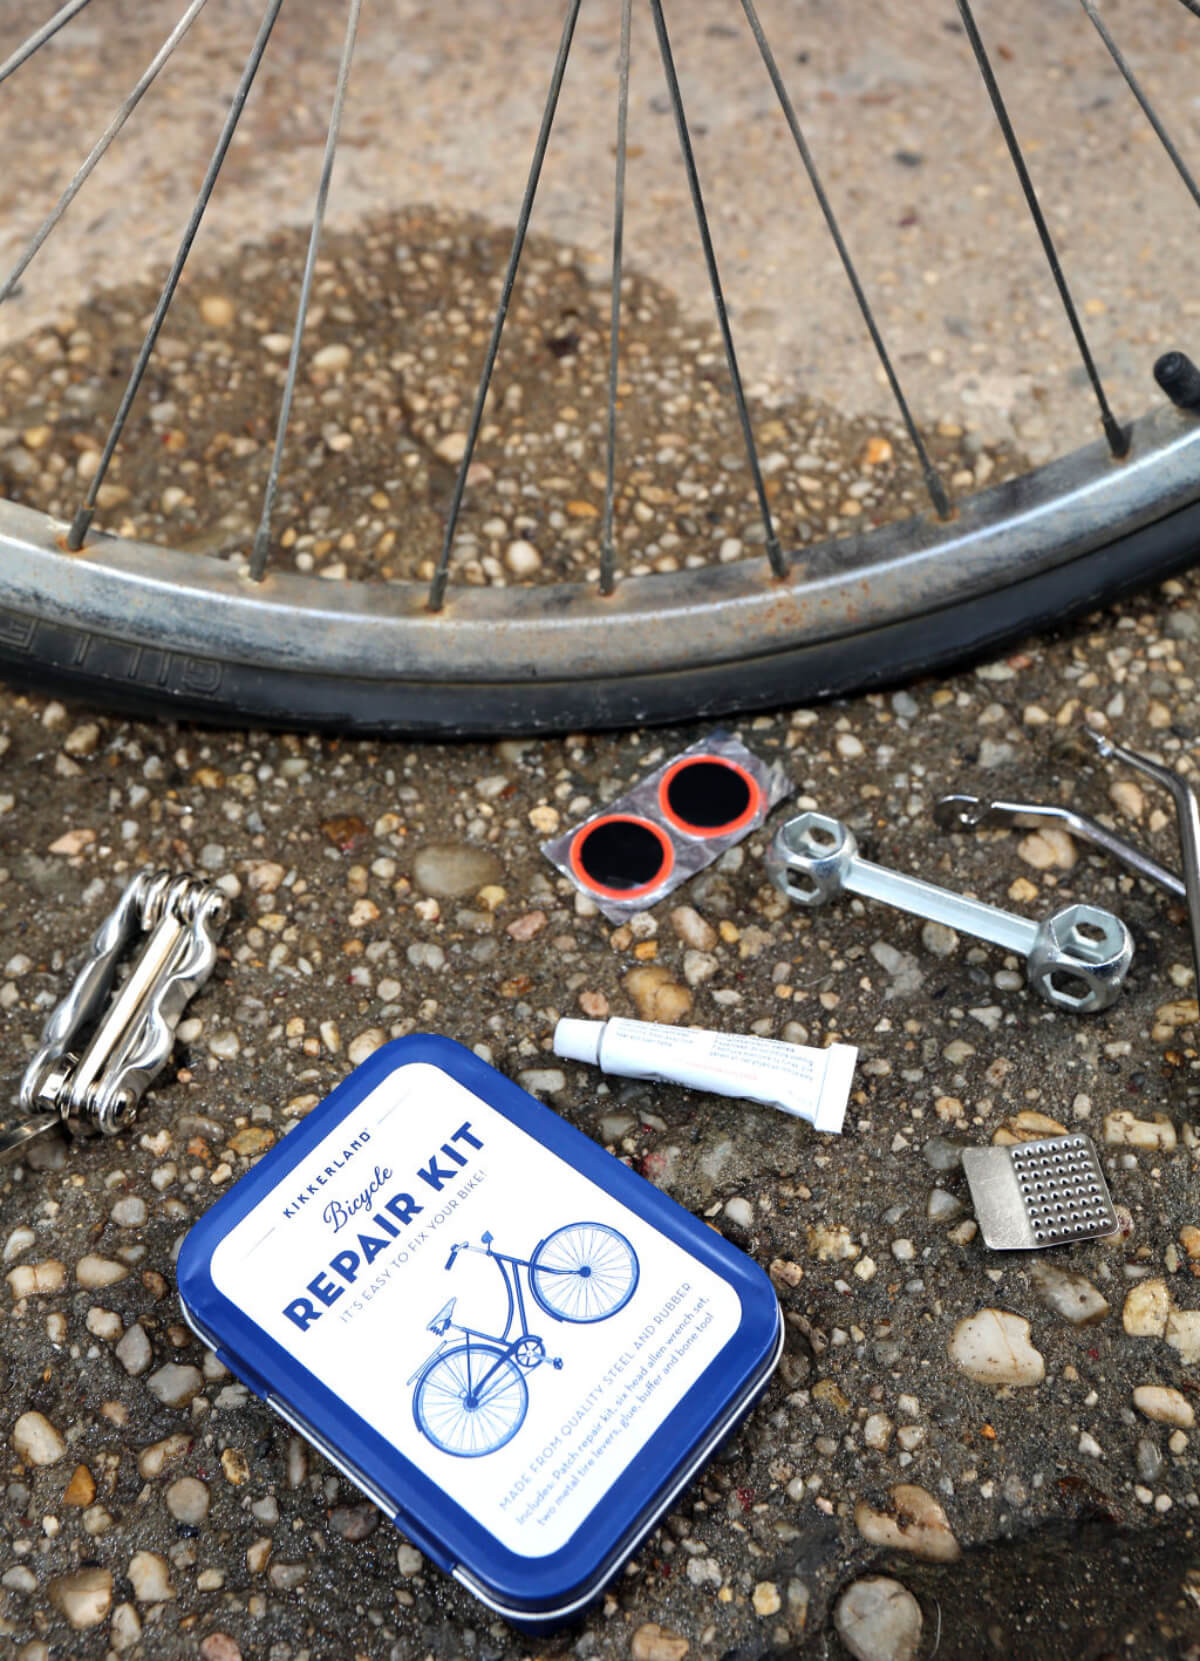
8. Use a bicycle tire repair kit as an alternative


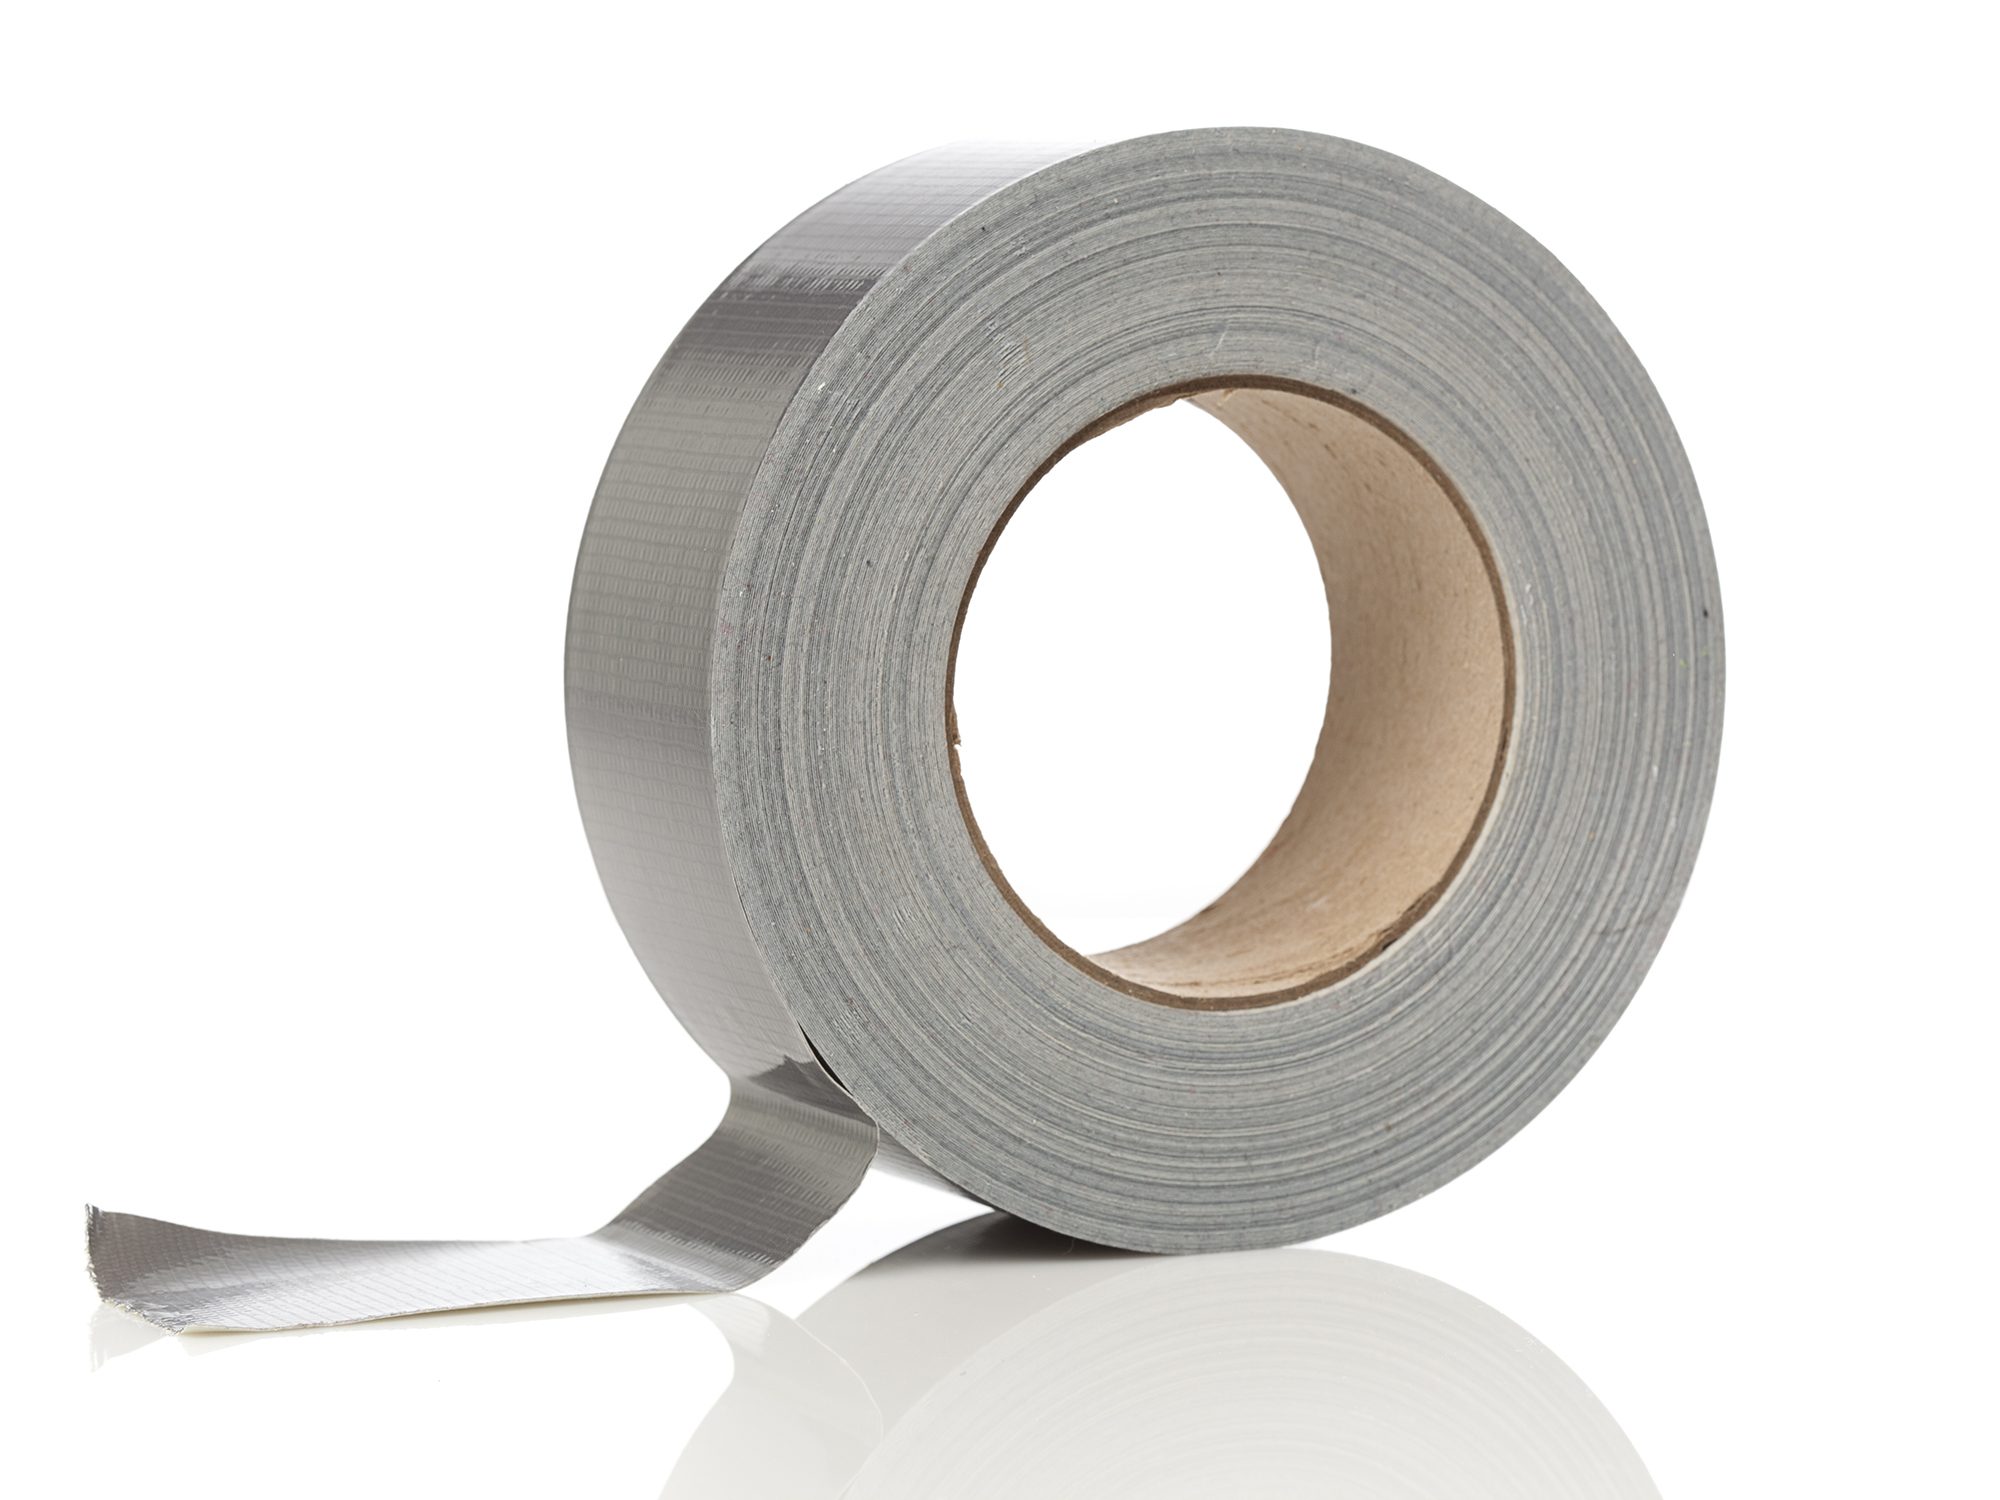
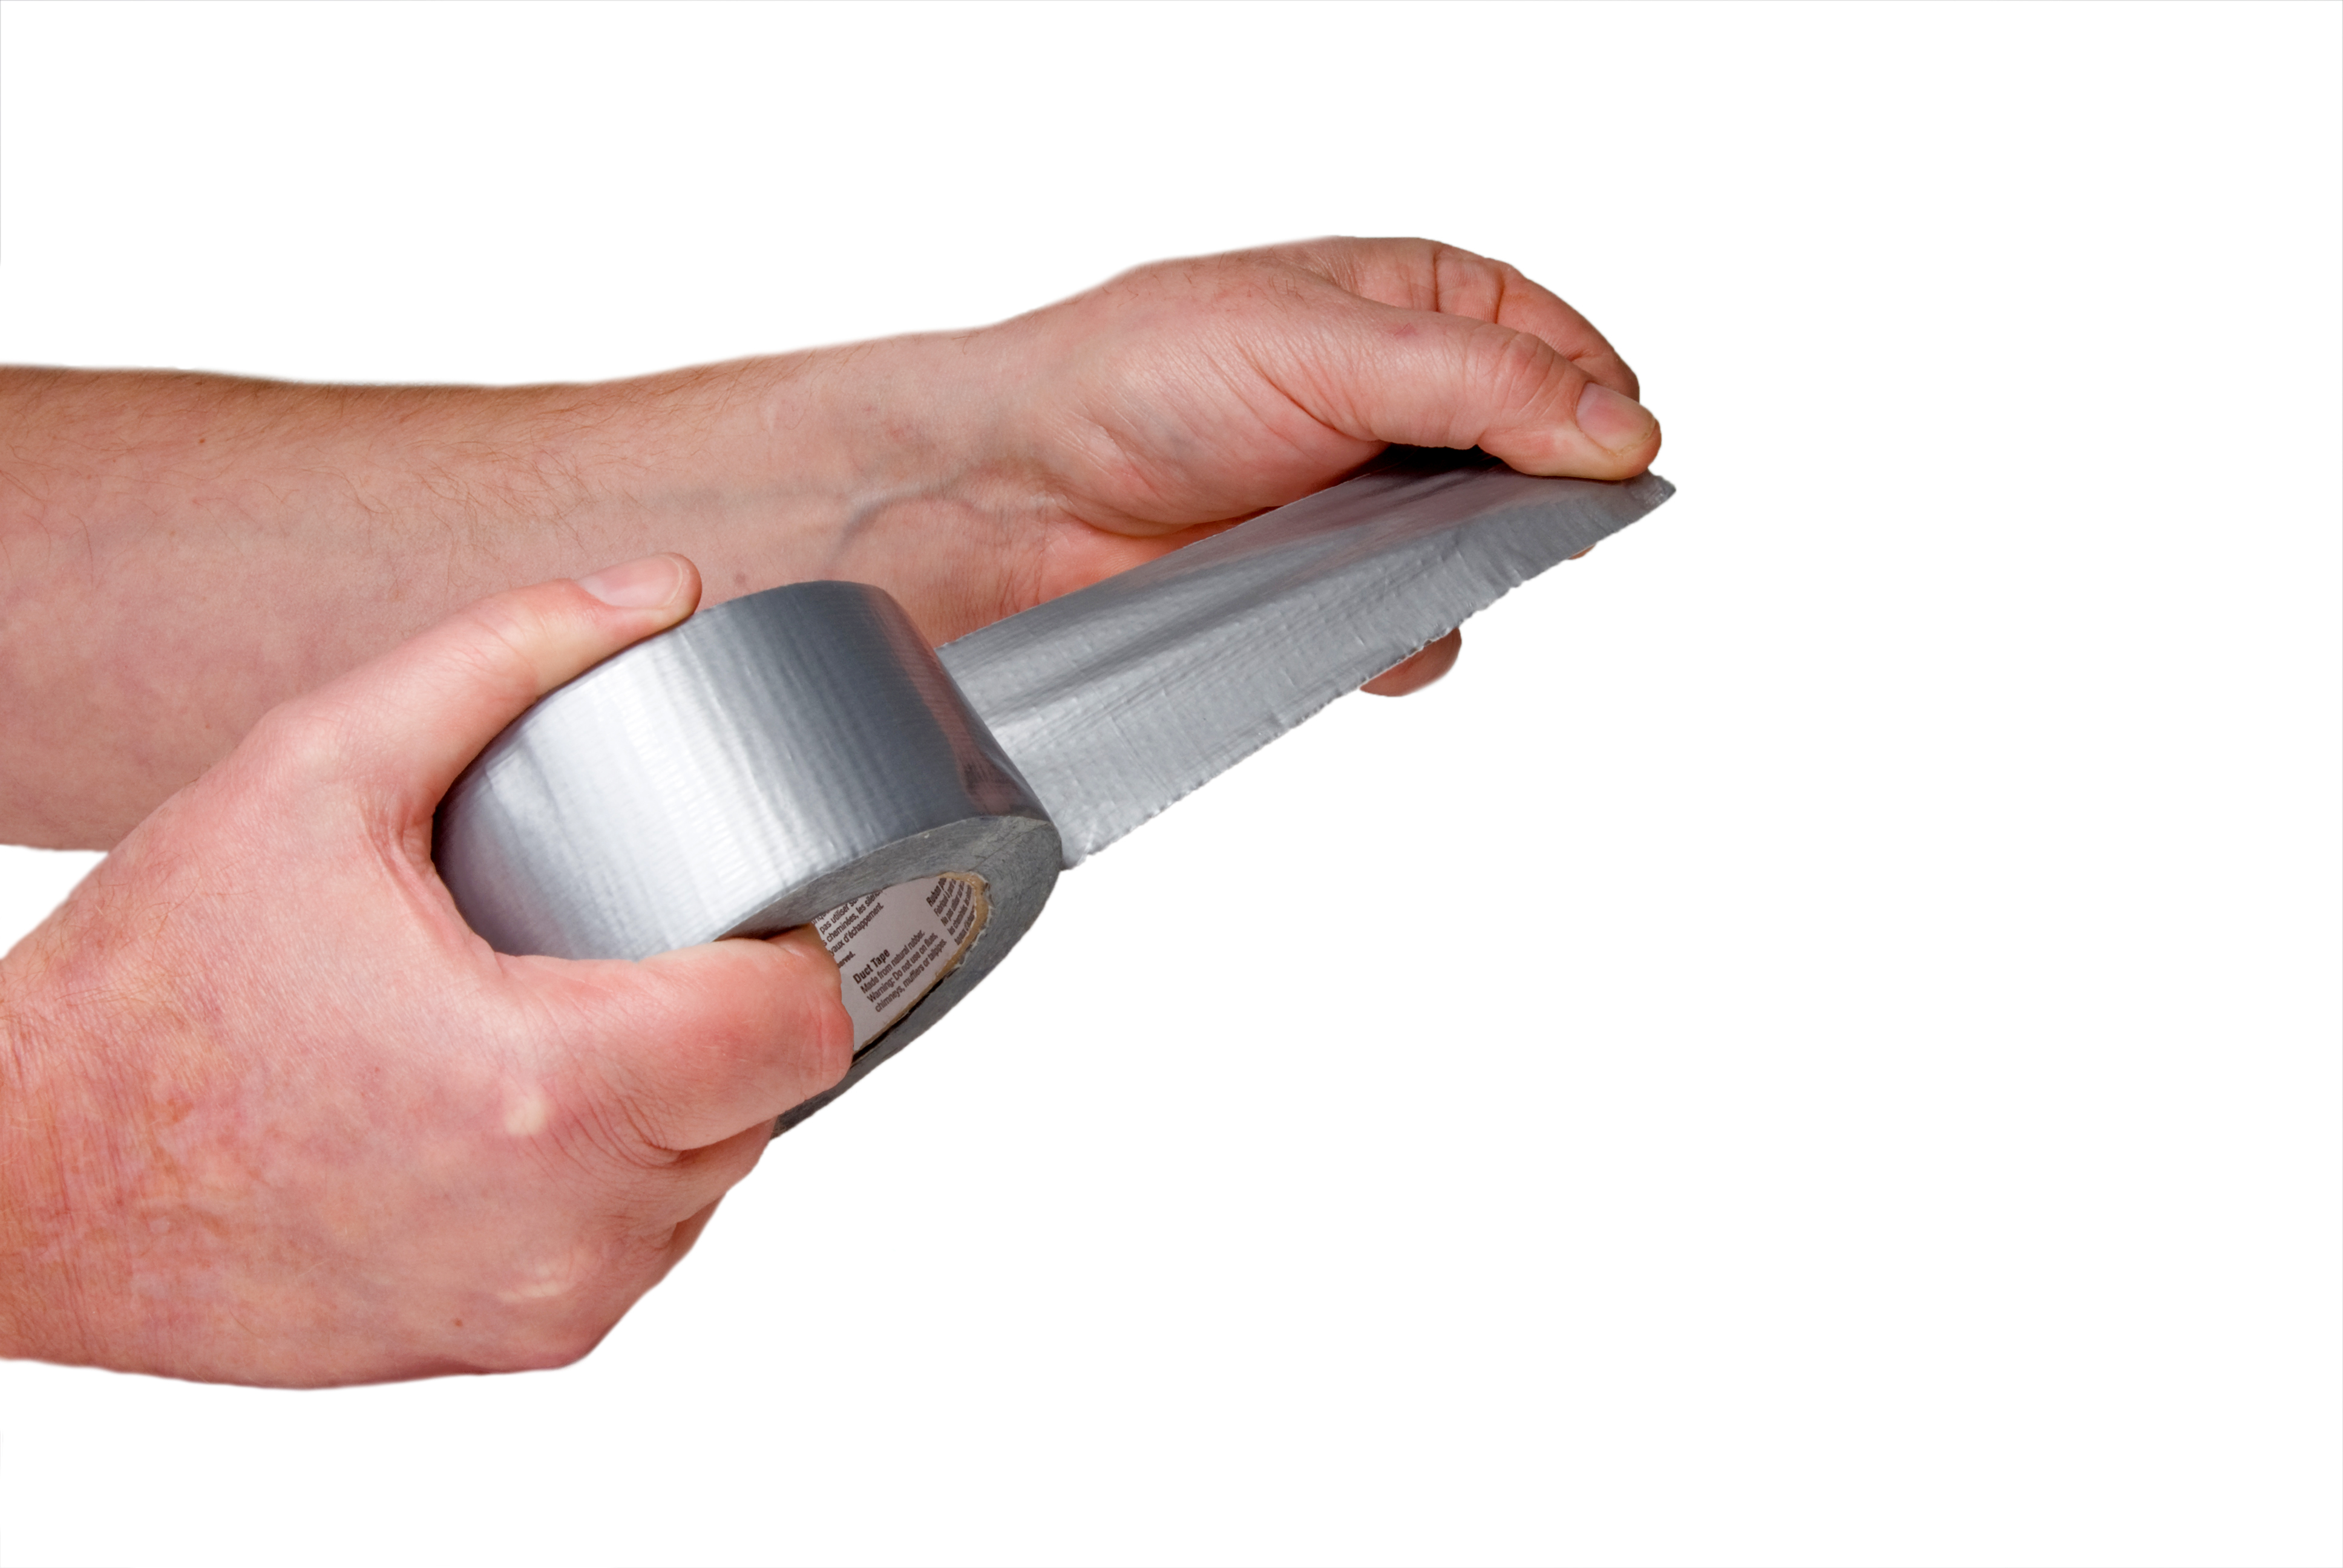
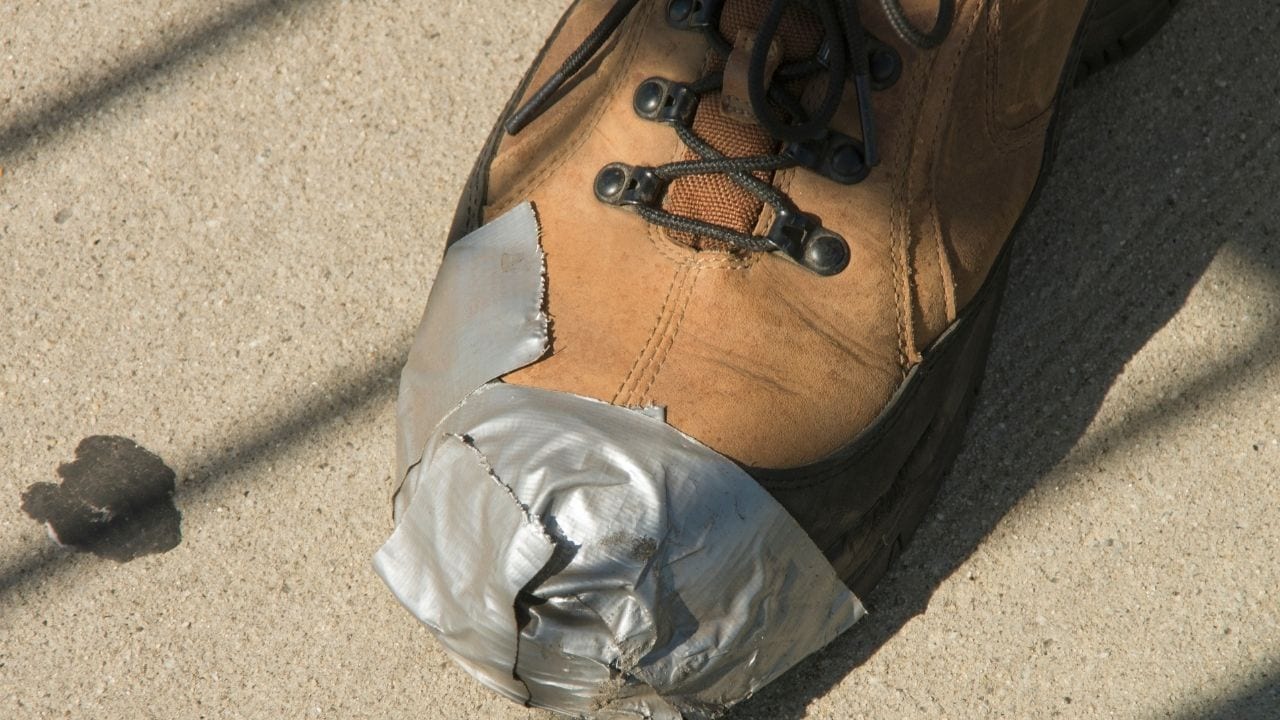
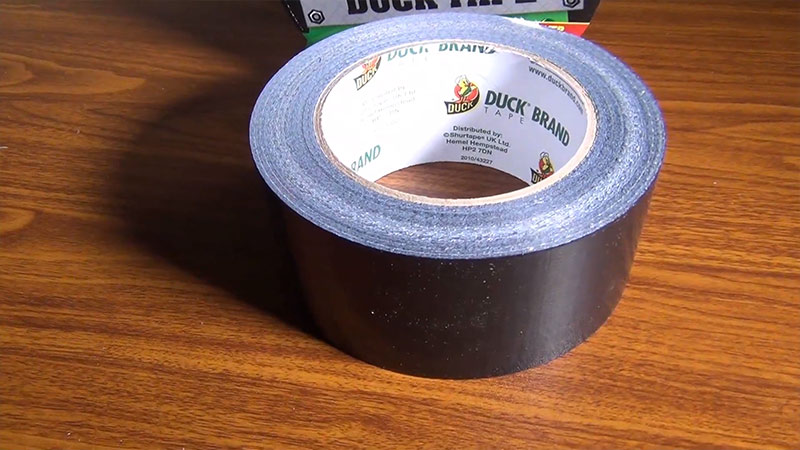
If you need a quick and temporary solution, you can also use duct tape to patch up a hole in your air mattress. Simply cut a piece of tape to cover the hole and press it firmly onto the surface. Keep in mind that this is not a long-term fix and the duct tape may not hold up over time.9. Use duct tape as a temporary fix


9. Use duct tape as a temporary fix


If the hole in your air mattress is too large or difficult to repair, it may be time to consider purchasing a new one. While patching up your air mattress can save you money in the short term, a new one may be a better investment in the long run. Overall, patching an air mattress is a simple and straightforward process. With the right materials and a little bit of know-how, you can easily fix any holes and have your air mattress back in working condition. So don't panic if your air mattress springs a leak – with these easy steps, you can quickly and easily patch it up and get back to enjoying a good night's sleep.10. Consider purchasing a new air mattress if the hole is too large or difficult to repair


10. Consider purchasing a new air mattress if the hole is too large or difficult to repair


The Easiest Way to Patch an Air Mattress

Introduction to Air Mattresses
 Air mattresses are a convenient and versatile option for providing a comfortable sleeping space, whether for guests or for camping trips. However, just like any other inflatable item, air mattresses are prone to getting punctures and leaks. This can be frustrating, especially if you have limited time and resources to fix it. But fear not, as we have the
easiest way to patch an air mattress
that will have your mattress as good as new in no time.
Air mattresses are a convenient and versatile option for providing a comfortable sleeping space, whether for guests or for camping trips. However, just like any other inflatable item, air mattresses are prone to getting punctures and leaks. This can be frustrating, especially if you have limited time and resources to fix it. But fear not, as we have the
easiest way to patch an air mattress
that will have your mattress as good as new in no time.
Identifying the Leak
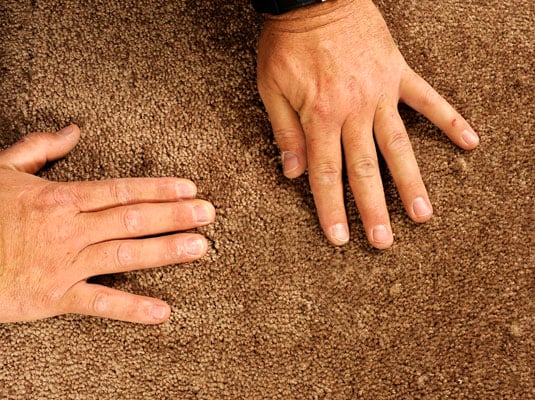
 Before you can begin patching your air mattress, you need to locate where the leak is coming from. The easiest way to do this is by inflating the mattress and then running your hand over the surface, paying close attention to any areas that feel warmer than others. You can also try listening for a hissing sound, which can indicate where the air is escaping from.
Gathering Materials
 Once you have identified the leak, it's time to gather the necessary materials for patching. These include a patch kit specifically designed for air mattresses, rubbing alcohol, and a clean cloth. It's important to
use a patch kit specifically designed for air mattresses
as it will have the necessary materials and adhesive to create a strong and durable bond.
Once you have identified the leak, it's time to gather the necessary materials for patching. These include a patch kit specifically designed for air mattresses, rubbing alcohol, and a clean cloth. It's important to
use a patch kit specifically designed for air mattresses
as it will have the necessary materials and adhesive to create a strong and durable bond.
Cleaning and Patching
 Now that you have all your materials, it's time to get to work. Begin by cleaning the area around the leak with rubbing alcohol and a clean cloth. This will ensure that the adhesive from the patch will stick properly. Once the area is clean and dry, follow the instructions on the patch kit to apply the patch.
Make sure to press down firmly to create a strong bond.
Now that you have all your materials, it's time to get to work. Begin by cleaning the area around the leak with rubbing alcohol and a clean cloth. This will ensure that the adhesive from the patch will stick properly. Once the area is clean and dry, follow the instructions on the patch kit to apply the patch.
Make sure to press down firmly to create a strong bond.
Letting it Cure
 After applying the patch, it's important to let it cure for the recommended amount of time. This can vary depending on the patch kit, but it's usually around 24 hours. During this time, do not inflate or use the air mattress to allow the adhesive to fully bond with the surface.
Preventing Future Leaks
 To avoid future leaks, it's important to take proper care of your air mattress. Make sure to keep it away from sharp objects and avoid over-inflating it. If you are using it for camping, lay a tarp or groundsheet underneath to protect it from rocks and debris.
In Conclusion
 Patching an air mattress doesn't have to be a daunting task. With the
easiest way to patch an air mattress
, you can save time and money while still enjoying a comfortable night's sleep. Remember to always keep a patch kit on hand for any future mishaps, and take proper care of your air mattress to prevent leaks in the first place. Now that you know how to patch an air mattress, you can rest easy knowing that your inflatable bed will last for many uses to come.
Patching an air mattress doesn't have to be a daunting task. With the
easiest way to patch an air mattress
, you can save time and money while still enjoying a comfortable night's sleep. Remember to always keep a patch kit on hand for any future mishaps, and take proper care of your air mattress to prevent leaks in the first place. Now that you know how to patch an air mattress, you can rest easy knowing that your inflatable bed will last for many uses to come.