Are you tired of looking at your outdated bathroom sink and want to give it a fresh new look? Or maybe you're renovating your entire bathroom and need to install a new sink. Whatever the reason may be, you don't have to hire a professional to install a bathroom sink. With the right tools and some basic DIY skills, you can easily install a bathroom sink yourself. In this guide, we will walk you through the step-by-step process of installing a bathroom sink, so you can save money and feel proud of your DIY project.DIY Bathroom Sink Installation Guide


DIY Bathroom Sink Installation Guide

:no_upscale()/cdn.vox-cdn.com/uploads/chorus_asset/file/19495086/drain_0.jpg)


Before we dive into the installation process, it's important to gather all the necessary tools and materials. You'll need a new sink, a faucet, P-trap, drain assembly, plumber's putty, adjustable wrench, screwdrivers, and a bucket. Once you have everything you need, you're ready to start the installation process.How to Install a Bathroom Sink Yourself

How to Install a Bathroom Sink Yourself


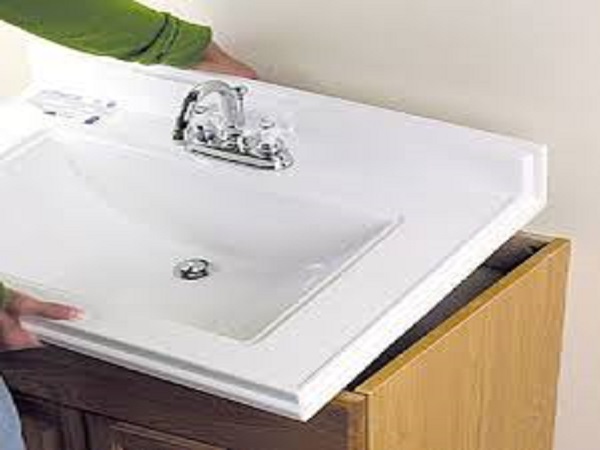
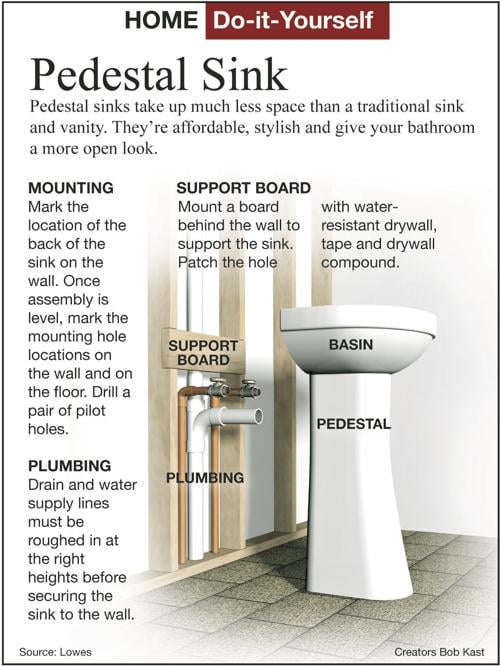
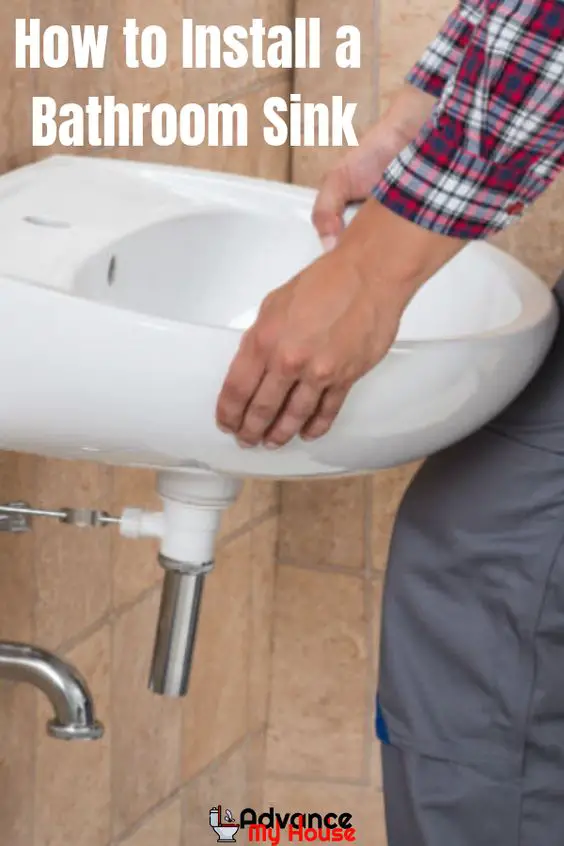
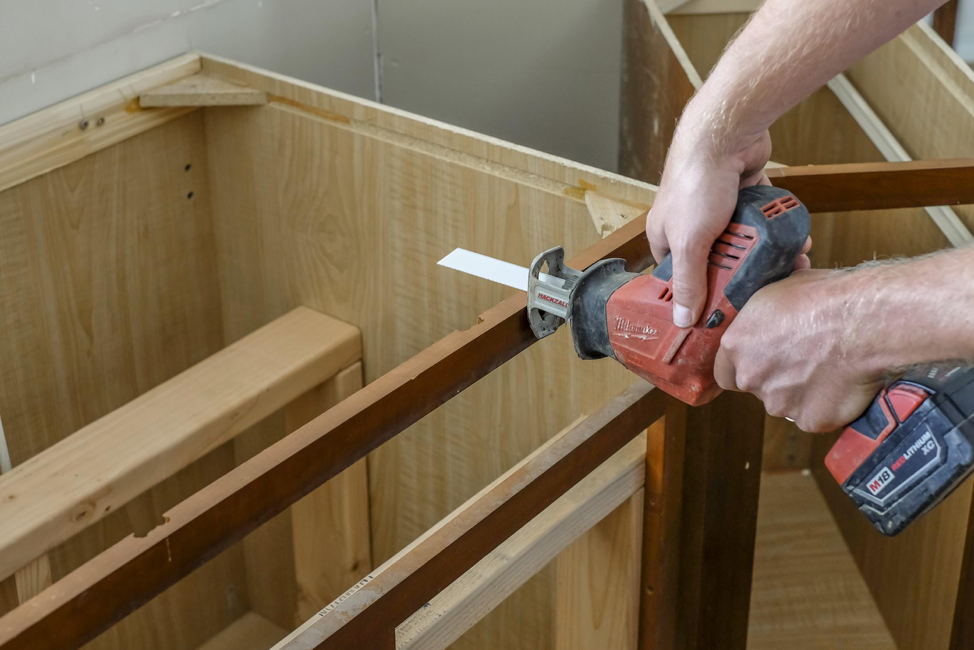
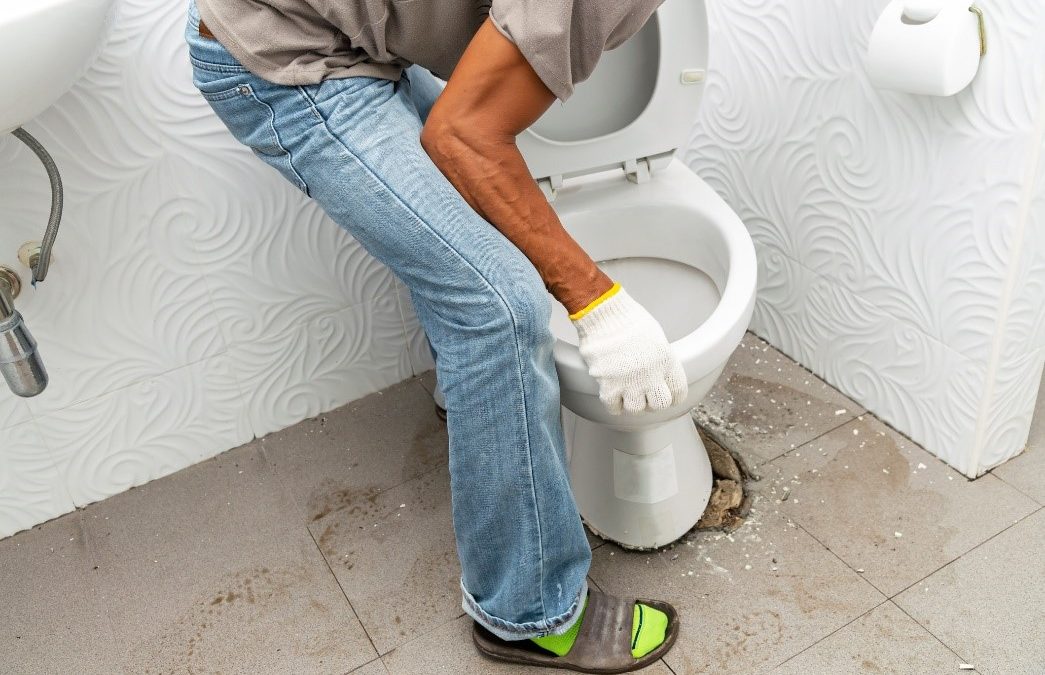
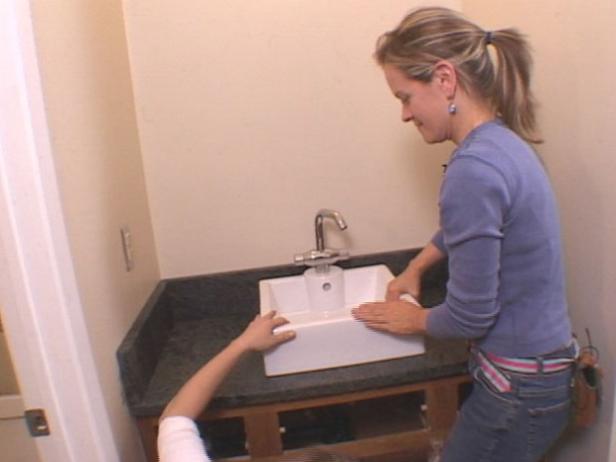
Step 1: Remove the old sink The first step in installing a new bathroom sink is removing the old one. Start by turning off the water supply to the sink. Then, disconnect the water supply lines and remove any remaining water from the pipes. Next, loosen and remove the nuts holding the sink in place. Carefully lift the sink and set it aside. Step 2: Install the faucet and drain assembly Next, install the faucet and drain assembly onto the sink. Follow the manufacturer's instructions for the specific sink and faucet you have purchased. Make sure to use plumber's putty to create a watertight seal around the drain and faucet. Step 3: Install the P-trap The P-trap is a curved pipe that connects the drain assembly to the main drain line. It prevents sewer gases from entering your bathroom. Install the P-trap by attaching one end to the drain assembly and the other end to the main drain line. Use an adjustable wrench to tighten the connections. Step 4: Place the sink onto the vanity With the faucet and drain assembly in place, it's time to put the sink onto the vanity. Carefully lower the sink onto the vanity, making sure it is centered and level. Use a level to double-check and make any necessary adjustments. Step 5: Connect the water supply lines Now it's time to connect the water supply lines to the faucet. Use an adjustable wrench to tighten the connections and ensure there are no leaks. Turn the water supply back on and test the faucet to see if it's working properly. Step 6: Secure the sink in place Once everything is connected and working properly, use a screwdriver to secure the sink to the vanity. This will prevent it from moving or shifting over time.Step-by-Step DIY Bathroom Sink Installation


Step-by-Step DIY Bathroom Sink Installation


Installing a bathroom sink yourself may seem like a daunting task, but it's actually quite simple with the right instructions. Follow our easy step-by-step tutorial to install your new bathroom sink in no time.Easy DIY Bathroom Sink Installation Tutorial


Easy DIY Bathroom Sink Installation Tutorial


Here are a few tips and tricks to keep in mind during your DIY bathroom sink installation: Use a drop cloth or old towels: This will protect your floor and vanity from any spills or scratches during the installation process. Measure twice, cut once: Before cutting any pipes, make sure to measure twice to avoid any mistakes. Don't overtighten: When connecting pipes and fittings, be careful not to overtighten them as this can cause damage or leaks. Watch out for leaks: After turning the water supply back on, keep an eye out for any leaks and make necessary adjustments.DIY Bathroom Sink Installation Tips and Tricks


DIY Bathroom Sink Installation Tips and Tricks


We hope this guide has given you all the information you need to successfully install a bathroom sink yourself. Remember to always follow the manufacturer's instructions and use the right tools for the job. With some patience and DIY skills, you'll have a beautiful new bathroom sink in no time.Complete DIY Bathroom Sink Installation Guide


Complete DIY Bathroom Sink Installation Guide

Before starting your DIY bathroom sink installation, here are a few things you should know: Know your plumbing: Make sure you understand the basic plumbing in your bathroom before attempting to install a sink yourself. If you're unsure, it's best to consult a professional. Choose the right sink: There are various types of bathroom sinks available, including drop-in, undermount, and vessel sinks. Make sure to choose one that fits your vanity and bathroom design. Take your time: Installing a bathroom sink may take a few hours, so make sure you have enough time set aside for the project.DIY Bathroom Sink Installation: What You Need to Know


DIY Bathroom Sink Installation: What You Need to Know

If you're new to DIY projects, installing a bathroom sink is a great place to start. It's a relatively simple project that can give you confidence and experience for future DIY projects.DIY Bathroom Sink Installation: A Beginner's Guide

DIY Bathroom Sink Installation: A Beginner's Guide

Here are some common mistakes to avoid during a DIY bathroom sink installation: Not turning off the water supply: Always remember to turn off the water supply before starting any plumbing project. Forgetting to use plumber's putty: This can result in leaks and water damage, so make sure to use plumber's putty to create a watertight seal around the drain and faucet. Not securing the sink: If the sink is not properly secured, it can shift or move over time, causing damage to the pipes and fittings.DIY Bathroom Sink Installation: Common Mistakes to Avoid

DIY Bathroom Sink Installation: Common Mistakes to Avoid


To make sure you have everything you need for your DIY bathroom sink installation, here's a list of tools and materials: Tools: Adjustable wrench, screwdrivers, bucket, level, drop cloth. Materials: Sink, faucet, P-trap, drain assembly, plumber's putty.DIY Bathroom Sink Installation: Tools and Materials You'll Need
DIY Bathroom Sink Installation: Tools and Materials You'll Need

Why Installing a Bathroom Sink Yourself Can Improve Your House Design

Save Money and Add Personal Touches
 Installing a new
bathroom sink
may seem like a daunting task, but with the right tools and knowledge, it can be a rewarding DIY project that can enhance the overall
house design
. Not only can it save you money on hiring a professional plumber, but it also allows you to add your personal touch and style to your bathroom.
Installing a new
bathroom sink
may seem like a daunting task, but with the right tools and knowledge, it can be a rewarding DIY project that can enhance the overall
house design
. Not only can it save you money on hiring a professional plumber, but it also allows you to add your personal touch and style to your bathroom.
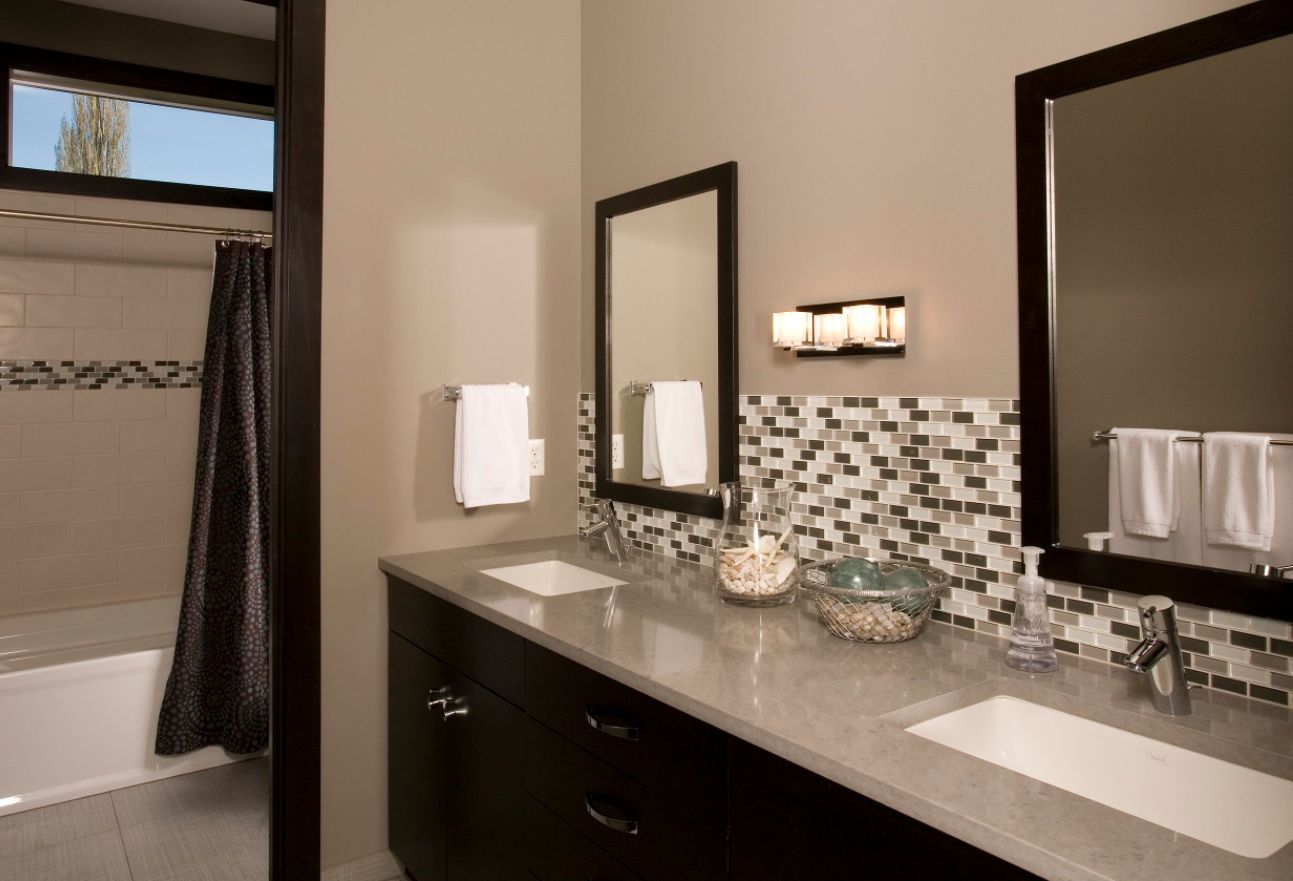
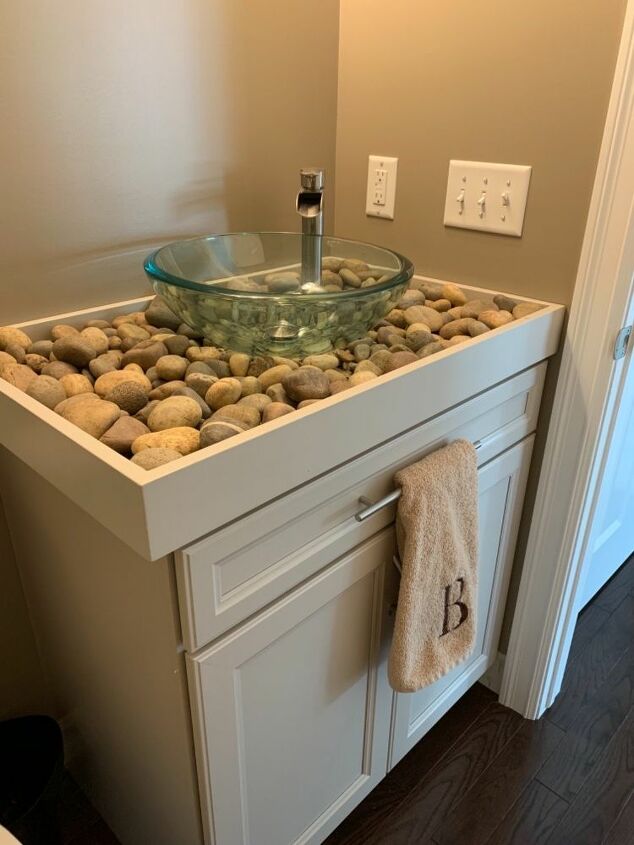
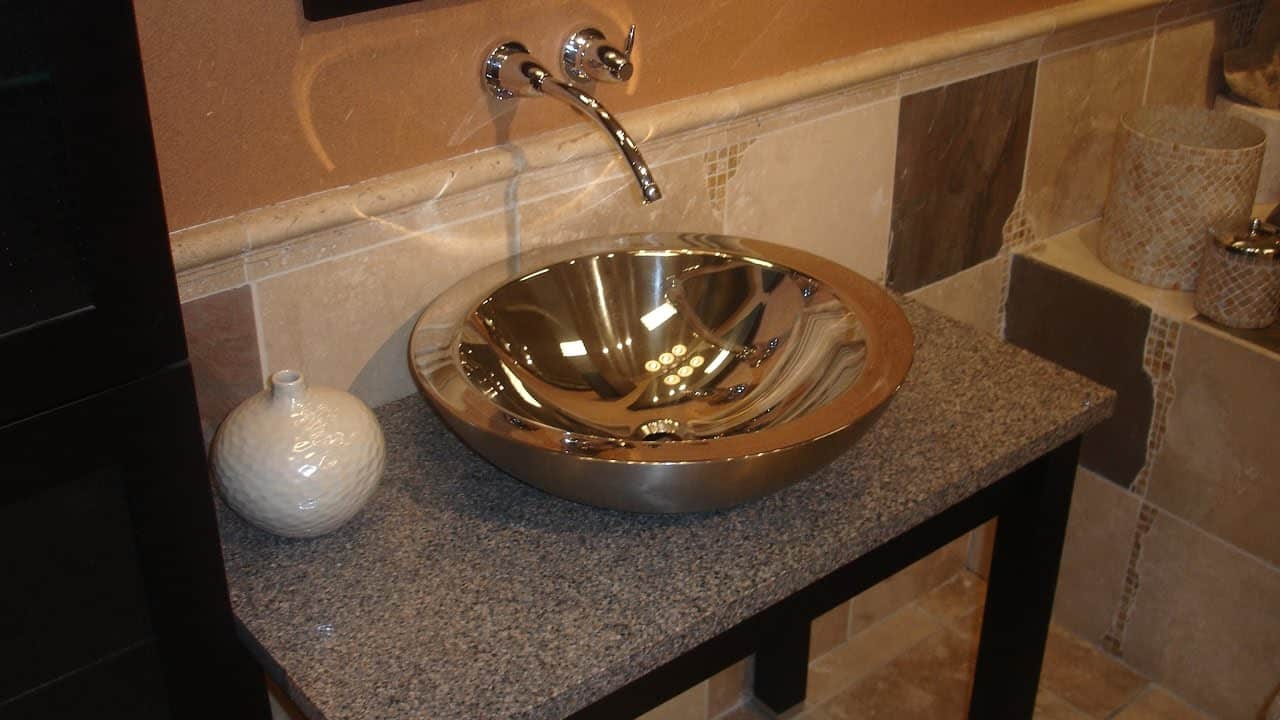
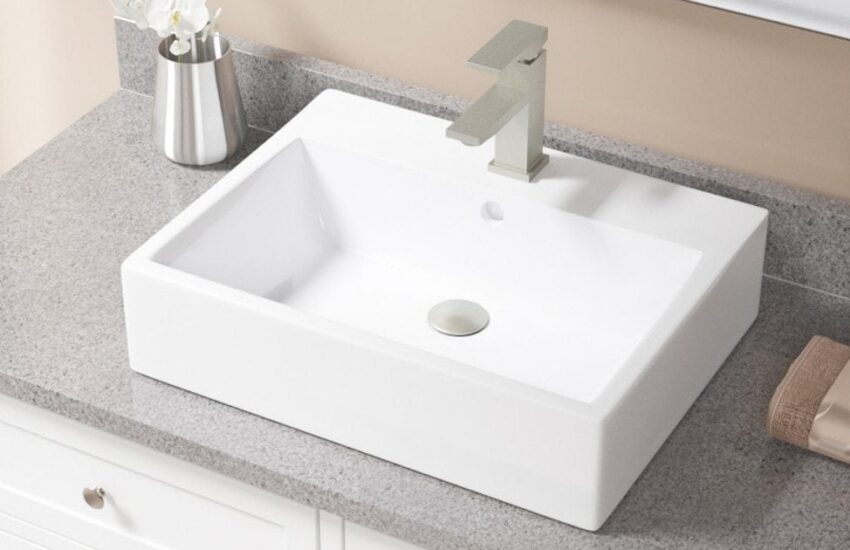
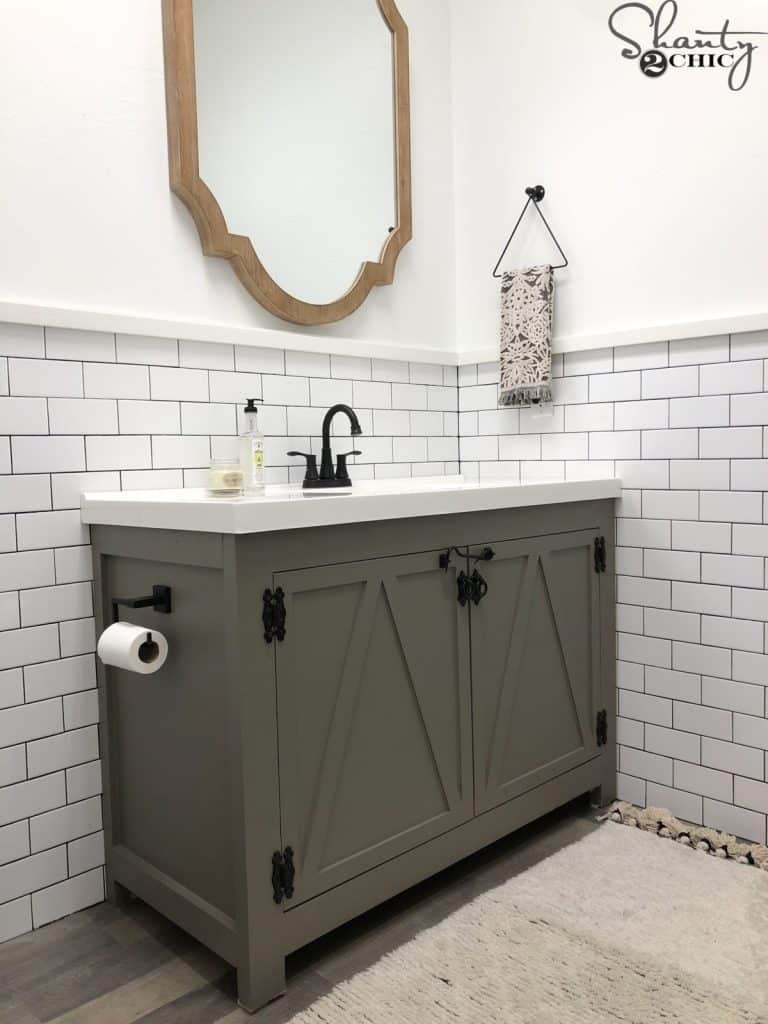
Customize Your Sink to Fit Your Design Aesthetic
 When it comes to
bathroom design
, choosing the right sink is crucial as it can set the tone for the entire space. By installing the sink yourself, you have the freedom to choose from a variety of styles, materials, and sizes that will best complement your
house's design
. Whether you prefer a modern vessel sink or a classic pedestal sink, the options are endless and can truly make a statement in your bathroom.
When it comes to
bathroom design
, choosing the right sink is crucial as it can set the tone for the entire space. By installing the sink yourself, you have the freedom to choose from a variety of styles, materials, and sizes that will best complement your
house's design
. Whether you prefer a modern vessel sink or a classic pedestal sink, the options are endless and can truly make a statement in your bathroom.
Effortlessly Upgrade Your Bathroom's Functionality
 Aside from enhancing the aesthetics of your bathroom, installing a new sink can also improve its functionality. You can opt for a larger sink with more counter space or a double sink to make your morning routine more efficient. Additionally, you can choose a sink with built-in storage or a faucet with extra features such as a pull-out sprayer or touchless technology, making your bathroom more convenient and functional.
Follow These Steps for a Successful DIY Sink Installation
 First, turn off the water supply and disconnect the plumbing underneath the old sink. Then, remove the old sink and clean the area thoroughly. Next, measure and mark the placement of the new sink and drill any necessary holes for the faucet and drain. After that, install the sink and secure it with brackets and caulk. Finally, reconnect the plumbing and turn the water supply back on. It's important to follow these steps carefully and use the right tools to ensure a successful
DIY bathroom sink installation
.
First, turn off the water supply and disconnect the plumbing underneath the old sink. Then, remove the old sink and clean the area thoroughly. Next, measure and mark the placement of the new sink and drill any necessary holes for the faucet and drain. After that, install the sink and secure it with brackets and caulk. Finally, reconnect the plumbing and turn the water supply back on. It's important to follow these steps carefully and use the right tools to ensure a successful
DIY bathroom sink installation
.
Conclusion
 Installing a new bathroom sink yourself may seem intimidating, but with the right approach, it can be a cost-effective and creative way to improve your
house design
. By customizing your sink, upgrading its functionality, and following proper installation steps, you can achieve a professional-looking result that will elevate your bathroom's overall design. So why not take on this DIY project and see the positive impact it can have on your house's design.
Installing a new bathroom sink yourself may seem intimidating, but with the right approach, it can be a cost-effective and creative way to improve your
house design
. By customizing your sink, upgrading its functionality, and following proper installation steps, you can achieve a professional-looking result that will elevate your bathroom's overall design. So why not take on this DIY project and see the positive impact it can have on your house's design.