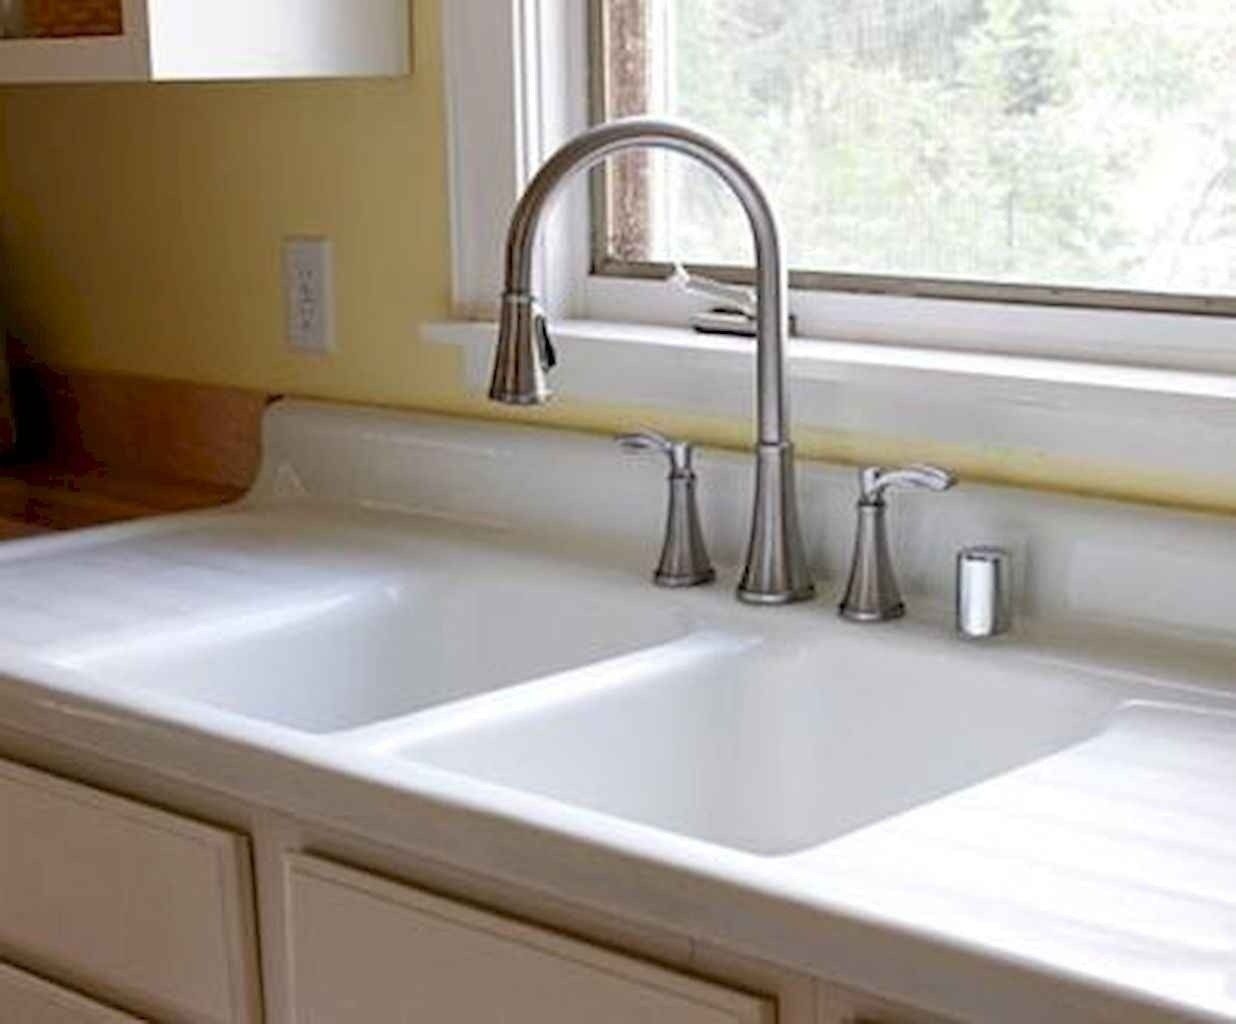
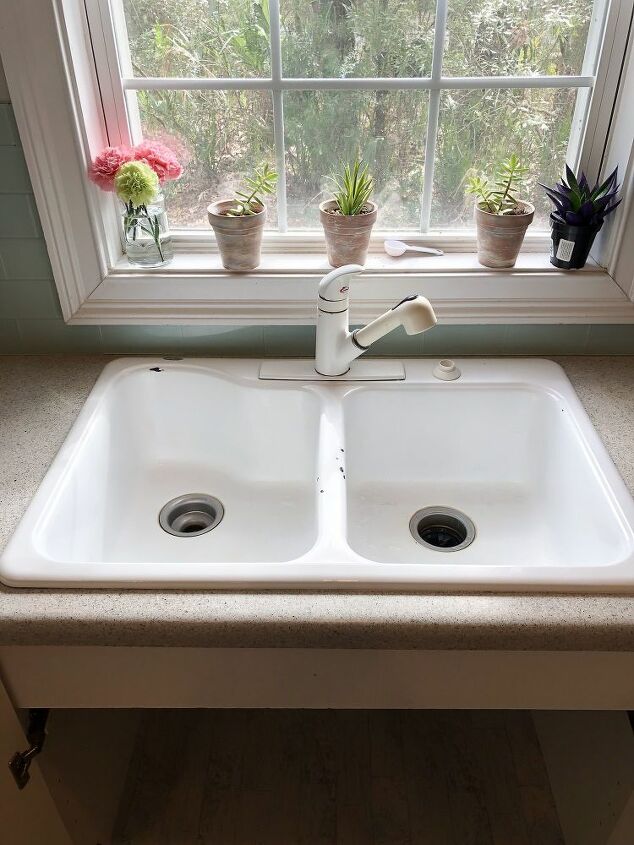
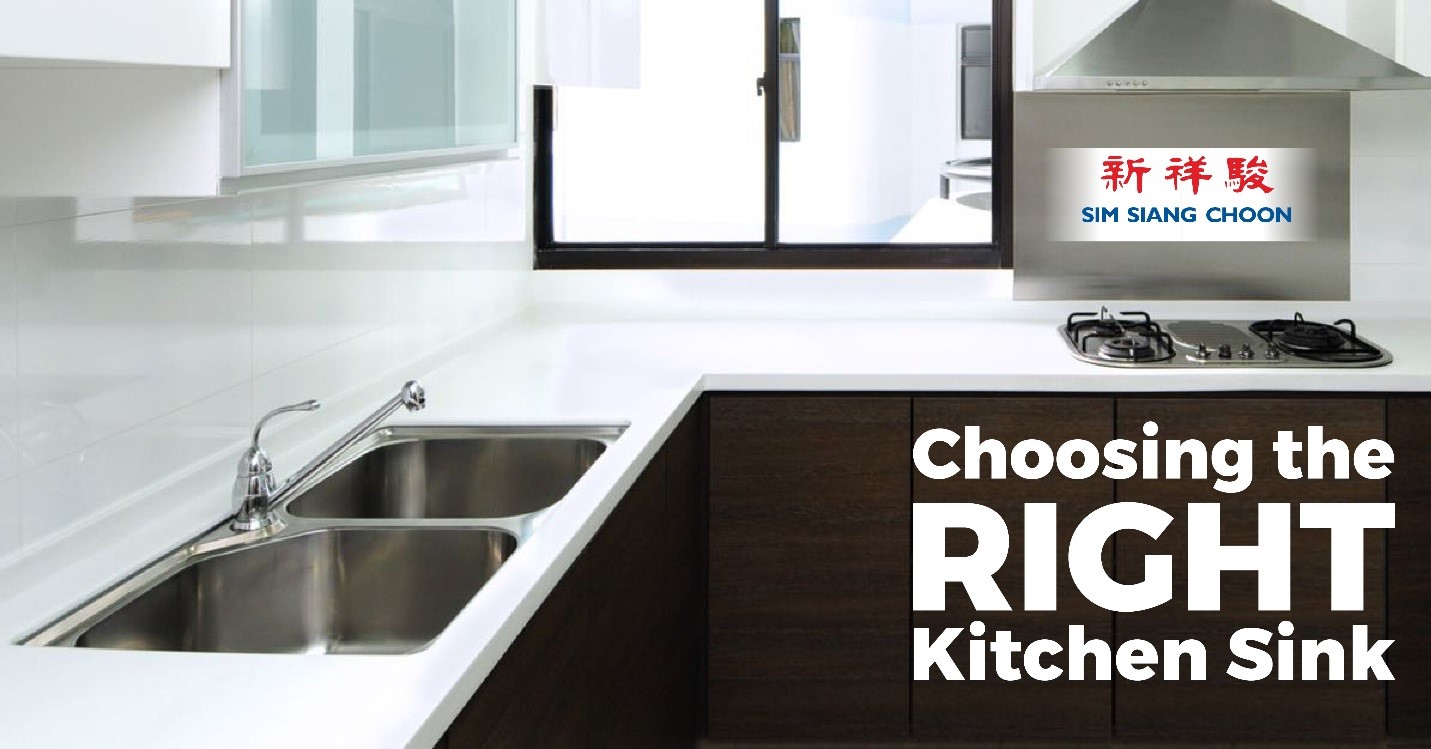
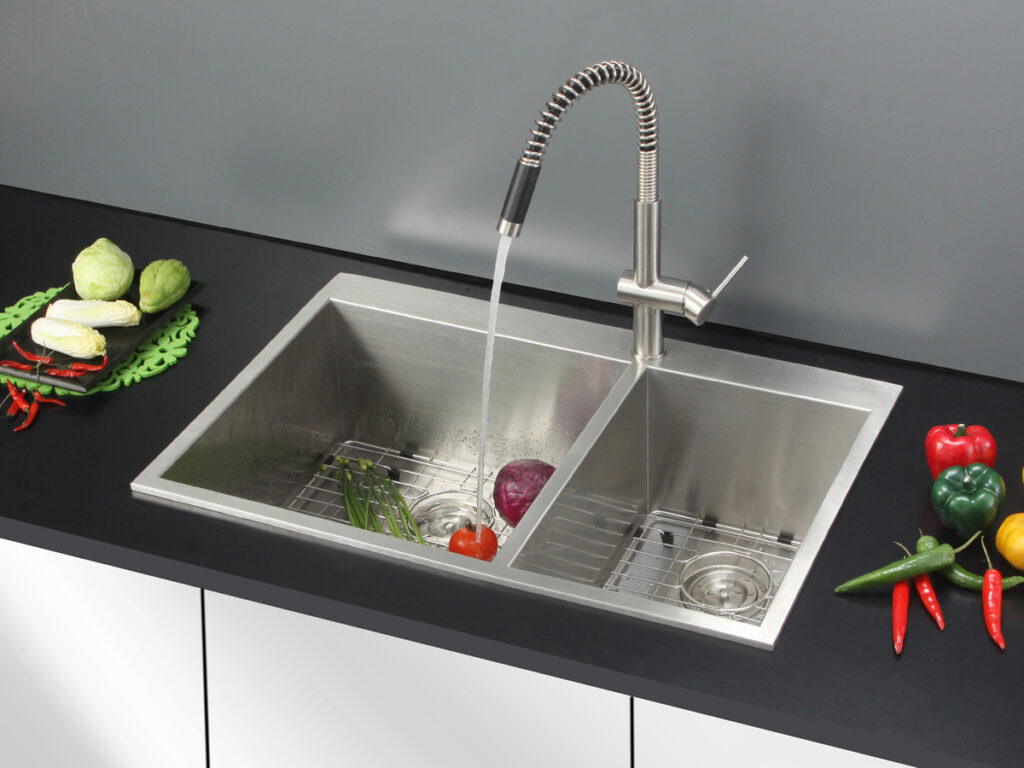
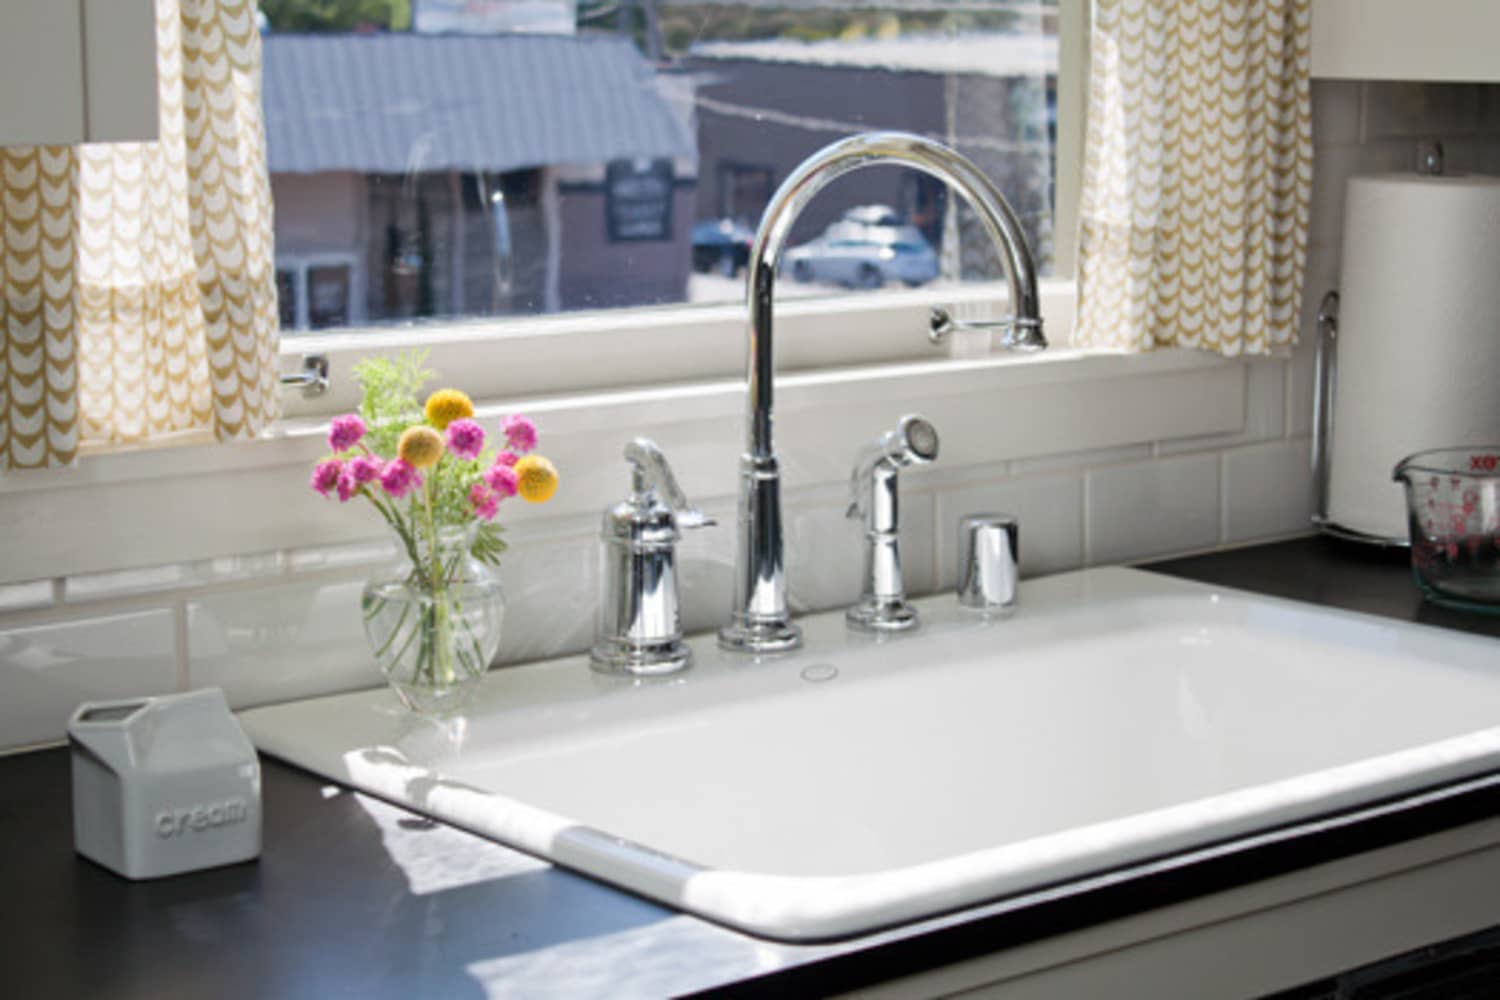
Drop-in kitchen sinks, also known as self-rimming or top-mount sinks, are a popular choice for many homes. These sinks are designed to be installed from the top, with the edges of the sink resting on the countertop. They are versatile, easy to install, and come in a variety of styles and materials.What is a Drop-In Kitchen Sink?


What is a Drop-In Kitchen Sink?


/washing-fresh-asparagus-in-the-kitchen-sink--518962978-5a960501ae9ab8003749ee74.jpg)


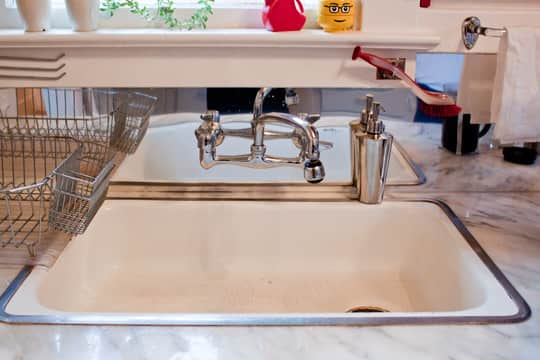
Installing a drop-in kitchen sink is a simple process that can be completed by most homeowners. Here are the steps to follow: Step 1: Measure and prepare the countertop. Measure the opening for the sink in your countertop and ensure that it is the correct size for your new sink. If necessary, use a jigsaw to enlarge the opening. Wipe down the edges of the countertop to remove any debris. Step 2: Apply caulk to the sink rim. Place a bead of caulk around the underside of the sink rim. This will create a seal between the sink and the countertop. Step 3: Place the sink in the opening. Carefully lower the sink into the countertop opening, making sure it is centered and level. Step 4: Secure the sink. Use clips or brackets provided by the manufacturer to secure the sink to the countertop. Step 5: Connect the plumbing. Attach the water supply lines and drain pipes to the sink, following the manufacturer's instructions. Step 6: Seal the sink. Use silicone caulk to seal the edges of the sink where it meets the countertop. Wipe away any excess caulk with a damp cloth.How to Install a Drop-In Kitchen Sink


How to Install a Drop-In Kitchen Sink


:no_upscale()/cdn.vox-cdn.com/uploads/chorus_asset/file/19495086/drain_0.jpg)


There are several benefits to choosing a drop-in kitchen sink for your home: 1. Easy installation: As mentioned earlier, drop-in sinks are easy to install and can be done by most homeowners without the need for professional help. 2. Versatility: Drop-in sinks come in a variety of shapes, sizes, and materials, making them a versatile option for any kitchen design. 3. Cost-effective: These sinks are generally more affordable than other types of sinks, making them a budget-friendly choice. 4. Easy to replace: If you ever need to replace your sink, a drop-in sink can easily be removed and replaced without causing damage to your countertop.Benefits of a Drop-In Kitchen Sink


Benefits of a Drop-In Kitchen Sink


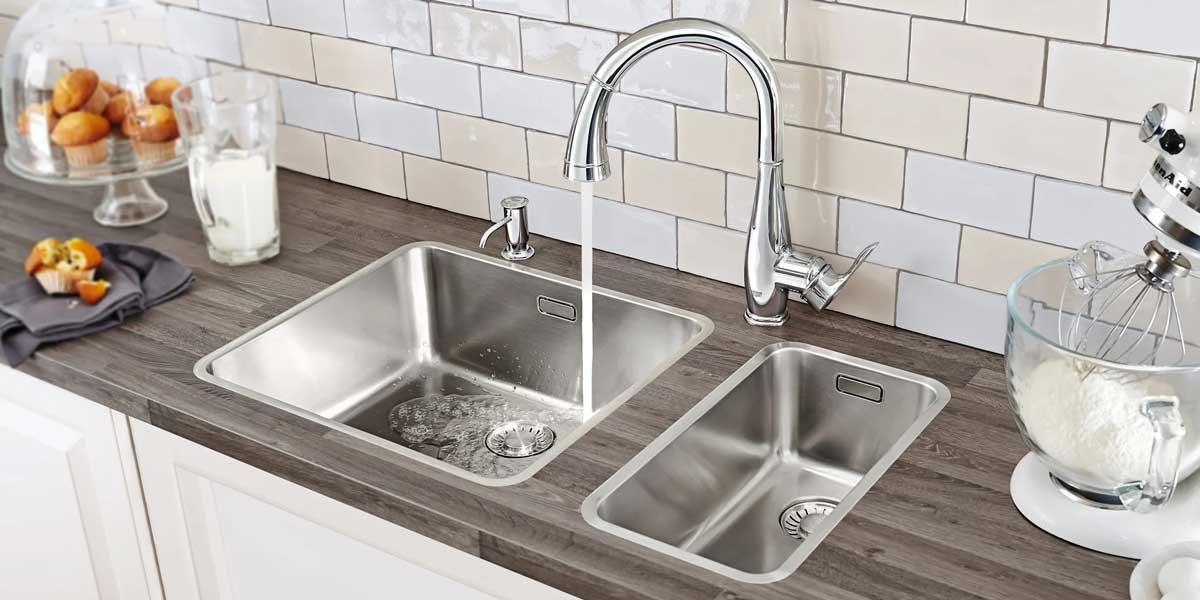
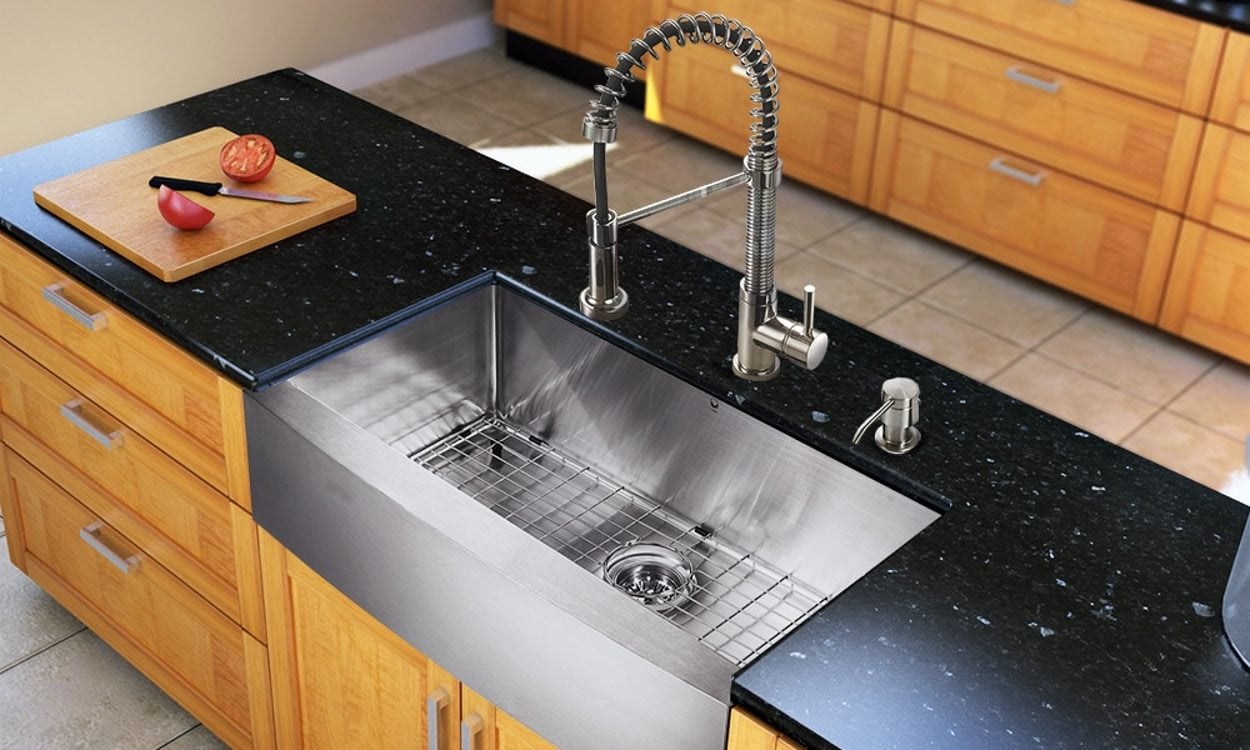
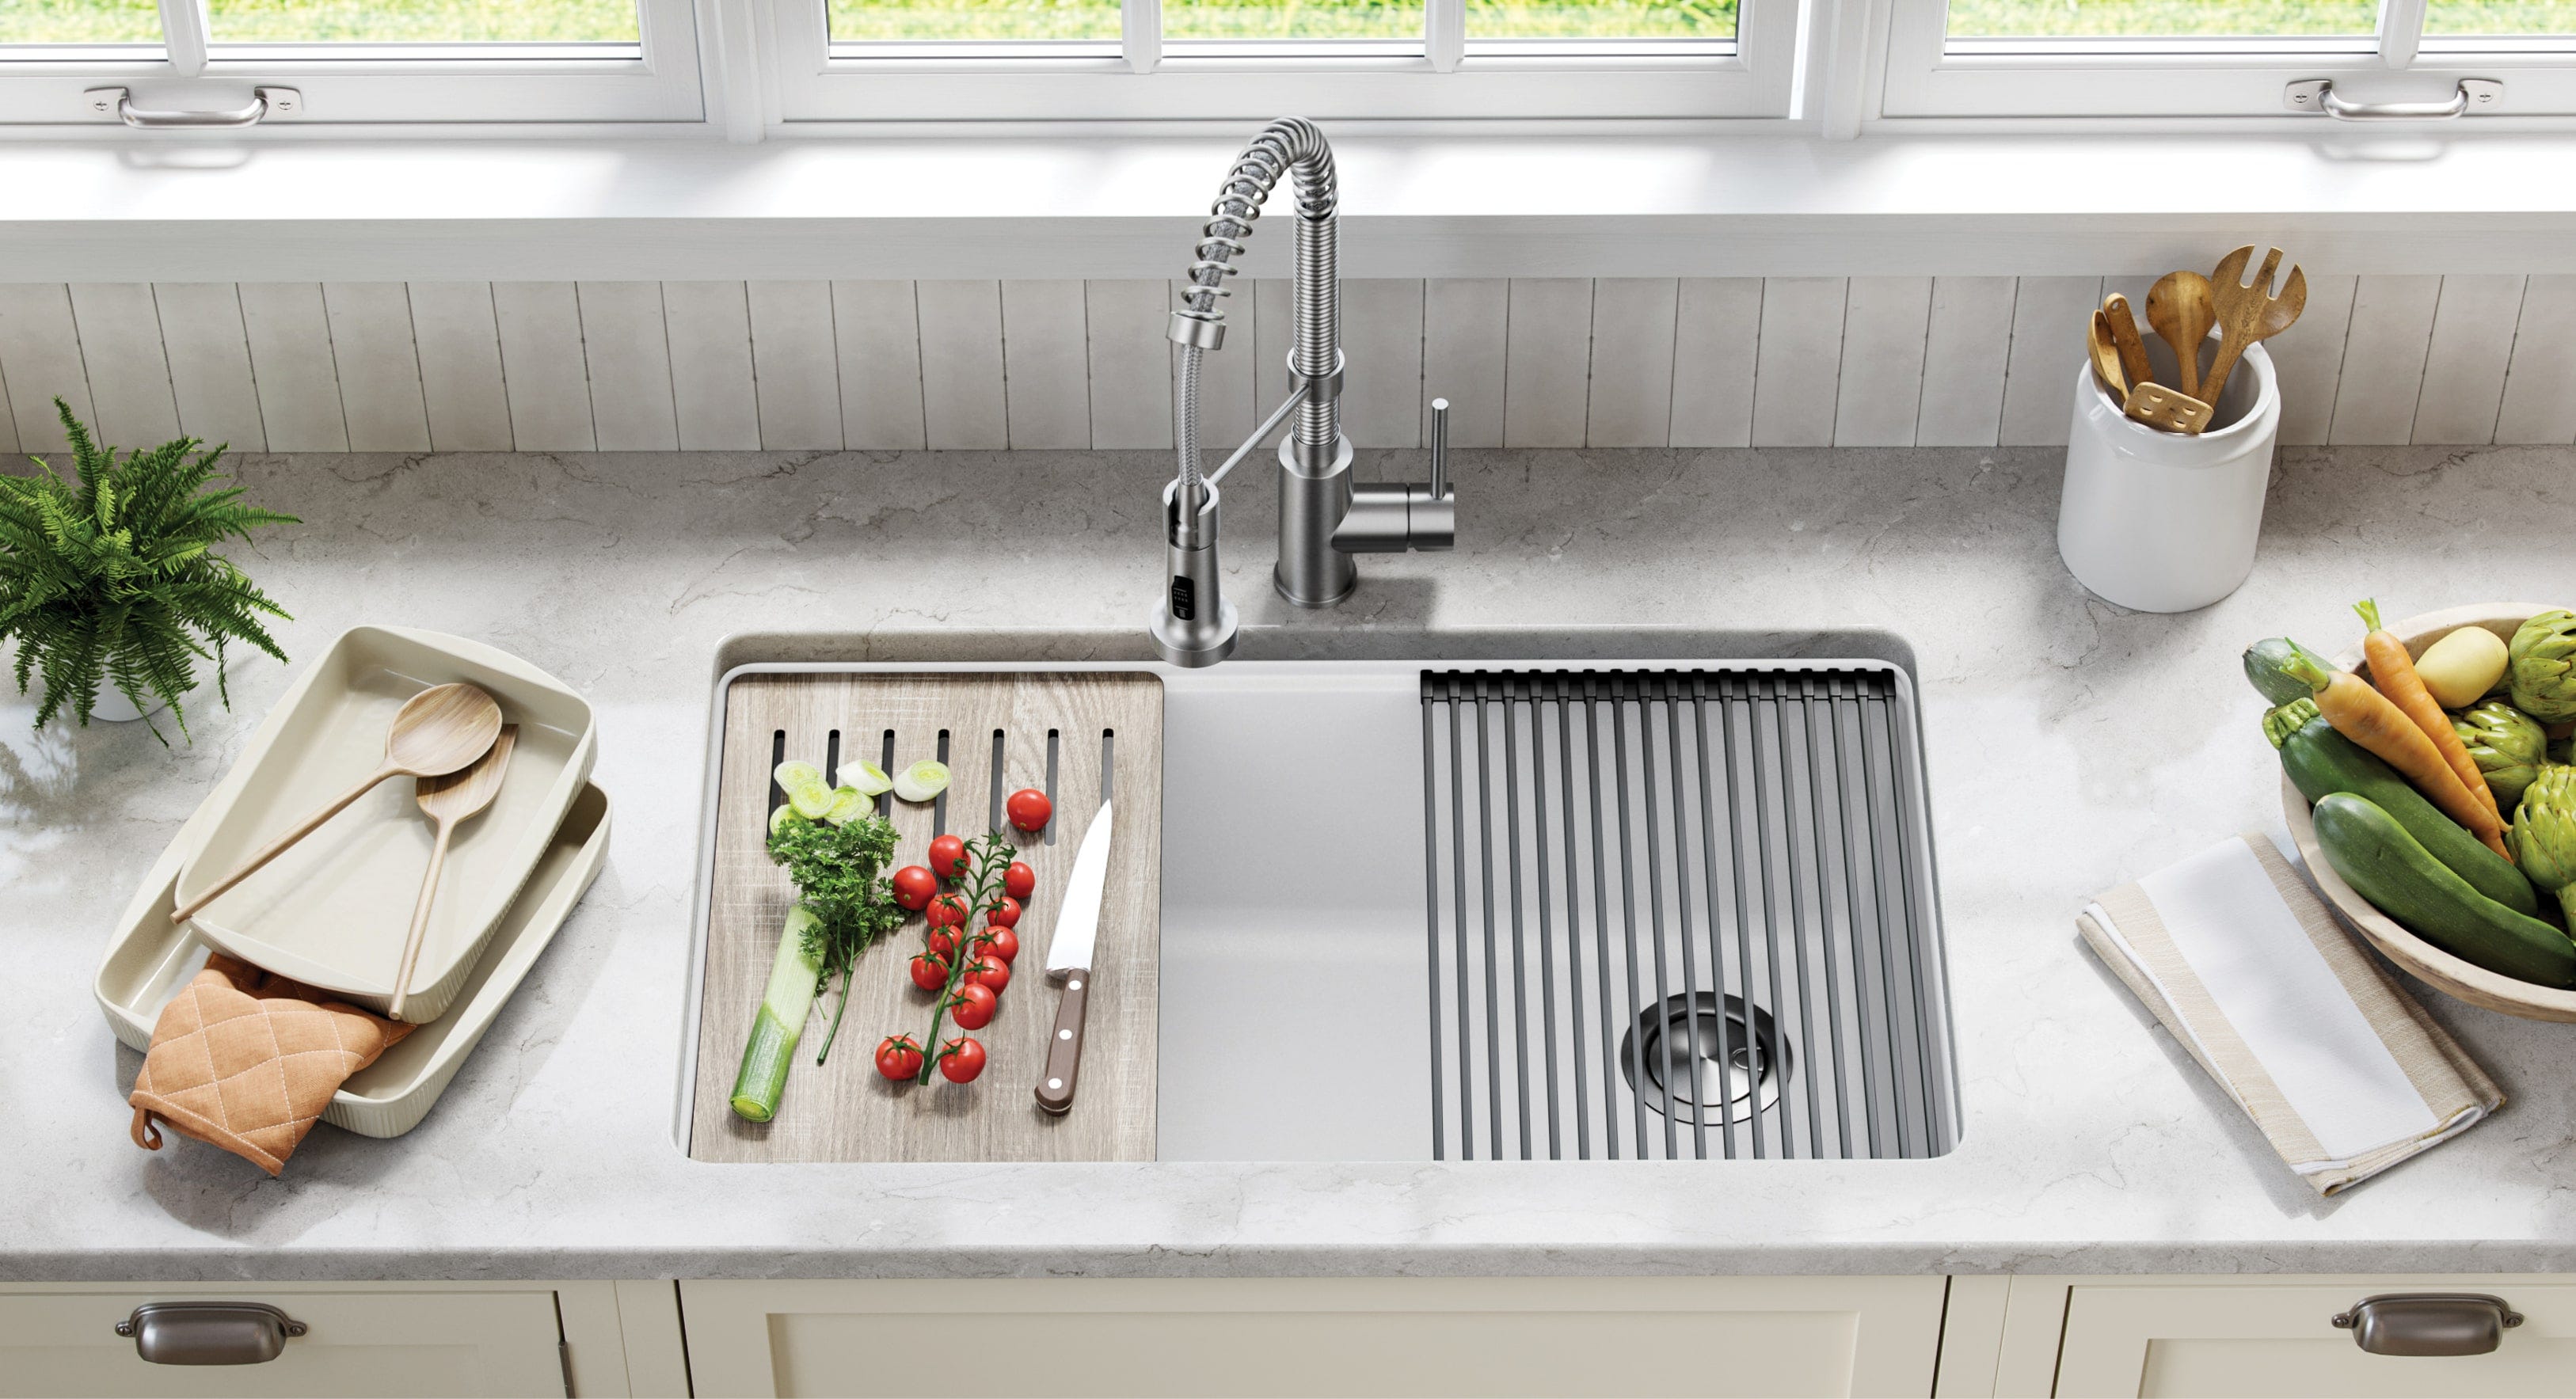
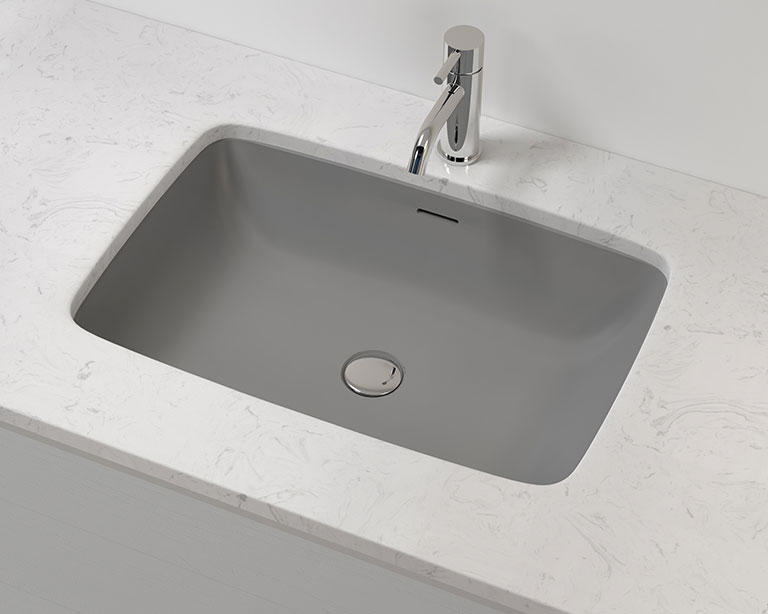
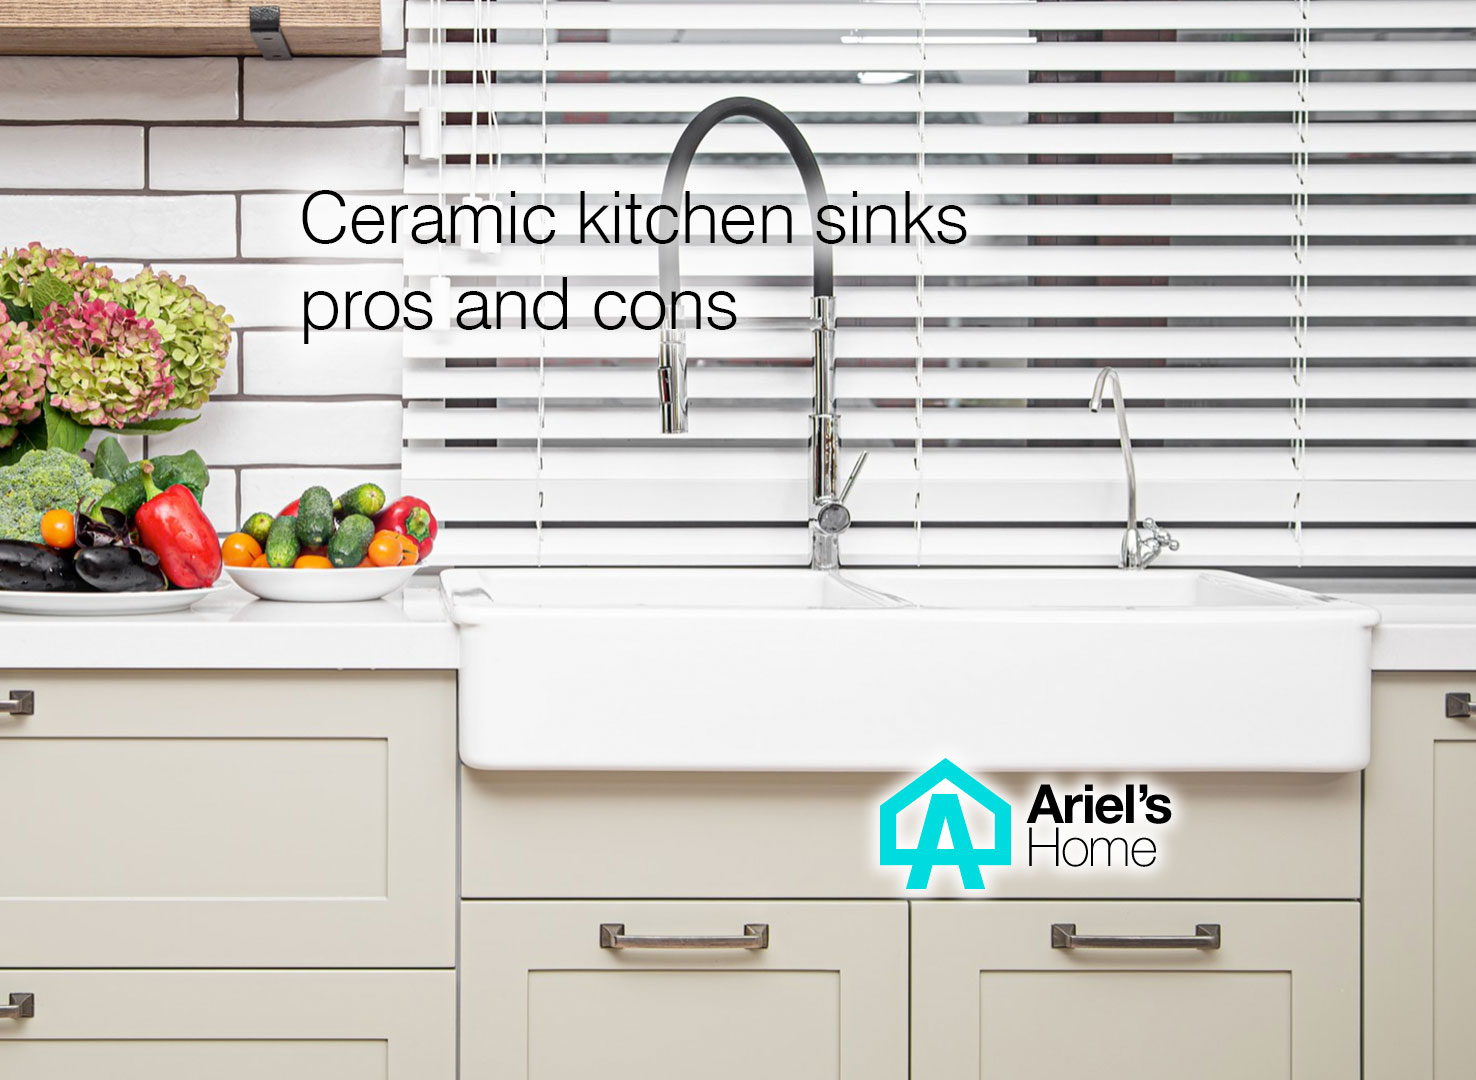
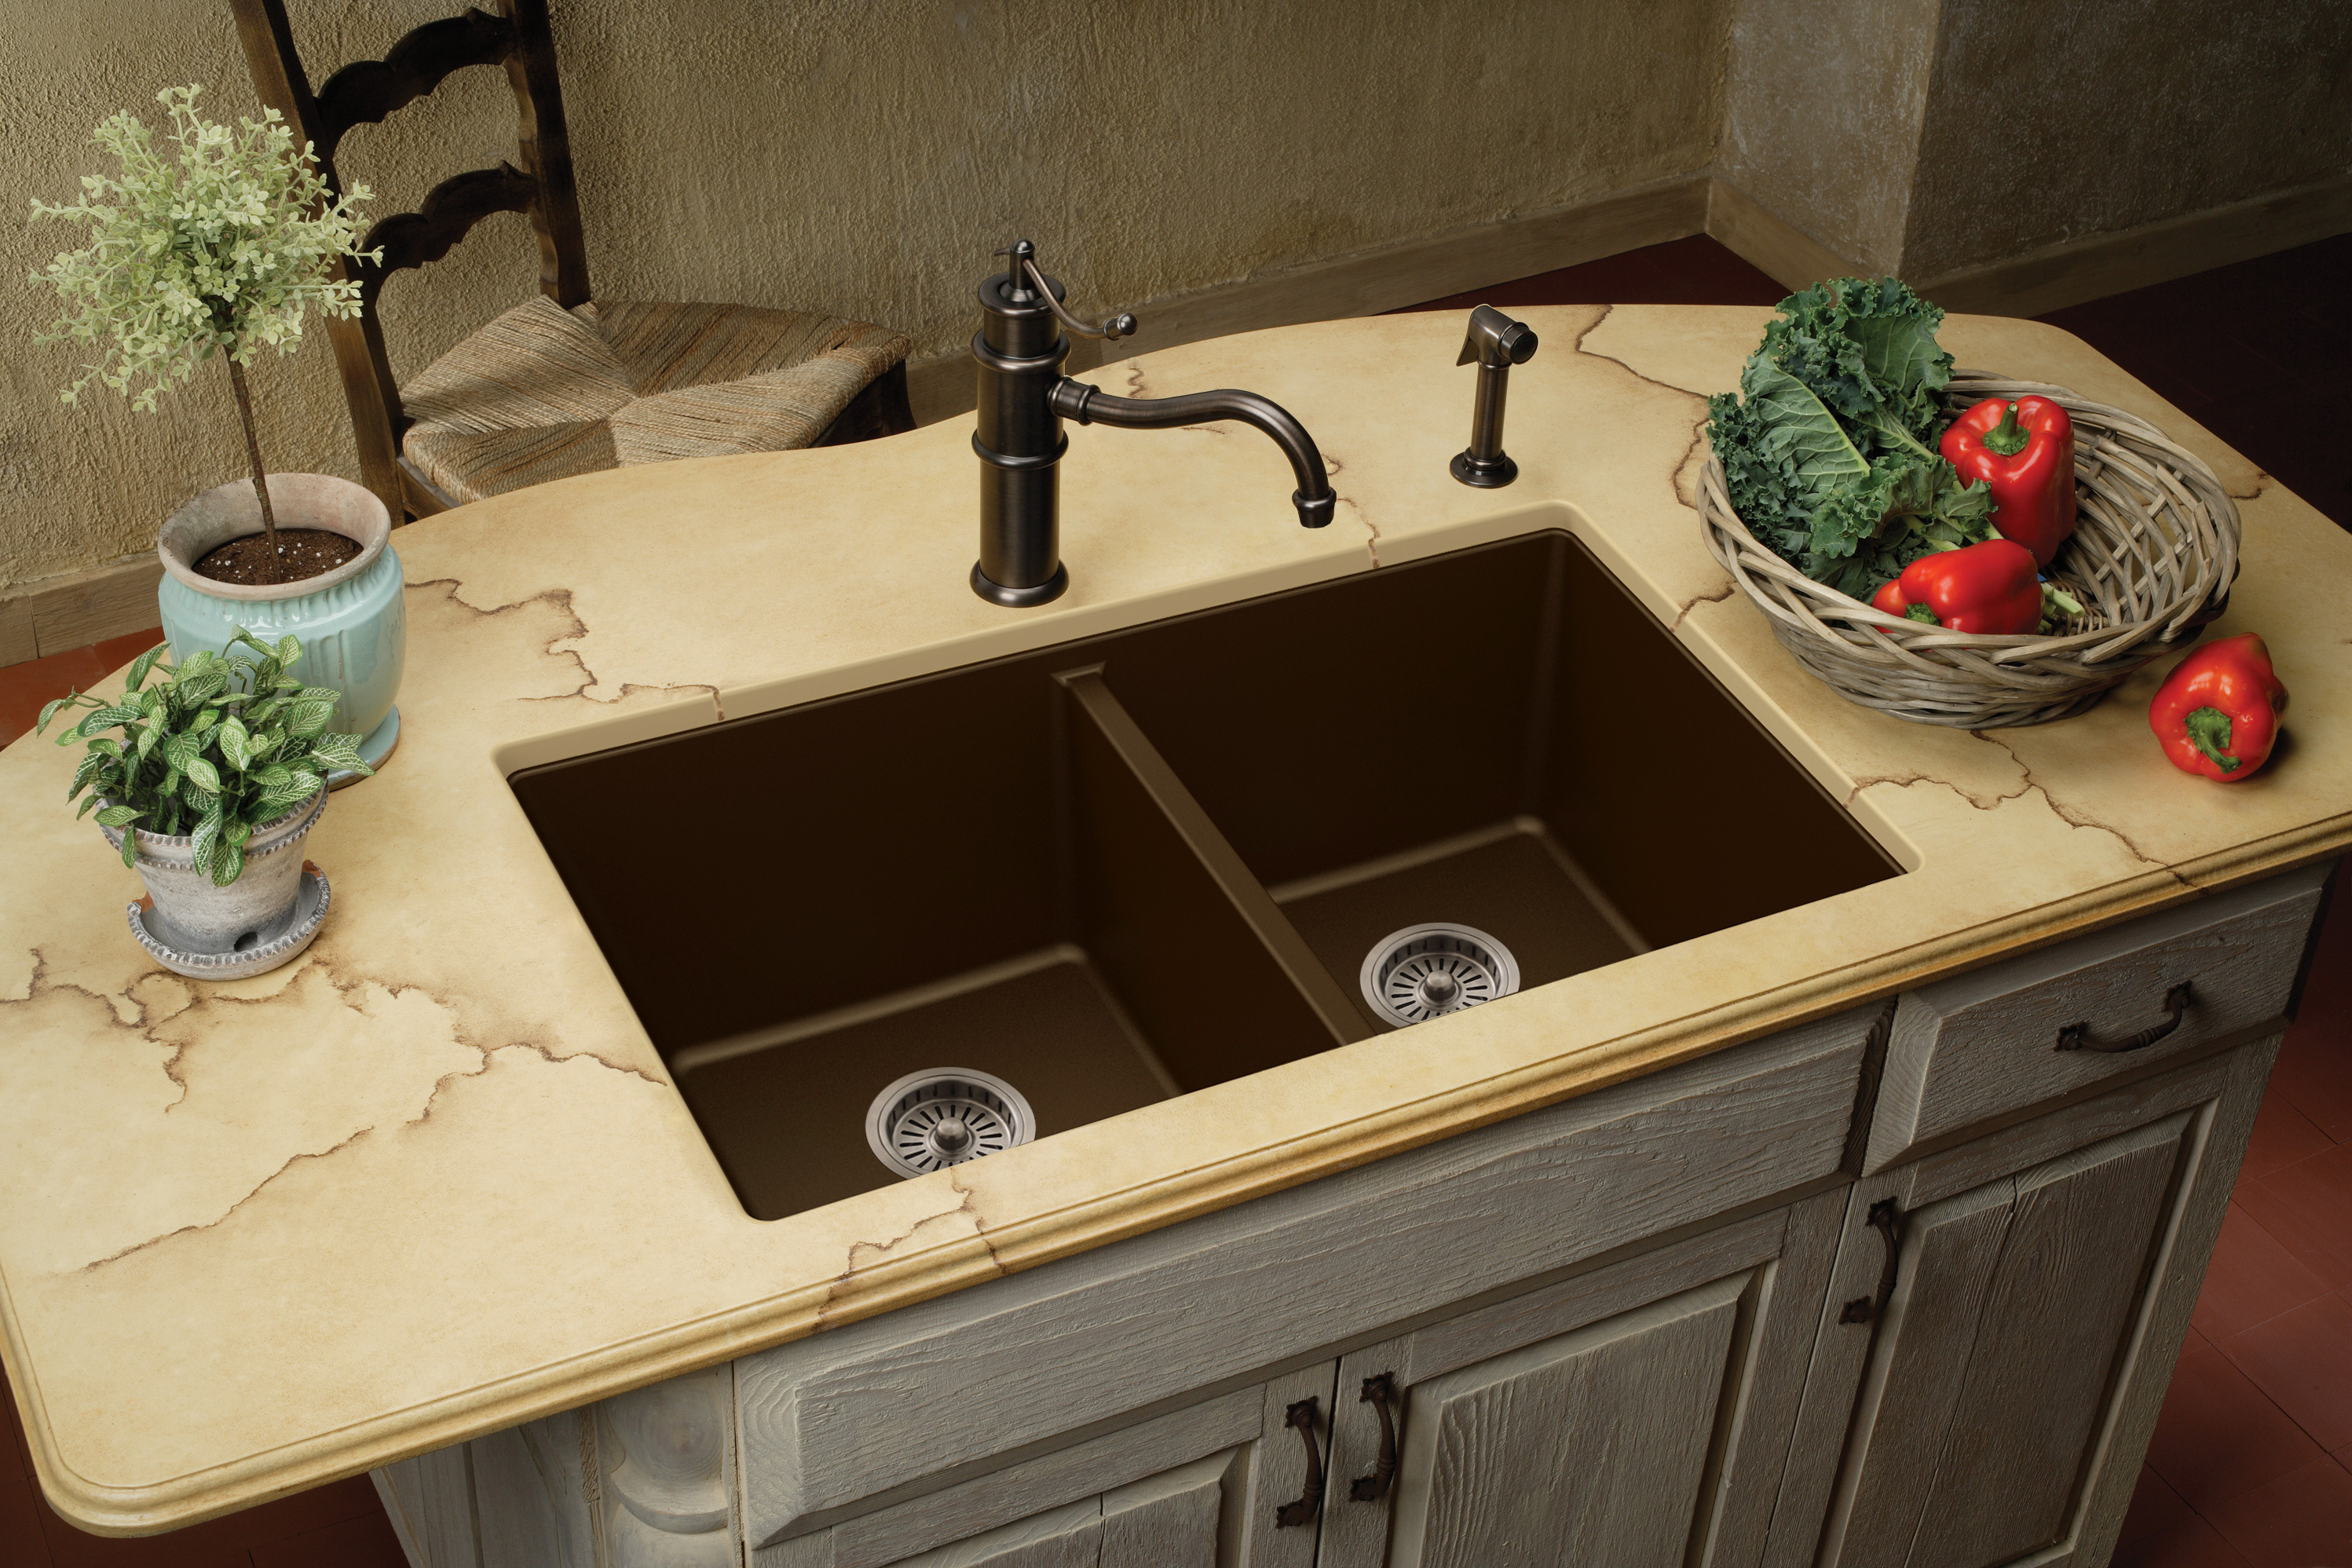
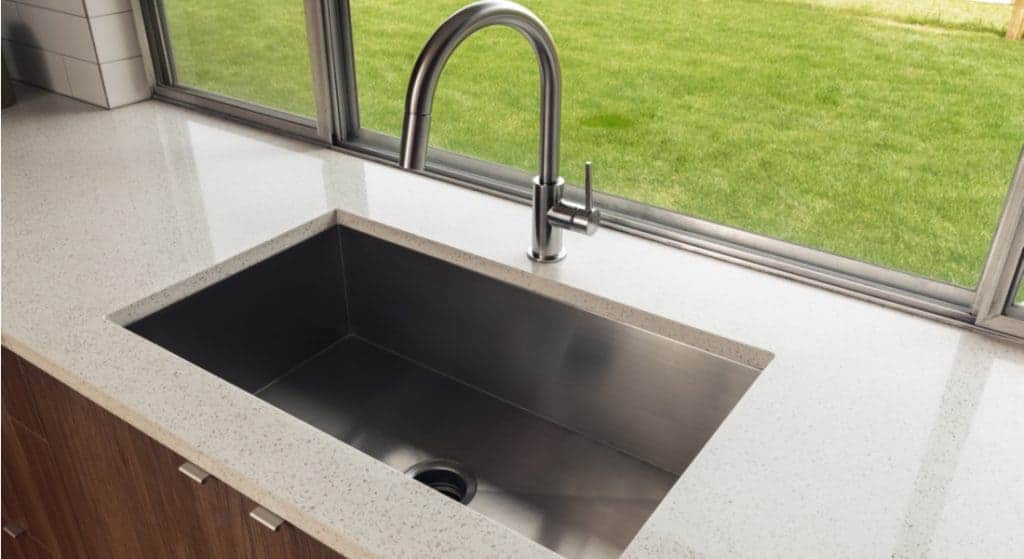
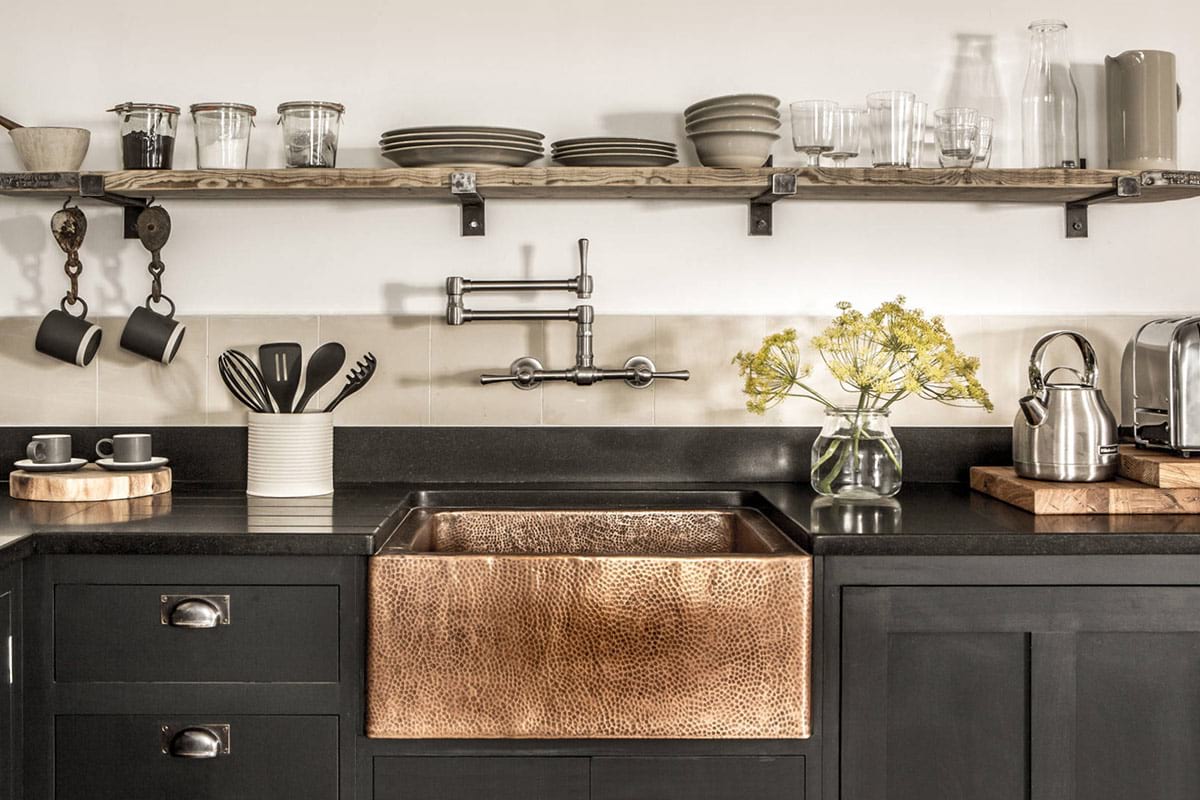
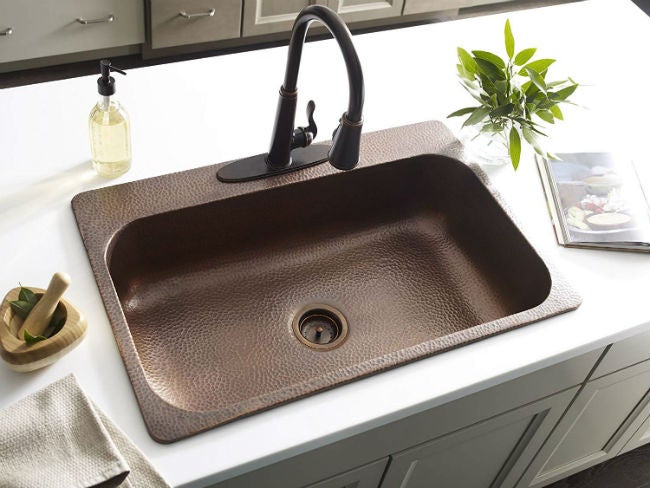
There are several types of drop-in kitchen sinks to choose from, including: 1. Stainless steel: This is the most popular material for drop-in sinks due to its durability, affordability, and modern look. 2. Porcelain: These sinks have a classic and elegant look and are resistant to scratches and stains. 3. Granite composite: These sinks are made from a blend of granite and acrylic, making them durable and resistant to heat and scratches. 4. Cast iron: These sinks have a traditional look and are known for their durability and resistance to stains and scratches.Types of Drop-In Kitchen Sinks


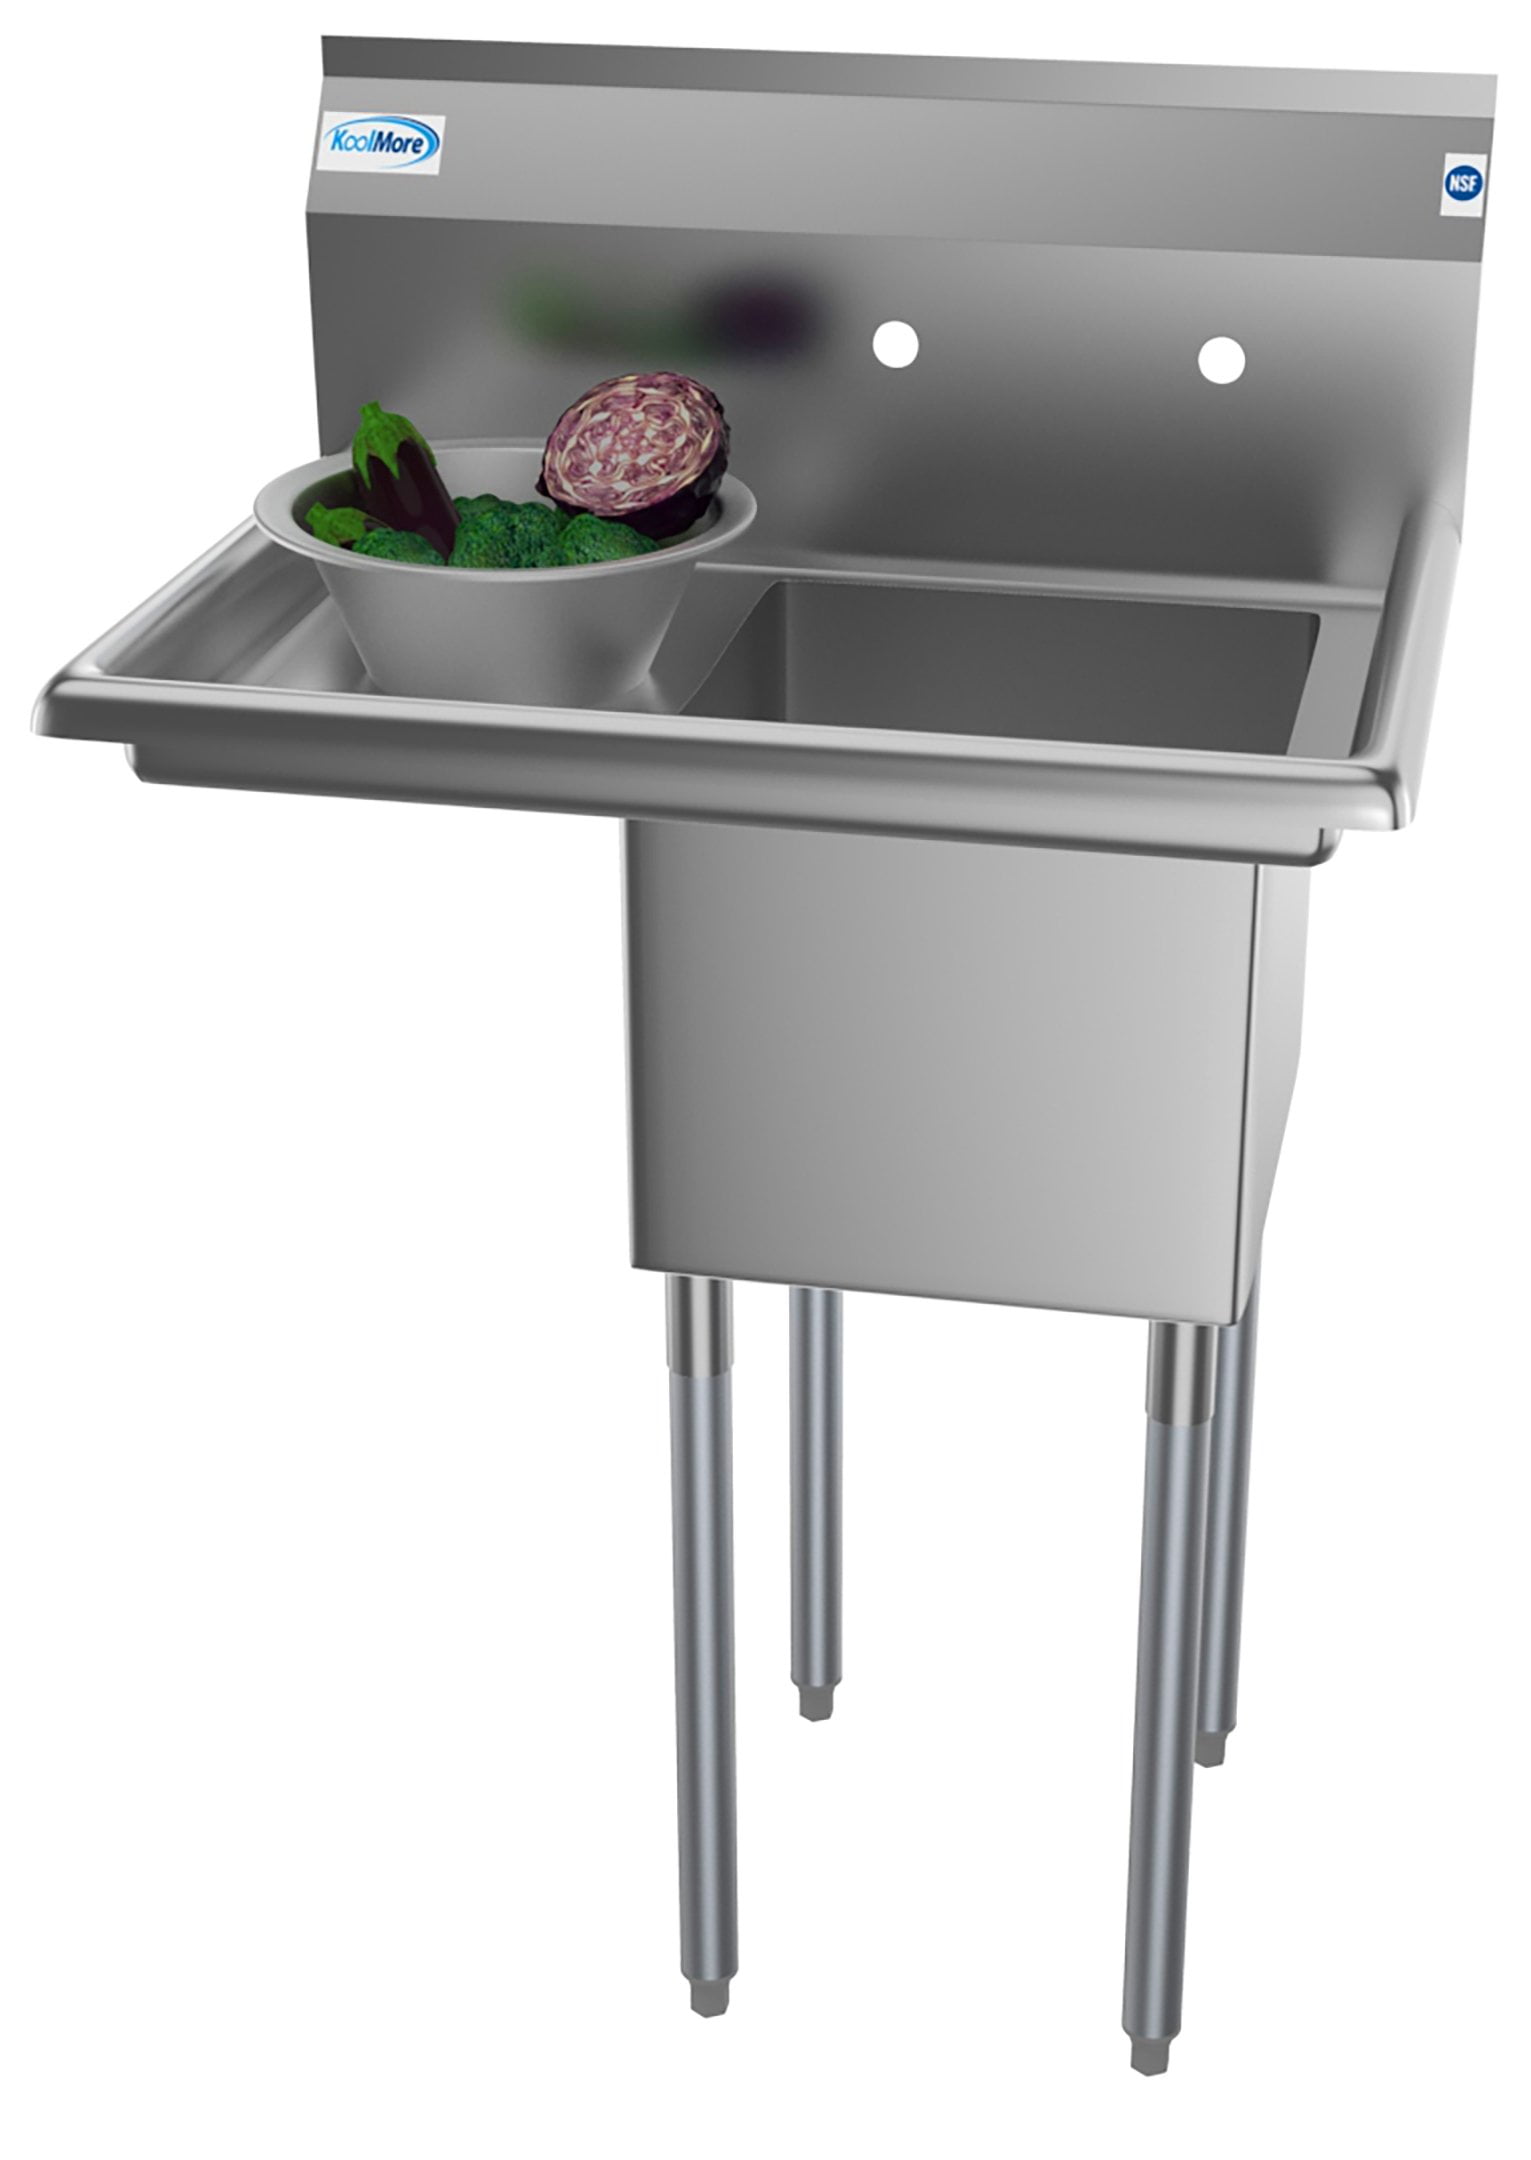
Types of Drop-In Kitchen Sinks


:max_bytes(150000):strip_icc()/kitchendoubleBasinsink-GettyImages-1098390260-420372a617b748d8a06491e6ad82d107.jpg)

:max_bytes(150000):strip_icc()/DrainboardKitchenSink-5a762bbceb97de0037ef6fec.jpg)

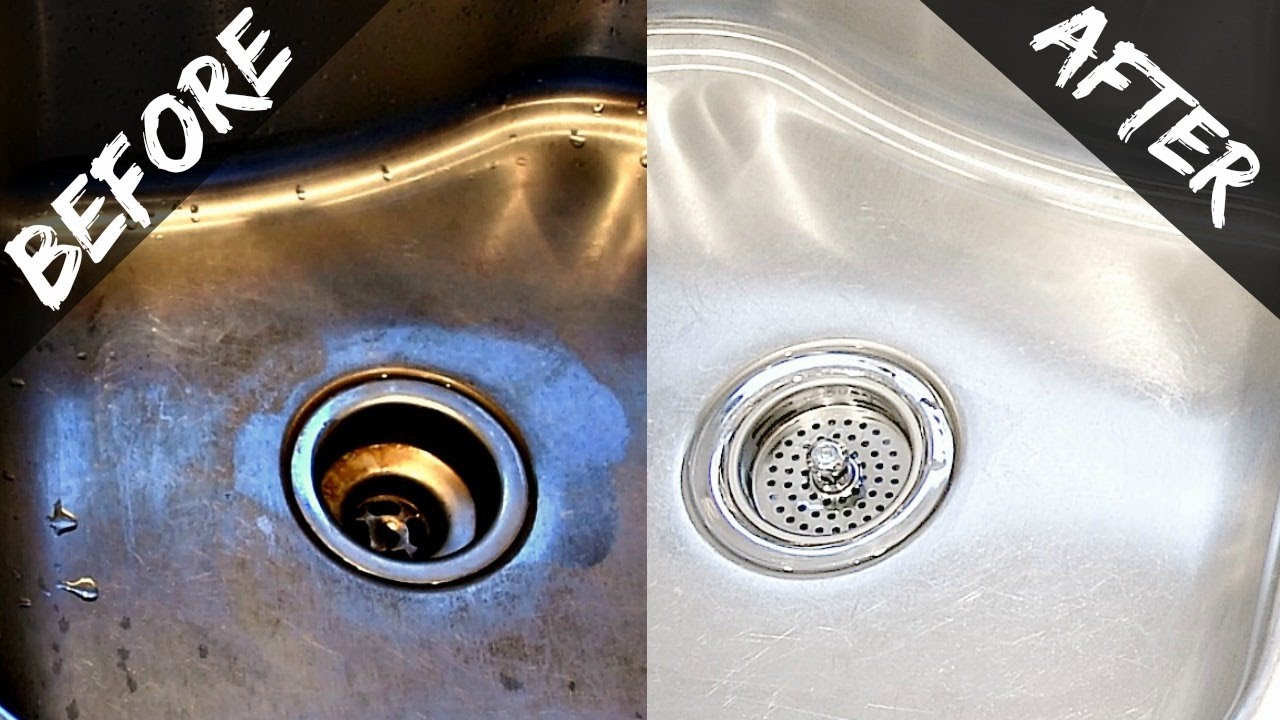
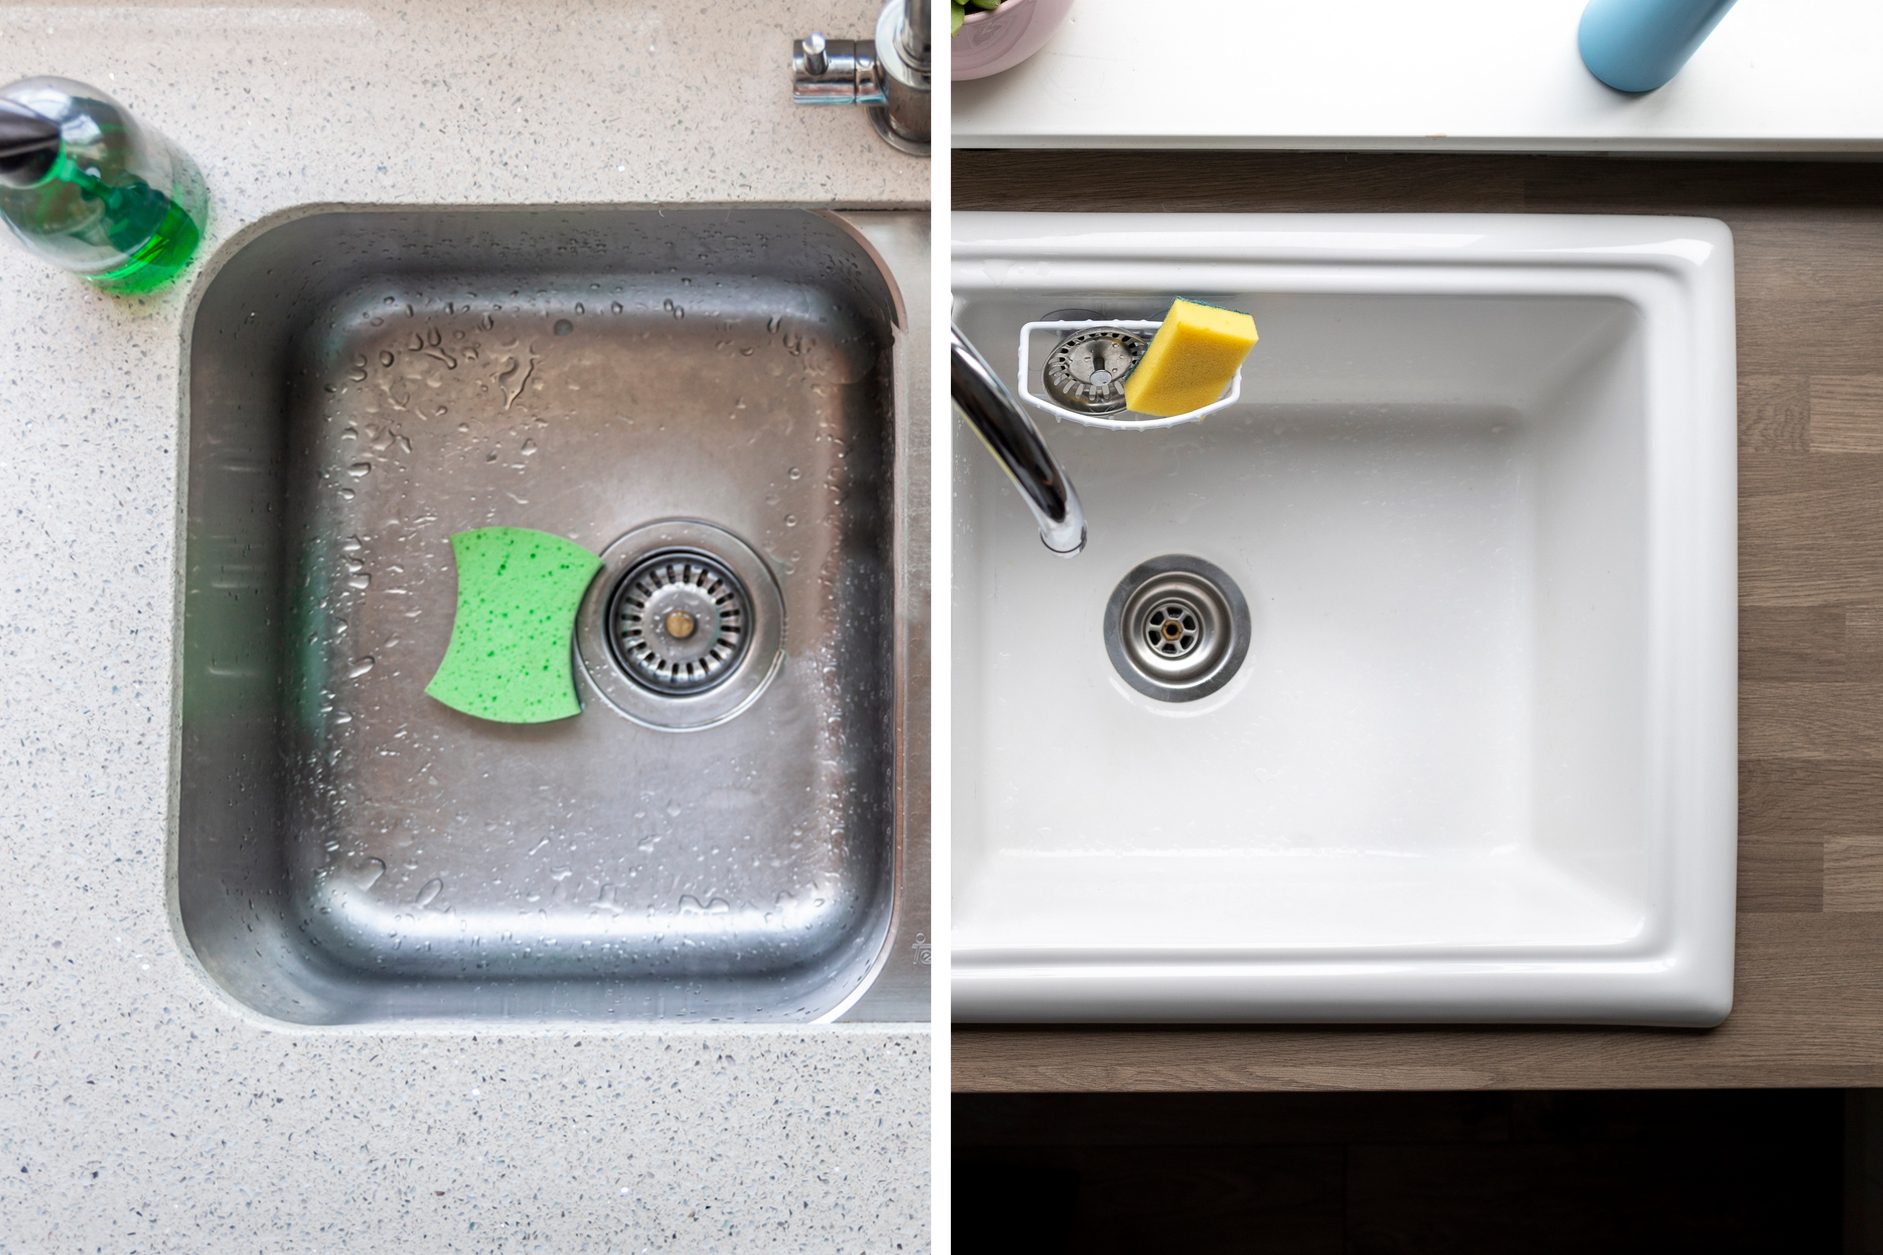
To keep your drop-in kitchen sink looking clean and shiny, follow these simple steps: 1. Rinse and wipe: After each use, rinse your sink with warm water and wipe it down with a soft cloth or sponge to remove any food particles. 2. Use a mild cleaner: For tougher stains, use a mild cleaner specifically made for your sink's material. 3. Avoid abrasive cleaners: Avoid using harsh abrasives or steel wool on your sink, as they can cause scratches. 4. Keep it dry: After cleaning, dry your sink with a soft cloth to prevent water spots and stains.How to Clean a Drop-In Kitchen Sink


How to Clean a Drop-In Kitchen Sink


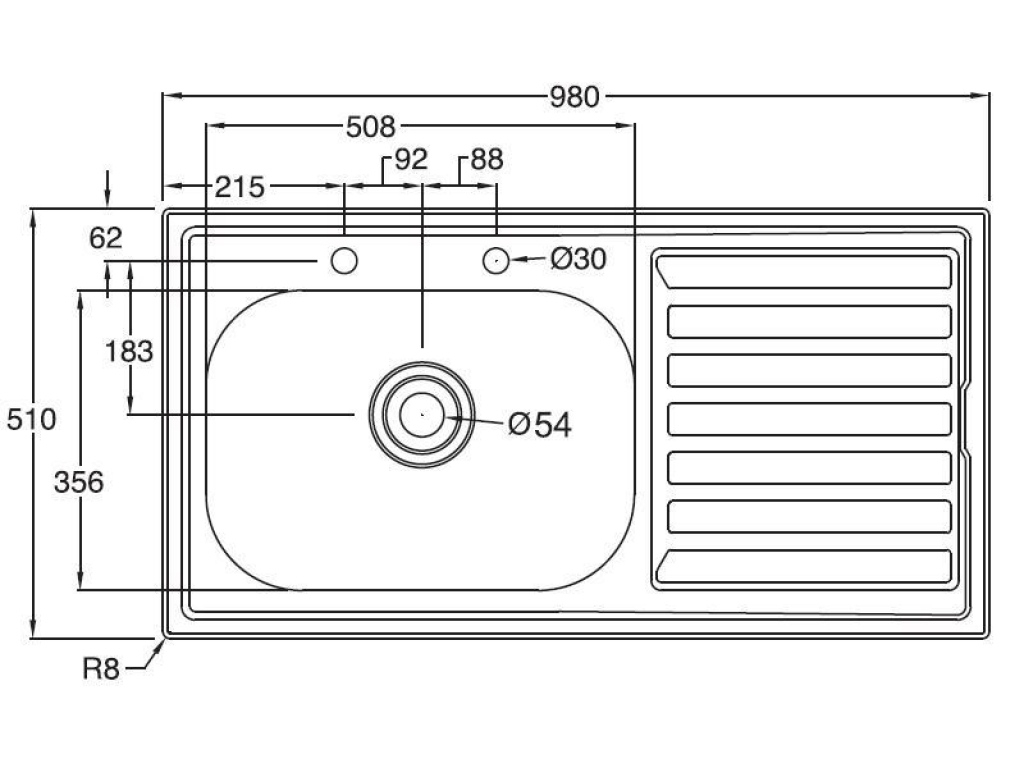
When choosing a drop-in kitchen sink, it is important to consider the size that will best fit your needs and your countertop. Here are some factors to keep in mind: 1. Sink base cabinet size: The sink you choose should fit comfortably within the base cabinet size of your kitchen. 2. Number of bowls: Consider how many bowls you need in your sink, whether you want a single bowl or a double bowl sink. 3. Depth: The depth of your sink will depend on your personal preference and the tasks you will be using it for. 4. Countertop space: Make sure to measure the space available on your countertop to ensure your sink will fit comfortably.Choosing the Right Size Drop-In Kitchen Sink


Choosing the Right Size Drop-In Kitchen Sink


Like any other type of sink, drop-in sinks have their own set of pros and cons. Here are some to consider: Pros:Pros and Cons of a Drop-In Kitchen Sink


Pros and Cons of a Drop-In Kitchen Sink
:max_bytes(150000):strip_icc()/GettyImages-174841379-5a85d100ba61770036d9f06c.jpg)
:max_bytes(150000):strip_icc()/basic-kitchen-sink-types-1821207-hero-54418ed30f9540a9aa6148a1394f33a6.jpg)


If you need to replace your drop-in kitchen sink, follow these steps: Step 1: Remove the old sink. Disconnect the plumbing and remove the clips or brackets holding the sink in place. Carefully lift the sink out of the countertop. Step 2: Prepare the new sink. Clean the sink and dry it thoroughly. Apply a bead of caulk around the rim of the sink. Step 3: Install the new sink. Follow the same installation process as mentioned earlier in this article. Step 4: Connect the plumbing. Reconnect the plumbing and ensure there are no leaks. Step 5: Seal the sink. Use silicone caulk to seal the edges of the sink where it meets the countertop. Wipe away any excess caulk with a damp cloth.How to Replace a Drop-In Kitchen Sink

How to Replace a Drop-In Kitchen Sink


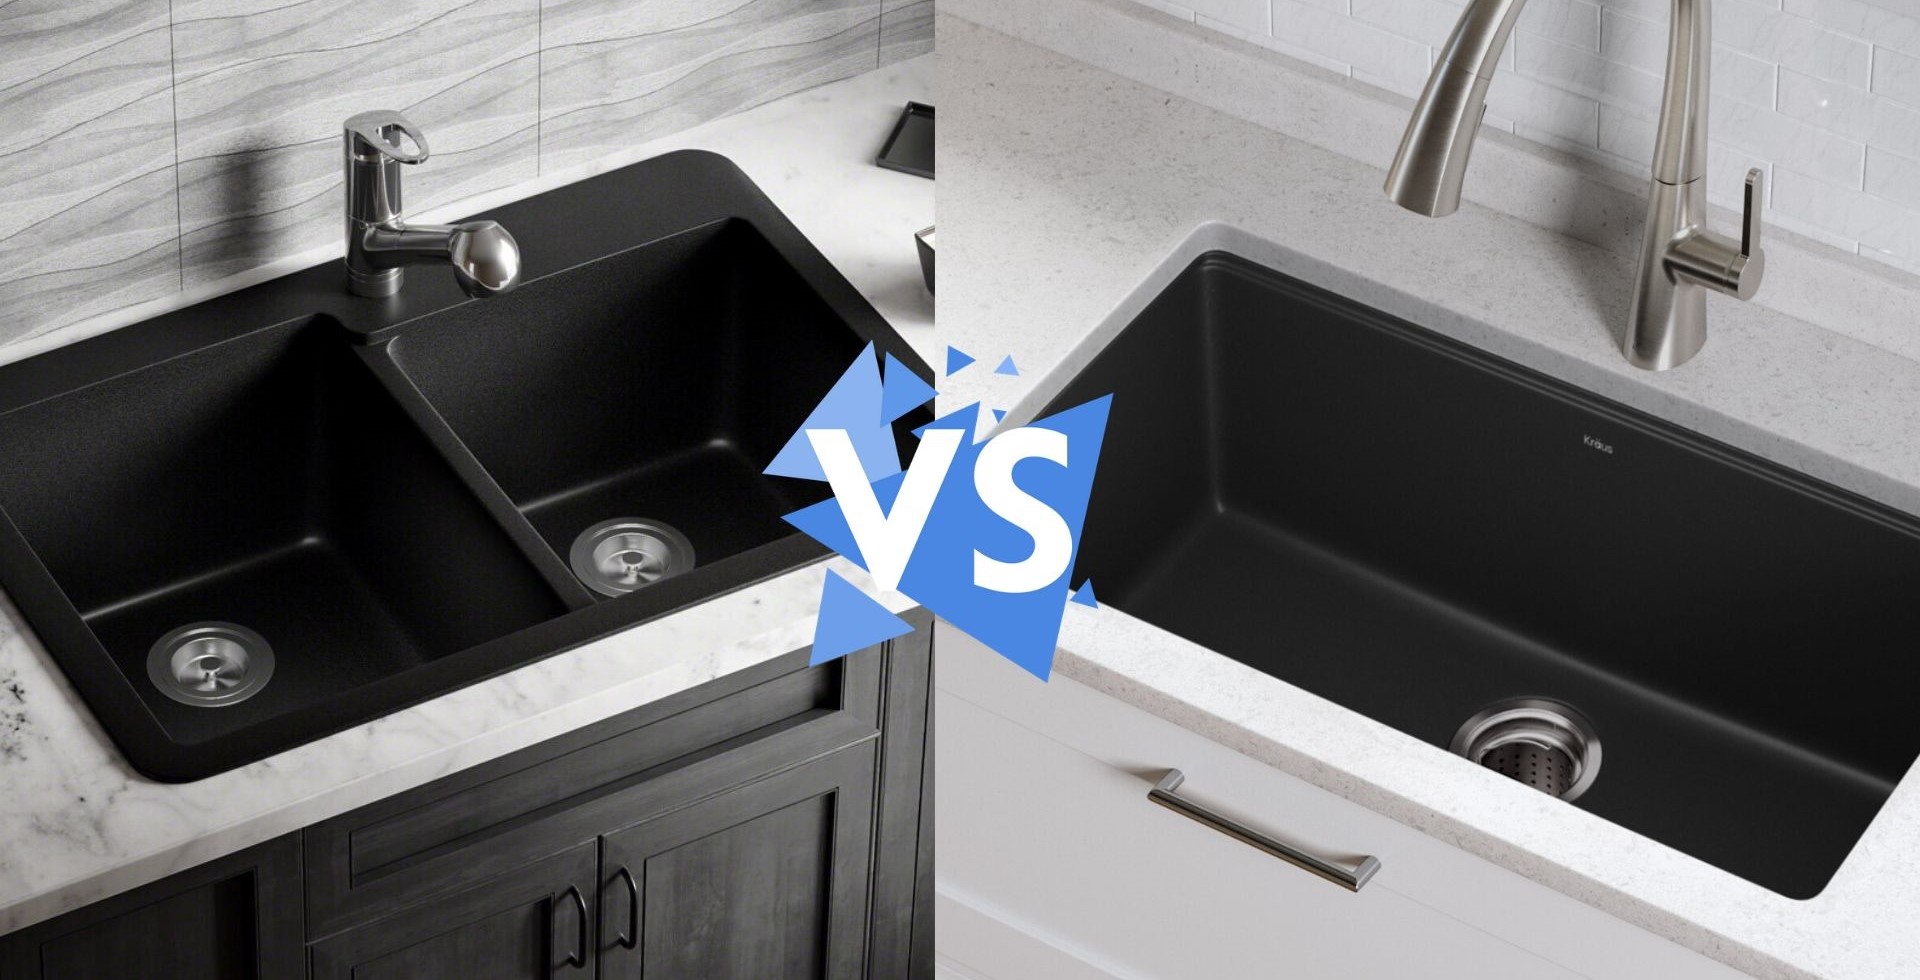
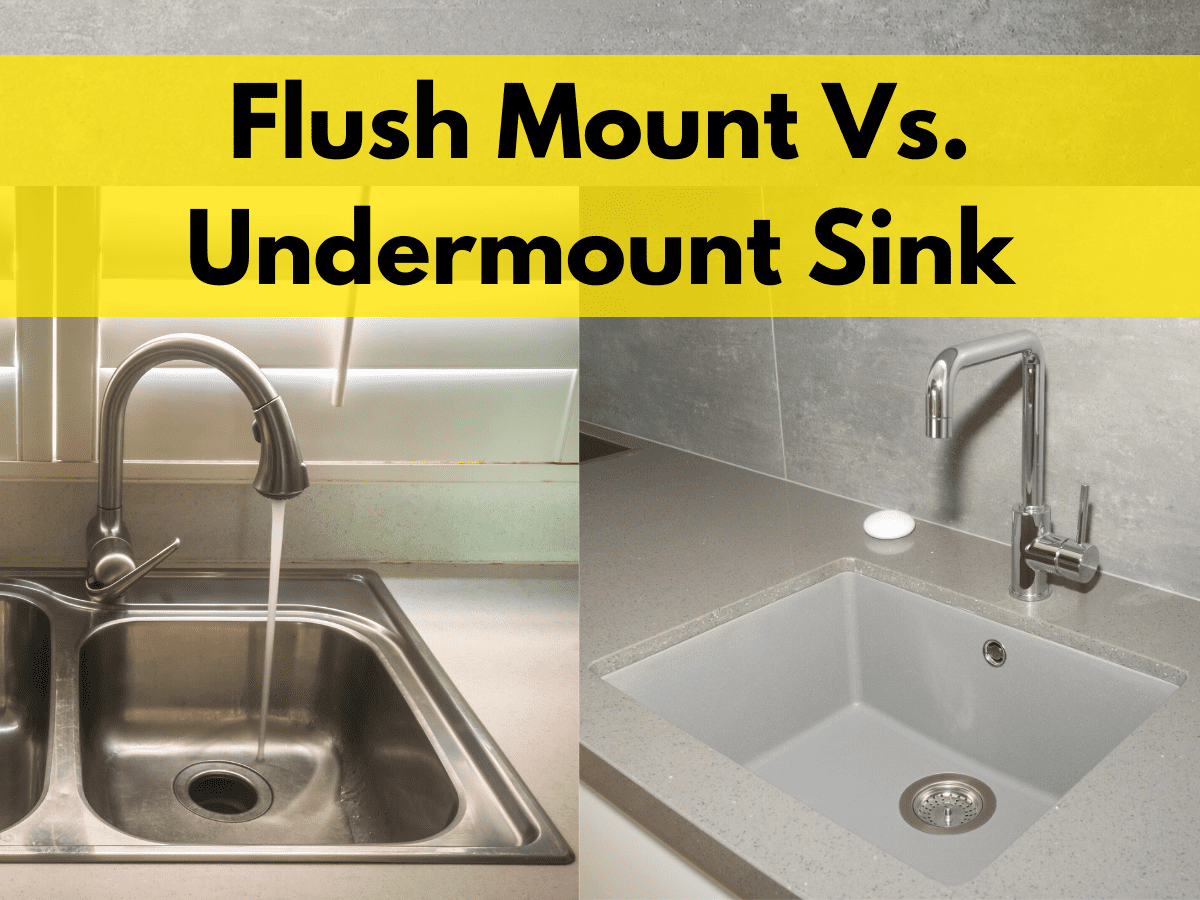
Both drop-in and undermount sinks have their own advantages and disadvantages. Here are some differences to consider: Drop-in sinks:Drop-In Kitchen Sink vs Undermount Sink


Drop-In Kitchen Sink vs Undermount Sink
:max_bytes(150000):strip_icc()/undermount-vs-drop-in-kitchen-sink-1821203-FINA--5bb521accff47e0026d4ad95.png)
:max_bytes(150000):strip_icc()/undermount-vs-drop-in-kitchen-sink-1821203_hero_11224-6cf0abc3559a4639a087db01f4f5fdba.jpg)


The material you choose for your drop-in kitchen sink will depend on your personal preference, budget, and the overall look of your kitchen. Here are some popular materials for drop-in sinks: 1. Stainless steel: Durable, affordable, and easy to clean. 2. Porcelain: Classic and elegant, but can be prone to chipping and cracking. 3. Granite composite: Durable and resistant to heat and scratches, but can be more expensive. 4. Cast iron: Traditional and durable, but can be prone to stains and scratches. In conclusion, drop-in kitchen sinks are a versatile and budget-friendly option for any home. With proper installation and maintenance, they can add both functionality and style to your kitchen. Consider the size, material, and pros and cons mentioned in this article to make the best choice for your kitchen sink.Best Materials for a Drop-In Kitchen Sink


Best Materials for a Drop-In Kitchen Sink


The Advantages of a Drop-In Kitchen Sink
Effortless Installation and Replacement
 One of the main advantages of a drop-in kitchen sink is its easy installation and replacement process. Unlike undermount sinks, which require professional installation, drop-in sinks can be installed by anyone with basic plumbing skills. This makes them a popular choice for DIY homeowners who want to update their kitchen without hiring a professional. Additionally, if your drop-in sink gets damaged or you simply want to change the look of your kitchen, it can be easily replaced without any major renovations.
Variety of Styles and Materials
 Drop-in kitchen sinks come in a wide variety of styles and materials, making it easy to find one that suits your kitchen design and personal preferences. You can choose from stainless steel, porcelain, granite, and more. Each material has its own unique look and benefits, such as durability, heat resistance, and easy maintenance. With so many options available, you can easily find a drop-in sink that complements your kitchen's aesthetic.
Cost-Effective Option
 Compared to other types of kitchen sinks, drop-in sinks are a cost-effective option. Not only are they generally less expensive to purchase, but their easy installation also helps save on labor costs. This makes them a great choice for homeowners on a budget or those looking for a quick and affordable kitchen update. Additionally, with proper maintenance, a drop-in sink can last for many years, making it a smart long-term investment.
Durable and Easy to Clean
 Drop-in kitchen sinks are made to withstand heavy daily use in a busy kitchen. They are built with a secure rim that helps prevent water from leaking onto your countertop. This also makes them easier to clean, as any spills or messes can be easily wiped into the sink without having to worry about it seeping into your cabinets or floor. With regular cleaning and maintenance, a drop-in sink can maintain its durability and continue to look like new.
Final Thoughts
 Overall, a drop-in kitchen sink offers many benefits that make it a popular choice among homeowners. Its effortless installation, variety of styles and materials, cost-effectiveness, and durability make it a practical and functional addition to any kitchen. So if you're looking to update your kitchen with a stylish and functional sink, consider a drop-in sink for its easy installation, versatility, and budget-friendly options.