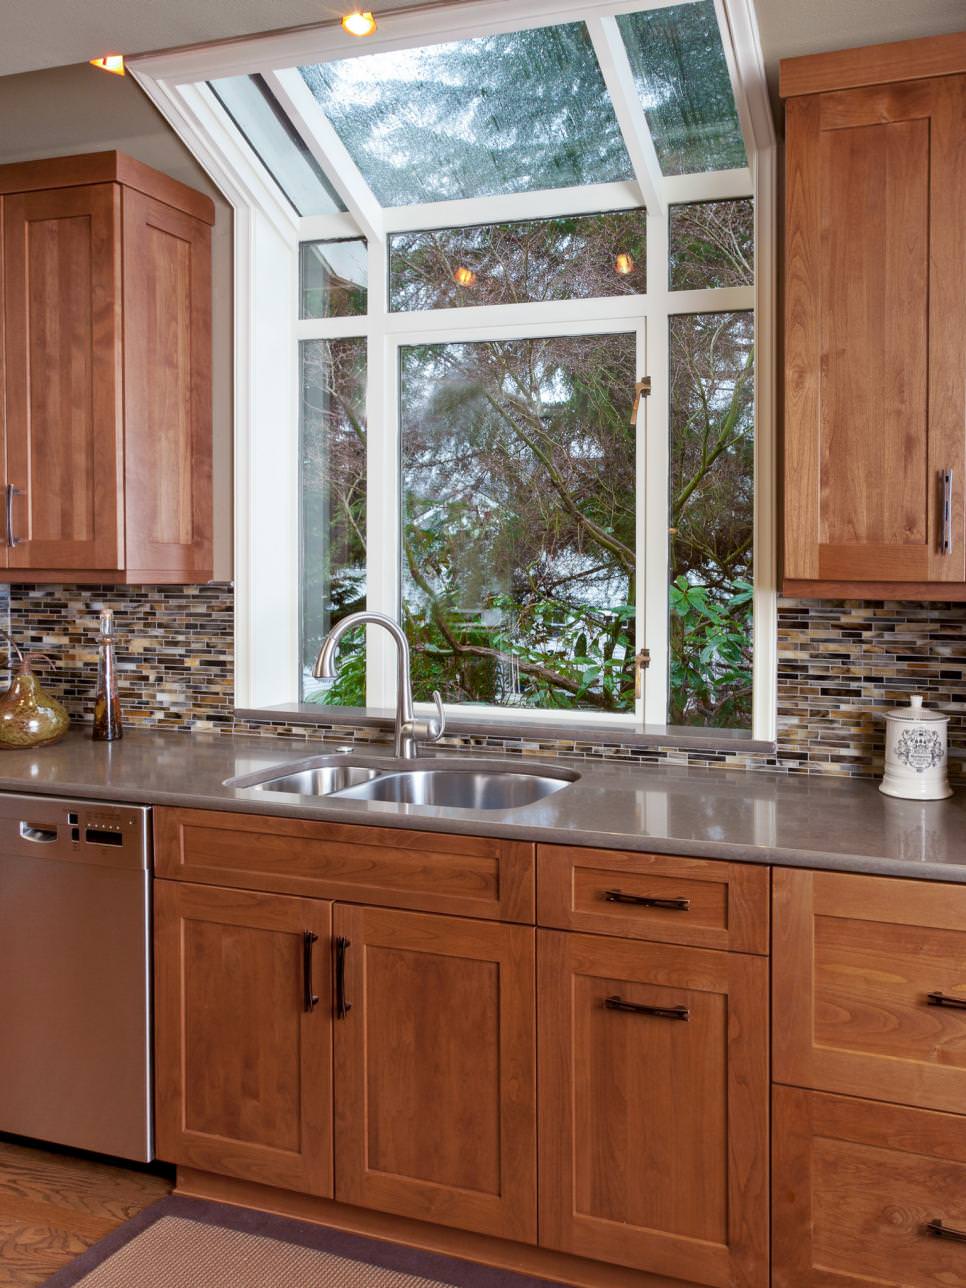
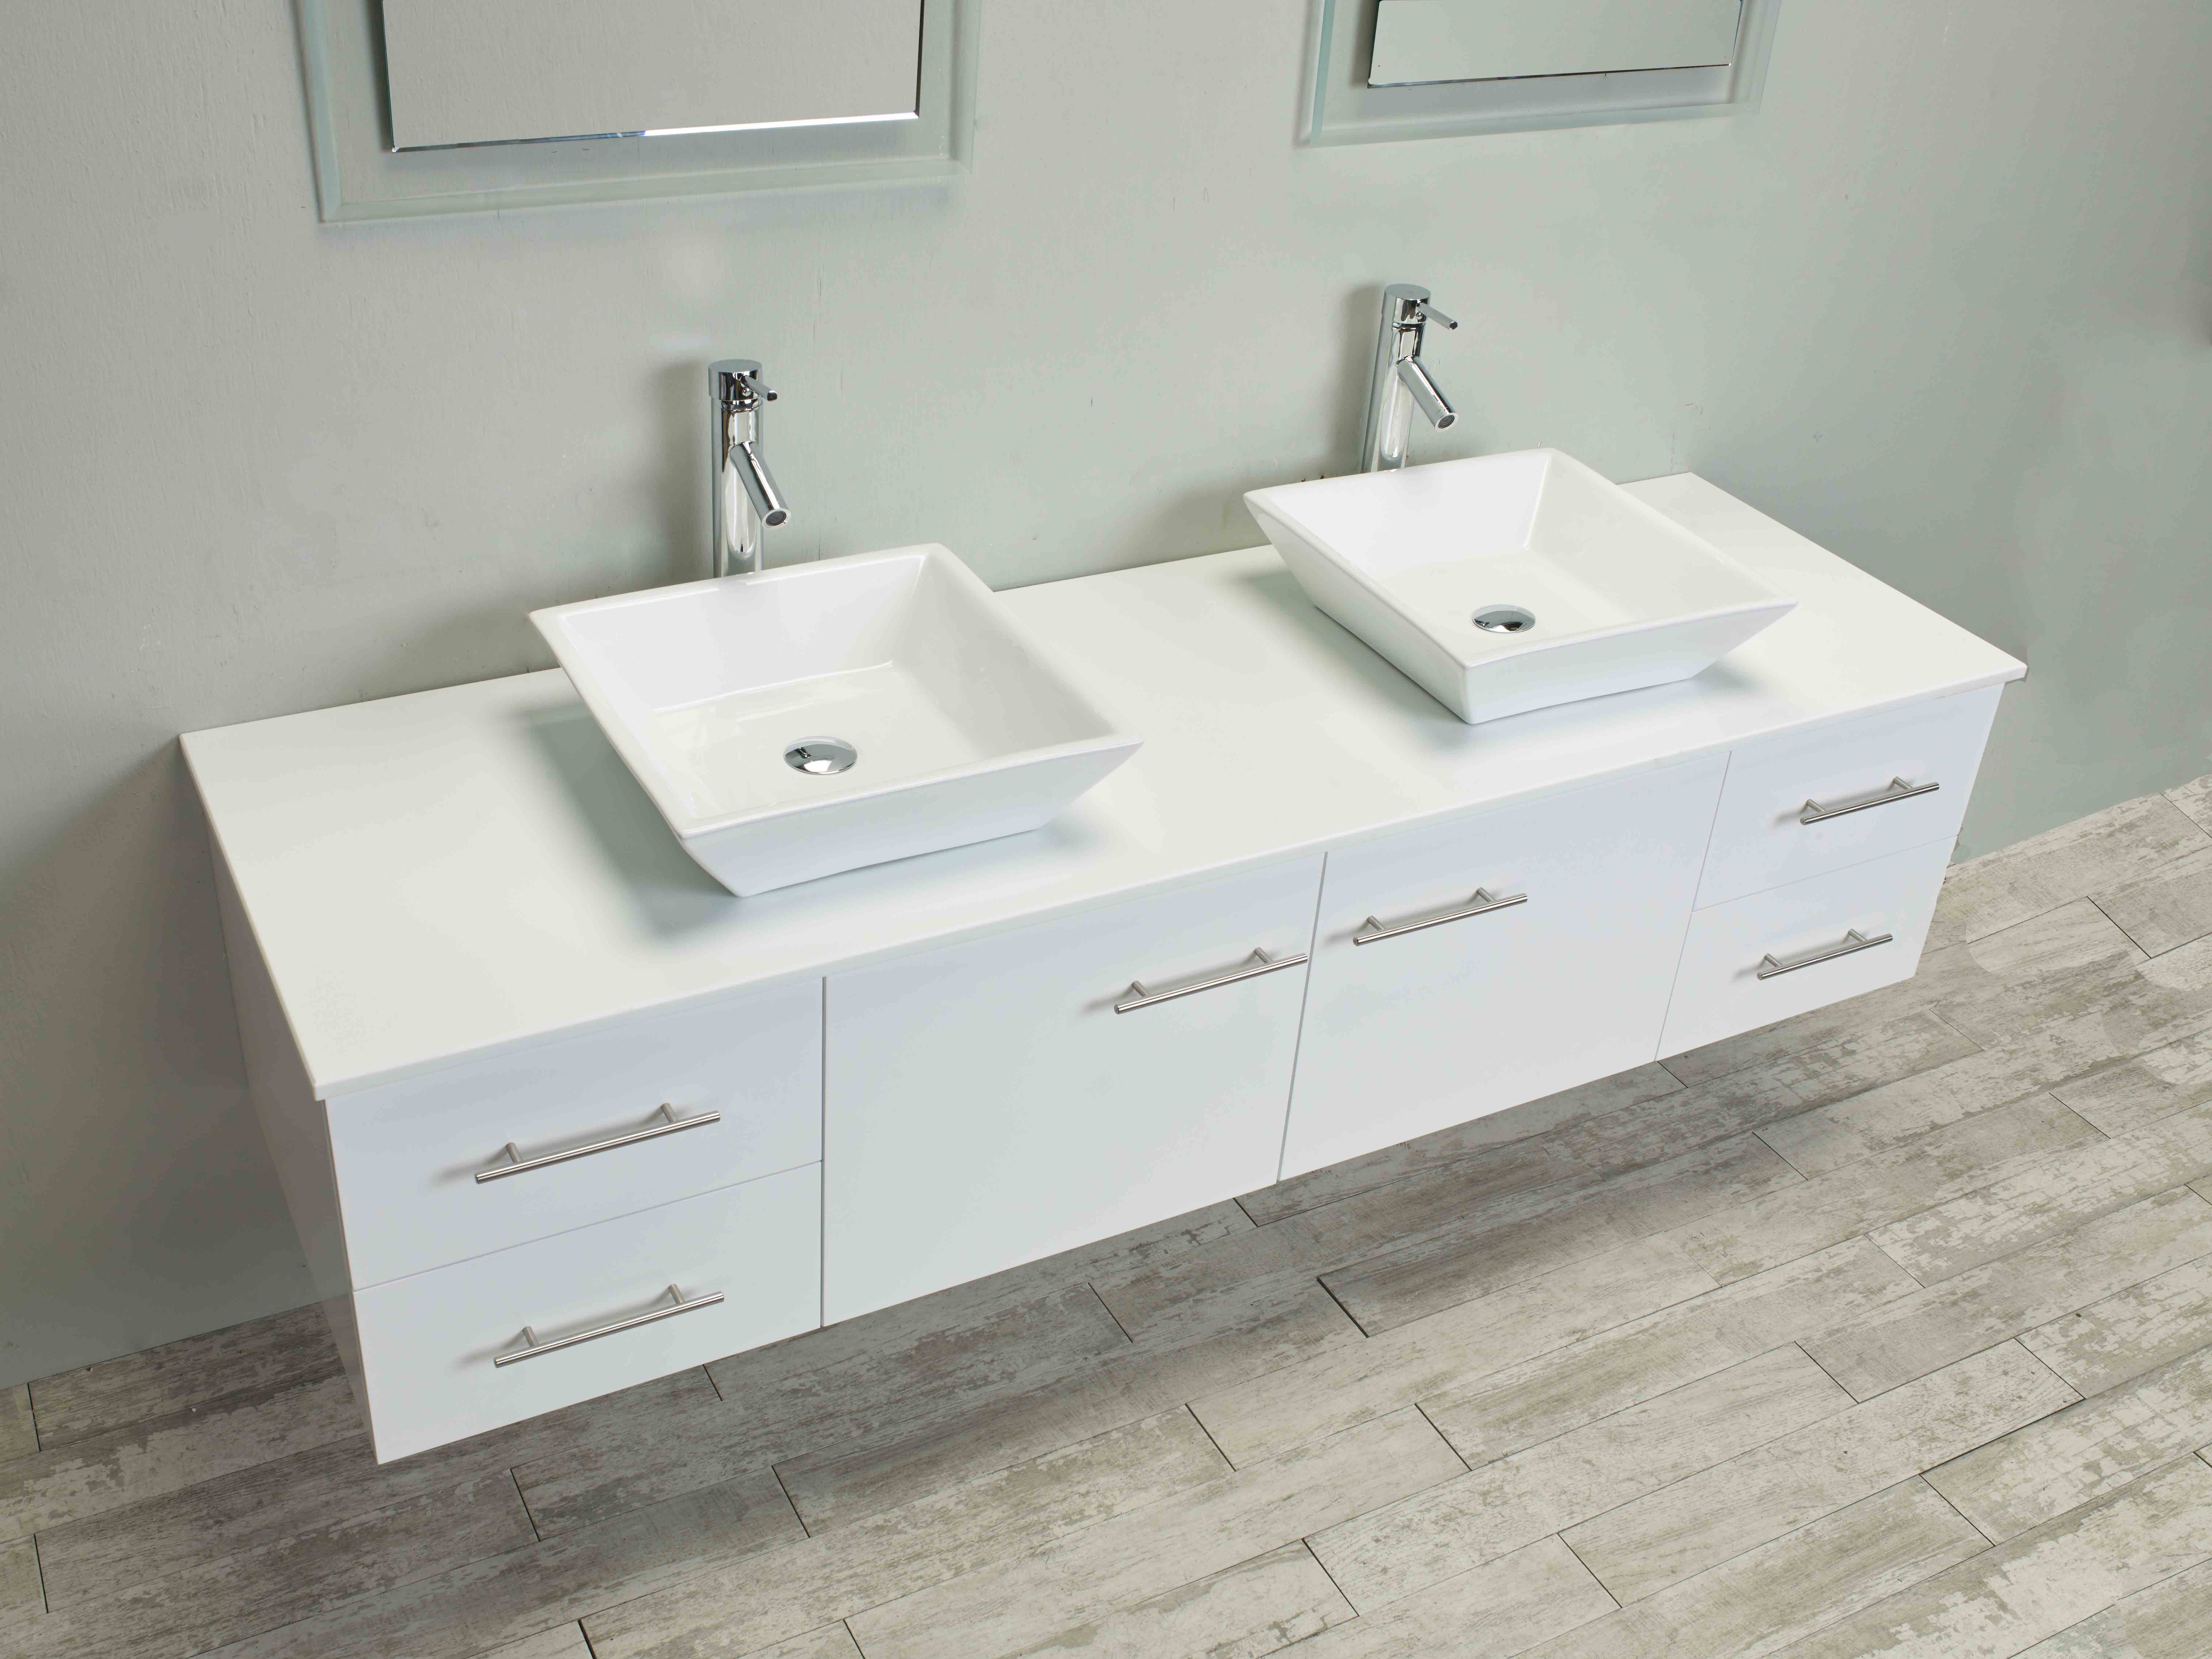
If you're in the process of renovating your kitchen, one important decision to make is what type of sink to install. There are various options available, but one of the most popular and versatile choices is the top mount kitchen sink. This style of sink is installed on top of the countertop, with the edges of the sink resting on the countertop's surface. In this article, we'll be taking a closer look at the top 10 top mount kitchen sinks that are designed to sit flush with the edge of the countertop.Top Mount Kitchen Sink to Edge


Top Mount Kitchen Sink to Edge
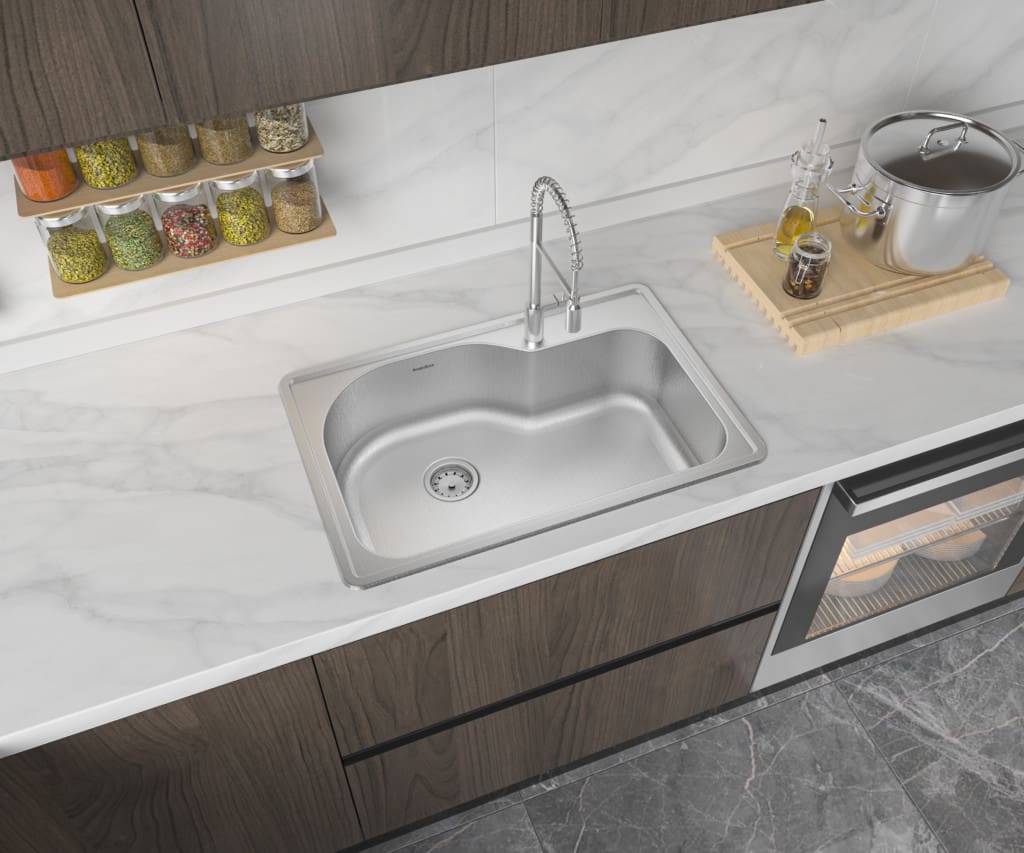

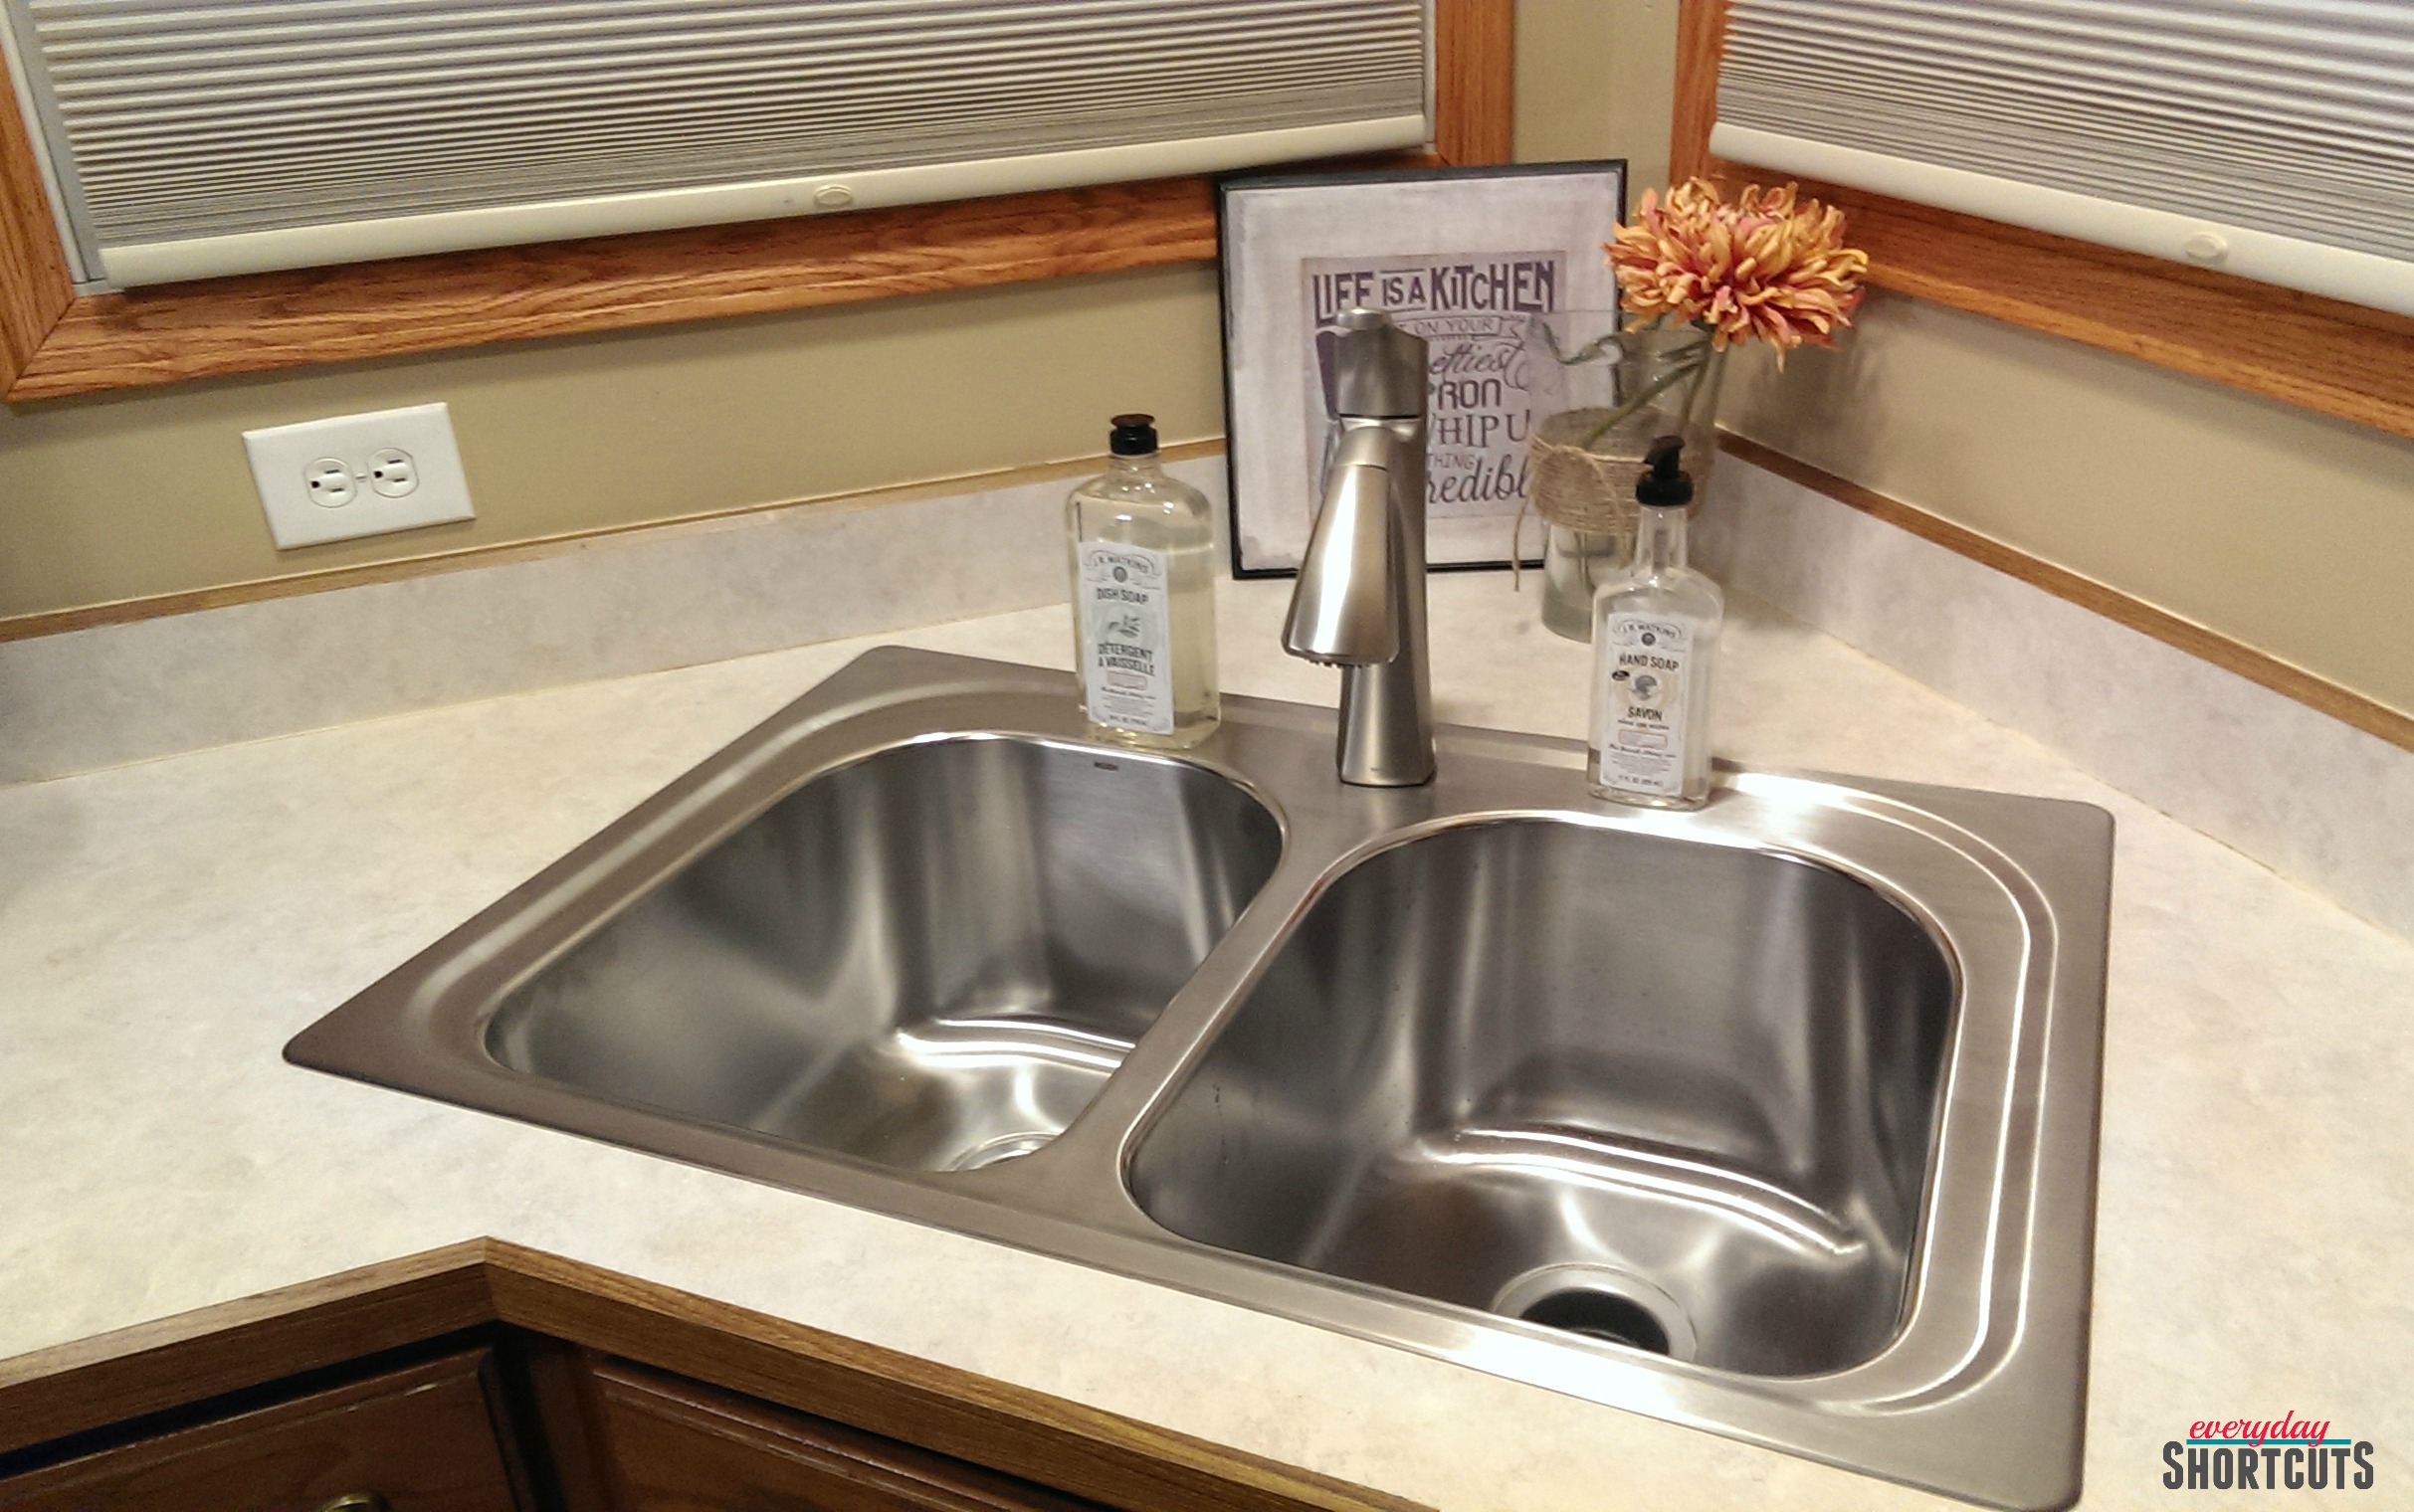
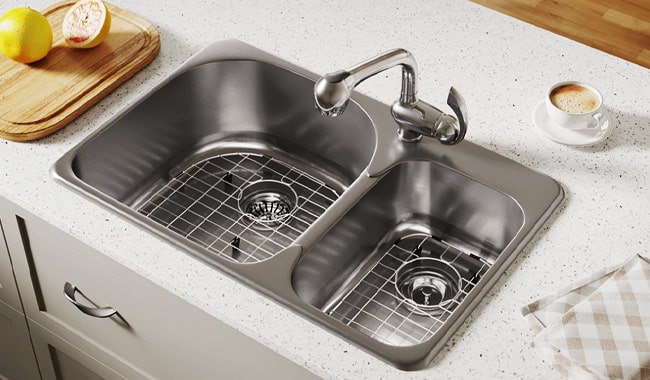
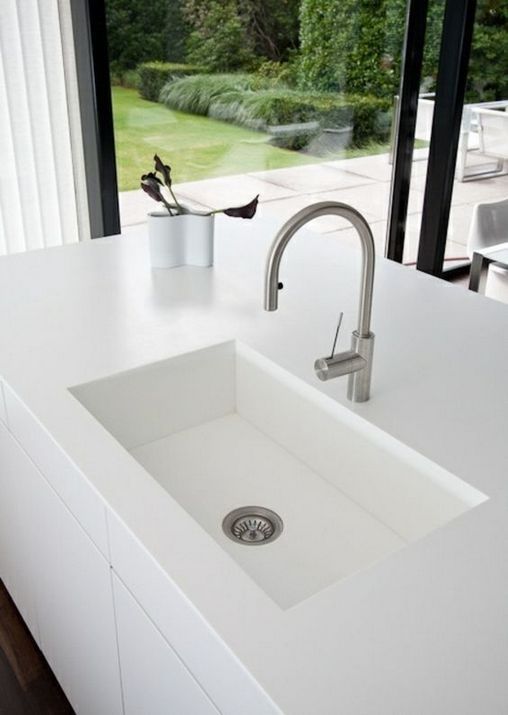
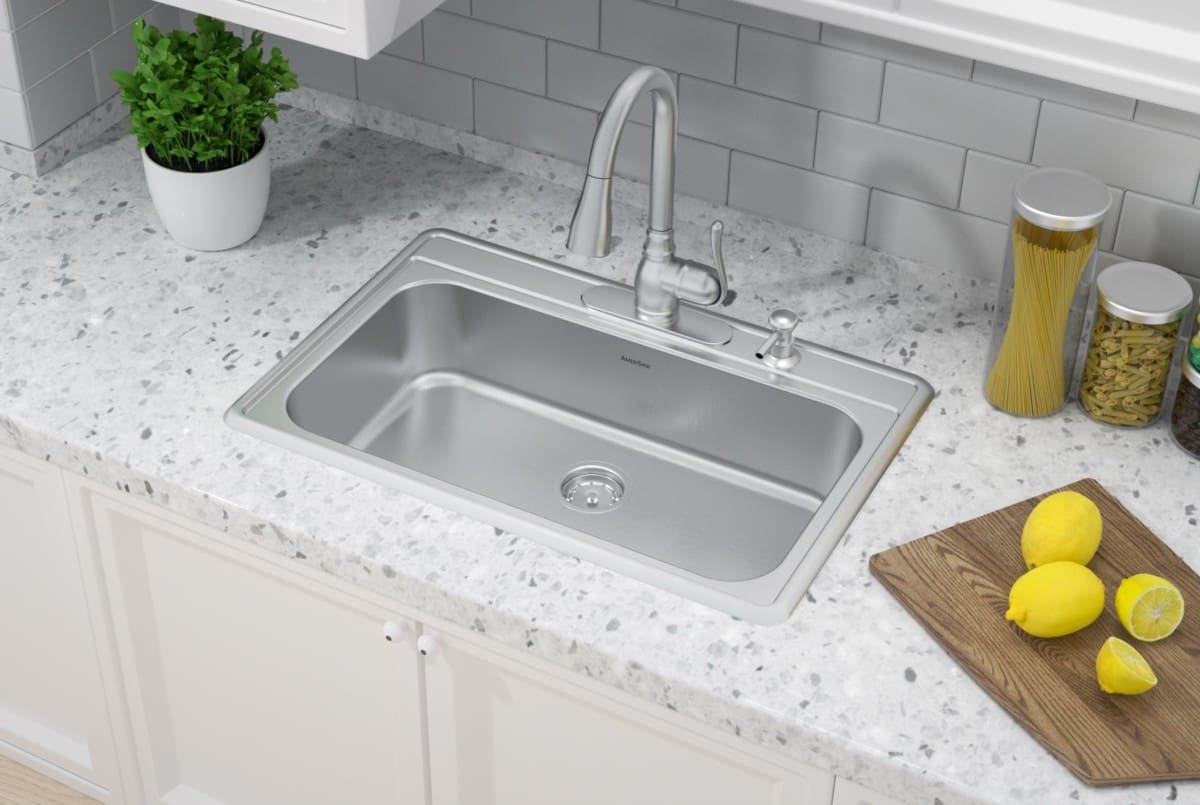
Before we dive into the top 10 list, let's first understand what a top mount kitchen sink is. Also known as a drop-in sink, this type of sink is inserted into a hole cut out in the countertop. The edges of the sink then rest on top of the countertop, creating a seamless and clean look. Top mount kitchen sinks are typically made of stainless steel, porcelain, or composite materials and come in various sizes and configurations.Top Mount Kitchen Sink


Top Mount Kitchen Sink


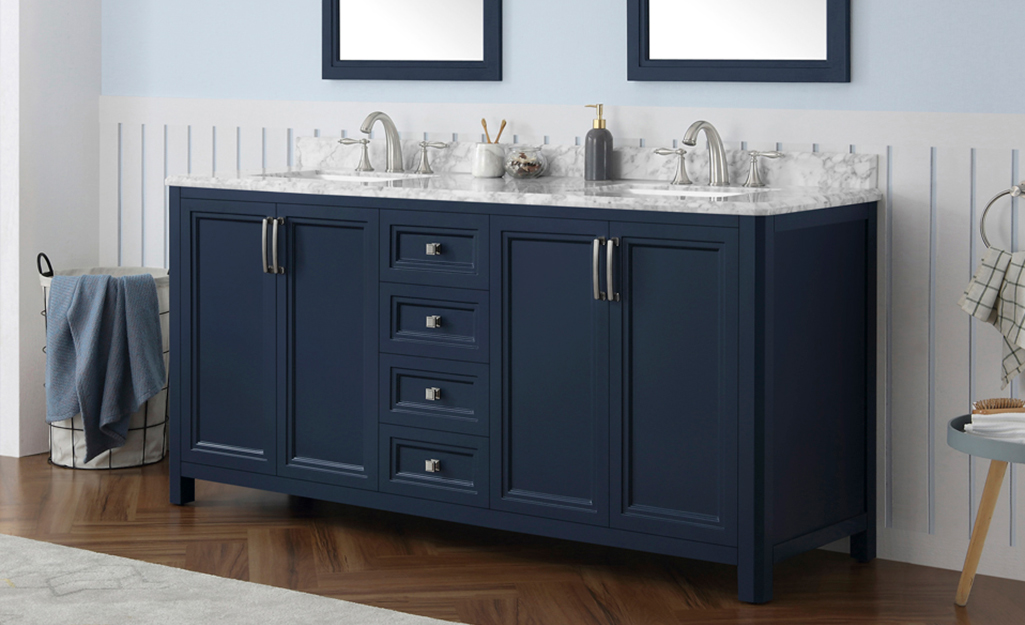
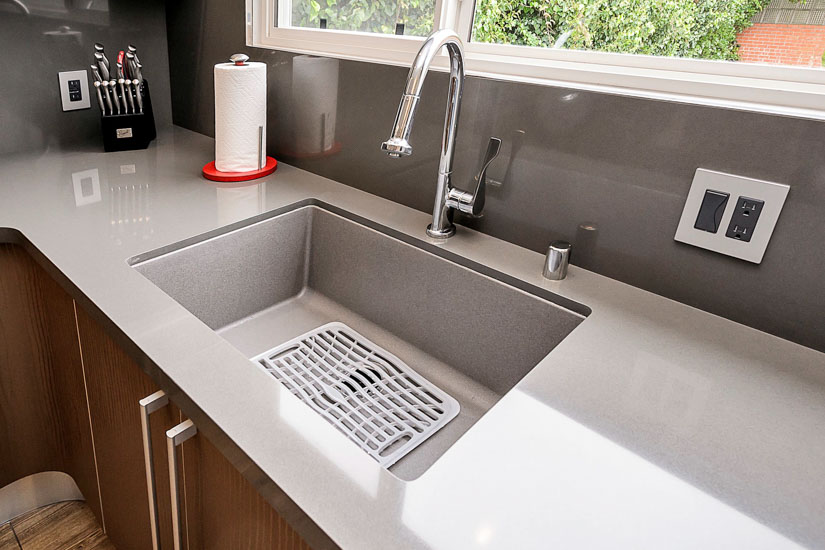
The kitchen sink is an essential fixture in any kitchen. It is where we wash dishes, prepare food, and even fill up pots for cooking. With the amount of use it gets, it's important to choose a kitchen sink that is durable, functional, and easy to maintain. Top mount kitchen sinks offer all these benefits and more, making them a popular choice among homeowners.Kitchen Sink


Kitchen Sink


/interiors-of-the-kitchen-126173645-5835288f5f9b58d5b1b96af2.jpg)

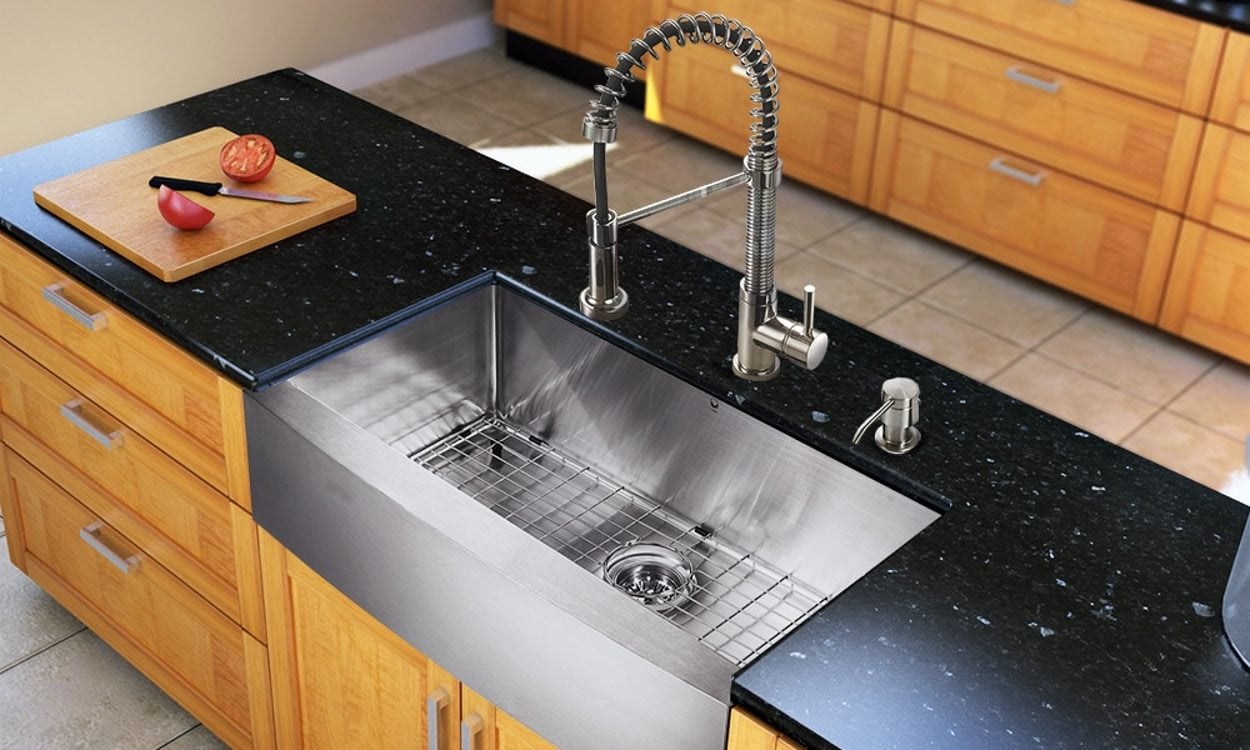
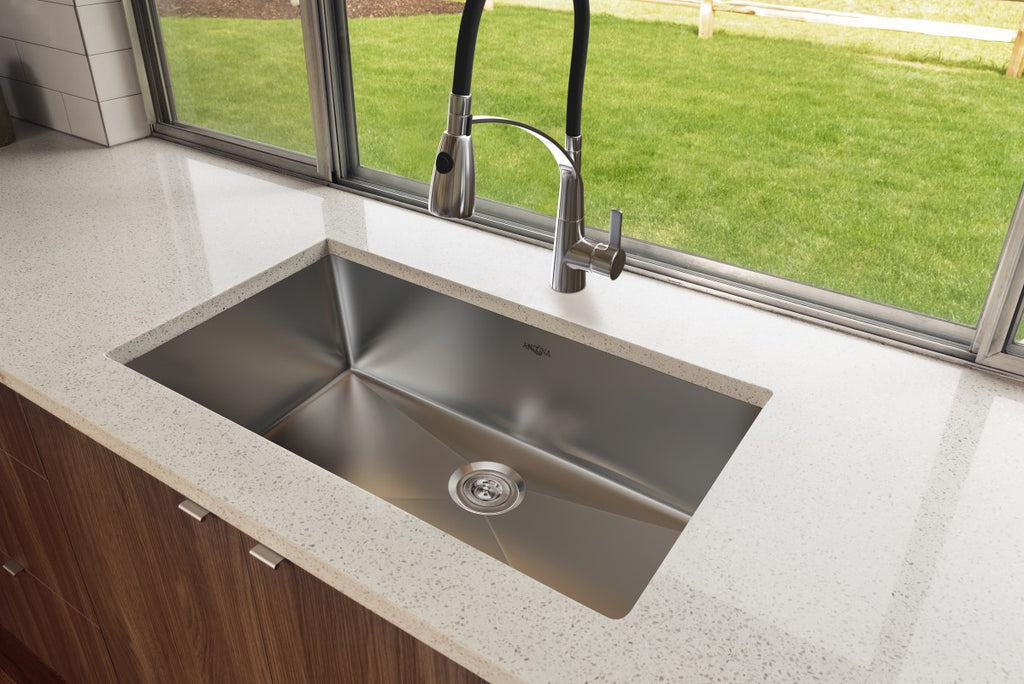
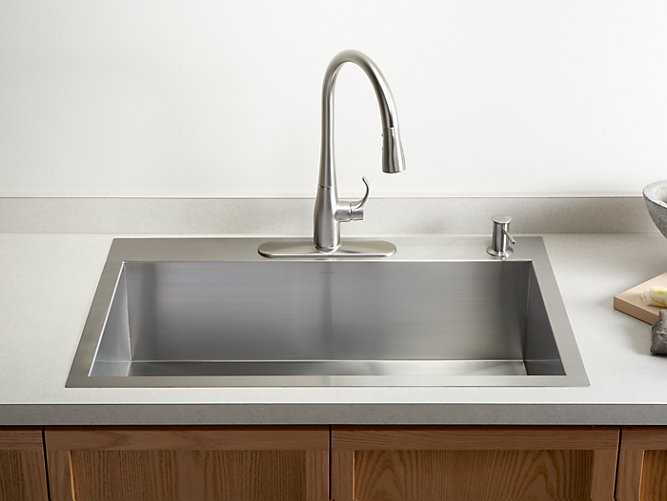
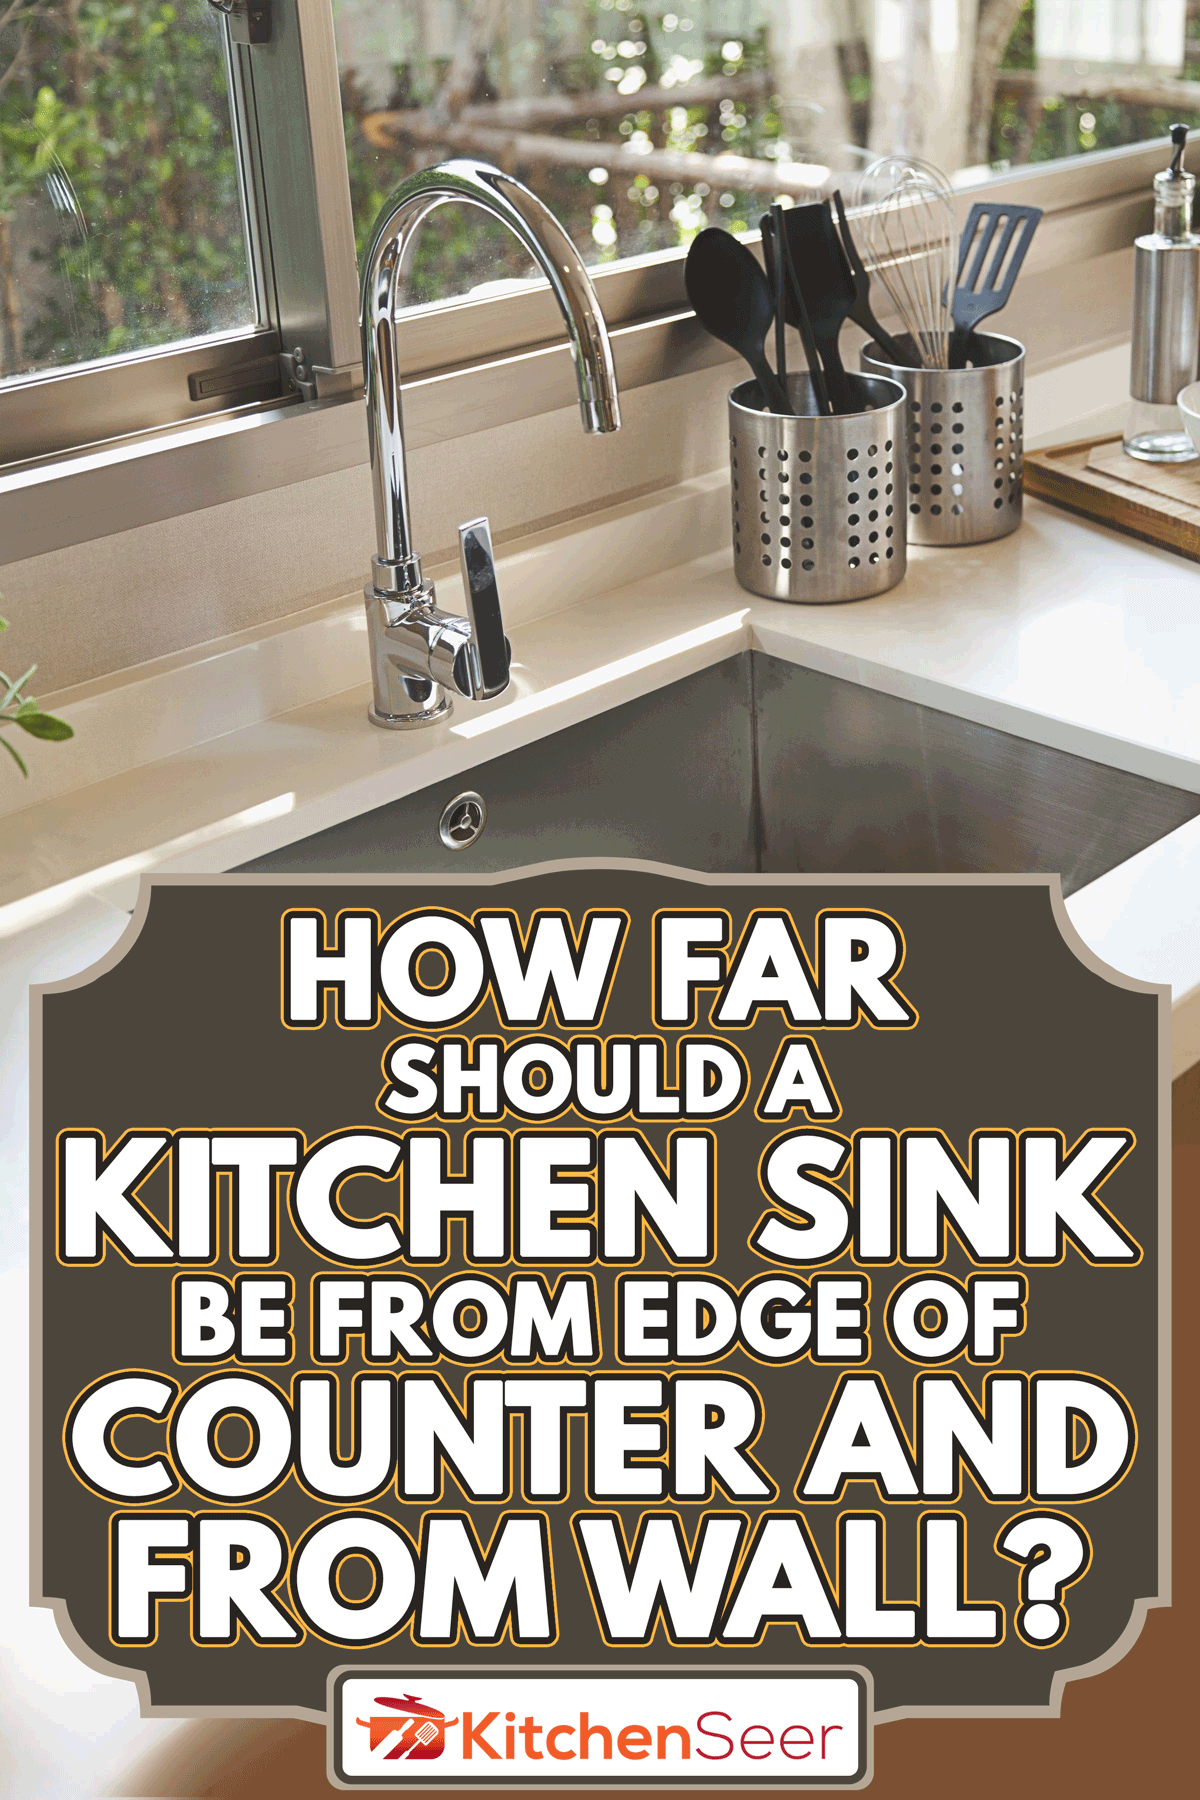
When it comes to installing a top mount kitchen sink, one of the key factors to consider is the placement of the sink's edge. The edge of the sink should sit flush with the edge of the countertop for a clean and seamless look. This is where edge mount kitchen sinks come in. These sinks are specifically designed to sit flush with the edge of the countertop, creating a sleek and modern appearance.Edge Mount Kitchen Sink


Edge Mount Kitchen Sink


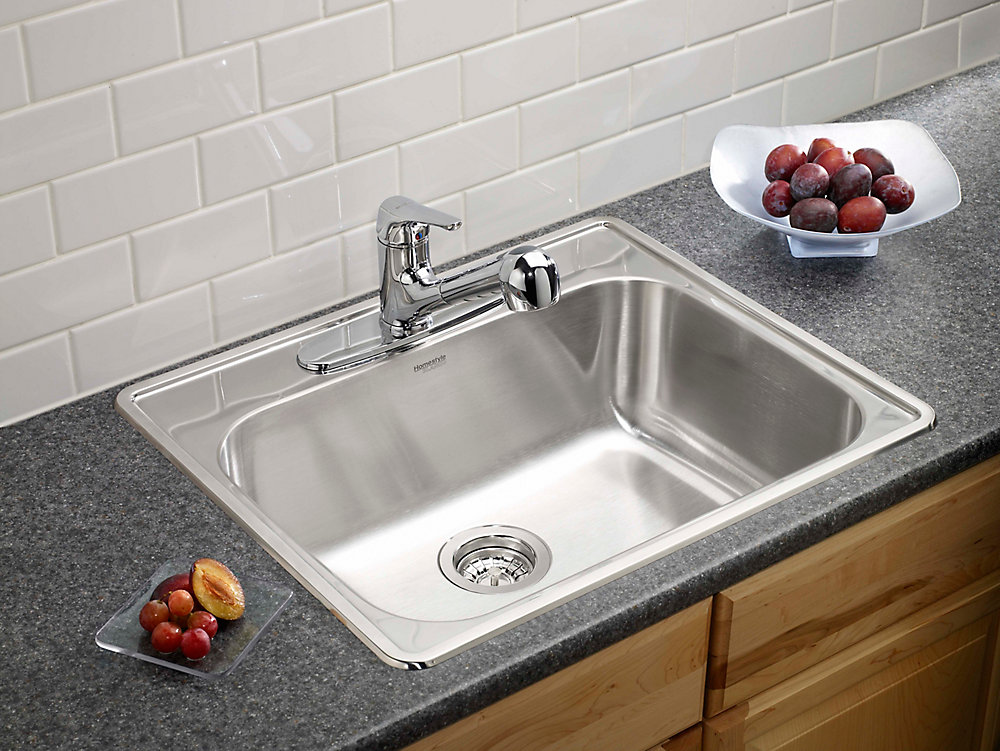
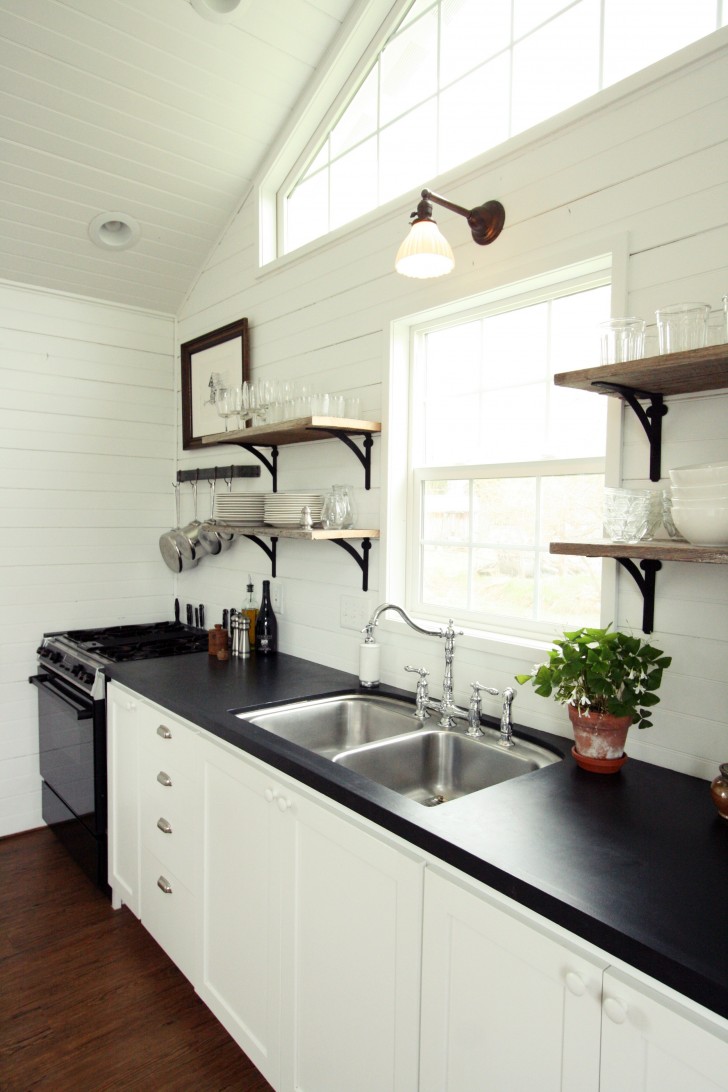
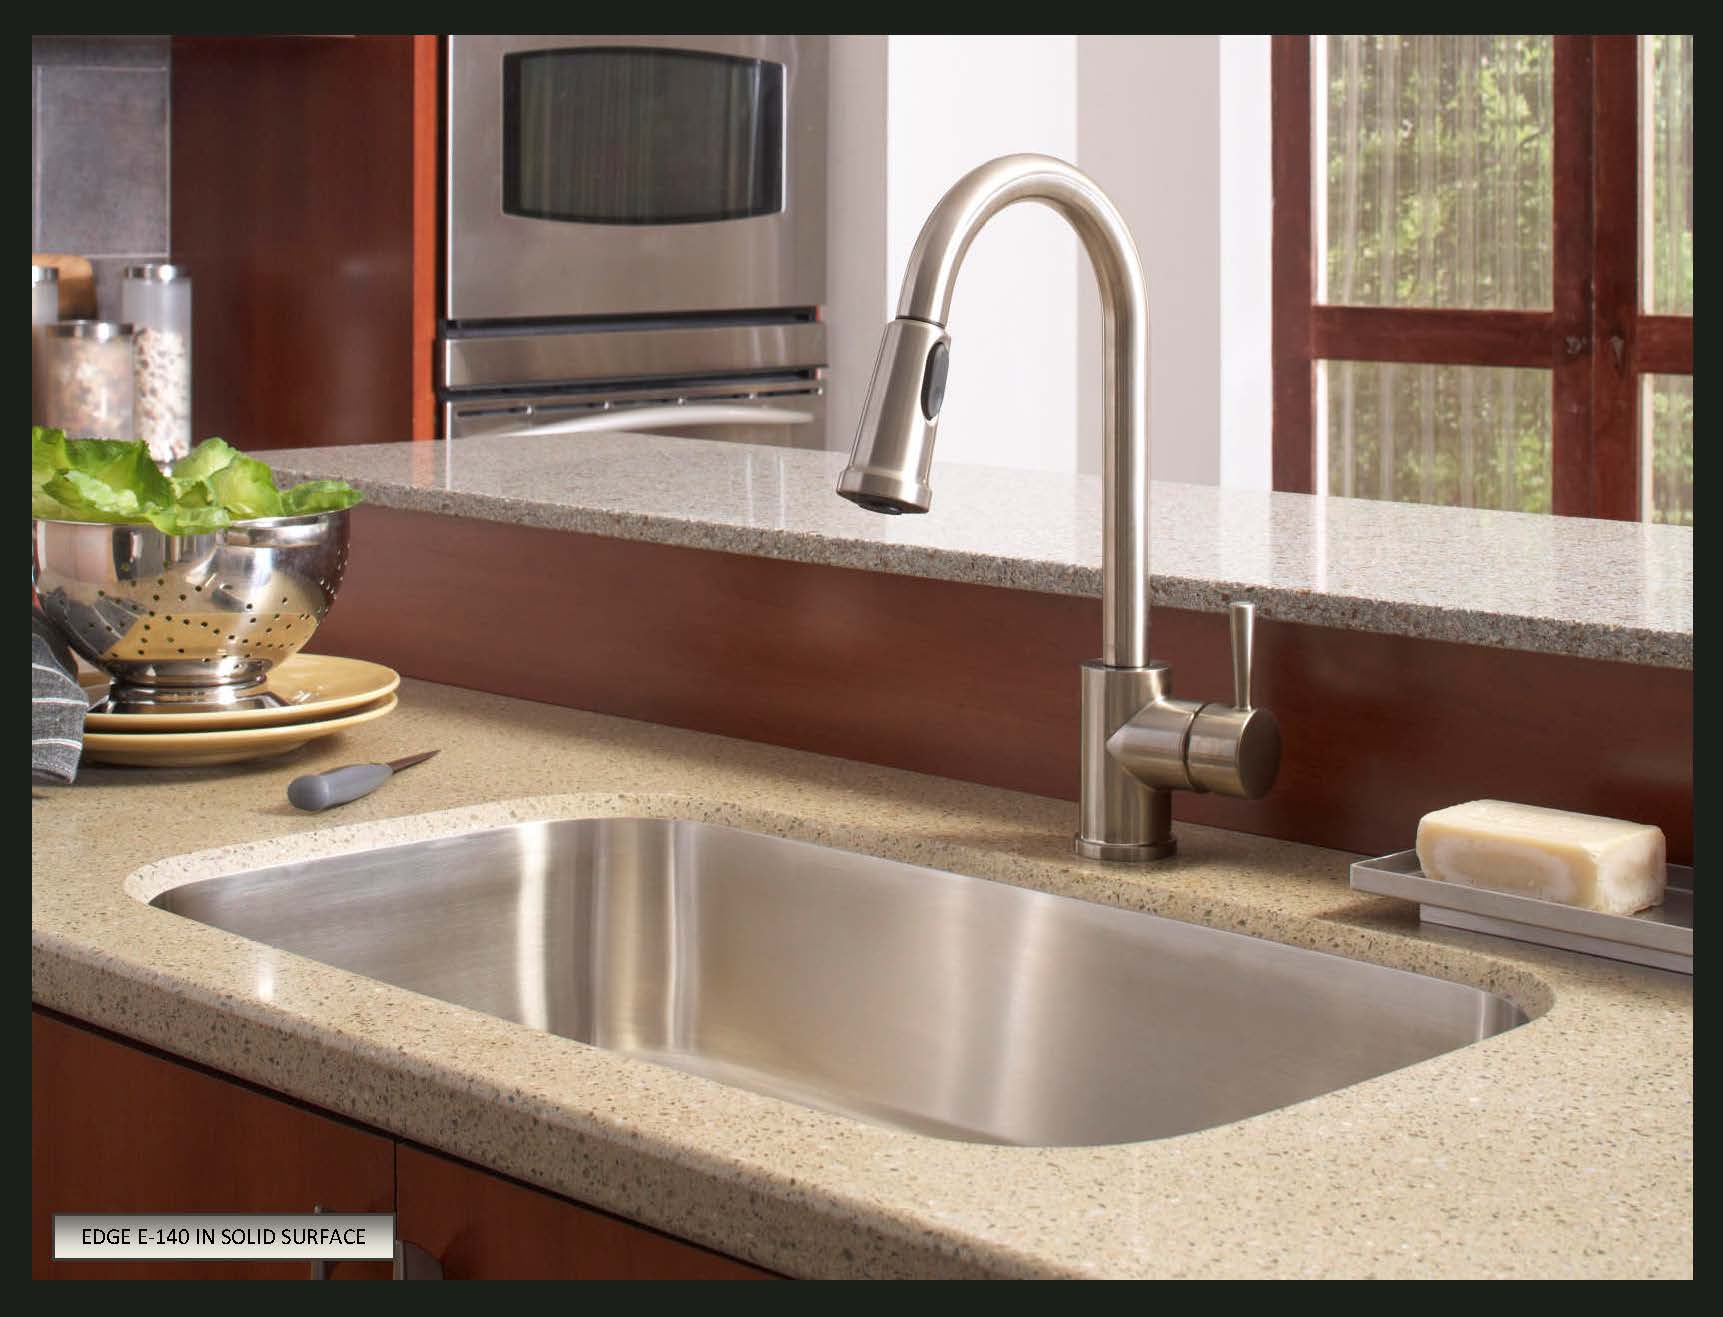
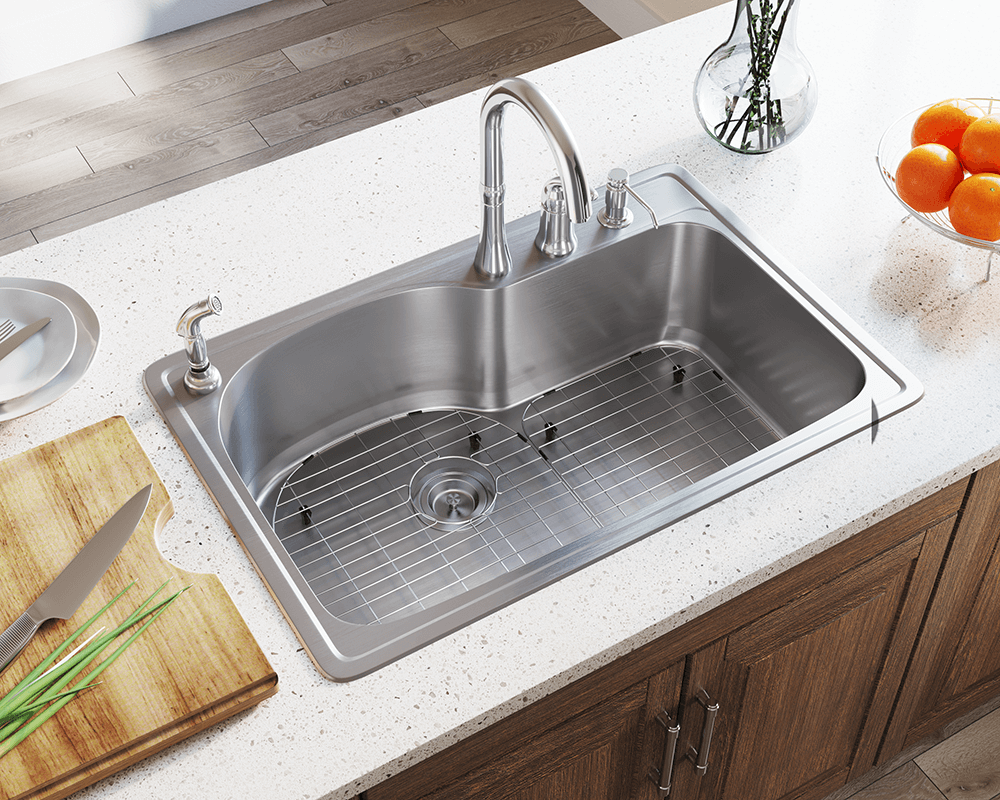
One advantage of top mount sinks is that they are relatively easy to install. They can be fitted into any countertop material, including laminate, granite, and quartz. The sink is simply dropped into the countertop cutout, and the edges are sealed with silicone caulk. Top mount sinks are also easy to replace if needed, making them a practical choice for any kitchen.Top Mount Sink


Top Mount Sink

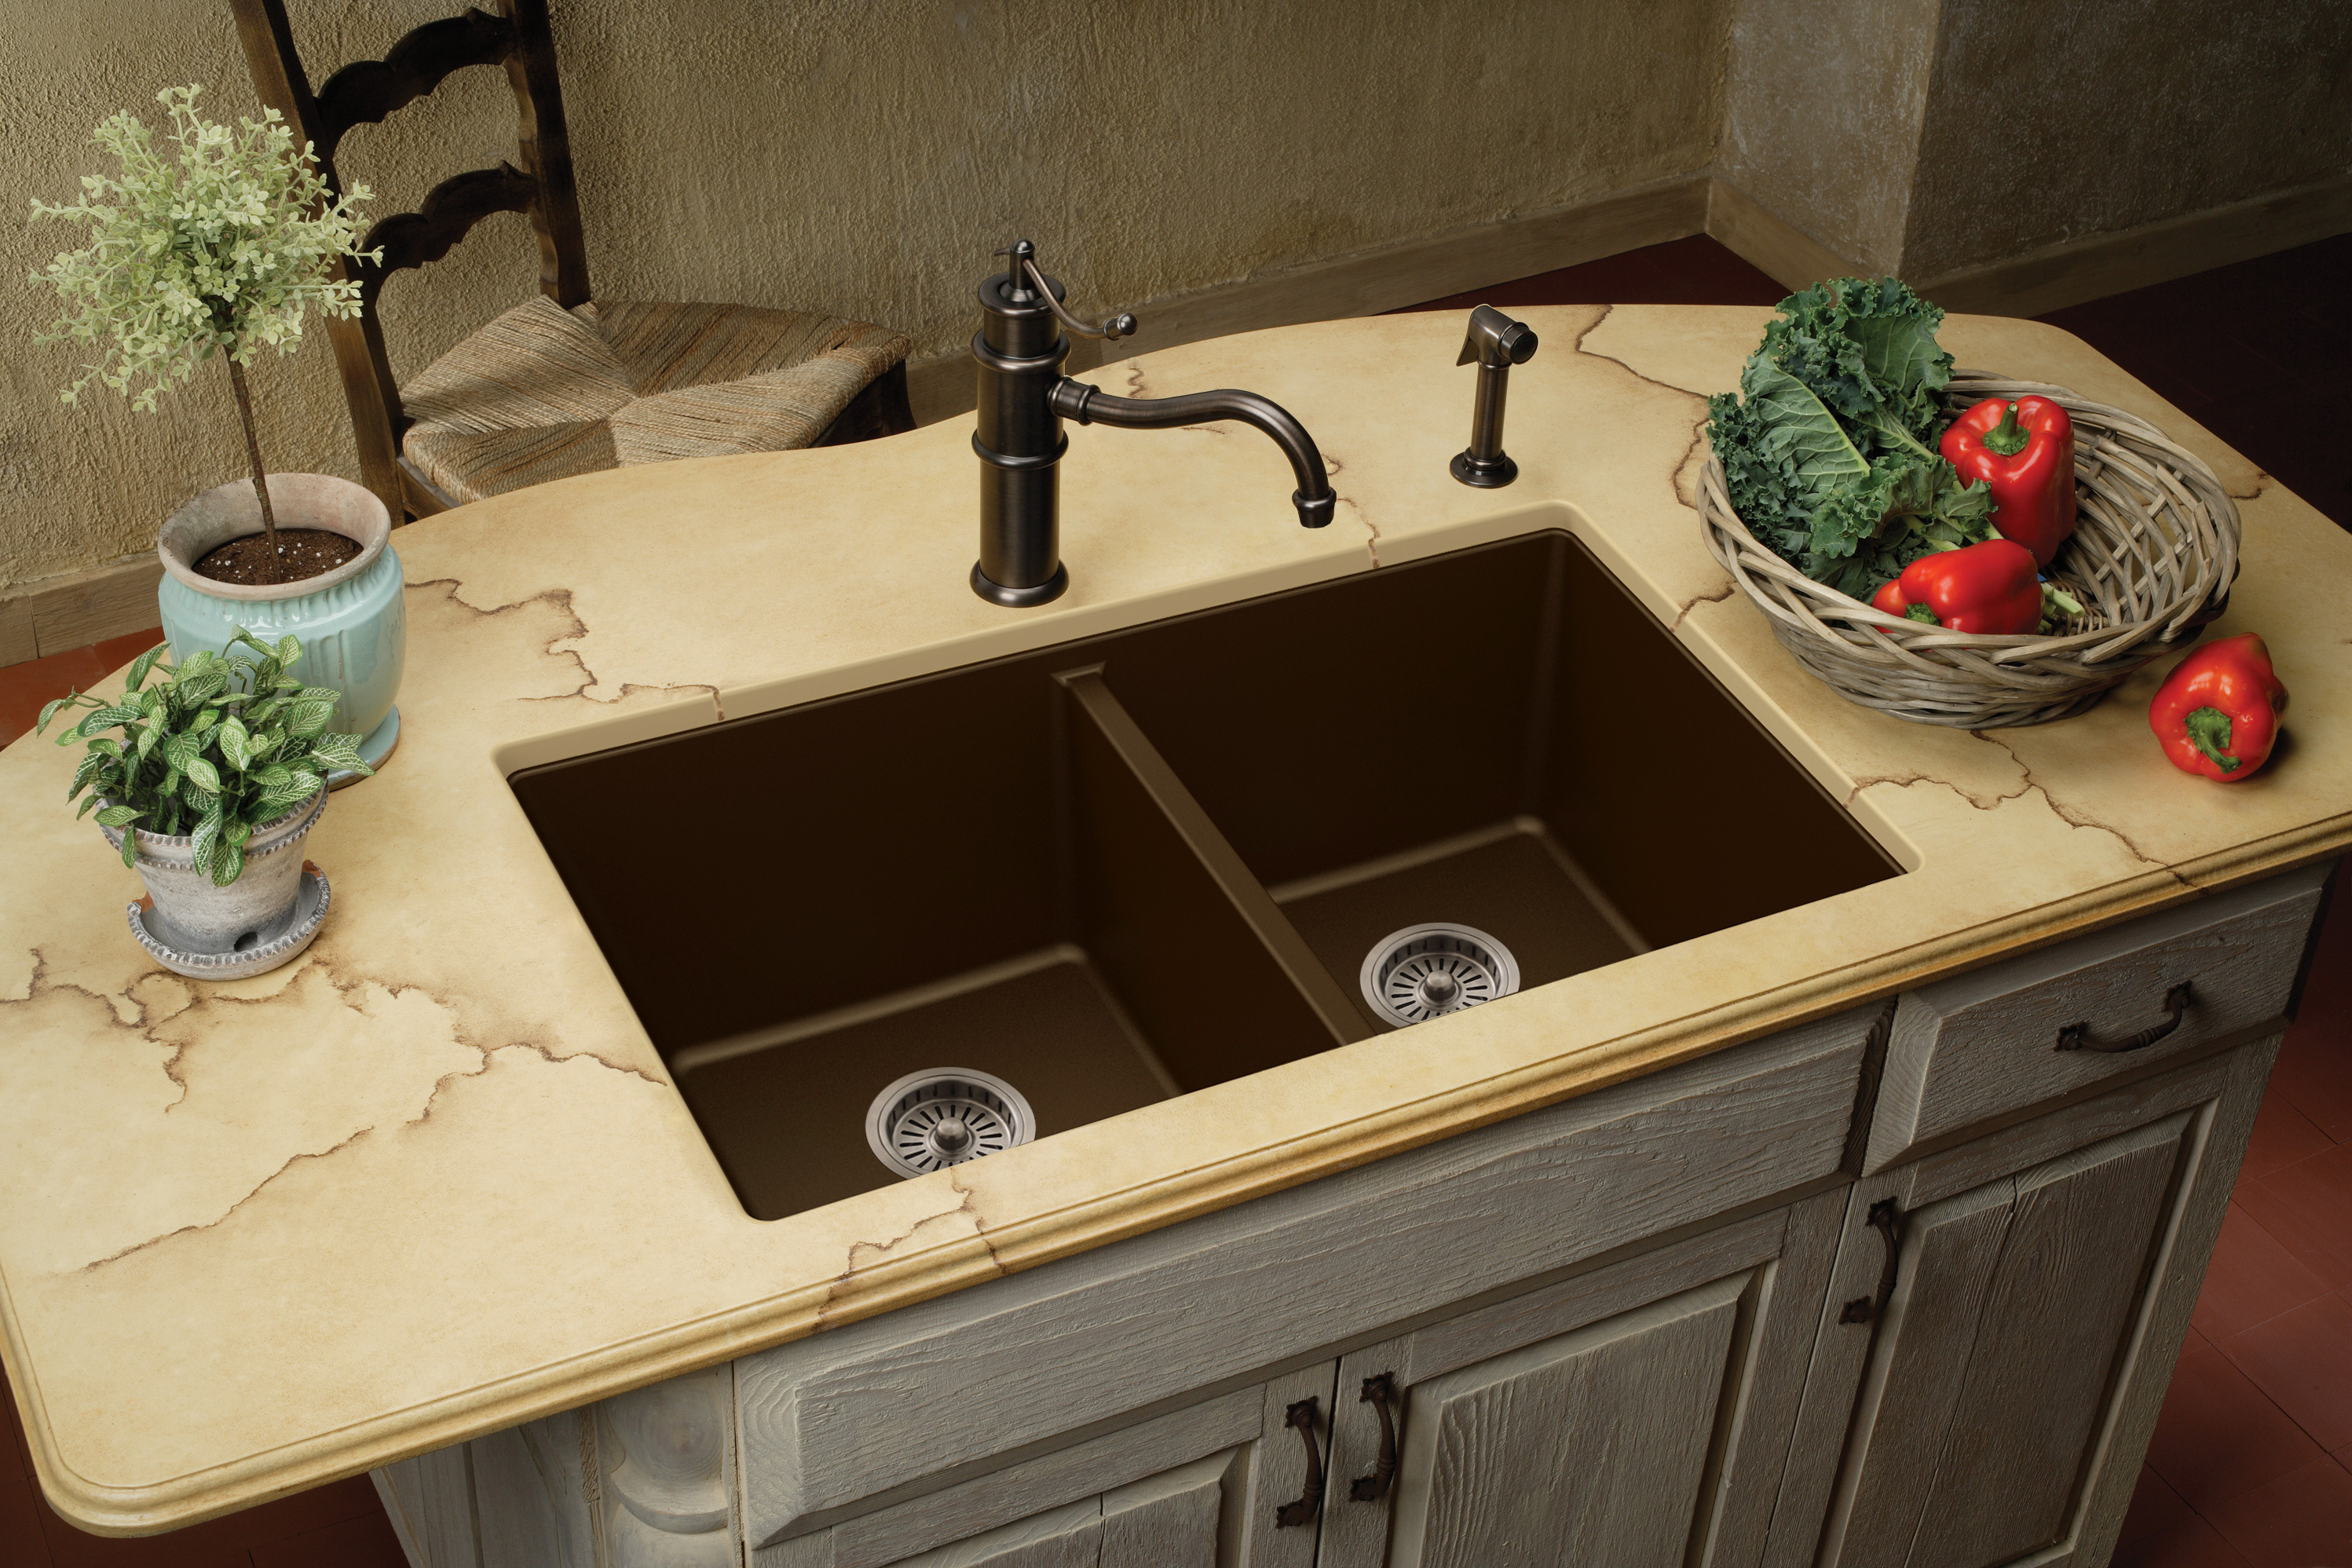
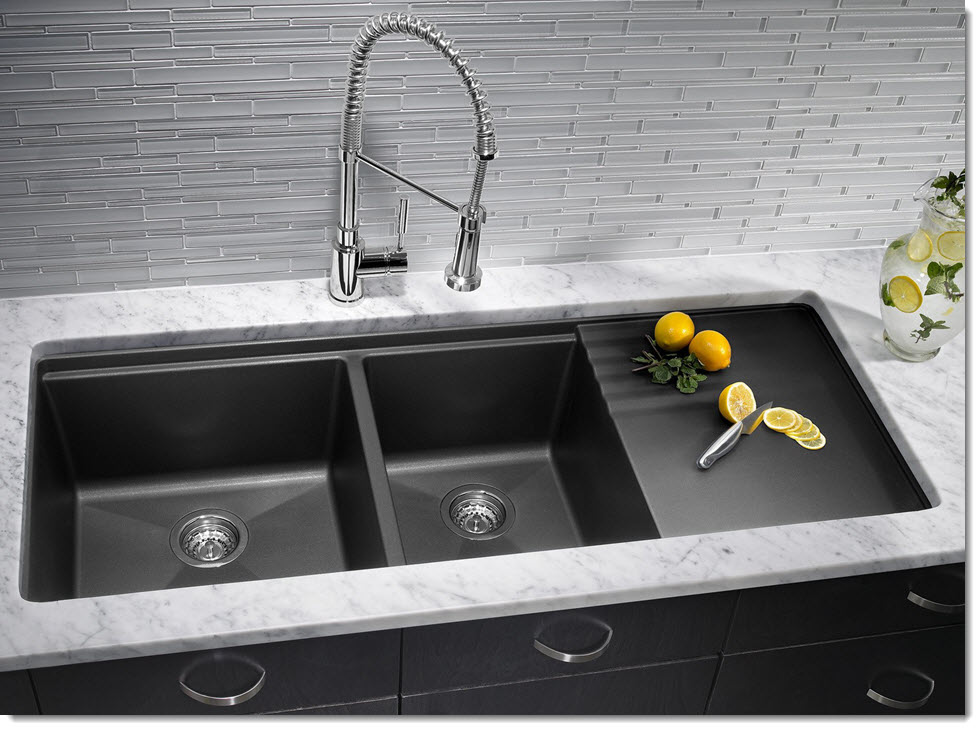
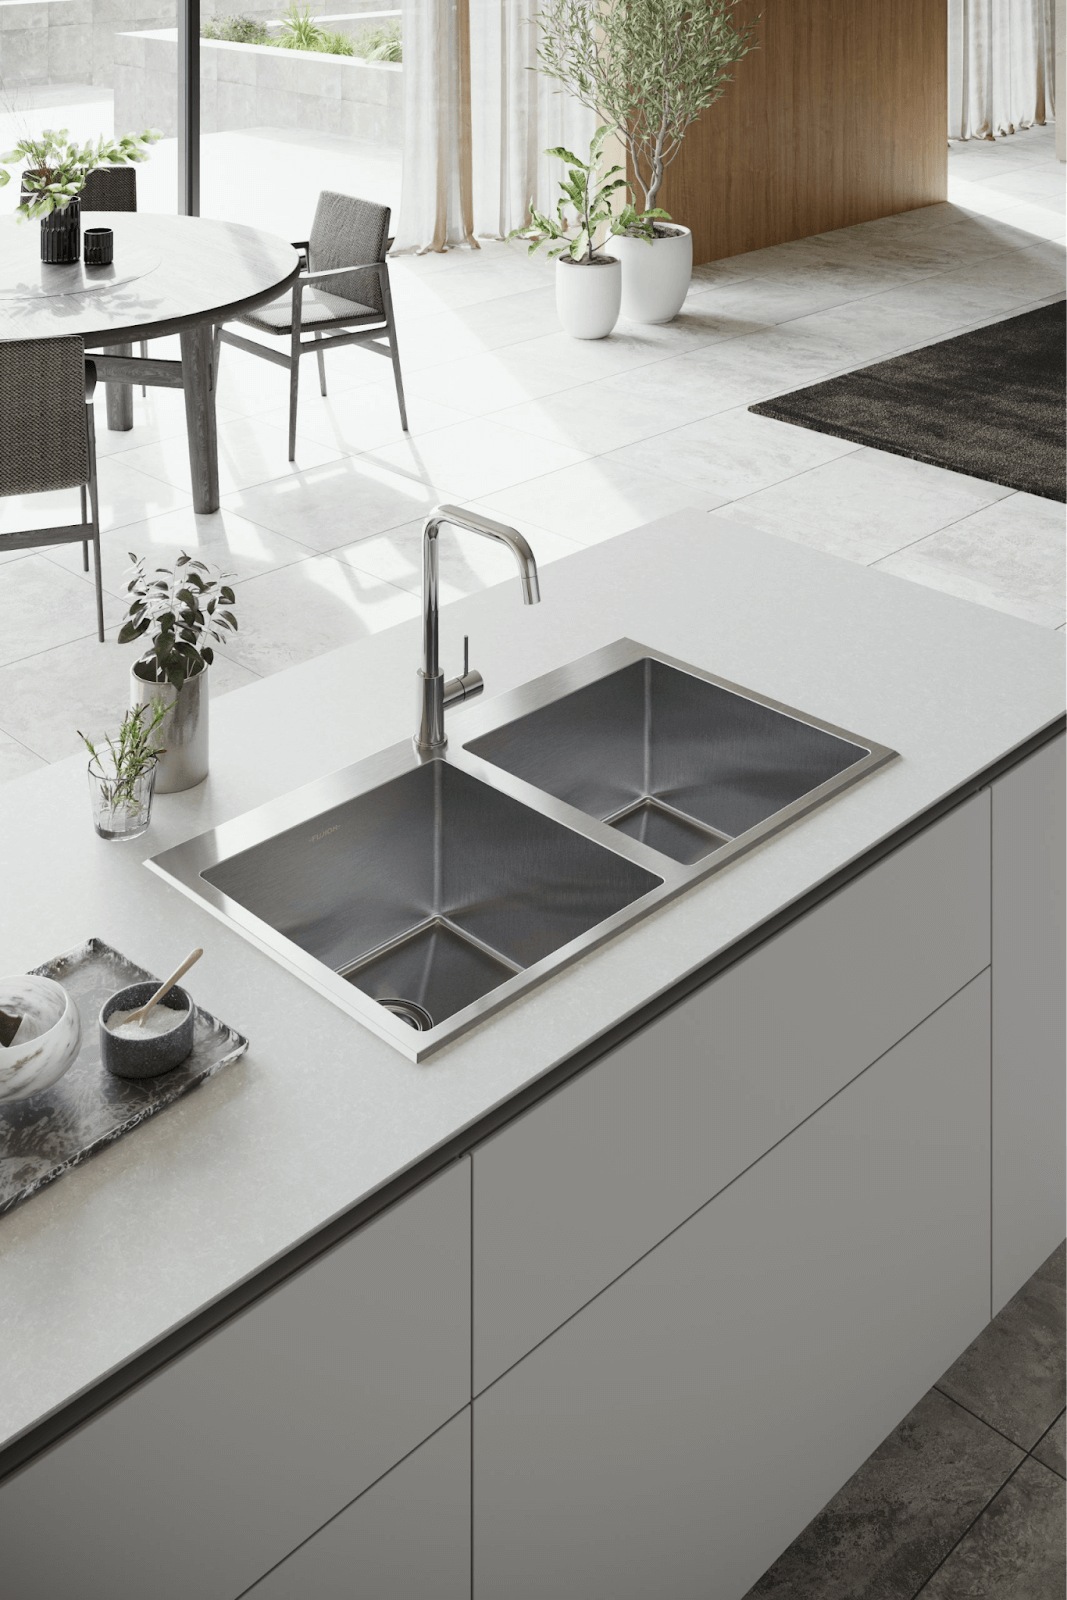
Edge mount sinks, also known as zero radius sinks, are a popular choice for modern and minimalist kitchens. These sinks have sharp, square edges that give them a sleek and contemporary look. They are also typically deeper than traditional top mount sinks, allowing for more space to wash and stack dishes.Edge Mount Sink


Edge Mount Sink


If you're planning to install a top mount kitchen sink, here are some steps to guide you:Top Mount Kitchen Sink Installation


Top Mount Kitchen Sink Installation


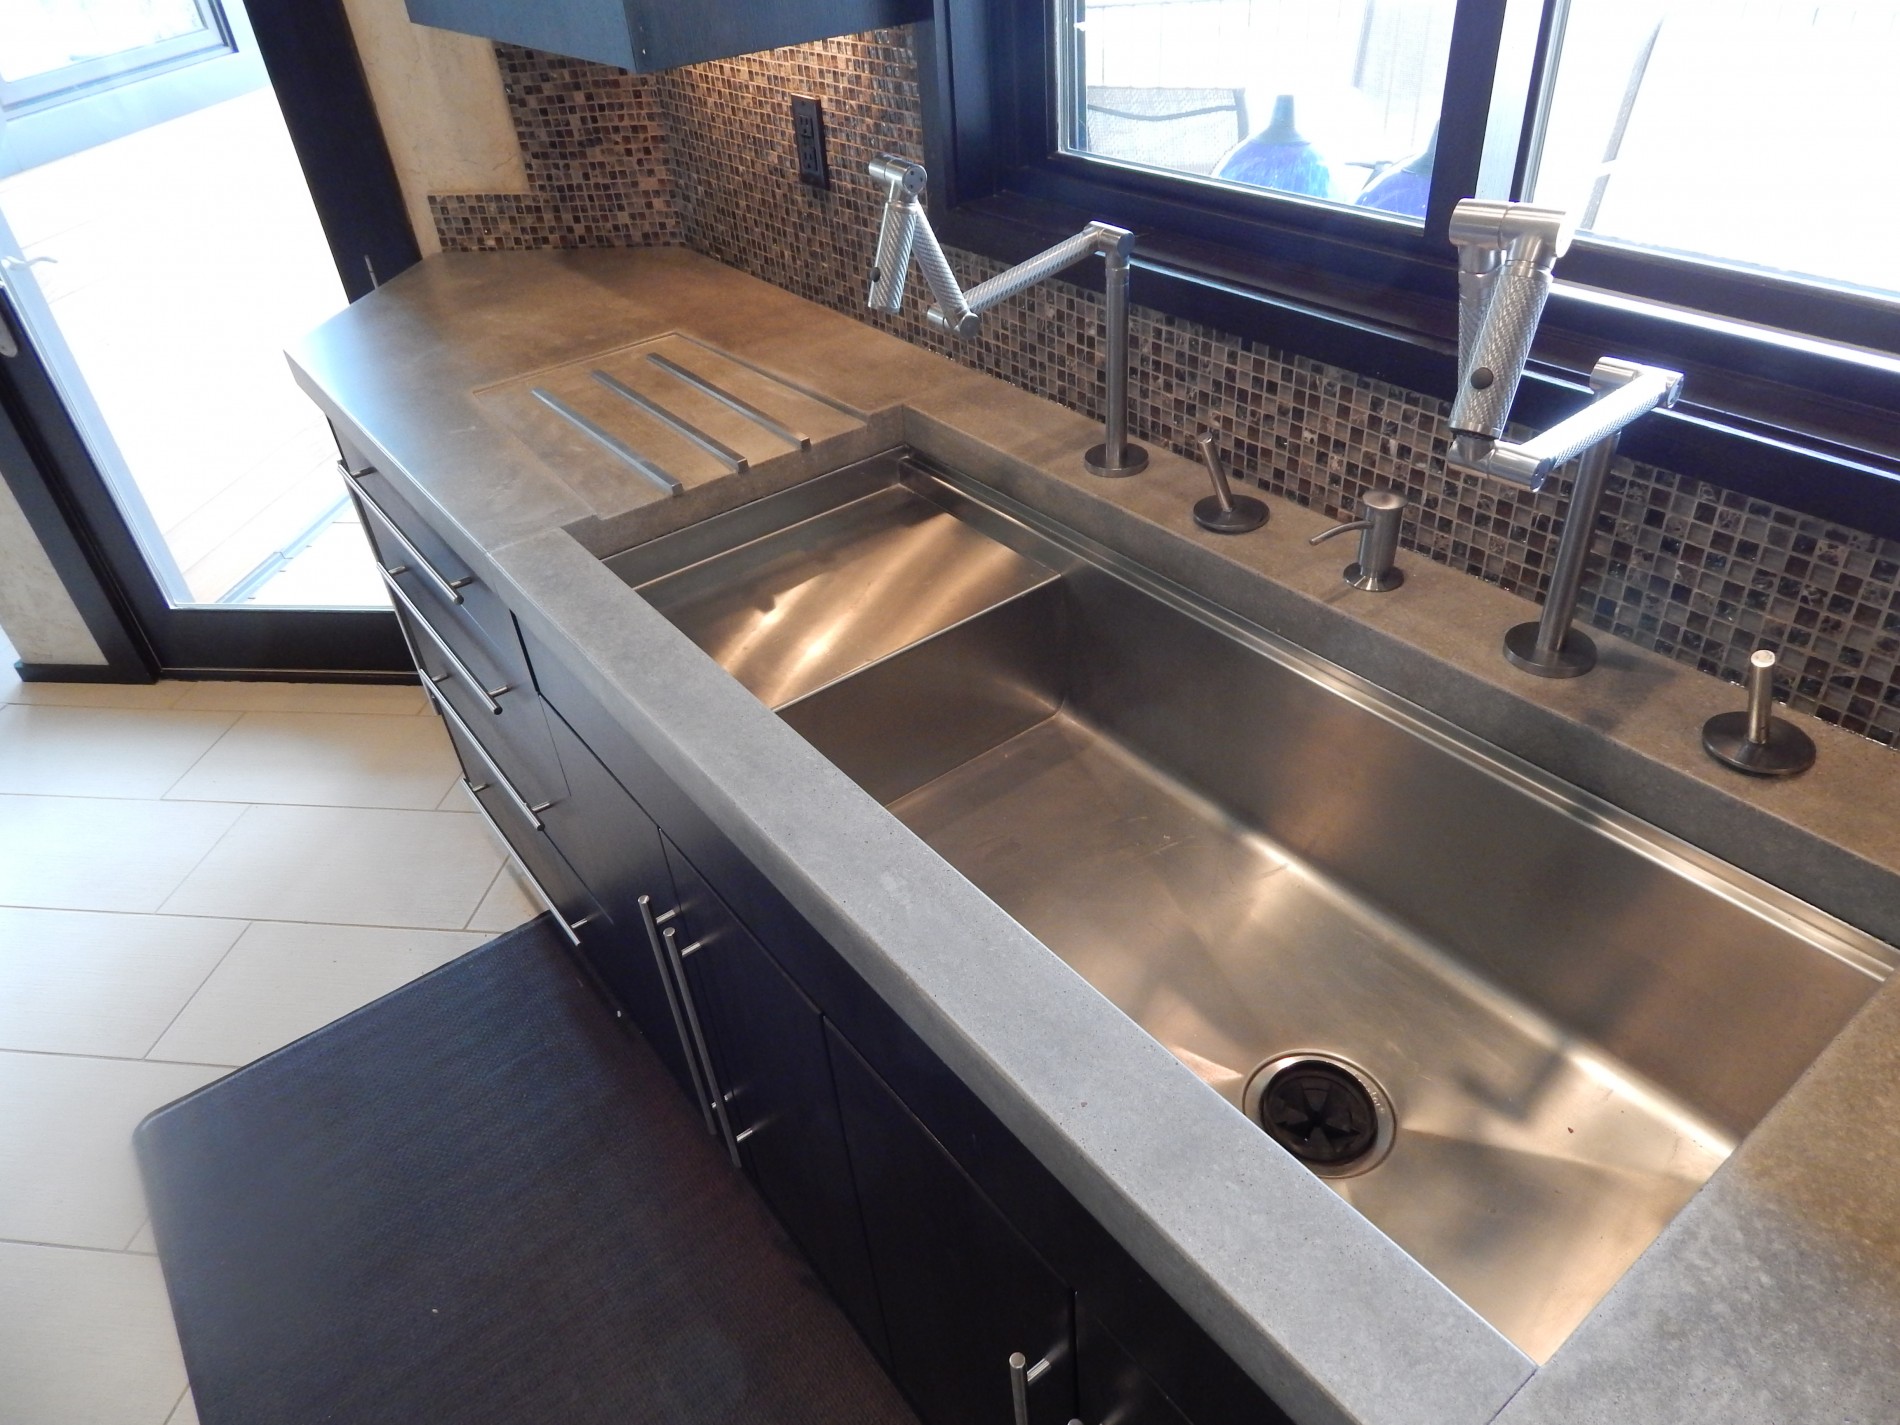
Installing an edge mount kitchen sink follows the same steps as a top mount sink, with the additional step of sanding down the sharp edges of the countertop to create a smooth transition between the sink and the countertop. This step is important for both safety and aesthetics.Edge Mount Kitchen Sink Installation


Edge Mount Kitchen Sink Installation


Installing a top mount kitchen sink is a simple and straightforward process, making it a popular choice for DIY enthusiasts. However, if you're not comfortable with cutting into your countertop, it's always best to hire a professional to do the installation for you.How to Install a Top Mount Kitchen Sink


How to Install a Top Mount Kitchen Sink

:no_upscale()/cdn.vox-cdn.com/uploads/chorus_asset/file/19495086/drain_0.jpg)


The installation process for an edge mount kitchen sink is similar to a top mount sink, with the added step of sanding down the edges of the countertop. This step requires a bit more skill and precision, so it's best to leave it to a professional if you're not confident in your abilities. Overall, top mount kitchen sinks that sit flush with the edge of the countertop offer a sleek and modern look to any kitchen. They are also practical, easy to install, and come in a variety of styles and materials to suit any kitchen design. Whether you choose a top mount or edge mount sink, make sure to follow proper installation steps to ensure a secure and functional fixture in your kitchen.How to Install an Edge Mount Kitchen Sink


How to Install an Edge Mount Kitchen Sink


How to Install a Top Mount Kitchen Sink to the Edge
Introduction
 When designing a kitchen, one of the most important elements to consider is the type of sink to install. There are various options available, but one popular choice is the top mount kitchen sink. This type of sink is mounted on top of the countertop, creating a seamless and sleek look. However, it is essential to install the sink properly to ensure its functionality and longevity. In this article, we will discuss how to install a top mount kitchen sink to the edge, providing you with the necessary steps and tips to achieve a professional and beautiful finish.
Step 1: Gather Your Tools and Materials
 Before starting the installation process, it is crucial to have all the necessary tools and materials on hand. This will save you time and effort in the long run. You will need a top mount kitchen sink, a measuring tape, a jigsaw, a drill, a silicone caulk, plumber's putty, a screwdriver, and a wrench.
Step 2: Measure and Mark the Sink Placement
 The first step in installing a top mount kitchen sink is to measure and mark the placement on your countertop. Measure the sink's width and length, and then mark the center on the countertop. Use a measuring tape and a pencil to draw the sink's outline, ensuring that the corners are square and the edges are straight.
Step 3: Cut the Countertop
 Once you have marked the sink's placement, it is time to cut the countertop. Using a jigsaw, carefully cut along the marked outline. Make sure to wear safety goggles and follow the manufacturer's instructions when using power tools. After cutting, remove any excess material and clean the edges.
Step 4: Install the Sink
 Place the sink on the cutout and check if it fits properly. If there are any gaps, use plumber's putty to fill them. Then, use a drill to make pilot holes on the countertop's underside, following the manufacturer's instructions. Next, apply a generous amount of silicone caulk around the sink's edge and carefully lower it into the cutout. Secure the sink in place by tightening the mounting clips with a screwdriver and wrench.
Step 5: Connect the Plumbing
 Once the sink is securely installed, it is time to connect the plumbing. This includes attaching the drain, the water supply lines, and the garbage disposal if you have one. It is essential to follow the manufacturer's instructions and use plumber's tape to ensure a watertight seal.
Step 6: Clean and Seal
 After completing the installation, clean the sink and the surrounding area with a mild cleaner. This will remove any debris or residue from the installation process. Then, apply a bead of silicone caulk around the sink's edge to seal it and prevent water from seeping into the countertop.
Conclusion
Installing a top mount kitchen sink to the edge is a relatively simple process that can transform the look and functionality of your kitchen. By following these steps and using the right tools and materials, you can achieve a professional and seamless finish. Remember to take your time and follow the manufacturer's instructions to ensure a successful installation.
After completing the installation, clean the sink and the surrounding area with a mild cleaner. This will remove any debris or residue from the installation process. Then, apply a bead of silicone caulk around the sink's edge to seal it and prevent water from seeping into the countertop.
Conclusion
Installing a top mount kitchen sink to the edge is a relatively simple process that can transform the look and functionality of your kitchen. By following these steps and using the right tools and materials, you can achieve a professional and seamless finish. Remember to take your time and follow the manufacturer's instructions to ensure a successful installation.