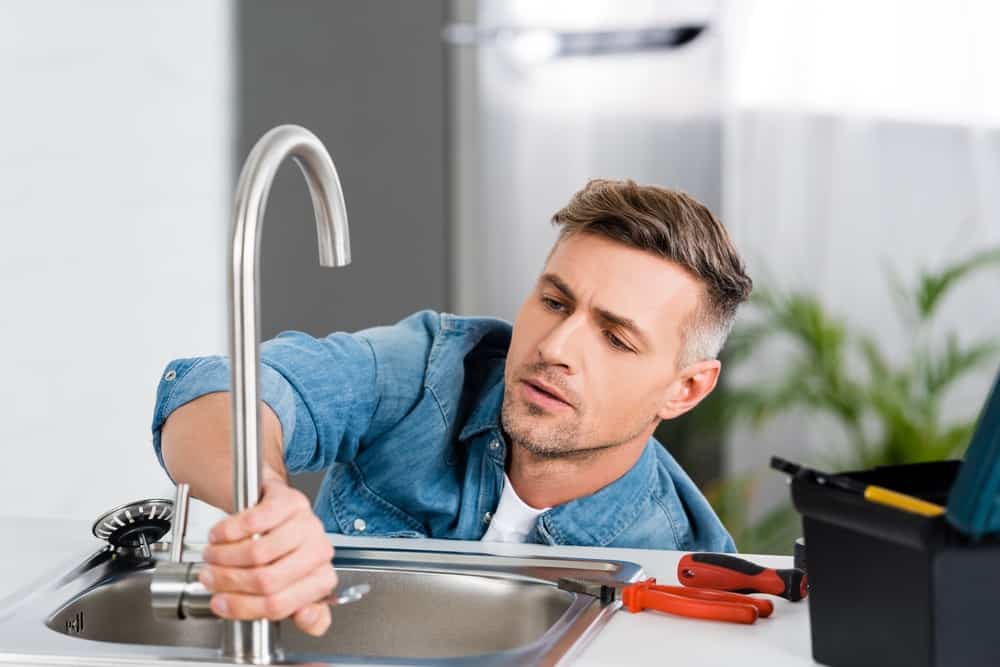
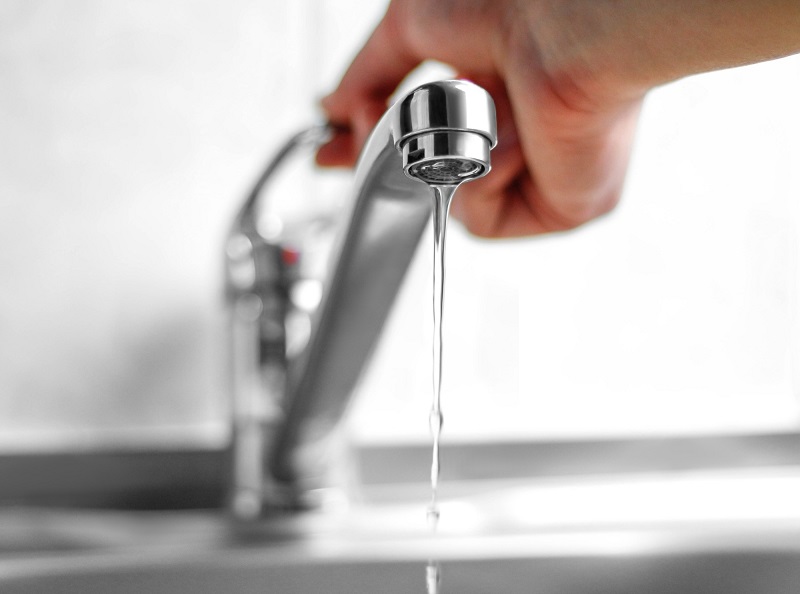
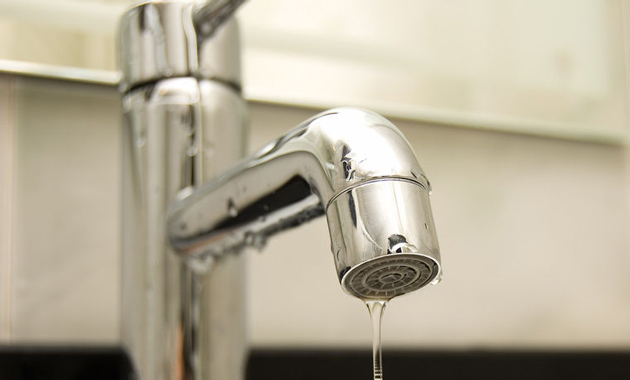
Dealing with a leaky kitchen faucet can be frustrating and wasteful. Not only does it create a mess, but it also increases your water bill. Fortunately, fixing a leaky kitchen faucet is a simple task that can be done by anyone with some basic tools and a little bit of know-how. In this article, we will guide you through the steps to fix a leaky kitchen faucet and get it back to working condition in no time.How to Fix a Leaky Kitchen Faucet


How to Fix a Leaky Kitchen Faucet


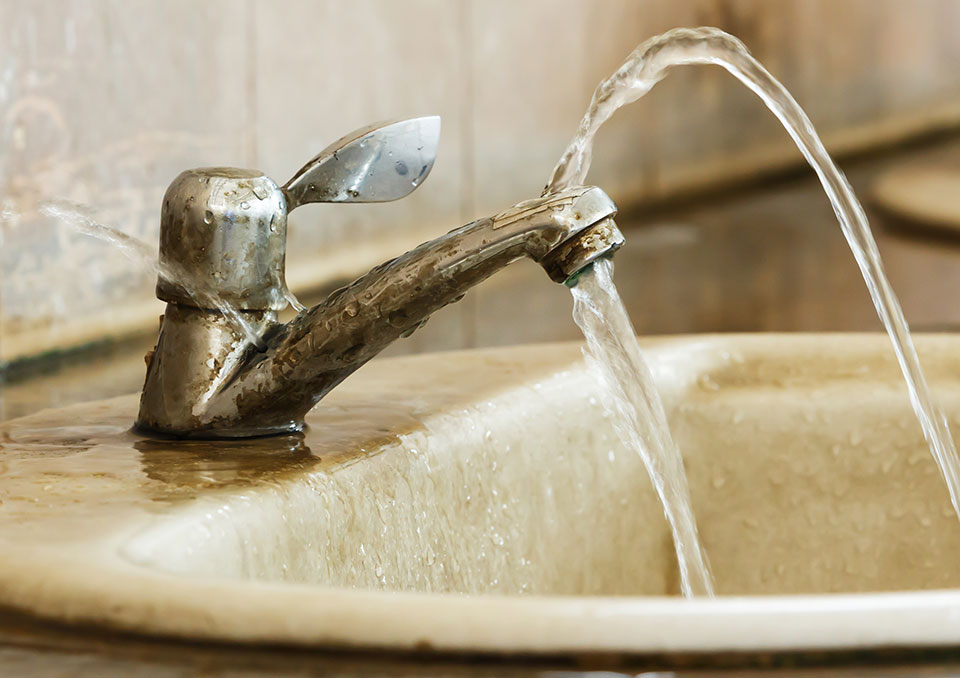
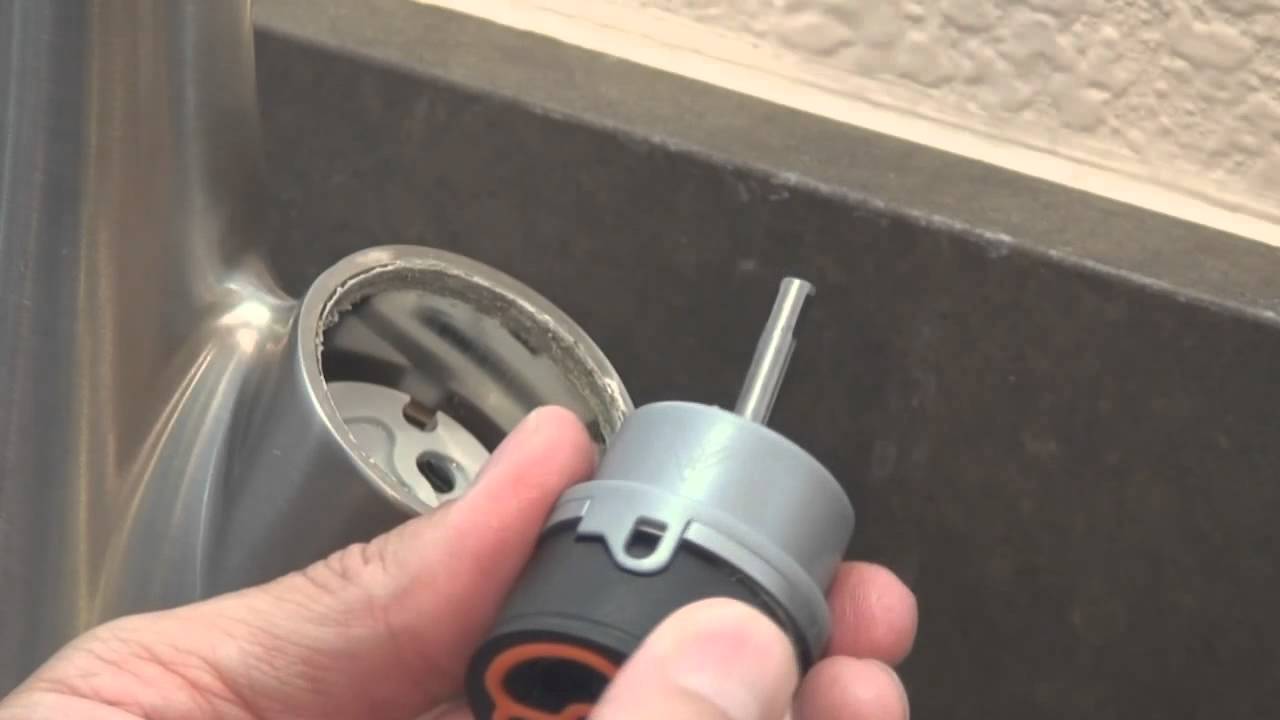
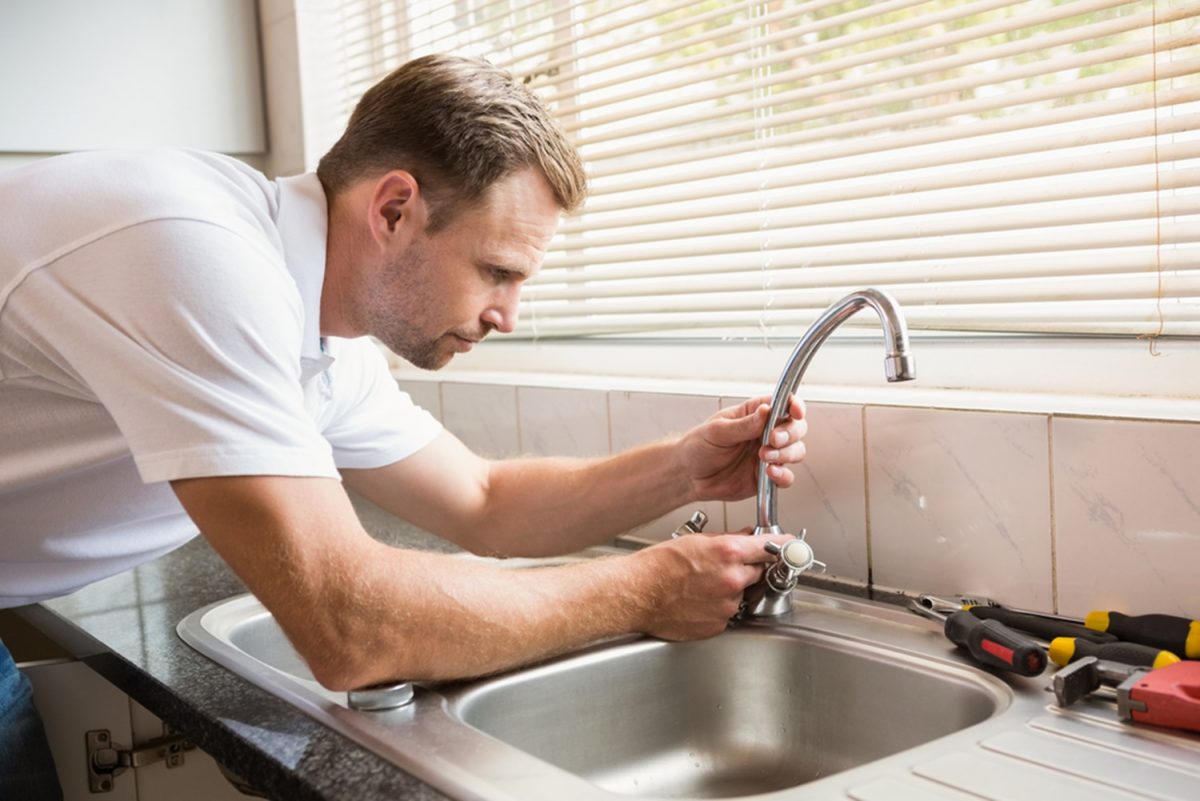
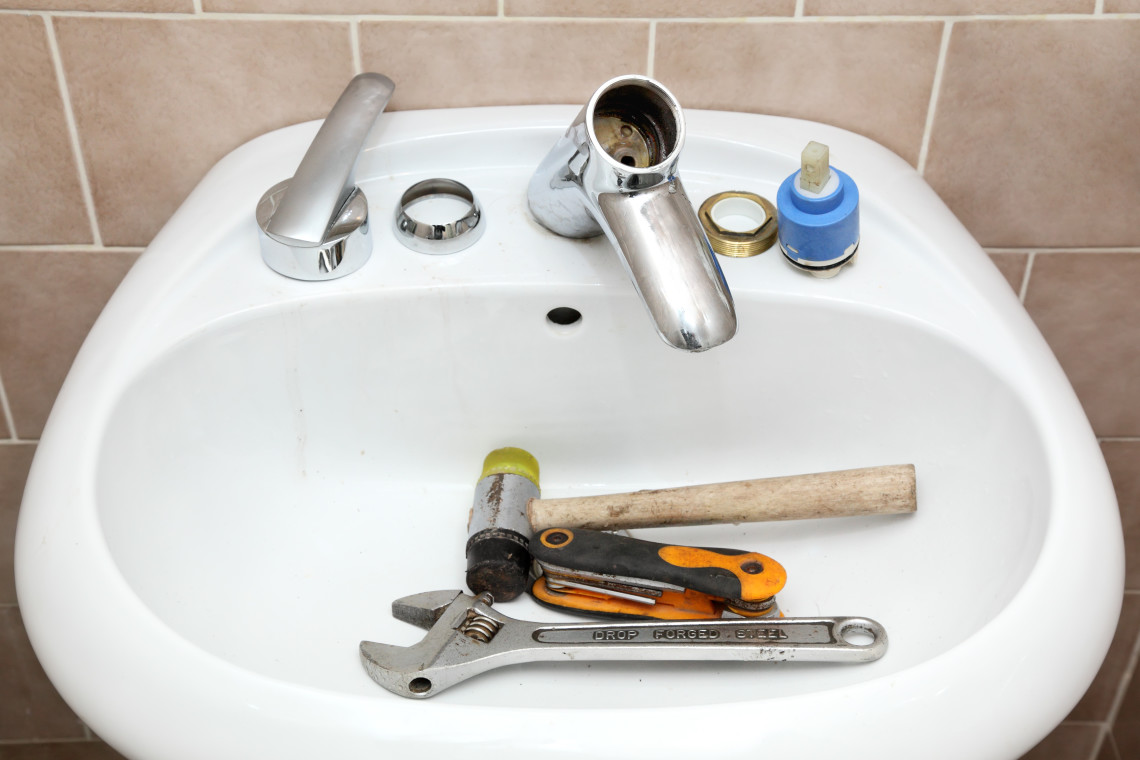
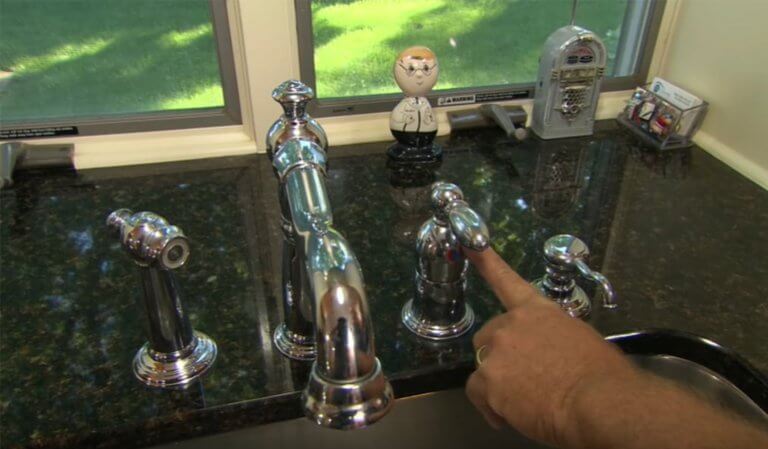
The first step to fixing a leaky kitchen faucet is to identify the source of the leak. Most leaks are caused by a worn out or damaged rubber washer inside the faucet handle. To repair the leak, you will need to disassemble the faucet and replace the washer. Start by turning off the water supply to the faucet, then follow the manufacturer's instructions to remove the handle and access the washer. Use a pair of pliers to remove the old washer and replace it with a new one.How to Repair a Leaky Kitchen Faucet


How to Repair a Leaky Kitchen Faucet


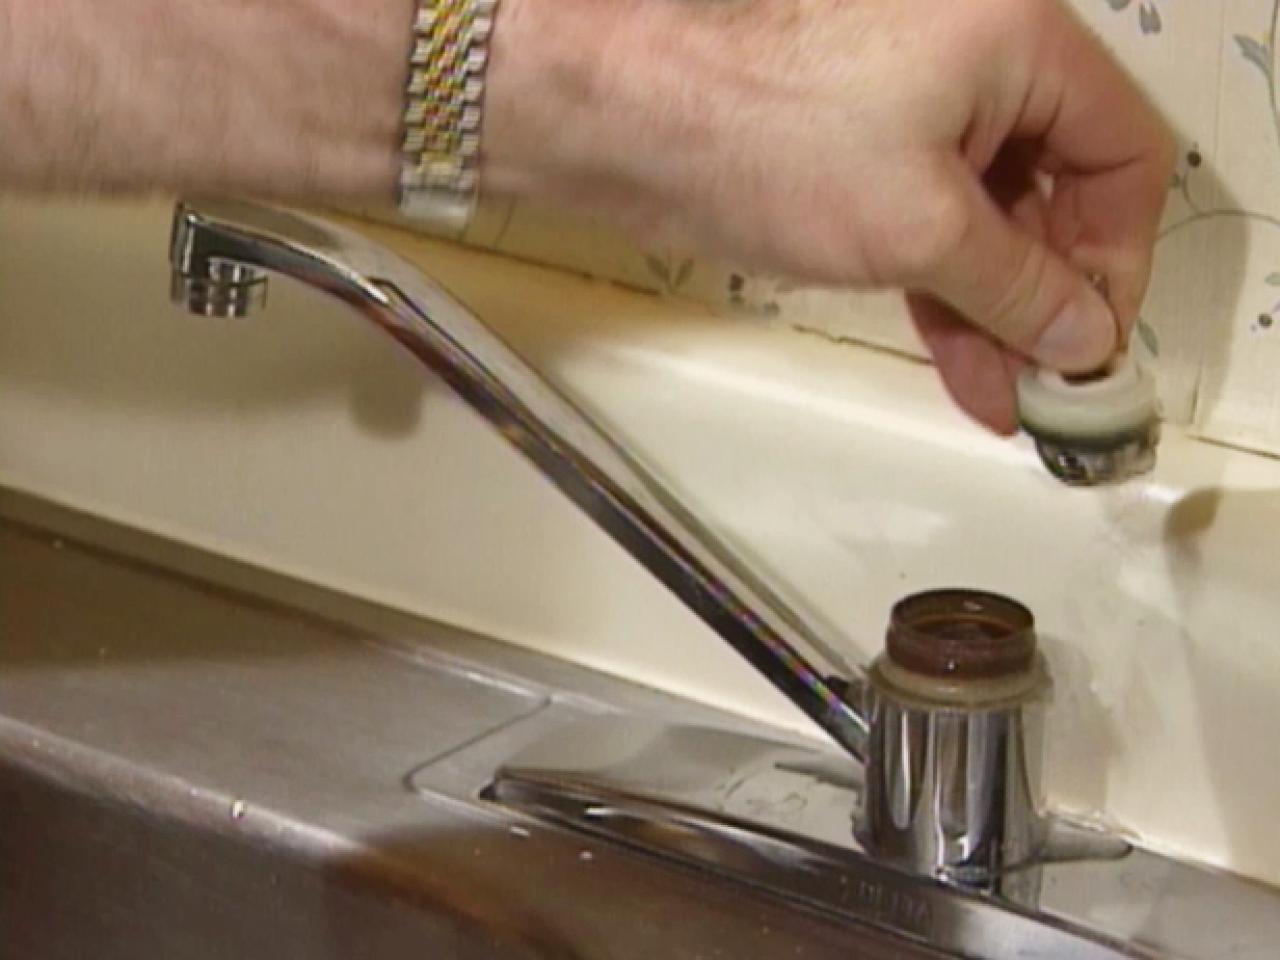
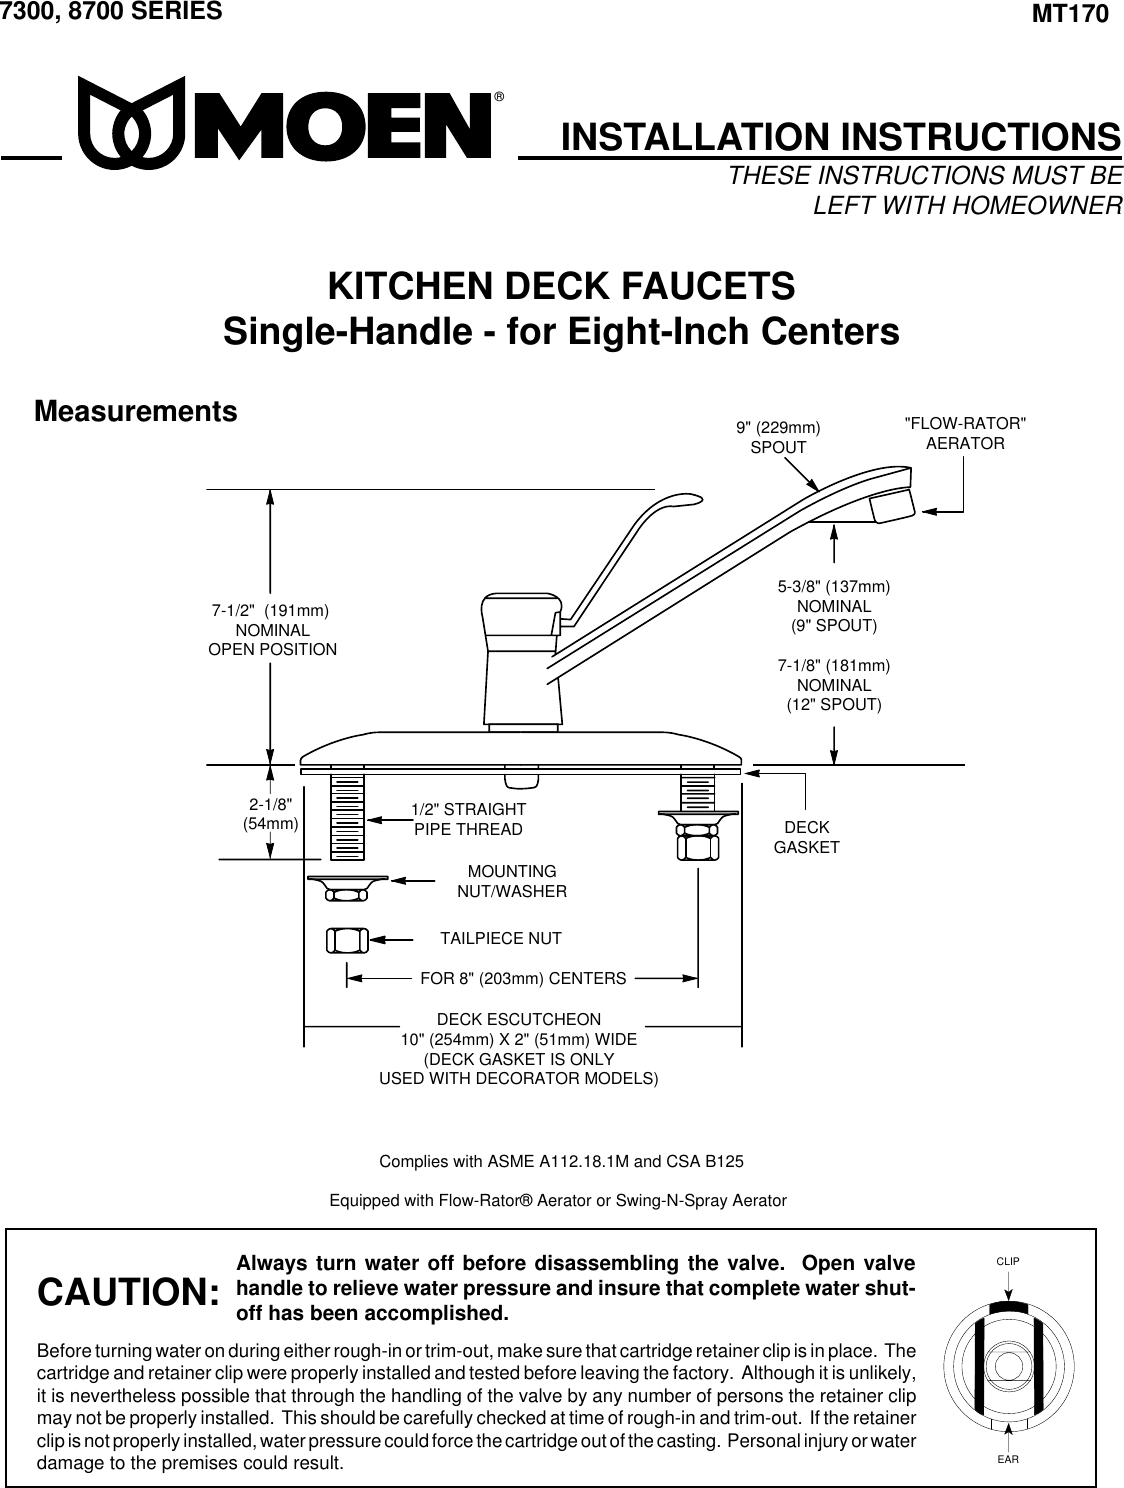
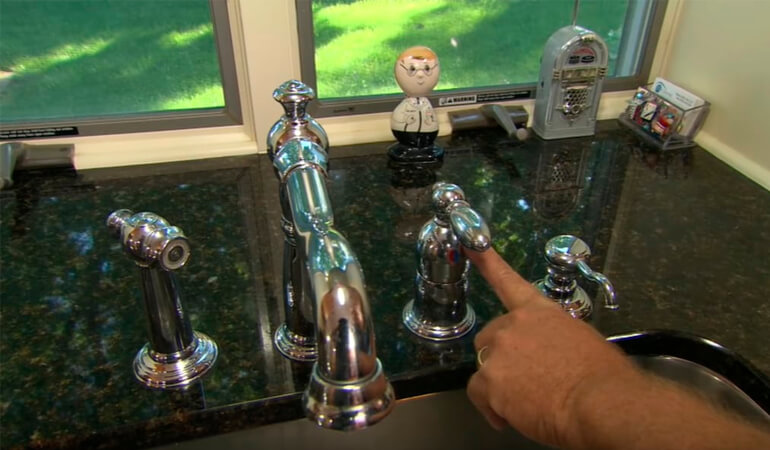
Fixing a leaky kitchen faucet is a task that can easily be done by yourself, without the need for a professional plumber. All you need are a few basic tools and some replacement parts. The first step is to determine the type of faucet you have, as different types may require different repair methods. Next, gather your tools and replacement parts and follow the manufacturer's instructions for disassembling and repairing the faucet.DIY: Fixing a Leaky Kitchen Faucet


DIY: Fixing a Leaky Kitchen Faucet


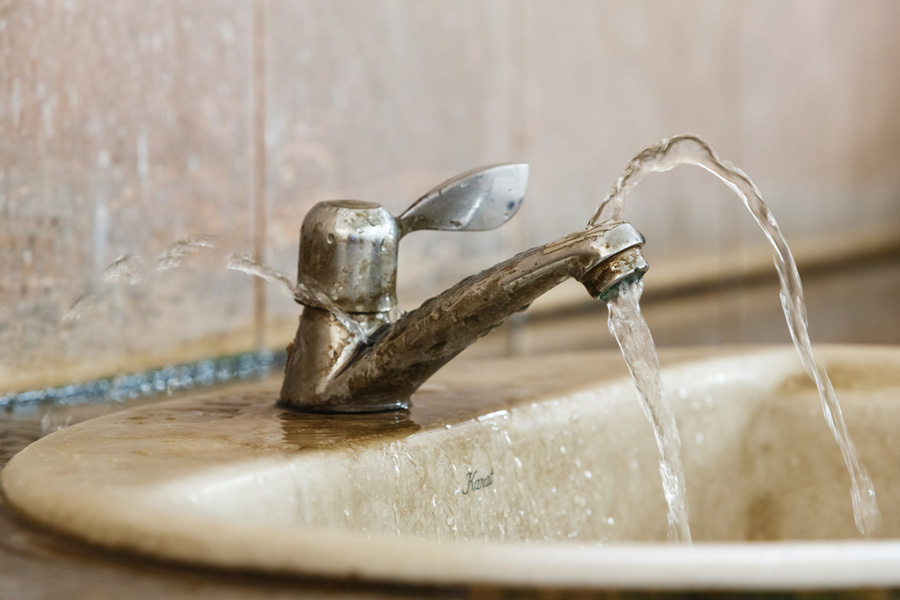
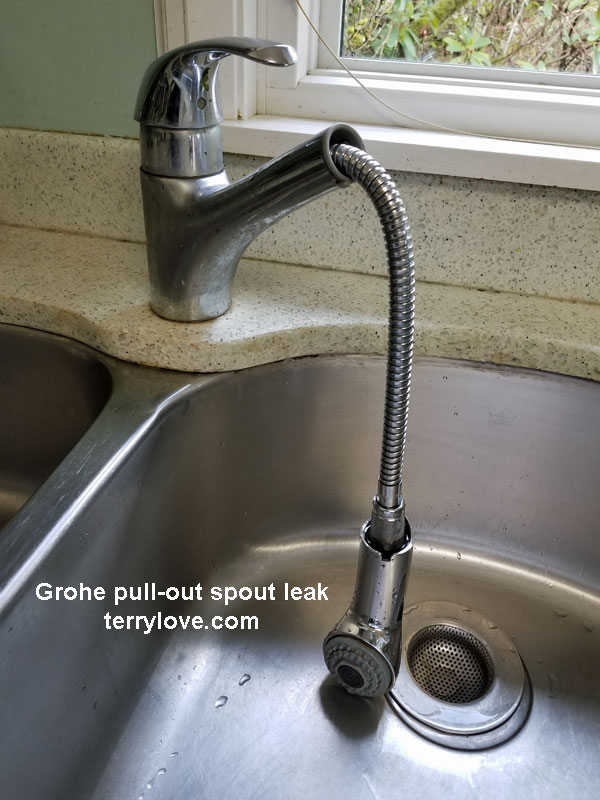
There are several reasons why your kitchen faucet may be leaking. As mentioned earlier, the most common cause is a worn out or damaged rubber washer. However, other causes may include a corroded valve seat, loose or damaged O-rings, or a faulty cartridge. It is important to identify the specific cause of the leak to ensure that you are using the correct repair method.Common Causes of a Leaky Kitchen Faucet

Common Causes of a Leaky Kitchen Faucet

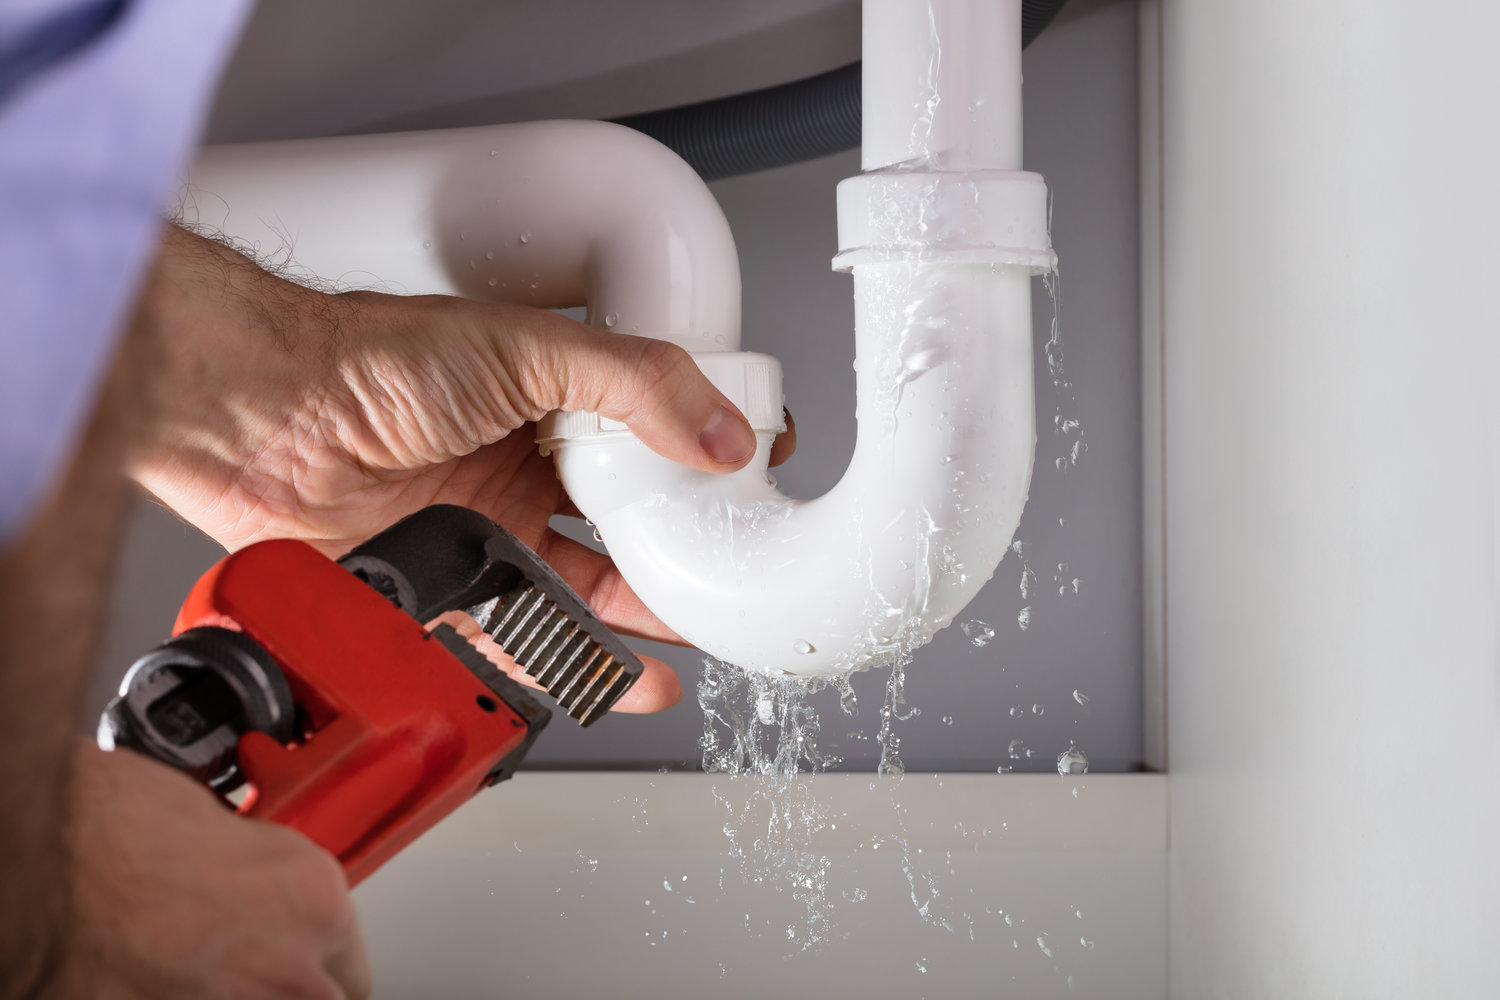


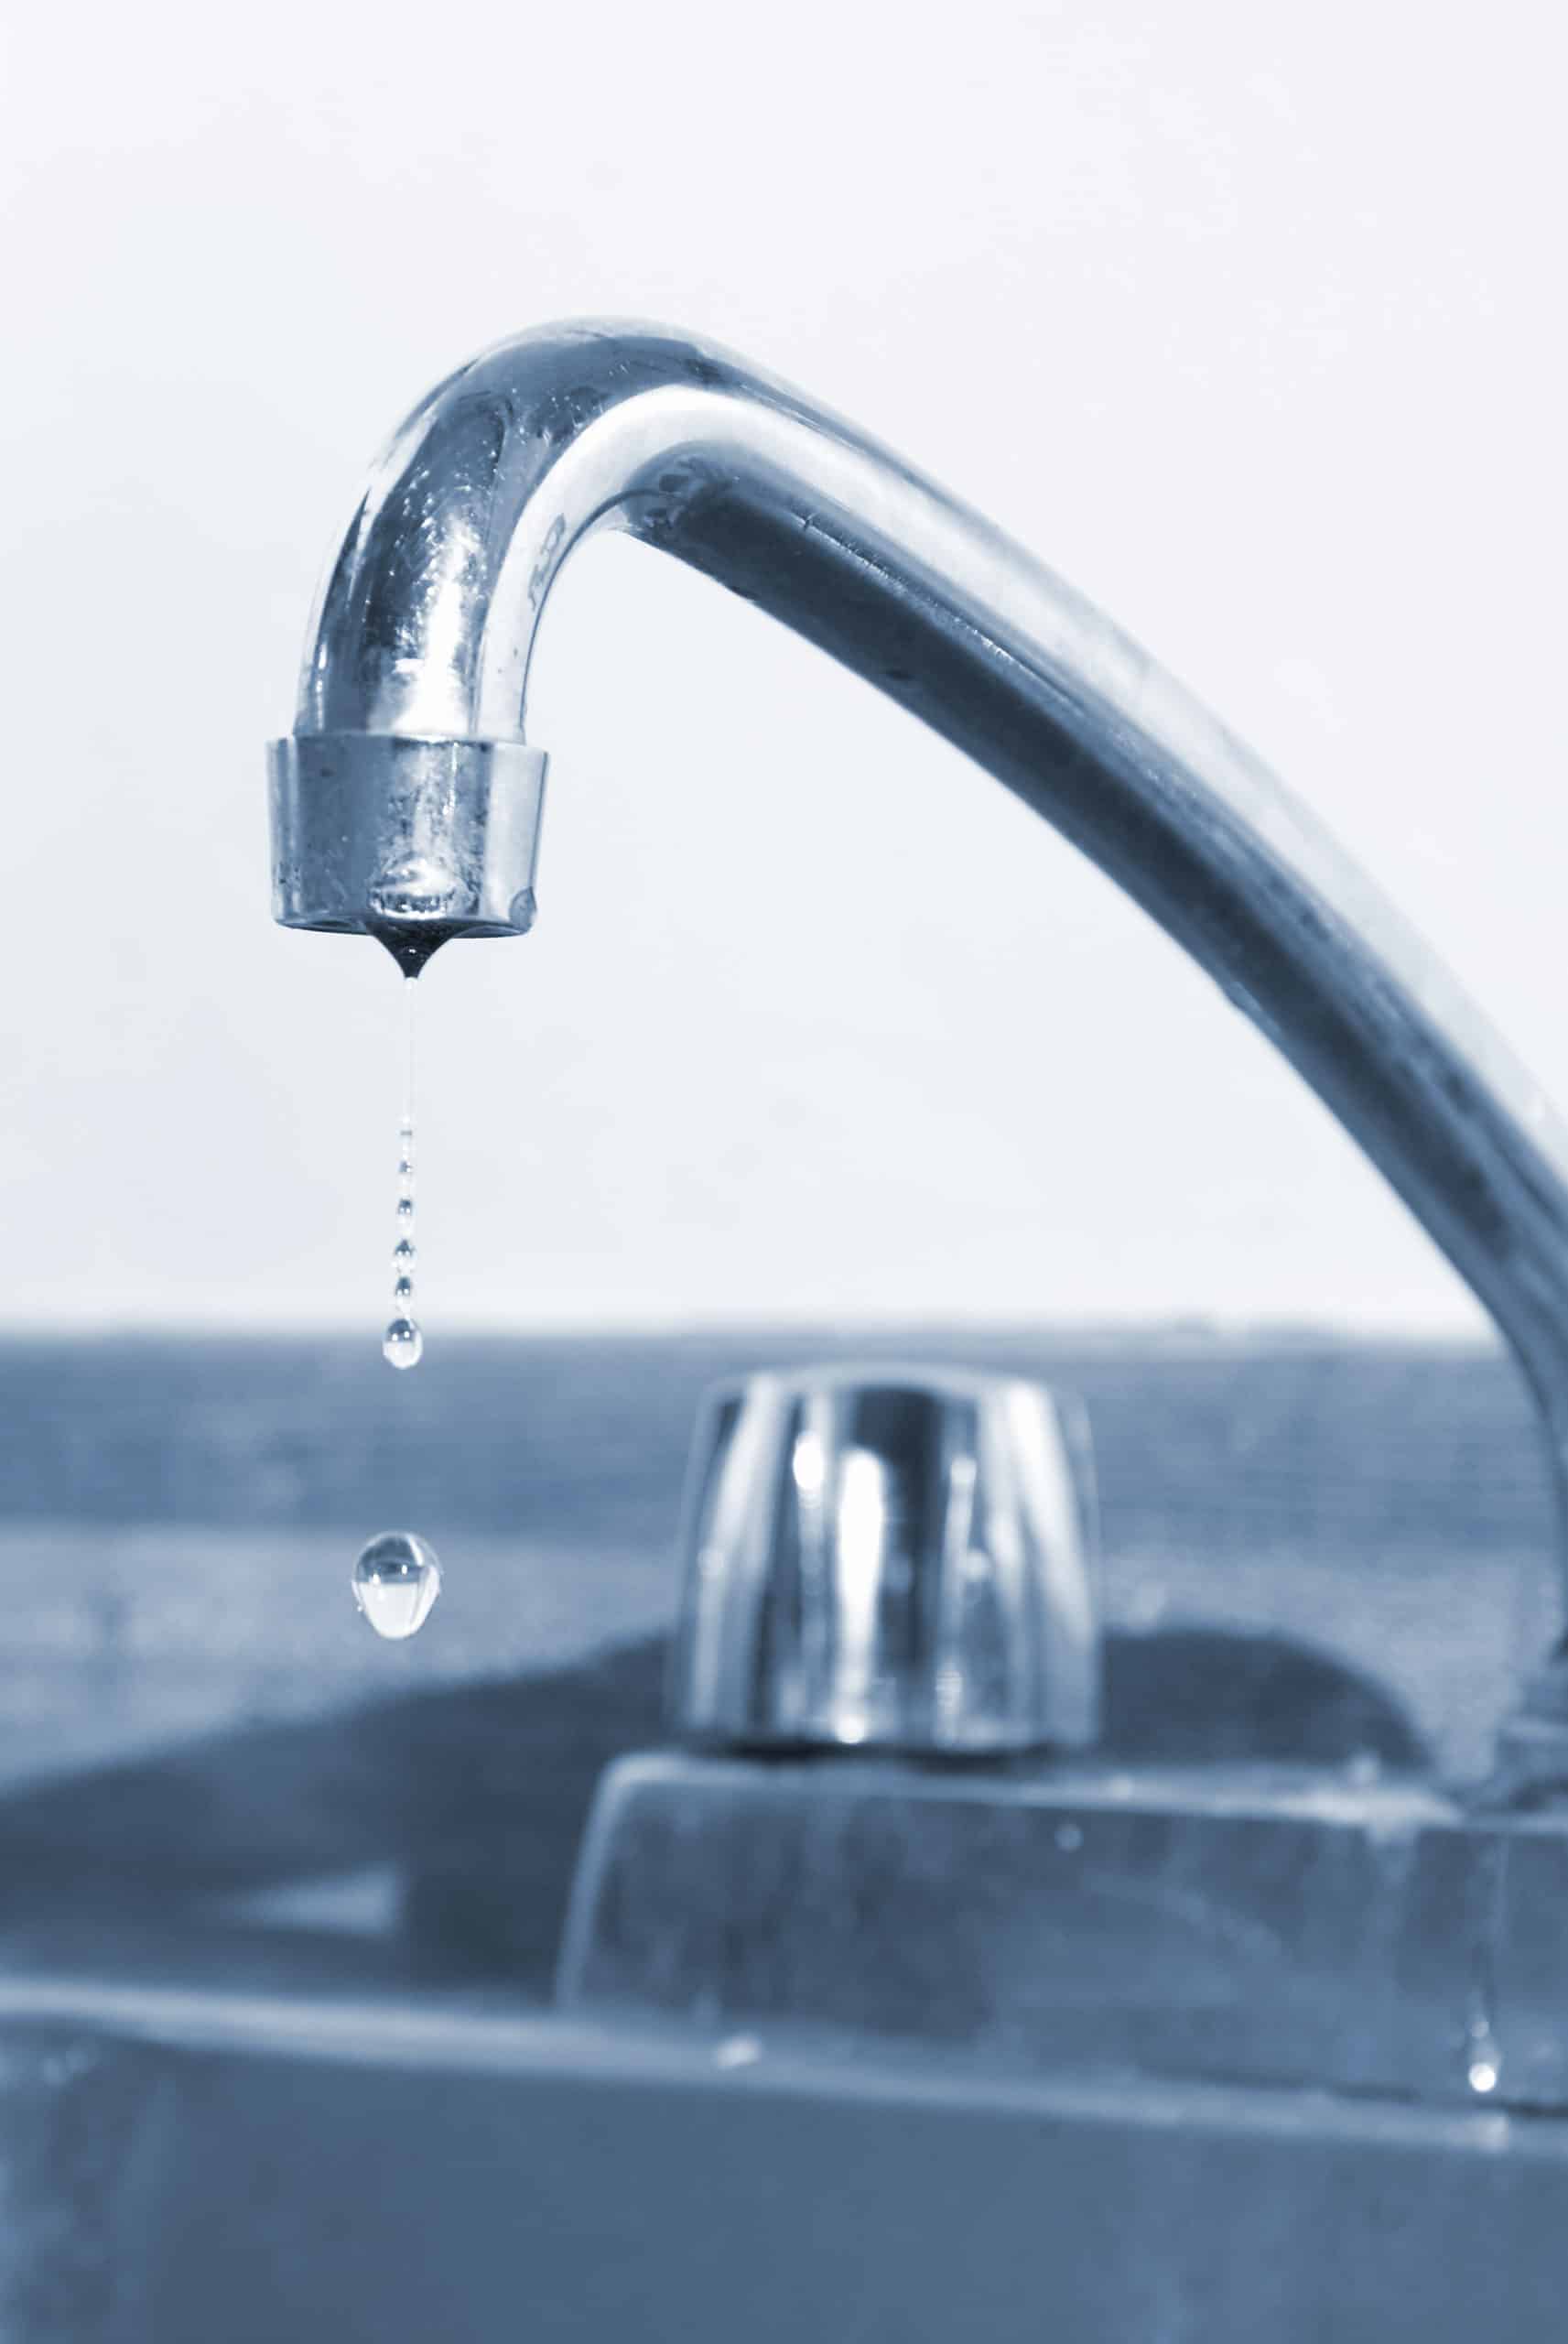
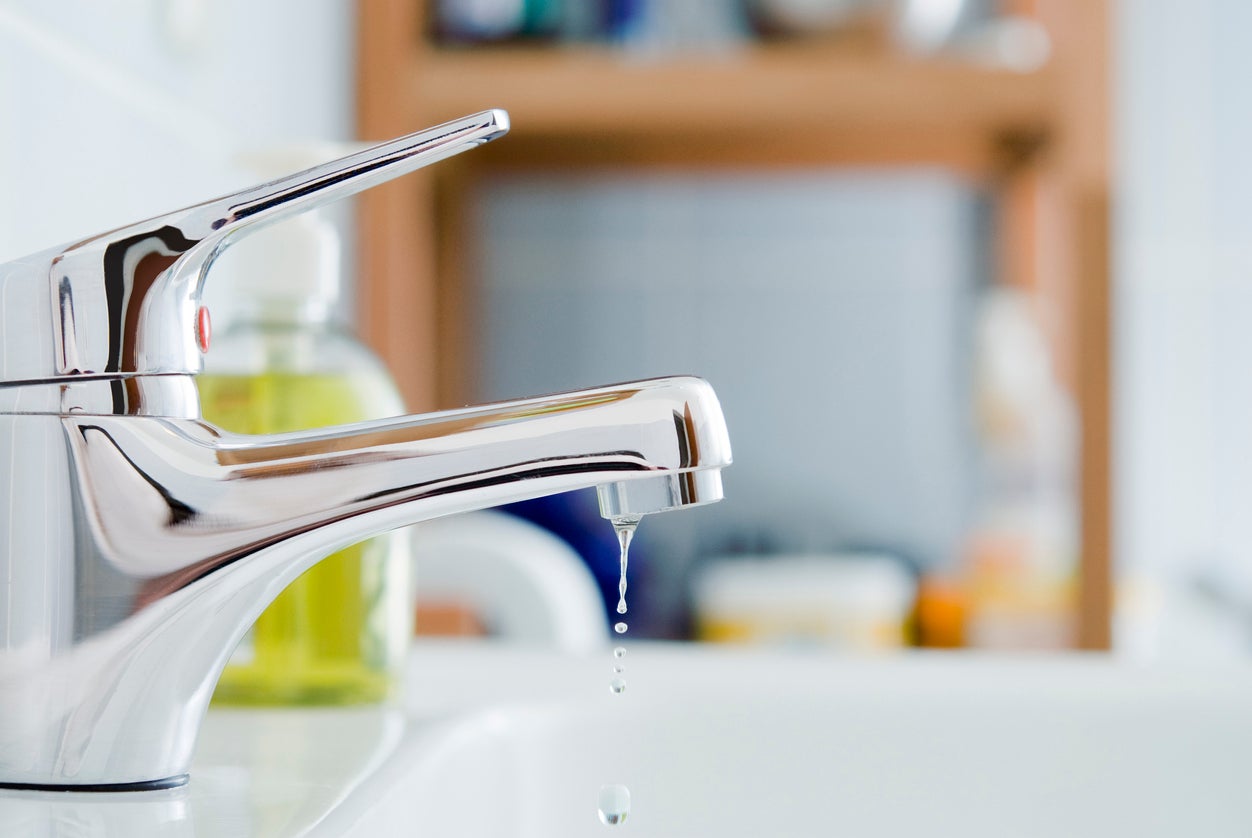
If you notice a leak in your kitchen faucet, it is important to address it as soon as possible to prevent further damage and higher water bills. The steps to stop a leaky kitchen faucet may vary depending on the type of faucet you have, but the general process involves turning off the water supply, disassembling the faucet, replacing any damaged parts, and reassembling the faucet. If you are unsure of the steps, it is best to consult the manufacturer's instructions or seek professional help.Steps to Stop a Leaky Kitchen Faucet


Steps to Stop a Leaky Kitchen Faucet


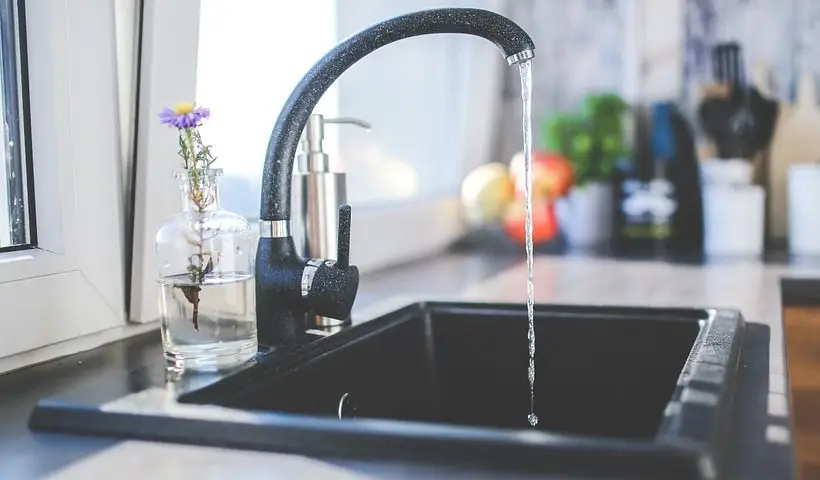

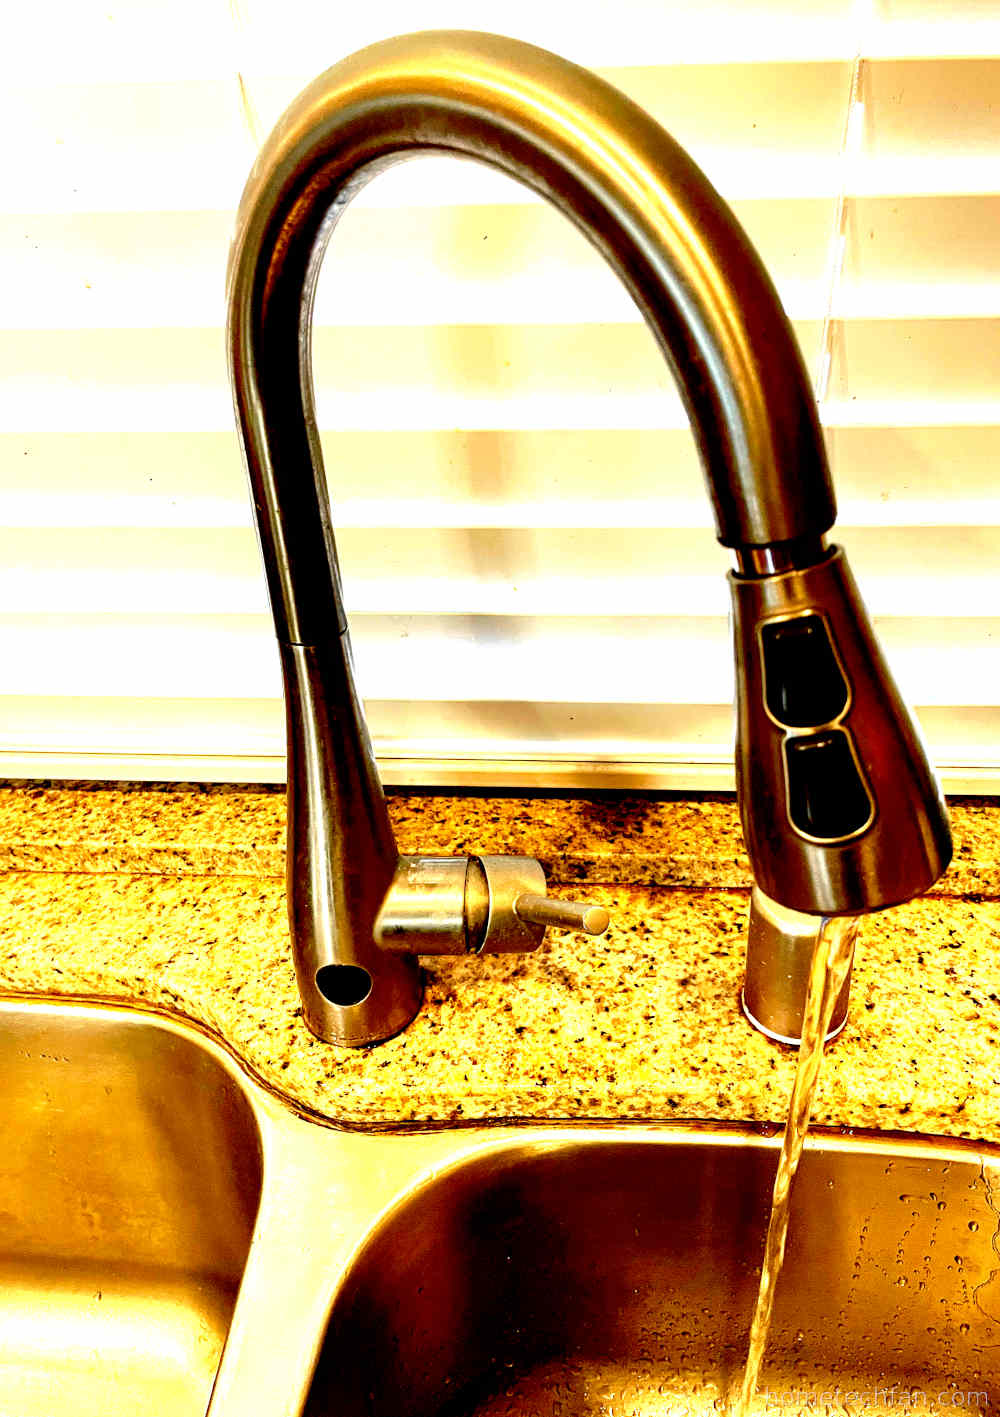
If your kitchen faucet is beyond repair or you simply want to upgrade to a newer model, you may need to replace the entire faucet. This may seem like a daunting task, but it is actually quite simple. Start by turning off the water supply and disconnecting the old faucet. Then, follow the manufacturer's instructions to install the new faucet. Once everything is connected, turn the water supply back on and test the faucet for any leaks.How to Replace a Leaky Kitchen Faucet


How to Replace a Leaky Kitchen Faucet


Here are a few tips to keep in mind when fixing a leaky kitchen faucet:Tips for Fixing a Leaky Kitchen Faucet


Tips for Fixing a Leaky Kitchen Faucet

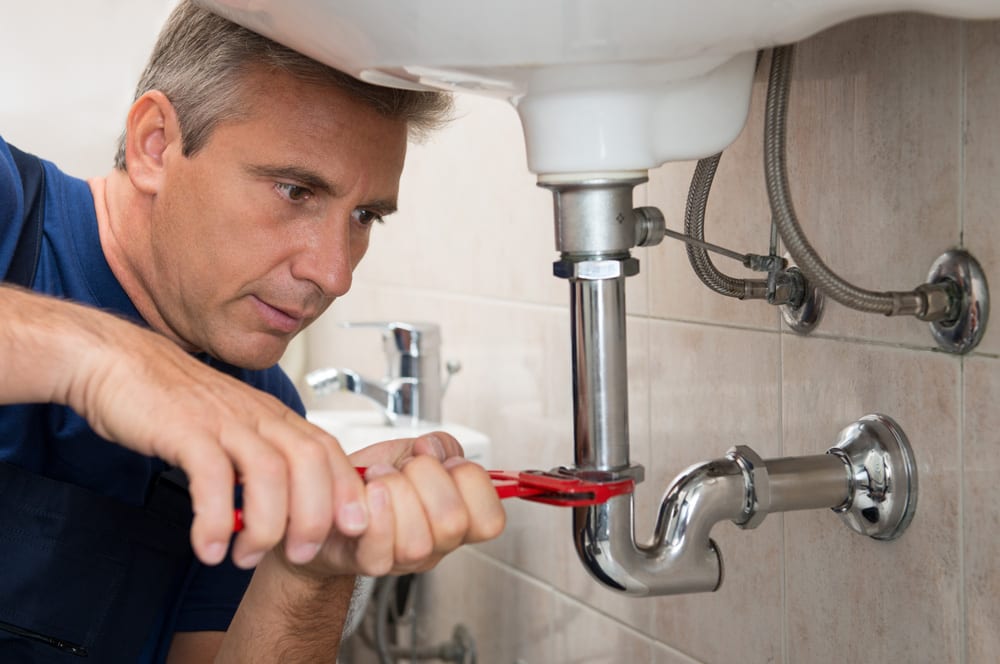

If you have followed all the steps to fix a leaky kitchen faucet but the problem persists, it may be a sign of a more serious issue. In this case, it is best to troubleshoot the faucet to identify the root cause of the leak. This may involve checking the water pressure, inspecting the connections, or seeking professional help.Troubleshooting a Leaky Kitchen Faucet

Troubleshooting a Leaky Kitchen Faucet

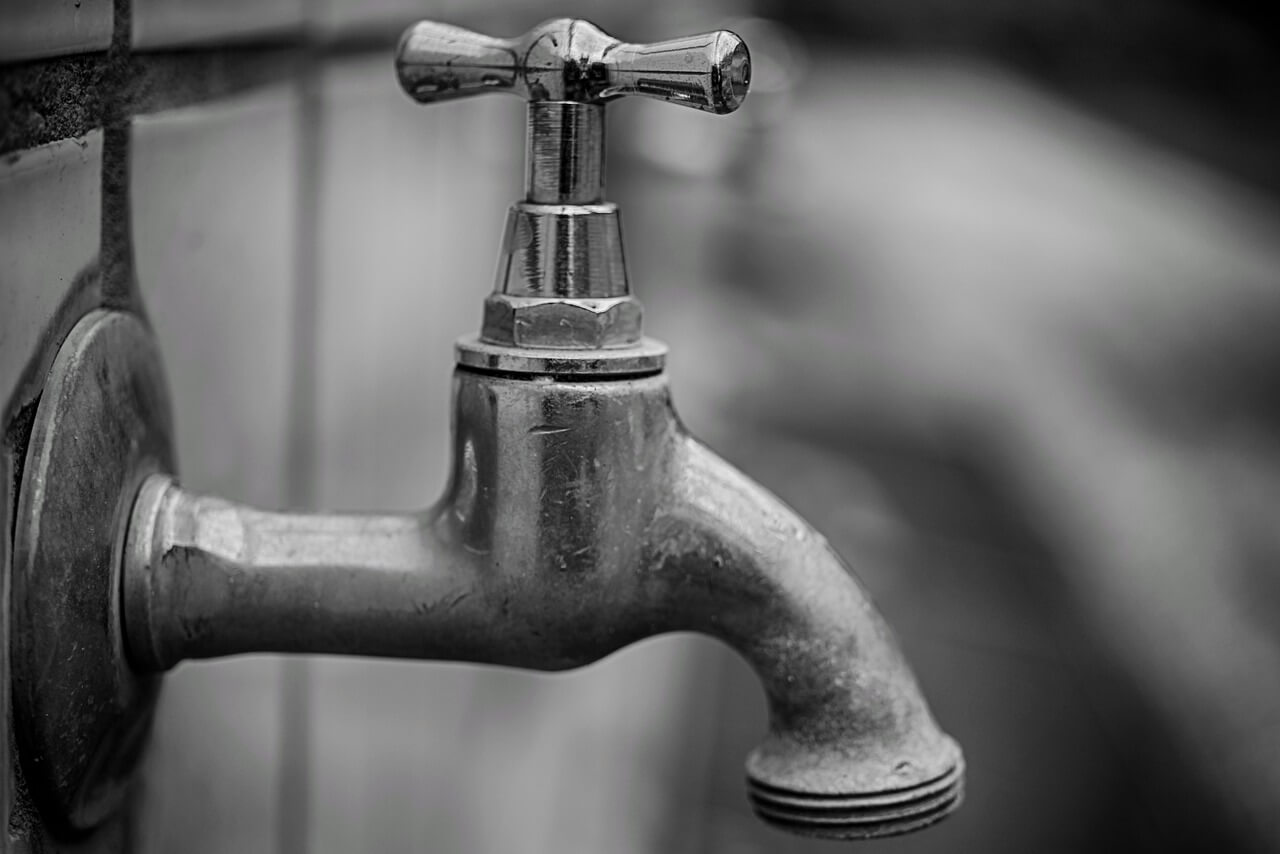
The best way to prevent a leaky kitchen faucet is to take good care of it. This includes regular maintenance and being mindful of what goes down the drain. Avoid using harsh chemicals or abrasive cleaners that can damage the faucet or its components. Also, be gentle when turning the faucet on and off to avoid putting unnecessary pressure on the parts.Preventing a Leaky Kitchen Faucet


Preventing a Leaky Kitchen Faucet


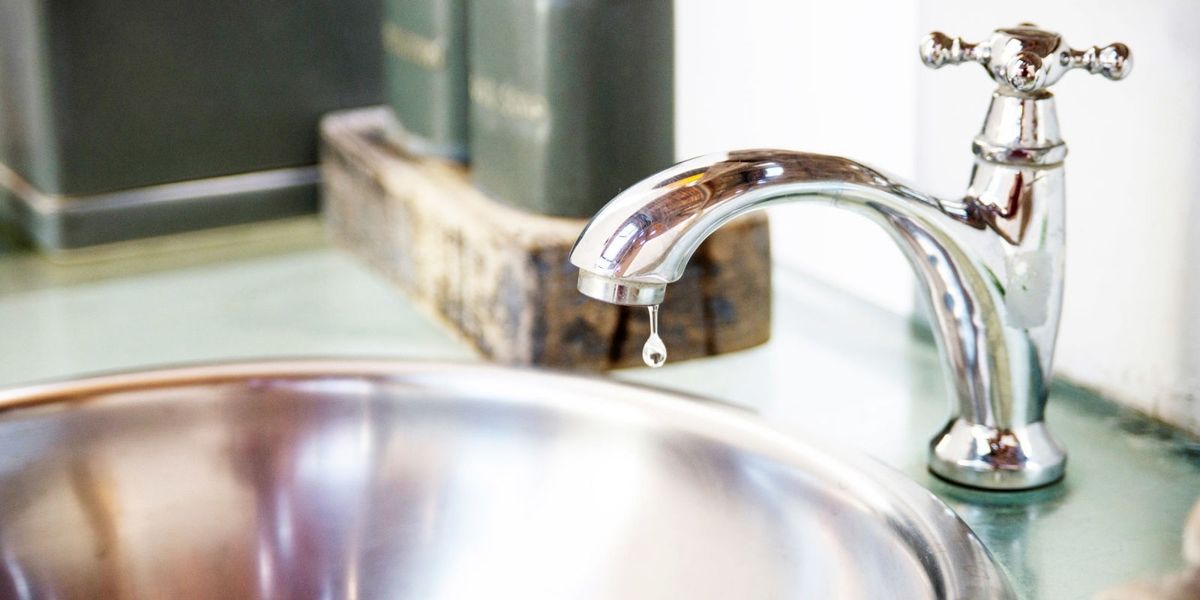
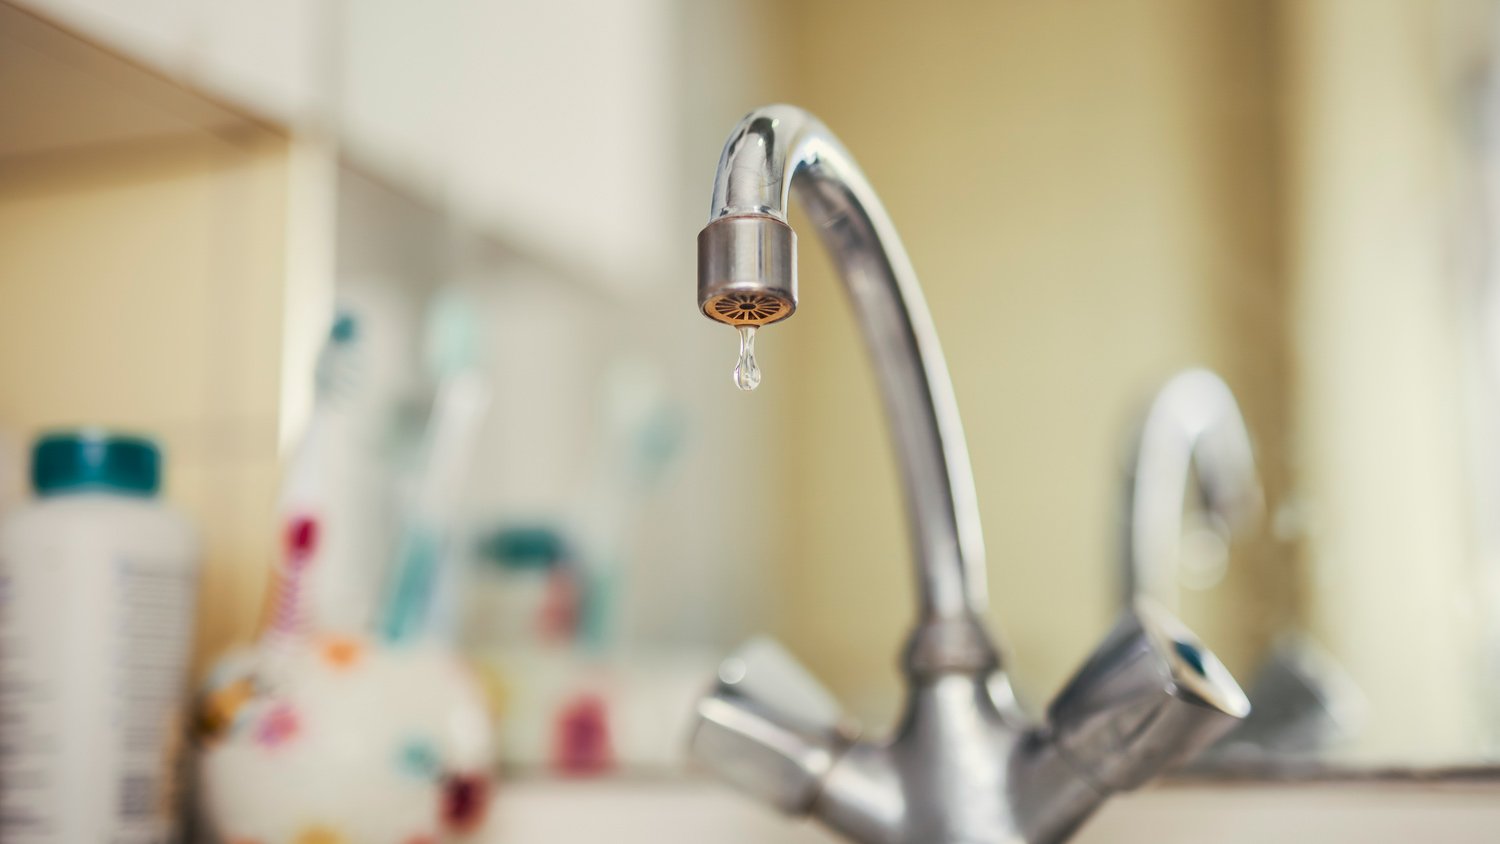
If you are unsure whether your kitchen faucet needs to be fixed, here are some signs to look out for:Signs You Need to Fix a Leaky Kitchen Faucet

Signs You Need to Fix a Leaky Kitchen Faucet


How to Fix a Leaking Tap Faucet in Your Kitchen Sink
The Importance of Maintaining Your Kitchen Sink
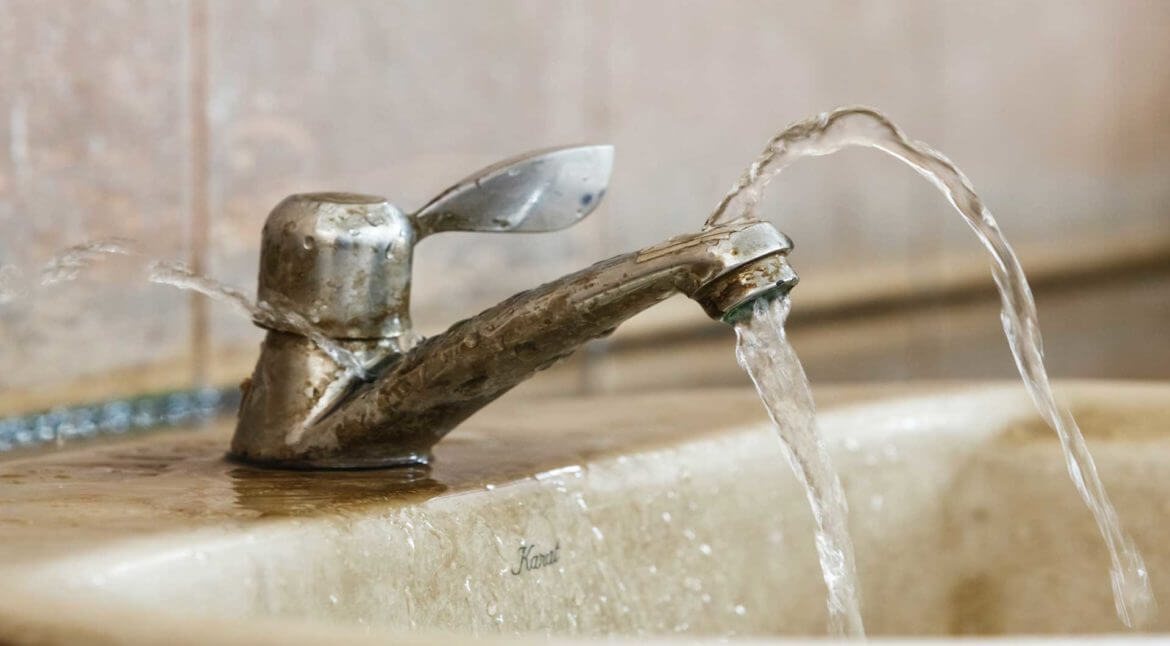
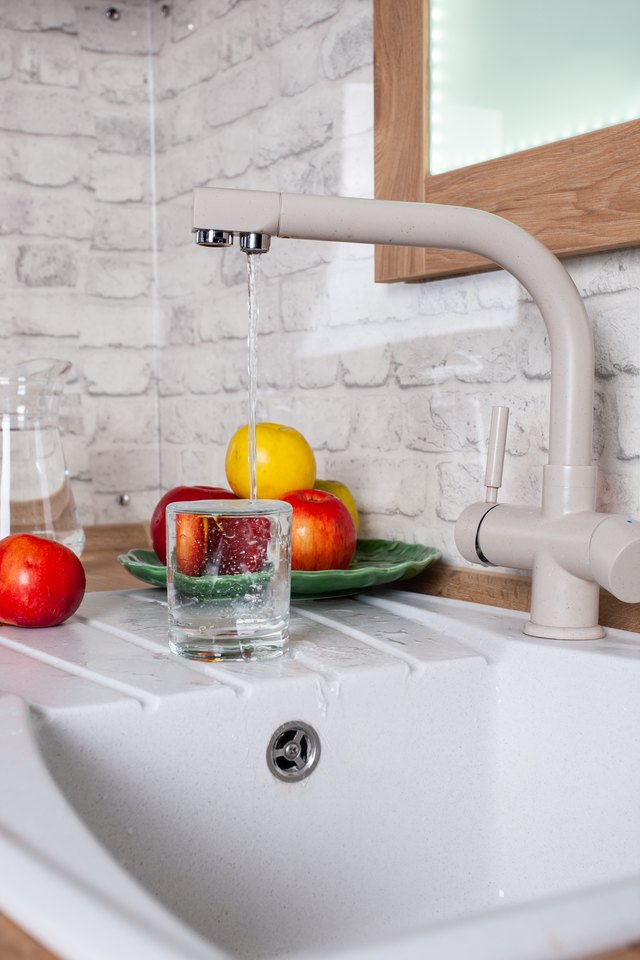
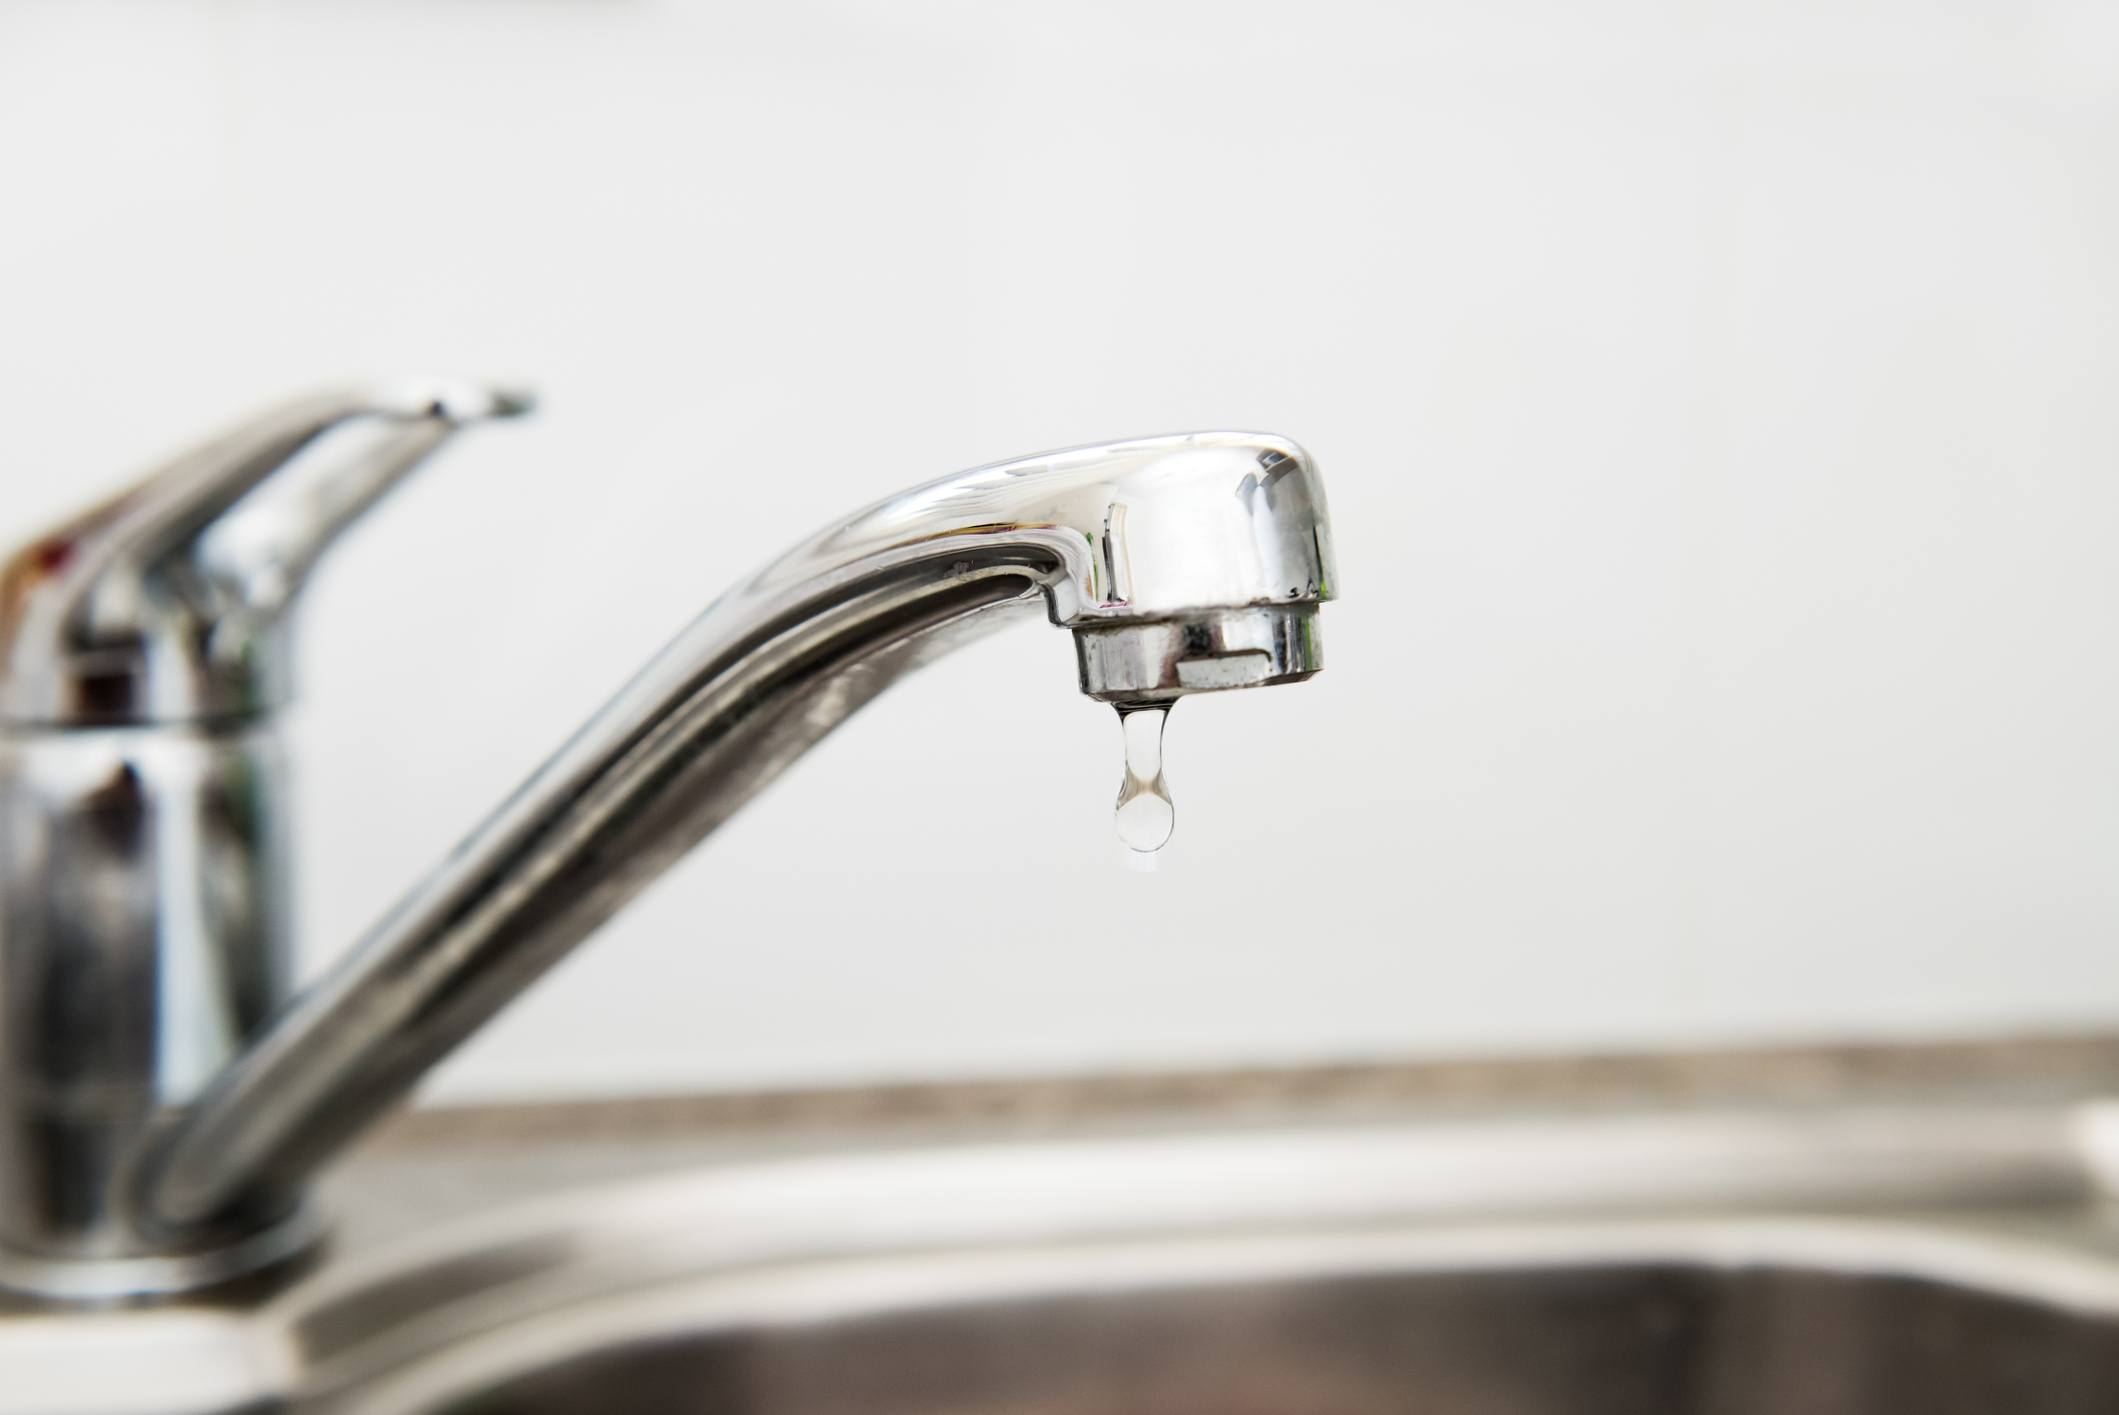
 A well-functioning kitchen sink is essential in any household. It is where we wash our hands, clean our dishes, and perform various tasks on a daily basis. However, a leaking tap faucet can cause a lot of inconvenience and even lead to costly water bills. Therefore, it is important to address this issue as soon as possible to avoid any further damage.
Identifying the Source of the Leak
 Before attempting to fix a leaking tap faucet, it is important to identify the source of the leak. In most cases, the problem can be traced back to a worn-out washer or O-ring. These are small rubber components that are responsible for creating a seal and preventing water from leaking out. Over time, these parts can become damaged or worn out, causing the faucet to leak.
Gather the Necessary Tools
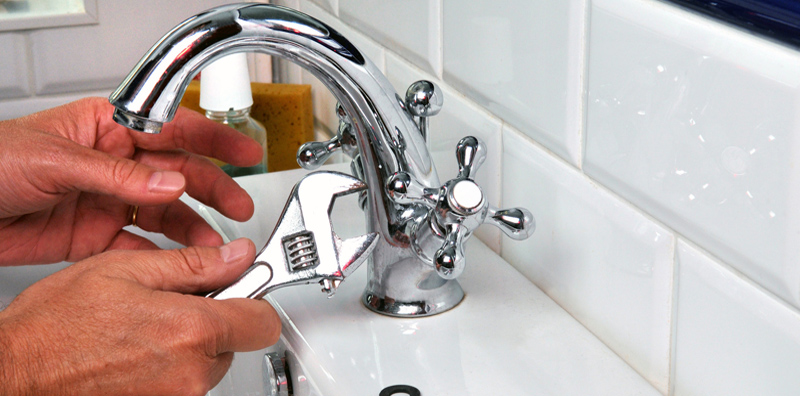
 To fix a leaking tap faucet, you will need a few basic tools such as an adjustable wrench, screwdriver, and replacement washers or O-rings. These can be purchased at any hardware store and are relatively inexpensive.
Steps to Fix a Leaking Tap Faucet
 Step 1:
Start by shutting off the water supply to your kitchen sink. This can usually be done by turning the shut-off valves located under the sink.
Step 2:
Next, remove the cap on top of the tap faucet handle. This can usually be done by prying it off with a flathead screwdriver.
Step 3:
Once the cap is removed, you will see a screw that holds the handle in place. Use the screwdriver to loosen and remove the screw.
Step 4:
Carefully remove the handle and set it aside. You should now have access to the internal components of the tap faucet.
Step 5:
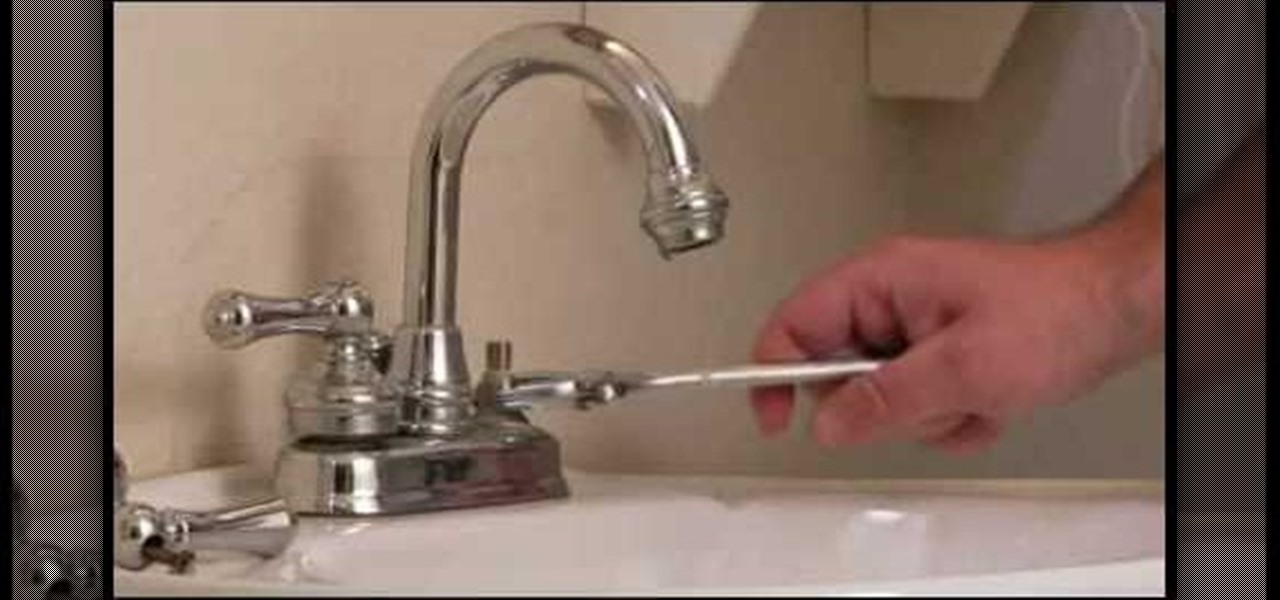
Using your adjustable wrench, loosen and remove the packing nut that holds the stem in place.
Step 6:
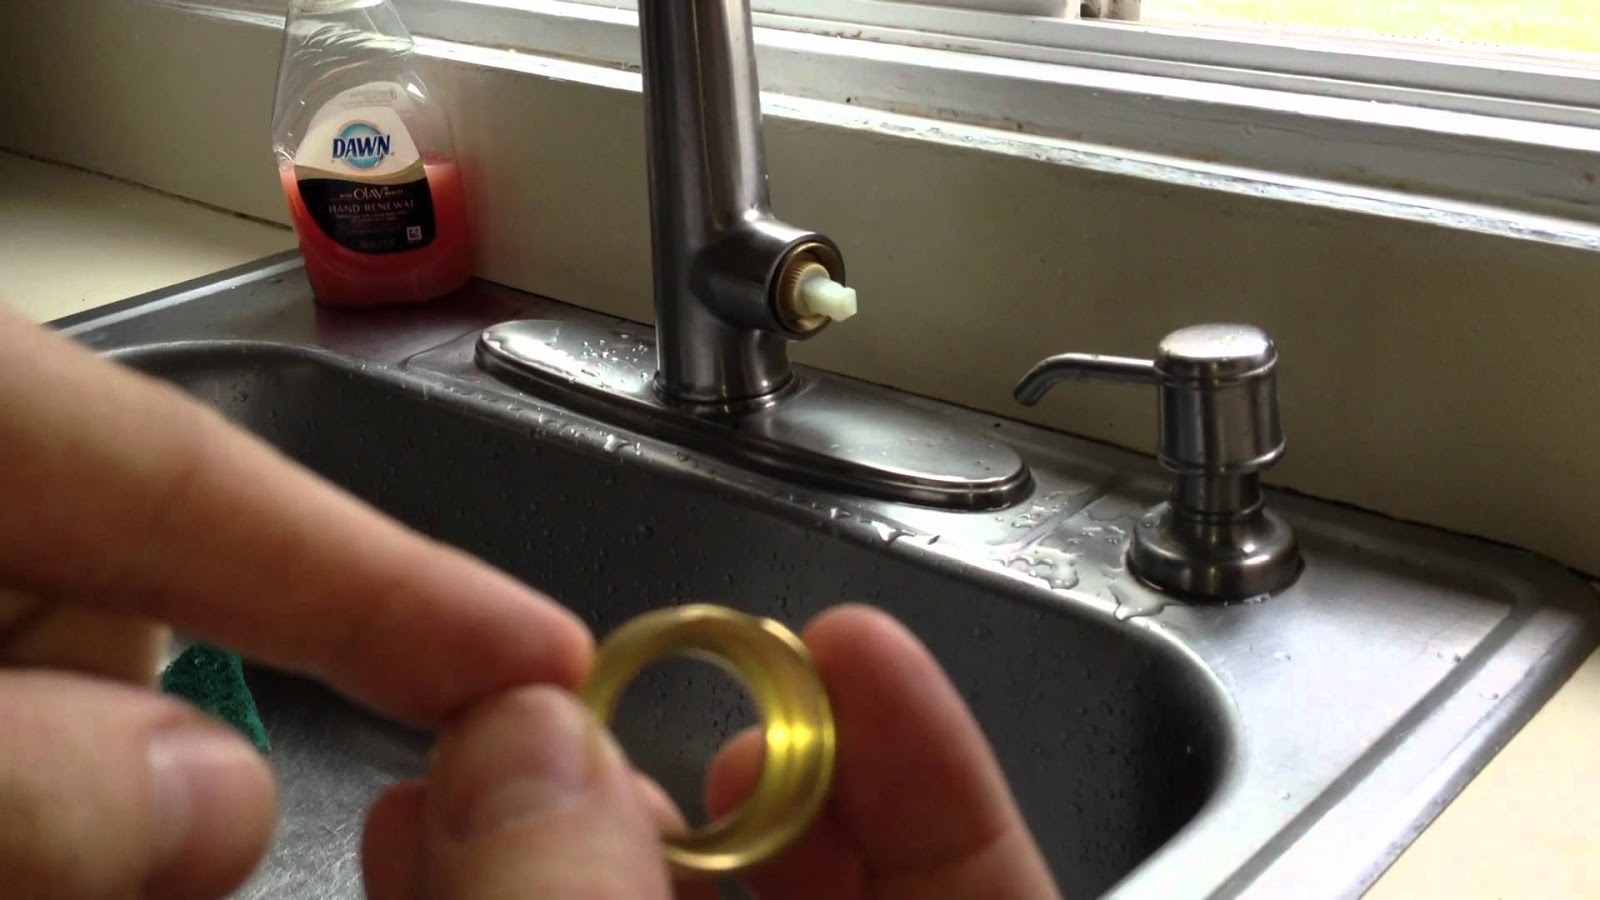
Gently pull out the stem and inspect the washers and O-rings. If they appear worn out or damaged, replace them with new ones.
Step 7:
Reassemble the tap faucet by following the steps above in reverse order. Make sure everything is tightly secured.
Step 8:
Turn the water supply back on and test the tap faucet to ensure the leak has been fixed.
Step 1:
Start by shutting off the water supply to your kitchen sink. This can usually be done by turning the shut-off valves located under the sink.
Step 2:
Next, remove the cap on top of the tap faucet handle. This can usually be done by prying it off with a flathead screwdriver.
Step 3:
Once the cap is removed, you will see a screw that holds the handle in place. Use the screwdriver to loosen and remove the screw.
Step 4:
Carefully remove the handle and set it aside. You should now have access to the internal components of the tap faucet.
Step 5:
Using your adjustable wrench, loosen and remove the packing nut that holds the stem in place.
Step 6:
Gently pull out the stem and inspect the washers and O-rings. If they appear worn out or damaged, replace them with new ones.
Step 7:
Reassemble the tap faucet by following the steps above in reverse order. Make sure everything is tightly secured.
Step 8:
Turn the water supply back on and test the tap faucet to ensure the leak has been fixed.
Regular Maintenance is Key
 To prevent future leaks, it is important to regularly maintain your kitchen sink and its components. This includes replacing washers and O-rings every few years and keeping the tap faucet and its handles clean and free of debris.
In Conclusion
 A leaking tap faucet may seem like a small issue, but it can lead to bigger problems if ignored. By following these simple steps, you can easily fix a leaking tap faucet in your kitchen sink and ensure it remains in good working condition. Regular maintenance is key to preventing future leaks and keeping your kitchen sink in top shape.