Removing a bathroom sink may seem like a daunting task, but with the right tools and knowledge, it can be done easily. Whether you're looking to upgrade your sink or tackling a renovation project, taking out a bathroom sink is a necessary step. In this article, we will guide you through the process of removing a bathroom sink in 10 easy steps.Removing a Bathroom Sink


Removing a Bathroom Sink


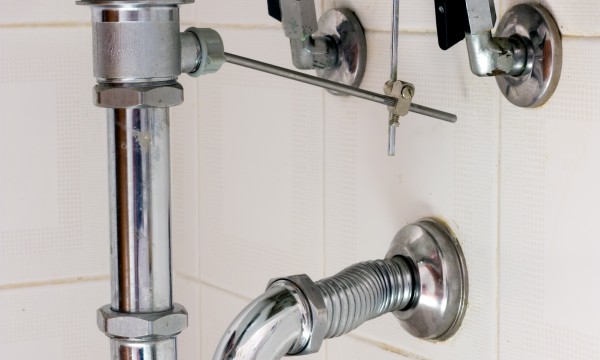
Before starting the removal process, it's important to turn off the water supply to the sink. Look for the shut-off valves under the sink and turn them clockwise to shut off the water. Once the water is shut off, you can begin the process of removing the sink.How to Take Out a Bathroom Sink


How to Take Out a Bathroom Sink


Taking out a bathroom sink can be done as a DIY project, but it's important to have the right tools and follow proper safety precautions. You will need a utility knife, adjustable wrench, pliers, bucket, and a screwdriver. It's also recommended to wear gloves and safety glasses during the removal process.DIY Bathroom Sink Removal


DIY Bathroom Sink Removal


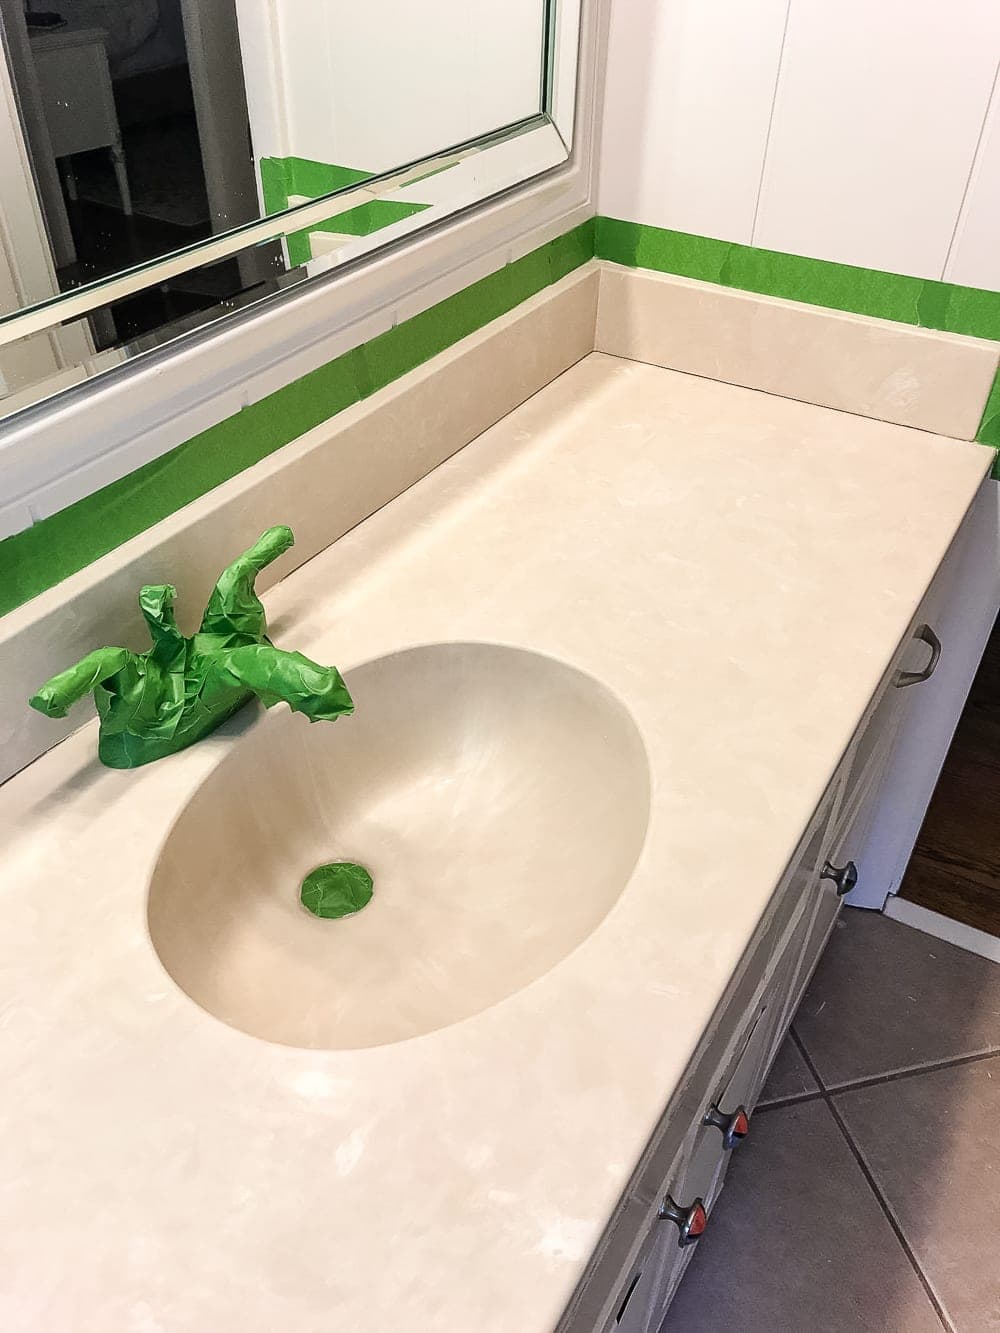
Step 1: Remove the sink stopper by unscrewing the top and pulling out the stopper from the drain. Step 2: Disconnect the water supply lines from the shut-off valves using an adjustable wrench. Step 3: Use pliers to loosen the nuts on the P-trap and remove it from the drain. Step 4: Look under the sink for any mounting clips or brackets holding the sink in place. Use a screwdriver to remove them. Step 5: Carefully lift the sink off the vanity or countertop and place it on a towel or blanket to avoid any damage. Step 6: If the sink is attached to the wall, use a pry bar to gently remove it from the wall. Step 7: Remove any caulking or adhesive from the sink and vanity or countertop using a utility knife. Step 8: Clean the area where the sink was attached to the vanity or countertop. Step 9: Remove the sink faucet by unscrewing it from the vanity or countertop. Step 10: Finally, remove the sink drain by unscrewing the locknut underneath the sink and pulling out the drain.Step-by-Step Sink Removal


Step-by-Step Sink Removal


As mentioned earlier, you will need a utility knife, adjustable wrench, pliers, bucket, and a screwdriver for sink removal. It's important to have these tools on hand to make the process smoother and avoid any potential accidents.Tools Needed for Sink Removal


Tools Needed for Sink Removal


Here are a few tips to keep in mind when taking out a bathroom sink:Tips for Removing a Bathroom Sink


Tips for Removing a Bathroom Sink


Removing the sink drain may seem like a complicated task, but it can be done easily with the right tools and knowledge. As mentioned in the step-by-step process, use pliers to loosen the locknut underneath the sink and pull out the drain. If the drain is stuck, you can use a drain wrench to loosen it.Removing a Bathroom Sink Drain


Removing a Bathroom Sink Drain


If you're planning on replacing your sink with a new one, it's important to disassemble the old sink properly. This includes removing the faucet, drain, and any mounting brackets. This will make the installation process easier and ensure a smooth transition to the new sink.Disassembling a Bathroom Sink


Disassembling a Bathroom Sink


Removing a bathroom sink faucet is a relatively simple process. After turning off the water supply, use an adjustable wrench to loosen and remove the mounting nuts underneath the sink. Then, lift the faucet off the sink and clean the area where it was attached. You can also use this opportunity to upgrade to a new faucet if desired.Removing a Bathroom Sink Faucet


Removing a Bathroom Sink Faucet


If you're not comfortable with removing a bathroom sink yourself, you can always hire a professional to do it for you. They will have the necessary tools and expertise to safely and efficiently remove your sink without causing any damage. This can also save you time and hassle, especially if you're tackling a larger renovation project. Now that you know the steps and tips for removing a bathroom sink, you can confidently tackle this task on your own. Just remember to follow proper safety precautions and have the necessary tools on hand. With a little bit of effort, you can successfully remove your old sink and make way for a new and improved one.Professional Bathroom Sink Removal Services


Professional Bathroom Sink Removal Services


:max_bytes(150000):strip_icc()/8_IMG_3767-56a4a2753df78cf772835b72.JPG)

Taking Out a Bathroom Sink: A Step-by-Step Guide

Understanding the Importance of Bathroom Design
 When it comes to designing or remodeling a house, the bathroom is often overlooked. Many homeowners focus on the main living spaces and neglect the bathroom, considering it to be a purely functional room. However, a well-designed bathroom can greatly enhance the overall aesthetic and functionality of a home. And one of the key elements in a bathroom is the sink.
The Benefits of Removing a Bathroom Sink
 Removing a bathroom sink may seem like a daunting and unnecessary task, but it can actually offer many benefits. For one, it can open up more space in a small bathroom, making it feel more spacious and less cramped. It can also allow for the installation of a larger or more modern sink, adding to the functionality and style of the bathroom. Additionally, removing an old or damaged sink can prevent potential plumbing issues in the future.
Step-by-Step Guide to Removing a Bathroom Sink
 Step 1: Gather Your Tools and Materials
Before you begin, make sure you have all the necessary tools and materials, including a wrench, pliers, putty knife, and a bucket. You may also need a new sink and faucet if you plan on replacing the old ones.
Step 2: Turn Off the Water Supply
Locate the water supply valves under the sink and turn them off. This will prevent any water from flowing while you work on removing the sink.
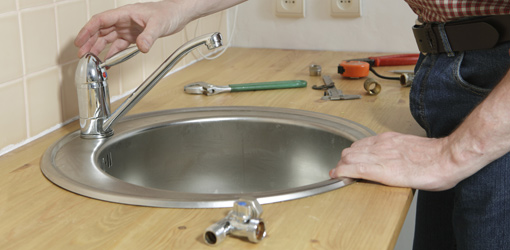
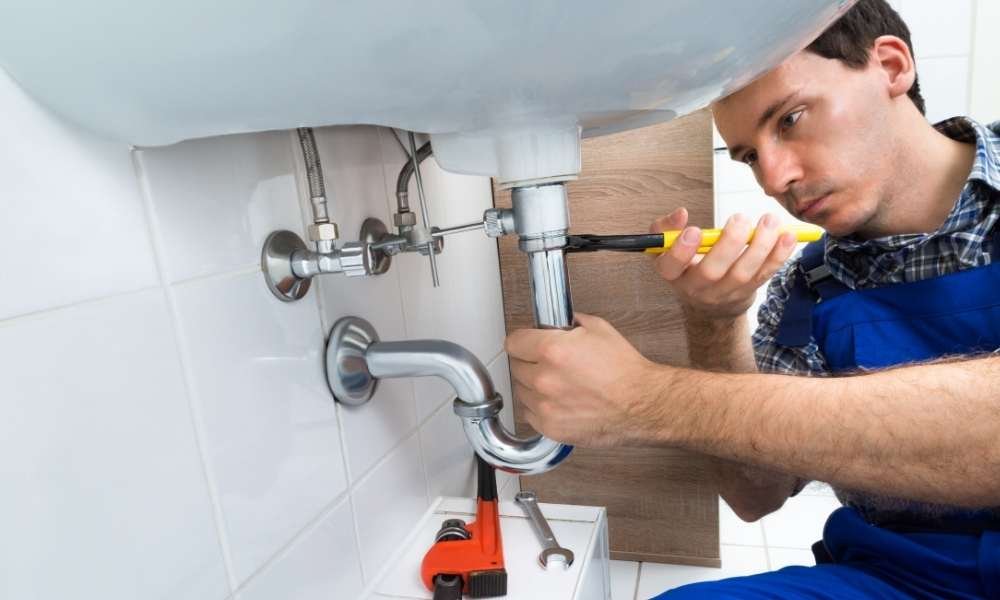
Step 3: Disconnect the Water Supply Lines
Using a wrench, loosen and disconnect the water supply lines from the faucet and the valves. Make sure to have a bucket handy to catch any residual water that may drip out.
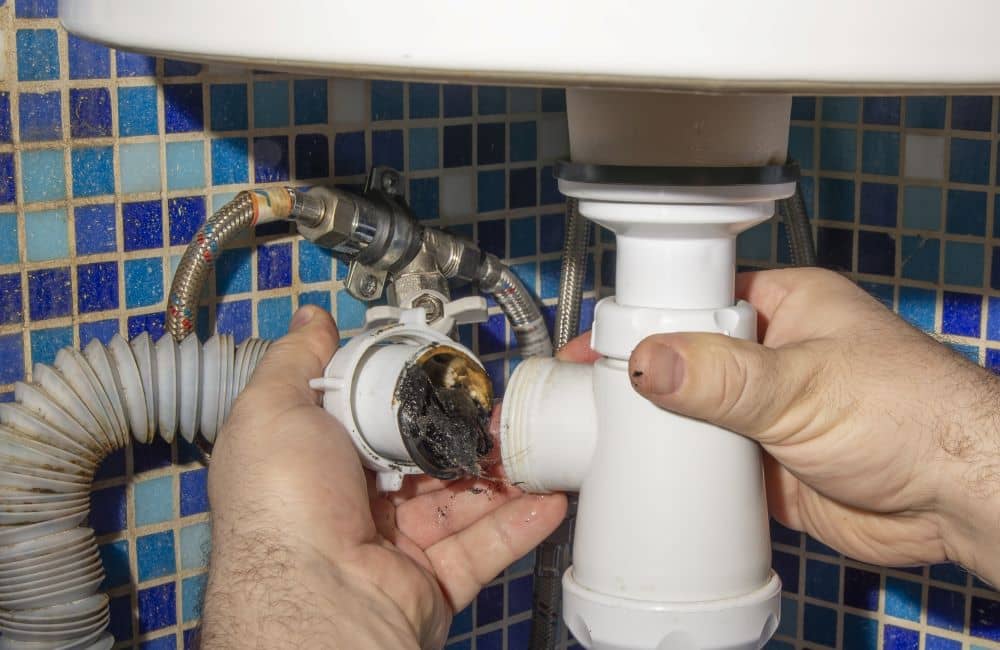
Step 4: Remove the Drain Pipe
Using pliers, loosen and remove the nuts and washers that hold the drain pipe in place. Once removed, the drain pipe should easily come out.
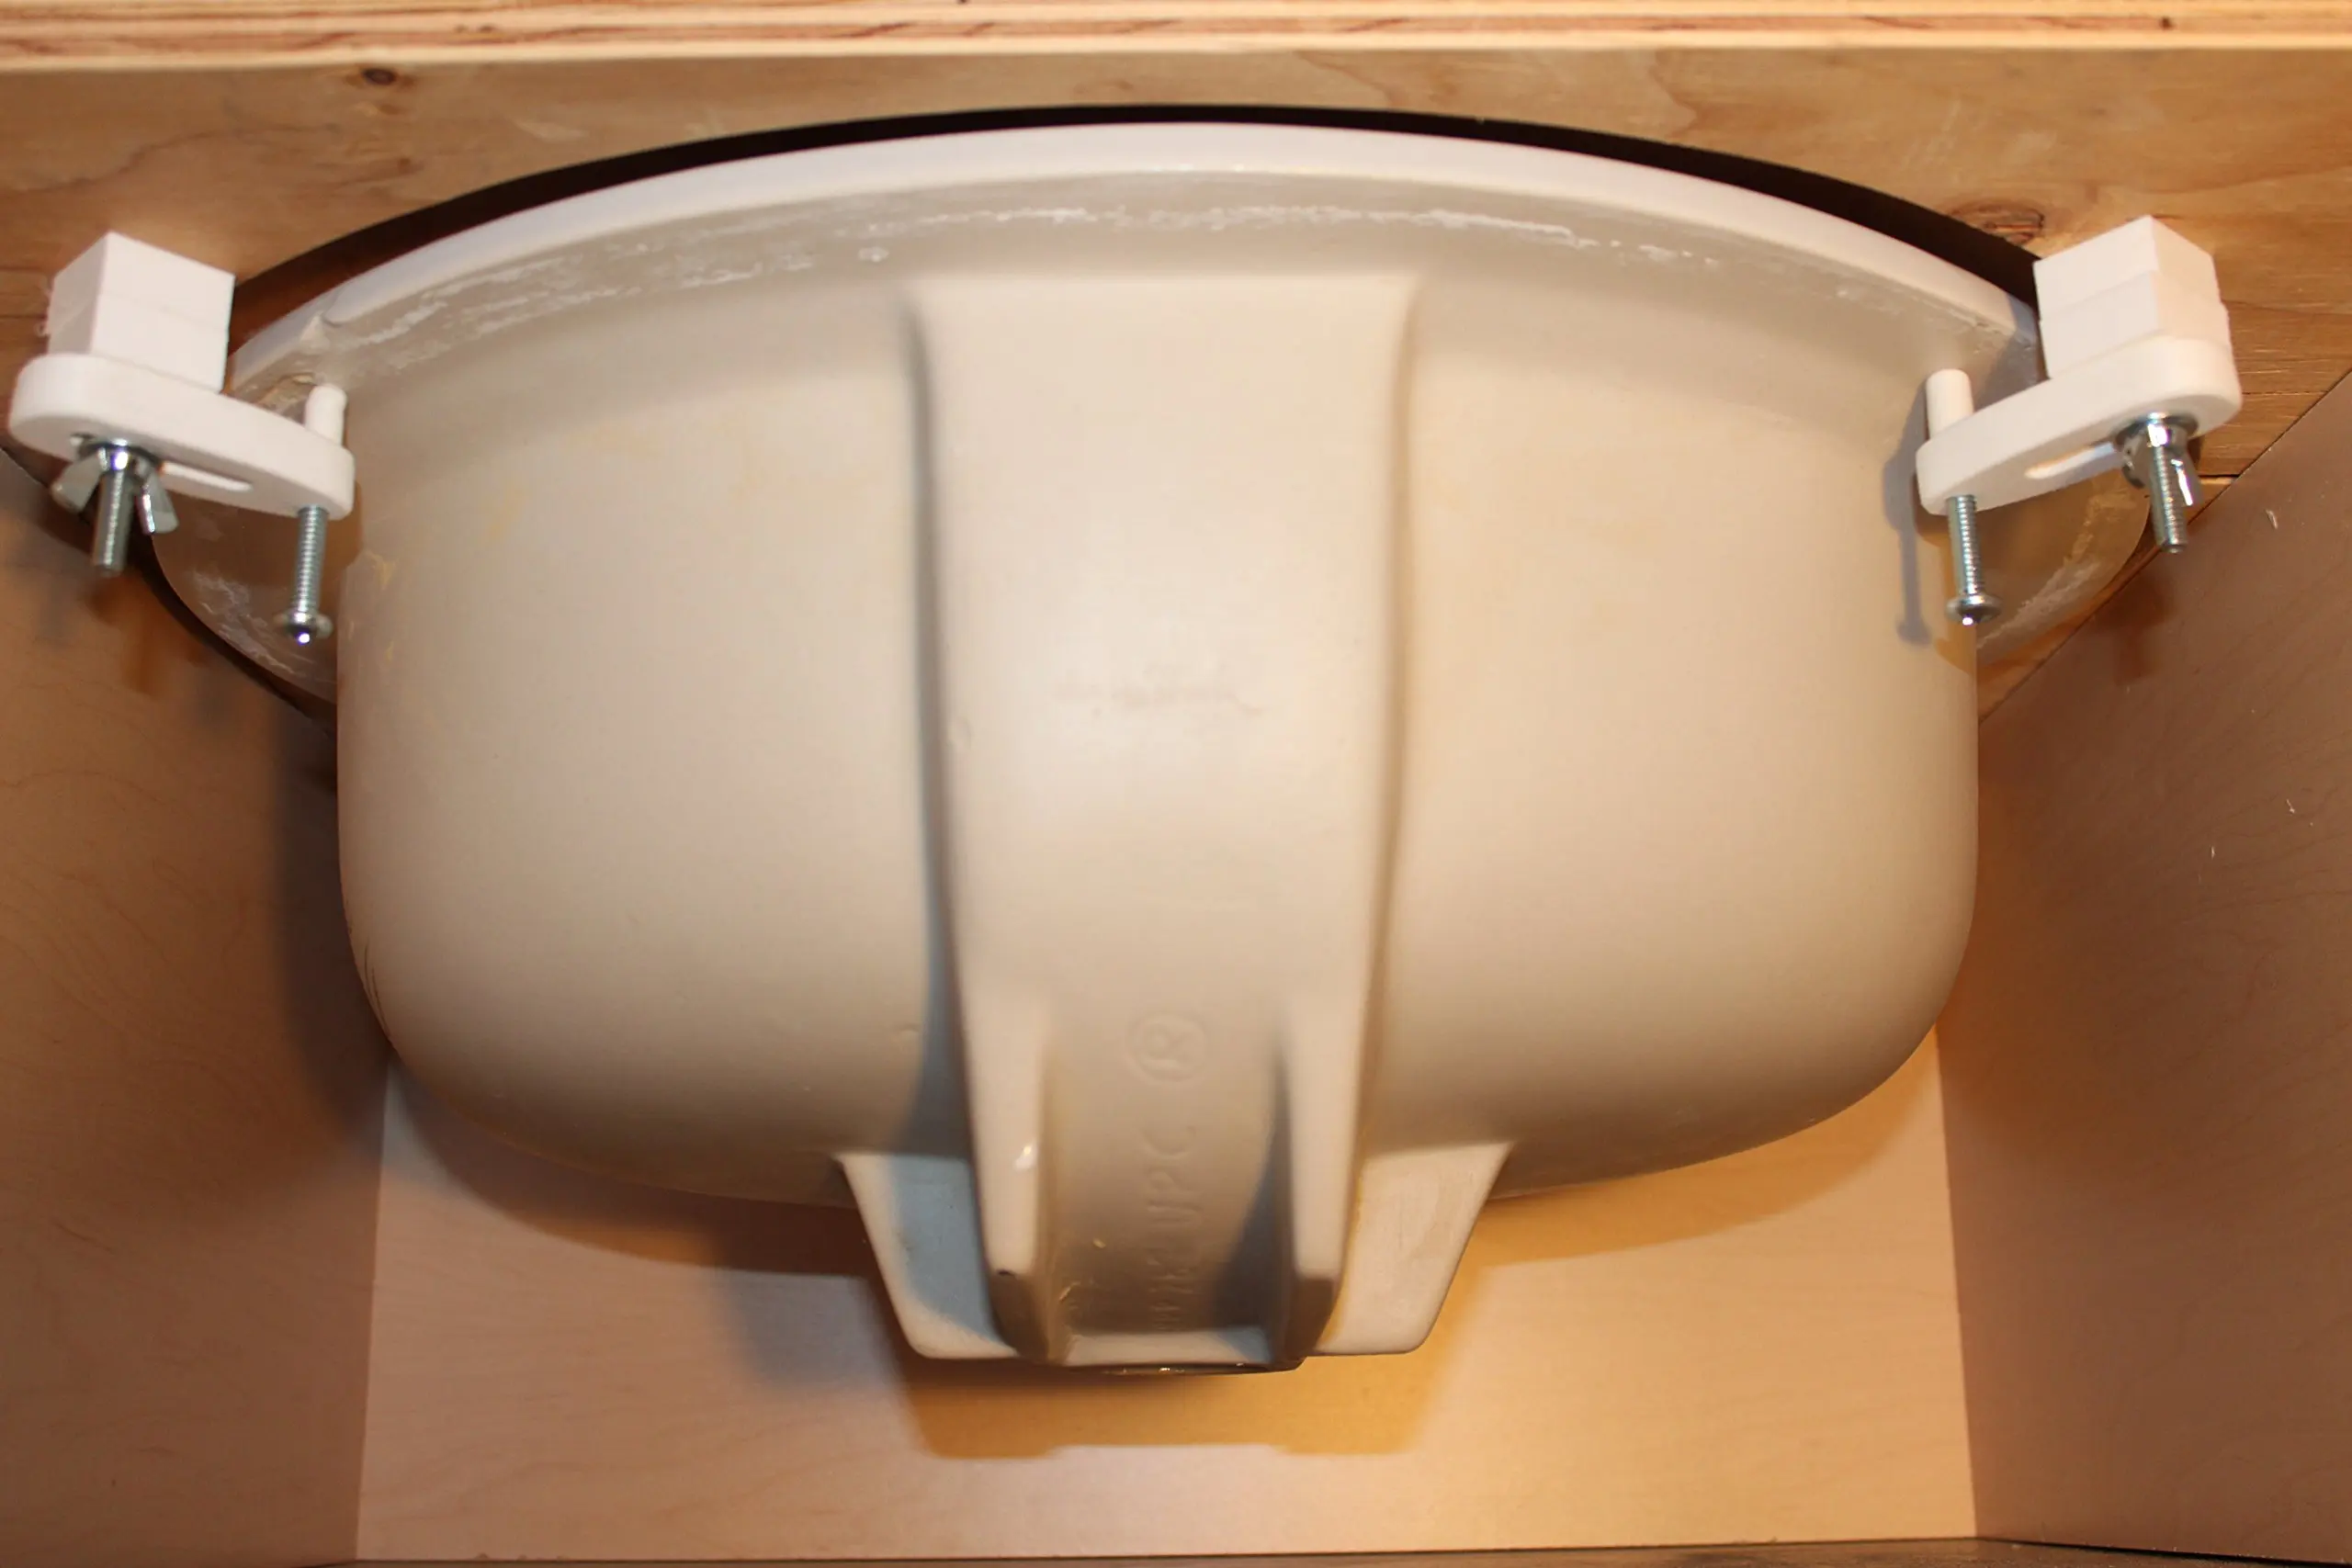
Step 5: Loosen and Remove the Sink Clips
Most sinks are held in place by clips attached to the underside of the countertop. Use a screwdriver or pliers to loosen and remove these clips.
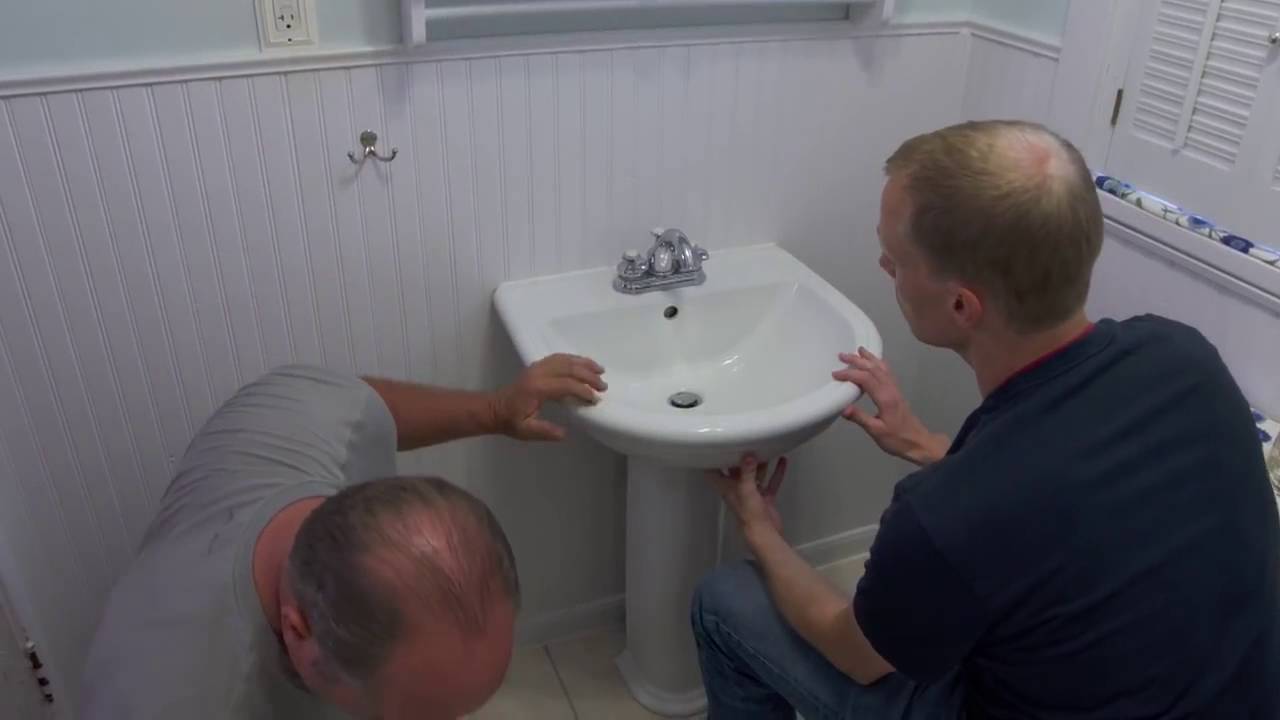
Step 6: Carefully Lift and Remove the Sink
With the clips removed, you should be able to lift the sink off the countertop. Be sure to have someone assist you if the sink is heavy or if you are working with a delicate countertop.
Step 7: Remove any Adhesive or Caulking
Using a putty knife, carefully scrape off any adhesive or caulking that was used to secure the sink to the countertop. This will ensure a clean surface for the new sink to be installed.
Step 8: Install the New Sink
Once the old sink is removed, you can now install the new sink and faucet. Follow the manufacturer's instructions for proper installation.
Step 1: Gather Your Tools and Materials
Before you begin, make sure you have all the necessary tools and materials, including a wrench, pliers, putty knife, and a bucket. You may also need a new sink and faucet if you plan on replacing the old ones.
Step 2: Turn Off the Water Supply
Locate the water supply valves under the sink and turn them off. This will prevent any water from flowing while you work on removing the sink.
Step 3: Disconnect the Water Supply Lines
Using a wrench, loosen and disconnect the water supply lines from the faucet and the valves. Make sure to have a bucket handy to catch any residual water that may drip out.
Step 4: Remove the Drain Pipe
Using pliers, loosen and remove the nuts and washers that hold the drain pipe in place. Once removed, the drain pipe should easily come out.
Step 5: Loosen and Remove the Sink Clips
Most sinks are held in place by clips attached to the underside of the countertop. Use a screwdriver or pliers to loosen and remove these clips.
Step 6: Carefully Lift and Remove the Sink
With the clips removed, you should be able to lift the sink off the countertop. Be sure to have someone assist you if the sink is heavy or if you are working with a delicate countertop.
Step 7: Remove any Adhesive or Caulking
Using a putty knife, carefully scrape off any adhesive or caulking that was used to secure the sink to the countertop. This will ensure a clean surface for the new sink to be installed.
Step 8: Install the New Sink
Once the old sink is removed, you can now install the new sink and faucet. Follow the manufacturer's instructions for proper installation.
Conclusion
 Removing a bathroom sink may seem like a daunting task, but with the right tools and some basic knowledge, it can be a relatively simple process. By taking the time to remove and replace an old or damaged sink, you can greatly improve the overall design and functionality of your bathroom. So don't overlook the importance of a well-designed bathroom, and consider taking out a bathroom sink to enhance your space.

:max_bytes(150000):strip_icc()/Cottage-style-living-room-with-stone-fireplace-58e194d23df78c5162006eb4.png)