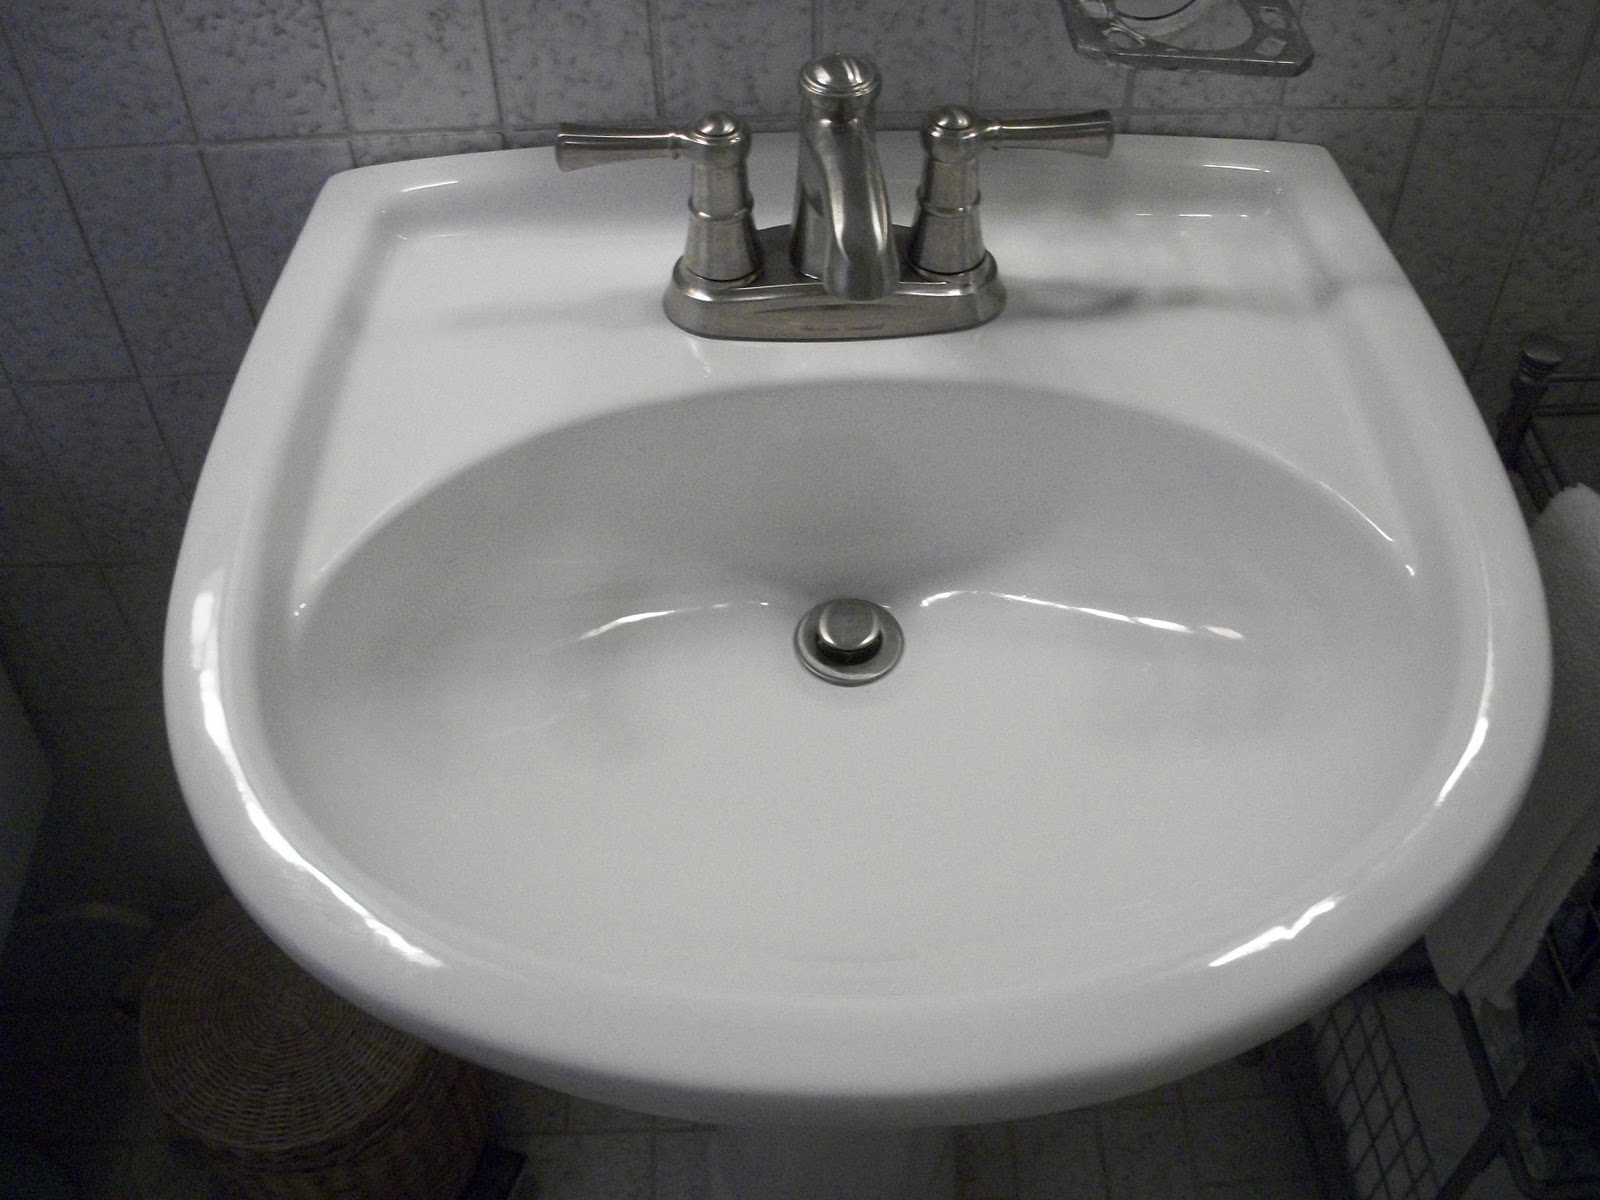
Replacing your bathroom sink can be a daunting task, especially if you have a square sink. However, with the right tools and knowledge, it can be a simple DIY project that can transform the look of your bathroom. Here's a step-by-step guide on how to replace your square bathroom sink.Square Bathroom Sink Replacement: A Guide to Updating Your Bathroom

Square Bathroom Sink Replacement


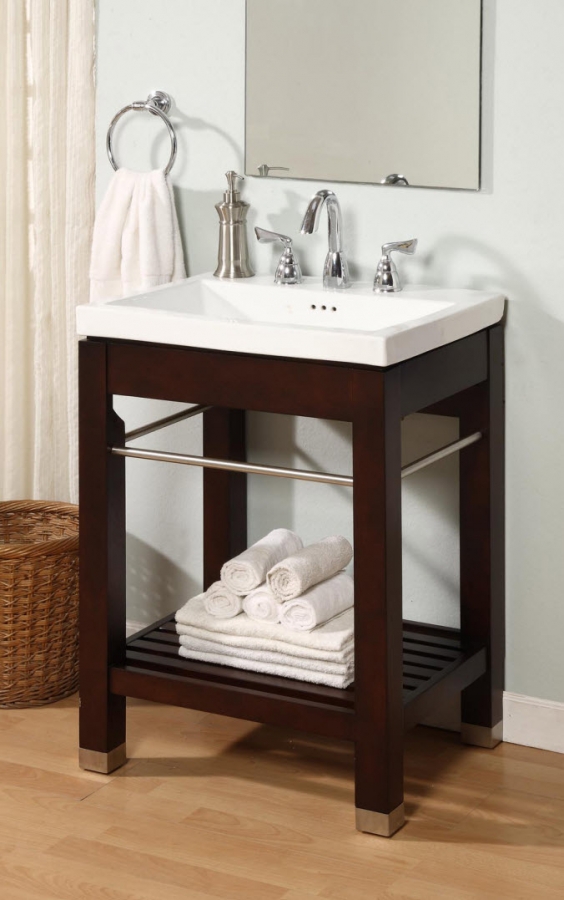
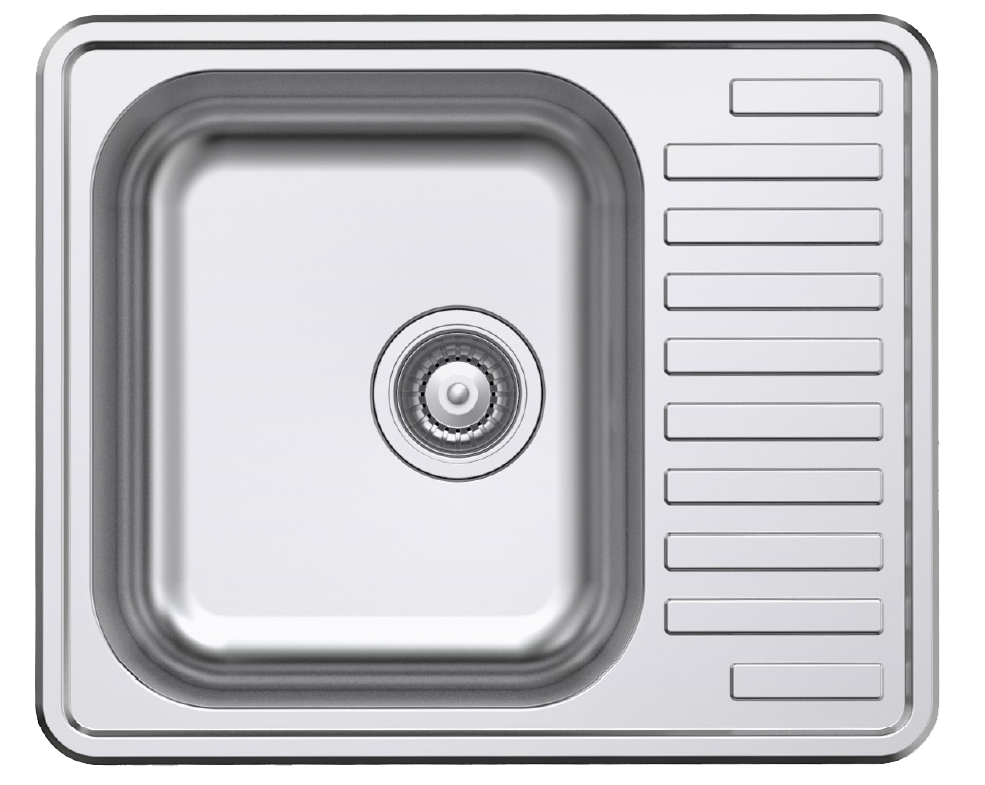
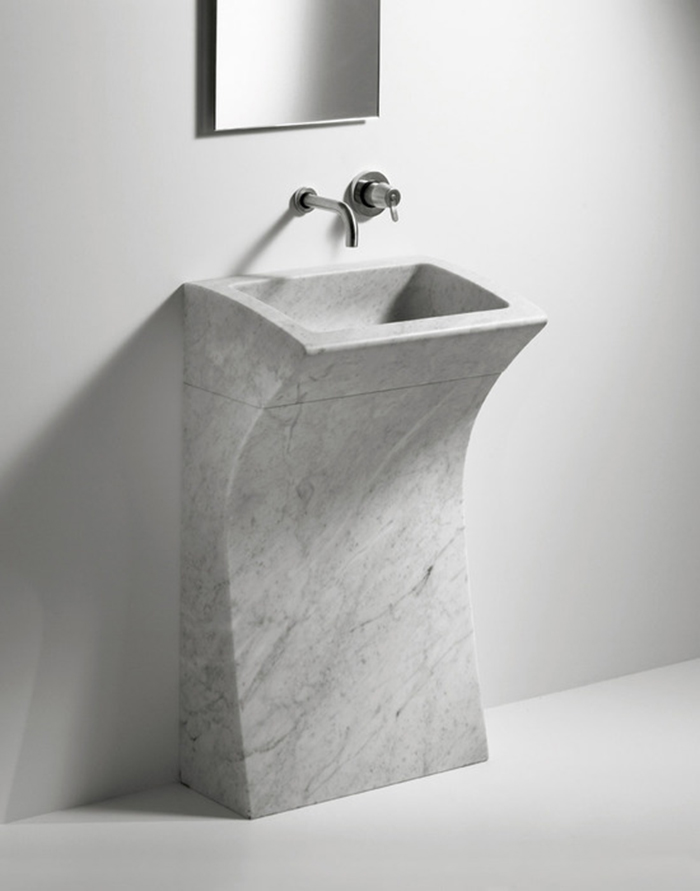
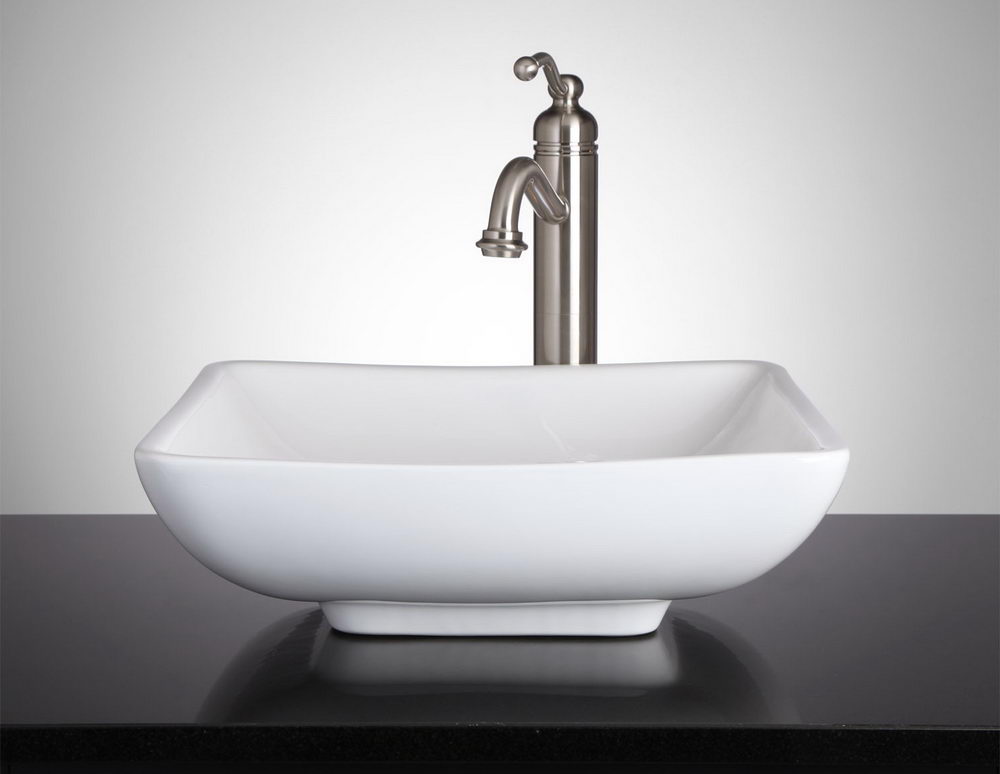
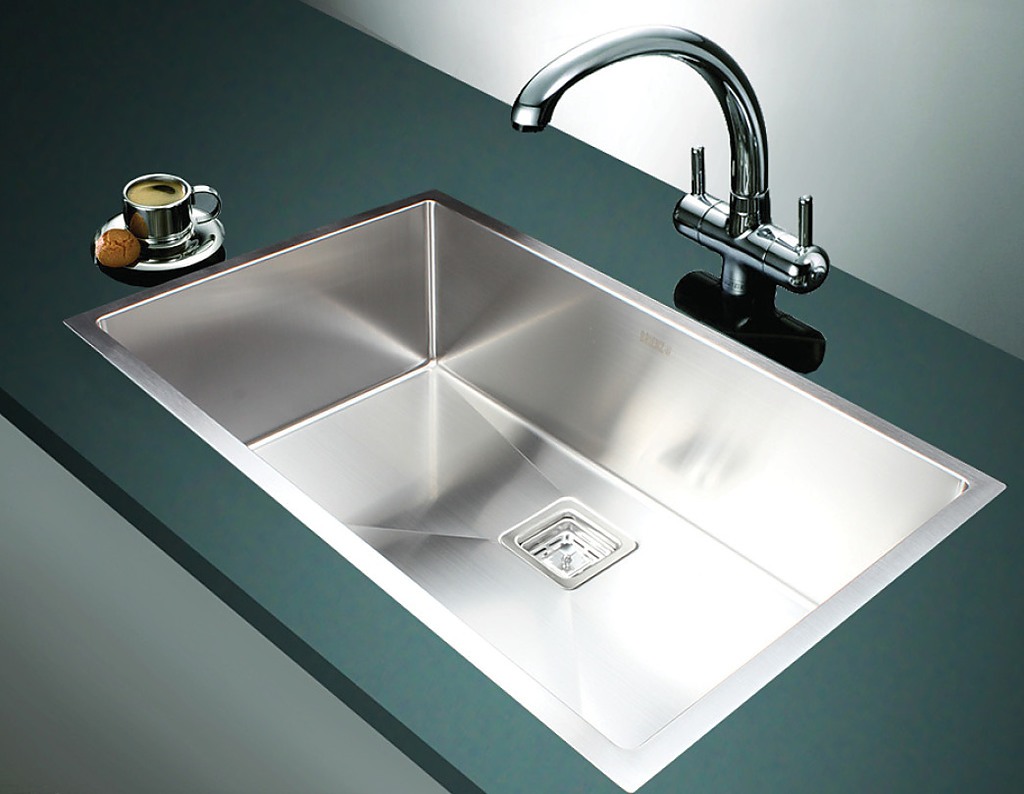
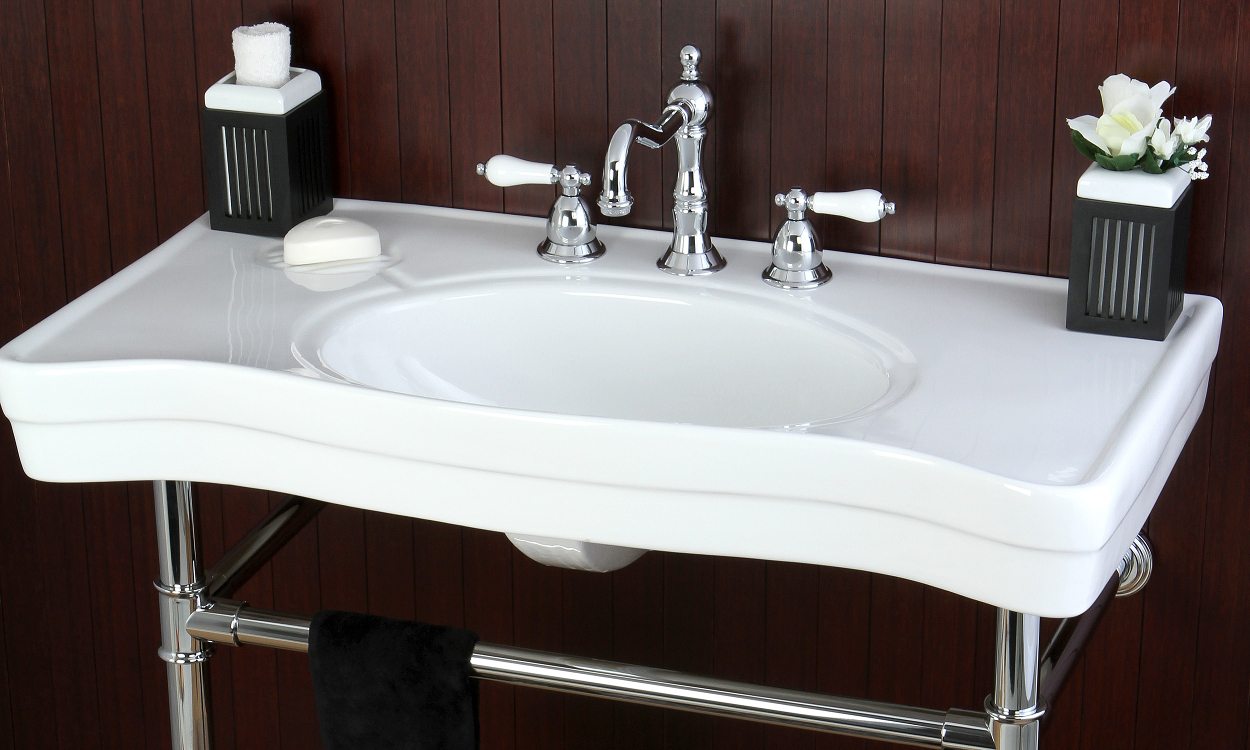
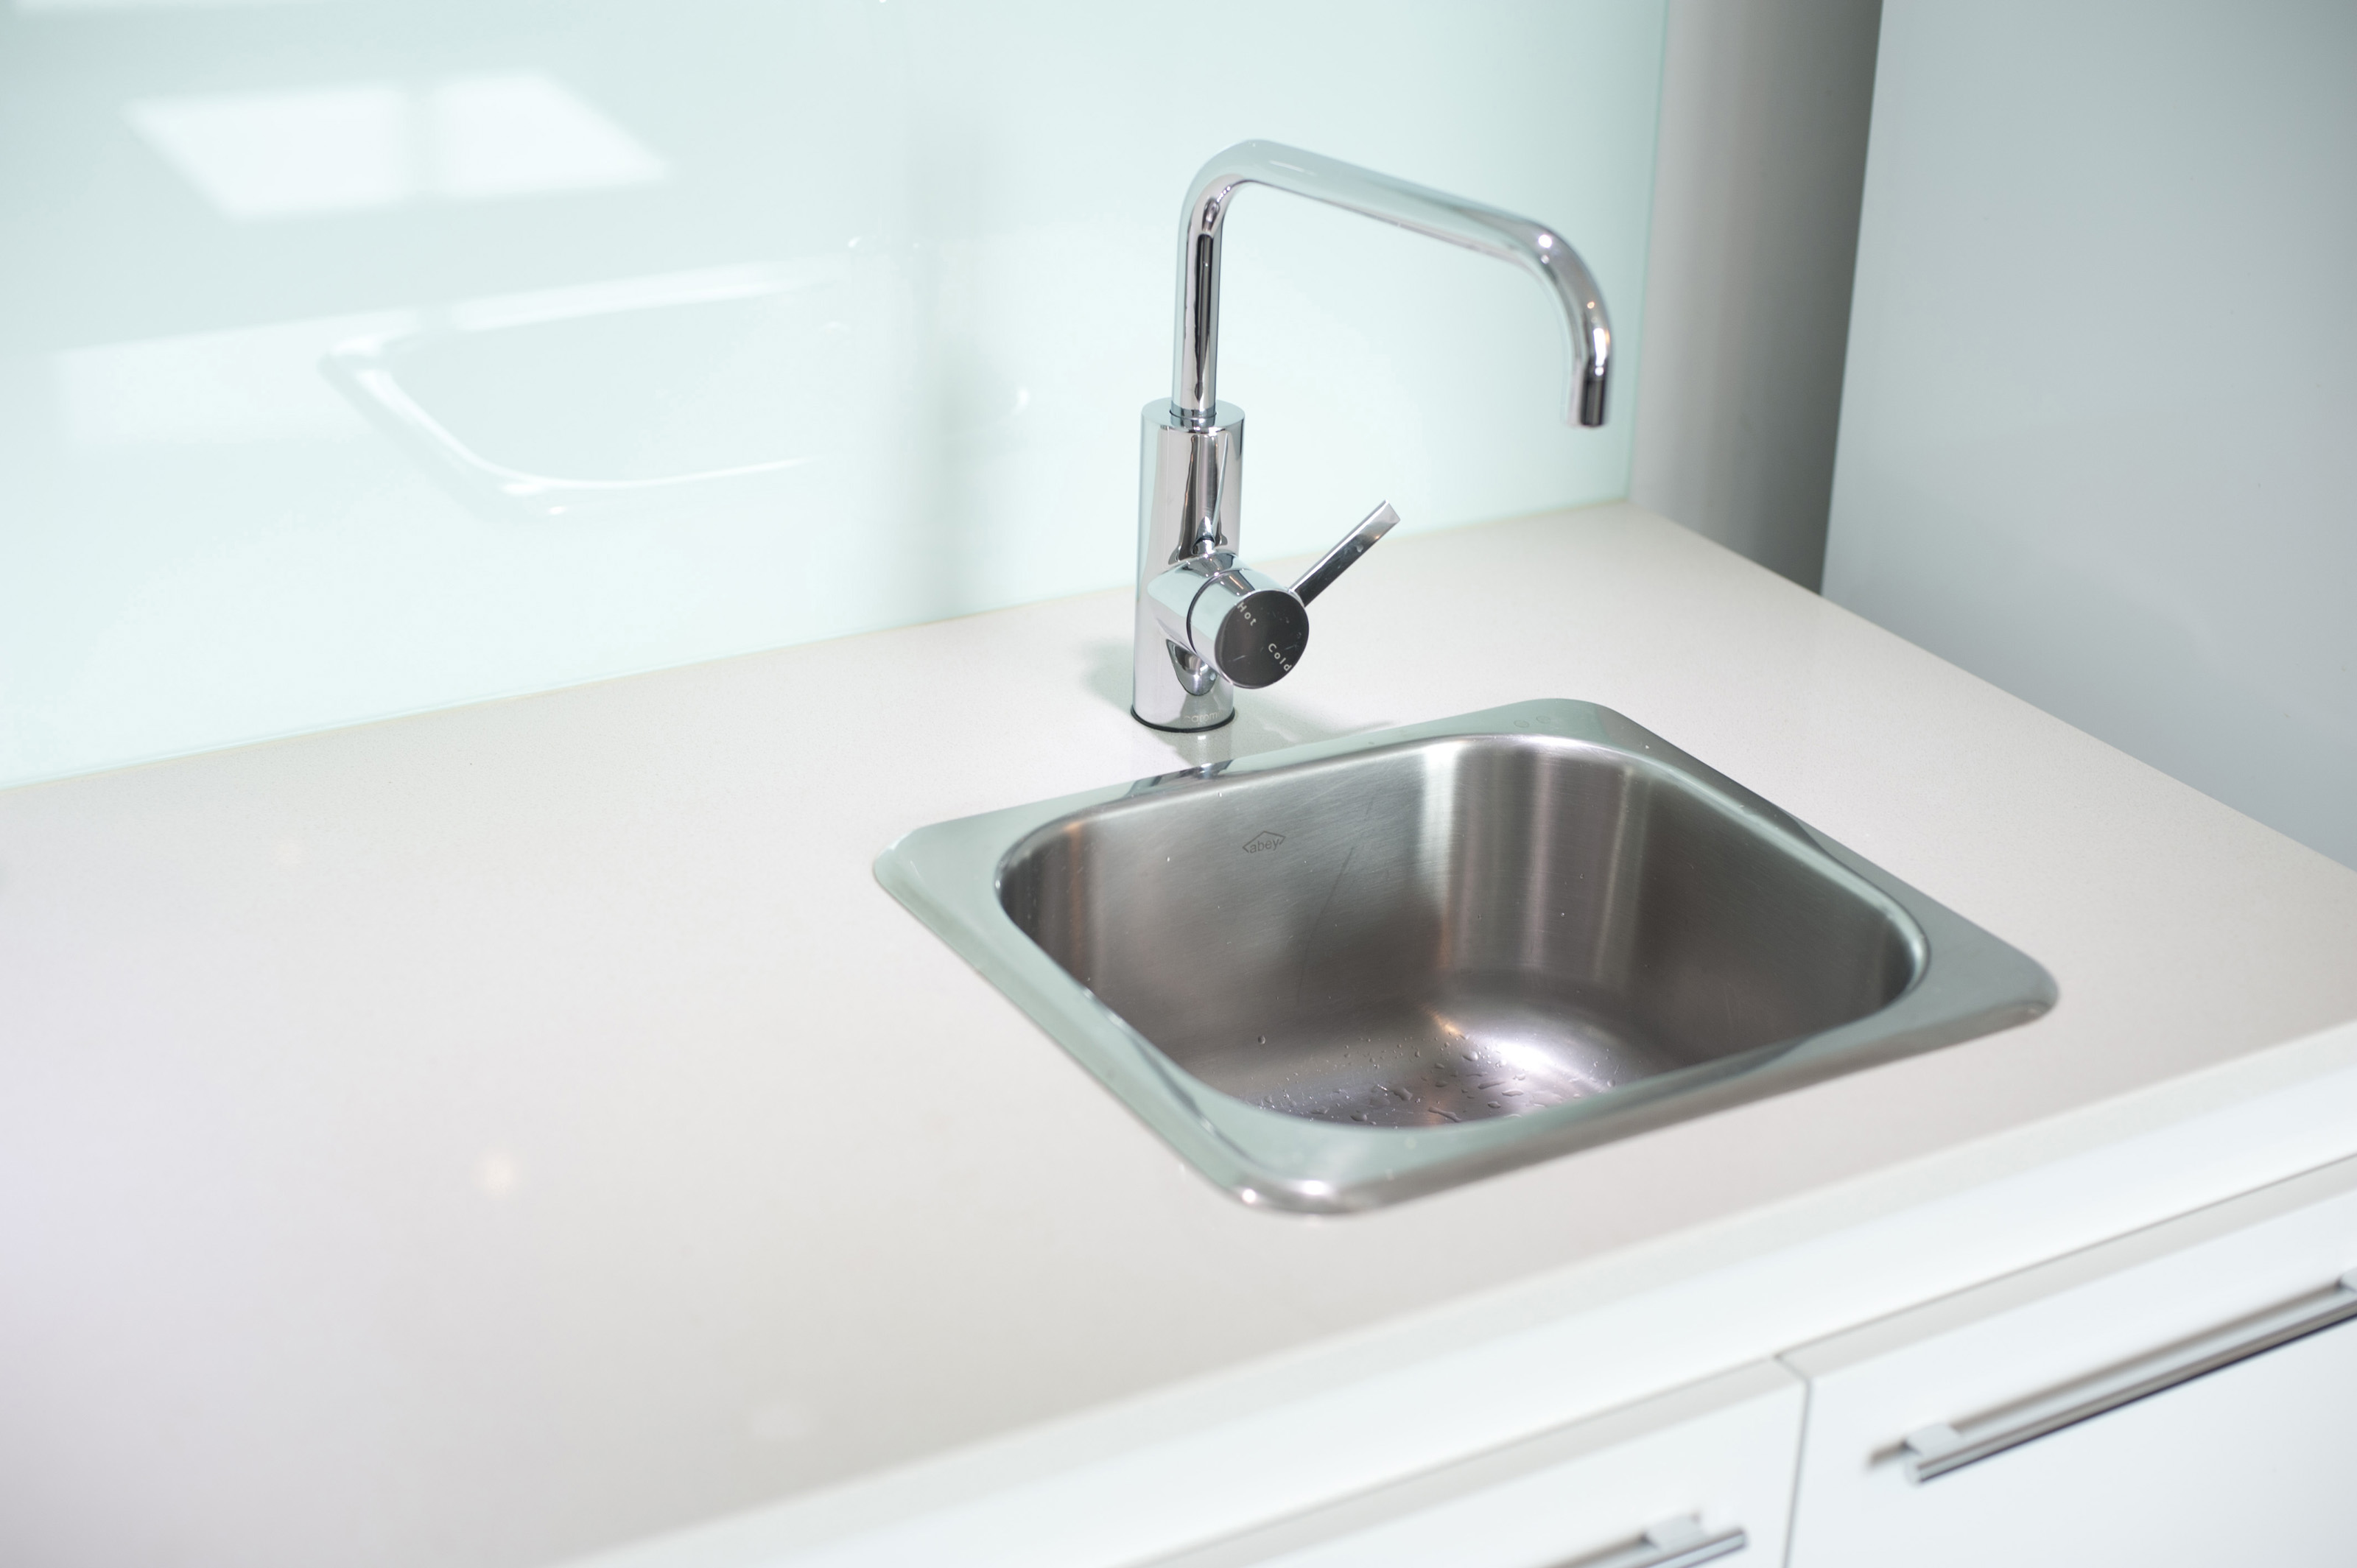
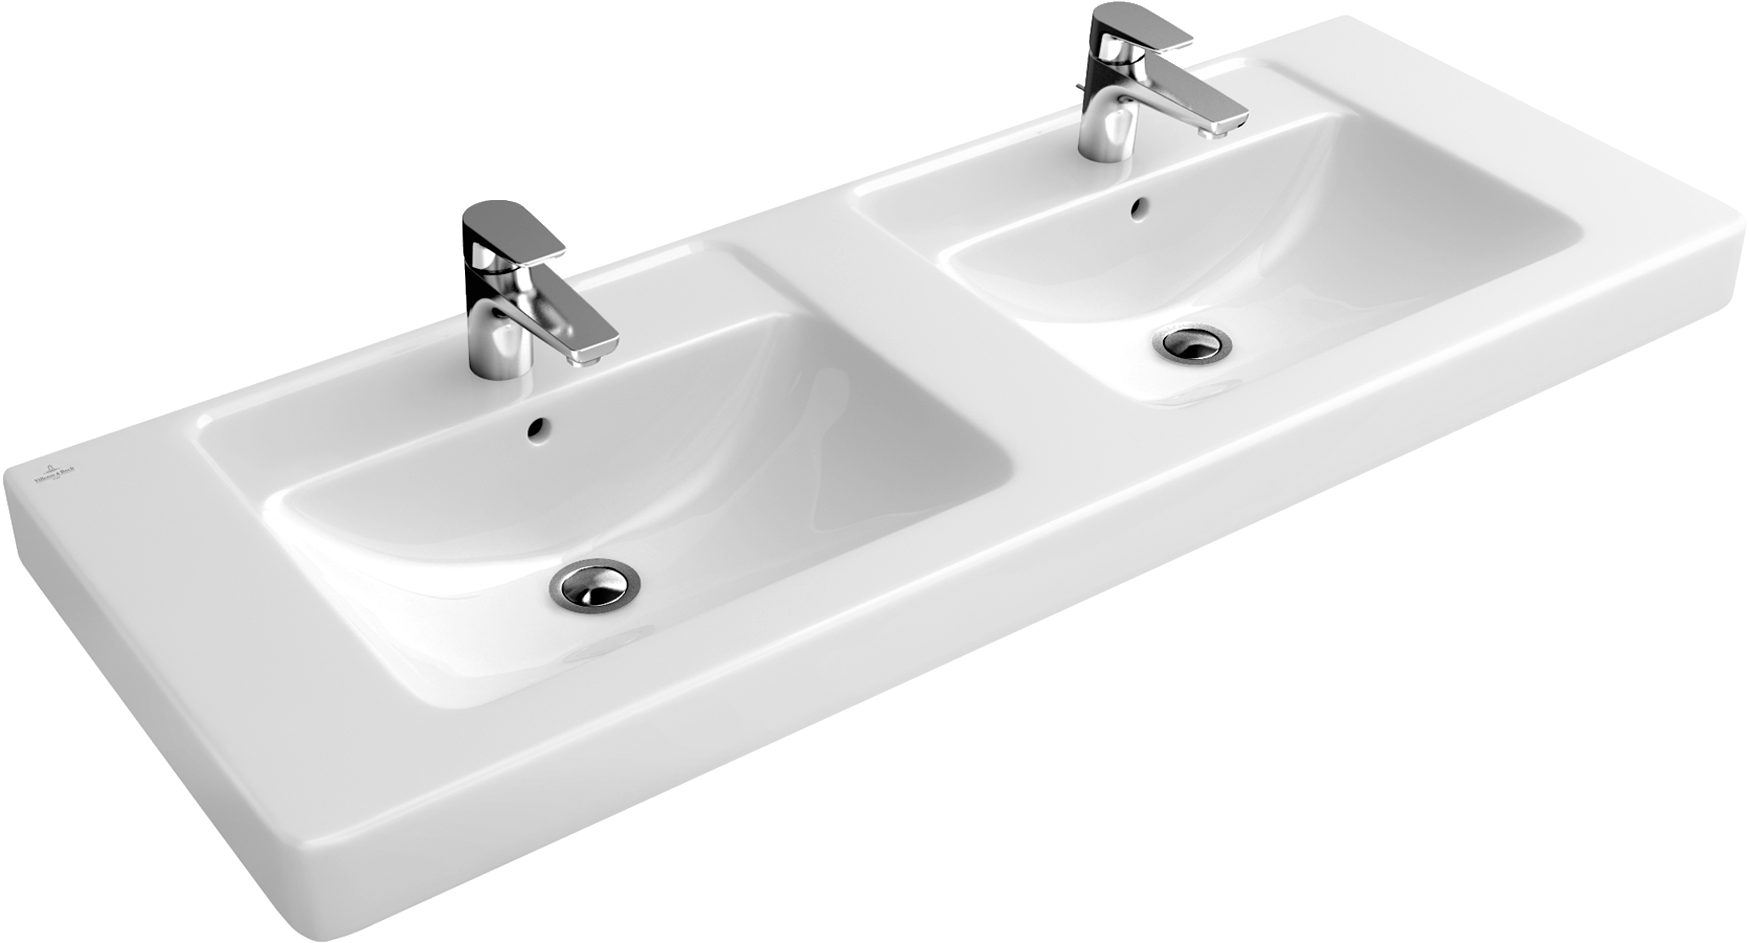
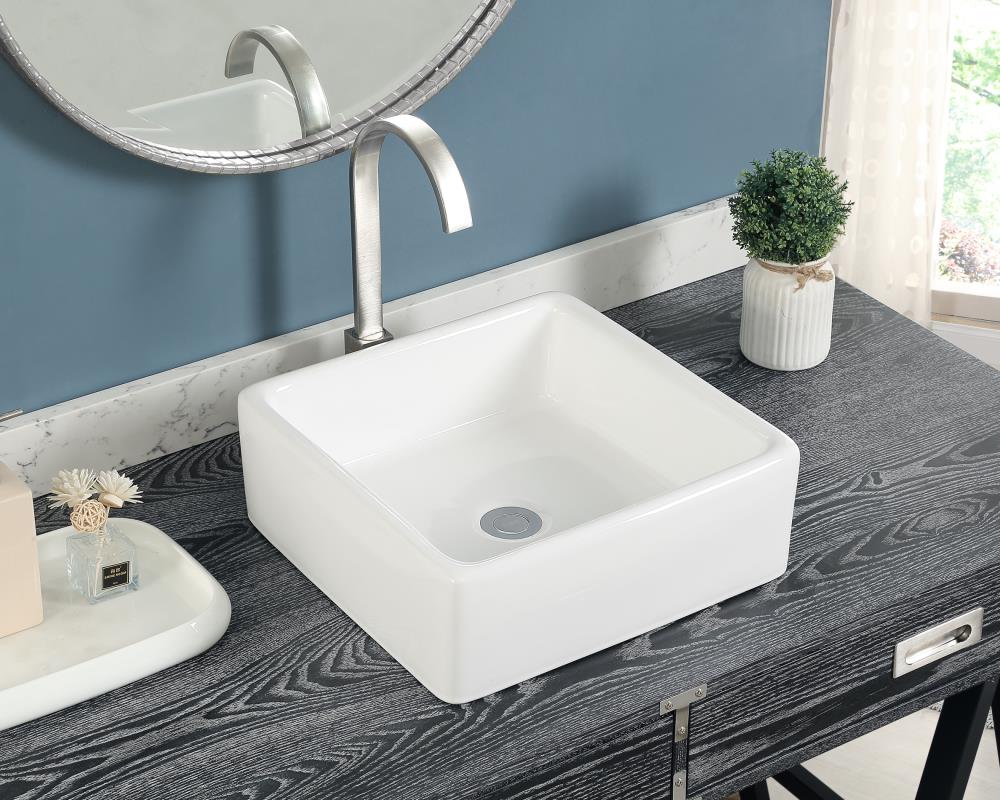
The first step in replacing your square bathroom sink is choosing the right one. There are various styles and materials to choose from, such as porcelain, ceramic, and stone. Consider the style of your bathroom and the functionality you need from your sink. For a modern look, consider a square vessel sink or for a classic look, a drop-in sink may be the way to go.Square Sink Replacement: Tips for Choosing the Right Sink


Square Sink Replacement


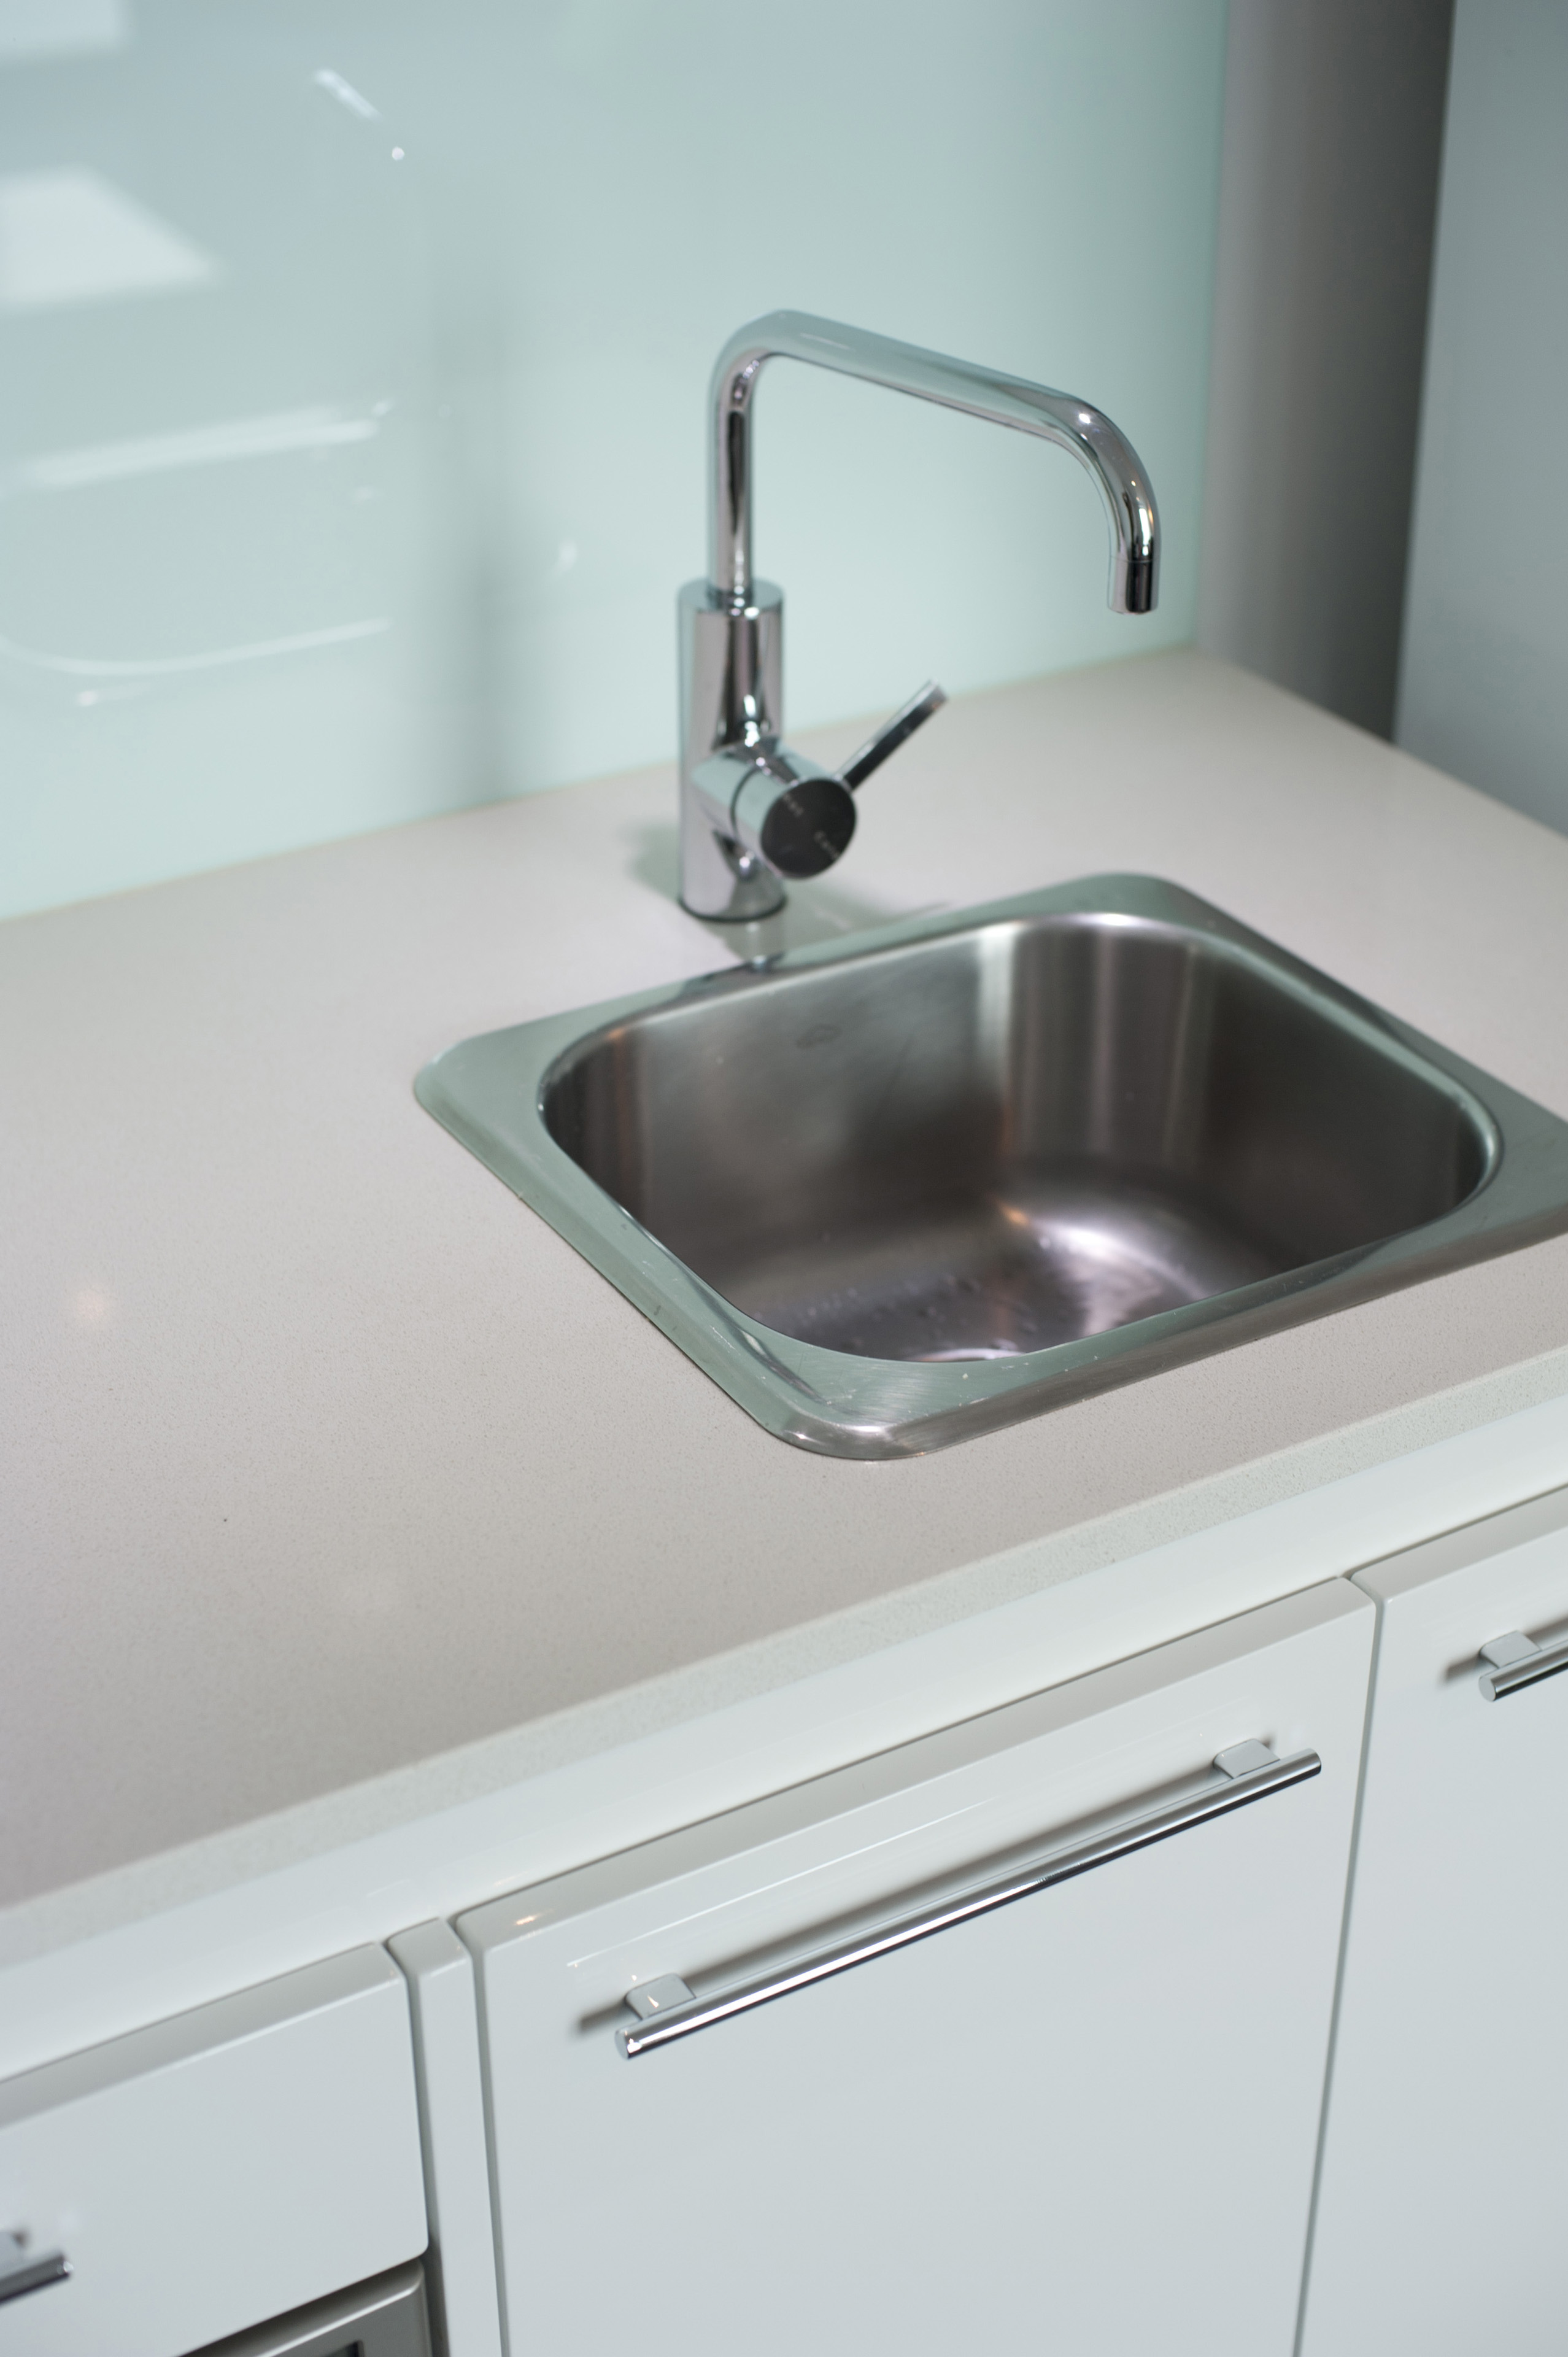
Before you begin your project, make sure you have the necessary tools on hand. You'll need a wrench, pliers, a putty knife, a screwdriver, and a caulk gun. It's also helpful to have a bucket or towel nearby to catch any water that may spill out during the process.Bathroom Sink Replacement: Tools You'll Need


Bathroom Sink Replacement


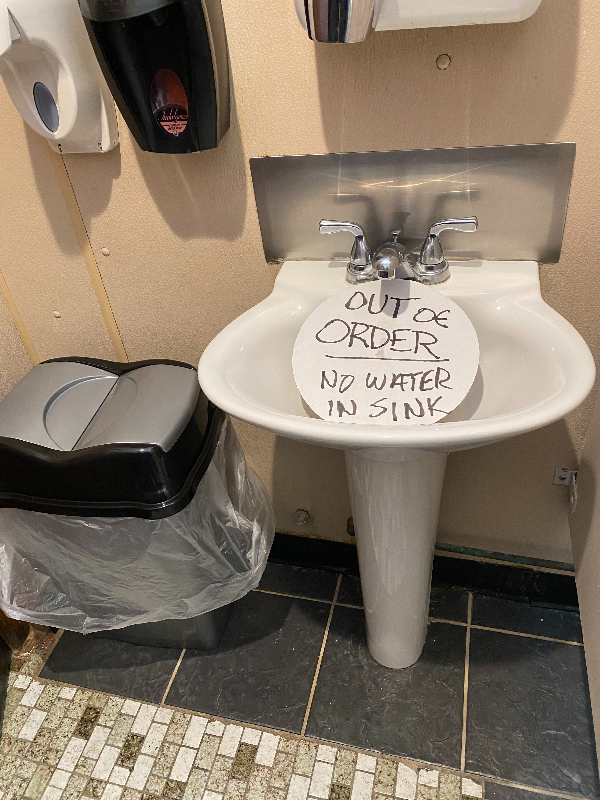
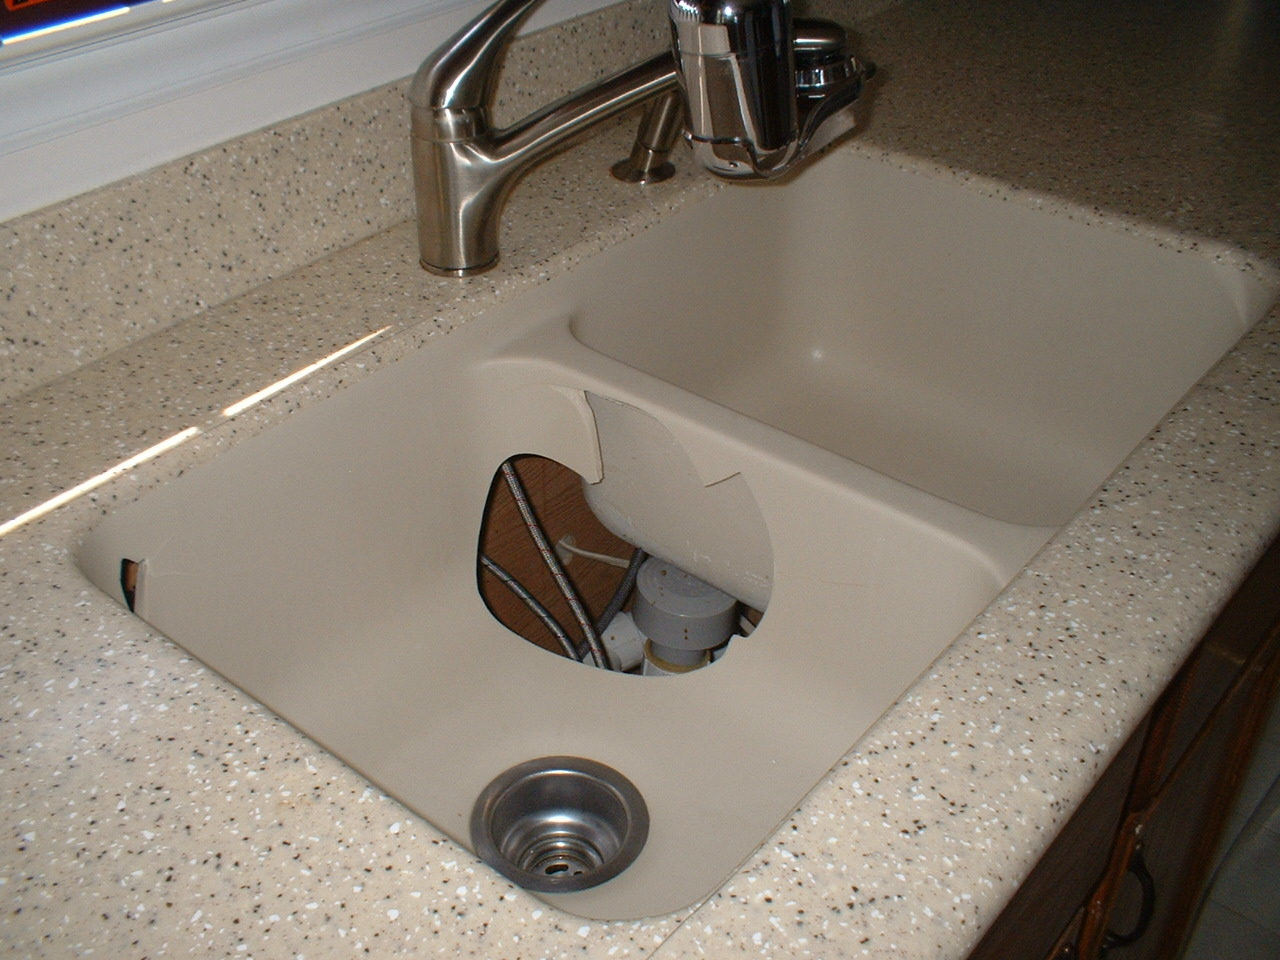
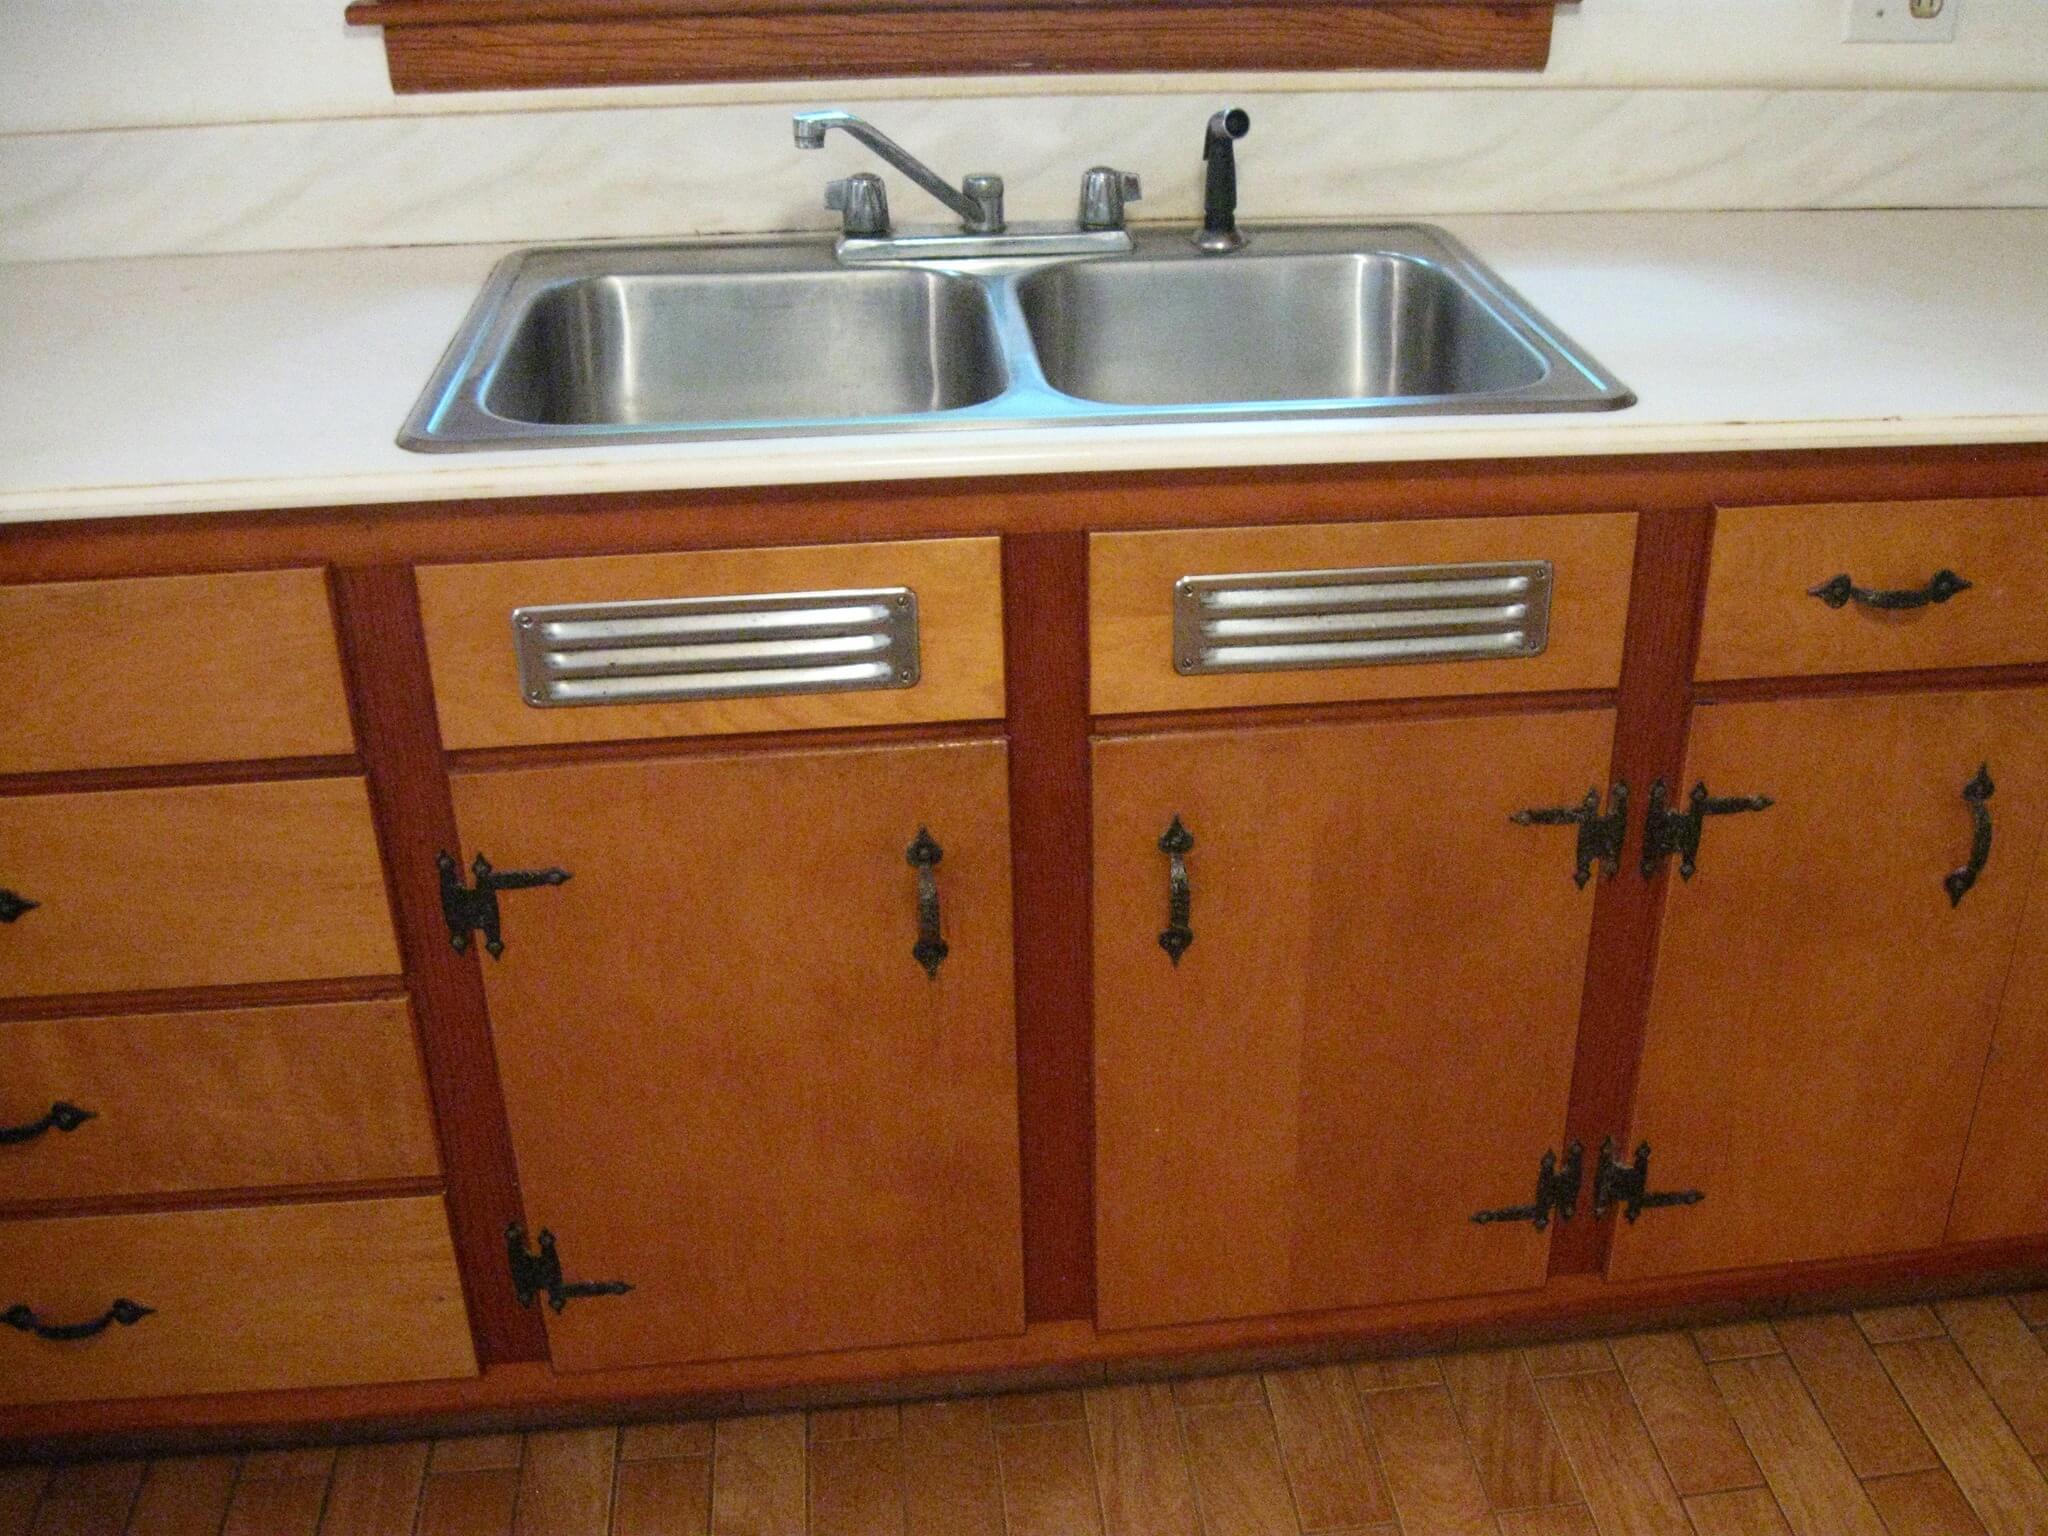
The first step in replacing your sink is to remove the old one. Start by turning off the water supply to the sink. This can usually be done by turning the shut-off valves under the sink clockwise. Next, disconnect the supply lines from the faucet using a wrench or pliers. Once the supply lines are disconnected, you can remove the old sink. Use a putty knife to break the seal between the sink and the countertop. Then, use a screwdriver to remove any screws or clips that may be holding the sink in place. Lift the sink out and set it aside.Sink Replacement: Removal of Old Sink

Sink Replacement


Before installing your new sink, you'll need to clean the countertop and remove any old caulk or adhesive. This will ensure a clean and secure fit for your new sink. You can also use this opportunity to make any necessary updates to the plumbing, such as replacing old supply lines and valves.Square Sink: Preparing for Installation

Square Sink
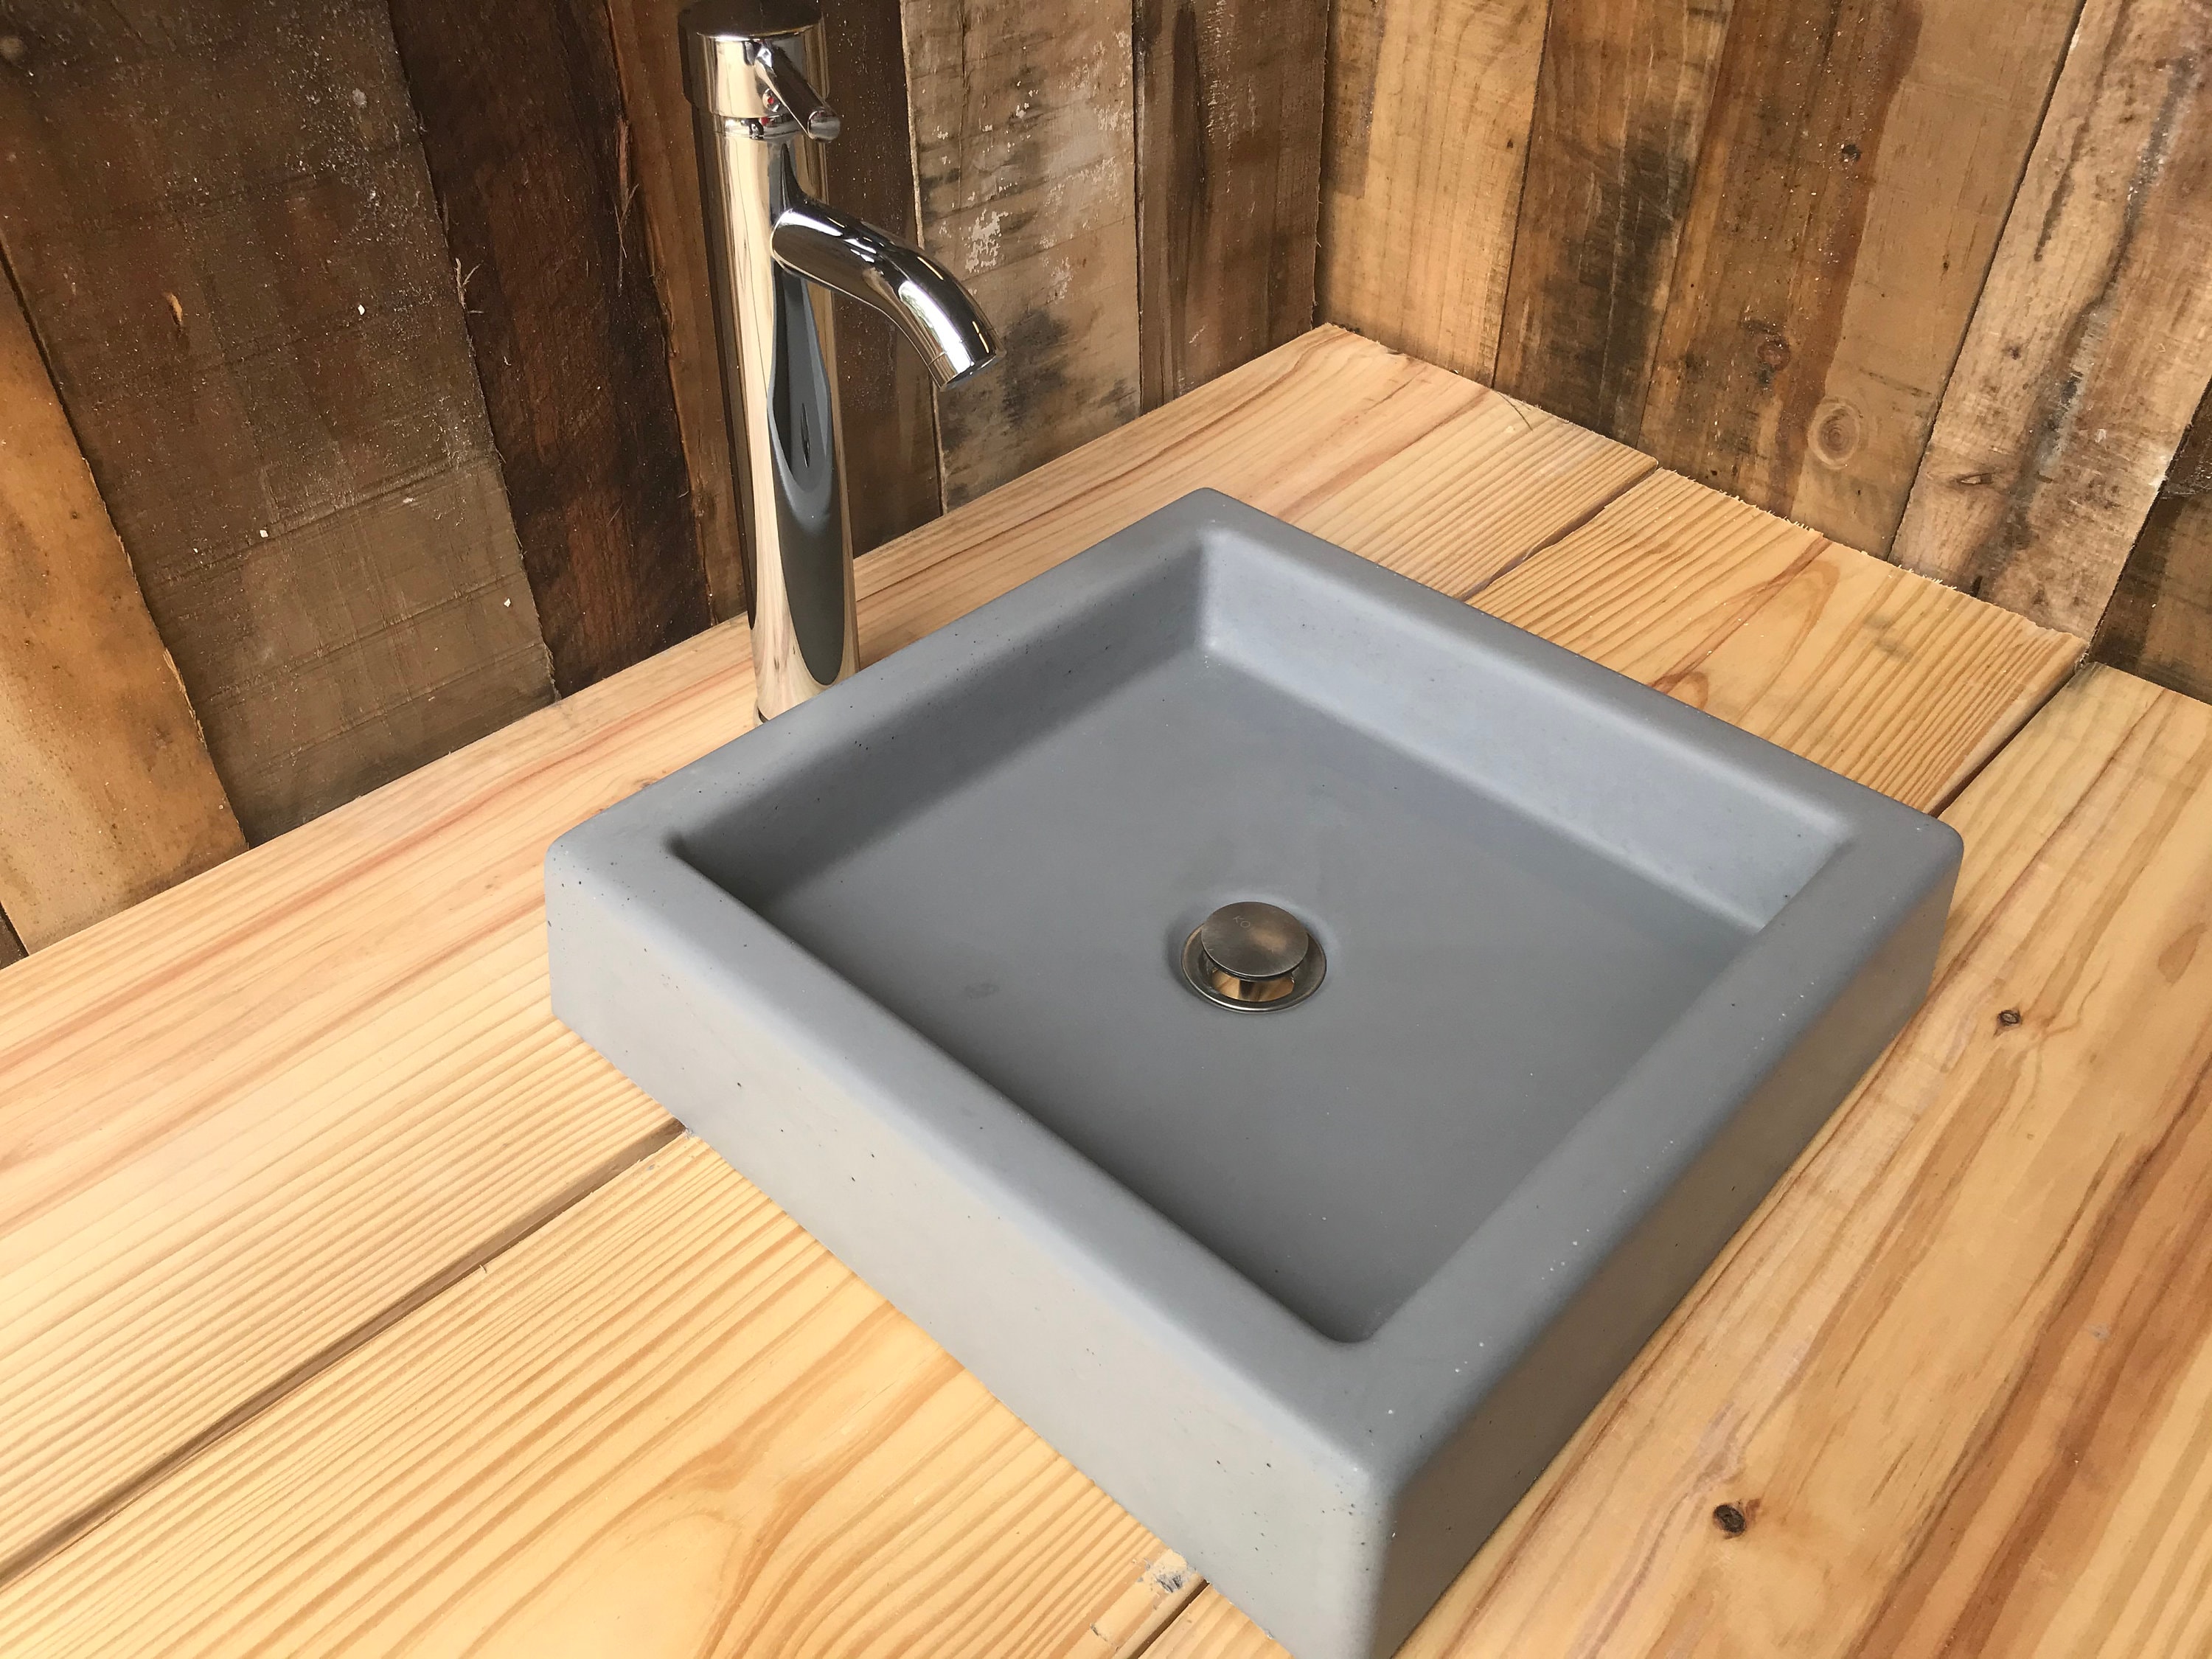


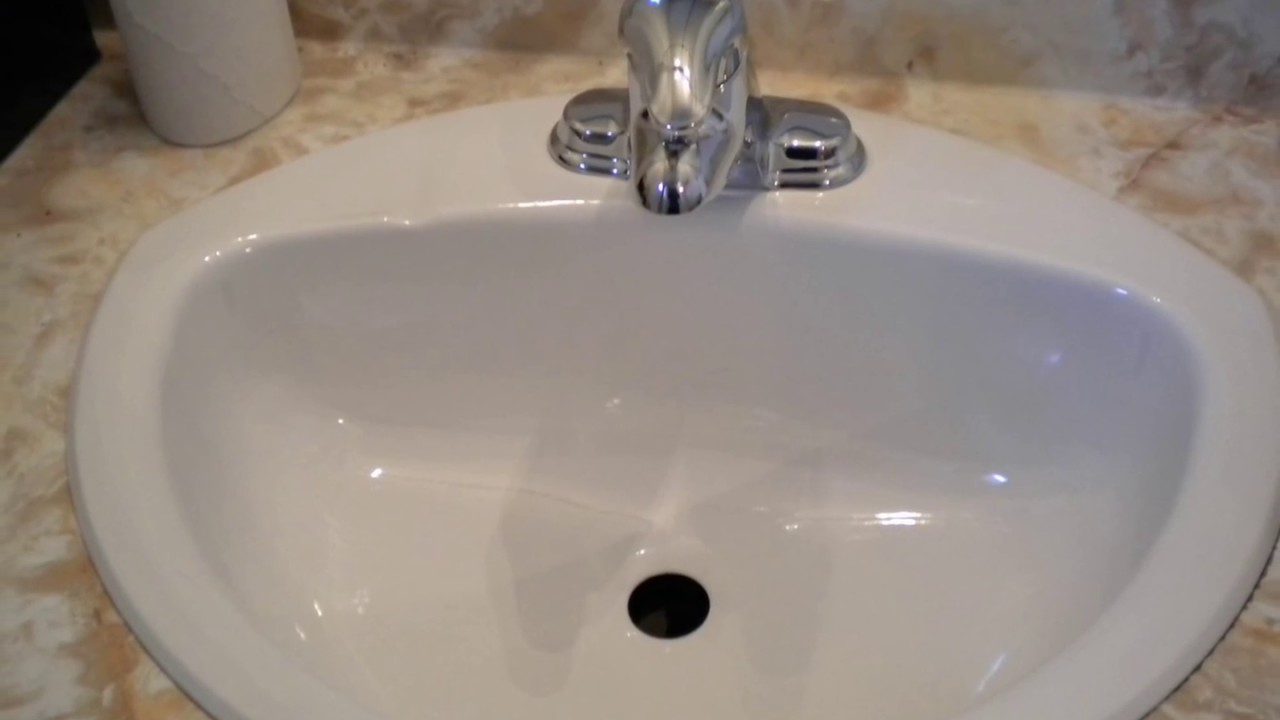
Now it's time to install your new sink. Start by placing the sink into the countertop cutout and making sure it sits evenly. Next, secure the sink in place by attaching any clips or brackets that came with your sink. Use a level to make sure the sink is straight and adjust as needed. Next, connect the supply lines to the faucet and tighten with a wrench or pliers. Turn the water supply back on and check for any leaks. If there are no leaks, you can move on to the final step.Bathroom Sink: Installation Process


Bathroom Sink


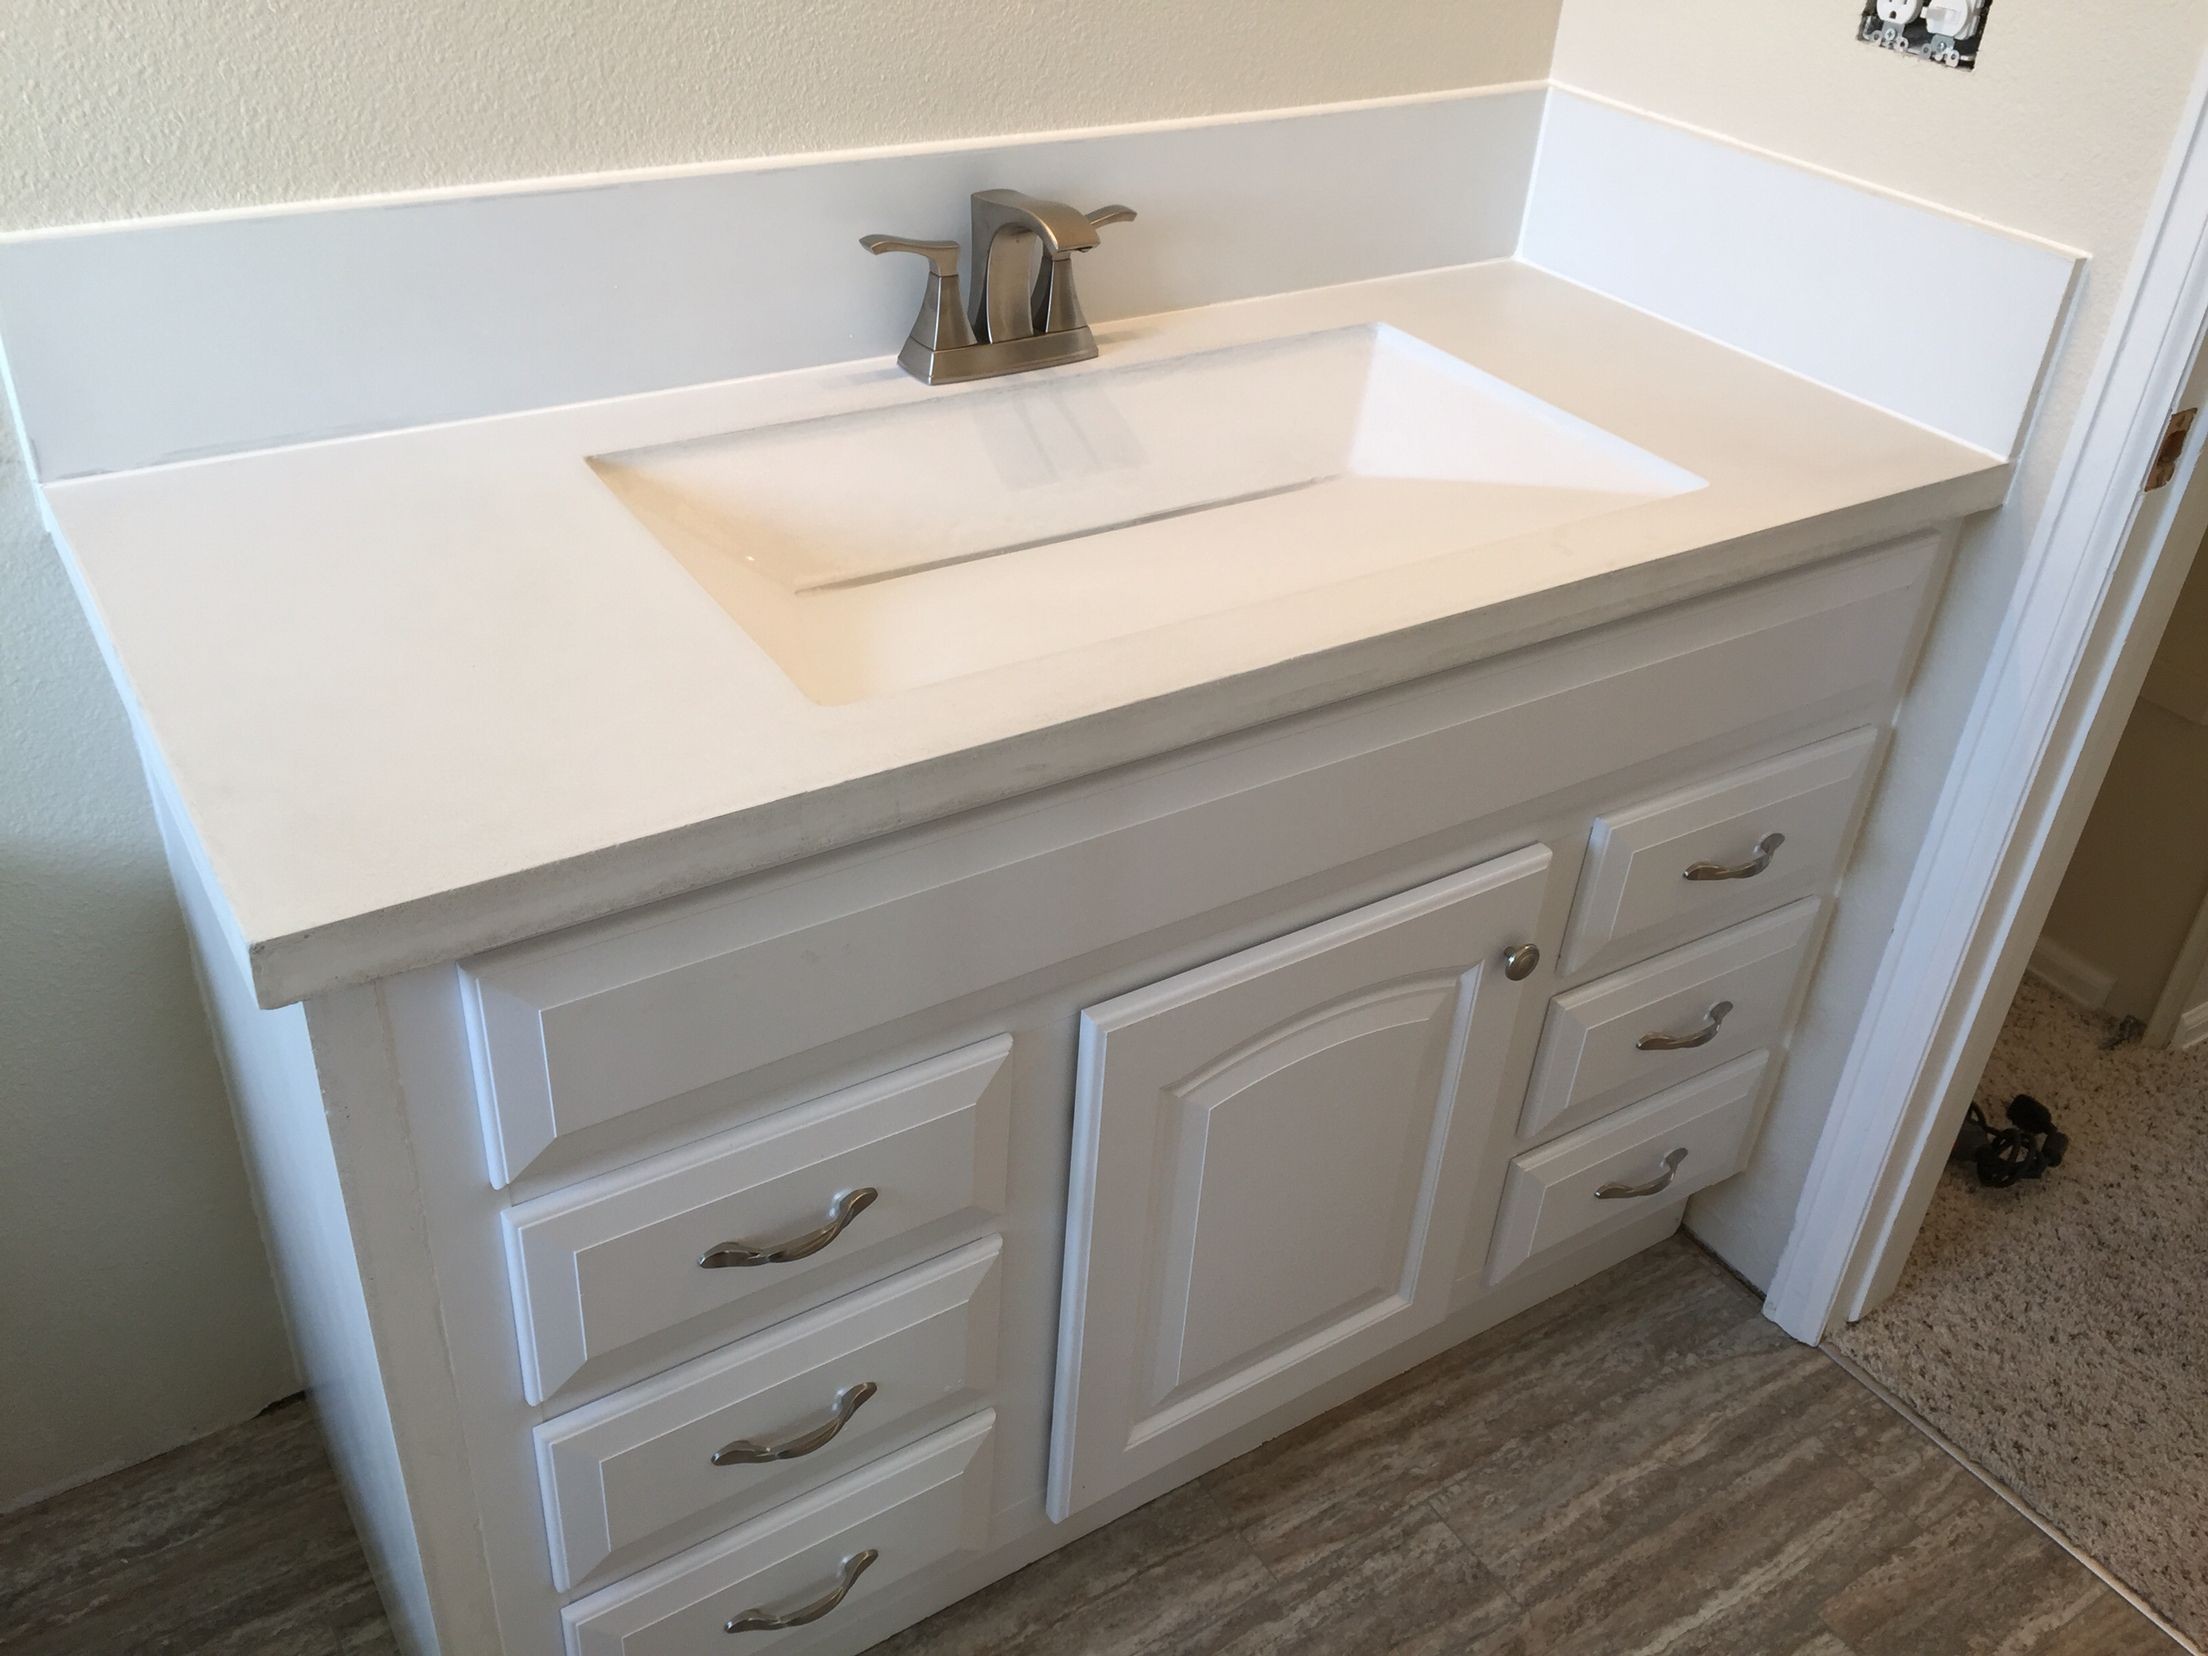
The final step in replacing your square bathroom sink is to add the finishing touches. Use a caulk gun to apply a bead of caulk around the edge of the sink where it meets the countertop. This will create a waterproof seal and give your sink a polished look. Wipe away any excess caulk with a damp cloth.Sink: Finishing Touches


Sink


Congratulations, you have successfully replaced your square bathroom sink! Take a step back and admire your new sink and the updated look of your bathroom. With this simple DIY project, you have given your bathroom a fresh new look and added value to your home.Replacement: Enjoy Your New Sink


Replacement
/knee_replacement-d94685eb137b454484c8e819c61b4a51.jpg)


Replacing your square bathroom sink may seem like a daunting task, but with the right tools and knowledge, it can be a simple and rewarding project. Remember to choose the right sink for your style and needs, have the necessary tools, and take your time during the installation process. With these tips, you can easily update your bathroom and give it a whole new look. Square Bathroom: Final Thoughts


Square Bathroom


Square Bathroom Sink Replacement: A Step-by-Step Guide

Introduction
 When it comes to house design, every detail matters. From the color of the walls to the type of flooring, each element contributes to the overall aesthetic and functionality of a space. One important aspect of house design that often gets overlooked is the bathroom sink. While it may seem like a small feature, the sink can actually make a big impact on the look and feel of a bathroom. If you have a square bathroom sink that is outdated or damaged, it may be time for a replacement. In this article, we will guide you through the process of replacing a square bathroom sink, so you can give your bathroom a fresh and modern look.
Step 1: Measure and Choose the Right Sink
 The first step in replacing a square bathroom sink is to measure the existing sink and choose a new one that will fit in the same space. You can do this by measuring the length, width, and depth of the current sink and then finding a replacement with similar dimensions. Keep in mind the style and material of the sink as well, as this will affect the overall look of your bathroom.
Some popular materials for square bathroom sinks include porcelain, ceramic, and natural stone.
The first step in replacing a square bathroom sink is to measure the existing sink and choose a new one that will fit in the same space. You can do this by measuring the length, width, and depth of the current sink and then finding a replacement with similar dimensions. Keep in mind the style and material of the sink as well, as this will affect the overall look of your bathroom.
Some popular materials for square bathroom sinks include porcelain, ceramic, and natural stone.
Step 2: Gather Materials and Tools
 Before you begin the replacement process, make sure you have all the necessary materials and tools. This will include the new sink, a new faucet if desired, plumber's putty, silicone caulk, a wrench, and a screwdriver. It's also important to have a bucket and towels on hand to catch any water that may spill during the process.
Step 3: Disconnect and Remove Old Sink
 To remove the old sink, start by turning off the water supply to the sink. This can usually be done by turning off the shut-off valves under the sink. Next, disconnect the water supply lines and drain pipe from the sink. Use a wrench to loosen any nuts or bolts that are holding the sink in place. Once everything is disconnected, carefully lift the old sink out and set it aside.
Step 4: Install New Sink
 Place the new sink into the opening and make sure it is level. Use plumber's putty around the drain opening to create a watertight seal. Then, attach the new faucet to the sink if you are installing a new one. Next, reconnect the water supply lines and drain pipe to the new sink. Use a wrench to tighten any nuts or bolts as needed.
Step 5: Secure and Caulk Sink
 Once the sink is in place, use a screwdriver to secure it to the countertop or wall. Then, use silicone caulk around the edges of the sink to create a seal and prevent any water from leaking. Smooth out the caulk with your finger or a caulk tool for a clean finish.
Step 6: Turn on Water and Check for Leaks
 Finally, turn the water supply back on and check for any leaks. If everything looks good, you're done! Admire your newly installed square bathroom sink and enjoy the fresh and updated look it brings to your space.
In Conclusion
 Replacing a square bathroom sink may seem like a daunting task, but with the right tools and instructions, it can be a simple and rewarding project. By following these steps and choosing the right sink for your space, you can give your bathroom a modern and stylish upgrade. Remember to take your time and be careful during the process, and don't hesitate to seek professional help if needed. Your new square bathroom sink will not only enhance the design of your bathroom, but also improve its functionality. Happy renovating!