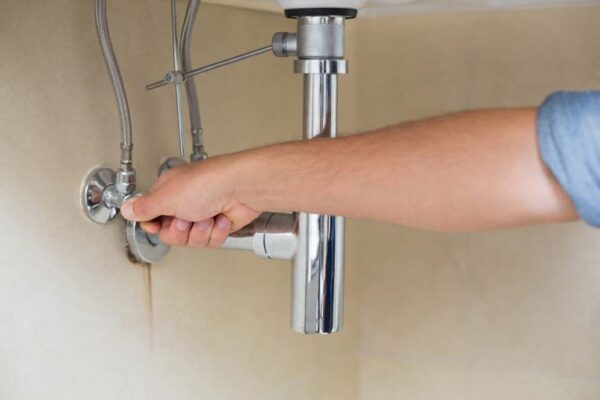
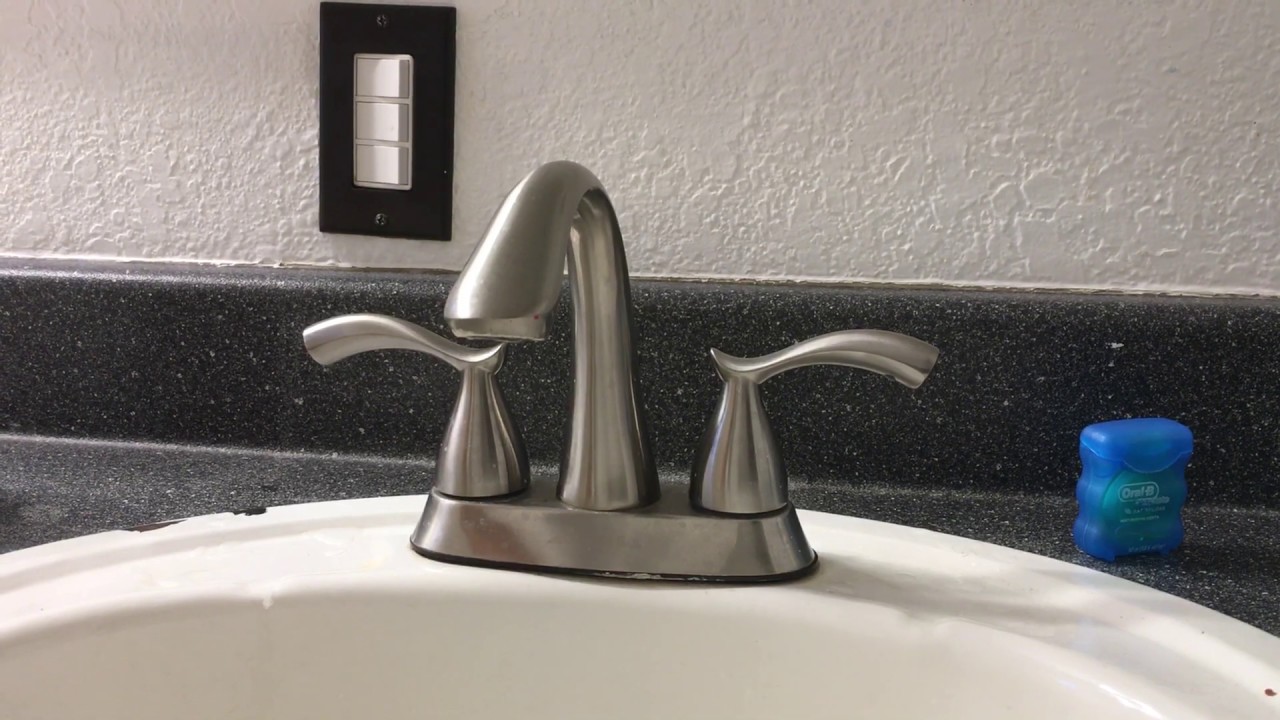
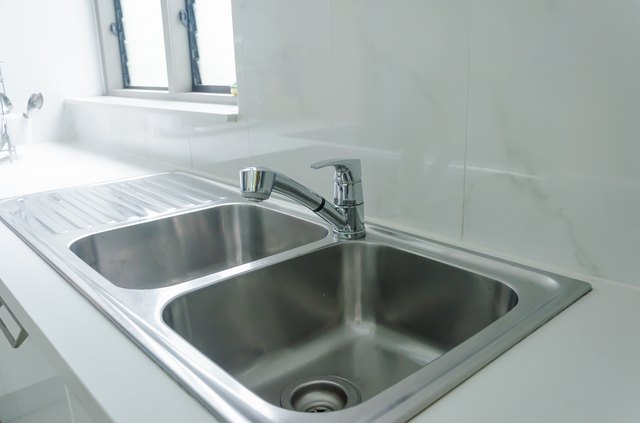
If you're facing a plumbing issue with your kitchen sink, the first step is to shut off the water supply. This will prevent any further damage and make it easier for you to fix the problem. Here's a step-by-step guide on how to shut off the water supply to your kitchen sink. Step 1: Locate the Shut-Off Valve In most cases, the shut-off valve for your kitchen sink will be located under the sink. It is a small, round valve that connects the water supply line to the faucet. If you can't find it under the sink, check near the main water supply for your house. Step 2: Turn Off the Water Supply Once you have located the shut-off valve, turn it clockwise to shut off the water supply. This will stop the flow of water to your kitchen sink. Step 3: Test the Water Supply After turning off the shut-off valve, turn on the kitchen sink faucet to test if the water supply has been completely shut off. If there is no water coming out, you have successfully shut off the water supply. Step 4: Fix the Problem With the water supply shut off, you can now proceed to fix the issue with your kitchen sink. Whether it's a leaky faucet or a clogged drain, you can now work on the problem without any water flowing.How to Shut Off the Water Supply to a Kitchen Sink
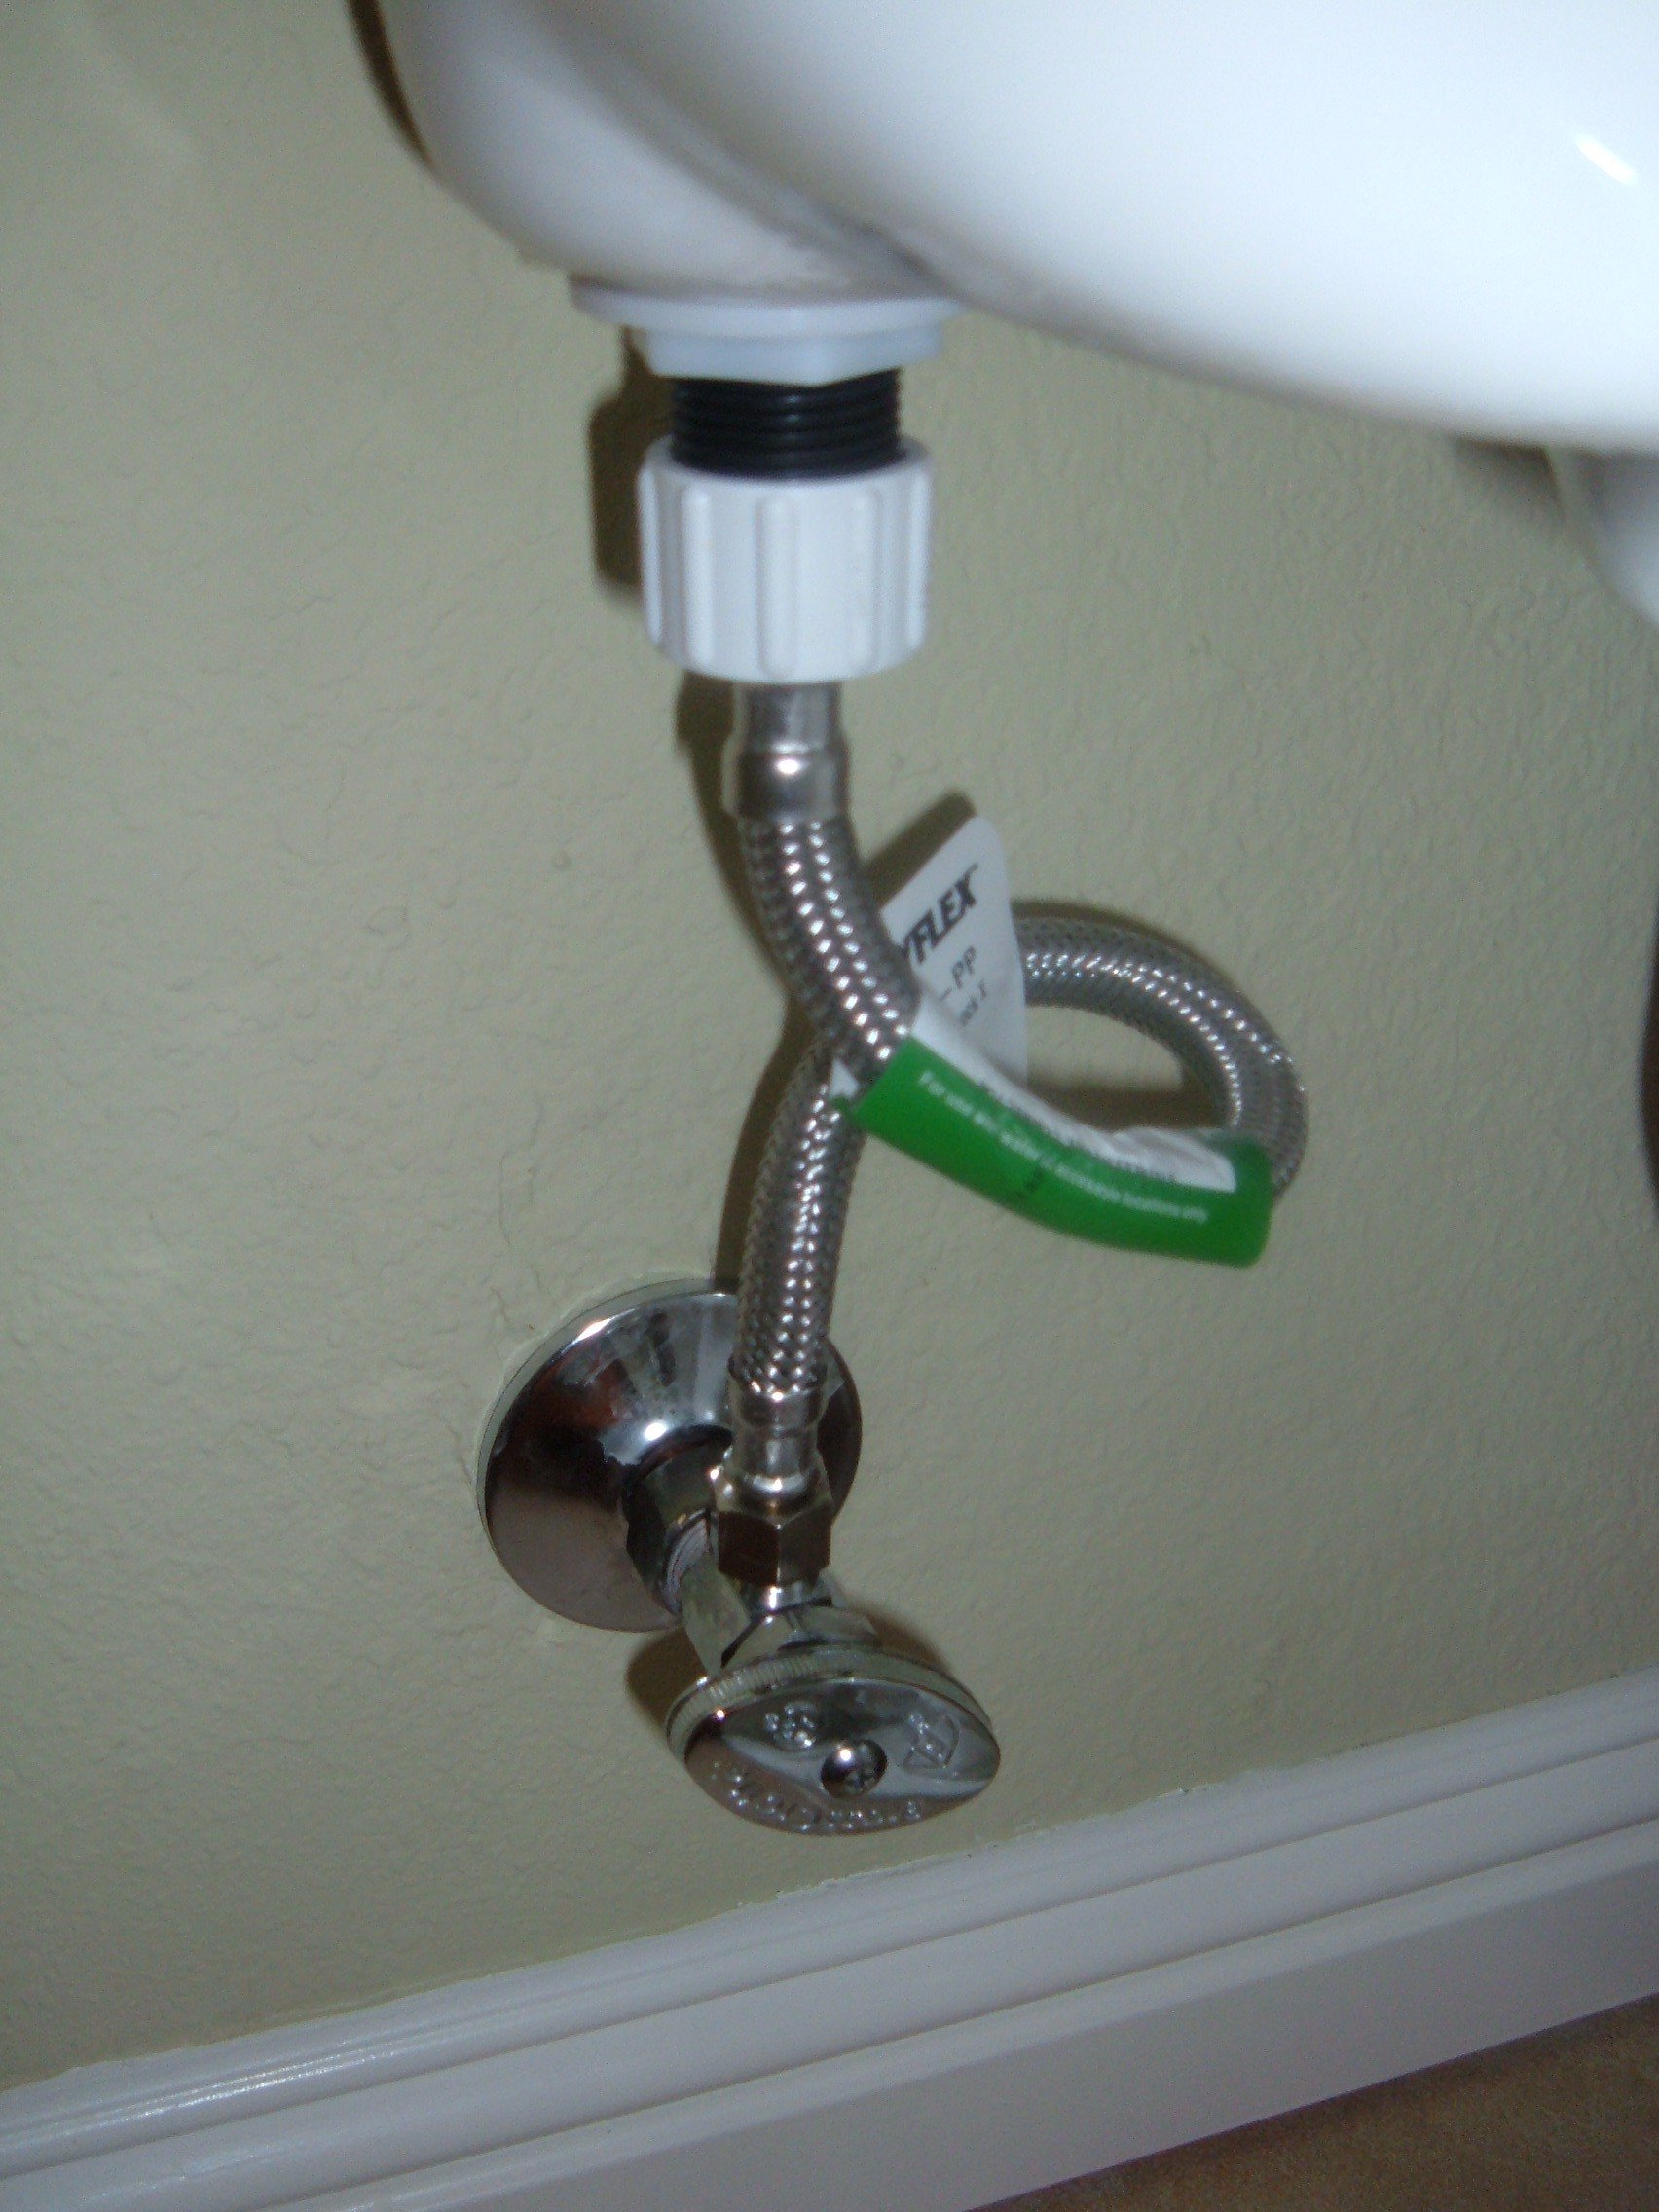

How to Shut Off the Water Supply to a Kitchen Sink
:max_bytes(150000):strip_icc()/sink-pipe-under-wash-basin-119001607-6f28aec4c66944efb7a9a38cb622ab8b.jpg)


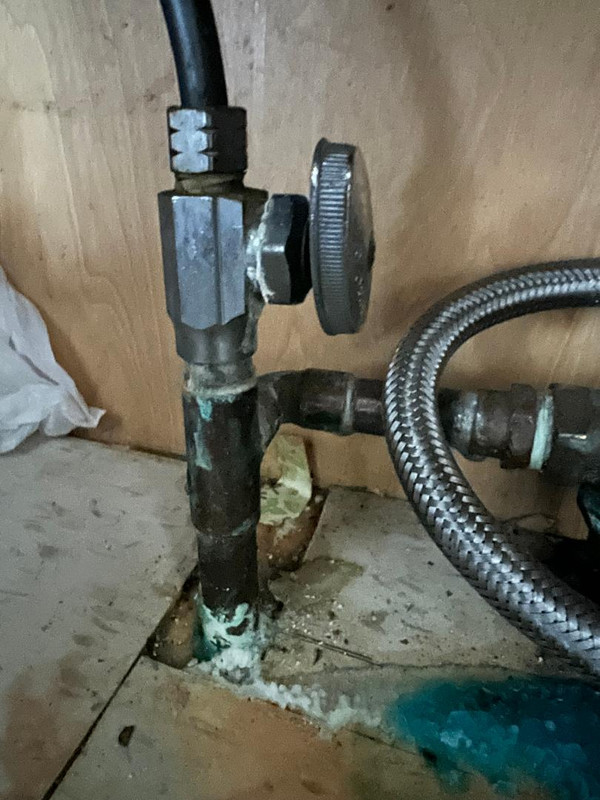
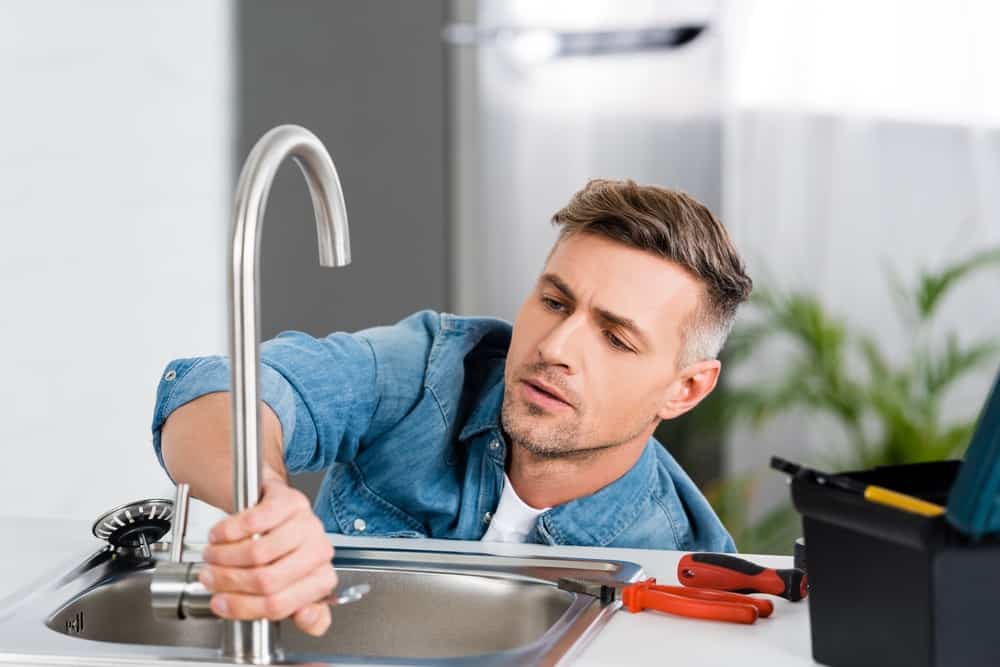
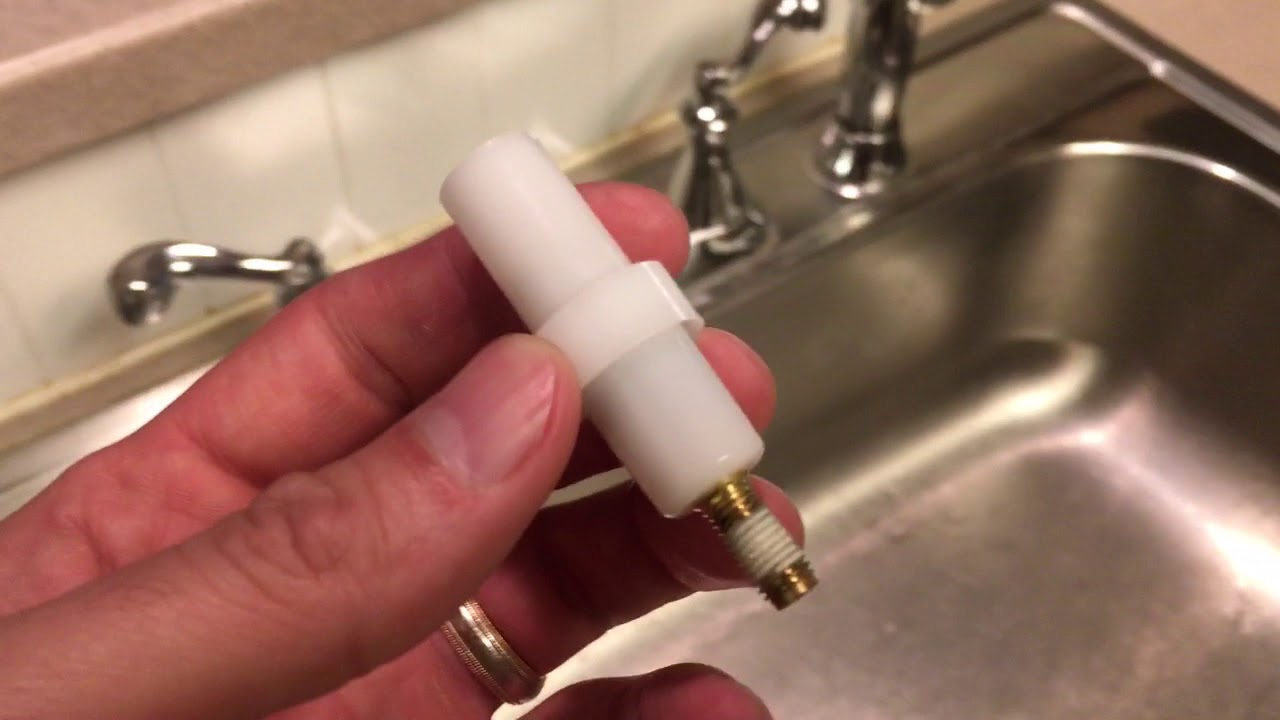
A leaky shut-off valve under your kitchen sink can be a frustrating and messy problem. But don't worry, it's a common issue that can be easily fixed. Here's how you can fix a leaky shut-off valve under your kitchen sink. Step 1: Turn off the Water Supply The first step is to shut off the water supply to your kitchen sink. Follow the same steps mentioned earlier to locate and turn off the shut-off valve. Step 2: Remove the Handle Using a wrench, remove the handle of the shut-off valve. This will expose the valve stem, which is the part responsible for controlling the flow of water. Step 3: Replace the O-Ring Inspect the valve stem and check for any damage or wear on the o-ring. If it's damaged, replace it with a new one. You can find replacement o-rings at any hardware store. Step 4: Reassemble the Shut-Off Valve Once you have replaced the o-ring, reassemble the shut-off valve by putting the handle back on and tightening it with the wrench. Turn on the water supply and test if the leak has been fixed.How to Fix a Leaky Shut-Off Valve Under a Kitchen Sink


How to Fix a Leaky Shut-Off Valve Under a Kitchen Sink


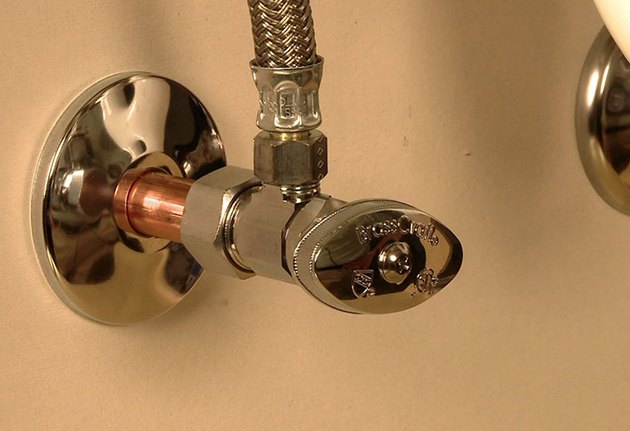
:max_bytes(150000):strip_icc()/water-shut-off-valve-types-2718739-hero-fff0f5191aeb45d595492f8c9b4b4be2.jpg)
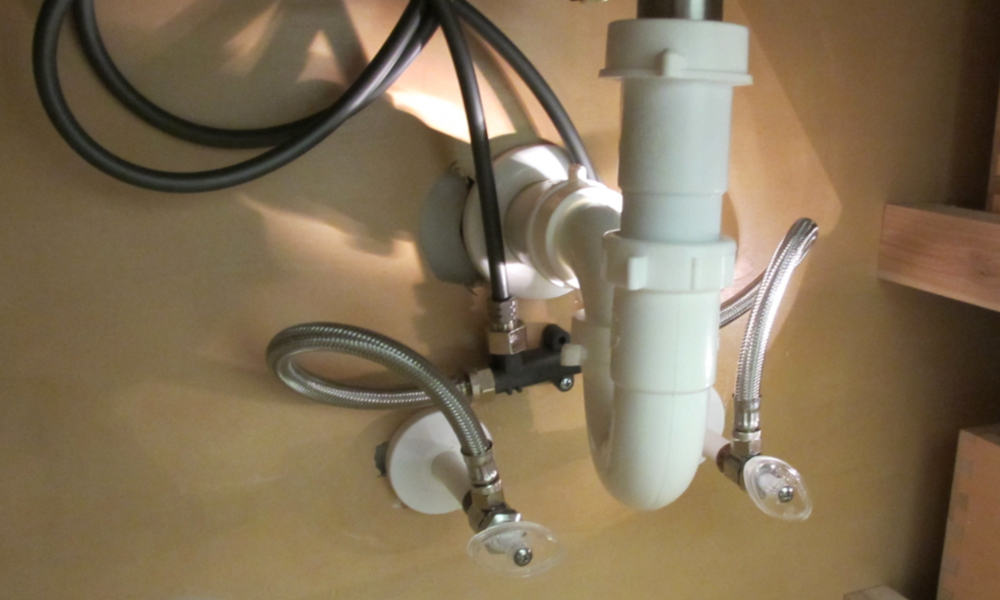
:max_bytes(150000):strip_icc()/under-sink-shut-off-valves-2718738-01-4584f904e3f84770bef0a44af58a73ac.jpg)

If your shut-off valve is beyond repair, you may need to replace it. Here's how you can replace a kitchen sink shut-off valve. Step 1: Turn off the Water Supply Before you start replacing the shut-off valve, make sure the water supply is turned off. Follow the same steps mentioned earlier to shut off the water supply. Step 2: Remove the Old Shut-Off Valve Using a wrench, loosen and remove the nuts that connect the shut-off valve to the water supply line and the faucet. Once the nuts are removed, you can easily pull out the old valve. Step 3: Install the New Shut-Off Valve Place the new shut-off valve in the same position as the old one and secure it with the nuts. Make sure the nuts are tightened properly to prevent any leaks. Step 4: Test the Water Supply Turn on the water supply and check if the new shut-off valve is functioning correctly. If there are no leaks, you have successfully replaced your kitchen sink shut-off valve.How to Replace a Kitchen Sink Shut-Off Valve


How to Replace a Kitchen Sink Shut-Off Valve


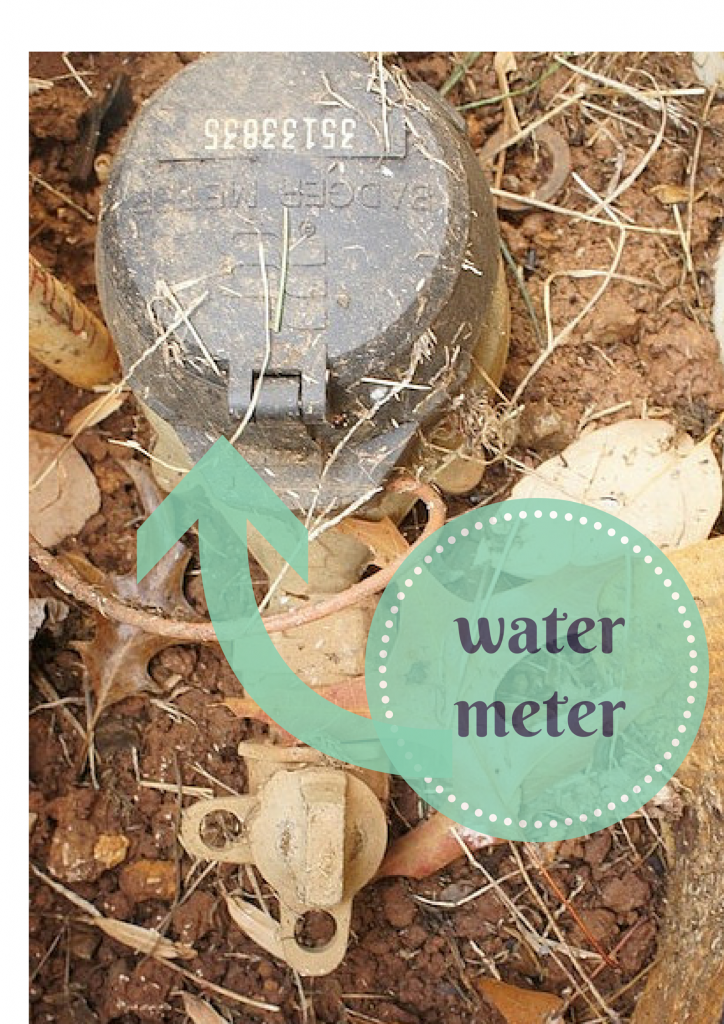
Knowing how to turn off the water supply to your kitchen sink can come in handy in case of any plumbing emergencies or repairs. Here's a quick guide on how to do it. Step 1: Locate the Main Water Shut-Off Valve The main water shut-off valve for your house is usually located in the basement or near the main water meter. It is a large handle or lever that you need to turn off to shut off the water supply to your entire house. Step 2: Turn Off the Valve Using a wrench or your hands, turn off the main water shut-off valve by turning it clockwise. This will stop the flow of water to your entire house, including the kitchen sink. Step 3: Test the Water Supply Once you have turned off the main water shut-off valve, turn on the kitchen sink faucet to check if the water supply has been completely shut off. If there is no water coming out, you have successfully turned off the water supply to your kitchen sink.How to Turn Off the Water Supply to a Kitchen Sink


How to Turn Off the Water Supply to a Kitchen Sink


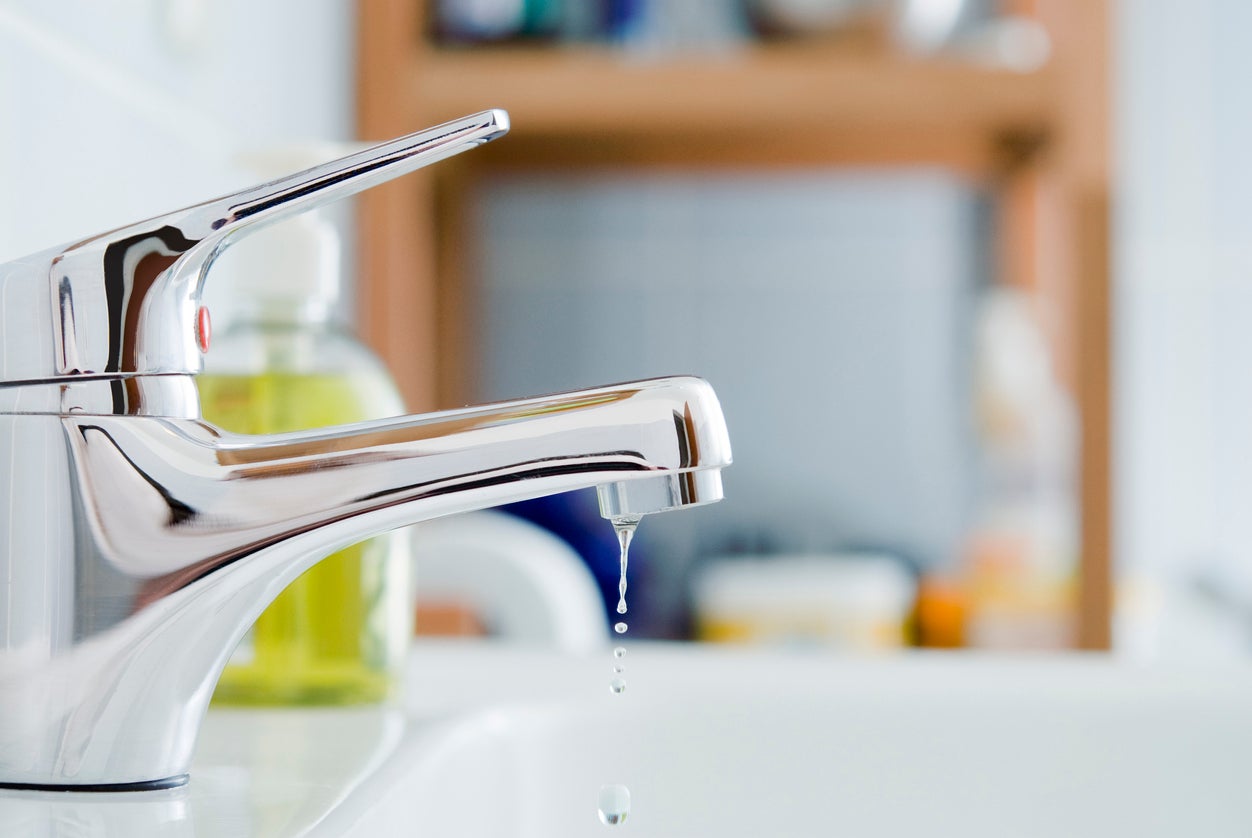
A leaky kitchen sink faucet can waste a lot of water and cause your water bill to skyrocket. Here's how you can fix a leaky kitchen sink faucet. Step 1: Turn off the Water Supply Before you start fixing the leak, make sure the water supply is turned off. Follow the steps mentioned earlier to shut off the water supply to your kitchen sink. Step 2: Disassemble the Faucet Using a wrench, remove the handle of the faucet and then unscrew the valve stem. Once the valve stem is removed, you can access the o-ring and other parts that may be causing the leak. Step 3: Replace the O-Ring and Other Parts Inspect the o-ring and other parts for any damage and replace them if necessary. You can find replacement parts at your local hardware store. Once you have replaced the parts, reassemble the faucet. Step 4: Test the Faucet Turn on the water supply and test the faucet to see if the leak has been fixed. If there are no more leaks, you have successfully fixed your kitchen sink faucet.How to Fix a Leaky Kitchen Sink Faucet


How to Fix a Leaky Kitchen Sink Faucet


A kitchen sink sprayer is a convenient tool for washing dishes and cleaning the sink. But it can also be a source of frustration when it starts to malfunction. Here's how you can repair a kitchen sink sprayer. Step 1: Turn off the Water Supply Before you start repairing the sink sprayer, make sure the water supply is turned off. Follow the steps mentioned earlier to shut off the water supply to your kitchen sink. Step 2: Check the Connections Inspect the connections between the sprayer and the faucet to make sure they are secure. If they are loose, tighten them with a wrench. If they are damaged, you may need to replace them. Step 3: Clean the Aerator The aerator is the small mesh screen at the end of the sprayer. If it's clogged with debris, it can cause the sprayer to malfunction. Remove the aerator and clean it thoroughly before putting it back in place. Step 4: Test the Sprayer Turn on the water supply and test the sprayer to see if it's functioning properly. If it's still not working, you may need to replace the sprayer.How to Repair a Kitchen Sink Sprayer

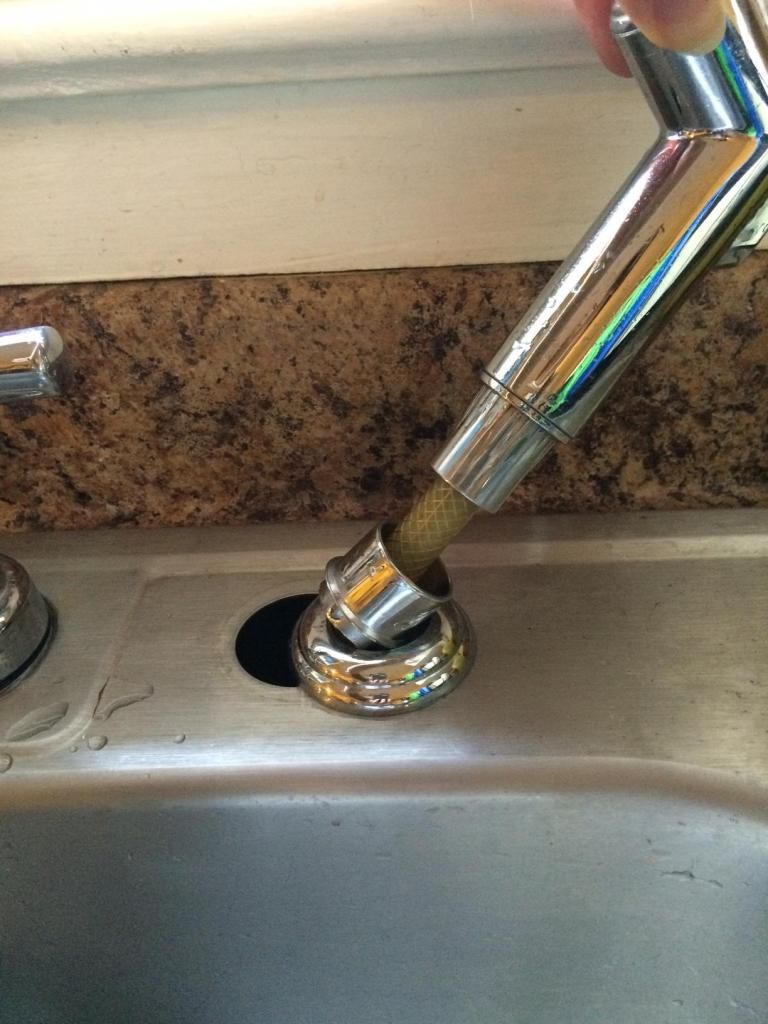

How to Repair a Kitchen Sink Sprayer


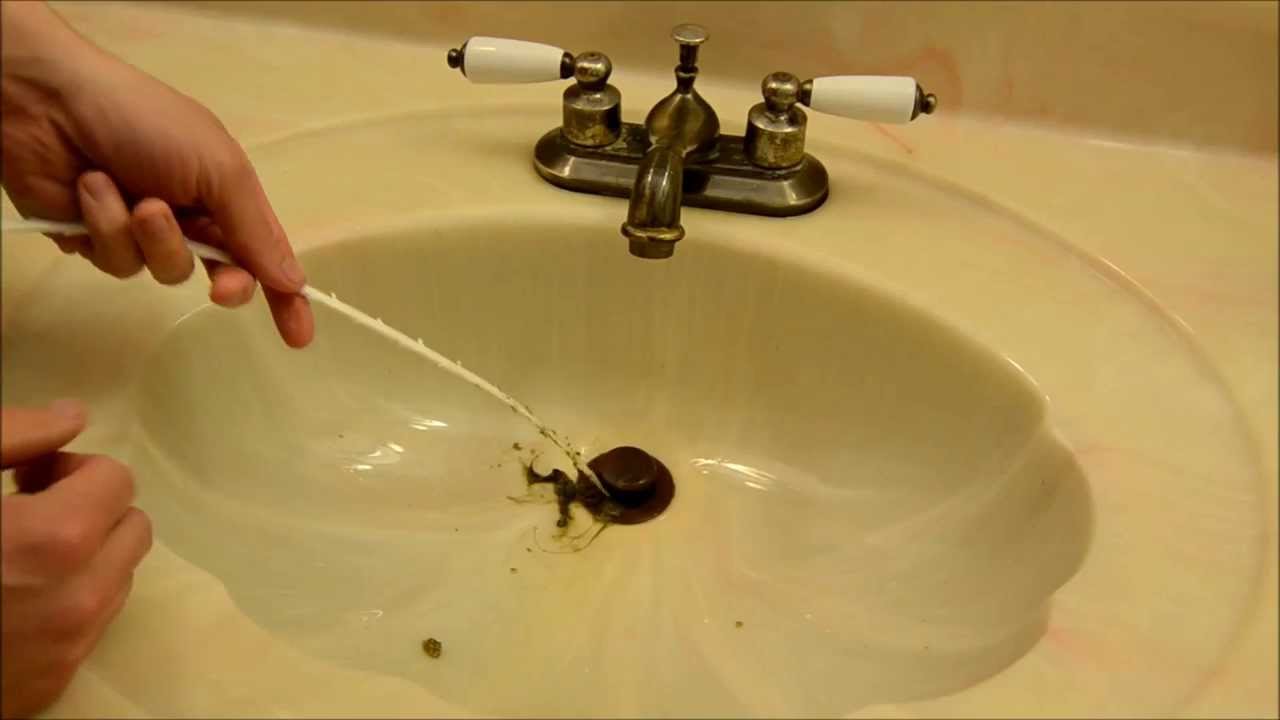
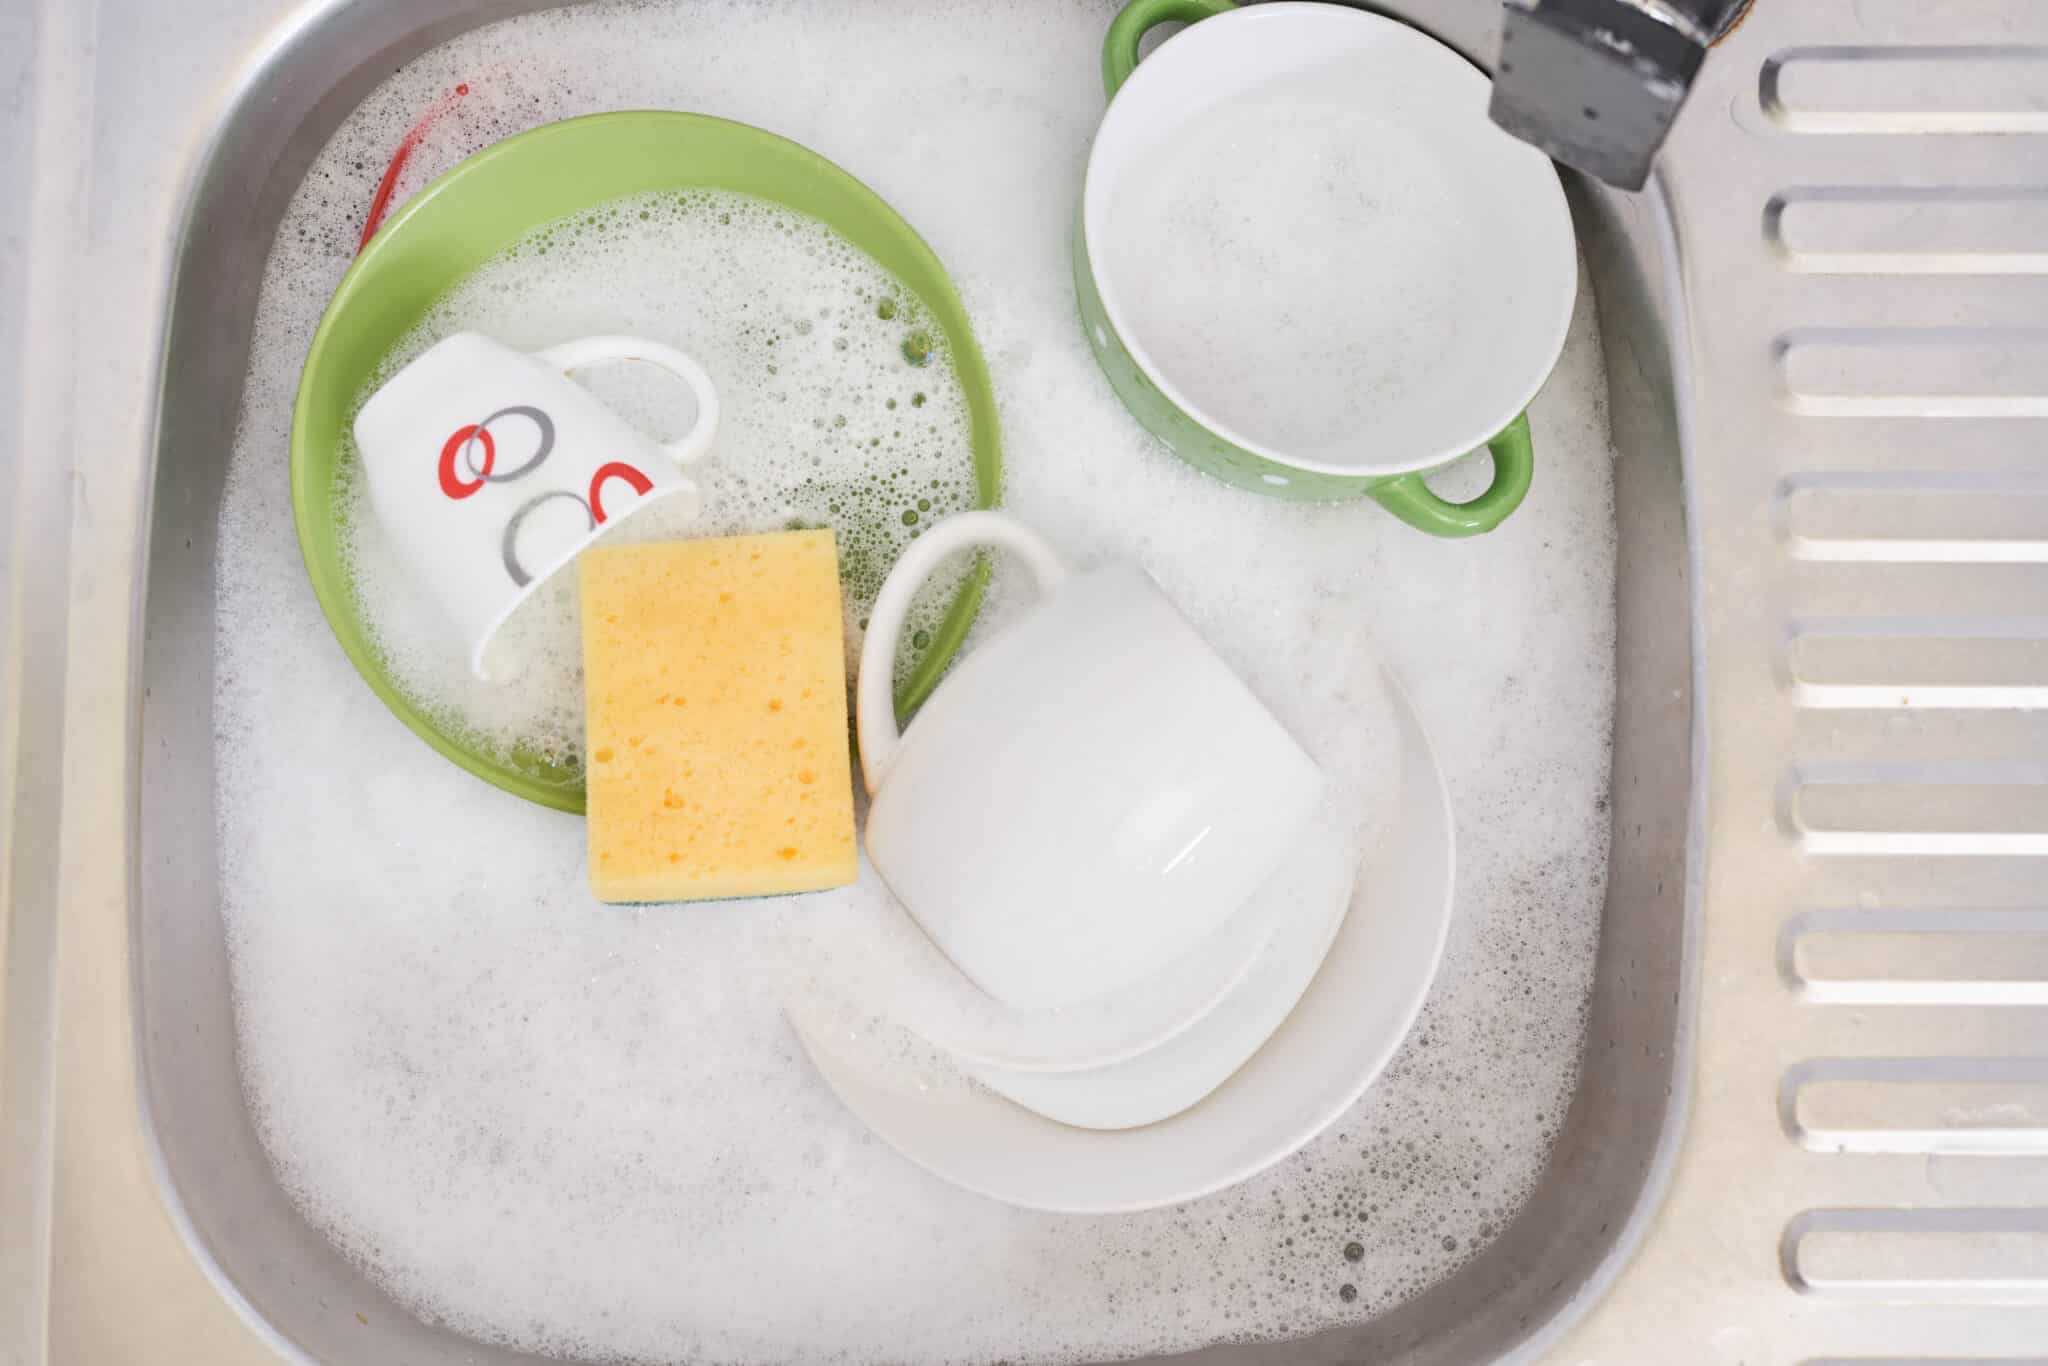
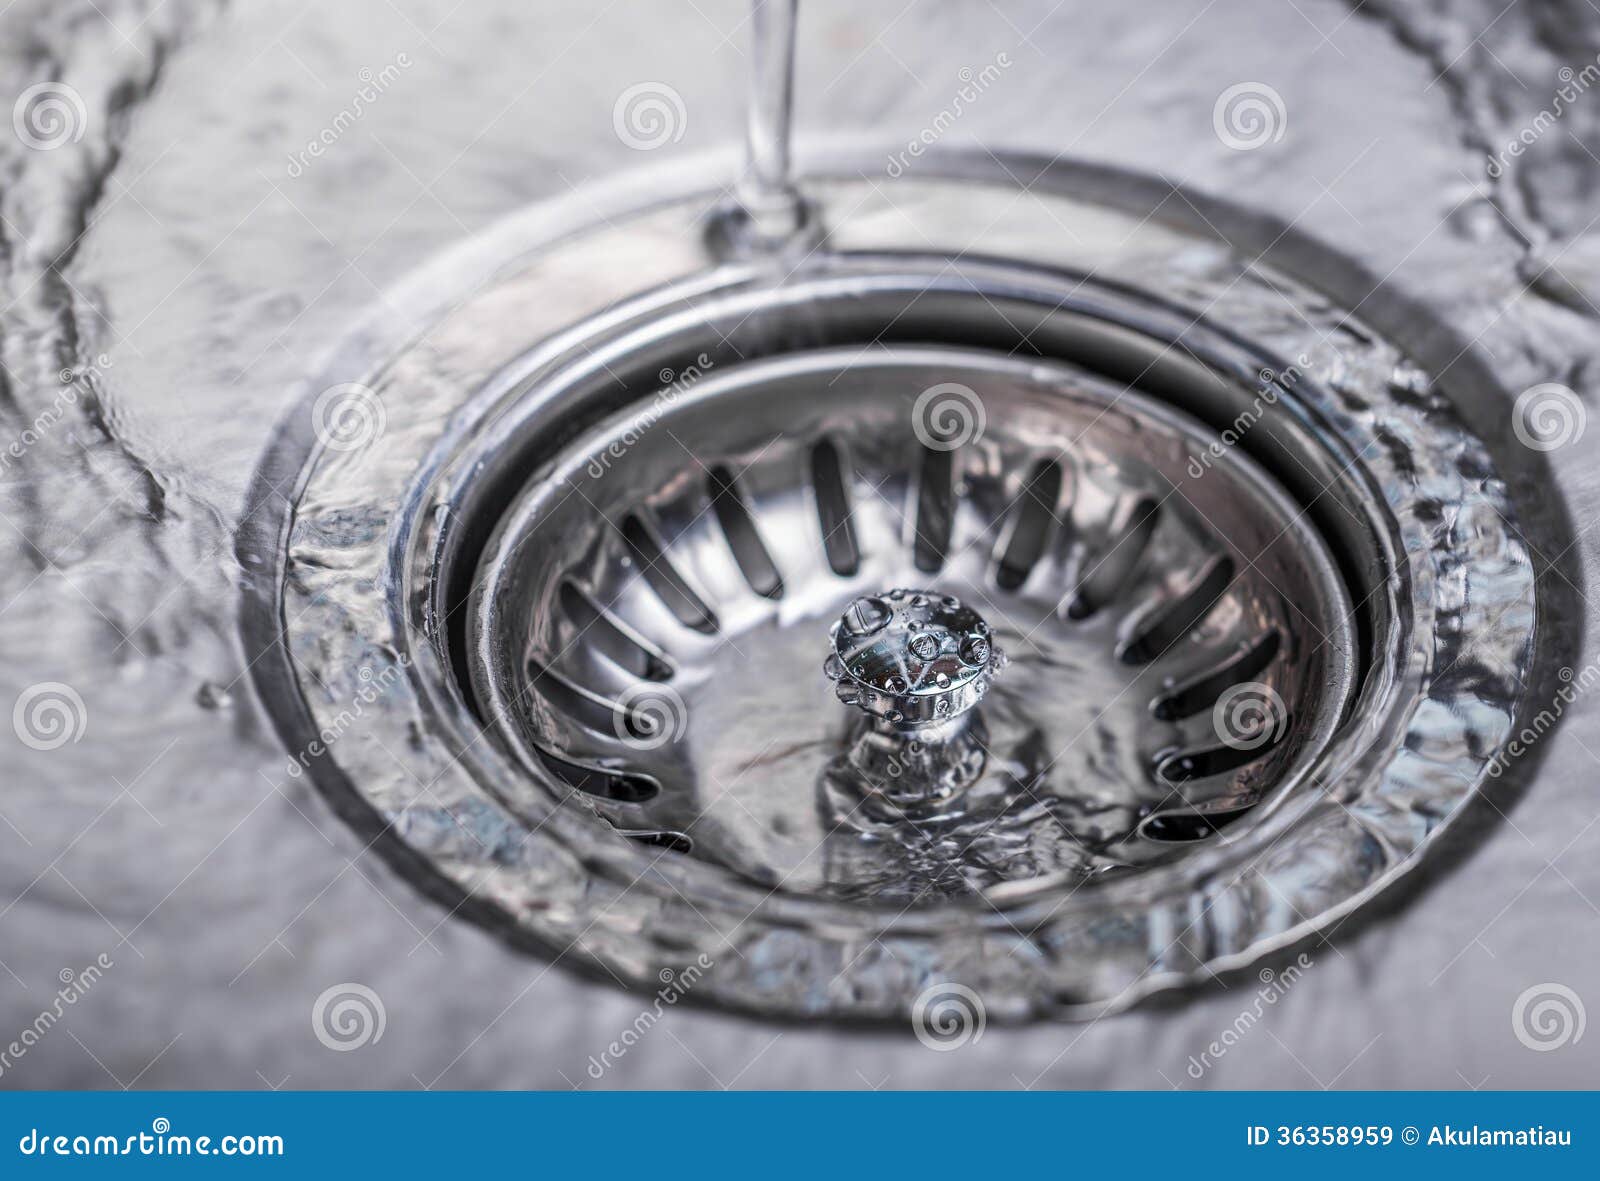
A clogged kitchen sink can be a major inconvenience, but it's a common problem that can be easily fixed. Here's how you can unclog a kitchen sink. Step 1: Clear the Sink Remove any dishes or debris from the sink to have a clear workspace. This will also prevent any objects from falling into the drain while you're unclogging it. Step 2: Plunge the Drain Using a plunger, push and pull on the drain to create suction. This will help dislodge any clogs in the drain. You may need to repeat this a few times to completely unclog the sink. Step 3: Use a Drain Snake If the plunger doesn't work, you can use a drain snake to remove any stubborn clogs. Insert the snake into the drain and twist it to break up the clog. Step 4: Run Hot Water After unclogging the sink, run hot water for a few minutes to flush out any remaining debris. This will also help prevent future clogs.How to Unclog a Kitchen Sink
/plumber-unclogging-kitchen-sink-169270382-5797a9355f9b58461f27f024.jpg)

How to Unclog a Kitchen Sink


/how-to-unclog-a-kitchen-sink-2718799_sketch_FINAL-8c5caa805a69493ab22dfb537c72a1b7.png)


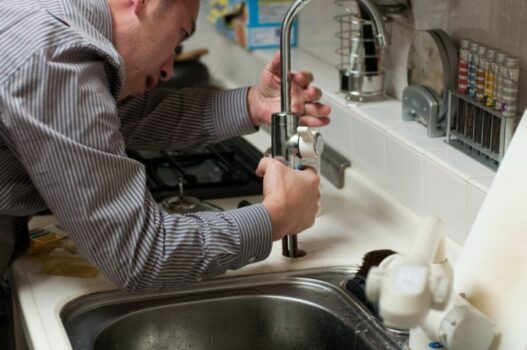
If you're remodeling your kitchen or just want to upgrade your old sink, you may need to install a new kitchen sink. Here's how you can do it. Step 1: Choose the Right Sink Before you start installing the sink, make sure you have chosen the right size and type of sink for your kitchen. Measure the space where the sink will go and choose a sink that fits perfectly. Step 2: Turn off the Water Supply Before you start any plumbing work, make sure you turn off the water supply to your kitchen. Follow the steps mentioned earlier to shut off the water supply. Step 3: Remove the Old Sink If you're replacing an old sink, remove it by disconnecting the water supply lines and the drain pipe. Then, remove the sink from the countertop. Step 4: Install the New Sink Place the new sink in the hole on the countertop and secure it with clips. Connect the water supply lines and the drain pipe to the new sink. Make sure everything is tightened properly to prevent any leaks. Step 5: Test the Sink Turn on the water supply and test the sink to see if it's functioning properly. If there are no leaks, you have successfully installed your new kitchen sink.How to Install a Kitchen Sink


How to Install a Kitchen Sink


Over time, the drain in your kitchen sink may start to rust or get damaged. Here's how you can replace a kitchen sink drain. Step 1: Turn off the Water Supply As always, make sure you have turned off the water supply before starting any plumbing work. Step 2: Remove the Old Drain Using a wrench, loosen and remove the nut that connects the drain to the sink. Then, unscrew the old drain from the sink and remove it. Step 3: Install the New Drain Place the new drain in the sink and secure it with the nut and gasket provided. Make sure it's tightened properly to prevent any leaks. Step 4: Test the Drain Turn on the water supply and test the new drain to see if it's functioning properly. If there are no leaks, you have successfully replaced your kitchen sink drain.How to Replace a Kitchen Sink Drain


How to Replace a Kitchen Sink Drain


/how-to-install-a-sink-drain-2718789-hero-b5b99f72b5a24bb2ae8364e60539cece.jpg)


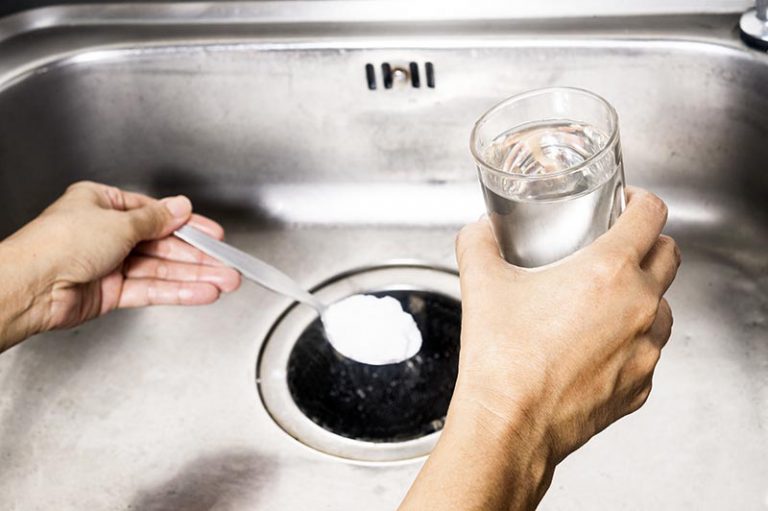
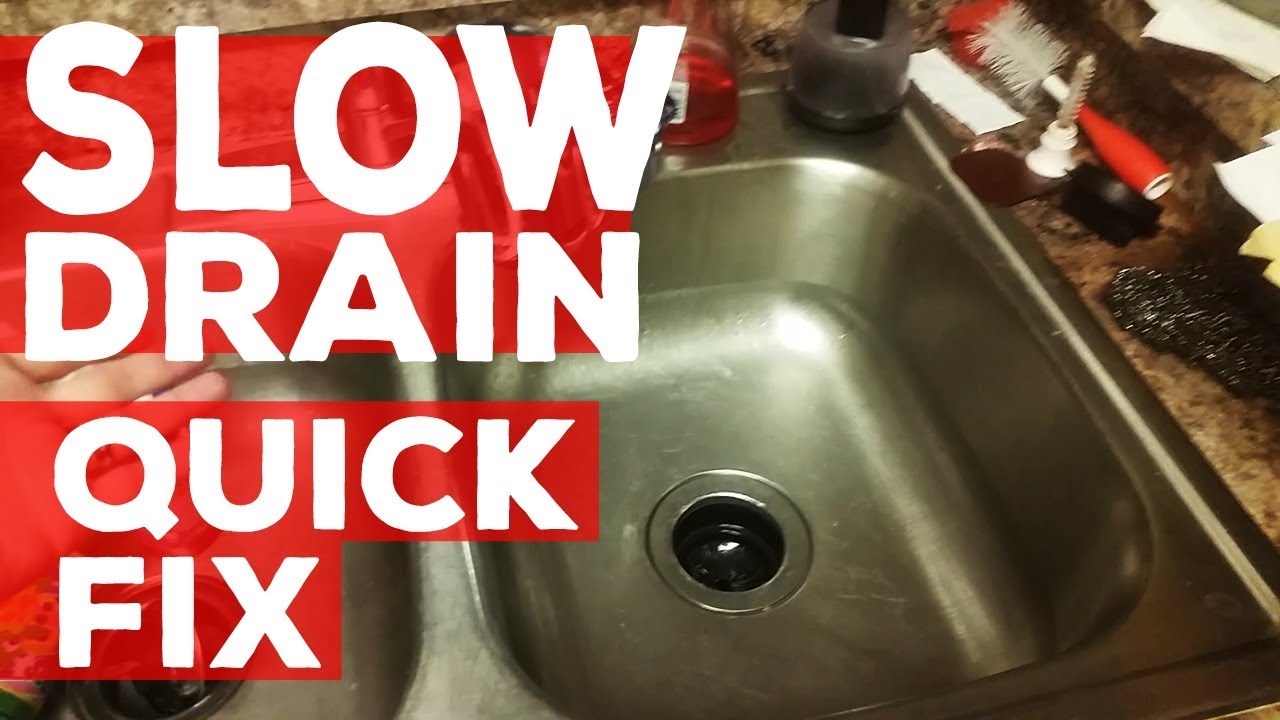
A slow draining kitchen sink can be a minor annoyance, but it can also be a sign of a bigger problem. Here's how you can fix a slow draining kitchen sink. Step 1: Clear the Drain Remove any debris or hair that may be clogging the drain. You can use a drain snake or plunger to dislodge any stubborn clogs. Step 2: Use a Chemical Drain Cleaner If the clog is not cleared with a plunger or drain snake, you can try using a chemical drain cleaner. Follow the instructions on the product carefully and make sure to wear protective gloves. Step 3: Check the Vent If the drain is still slow even after clearing the clog, the issue may be with the vent. Check the vent pipe and make sure it's not blocked. If it is, clear the blockage to improve drainage. Step 4: Call a Professional If none of the above steps work, it's best to call a professional plumber. They can diagnose and fix the issue with your kitchen sink drain efficiently and effectively.How to Fix a Slow Draining Kitchen Sink


How to Fix a Slow Draining Kitchen Sink


The Benefits of Installing a Cold Water Shut-Off Valve in Your Kitchen Sink

Improved Safety and Convenience
:max_bytes(150000):strip_icc()/water-overflowing-in-kitchen-sink-200553937-001-5797e6335f9b58461f5a6736.jpg) When it comes to the design of your home, safety and convenience should always be top priorities. This is especially true in the kitchen, where accidents can happen in the blink of an eye. By installing a cold water shut-off valve in your kitchen sink, you can have peace of mind knowing that you have a quick and easy way to turn off the water supply in case of an emergency. Whether it's a sudden burst pipe or a burnt pot on the stove, having a shut-off valve within reach can save you from potential water damage and hazardous situations.
When it comes to the design of your home, safety and convenience should always be top priorities. This is especially true in the kitchen, where accidents can happen in the blink of an eye. By installing a cold water shut-off valve in your kitchen sink, you can have peace of mind knowing that you have a quick and easy way to turn off the water supply in case of an emergency. Whether it's a sudden burst pipe or a burnt pot on the stove, having a shut-off valve within reach can save you from potential water damage and hazardous situations.
Cost Savings
 Another benefit of a cold water shut-off valve is the potential cost savings it can provide. Many homeowners are unaware of the amount of water that can be wasted by leaving the faucet running while doing dishes or preparing food. By installing a shut-off valve, you can easily control the flow of water and reduce your utility bills. Additionally, in the event of a leak or plumbing issue, a shut-off valve can prevent excessive water usage and save you money on repairs.
Prevention of Water Contamination
 In addition to improving safety and saving money, a cold water shut-off valve can also help prevent water contamination in your kitchen. If you have multiple sinks or appliances connected to the same water supply, a shut-off valve can prevent cross-contamination. This is especially important if you have a garbage disposal or dishwasher that can potentially introduce bacteria into your water supply. By easily shutting off the water to a specific sink, you can ensure that your drinking and cooking water remains clean and safe.
Final Thoughts
 In conclusion, installing a cold water shut-off valve in your kitchen sink is a simple yet effective way to improve the design and functionality of your home. Not only does it provide added safety and convenience, but it can also save you money and prevent water contamination. Whether you are building a new home or looking to upgrade your existing kitchen, consider the benefits of a shut-off valve and make it a part of your house design today.