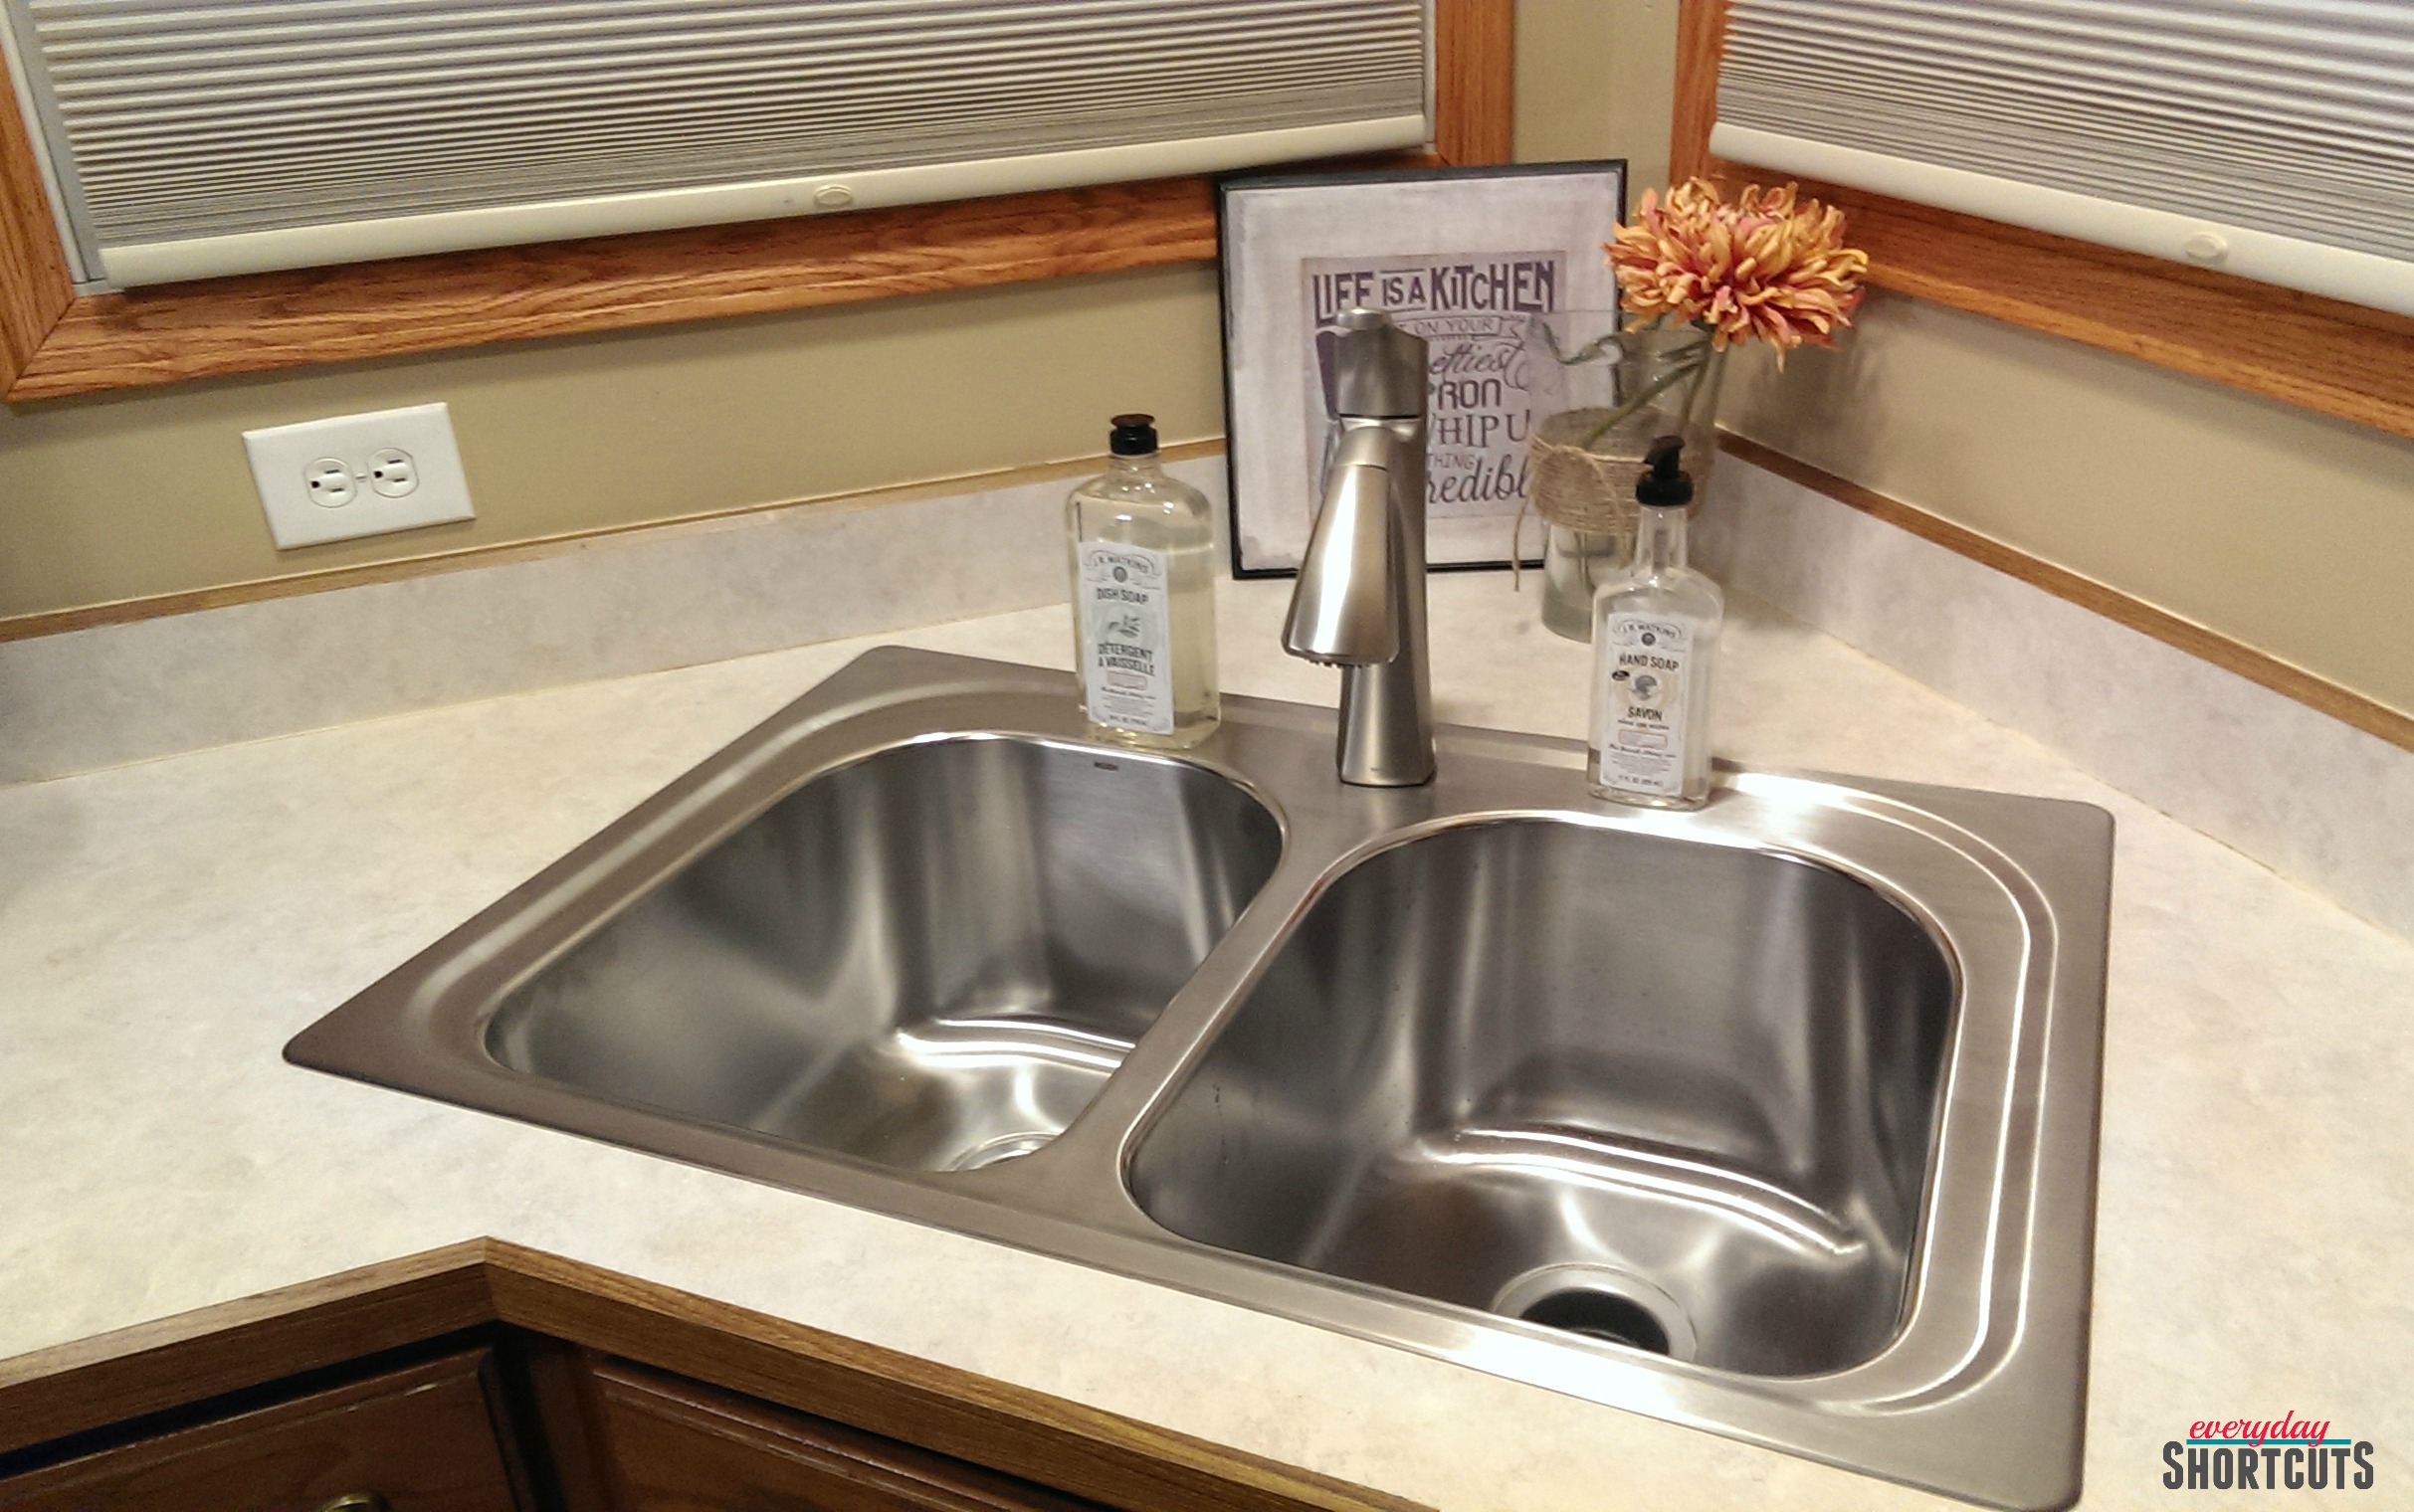
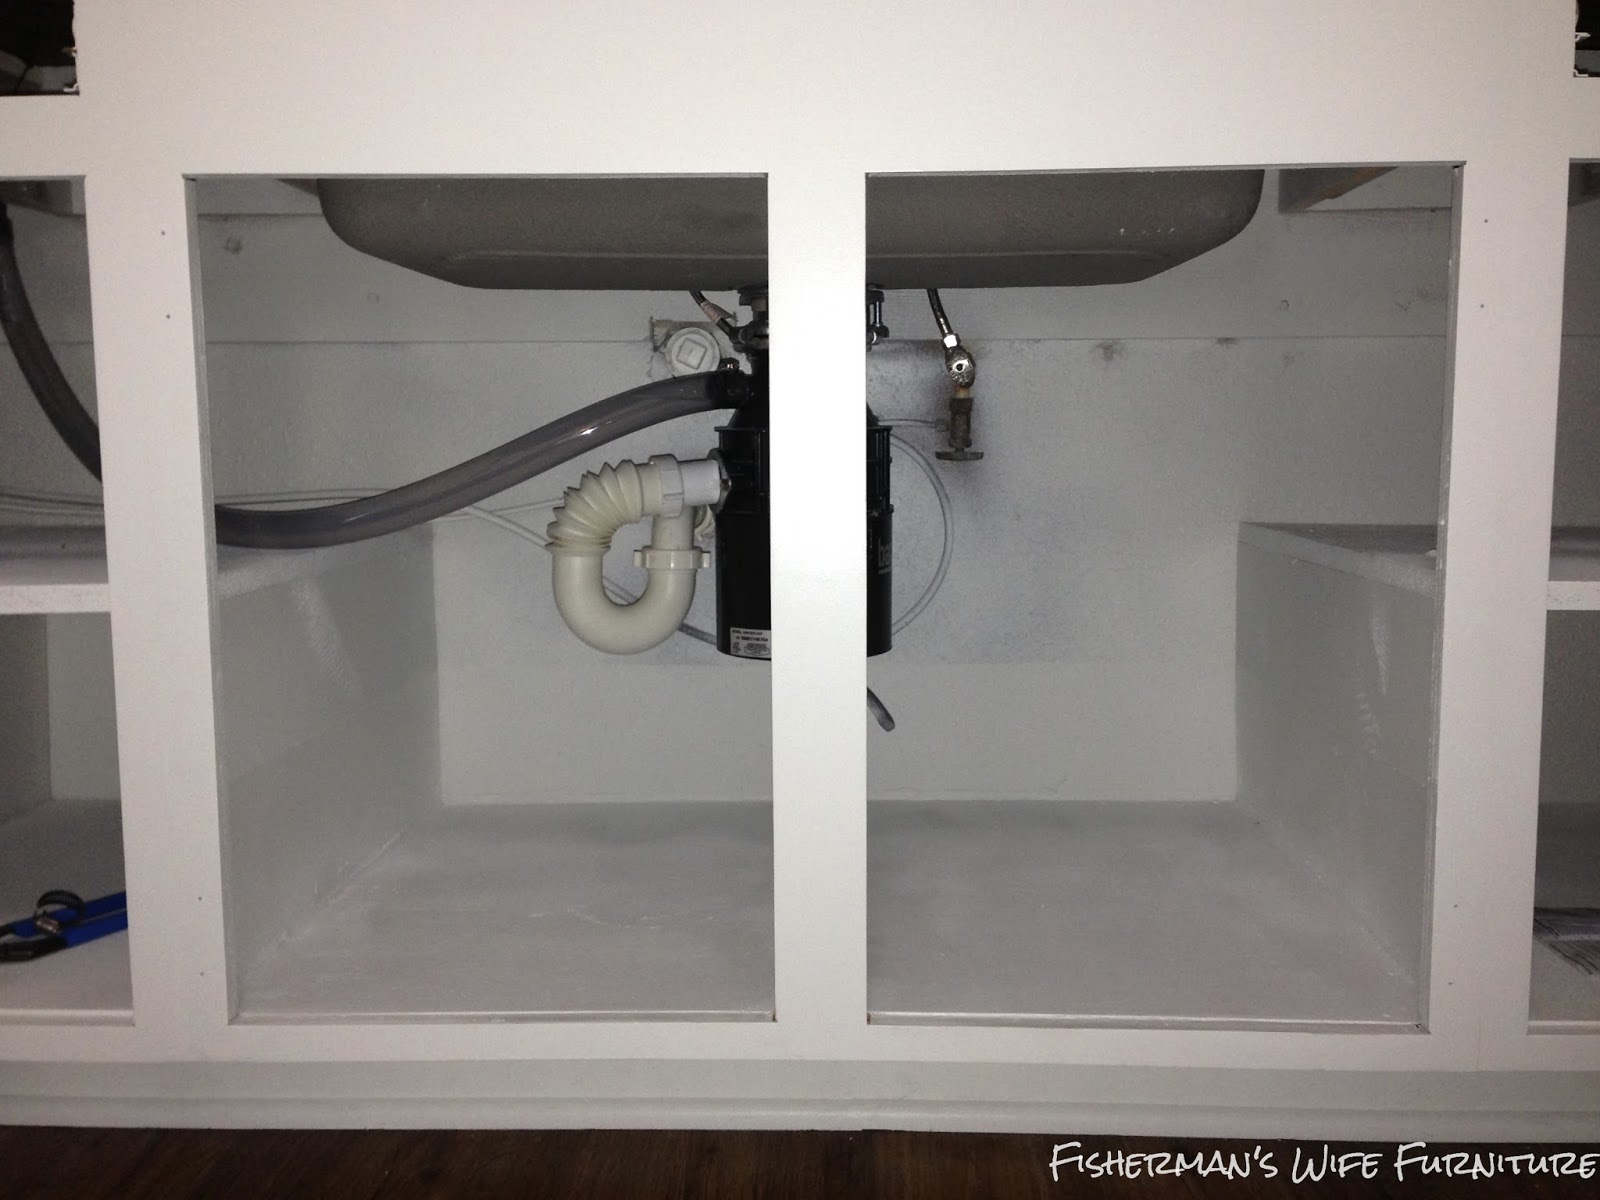
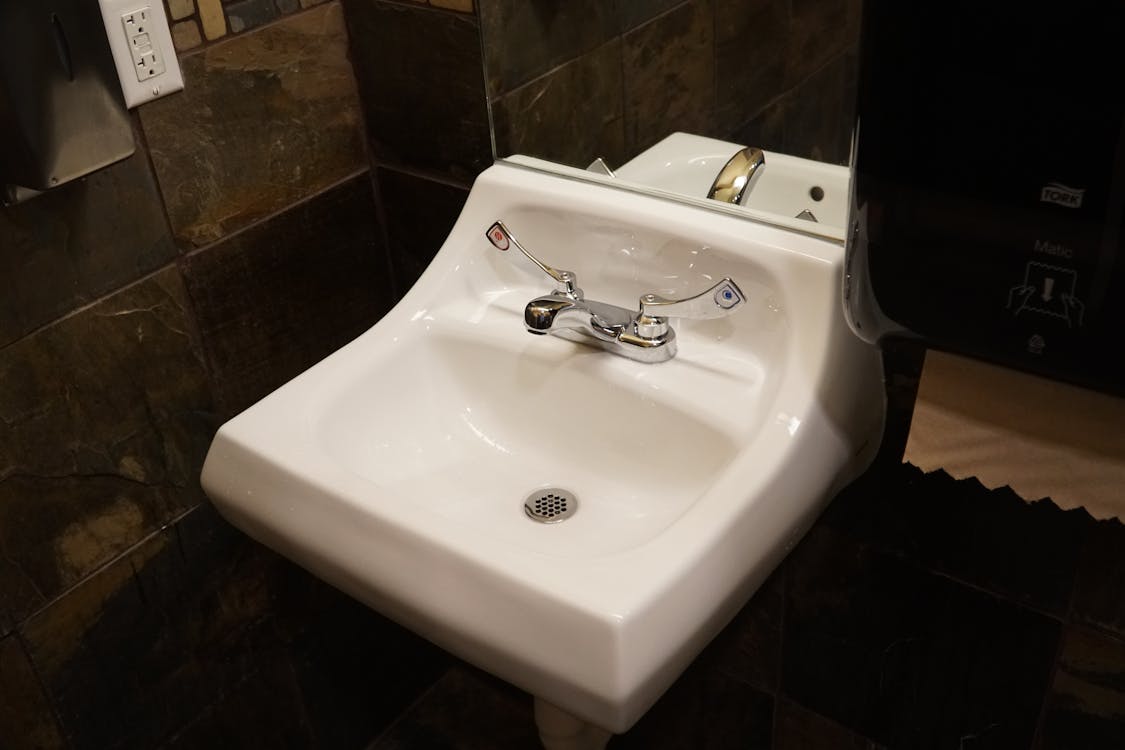
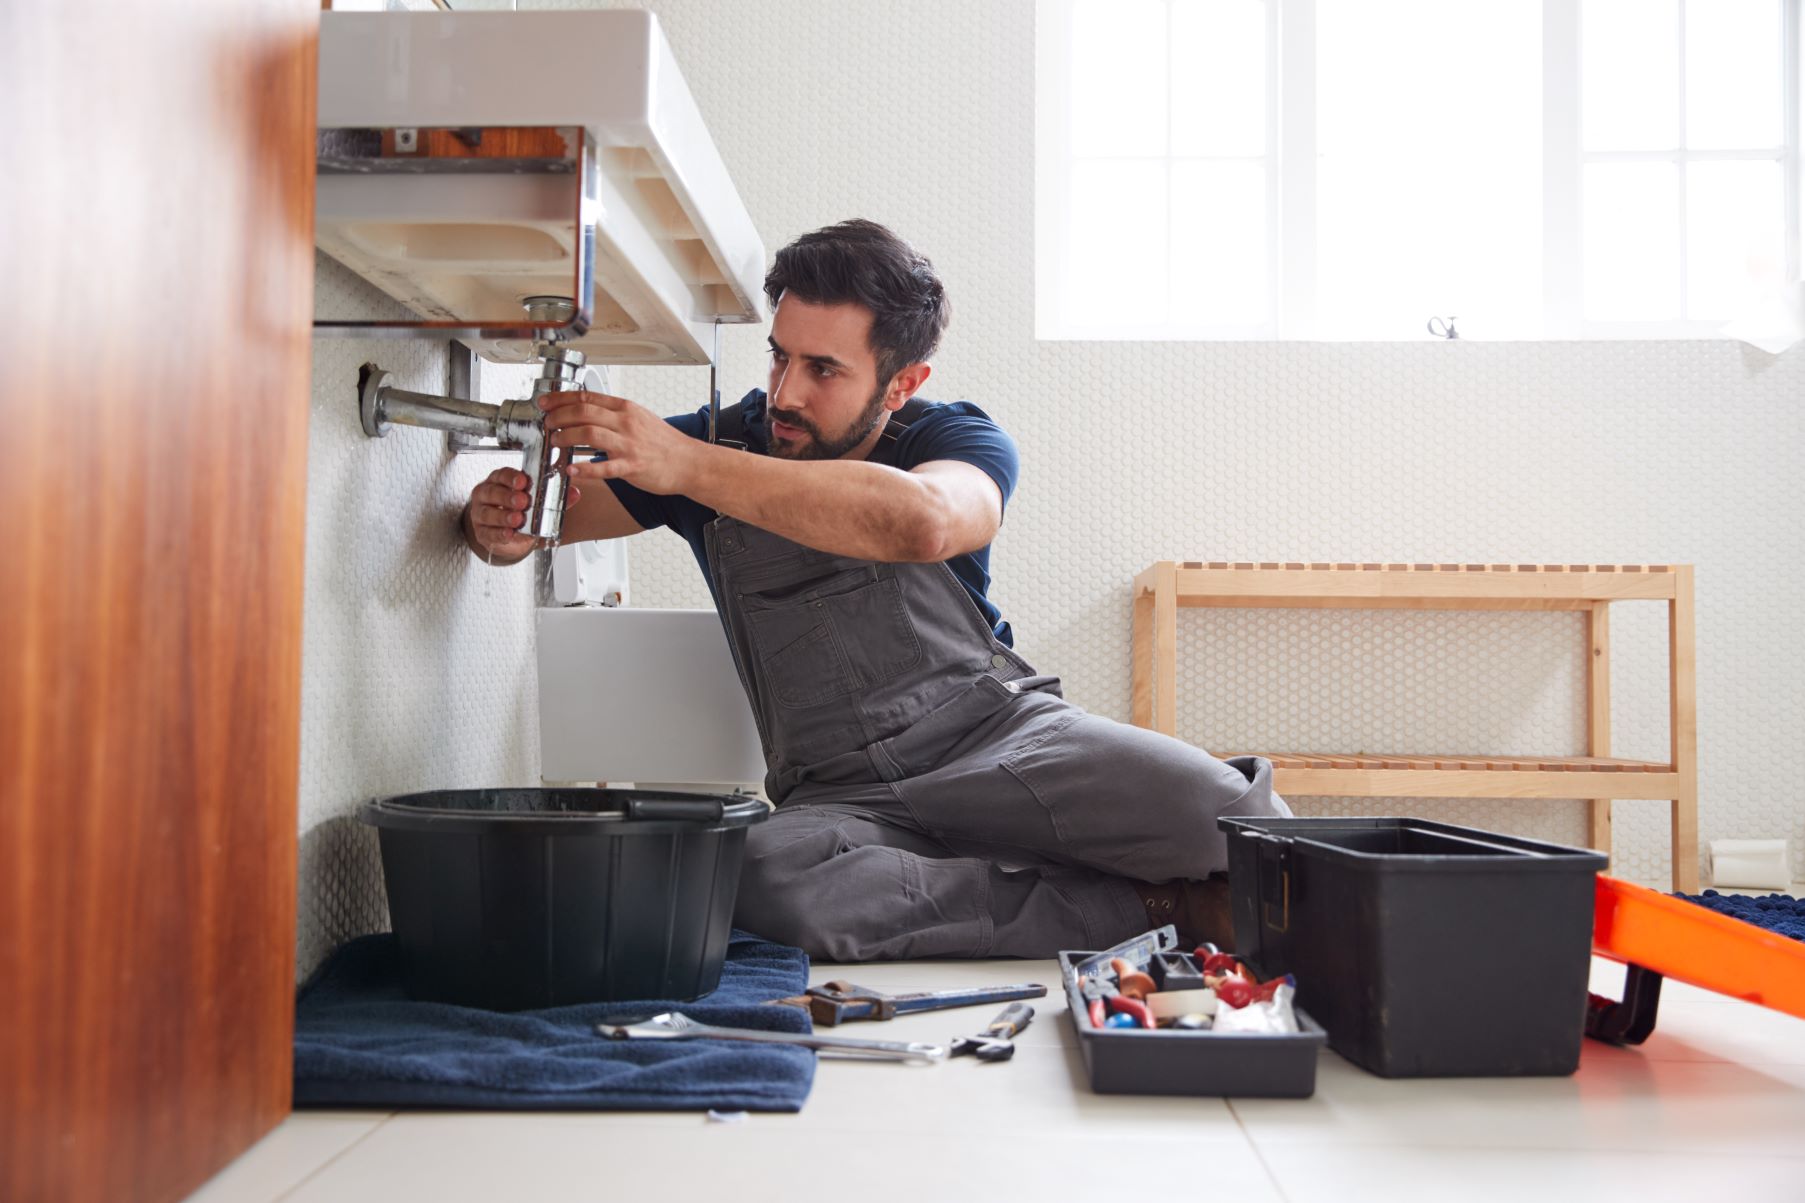
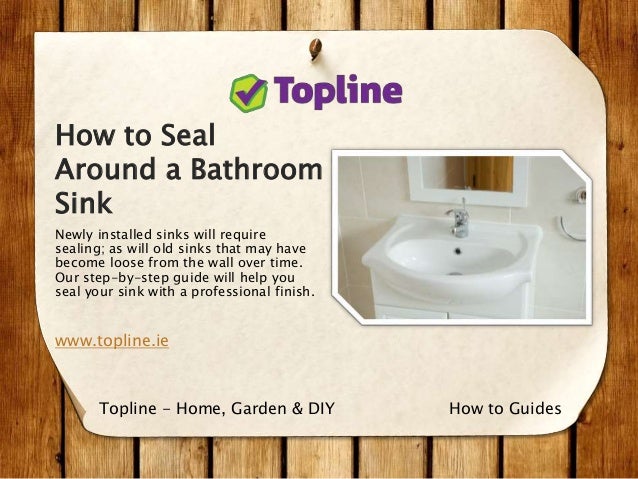
When it comes to keeping your bathroom clean and free from water damage, sealing around your bathroom sink is a crucial step. Not only does it help to prevent water from seeping into cracks and causing damage, but it also gives your sink a clean and finished look. In this article, we will discuss the top 10 ways to properly seal around your bathroom sink to ensure it stays in top condition for years to come.Sealing around a bathroom sink


Sealing around a bathroom sink


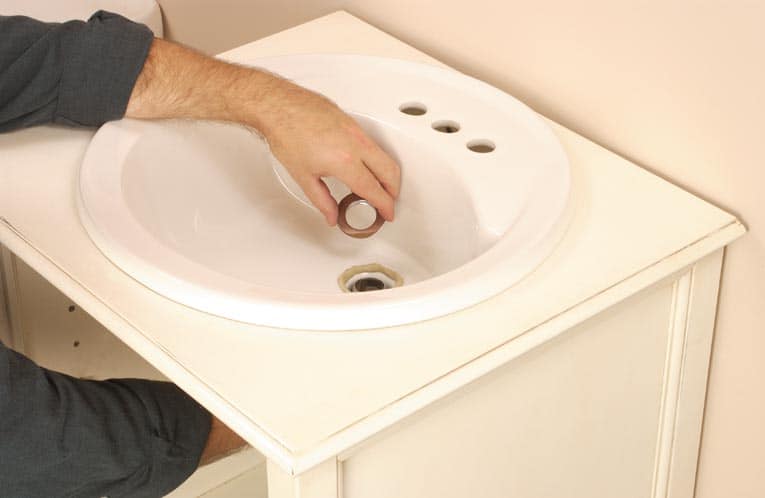
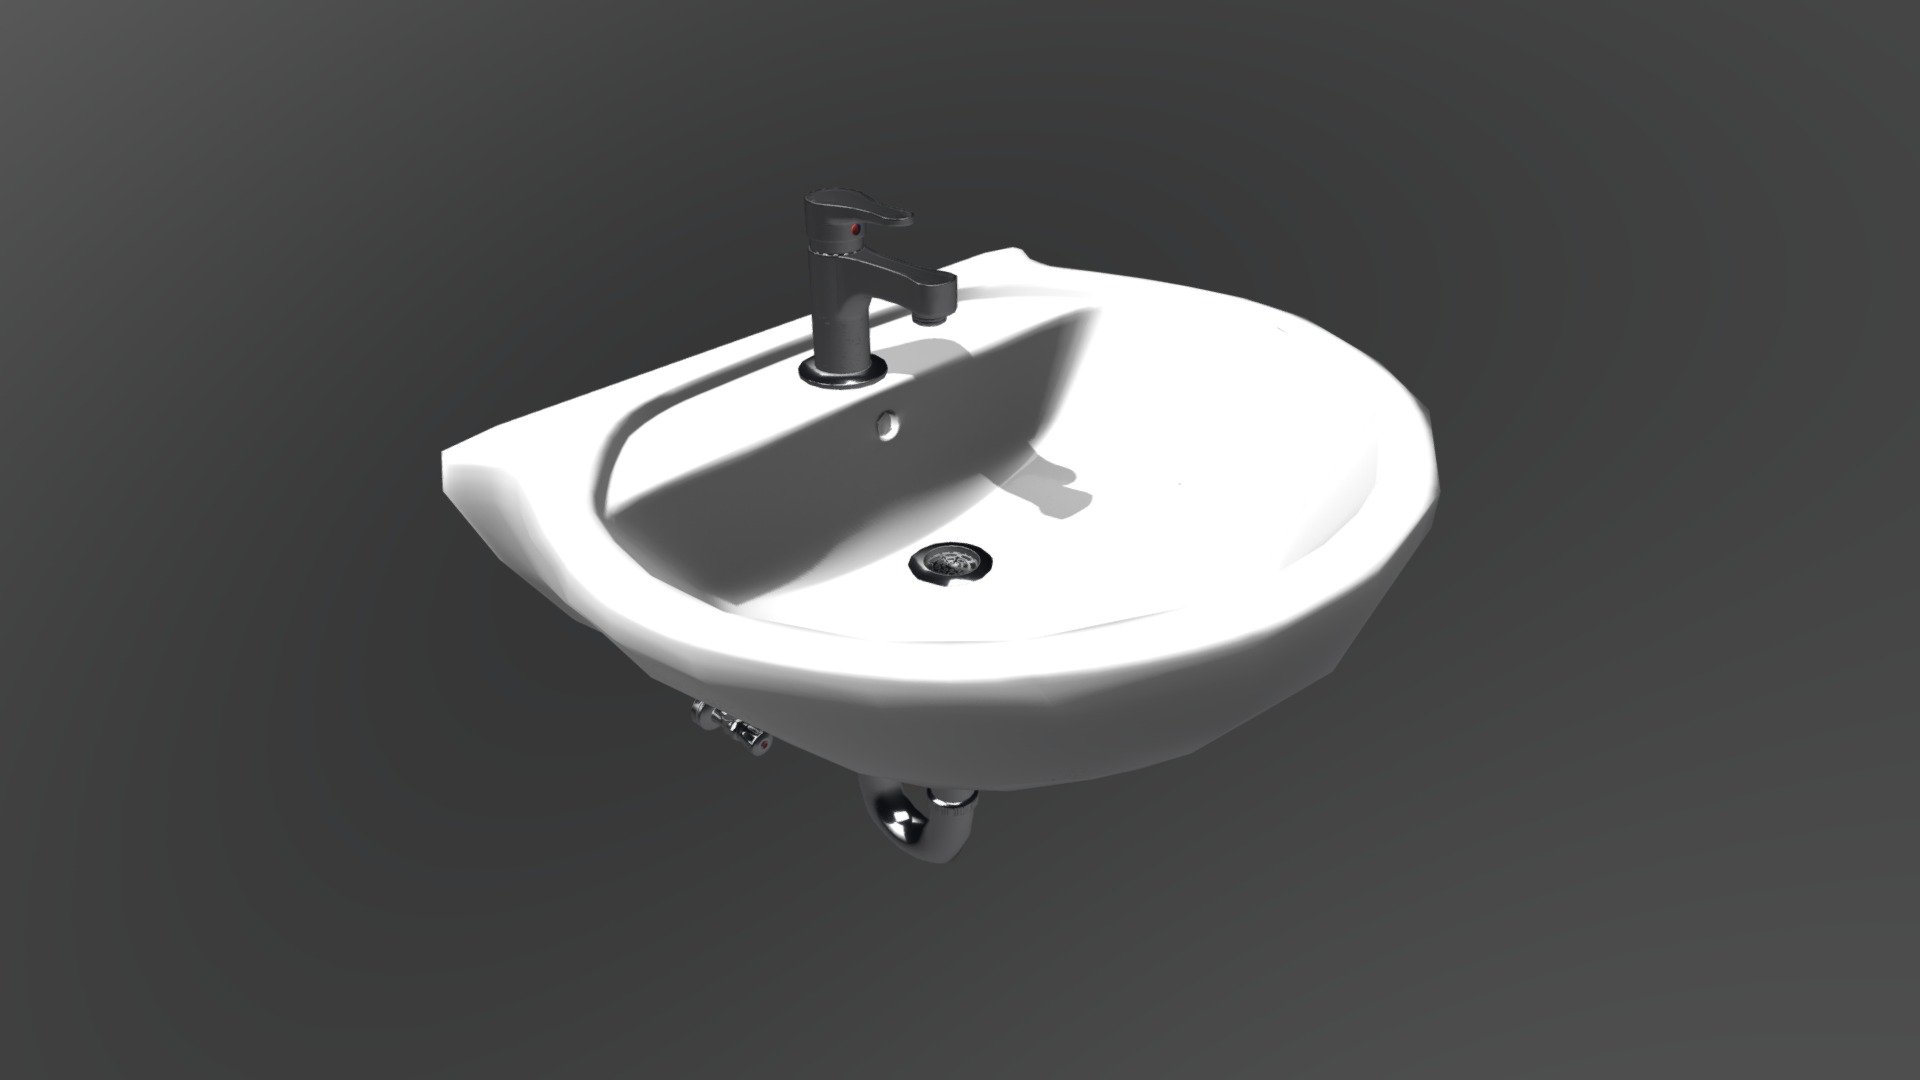
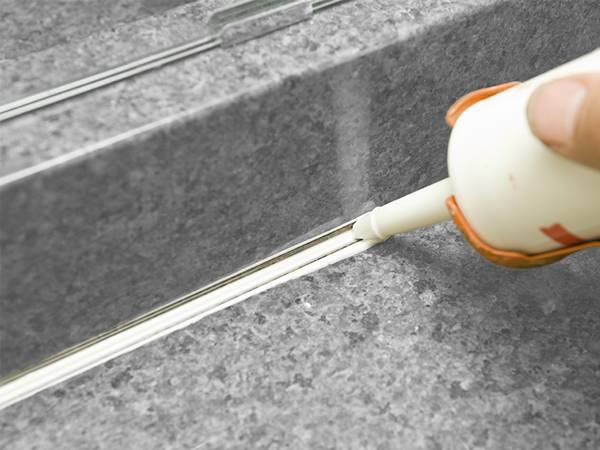
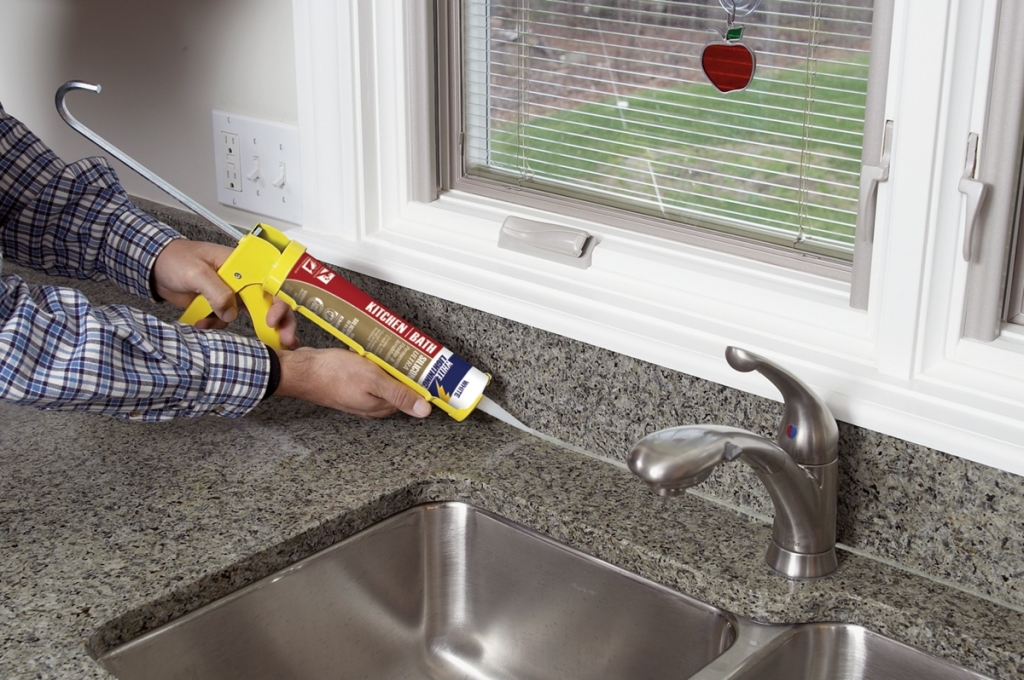
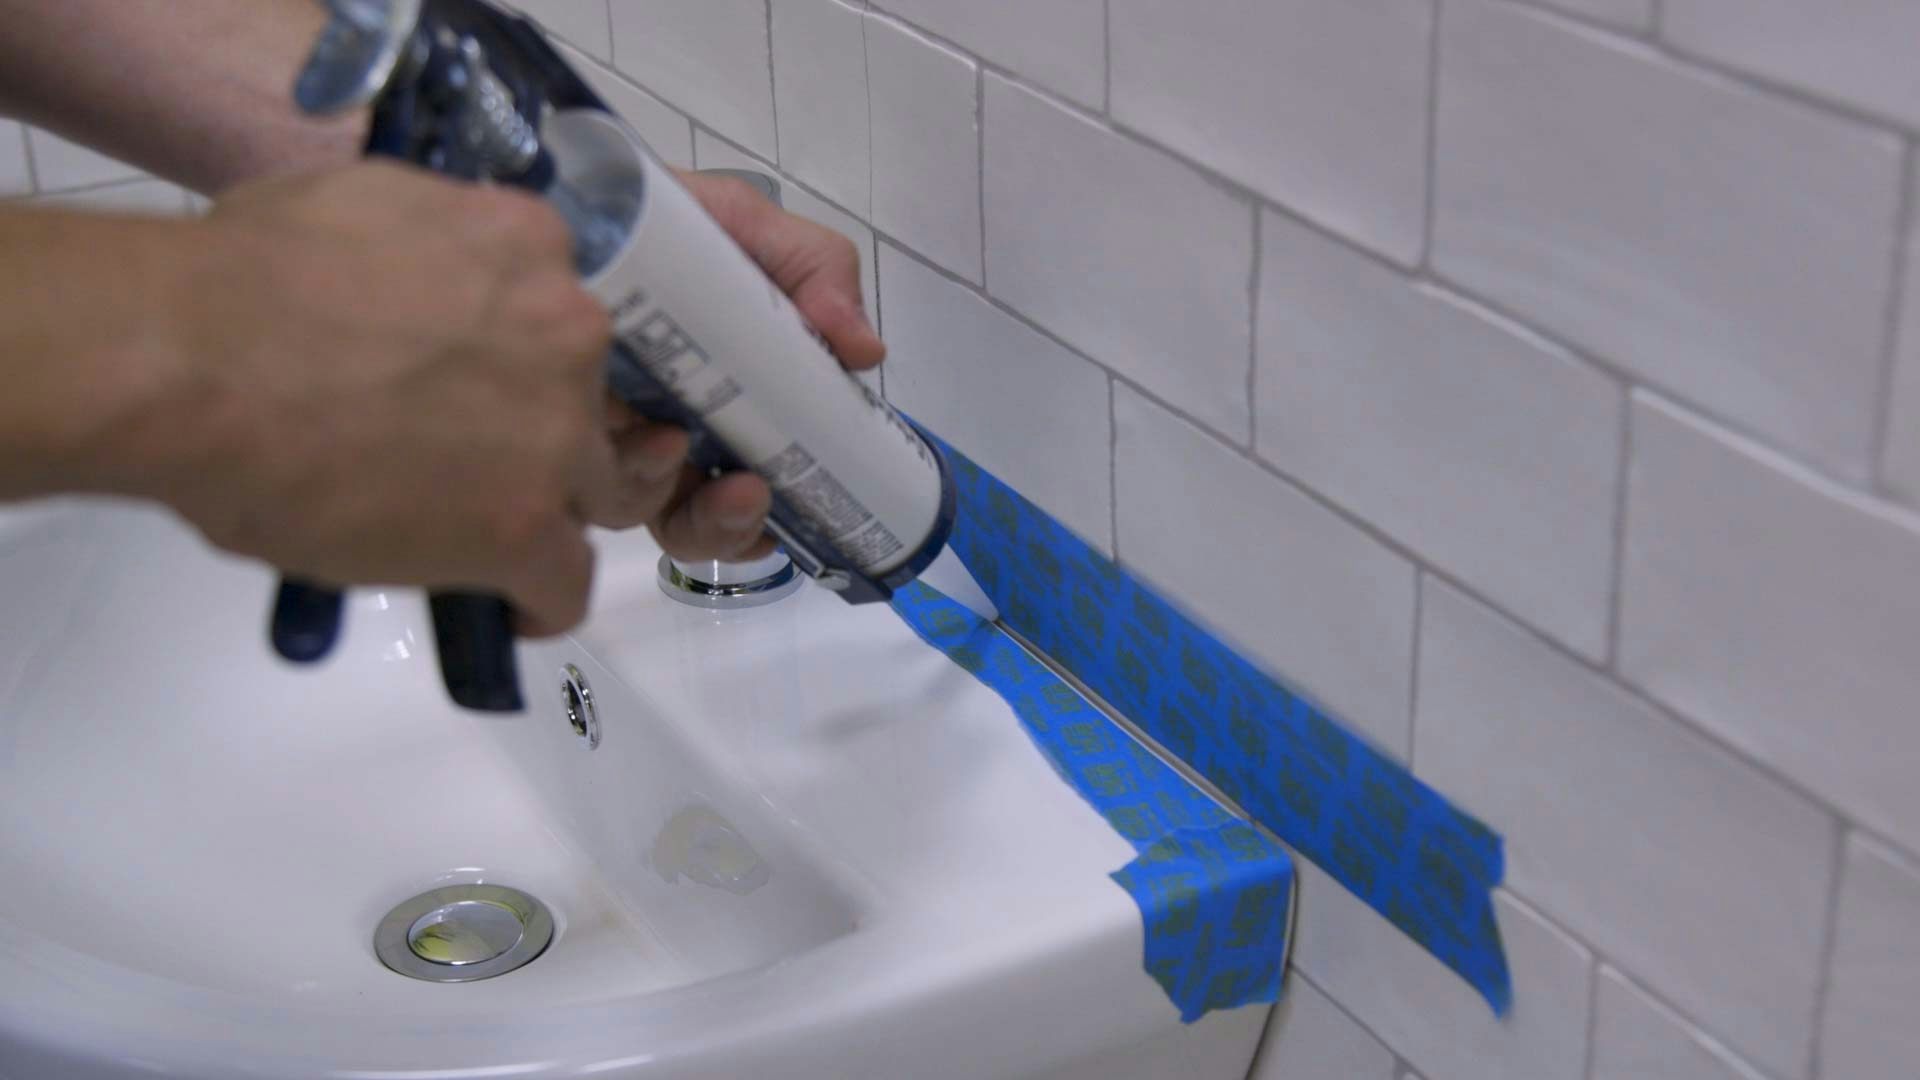
Before we dive into the best techniques for sealing around your bathroom sink, it's important to understand the basic steps for sealing any surface. The first step is to thoroughly clean the area you will be sealing, removing any dirt, grime, or existing sealant. Next, you will want to apply a small bead of sealant along the edge of your sink, using a caulk gun for precision. Finally, use a wet finger or caulk smoothing tool to smooth out the sealant and create a clean, even line.How to seal a bathroom sink


How to seal a bathroom sink


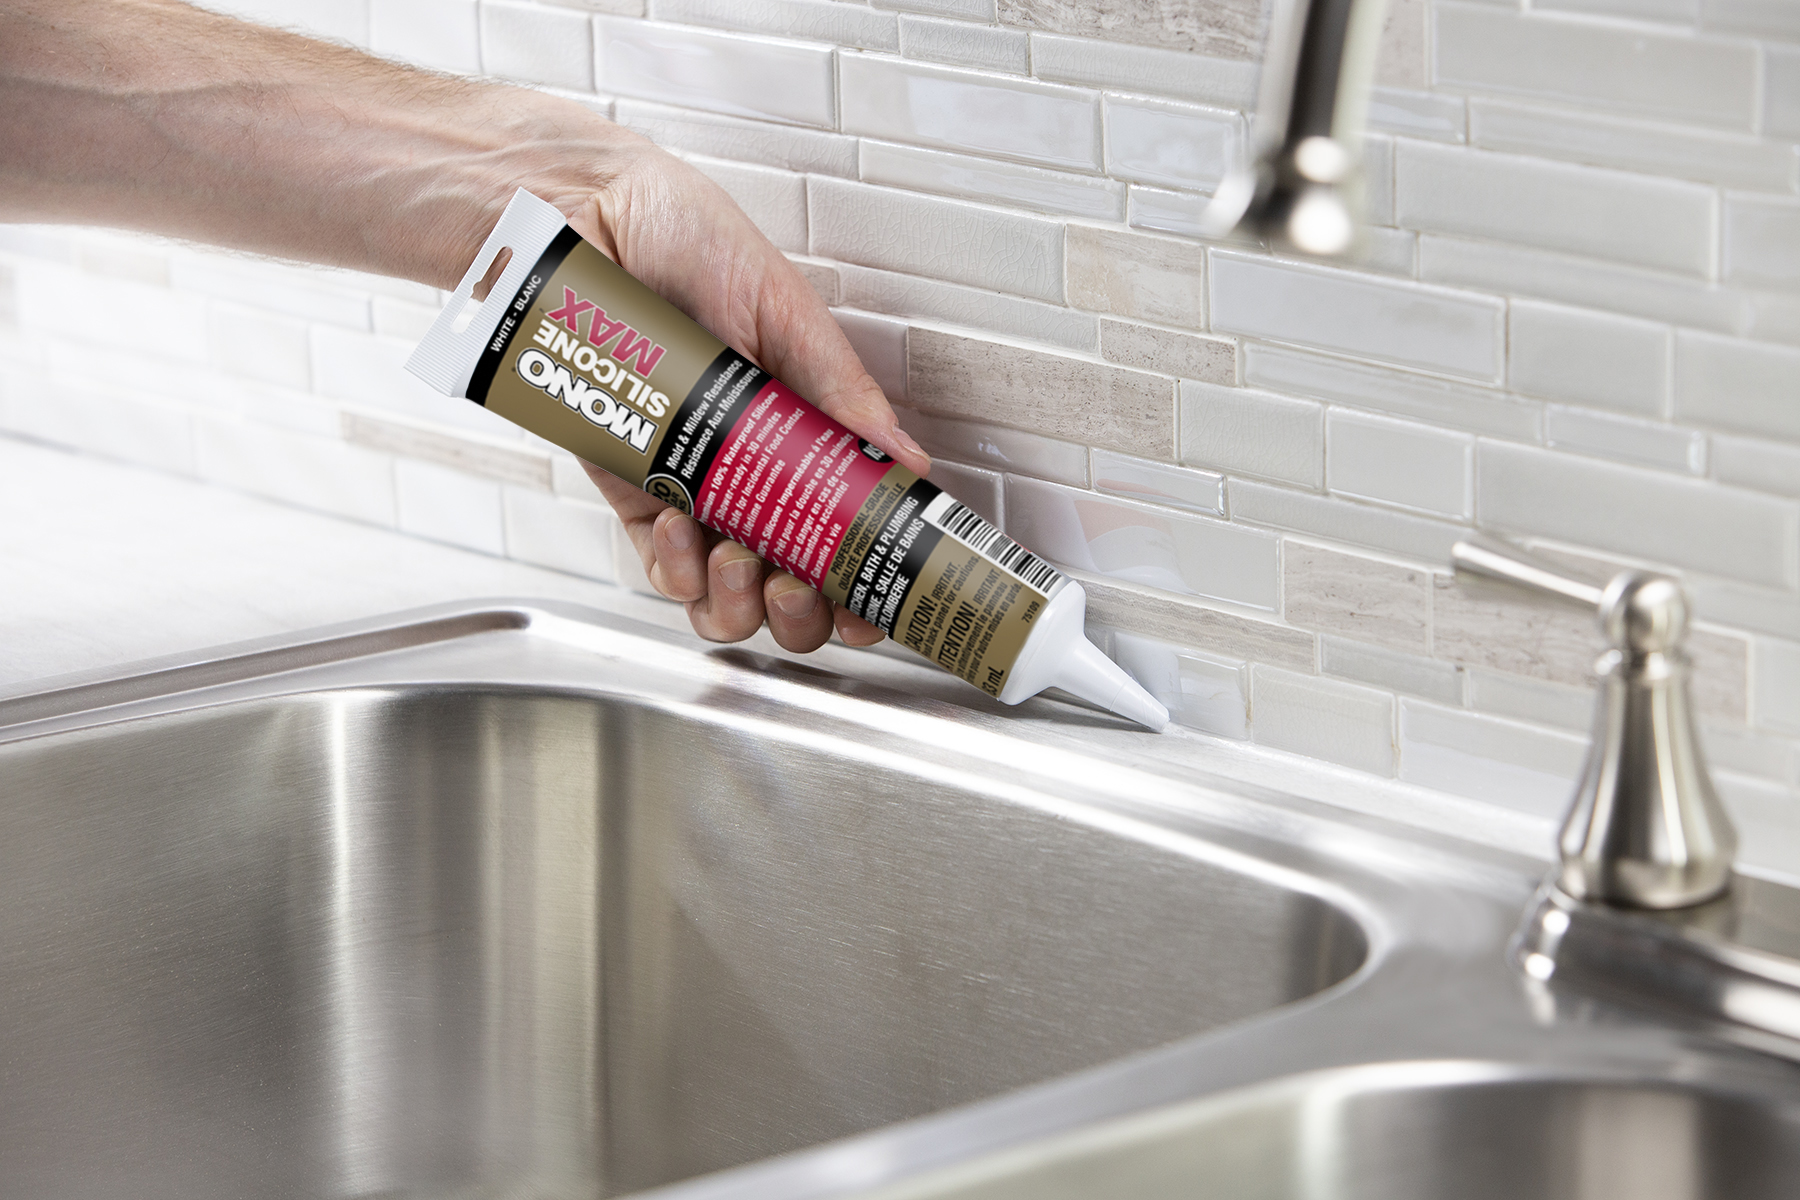
When it comes to choosing the best sealant for your bathroom sink, there are a few options to consider. Silicone sealant is a popular choice due to its durability and resistance to water and mold. However, if your sink is made of porcelain, a silicone-based sealant can cause discoloration. In this case, a polyurethane sealant may be a better option. It's always important to choose a high-quality sealant that is specifically designed for use in bathrooms to ensure long-lasting results.Best sealant for bathroom sink


Best sealant for bathroom sink


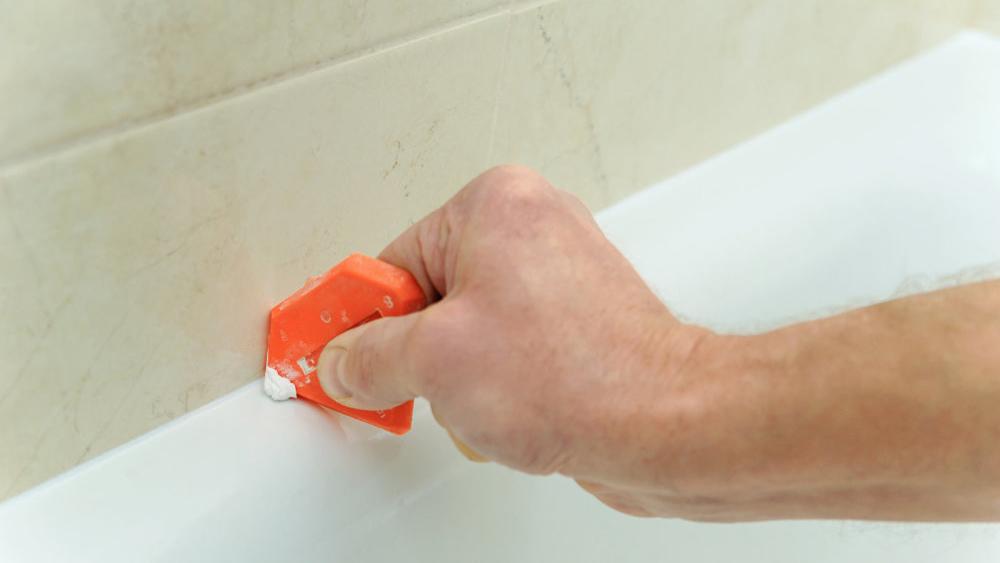
Sealing around a bathroom sink may seem like a simple task, but there are a few tips and tricks that can help you achieve the best results. First, make sure to properly clean and dry the area before applying the sealant. This will ensure that the sealant adheres properly and does not trap any dirt or moisture underneath. Additionally, using a caulk smoothing tool or a wet finger to smooth out the sealant can create a more professional and clean finish. Finally, make sure to seal any gaps or cracks around the sink to prevent water from seeping in and causing damage.Bathroom sink sealing tips

Bathroom sink sealing tips


While hiring a professional to seal your bathroom sink may seem like the easiest option, it is possible to achieve great results with a DIY approach. As mentioned before, thoroughly cleaning and drying the area before applying the sealant is crucial. Additionally, using a high-quality sealant and taking your time to smooth it out and fill any gaps will ensure a professional-looking finish. Just make sure to follow the manufacturer's instructions carefully and take your time to achieve the best results.DIY bathroom sink seal


DIY bathroom sink seal


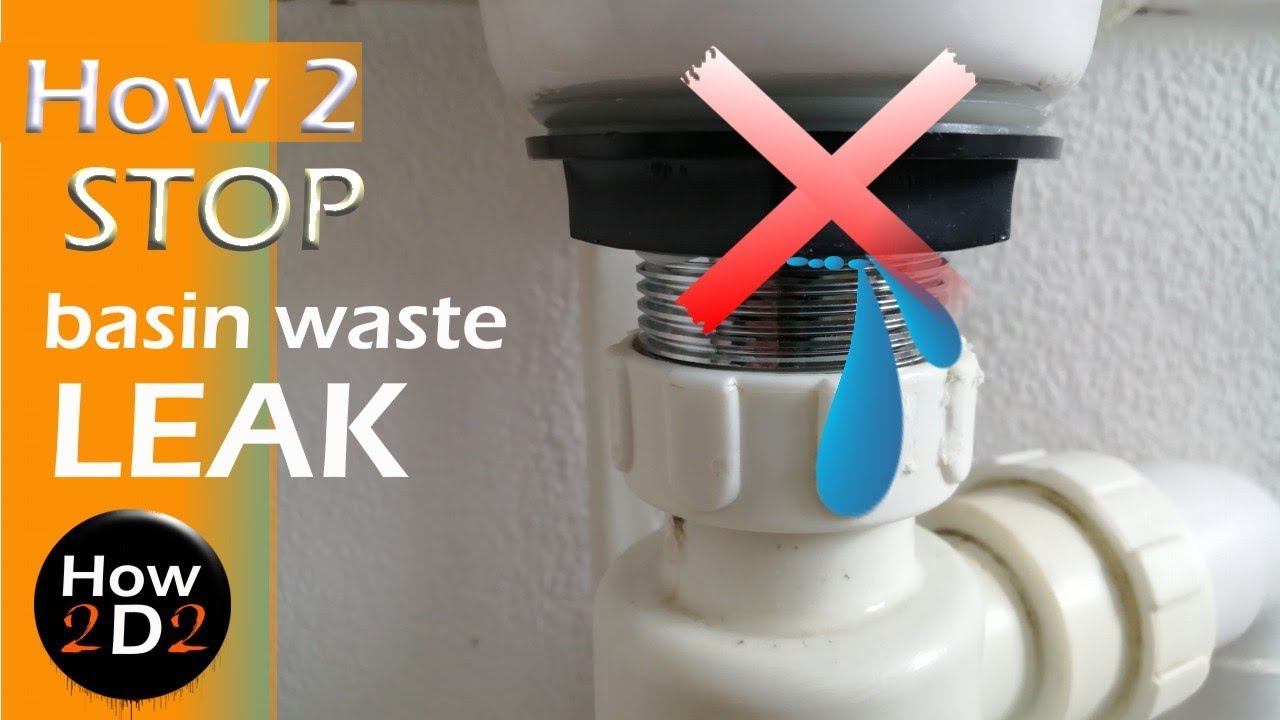
Waterproofing your bathroom sink is an important step in preventing any water damage and prolonging the life of your sink. This can be achieved by properly sealing around the sink as well as using a waterproof sealant. If you anticipate a lot of water splashing around your sink, it may be worth investing in a sealant specifically designed for high-moisture areas. Additionally, regularly checking and re-sealing any cracks or gaps will help to maintain the waterproofing of your bathroom sink.Waterproofing bathroom sink


Waterproofing bathroom sink
.jpg)


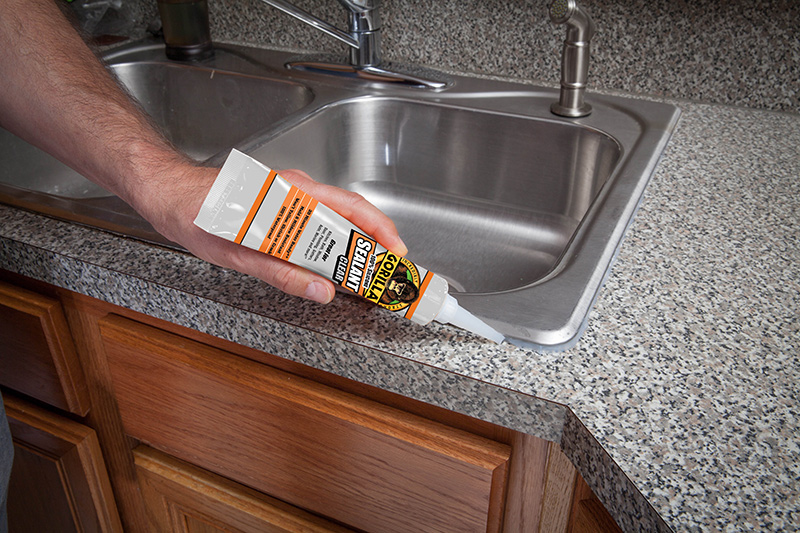
Caulk is often used to seal gaps and cracks around a bathroom sink, but it can also be used to create a clean, finished edge. When sealing caulk around a bathroom sink, it's important to use a caulk specifically designed for use in bathrooms. This type of caulk is usually waterproof and resistant to mold and mildew. Additionally, using a caulk smoothing tool or a wet finger can help to create a smooth and even line, giving your sink a professional finish.Sealing caulk around bathroom sink


Sealing caulk around bathroom sink


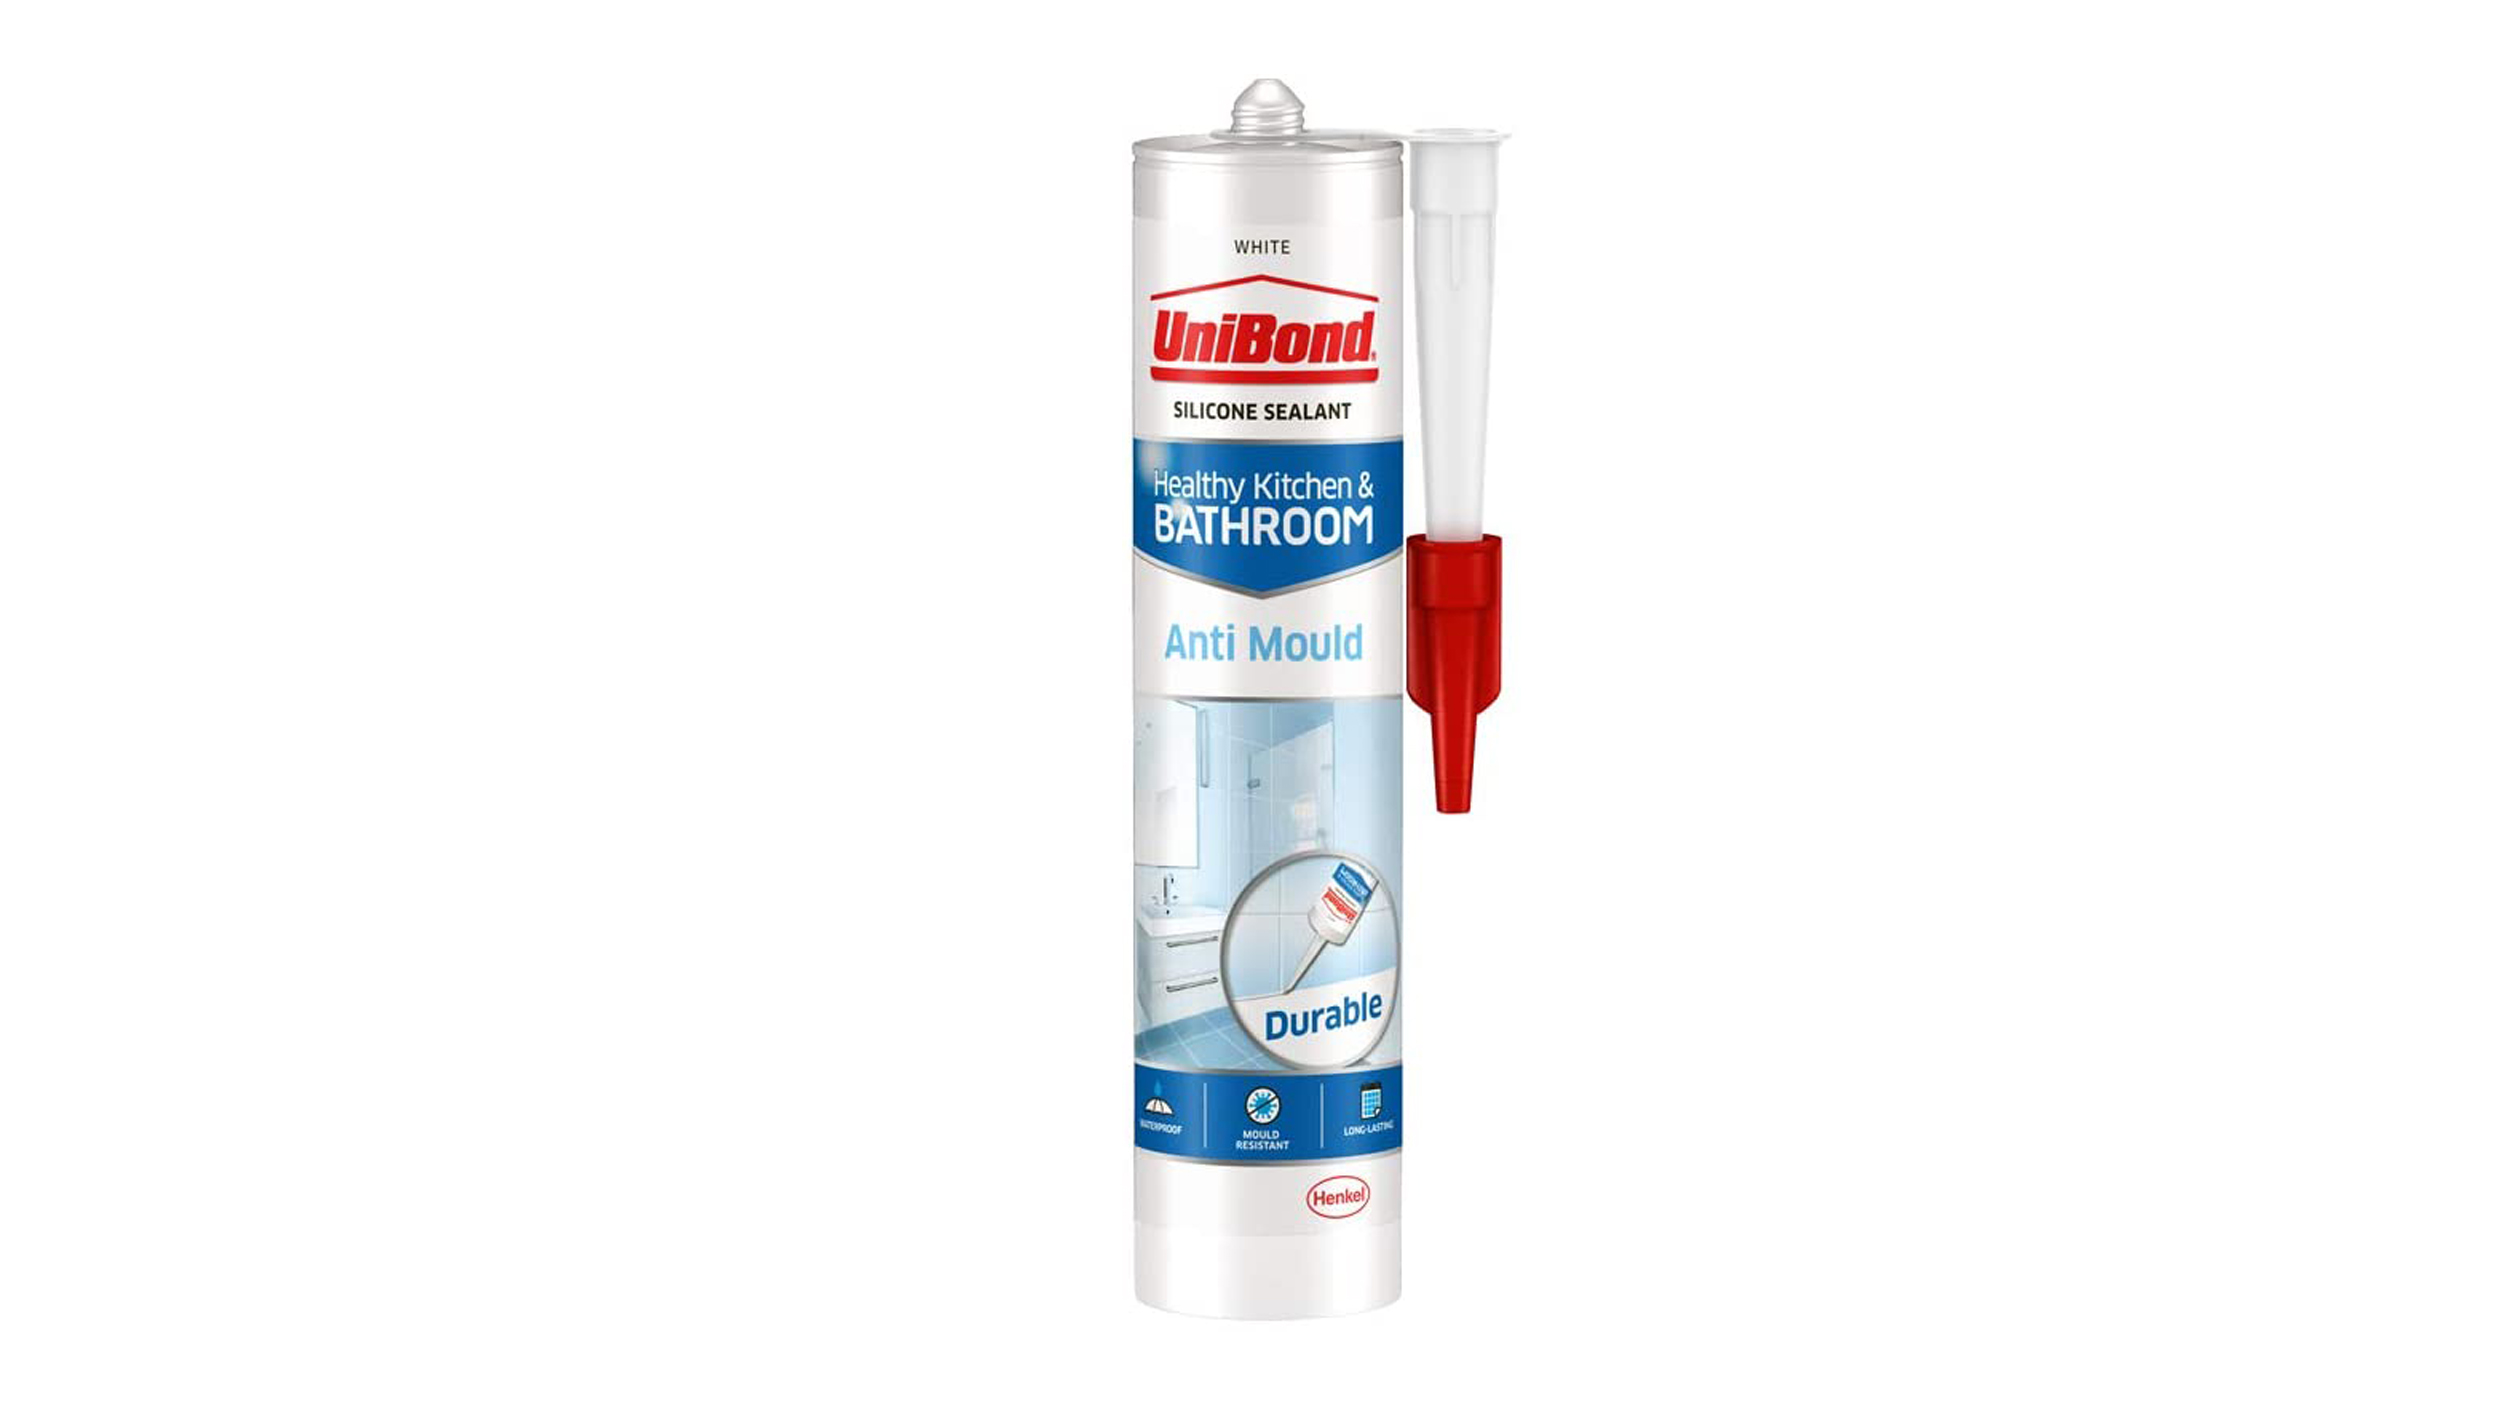
As mentioned before, silicone sealant is a popular choice for sealing around a bathroom sink. This type of sealant is water-resistant, flexible, and durable. However, it's important to keep in mind that silicone sealant can cause discoloration on certain materials, such as porcelain. If your sink is made of porcelain, it may be best to opt for a polyurethane sealant instead. Be sure to choose a high-quality silicone sealant specifically designed for use in bathrooms to ensure the best results.Silicone sealant for bathroom sink

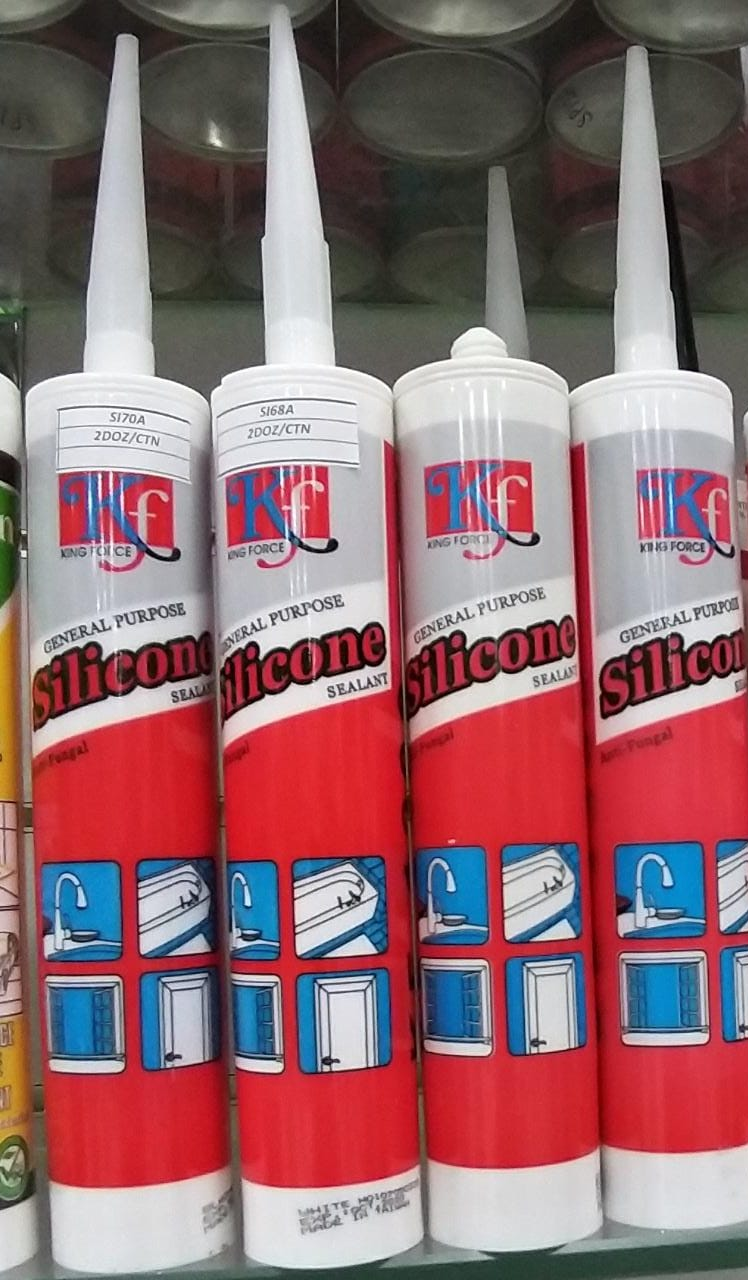

Silicone sealant for bathroom sink


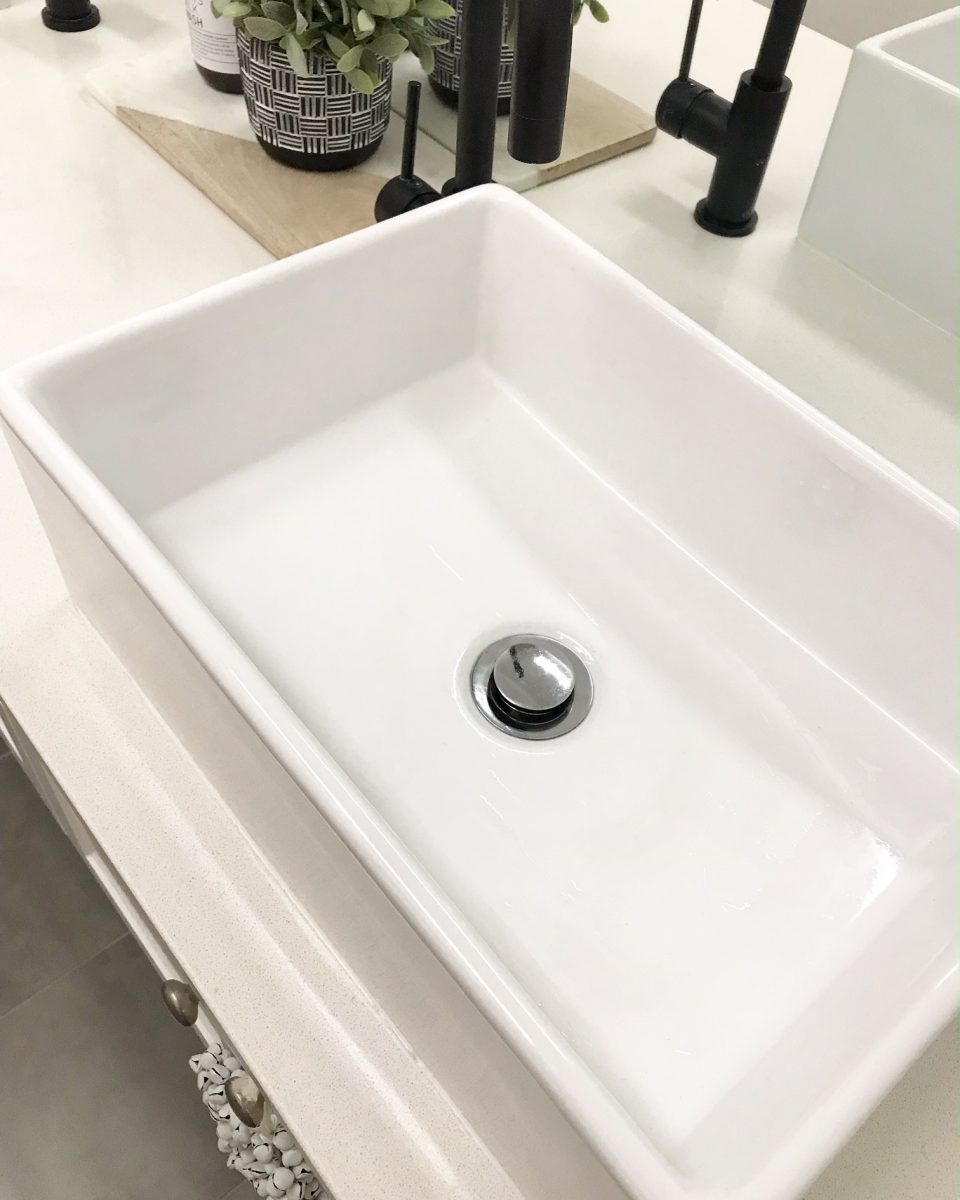
Porcelain sinks are a popular choice for bathrooms due to their durability and sleek appearance. However, sealing a porcelain bathroom sink can be a bit trickier than other materials. As mentioned before, silicone sealant can cause discoloration on porcelain, so it's best to use a polyurethane sealant instead. Additionally, make sure to thoroughly clean and dry the area before applying the sealant to avoid any discoloration or unevenness. Taking your time and using a caulk smoothing tool can help to achieve a clean and professional finish.Sealing a porcelain bathroom sink


Sealing a porcelain bathroom sink


One of the main reasons for sealing around a bathroom sink is to prevent water damage. Water can easily seep into cracks and gaps and cause damage to the surrounding area. Regularly checking and re-sealing any gaps or cracks can help to prevent this damage from occurring. Additionally, using a waterproof sealant and being mindful of any excess water splashing around the sink can also help to prevent water damage.Preventing water damage around bathroom sink


Preventing water damage around bathroom sink


Ensuring a Tight Seal: The Importance of Properly Sealing Around a Bathroom Sink

Why Sealing Around a Bathroom Sink is Important
 When it comes to designing a bathroom, every detail matters. From the tiles on the floor to the fixtures on the walls, each element plays a role in creating a functional and visually appealing space. One often overlooked aspect of bathroom design is the
sealing around the bathroom sink
. While it may seem like a small detail, properly sealing around a bathroom sink is crucial for both practical and aesthetic reasons.
When it comes to designing a bathroom, every detail matters. From the tiles on the floor to the fixtures on the walls, each element plays a role in creating a functional and visually appealing space. One often overlooked aspect of bathroom design is the
sealing around the bathroom sink
. While it may seem like a small detail, properly sealing around a bathroom sink is crucial for both practical and aesthetic reasons.
The Practical Benefits of Sealing Around a Bathroom Sink
 Sealing around a bathroom sink
is important for preventing water leakage. The sink area is constantly exposed to water, whether it's from washing your hands or brushing your teeth. Without proper sealing, water can seep into gaps and cracks around the sink, causing damage to the surrounding area. This can lead to mold and mildew growth, which not only looks unsightly but can also pose health risks. Additionally, water leakage can cause damage to the sink and its fixtures, resulting in costly repairs.
Sealing around a bathroom sink
is important for preventing water leakage. The sink area is constantly exposed to water, whether it's from washing your hands or brushing your teeth. Without proper sealing, water can seep into gaps and cracks around the sink, causing damage to the surrounding area. This can lead to mold and mildew growth, which not only looks unsightly but can also pose health risks. Additionally, water leakage can cause damage to the sink and its fixtures, resulting in costly repairs.
The Aesthetic Benefits of Sealing Around a Bathroom Sink
 In addition to its practical benefits,
sealing around a bathroom sink
also has aesthetic advantages. When done correctly, sealing can create a clean and seamless look around the sink. It can also help to prevent dirt and grime from accumulating in gaps and crevices, making cleaning and maintenance easier. This is especially important in a bathroom, where hygiene is of the utmost importance.
In addition to its practical benefits,
sealing around a bathroom sink
also has aesthetic advantages. When done correctly, sealing can create a clean and seamless look around the sink. It can also help to prevent dirt and grime from accumulating in gaps and crevices, making cleaning and maintenance easier. This is especially important in a bathroom, where hygiene is of the utmost importance.
How to Properly Seal Around a Bathroom Sink
 Properly sealing around a bathroom sink requires attention to detail and the right tools. The first step is to make sure the sink is securely installed and level. Next, the area around the sink should be cleaned and dried thoroughly. A waterproof sealant, such as silicone caulk, should then be applied around the edges of the sink, filling in any gaps and creating a tight seal. It's important to ensure that the sealant is evenly applied and free of any air bubbles. Once the sealant has dried, it can be trimmed and smoothed for a professional finish.
Conclusion
 In conclusion,
sealing around a bathroom sink
is an important aspect of bathroom design that should not be overlooked. Not only does it prevent water leakage and potential damage, but it also contributes to the overall cleanliness and appearance of the space. By following proper sealing techniques, you can ensure that your bathroom sink remains in top condition and your bathroom stays functional and visually appealing for years to come.
In conclusion,
sealing around a bathroom sink
is an important aspect of bathroom design that should not be overlooked. Not only does it prevent water leakage and potential damage, but it also contributes to the overall cleanliness and appearance of the space. By following proper sealing techniques, you can ensure that your bathroom sink remains in top condition and your bathroom stays functional and visually appealing for years to come.