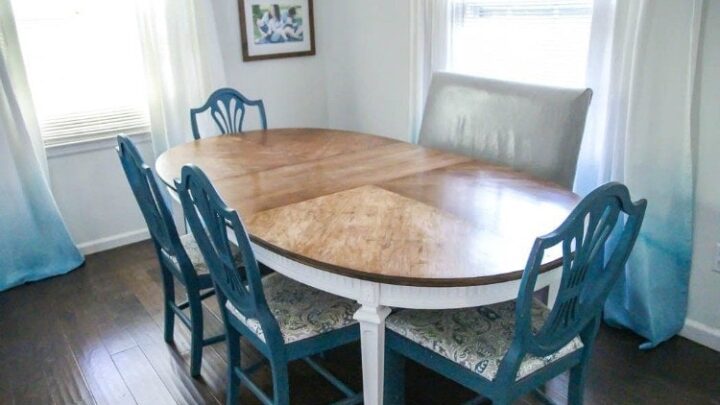
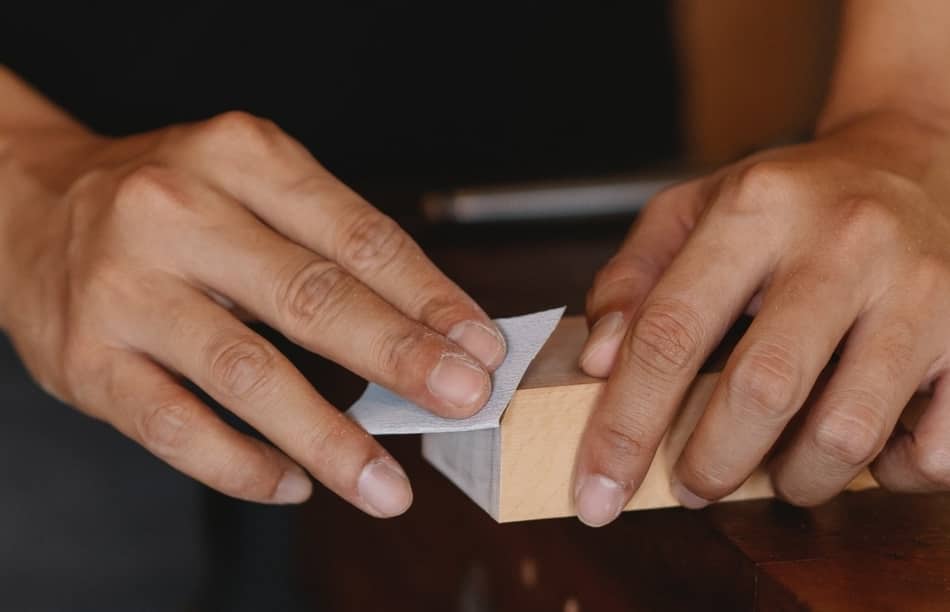
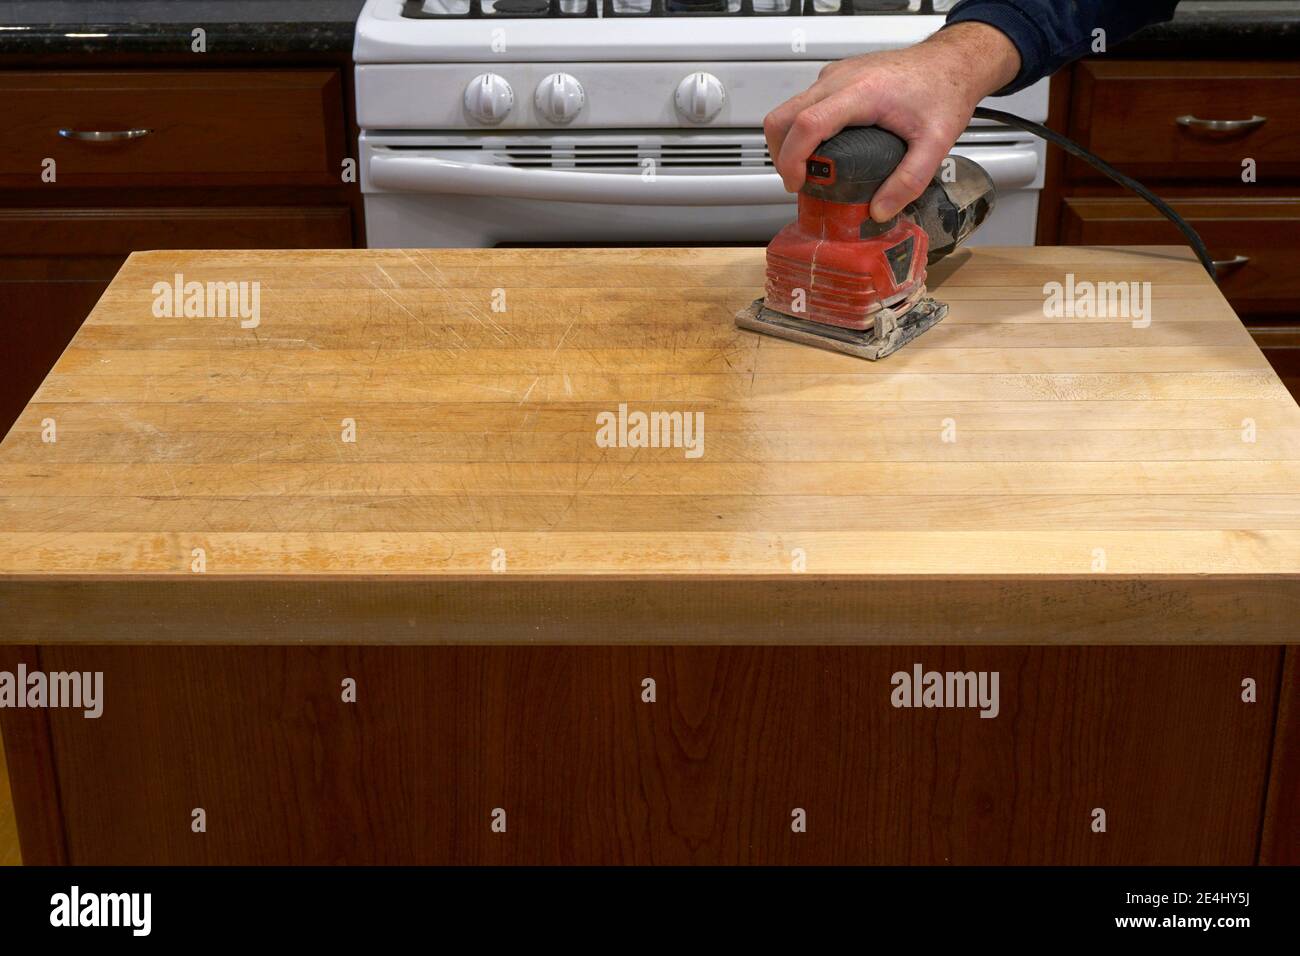
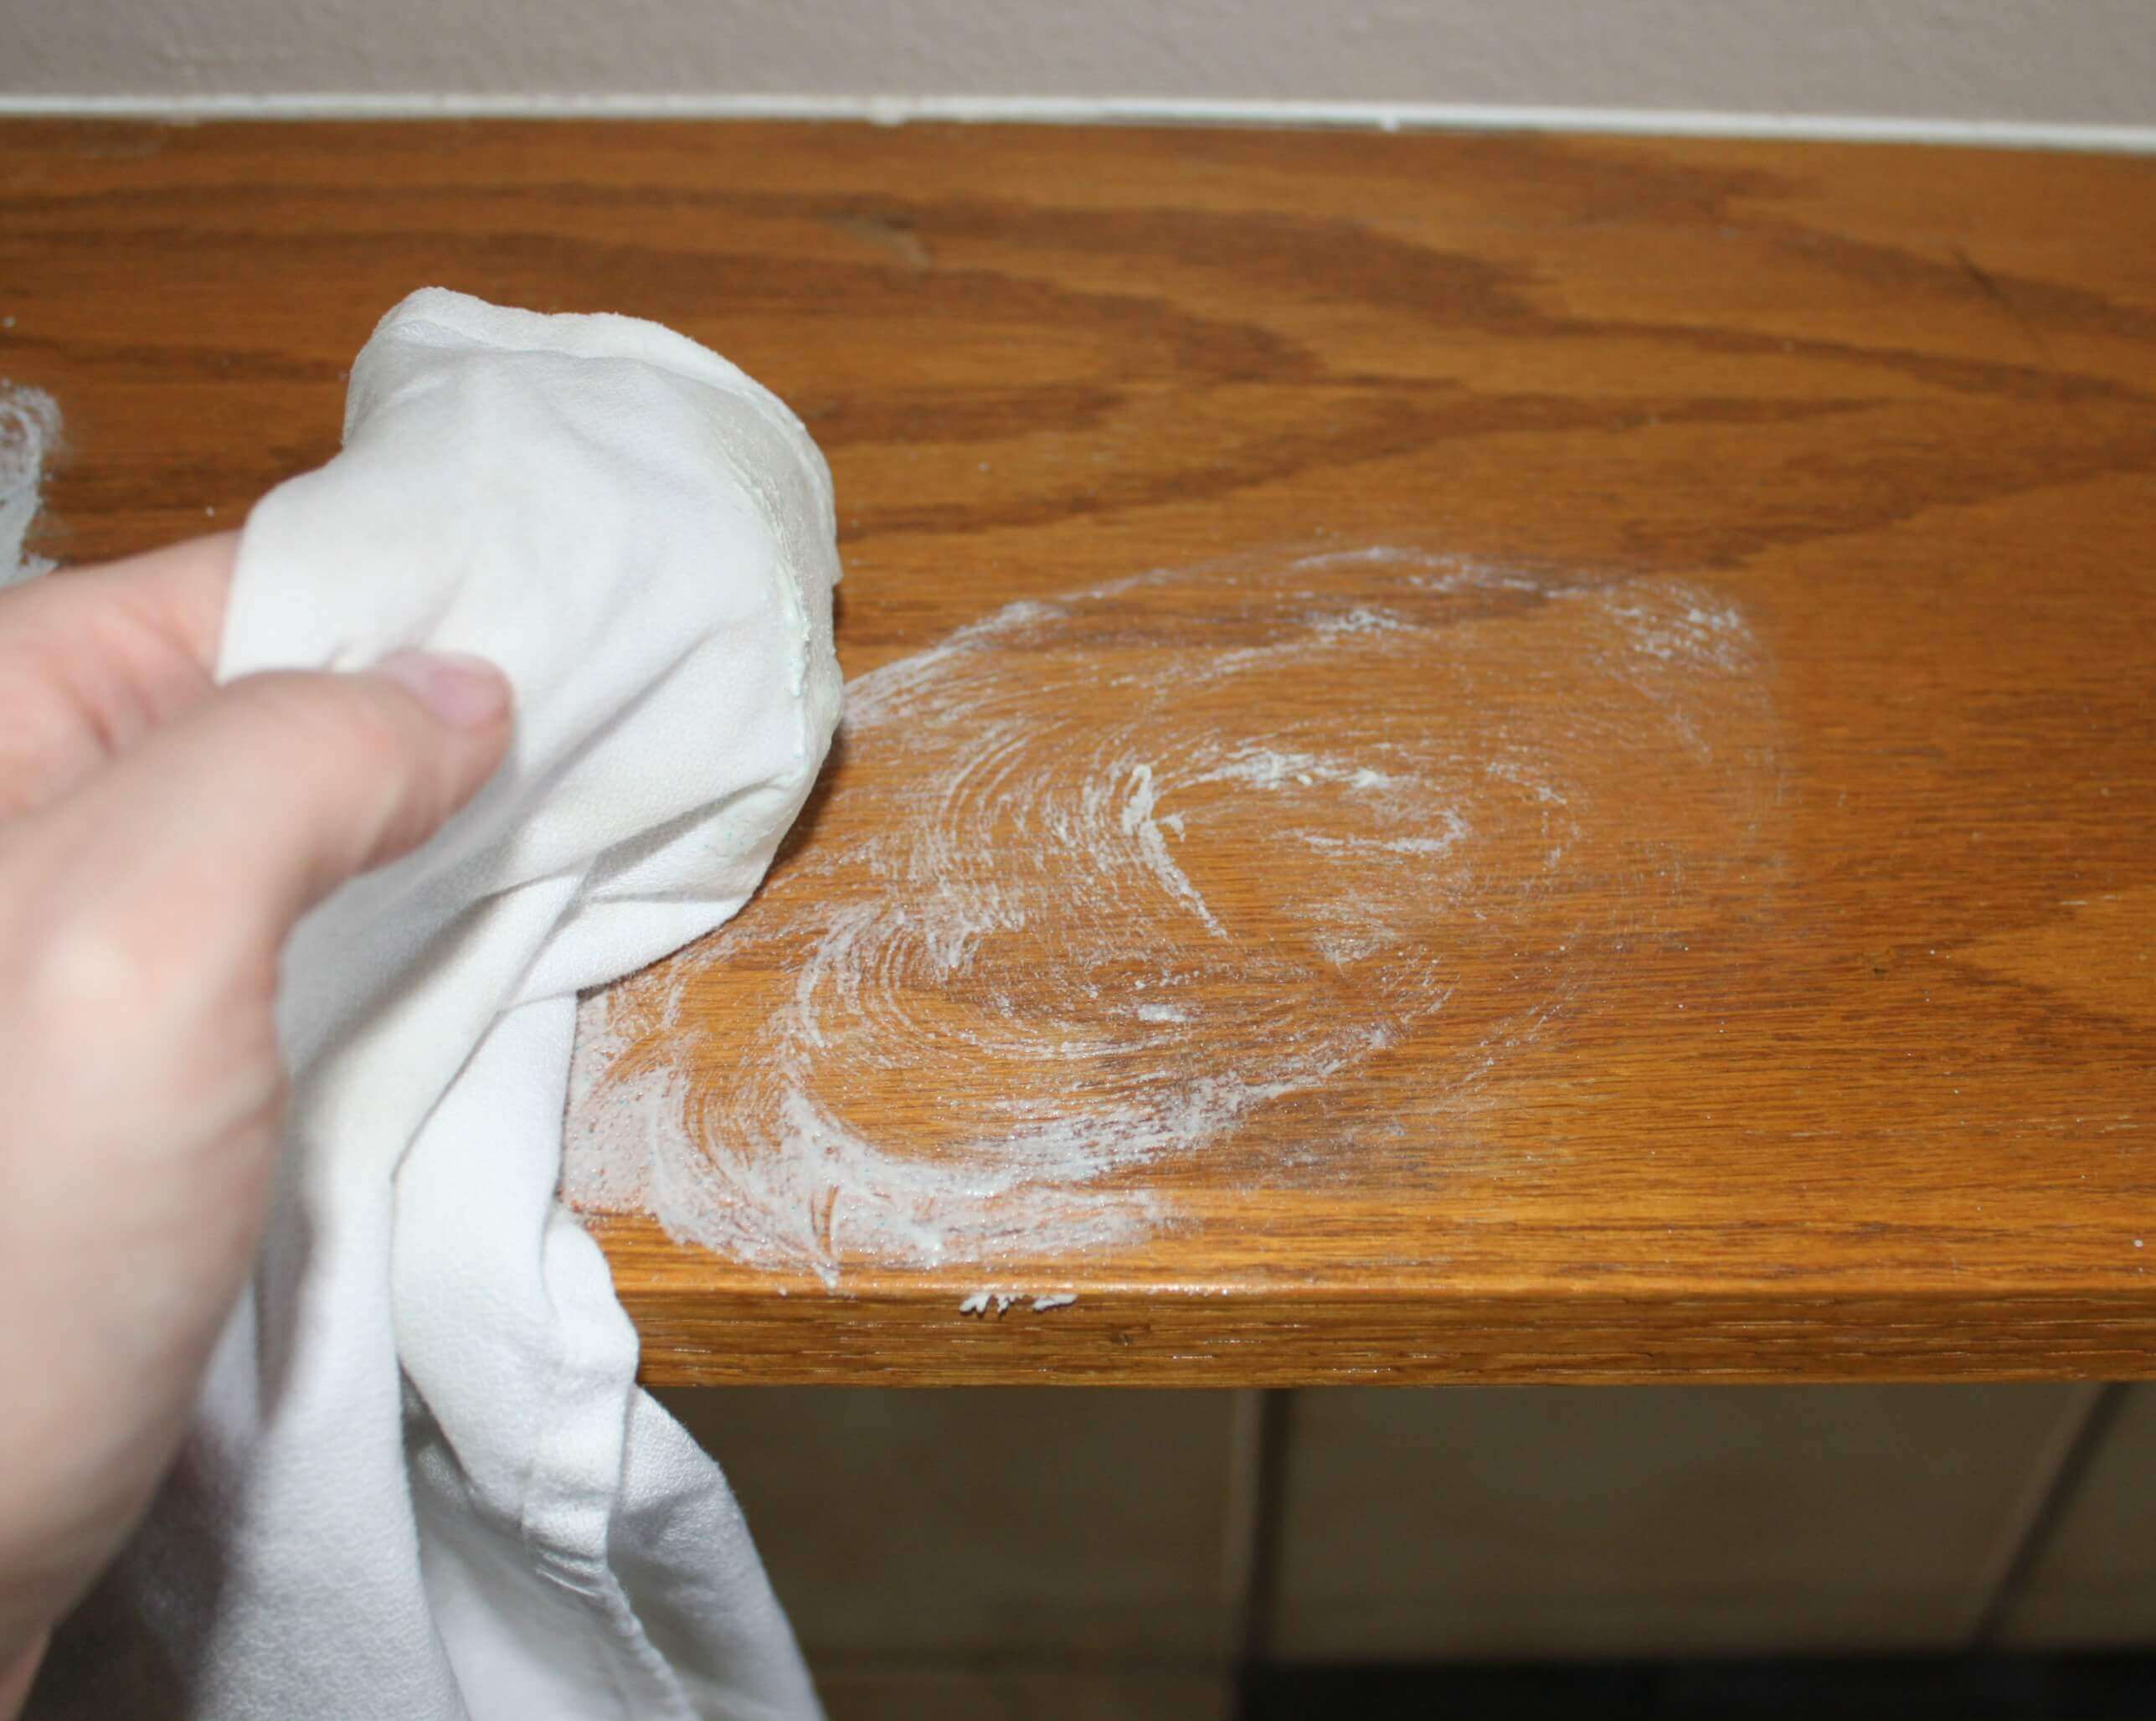
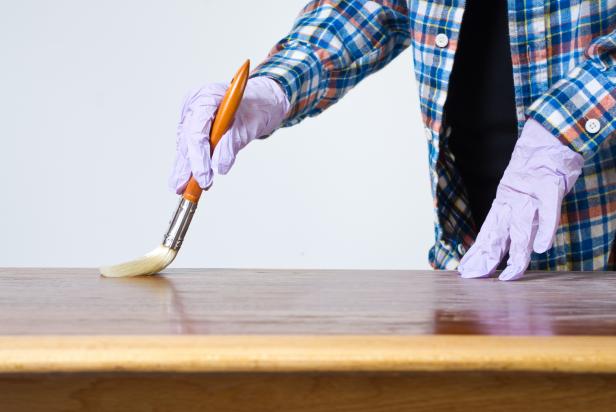
If your kitchen table is looking worn and tired, it may be time for a makeover. But before you go out and buy a brand new table, consider refinishing the one you already have with sandpaper. This budget-friendly and simple DIY project can give your kitchen table a fresh new look. Here's how to refinish your kitchen table with sandpaper. To get started, gather your supplies. You will need sandpaper in various grits, ranging from coarse to fine, a sanding block or power sander, a tack cloth, and a wood stain or polyurethane finish. Make sure to choose a stain or finish that is suitable for your table's material. Start by clearing off your kitchen table and protecting the surrounding area with a drop cloth. Use the coarsest grit sandpaper to remove any old finish or paint from the table's surface. Sand in the direction of the wood grain, using long, even strokes. Once the old finish is removed, switch to a medium grit sandpaper to smooth out any rough spots. Finish off with a fine grit sandpaper to achieve a smooth surface. Once the sanding is complete, use a tack cloth to remove any dust and debris from the table's surface. This is an important step as any remaining dust can affect the final finish. Now you are ready to apply the stain or finish of your choice. Follow the instructions on the product and apply it evenly with a brush or cloth. Wipe away any excess and allow the finish to dry completely before moving on to the next step. If you want to add some extra flair to your kitchen table, consider using a stencil or painter's tape to create a design on the tabletop before applying the finish. This is a great way to personalize your table and make it truly unique.1. How to Refinish a Kitchen Table with Sandpaper


1. How to Refinish a Kitchen Table with Sandpaper


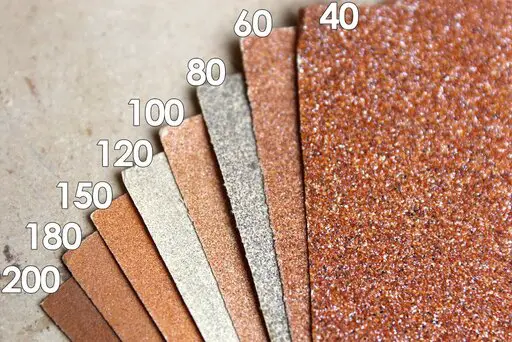
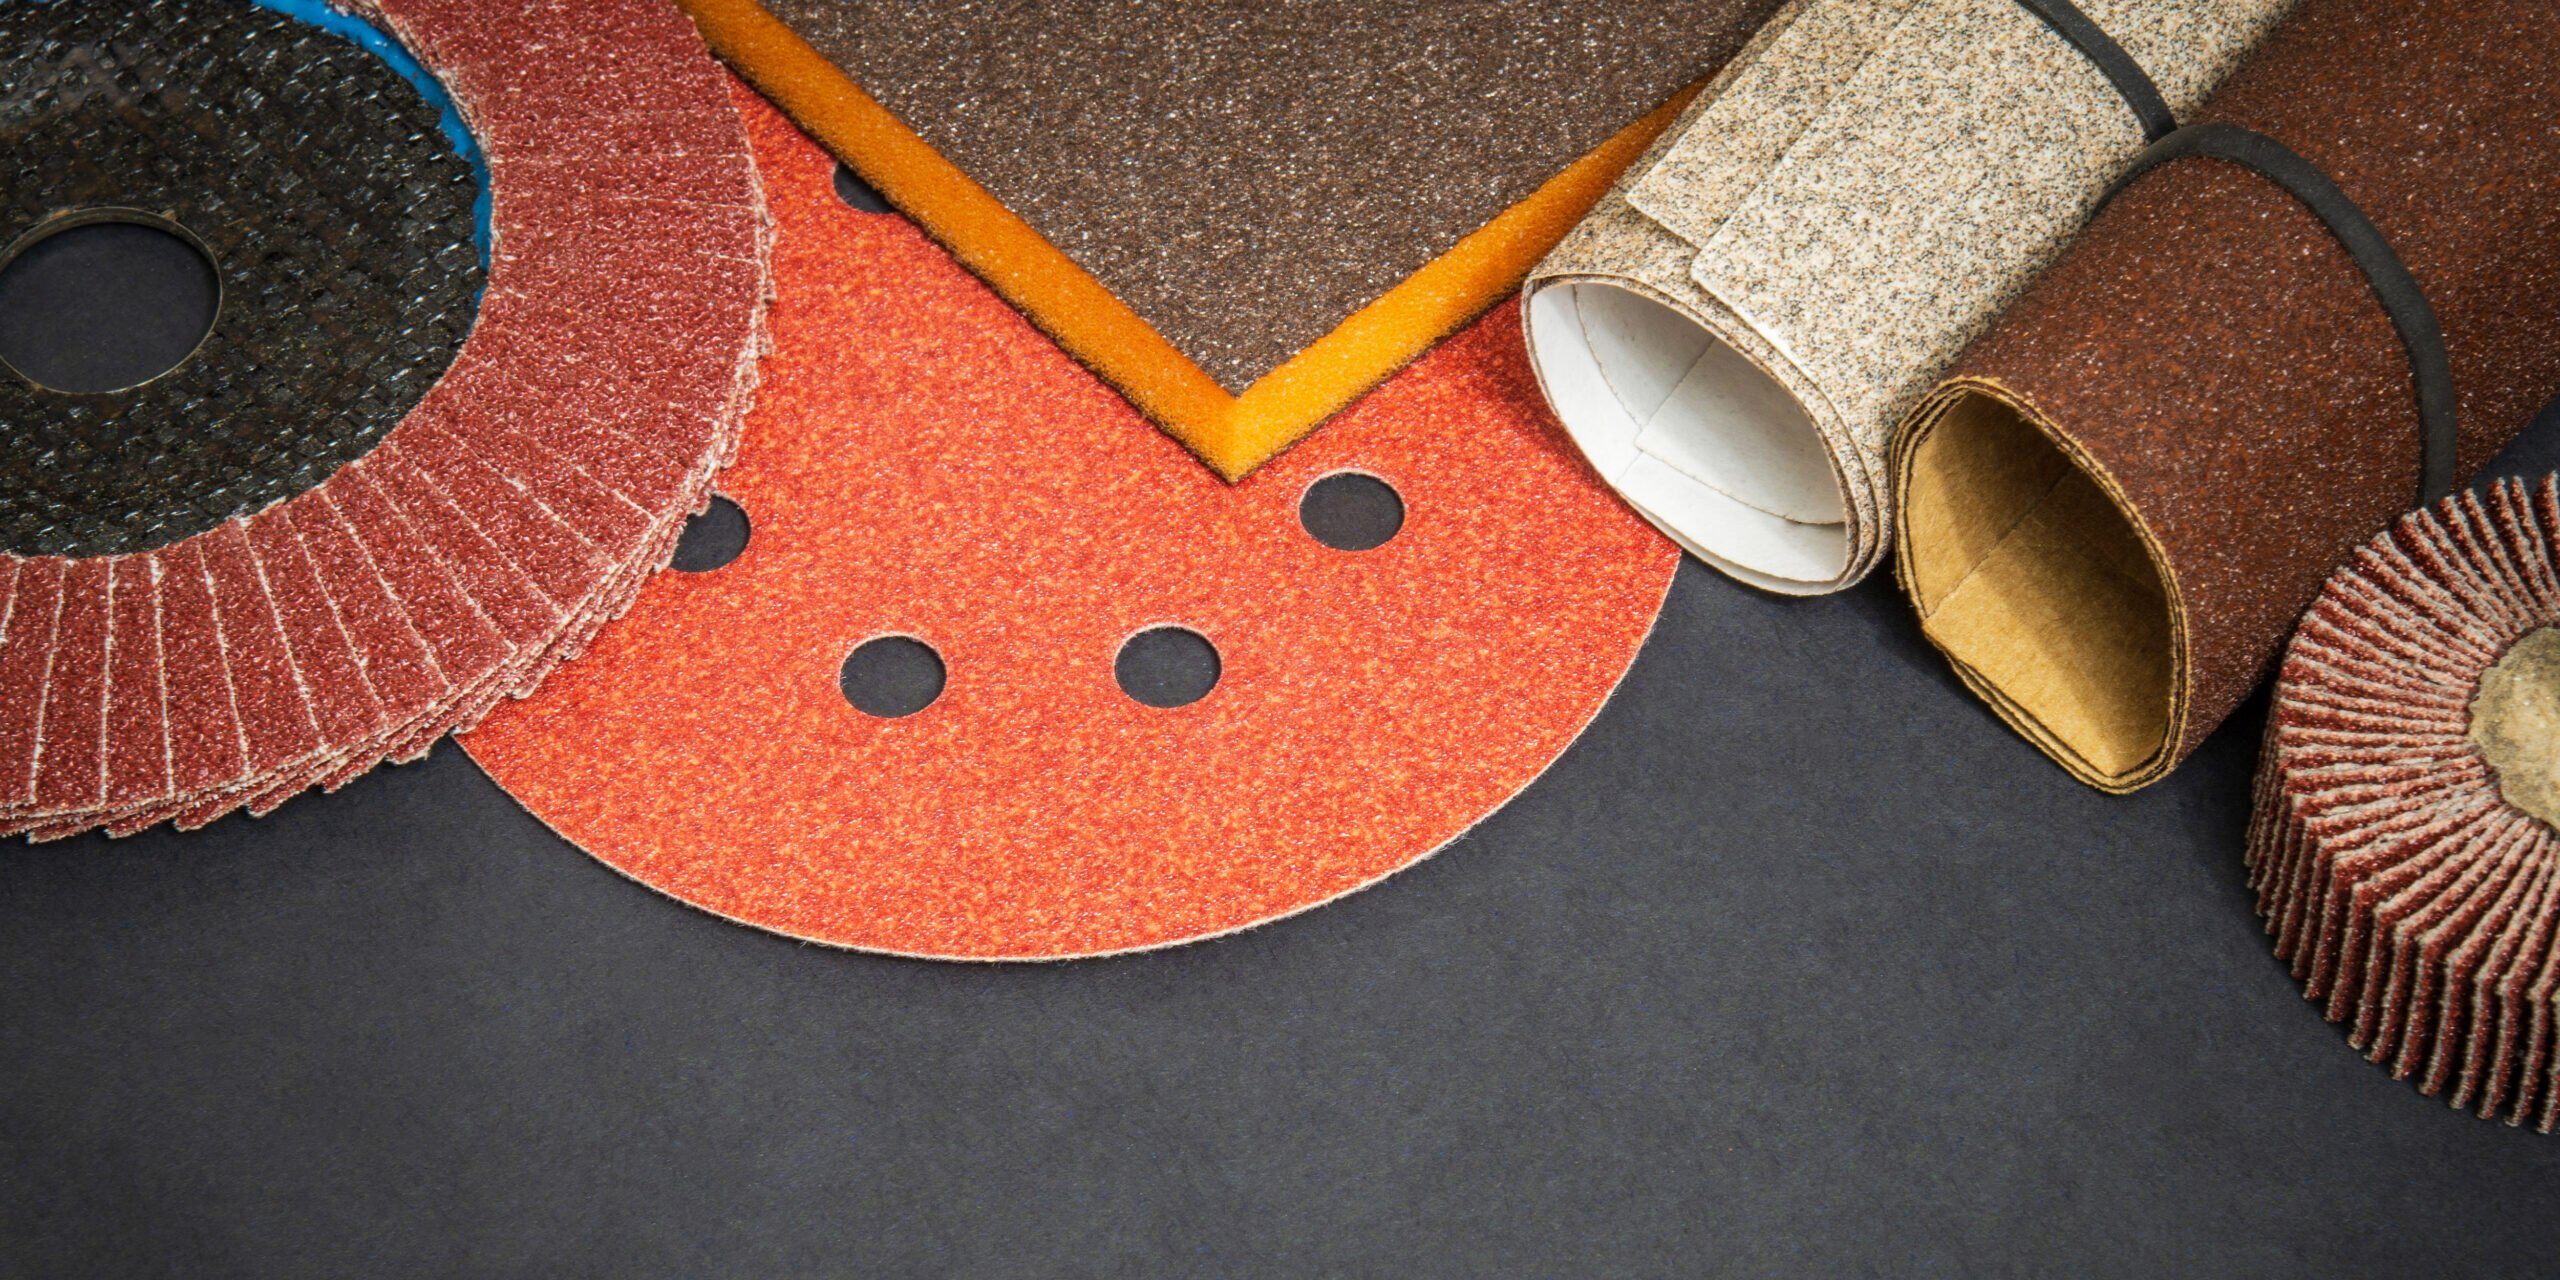
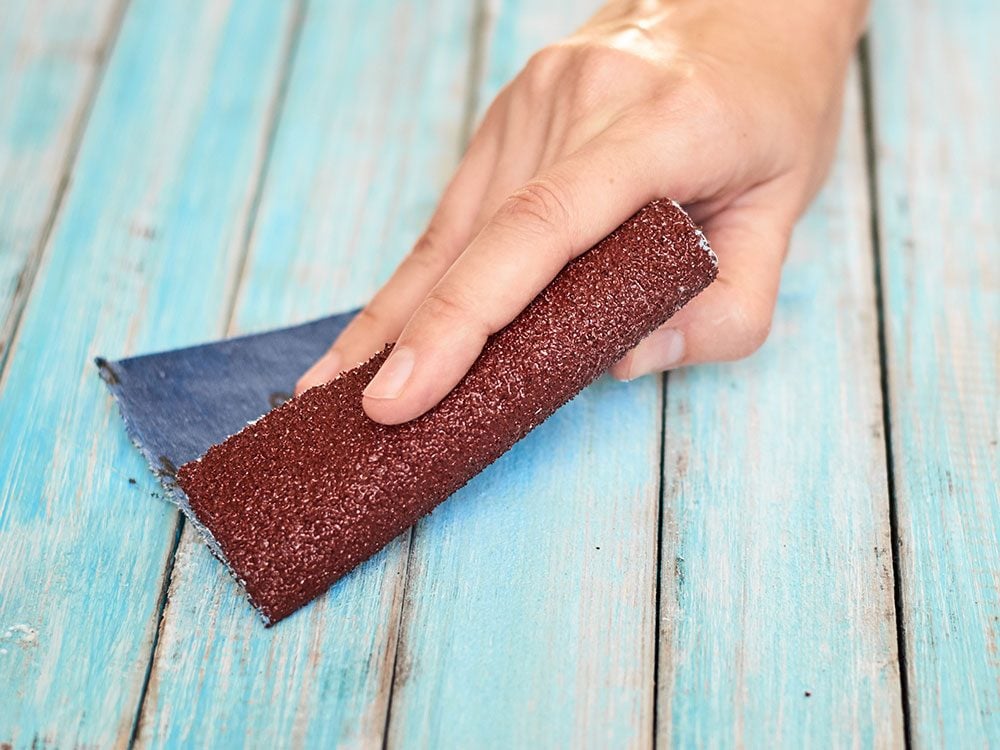
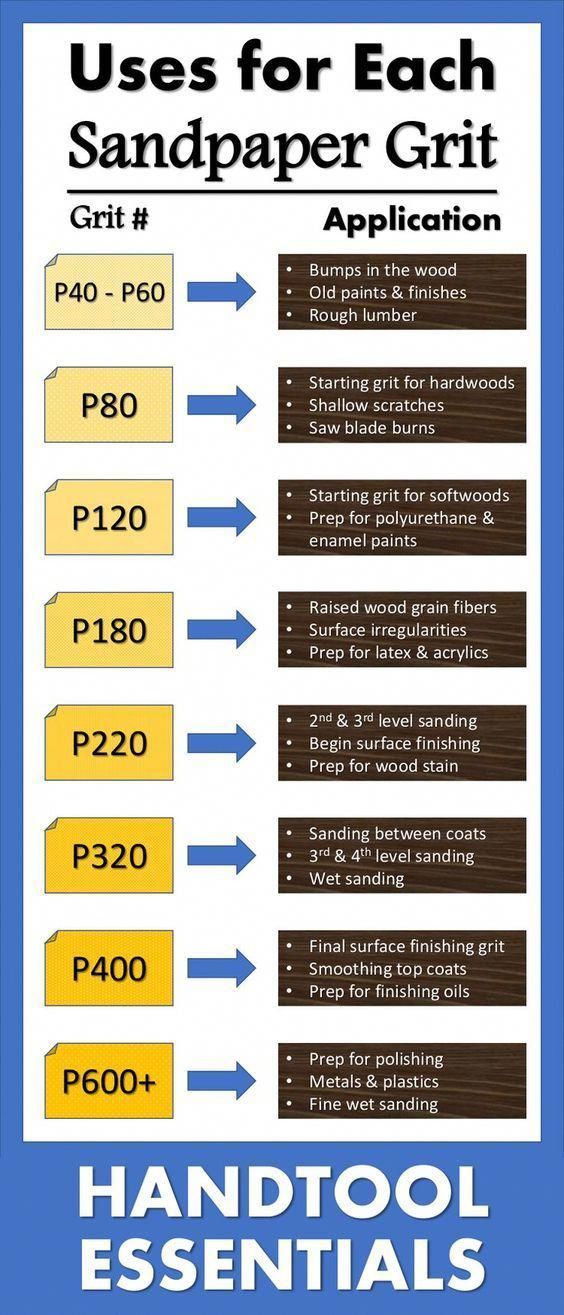
When it comes to refinishing your kitchen table with sandpaper, the grit you choose is crucial. The grit refers to the coarseness of the sandpaper, and it determines how much material it will remove from the table's surface. For kitchen table refinishing, it is recommended to use a variety of grits, starting with a coarse grit and gradually moving to a finer grit for a smooth finish. A coarse grit, such as 60 or 80, is ideal for removing old finishes, paint, or deep scratches from the table's surface. It is also useful for shaping and smoothing rough edges. Once the initial sanding is complete, switch to a medium grit, such as 120 or 150, to smooth out any remaining rough spots and prepare the surface for staining or finishing. Finally, use a fine grit, such as 220 or 320, for a smooth and polished finish. It is important to note that different types of wood may require different grits. For example, hardwoods may need a coarser grit to remove the tough surface, while softwoods may only need a fine grit for a smooth finish. Make sure to do some research on the type of wood your kitchen table is made of before choosing the appropriate grit for sanding.2. Sandpaper Grit for Kitchen Table Refinishing


2. Sandpaper Grit for Kitchen Table Refinishing


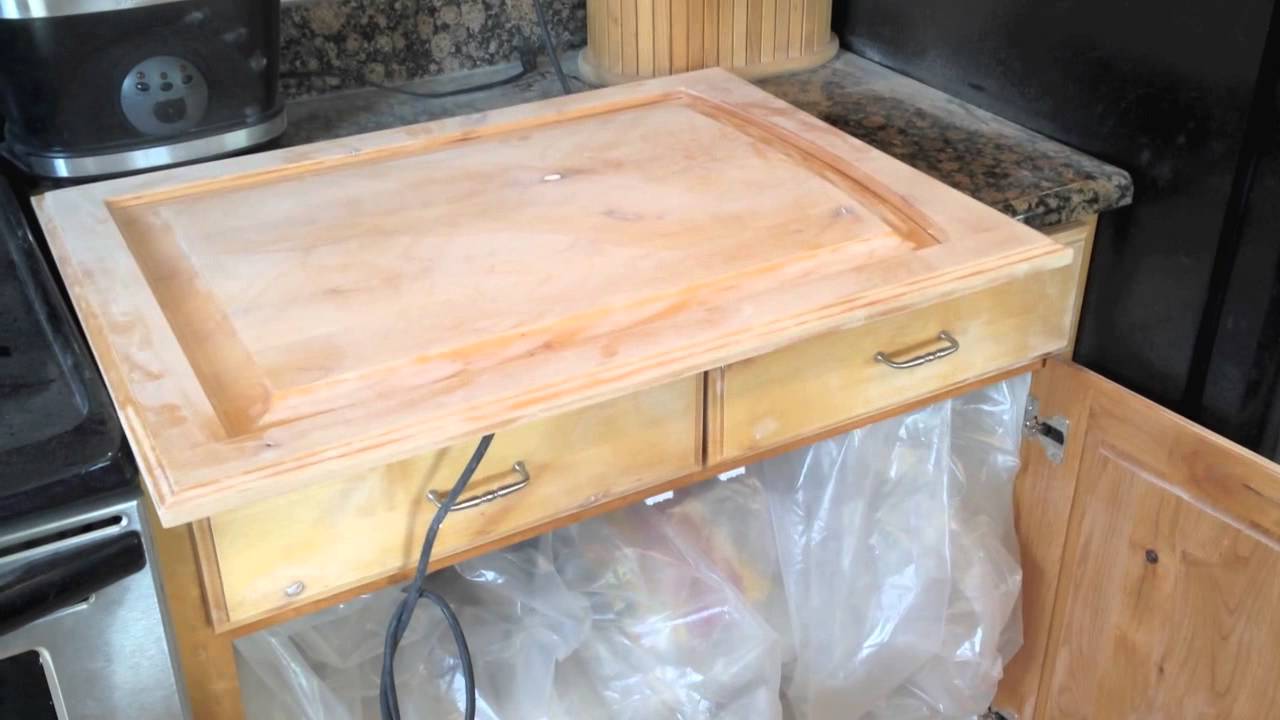
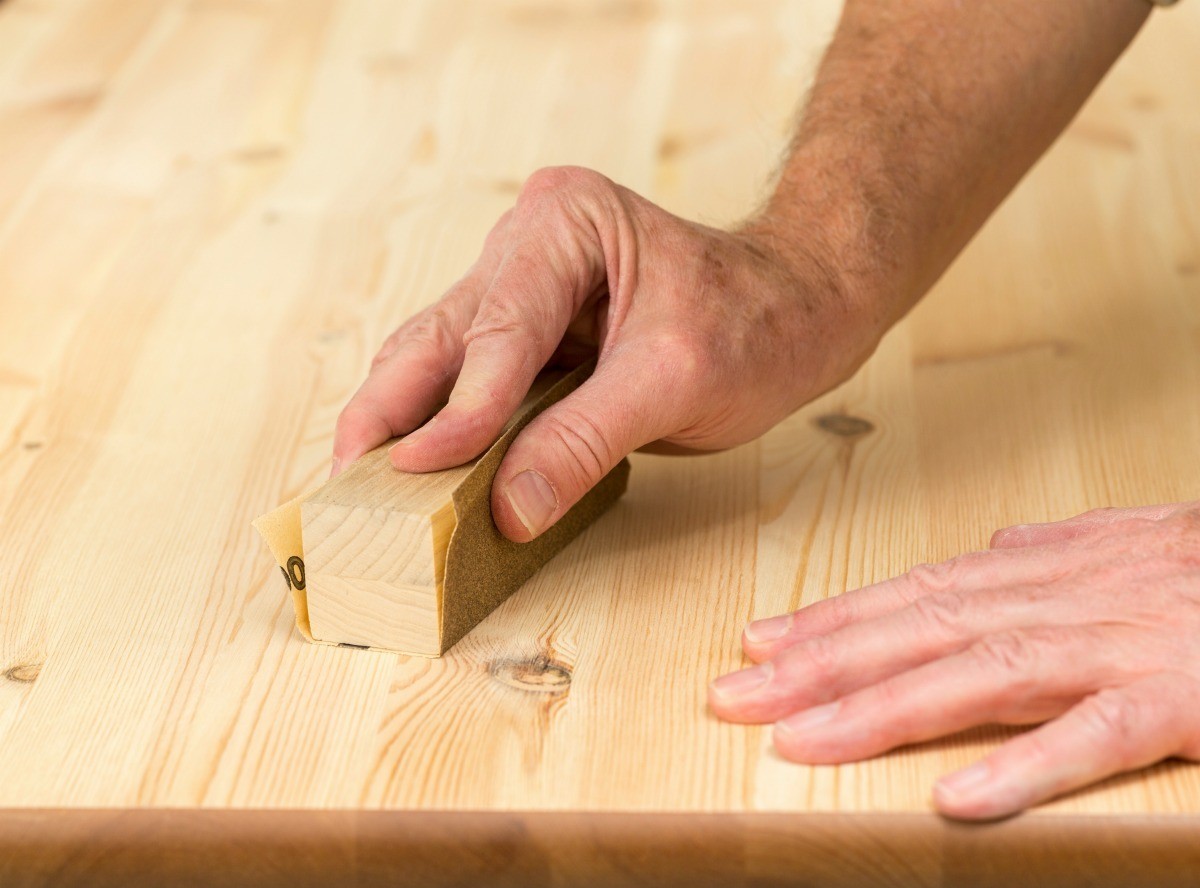
Refinishing a kitchen table with sandpaper is a great DIY project that can transform your table from drab to fab. Not only is it budget-friendly, but it also allows you to customize your table to your personal style. Here are some tips for a successful DIY kitchen table makeover with sandpaper. First, make sure to properly prepare your table for sanding by clearing off any items and protecting the surrounding area with a drop cloth. It is also recommended to wear protective gear, such as a mask and goggles, to prevent inhaling dust and getting it in your eyes. Next, choose the appropriate sandpaper grits for the type of wood your table is made of. As mentioned before, different woods may require different grits for optimal results. It is also helpful to have a variety of grits on hand to achieve a smooth and polished finish. When sanding, make sure to follow the direction of the wood grain and use long, even strokes. This will prevent any scratches or unevenness on the table's surface. It is also important to sand evenly, paying extra attention to the edges and corners of the table. After sanding, make sure to remove all dust and debris from the tabletop with a tack cloth. This will ensure a clean and smooth surface for the finish to adhere to. You can also lightly sand the surface again with a fine grit sandpaper to remove any remaining imperfections. Finally, choose a stain or finish that suits your personal style and apply it evenly with a brush or cloth. You can also use a stencil or painter's tape to create a design on the tabletop before applying the finish for a unique touch. Allow the finish to dry completely before using your newly refinished kitchen table.3. DIY Kitchen Table Makeover with Sandpaper


3. DIY Kitchen Table Makeover with Sandpaper


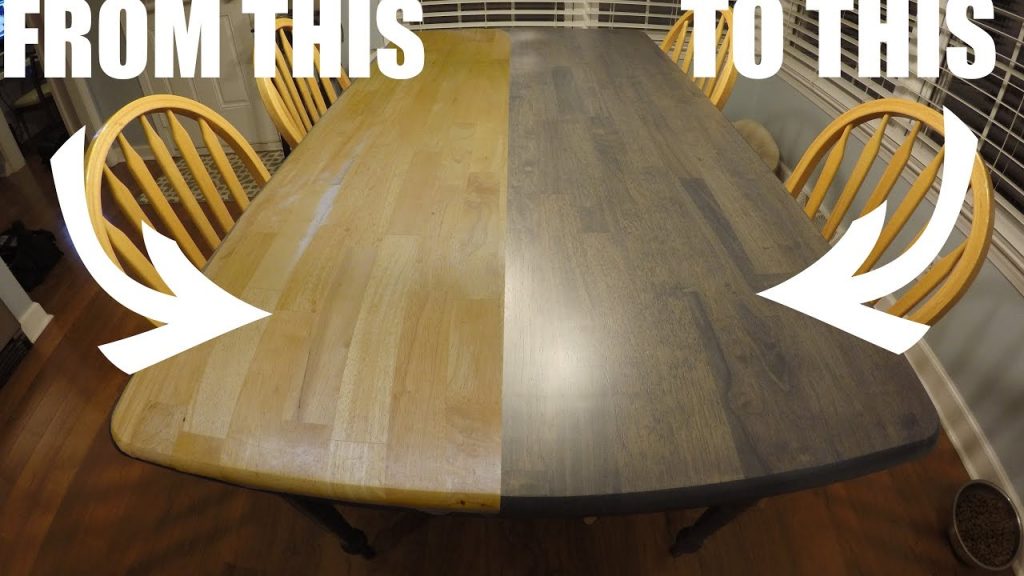
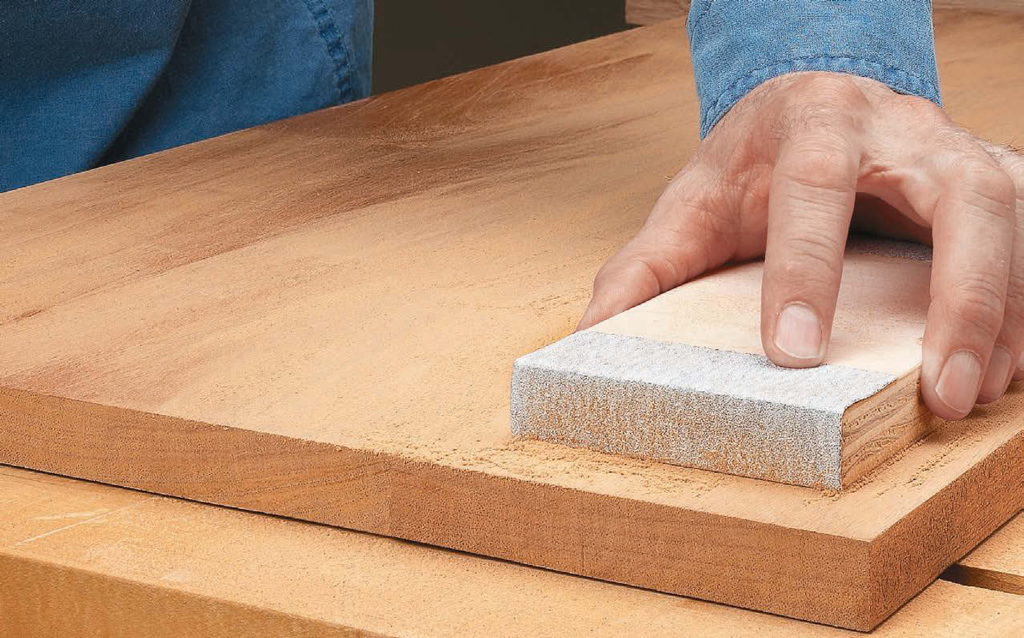
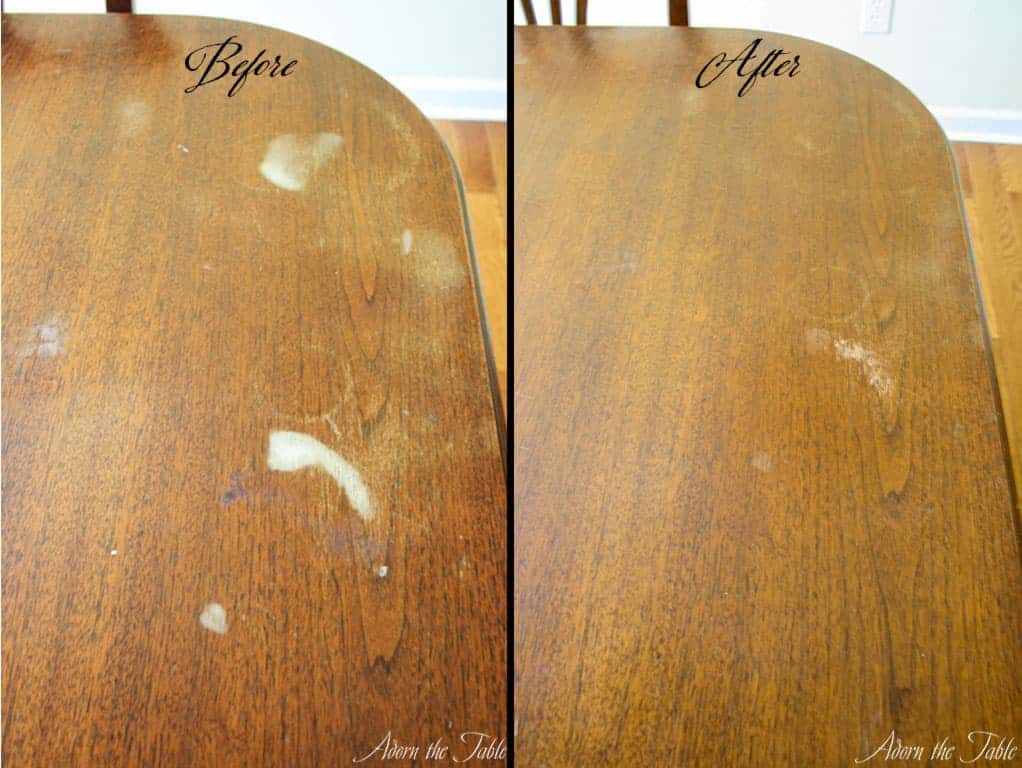
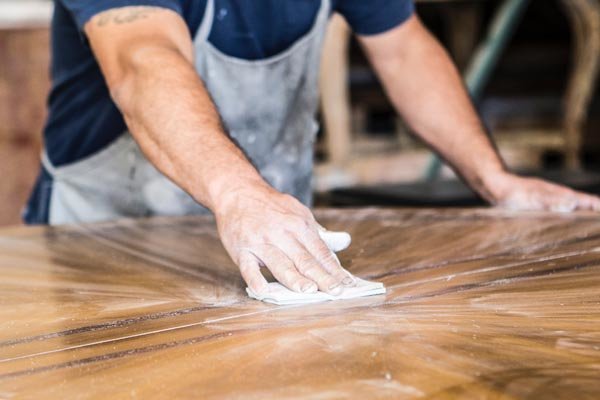
If you have an old kitchen table that is in need of some TLC, sandpaper can be a great tool for restoring its beauty. Here are some sandpaper techniques for effectively restoring a kitchen table. First, determine the condition of your table and what needs to be done to restore it. If there are only minor imperfections, a light sanding with a fine grit sandpaper may be all that is needed. However, if the table has deep scratches, stains, or an old finish that needs to be removed, you may need to start with a coarser grit and gradually work your way to a finer grit for a smooth finish. When sanding, make sure to follow the direction of the wood grain and use long, even strokes. This will prevent any scratches or unevenness on the table's surface. You can also use a sanding block or power sander for larger areas to save time and effort. For stubborn stains or marks, you may need to use a spot sanding technique. This involves focusing on a particular area and sanding it until the stain or mark is removed. It is important to blend the spot with the rest of the table's surface to avoid any noticeable differences. After sanding, make sure to remove all dust and debris from the tabletop with a tack cloth. This will ensure a clean and smooth surface for the finish to adhere to. You can also lightly sand the surface again with a fine grit sandpaper to remove any remaining imperfections. Finally, choose a stain or finish that suits your personal style and apply it evenly with a brush or cloth. Allow the finish to dry completely before using your restored kitchen table.4. Sandpaper Techniques for Restoring a Kitchen Table


4. Sandpaper Techniques for Restoring a Kitchen Table


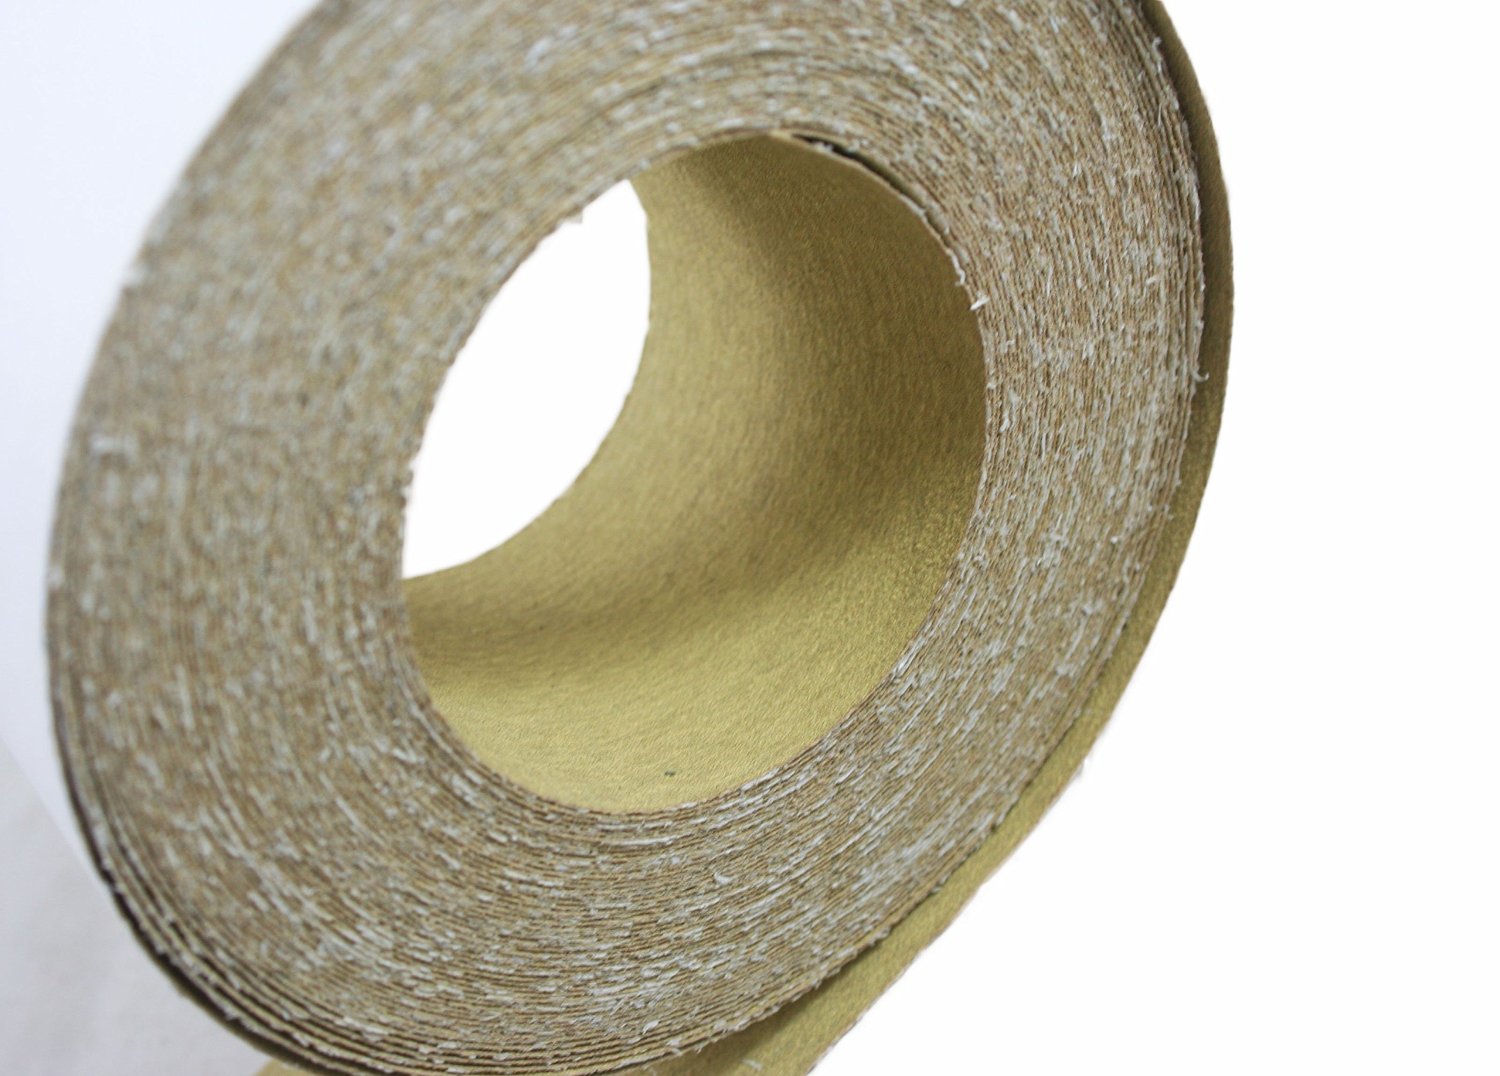


Choosing the right sandpaper for your kitchen table refinishing project is crucial for achieving a smooth and polished finish. Here are some factors to consider when selecting the right sandpaper for your table. First, consider the type of wood your table is made of. Hardwoods, such as oak or cherry, may require a coarser grit to remove the tough surface, while softwoods, such as pine or cedar, may only need a fine grit for a smooth finish. Next, consider the condition of your table and what needs to be done to restore it. If the table has deep scratches or an old finish that needs to be removed, you may need to start with a coarser grit and gradually work your way to a finer grit for a smooth finish. It is also important to consider the grade or quality of the sandpaper. A higher grade sandpaper will last longer and result in a smoother finish, but it may also be more expensive. It is important to find a balance between quality and cost to achieve the best results. Lastly, consider the type of sandpaper, whether it is wet or dry sandpaper. Wet sandpaper is used with water and is ideal for preventing dust and clogging, while dry sandpaper may be more suitable for certain finishes. Make sure to do some research and choose the right type of sandpaper for your specific project.5. Choosing the Right Sandpaper for Your Kitchen Table

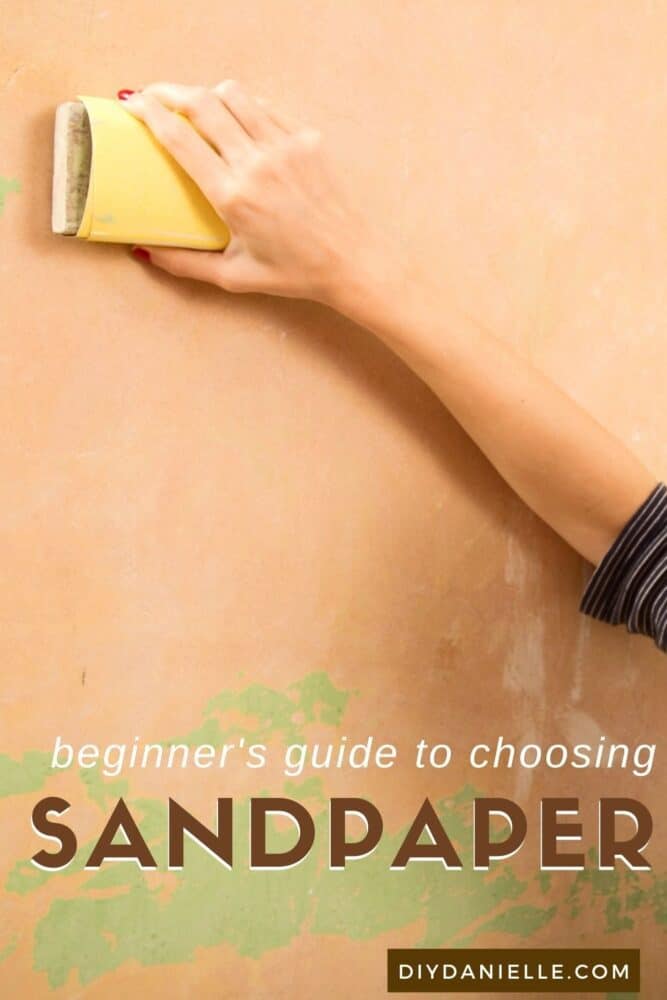

5. Choosing the Right Sandpaper for Your Kitchen Table


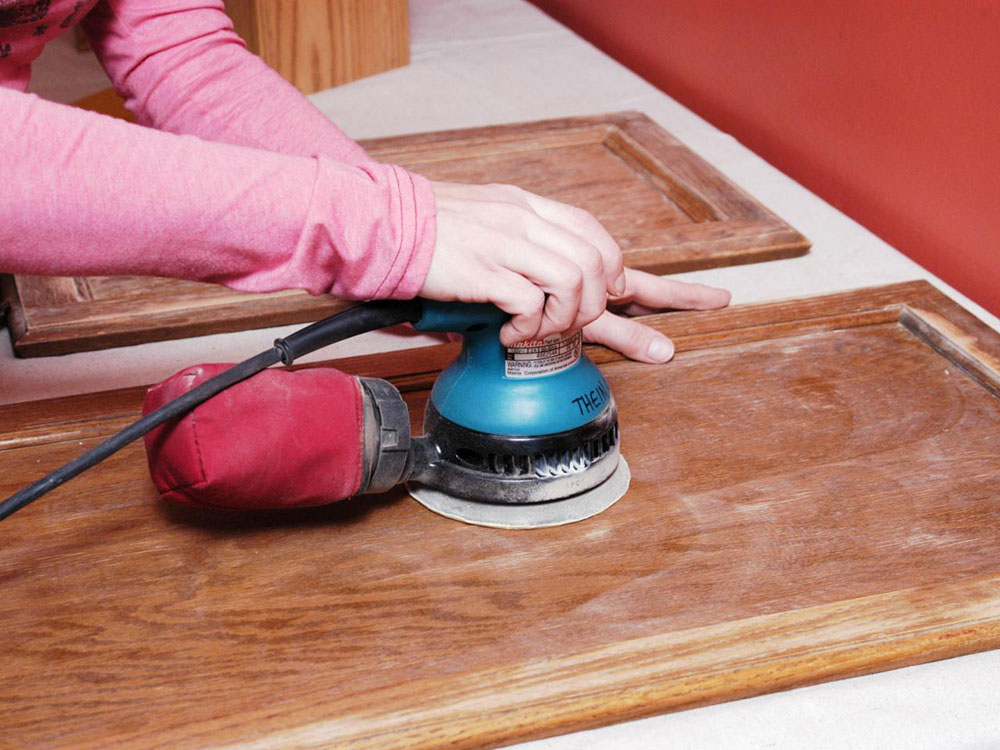
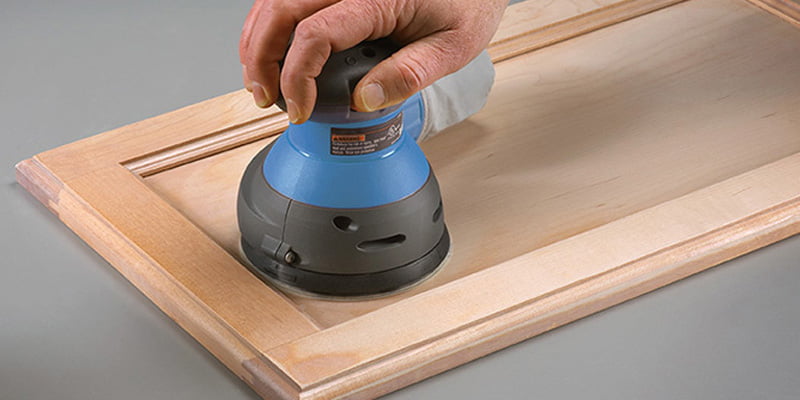
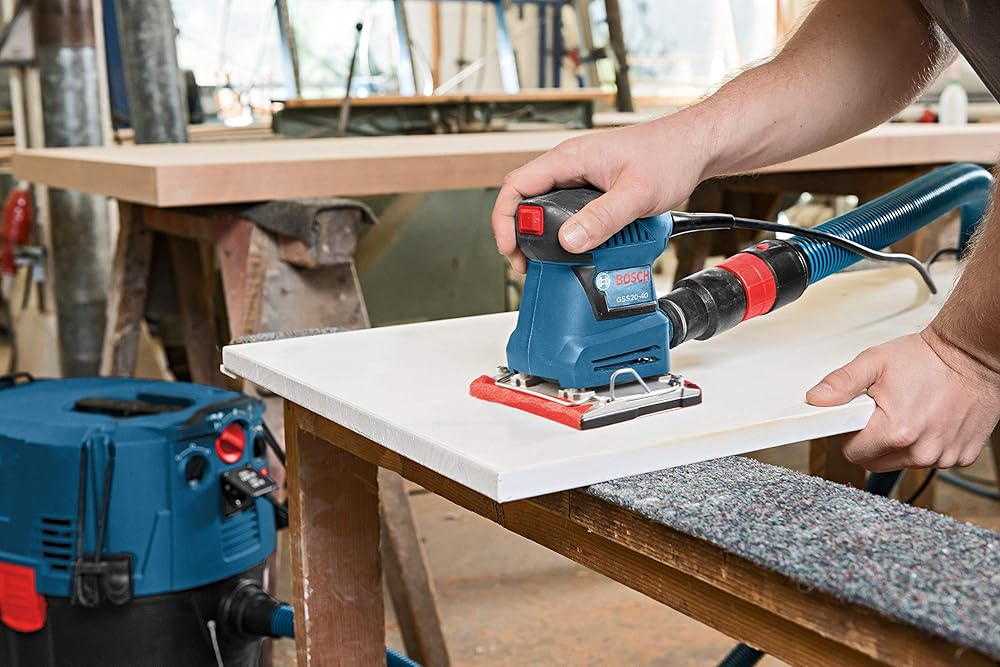
When it comes to refinishing your kitchen table, you may be wondering whether to use sandpaper or a power sander. Both have their pros and cons, and the decision ultimately depends on your personal preference and the condition of your table. Sandpaper is a more traditional and budget-friendly option that allows for more control and precision. It is also suitable for smaller areas and spot sanding. However, it can be time-consuming and physically demanding, especially for larger projects. A power sander, on the other hand, can save time and effort, making it a great option for larger projects. It is also useful for sanding large areas and removing tough surfaces. However, it may be more expensive and may require more skill to use properly. When deciding between sandpaper and a power sander, consider the size and condition of your table, as well as your experience and comfort level with each option.6. Sandpaper vs. Power Sander for Kitchen Table Refinishing


6. Sandpaper vs. Power Sander for Kitchen Table Refinishing


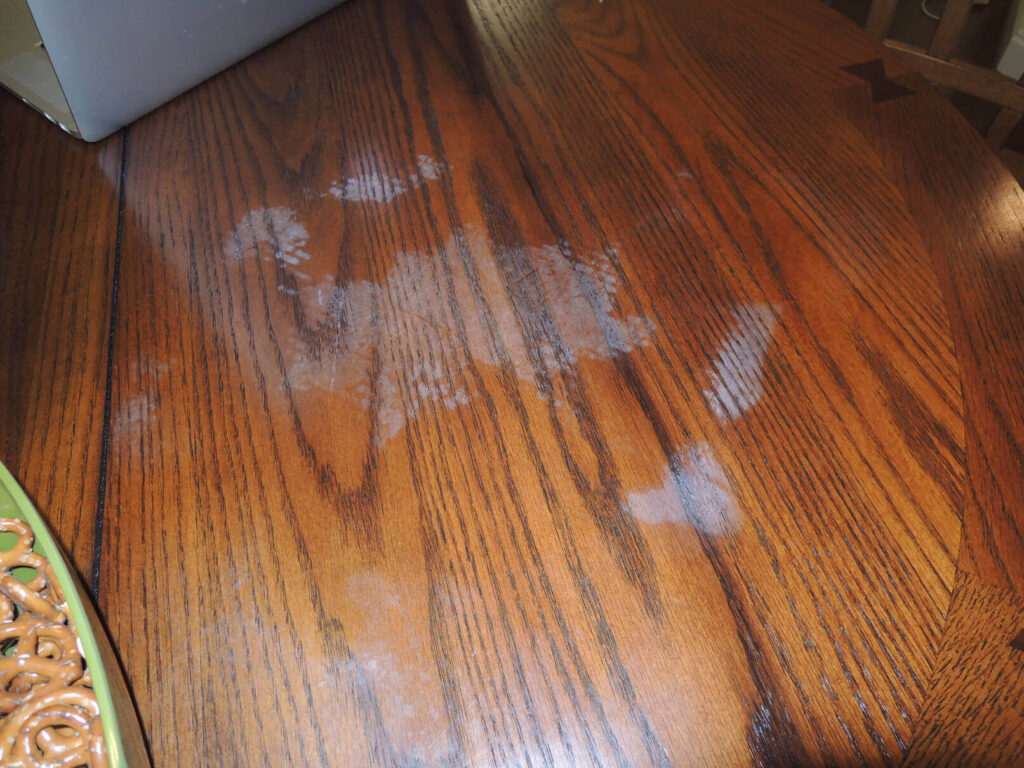
If your kitchen table has stubborn stains that won't come out with regular cleaning, sandpaper can be an effective tool for removing them. Here's how to remove stains from a kitchen table with sandpaper. First, determine the type of stain and the extent of the damage. If the stain is only on the surface, a light sanding with a fine grit sandpaper may be enough to remove it. However, if the stain has penetrated the wood, you may need to start with a coarser grit and gradually work your way to a finer grit for a smooth finish. When sanding, make sure to follow the direction of the wood grain and use long, even strokes. Apply even pressure to avoid creating any unevenness on the table's surface. You can also use a sanding block or power sander for larger areas to save time and effort. After sanding, make sure to remove all dust and debris from the tabletop with a tack cloth. This will ensure a clean and smooth surface for the finish to adhere to. You can also lightly sand the surface again with a fine grit sandpaper to remove any remaining imperfections. Finally, choose a stain or finish that matches the rest of your table and apply it evenly with a brush or cloth. Allow the finish to dry completely before using your newly restored kitchen table.7. How to Remove Stains from a Kitchen Table with Sandpaper


7. How to Remove Stains from a Kitchen Table with Sandpaper


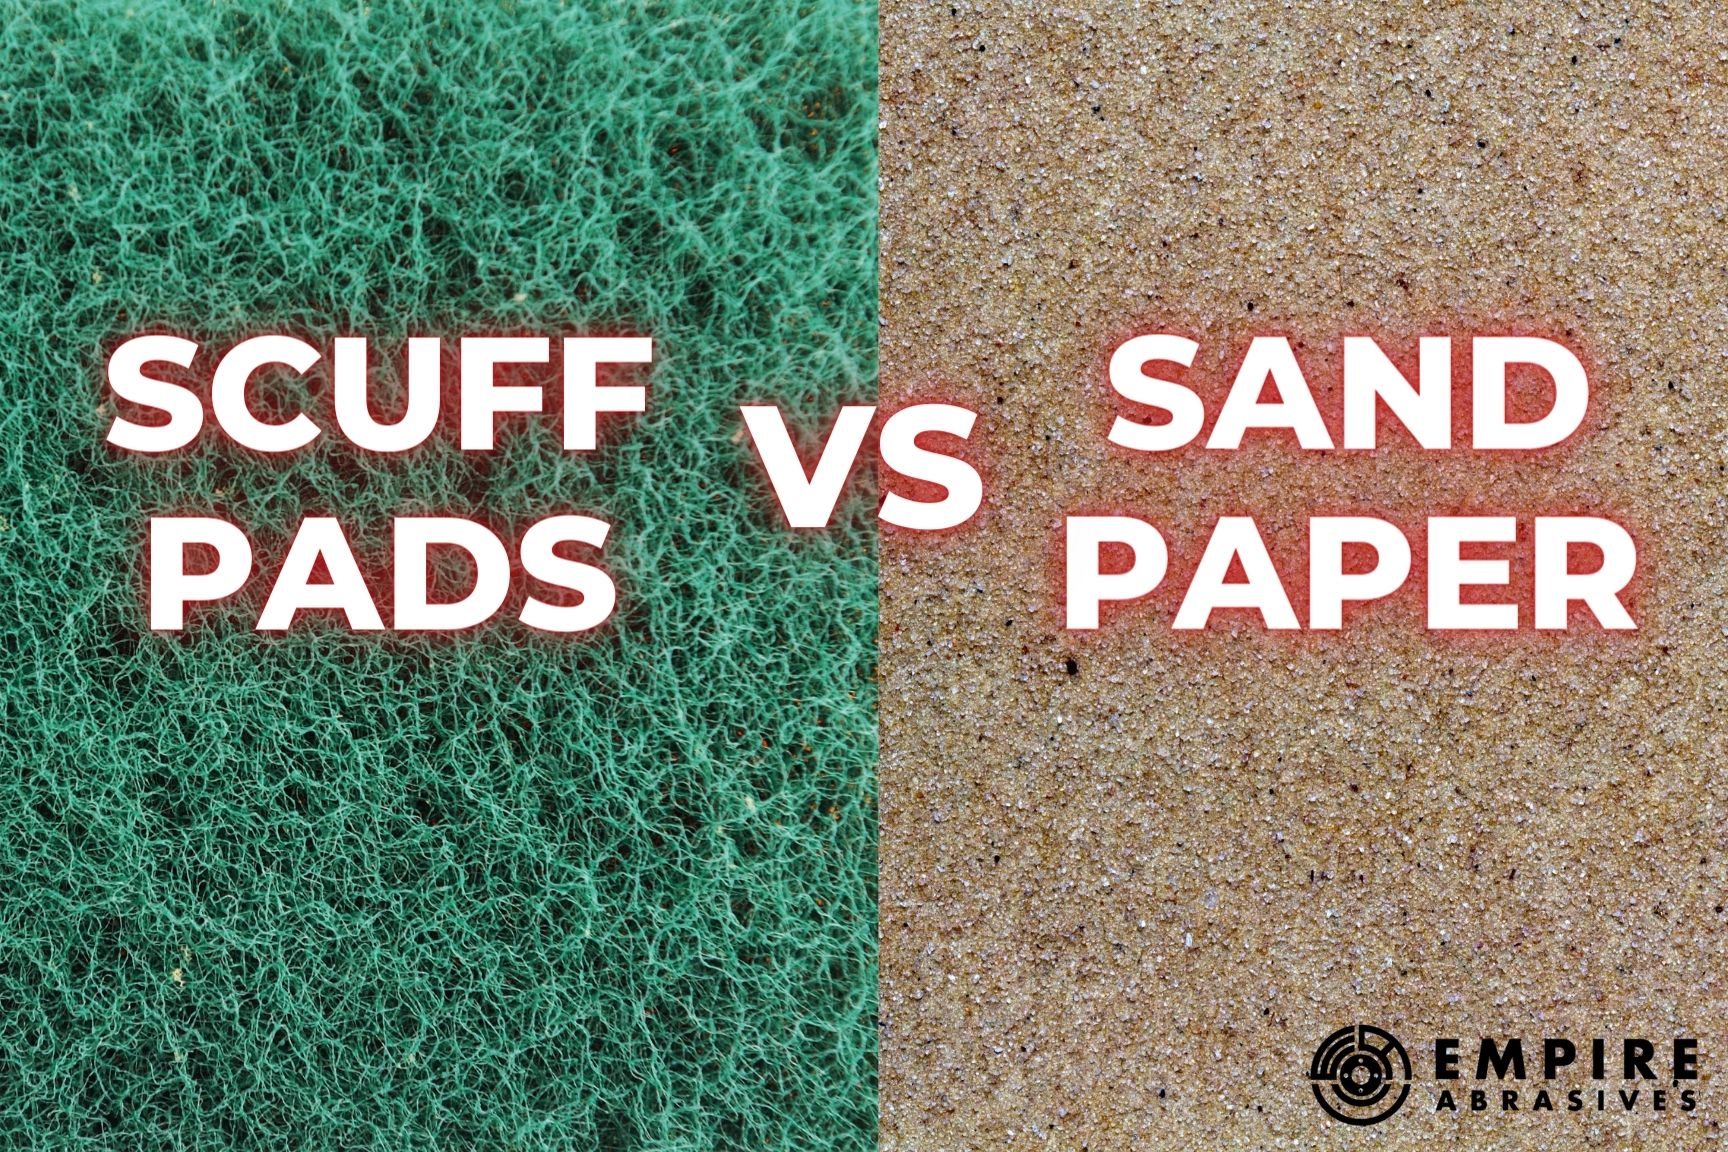
If sandpaper is not available or suitable for your kitchen table refinishing project, there are some alternatives you can use to achieve a similar result. One option is to use a chemical stripper to remove the old finish or paint from the table's surface. This method requires wearing protective gear and following the instructions carefully. Once the old finish is removed, you can use a fine grit sandpaper to smooth out any rough spots before applying a new finish. Another option is to use a scrubbing pad or steel wool to remove the old finish or surface imperfections. These materials are gentle enough to avoid damaging the wood but strong enough to remove tough stains or marks. Once the surface is smooth, you can apply a new finish as desired. It is important to note that these alternatives may require more time and effort compared to sandpaper, and they may not work as effectively on certain types of wood. Make sure to do some research and choose the best option for your specific project.8. Sandpaper Alternatives for Refinishing a Kitchen Table


8. Sandpaper Alternatives for Refinishing a Kitchen Table


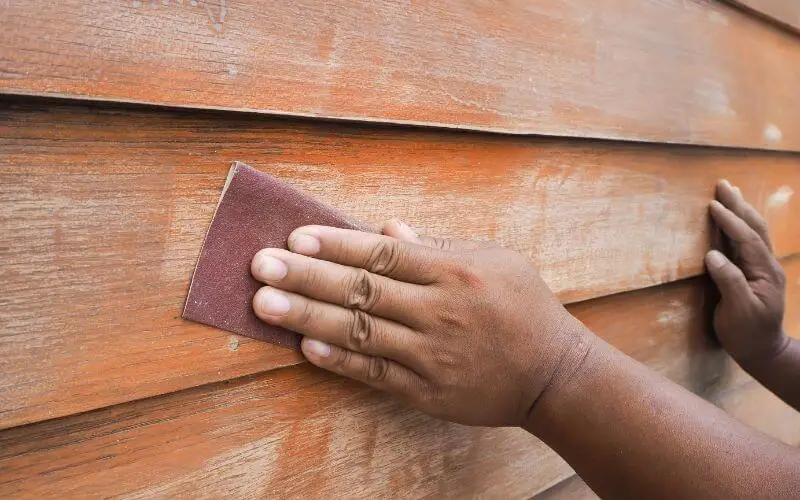
Sanding a kitchen table with sandpaper may seem like a simple task, but there are some tips and tricks that can help you achieve the best results. Here are some tips for sanding a kitchen table with sandpaper. First, make sure to properly prepare your table for sanding by clearing off any items and protecting the surrounding area with a drop cloth. It is also recommended to wear protective gear, such as a mask and goggles, to prevent inhaling dust and getting it in your eyes. Next, choose the appropriate sandpaper grits for the type of wood your table is made of. As mentioned before, different woods may require different grits for optimal results. It is also helpful to have a variety of grits on hand to achieve a smooth and polished finish. When sanding, make sure to follow the direction of the wood grain and use long, even strokes. This will prevent any scratches or unevenness on the table's surface. It is also important to sand evenly, paying extra attention to the edges and corners of the table. After sanding, make sure to remove all dust and debris from the tabletop with a tack cloth. This will ensure a clean and smooth surface for the finish to adhere to. You can also lightly sand the surface again with a fine grit sandpaper to remove any remaining imperfections. Lastly, take your time and be patient. Sanding a kitchen table can be a time-consuming process, but the end result will be worth it. Rushing through the sanding process may result in an uneven or unsatisfactory finish.9. Tips for Sanding a Kitchen Table with Sandpaper


9. Tips for Sanding a Kitchen Table with Sandpaper


When it comes to refinishing a kitchen table with sandpaper, the grade or quality of the sandpaper is an important factor to consider. Here's a guide to the different sandpaper grades and their uses for kitchen table refinishing.10. Sandpaper Grades for Kitchen Table Refinishing


10. Sandpaper Grades for Kitchen Table Refinishing


Sandpaper Kitchen Table: A Unique Addition to Your Home's Design

Transforming Your Kitchen with Sandpaper
 When it comes to designing your home, the kitchen is often considered the heart of the house. It's where you cook, eat, and gather with family and friends. So why not make it a space that truly reflects your style and personality? One way to add a unique touch to your kitchen is by incorporating a sandpaper kitchen table.
Sandpaper
is a versatile material that is commonly used for smoothing and shaping surfaces. It comes in various grits, from coarse to fine, and is traditionally used for woodworking. But in recent years, sandpaper has been making its way into home design, adding a touch of texture and character to furniture and decor.
When it comes to designing your home, the kitchen is often considered the heart of the house. It's where you cook, eat, and gather with family and friends. So why not make it a space that truly reflects your style and personality? One way to add a unique touch to your kitchen is by incorporating a sandpaper kitchen table.
Sandpaper
is a versatile material that is commonly used for smoothing and shaping surfaces. It comes in various grits, from coarse to fine, and is traditionally used for woodworking. But in recent years, sandpaper has been making its way into home design, adding a touch of texture and character to furniture and decor.
Why Choose a Sandpaper Kitchen Table?
 A sandpaper kitchen table is not your average dining table. It offers a rustic and
chic
look that is sure to be a conversation starter. One of the main reasons to choose a sandpaper table is its unique texture. The rough and uneven surface of the table adds depth and character to your kitchen, giving it a
one-of-a-kind
feel.
Moreover, sandpaper tables are highly durable and easy to maintain. The sanding process strengthens the wood, making it less likely to get damaged or scratched. And if any marks do appear, they can easily be sanded out, giving your table a fresh look.
A sandpaper kitchen table is not your average dining table. It offers a rustic and
chic
look that is sure to be a conversation starter. One of the main reasons to choose a sandpaper table is its unique texture. The rough and uneven surface of the table adds depth and character to your kitchen, giving it a
one-of-a-kind
feel.
Moreover, sandpaper tables are highly durable and easy to maintain. The sanding process strengthens the wood, making it less likely to get damaged or scratched. And if any marks do appear, they can easily be sanded out, giving your table a fresh look.
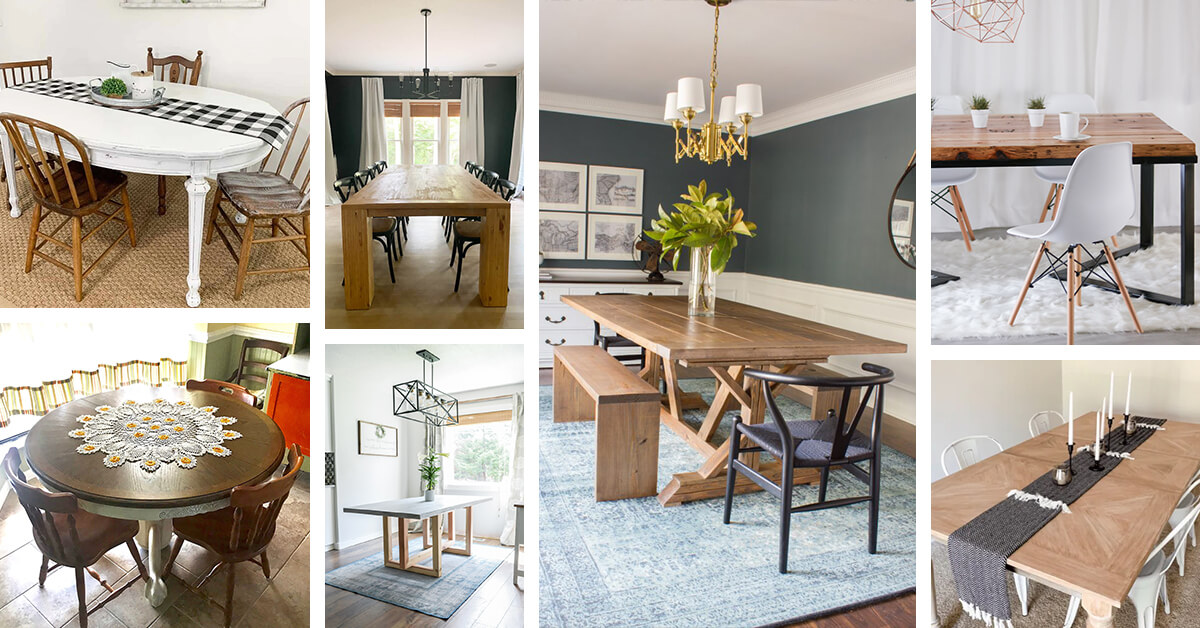
Ways to Incorporate a Sandpaper Kitchen Table
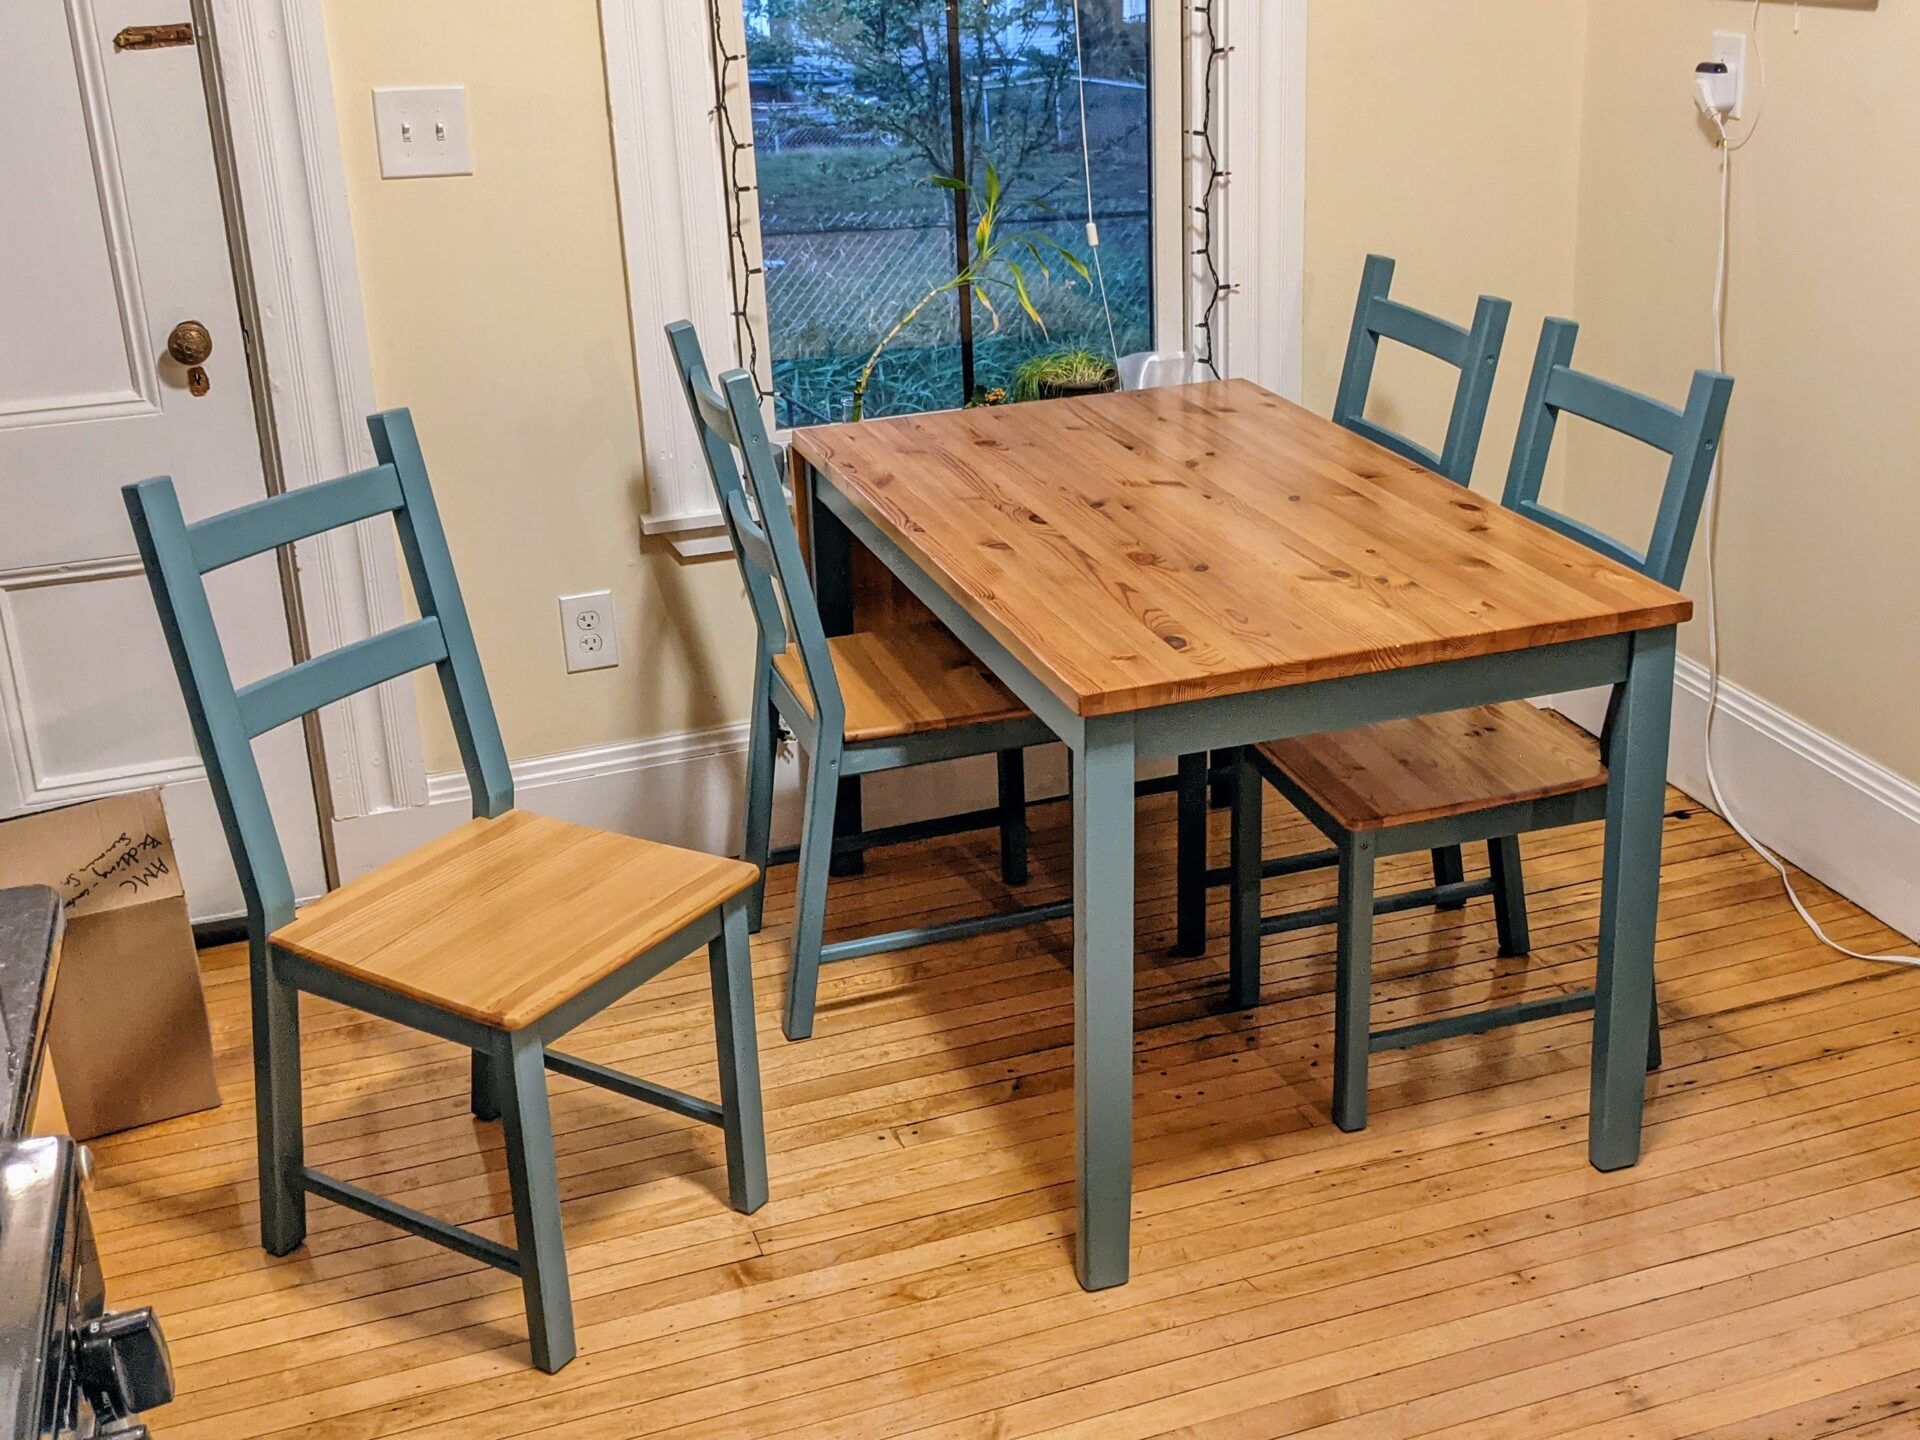
 A sandpaper kitchen table can be incorporated in various ways to suit your personal style and home decor. For a
rustic
and
organic
look, pair it with wooden chairs and natural elements such as plants and woven baskets. If you prefer a more
modern
and
industrial
style, combine the sandpaper table with metal chairs and sleek, minimalistic decor.
The possibilities are endless, and a sandpaper kitchen table can be a versatile addition to any kitchen design. It can also be used as a
statement piece
in your dining room, creating a unique and
eye-catching
focal point.
In conclusion, a sandpaper kitchen table is a creative and unconventional addition to your home's design. It adds a touch of texture and character to your kitchen while also being durable and easy to maintain. So why settle for a plain and ordinary table when you can have a sandpaper one that truly stands out?
A sandpaper kitchen table can be incorporated in various ways to suit your personal style and home decor. For a
rustic
and
organic
look, pair it with wooden chairs and natural elements such as plants and woven baskets. If you prefer a more
modern
and
industrial
style, combine the sandpaper table with metal chairs and sleek, minimalistic decor.
The possibilities are endless, and a sandpaper kitchen table can be a versatile addition to any kitchen design. It can also be used as a
statement piece
in your dining room, creating a unique and
eye-catching
focal point.
In conclusion, a sandpaper kitchen table is a creative and unconventional addition to your home's design. It adds a touch of texture and character to your kitchen while also being durable and easy to maintain. So why settle for a plain and ordinary table when you can have a sandpaper one that truly stands out?