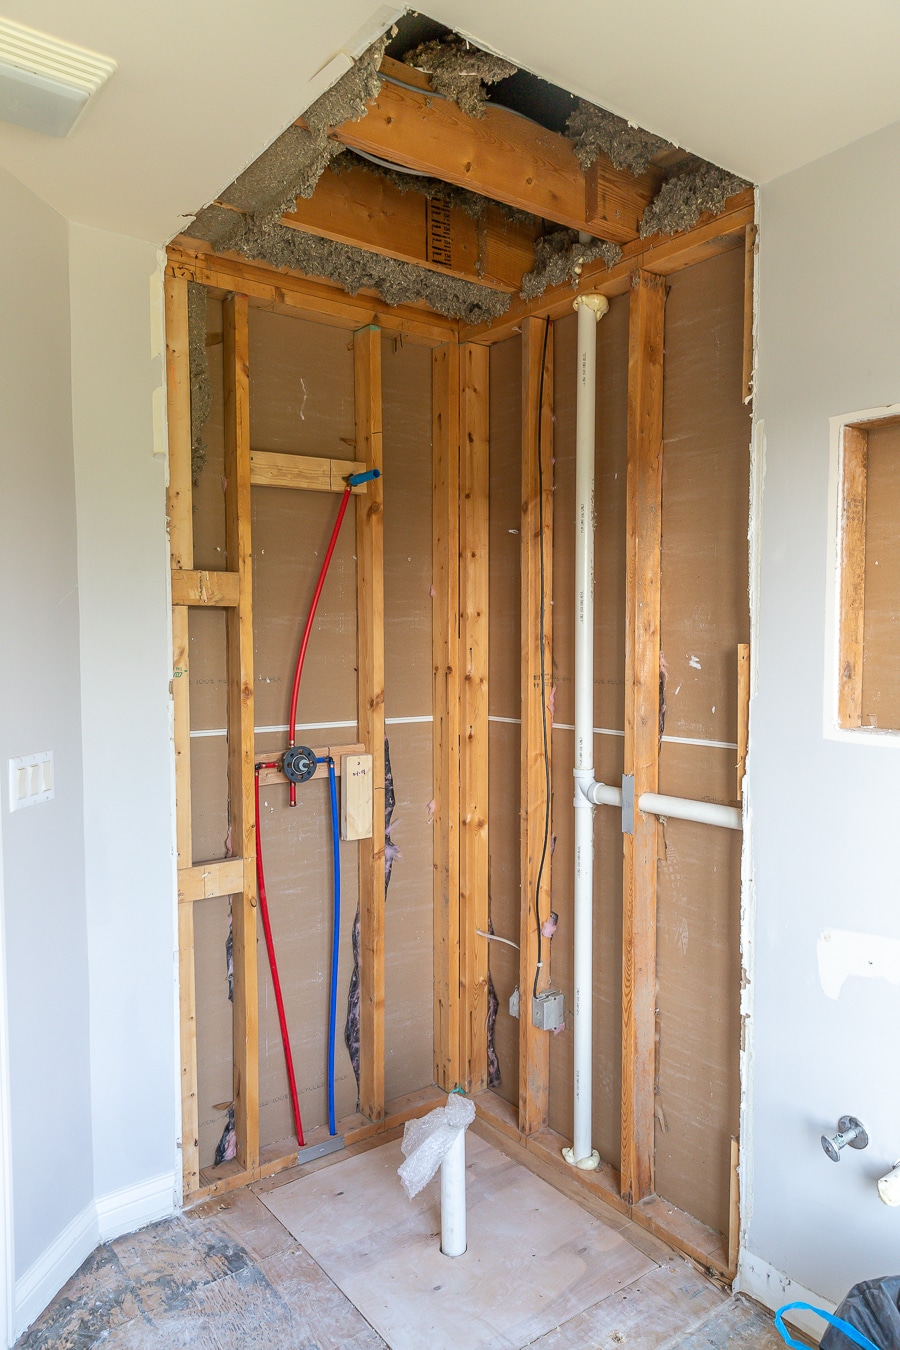
Rough-in plumbing is an essential part of any bathroom renovation or construction. It refers to the installation of the pipes and fittings that will eventually connect to your bathroom sink. This process should not be taken lightly as it can affect the functionality and aesthetics of your sink. If you're planning to tackle this task on your own, it's essential to understand the rough-in plumbing process for your bathroom sink. This article will provide you with a guide on the top 10 rough-in steps for a bathroom sink and some important rough-in dimensions to keep in mind.Rough-in plumbing for bathroom sink

Rough-in plumbing for bathroom sink


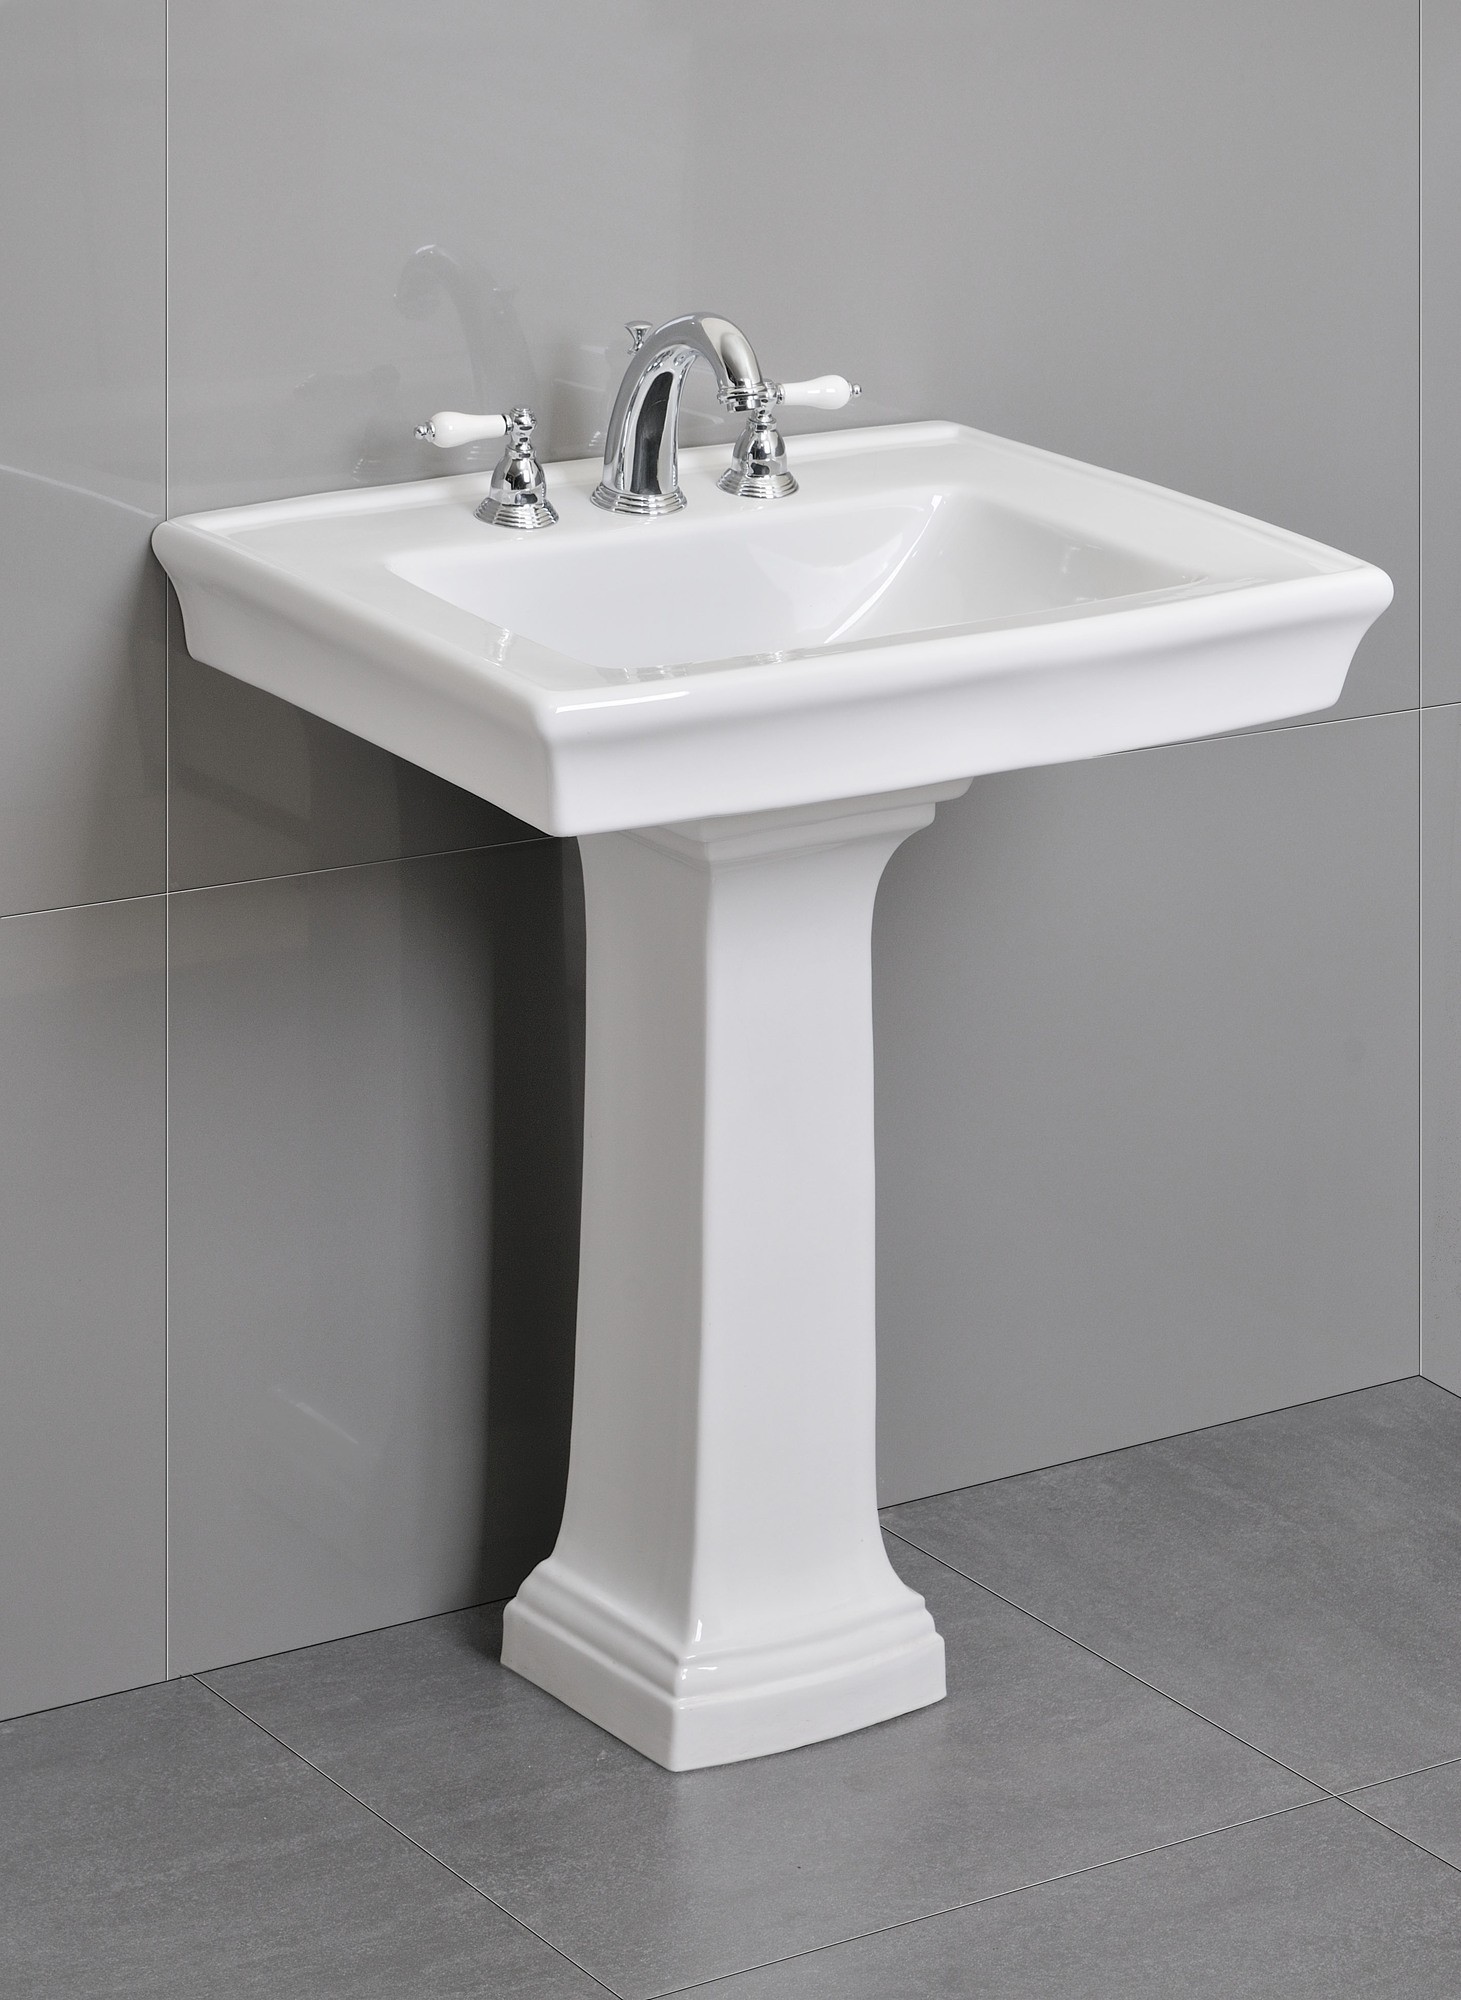
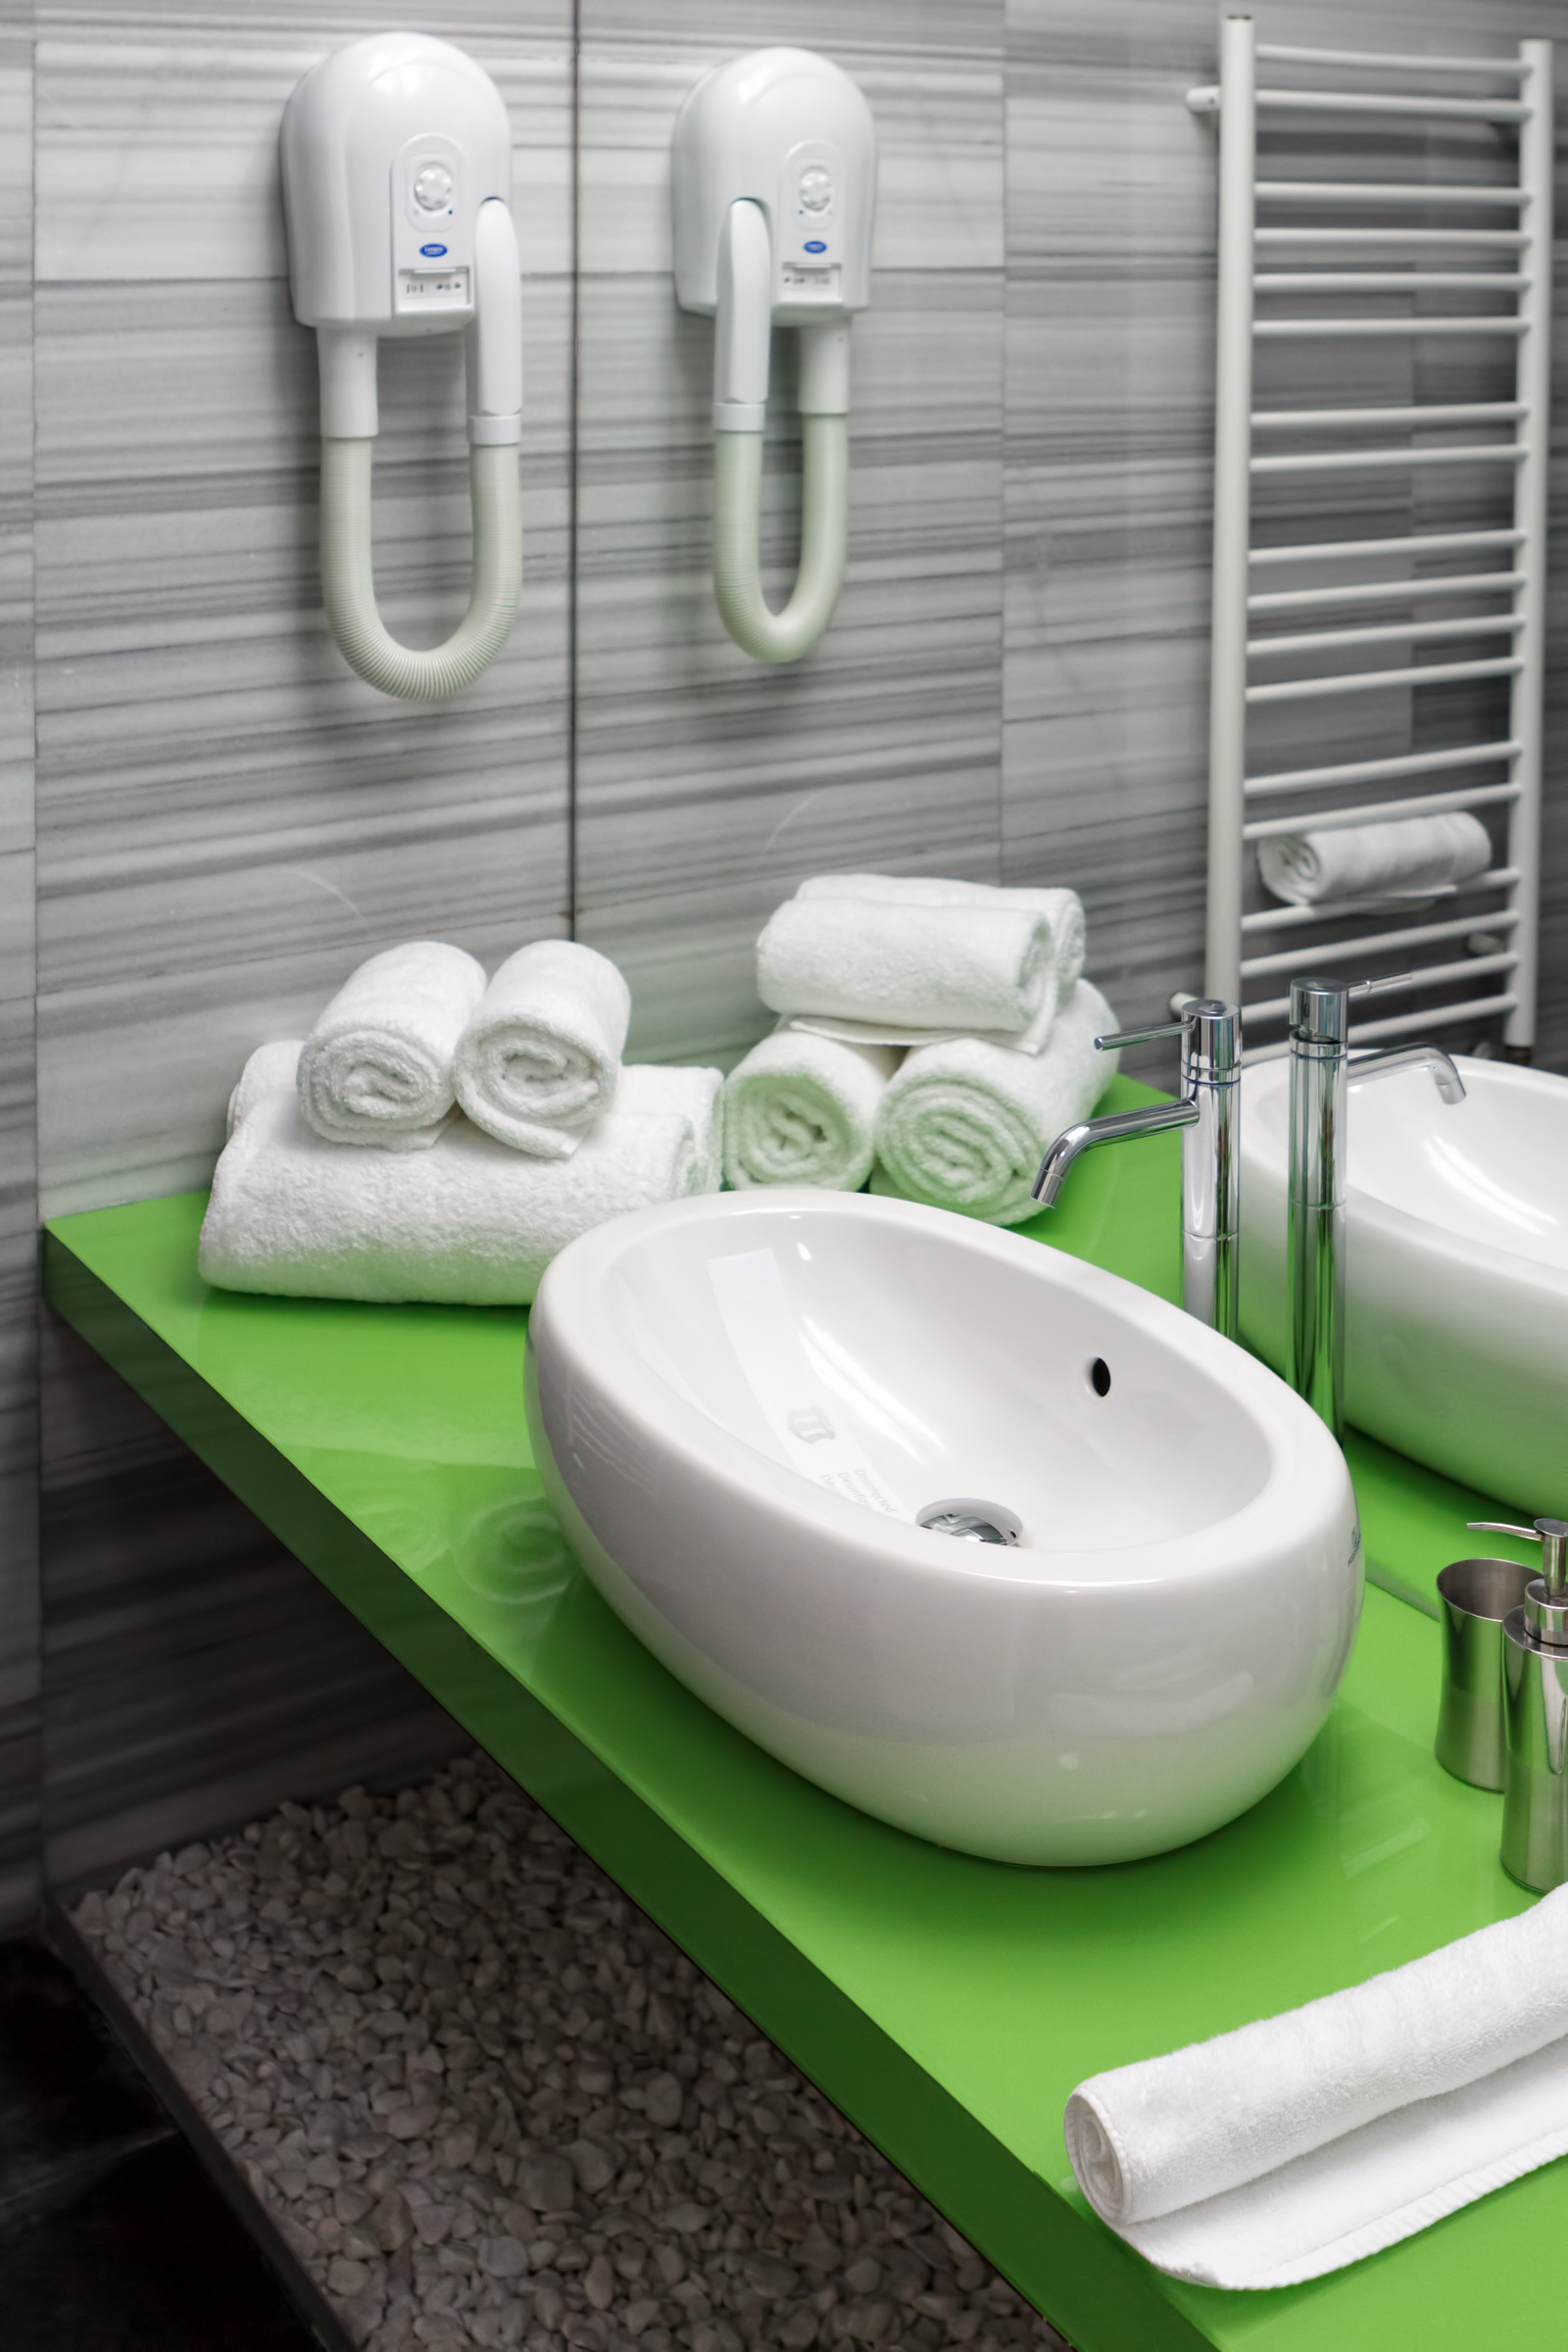
Before you start roughing-in your bathroom sink, it's crucial to have a good understanding of the required dimensions. This will ensure that your sink fits properly and functions correctly. The most crucial rough-in dimension for your bathroom sink is the distance from the finished wall to the center of the drain. This distance can vary, but on average, it should be between 12-14 inches. However, if you're installing a pedestal sink, the distance should be between 10-12 inches. It's also essential to consider the depth of your sink and the position of the rough-in pipes for the water supply and drain.Bathroom sink rough-in dimensions


Bathroom sink rough-in dimensions

:max_bytes(150000):strip_icc()/Plumbing-rough-in-dimensions-guide-1822483-illo-3-v2-5a62f4ec03224f04befbabd0222ecc94.png)


If you're installing a bathroom vanity with a sink, the rough-in plumbing process will be slightly different. Instead of just dealing with the sink, you'll also have to account for the vanity's dimensions and its placement in relation to the wall and the plumbing pipes. When roughing-in a vanity, it's crucial to take precise measurements and ensure that the pipes are placed correctly to avoid any issues with the installation of the vanity later on. It's also essential to plan for any additional features such as a backsplash or extra storage space.Rough-in plumbing for bathroom vanity


Rough-in plumbing for bathroom vanity

The rough-in height for a bathroom sink refers to the distance from the finished floor to the center of the drain. This measurement is crucial, as it will determine the height of your sink and how it will fit with the rest of your bathroom fixtures. The standard rough-in height for a bathroom sink is 24 inches, but this can vary depending on the height of the vanity or if you're installing a wall-mounted sink. It's essential to double-check this measurement before installing the sink to avoid any issues with the final installation.Bathroom sink rough-in height


Bathroom sink rough-in height


:max_bytes(150000):strip_icc()/Plumbing-rough-in-dimensions-guide-1822483-illo-2-v1-29442c1ccb674835bcb337f6cf13431b.png)

While the rough-in plumbing for your bathroom sink primarily deals with the pipes and drains, it's also crucial to consider the placement of your faucet. This can affect the final installation and the functionality of your sink. The rough-in plumbing for a bathroom faucet will depend on the type of faucet you're installing. For a single-handle faucet, the distance from the center of the sink hole to the center of the faucet should be around 4 inches. For a two-handle faucet, the distance should be around 8 inches.Rough-in plumbing for bathroom faucet


Rough-in plumbing for bathroom faucet


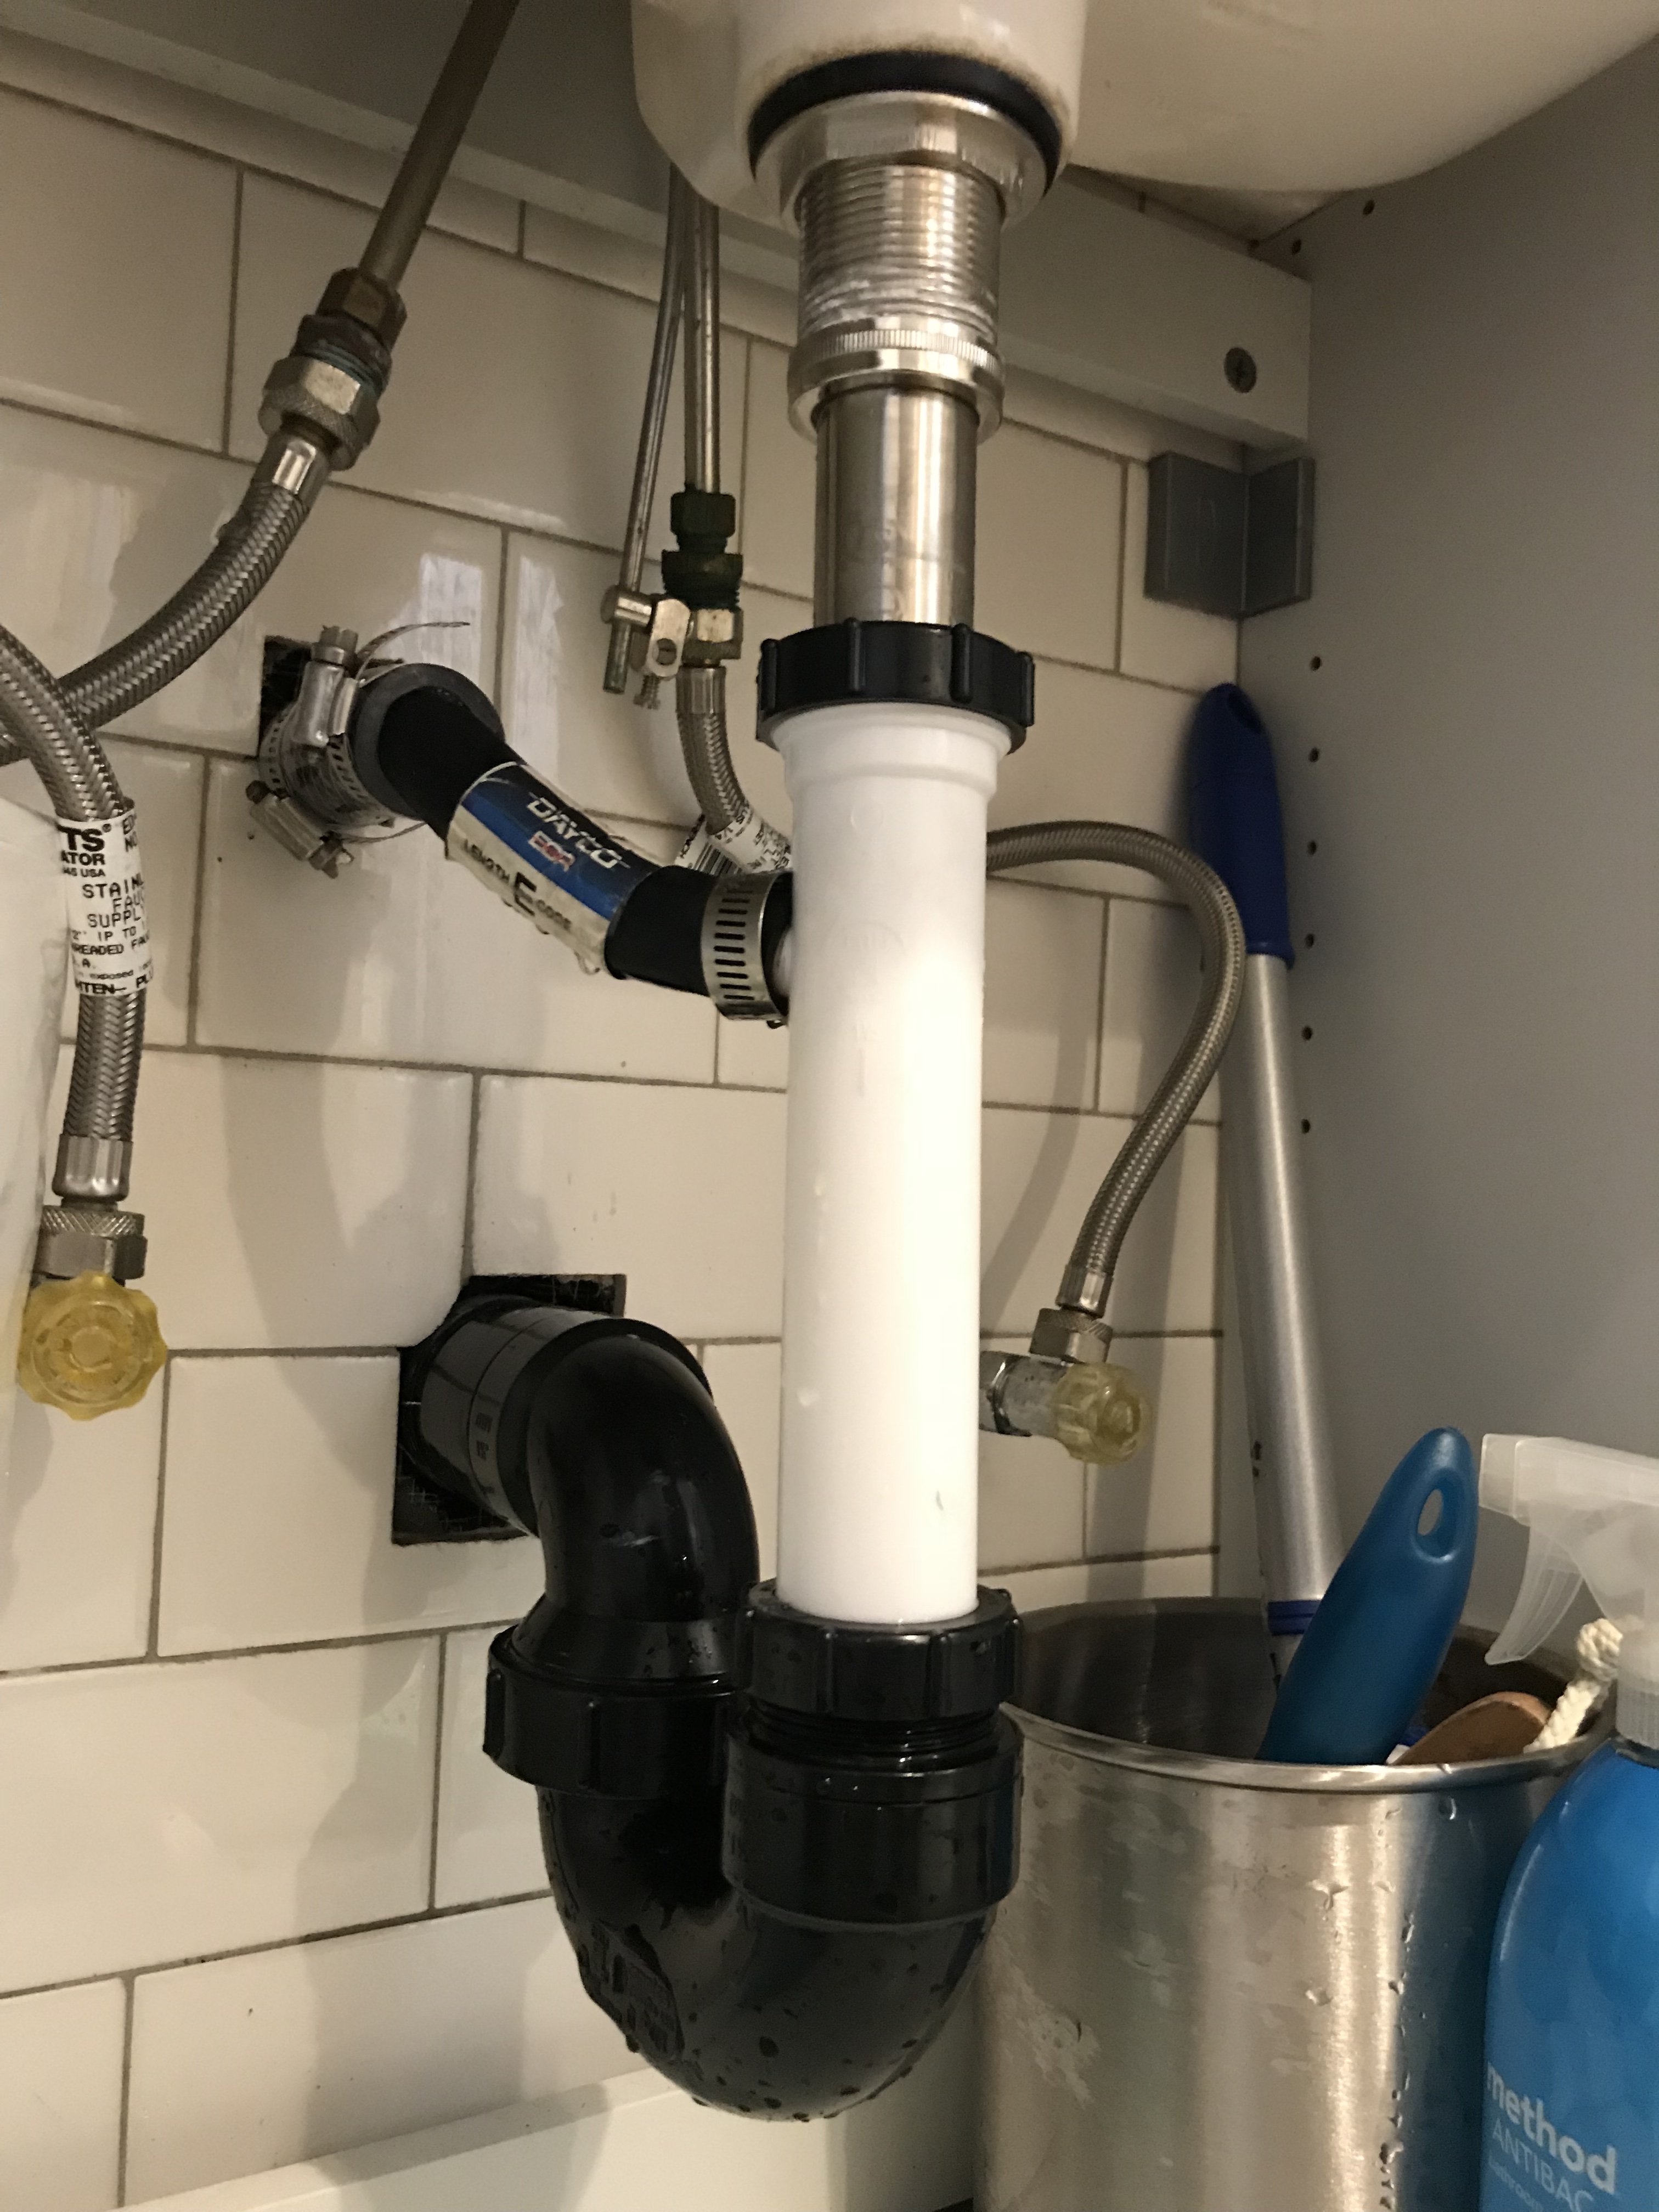
As mentioned earlier, the most crucial rough-in measurement for your bathroom sink is the distance from the finished wall to the center of the drain. However, there are a few other measurements that you should keep in mind when roughing-in your bathroom sink. These include the distance from the finished wall to the water supply pipes, the height of the water supply pipes, and the distance from the finished floor to the top of the sink. These measurements will ensure that your sink is installed correctly and functions properly.Bathroom sink rough-in measurements


Bathroom sink rough-in measurements

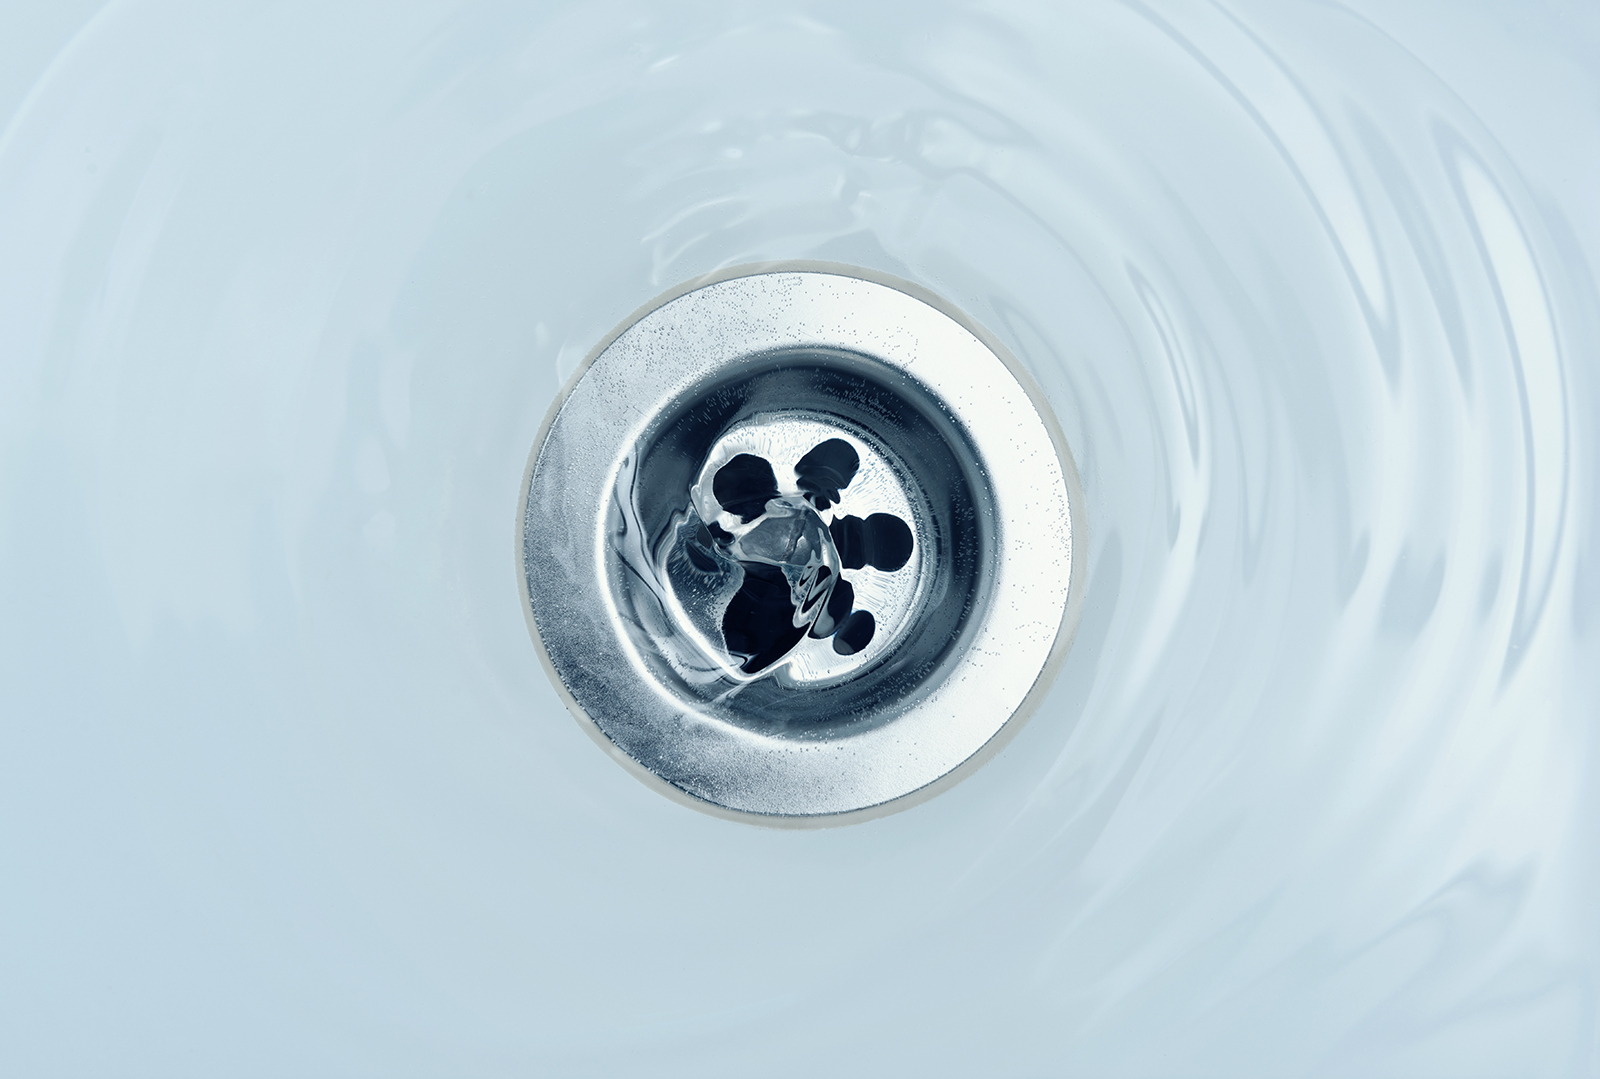
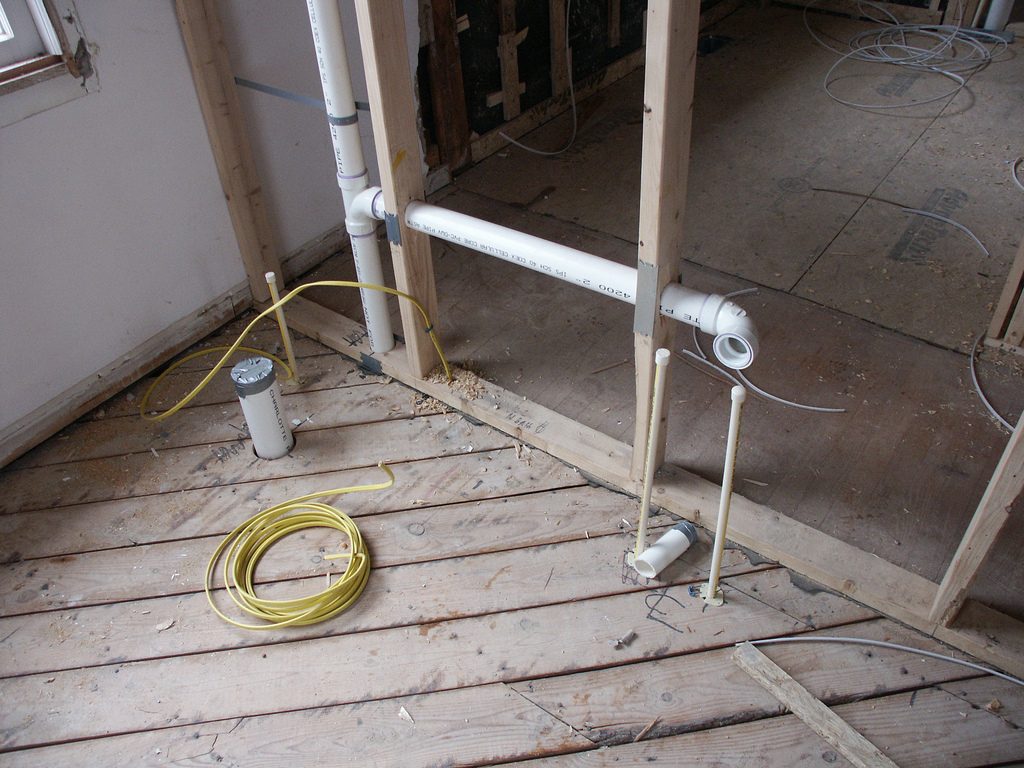
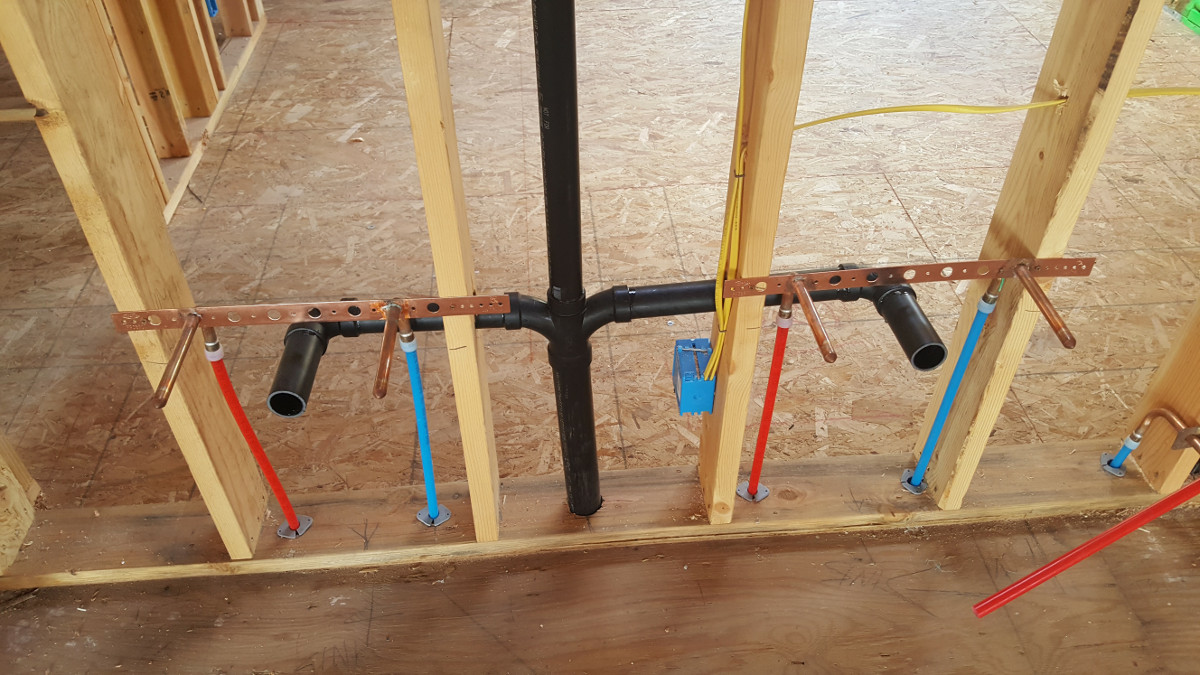
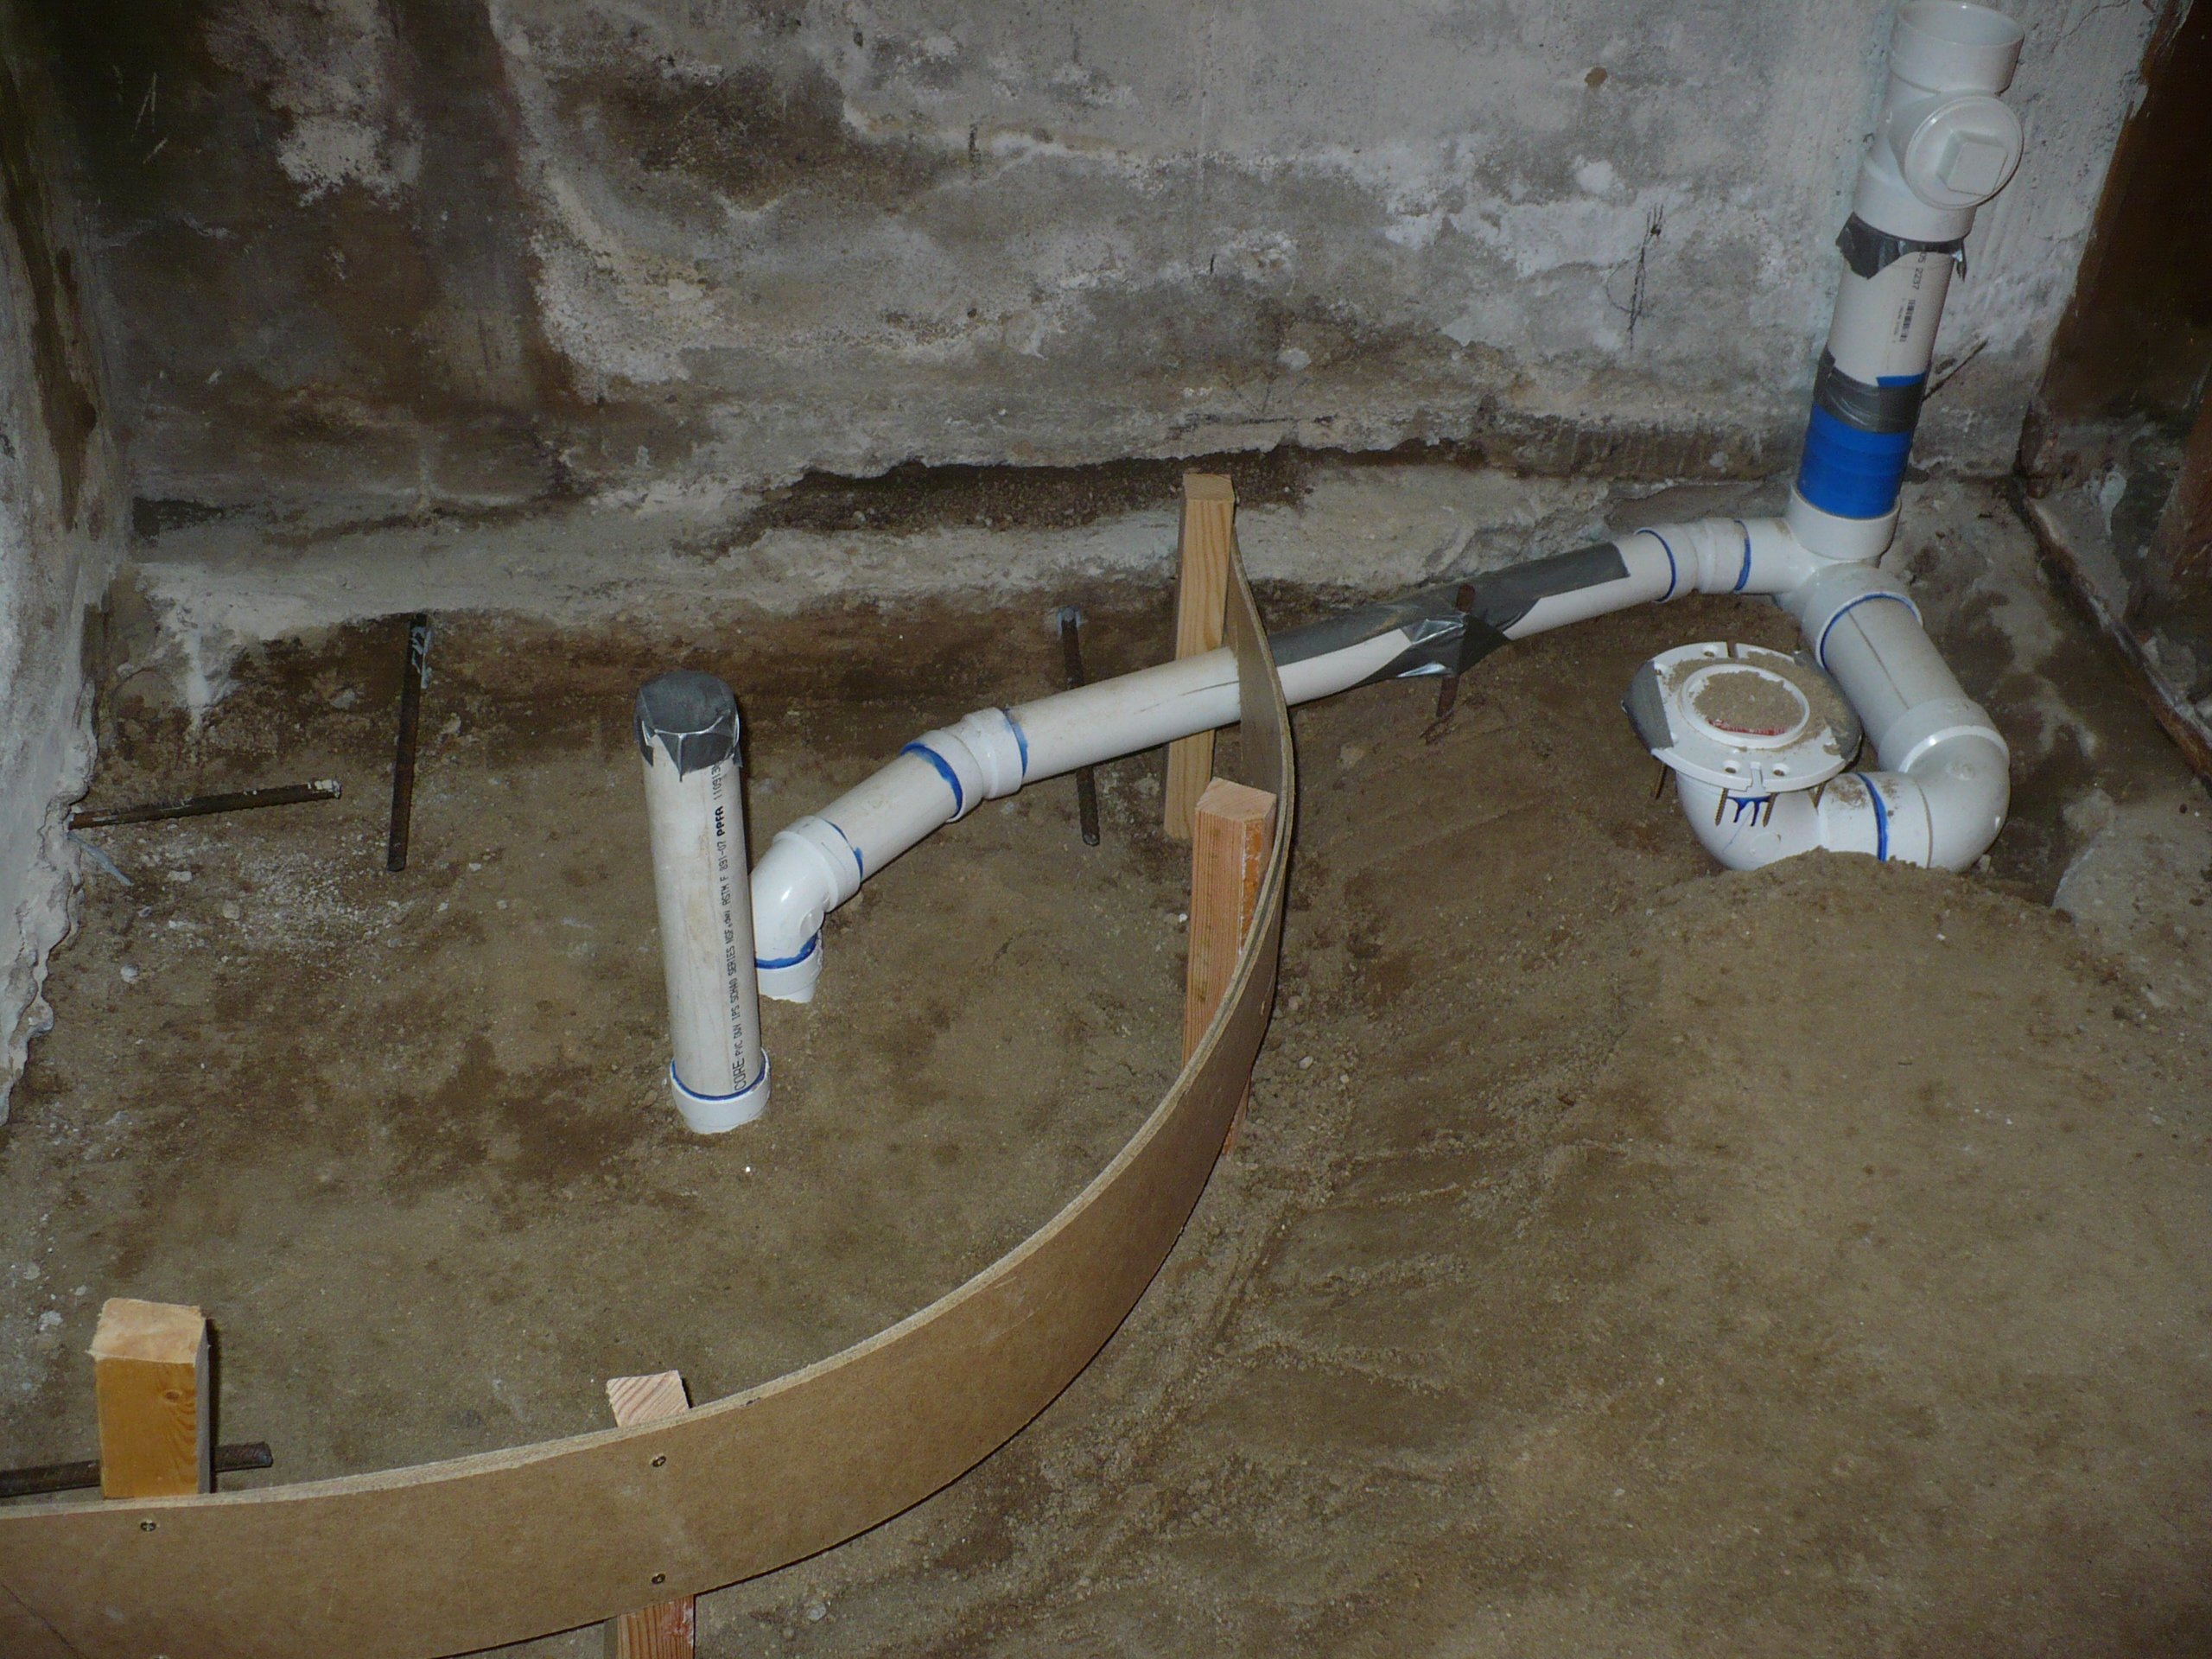
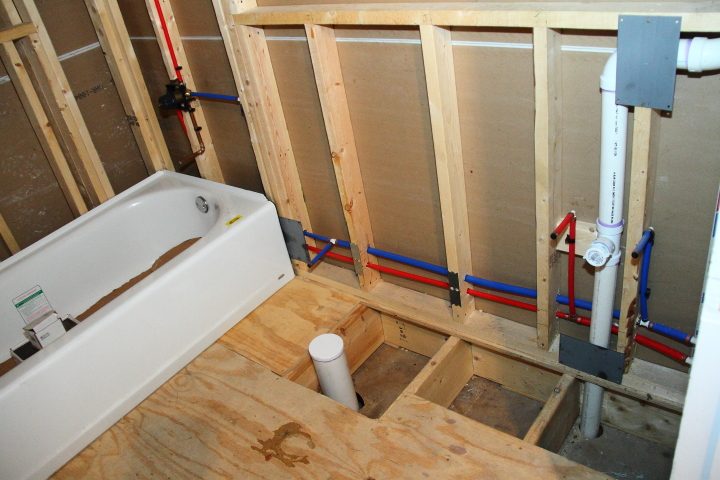
The rough-in plumbing for your bathroom sink's drain is an essential step in the rough-in process. This involves installing the drain pipe and the P-trap, which prevents sewer gases from entering your bathroom. It's crucial to ensure that the drain pipe is installed at the correct angle and that the P-trap is properly connected to the sink and the drain pipe. This will prevent any issues with clogging or leaking in the future.Rough-in plumbing for bathroom drain


Rough-in plumbing for bathroom drain


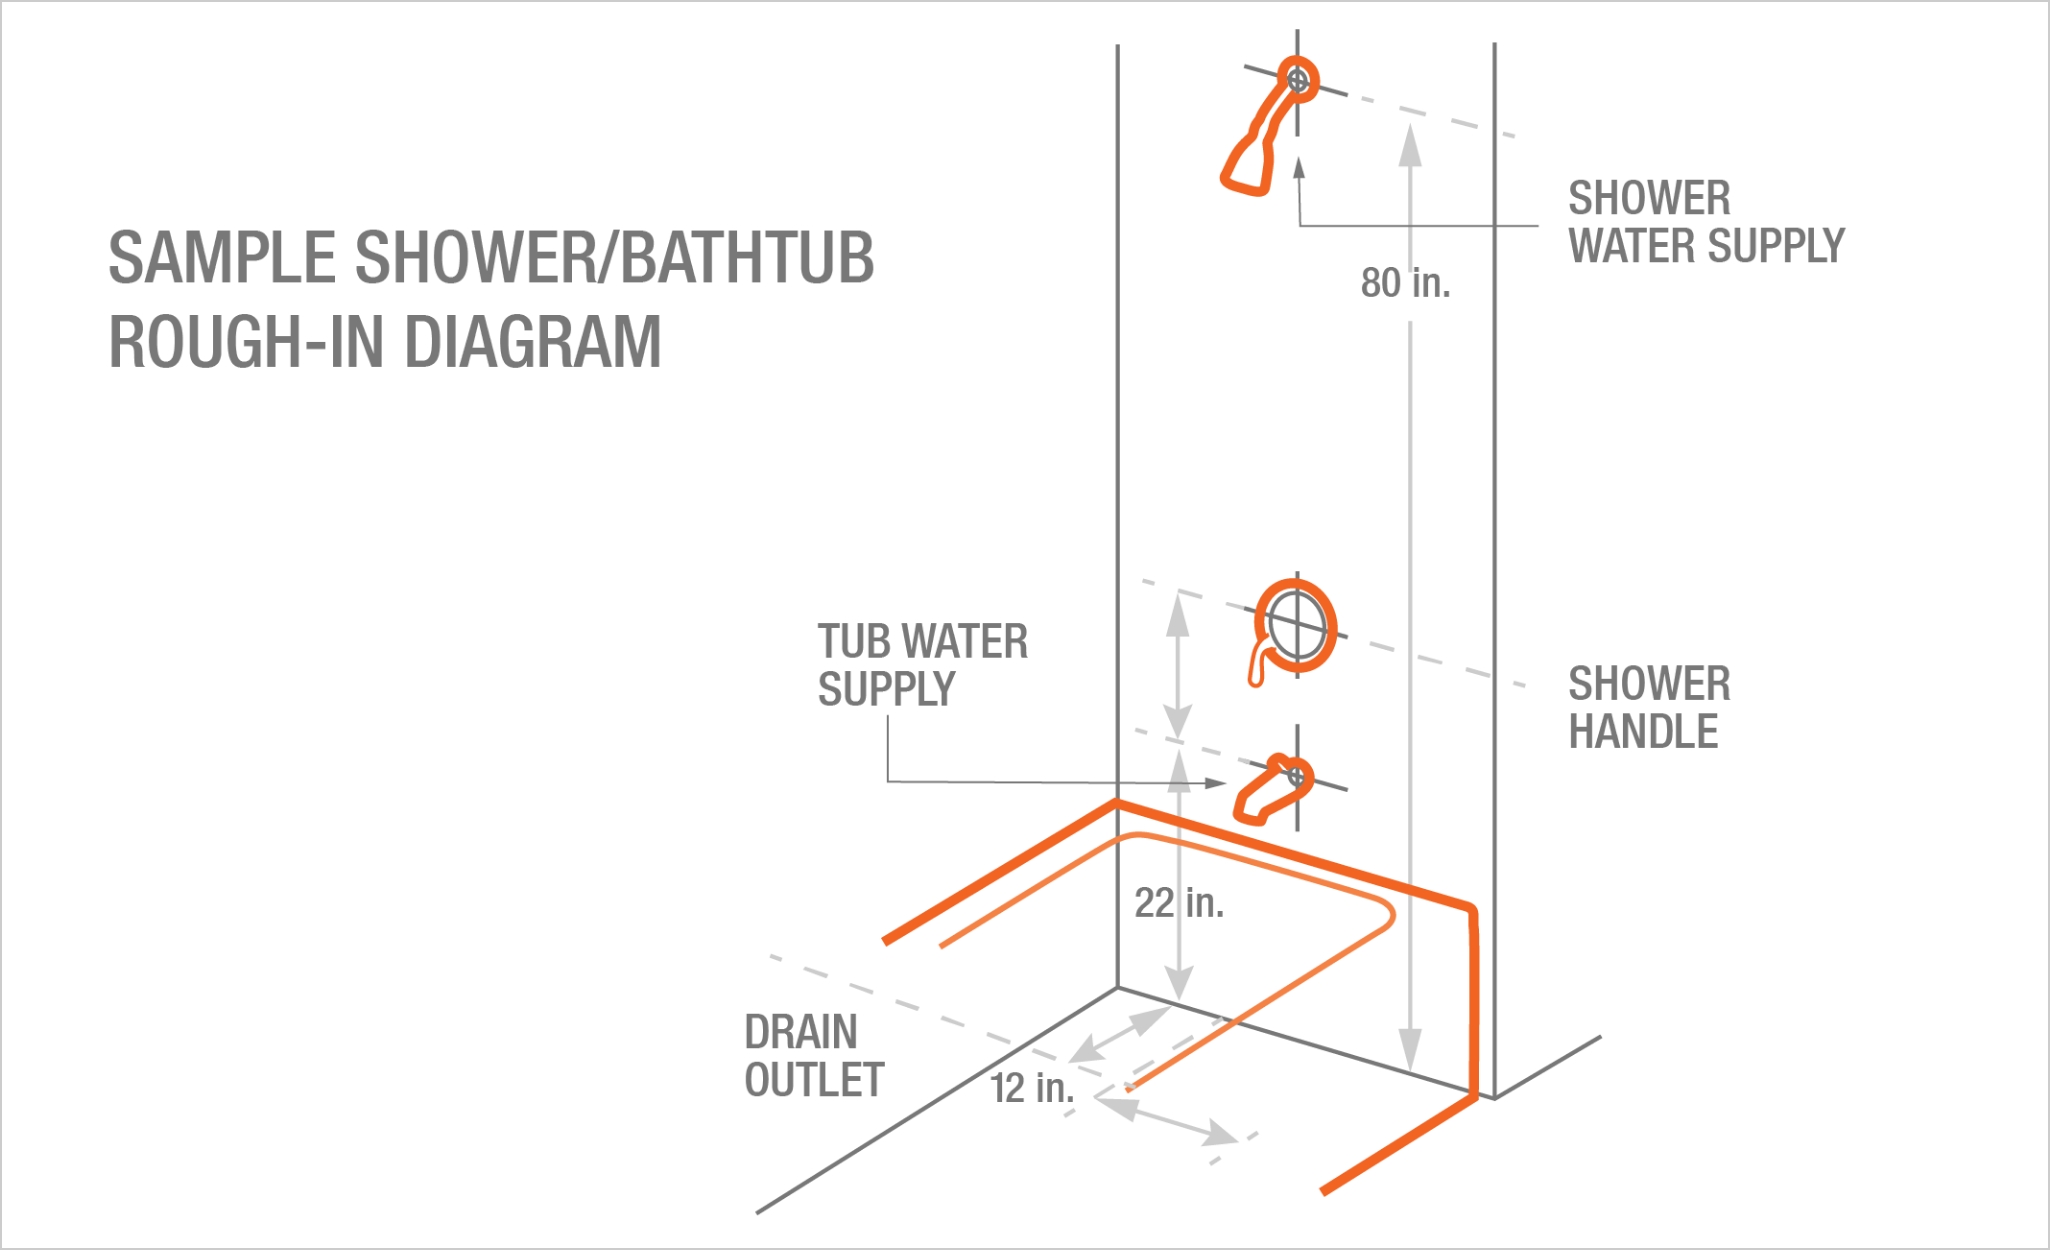
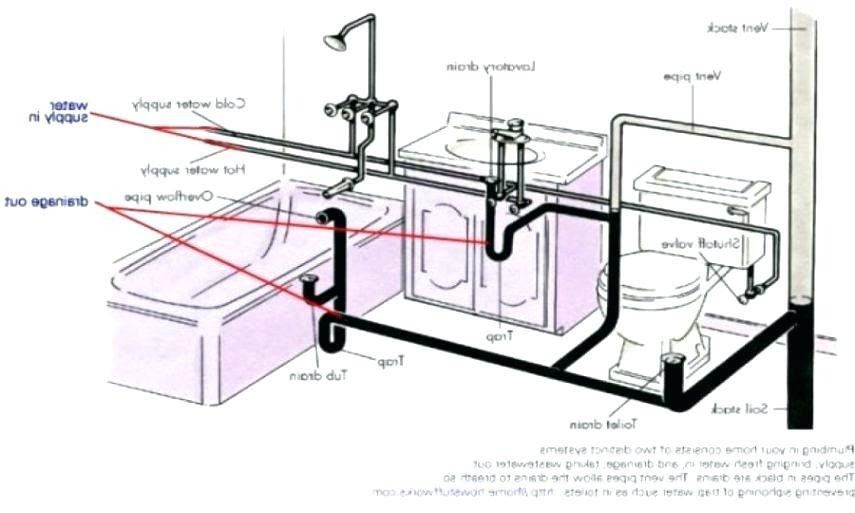
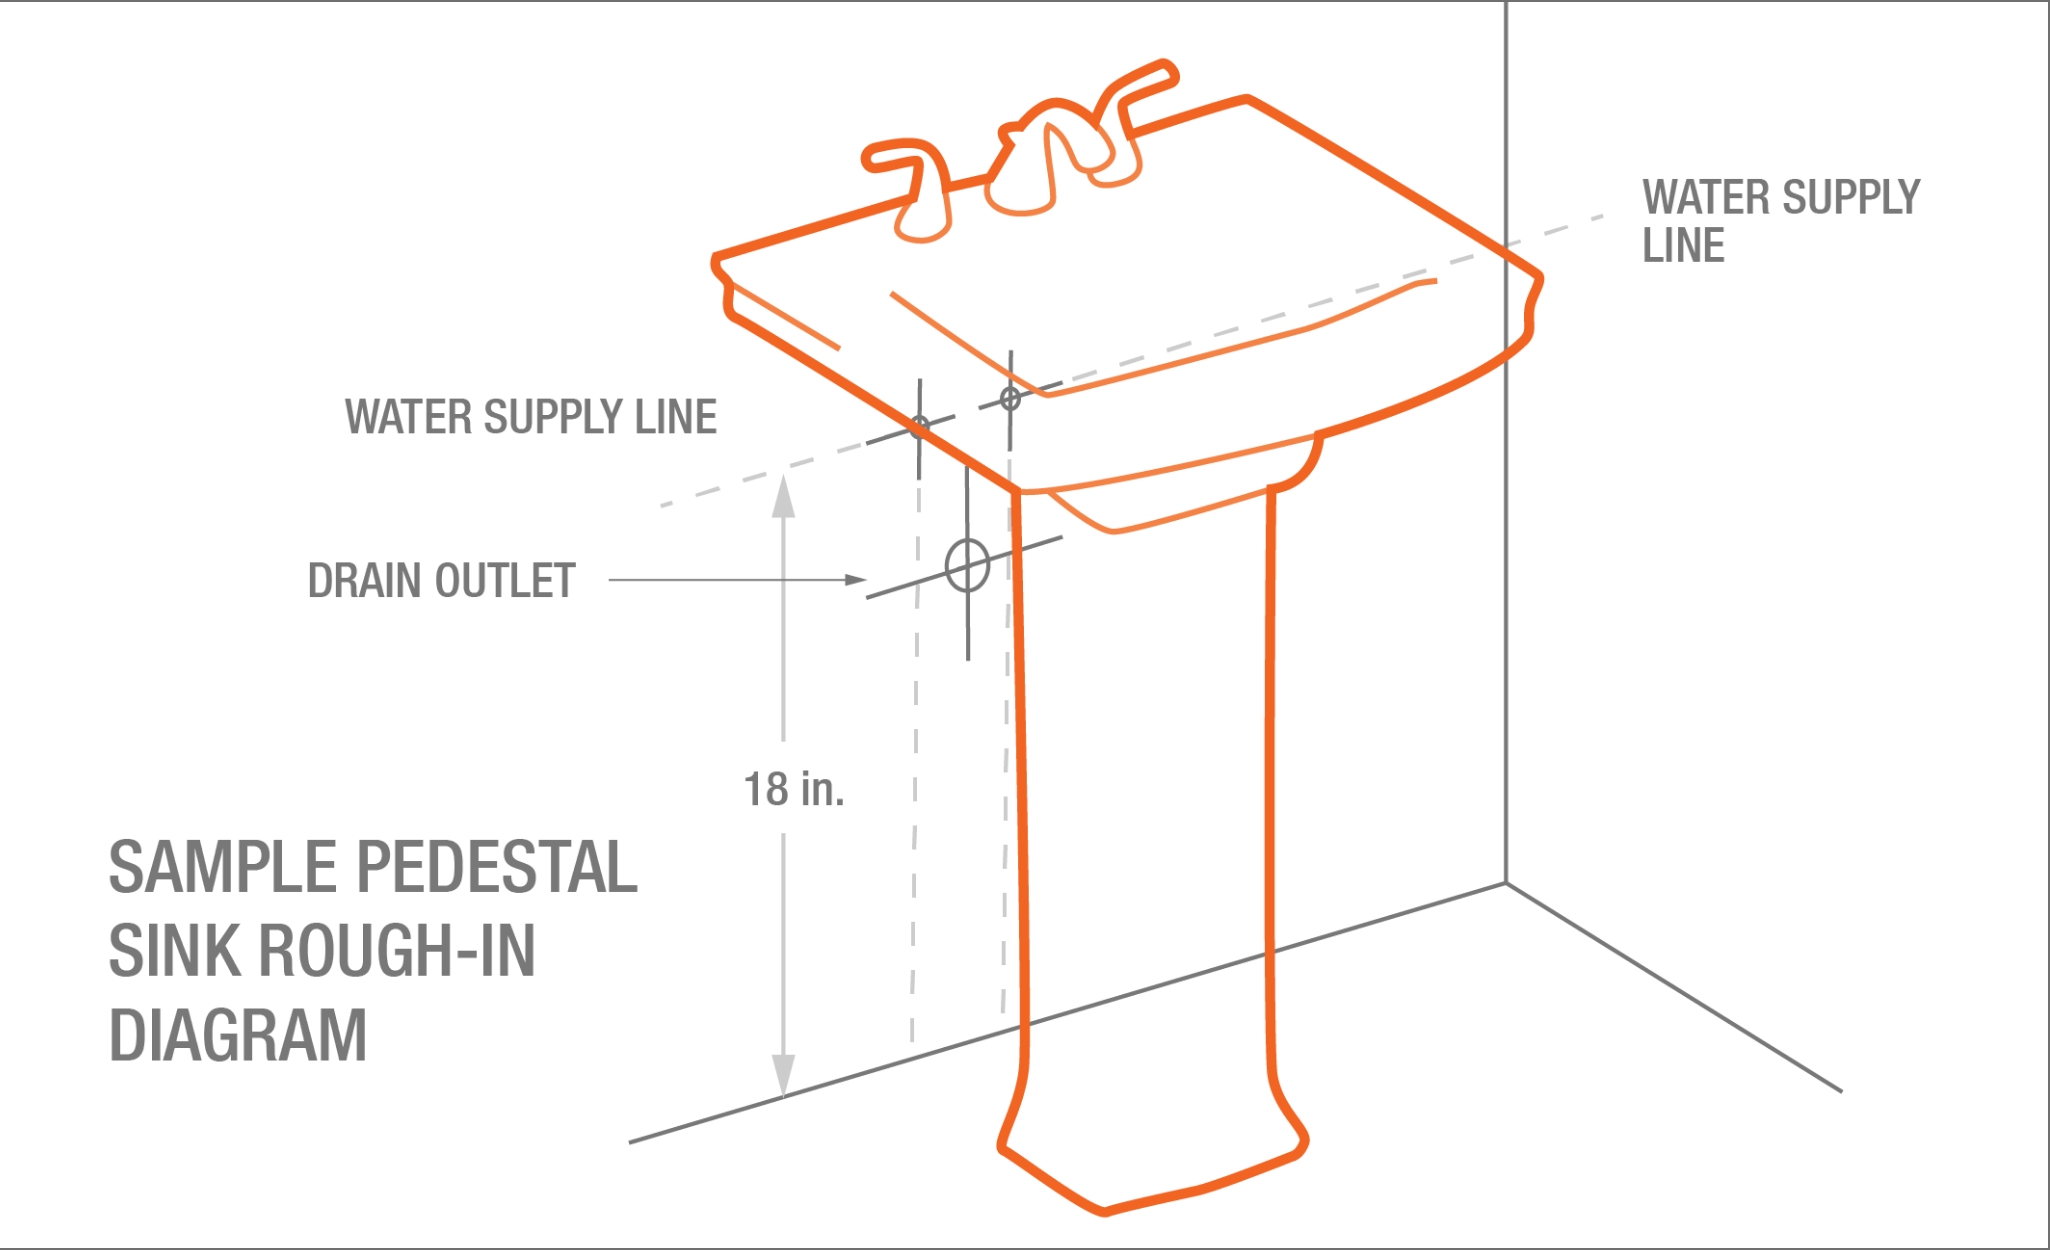
If you're a visual learner, it may be helpful to refer to a rough-in plumbing diagram for your bathroom sink. This will provide you with a visual representation of the required measurements and the placement of the pipes and fittings. You can easily find a diagram online or consult a professional for a customized diagram based on your specific bathroom sink and plumbing needs. This will ensure that you have a clear understanding of the rough-in process and can complete it successfully.Bathroom sink rough-in diagram


Bathroom sink rough-in diagram


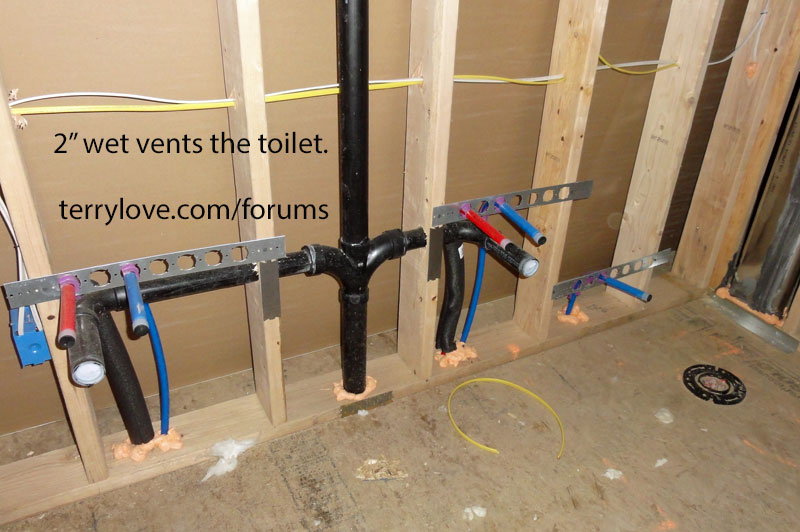
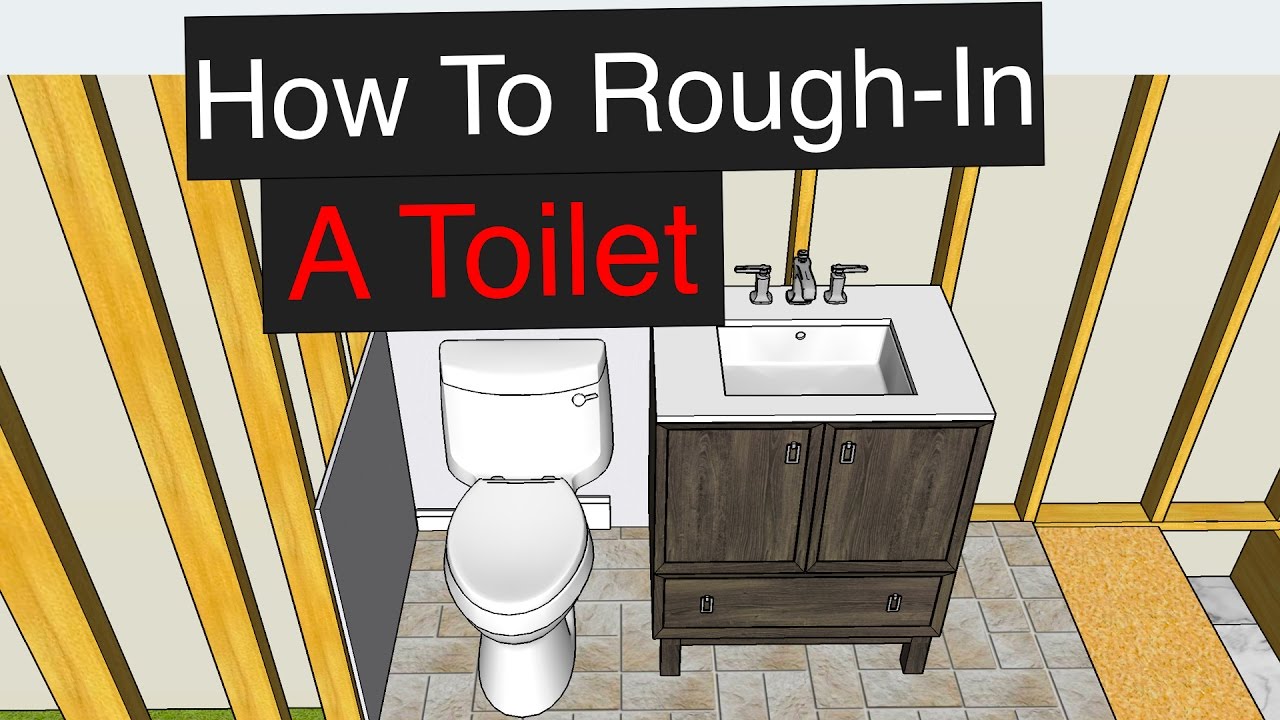
When renovating or constructing a bathroom, it's common to install the sink and toilet at the same time. This makes it essential to consider the rough-in plumbing for both fixtures simultaneously. The rough-in plumbing for a bathroom sink and toilet will be similar, as they both require connections to the water supply and drain. It's essential to plan for these connections and ensure that they are properly placed and installed before moving on to the final installation of the fixtures.Rough-in plumbing for bathroom sink and toilet


Rough-in plumbing for bathroom sink and toilet


The rough-in location for your bathroom sink will depend on the layout of your bathroom and the location of your plumbing pipes. However, there are a few general rules to follow when determining the rough-in location for your sink. The sink should be placed at least 4 inches away from the finished wall to allow for proper installation and to prevent any issues with the faucet and drain connections. It's also essential to consider the placement of the vanity or any other fixtures in the bathroom to ensure that everything fits and functions properly. In conclusion, rough-in plumbing is an essential step in the installation of a bathroom sink. It requires careful planning, precise measurements, and proper installation to ensure that your sink operates efficiently and looks aesthetically pleasing. By following these top 10 rough-in steps and keeping these important dimensions in mind, you can successfully complete the rough-in process for your bathroom sink. Bathroom sink rough-in location

Bathroom sink rough-in location


Importance of a Proper Rough-In for Bathroom Sink Installation
Rough-In: What is It?
 If you are planning to install a new bathroom sink in your house, it is important to understand what a rough-in is and why it is crucial for a successful installation. In simple terms, rough-in refers to the initial plumbing and electrical work that is done before any fixtures or finishes are added. It includes installing the necessary pipes, drains, and wiring for your bathroom sink, as well as ensuring they are properly connected to the main plumbing and electrical systems in your house.
Why is a Proper Rough-In Necessary?
 A proper rough-in is essential for a number of reasons. First and foremost, it ensures that your bathroom sink will function properly and effectively. The right placement of pipes and drains will prevent any potential issues such as leaks or clogs, which can be costly and time-consuming to fix. Additionally, a proper rough-in allows for easier maintenance and repairs in the future.
Another important reason for a proper rough-in is to comply with building codes and regulations. These codes are in place to ensure the safety and health of the occupants of a house. Failing to follow these codes can result in serious consequences, including fines or having to redo the work.
A proper rough-in is essential for a number of reasons. First and foremost, it ensures that your bathroom sink will function properly and effectively. The right placement of pipes and drains will prevent any potential issues such as leaks or clogs, which can be costly and time-consuming to fix. Additionally, a proper rough-in allows for easier maintenance and repairs in the future.
Another important reason for a proper rough-in is to comply with building codes and regulations. These codes are in place to ensure the safety and health of the occupants of a house. Failing to follow these codes can result in serious consequences, including fines or having to redo the work.
The Process of Rough-In for Bathroom Sink Installation
 The rough-in process for a bathroom sink involves precise measurements, proper placement of pipes and drains, and ensuring all connections are secure. It is important to hire a professional plumber for this task, as they have the necessary expertise and knowledge to get the job done right.
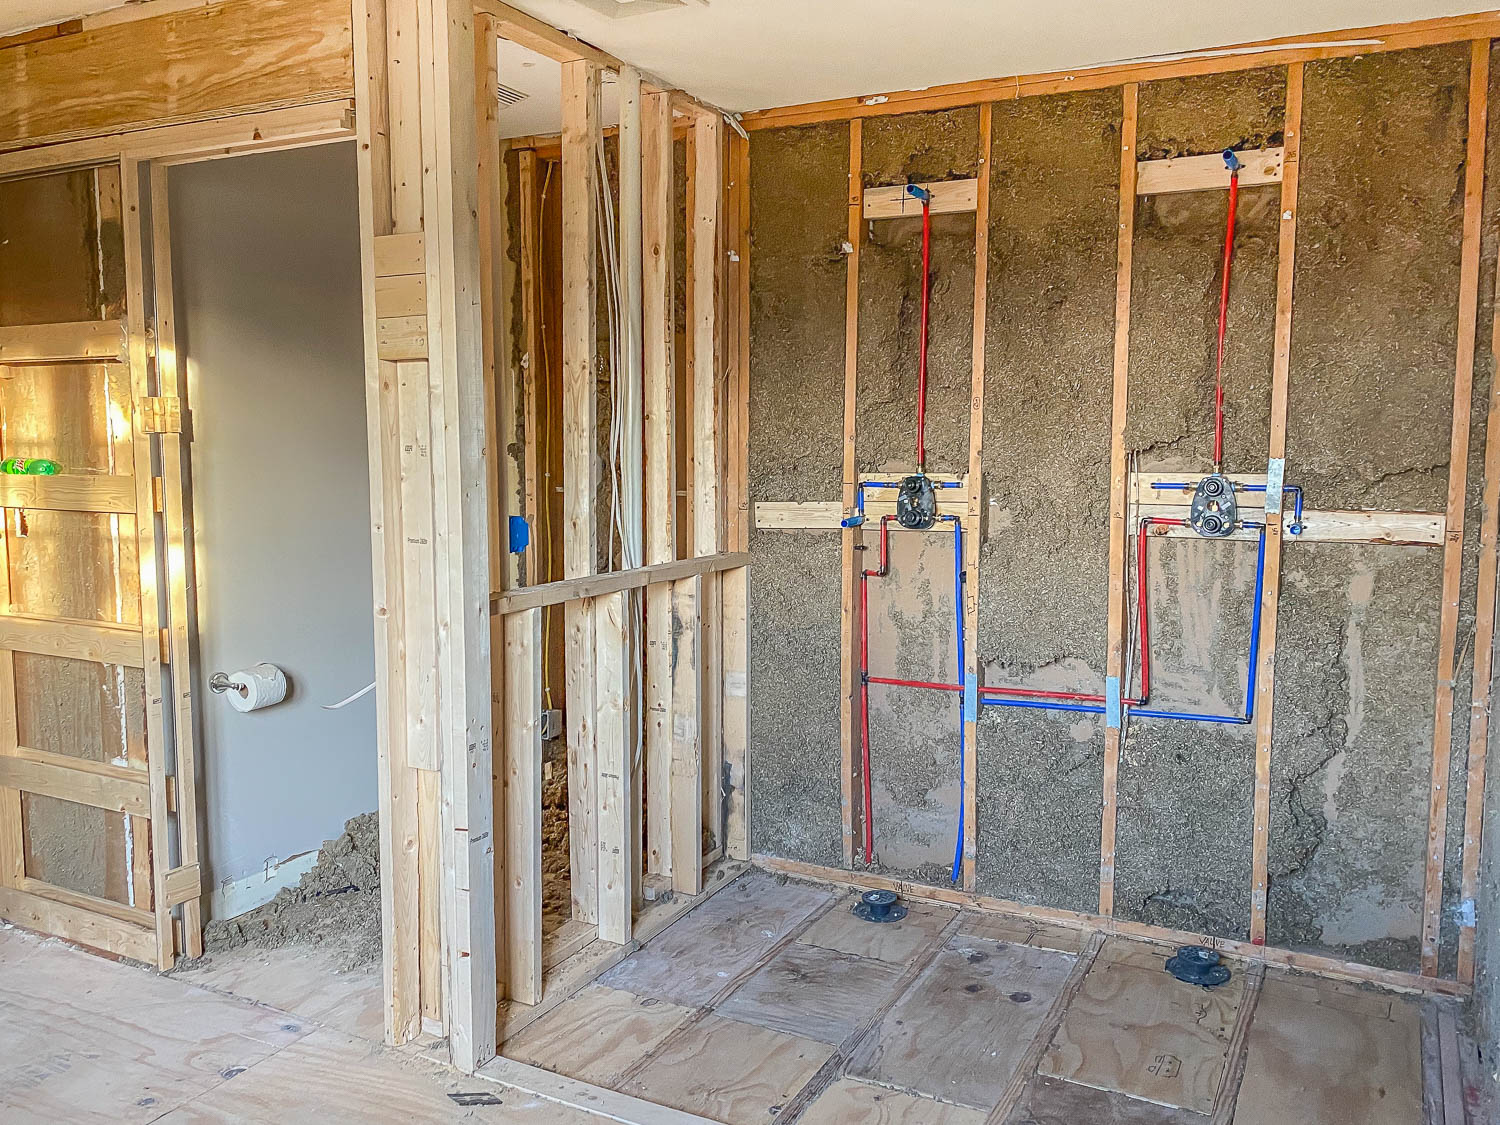
The first step in the rough-in process is to determine the location of the sink in your bathroom. This will help determine the placement of the pipes and drains. Next, the plumber will install the pipes and fittings, making sure they are properly aligned and connected. The drain will also be installed at this stage.
Once the plumbing work is complete, the electrical wiring for the sink will be installed. This includes wiring for the faucet, light fixtures, and any other electrical components.
The rough-in process for a bathroom sink involves precise measurements, proper placement of pipes and drains, and ensuring all connections are secure. It is important to hire a professional plumber for this task, as they have the necessary expertise and knowledge to get the job done right.
The first step in the rough-in process is to determine the location of the sink in your bathroom. This will help determine the placement of the pipes and drains. Next, the plumber will install the pipes and fittings, making sure they are properly aligned and connected. The drain will also be installed at this stage.
Once the plumbing work is complete, the electrical wiring for the sink will be installed. This includes wiring for the faucet, light fixtures, and any other electrical components.
The Final Touch: Installing the Sink
 Once the rough-in work is completed, it is time for the final touch – installing the sink. With a proper rough-in, this step should be relatively easy and straightforward. The sink will be securely attached to the wall and connected to the plumbing and electrical systems. A professional plumber will also ensure that everything is functioning properly before completing the installation.
In conclusion, a proper rough-in is crucial for a successful bathroom sink installation. It ensures functionality, compliance with building codes, and makes maintenance and repairs easier in the future. By hiring a professional plumber and following the proper rough-in process, you can have a beautiful and functional bathroom sink that will last for years to come.
Once the rough-in work is completed, it is time for the final touch – installing the sink. With a proper rough-in, this step should be relatively easy and straightforward. The sink will be securely attached to the wall and connected to the plumbing and electrical systems. A professional plumber will also ensure that everything is functioning properly before completing the installation.
In conclusion, a proper rough-in is crucial for a successful bathroom sink installation. It ensures functionality, compliance with building codes, and makes maintenance and repairs easier in the future. By hiring a professional plumber and following the proper rough-in process, you can have a beautiful and functional bathroom sink that will last for years to come.