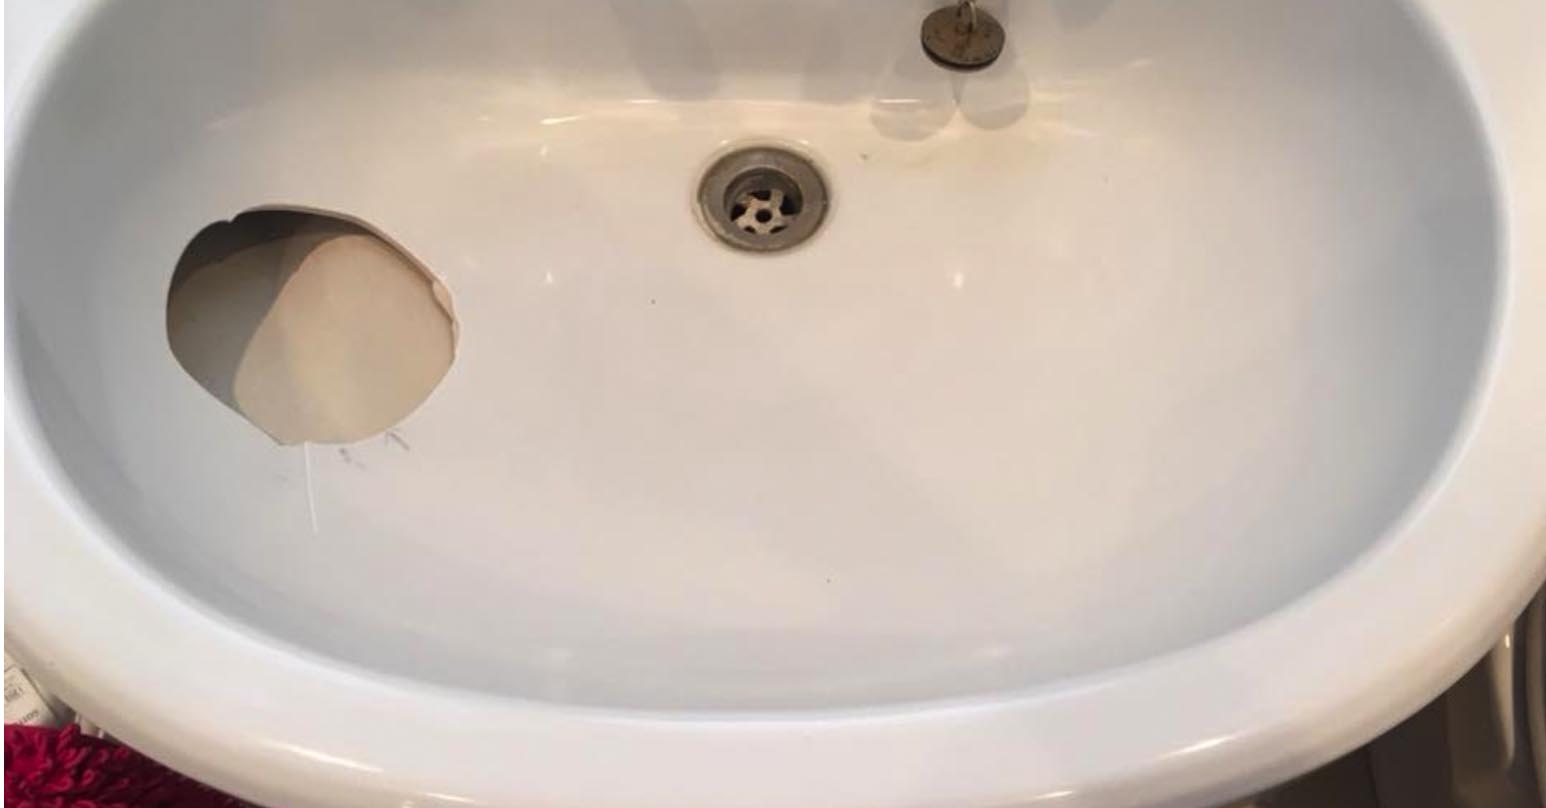
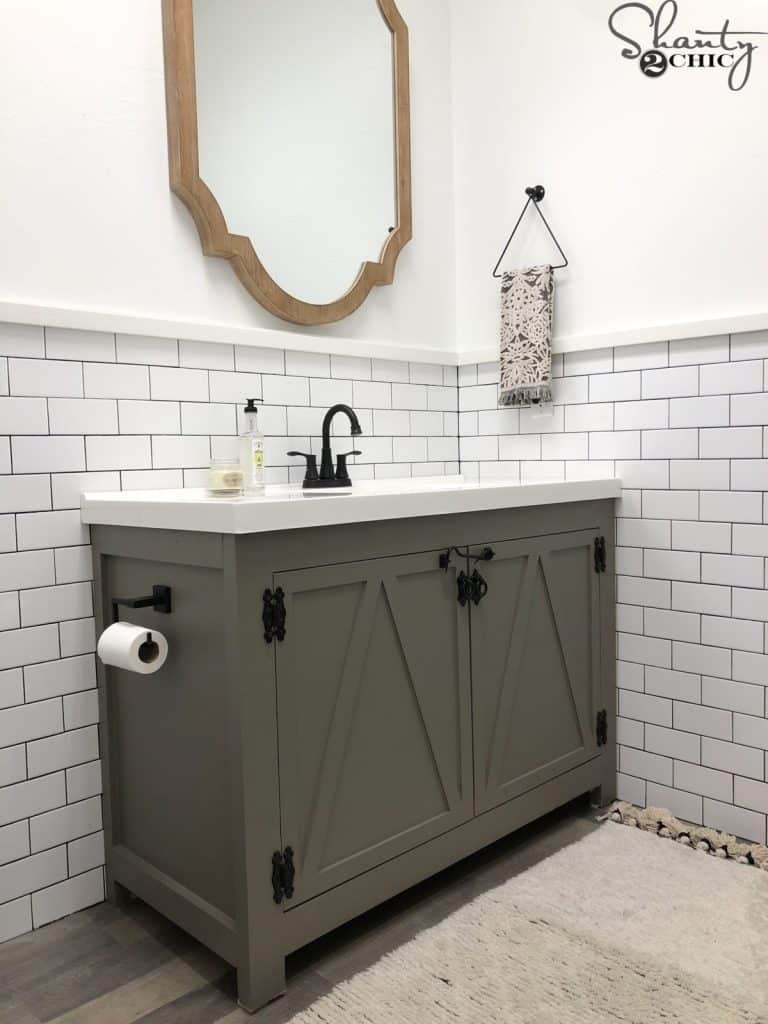
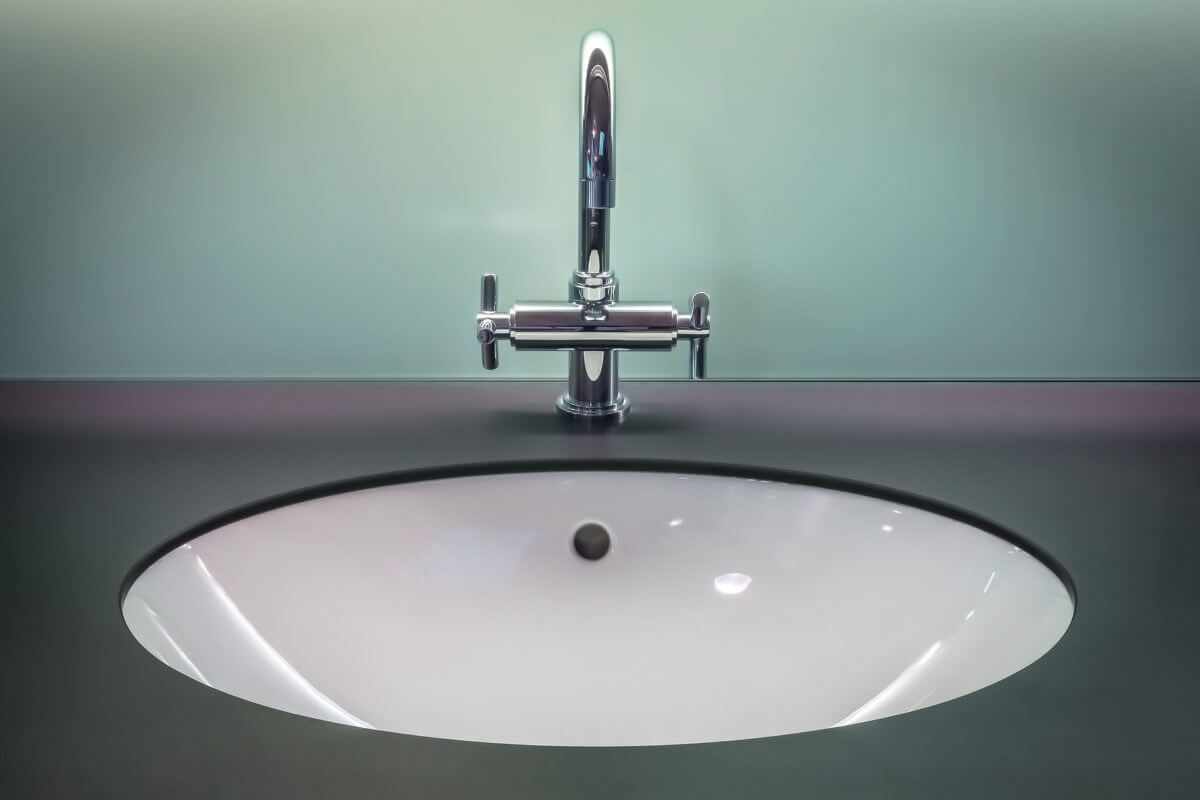
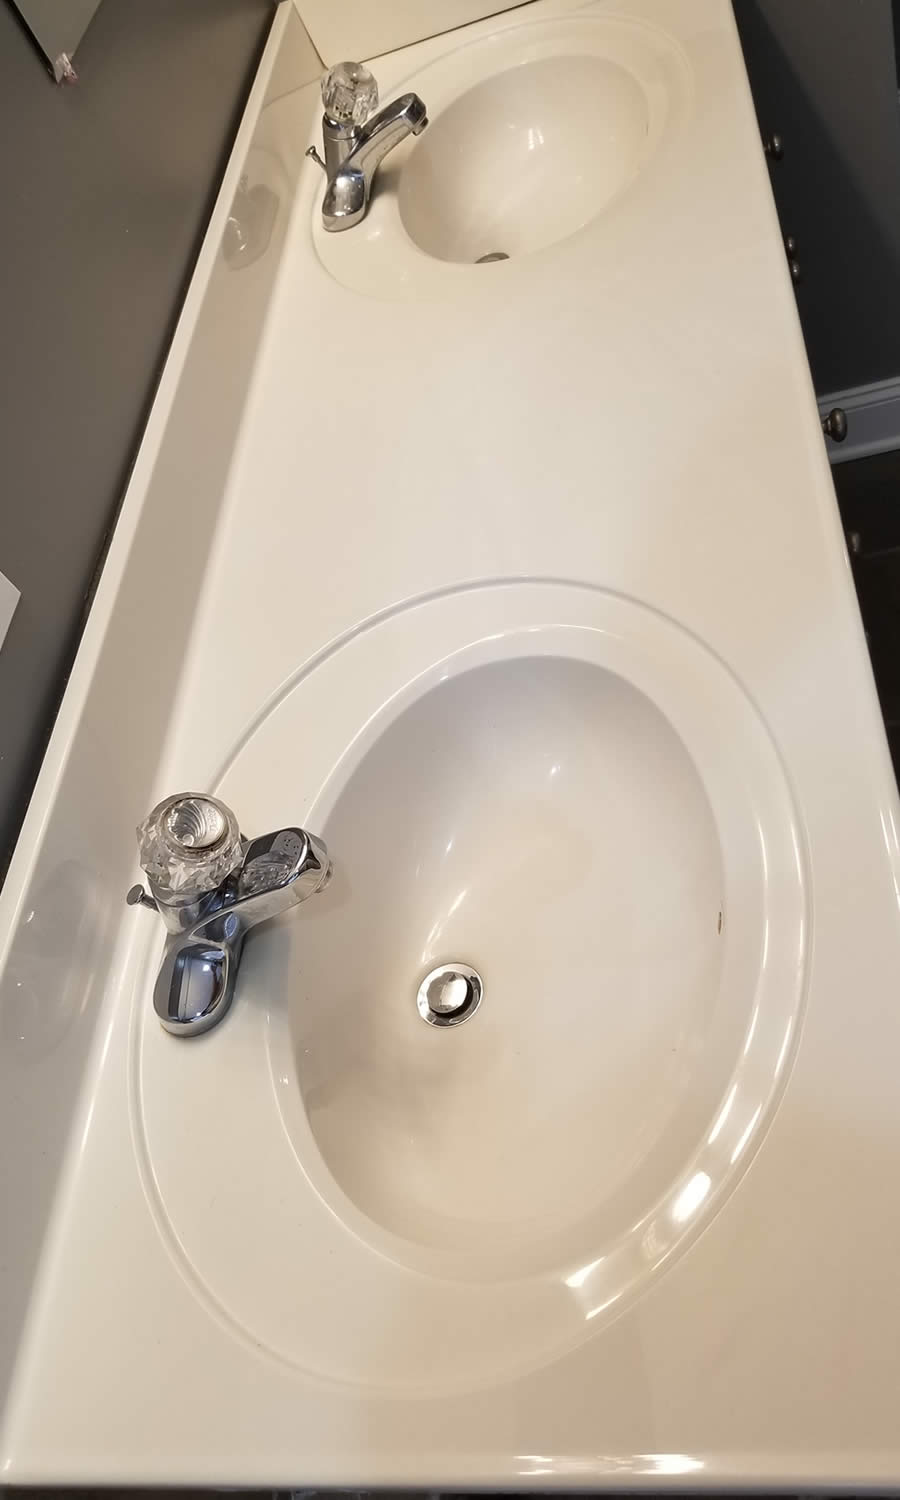
If you have noticed cracks in your bathroom sink, you may be wondering what your options are for repairing or replacing it. Fortunately, there is a solution that can save you time and money – resurfacing your bathroom sink. This process involves repairing any damage and giving your sink a new finish, making it look as good as new. In this article, we will discuss everything you need to know about resurfacing a bathroom sink.Resurfacing a Bathroom Sink: What You Need to Know


Resurfacing a Bathroom Sink: What You Need to Know


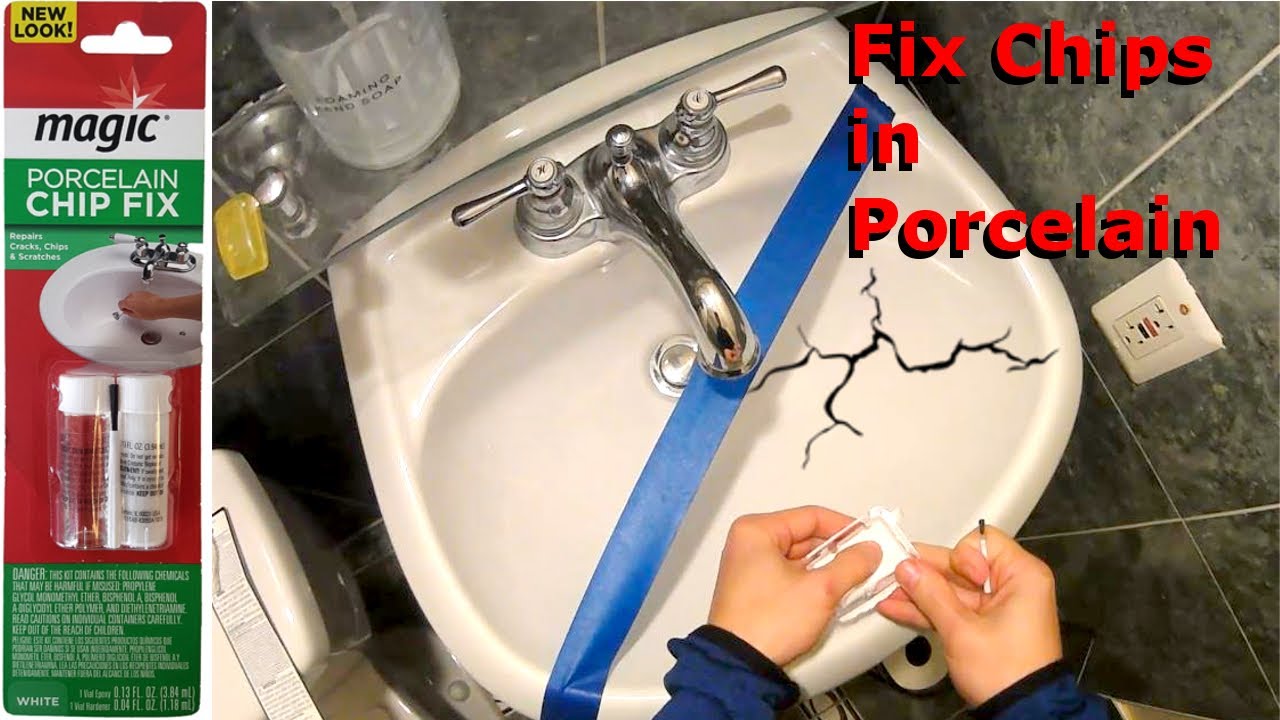
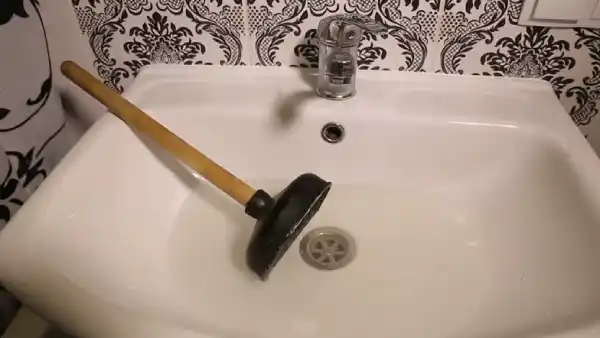
Before you can resurface your bathroom sink, you will need to repair any cracks or damage. This involves filling in the cracks and smoothing out the surface. You can use a filler specifically designed for porcelain, such as epoxy or acrylic, to fill in the cracks. Once the filler has dried, you can sand down the surface to make it smooth and prepare it for resurfacing.How to Repair a Cracked Bathroom Sink


How to Repair a Cracked Bathroom Sink


If you are a handy homeowner, you may be tempted to resurface your bathroom sink yourself. While this is possible, it does require some skill and specialized tools. It is important to carefully follow the instructions provided with your resurfacing kit and take your time to achieve the best results. Some tips and tricks for DIY bathroom sink resurfacing include thoroughly cleaning and sanding the surface, using multiple thin coats of the resurfacing product, and allowing enough time for each coat to dry before applying the next.DIY Bathroom Sink Resurfacing: Tips and Tricks


DIY Bathroom Sink Resurfacing: Tips and Tricks


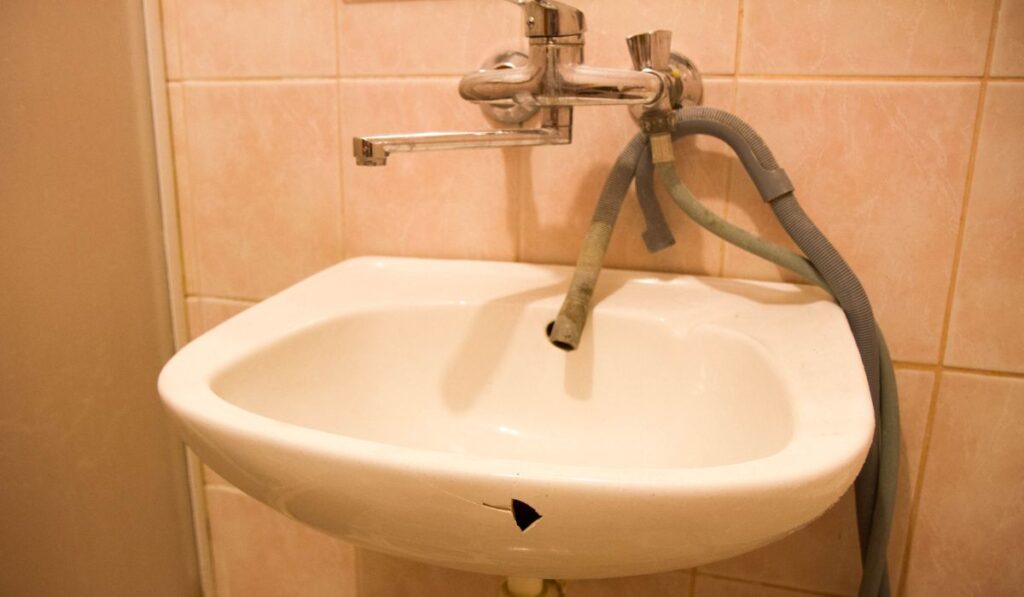
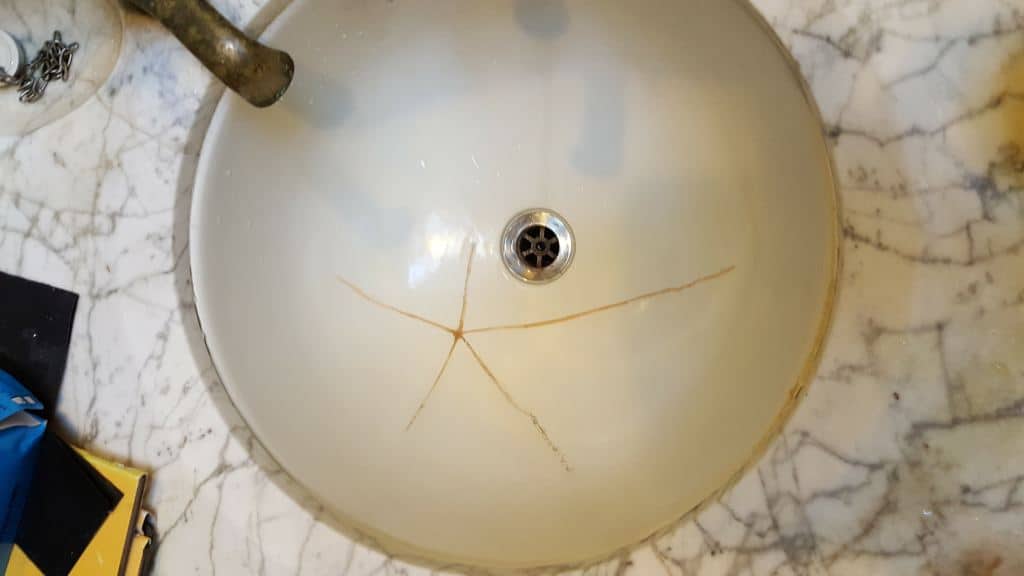
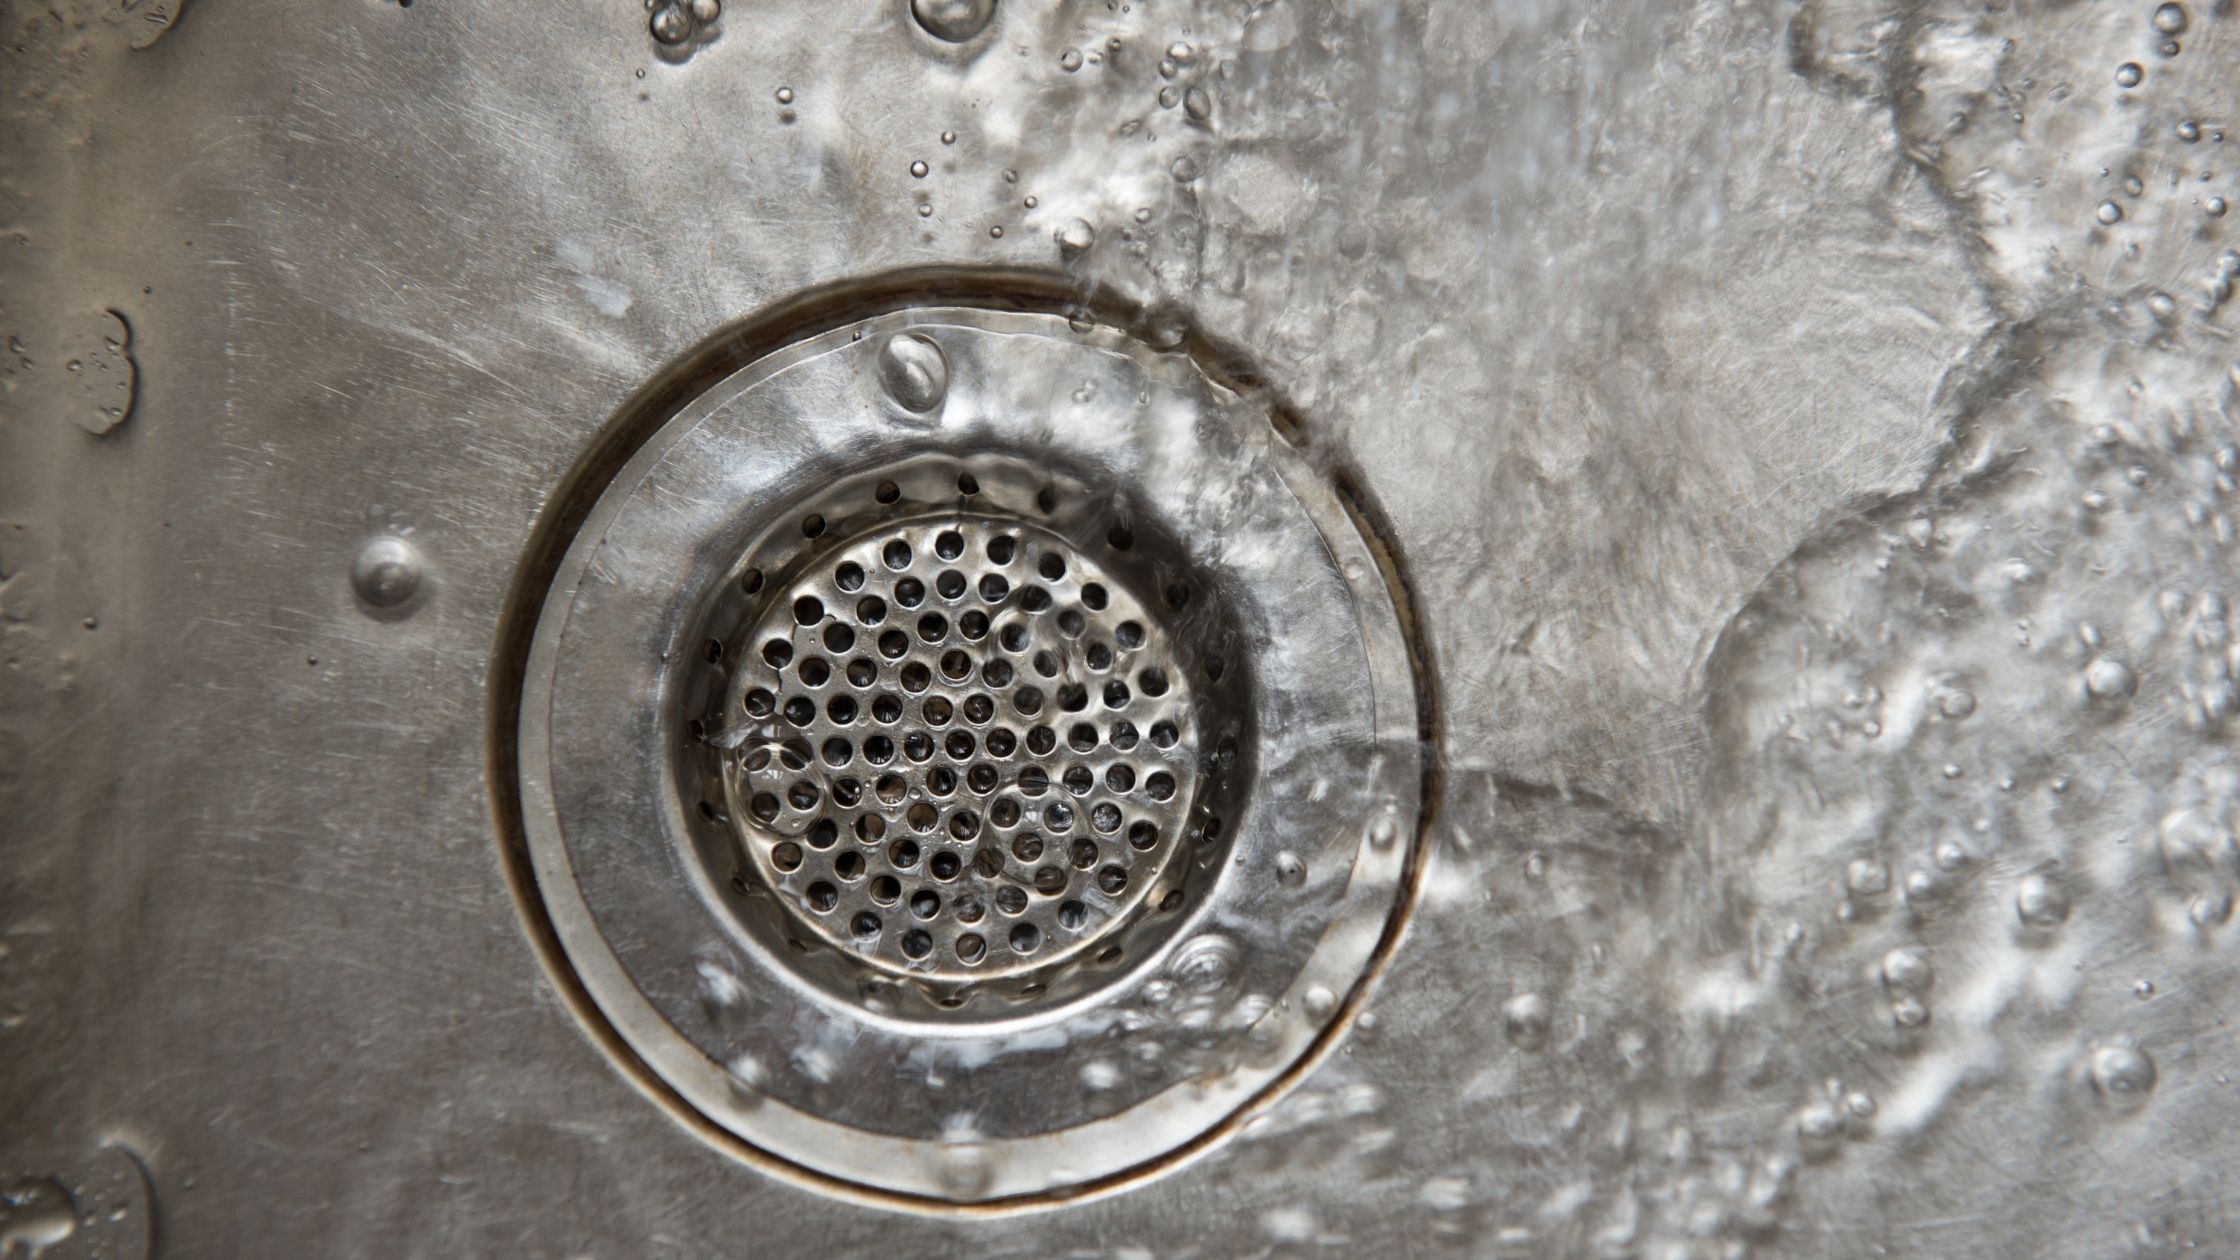
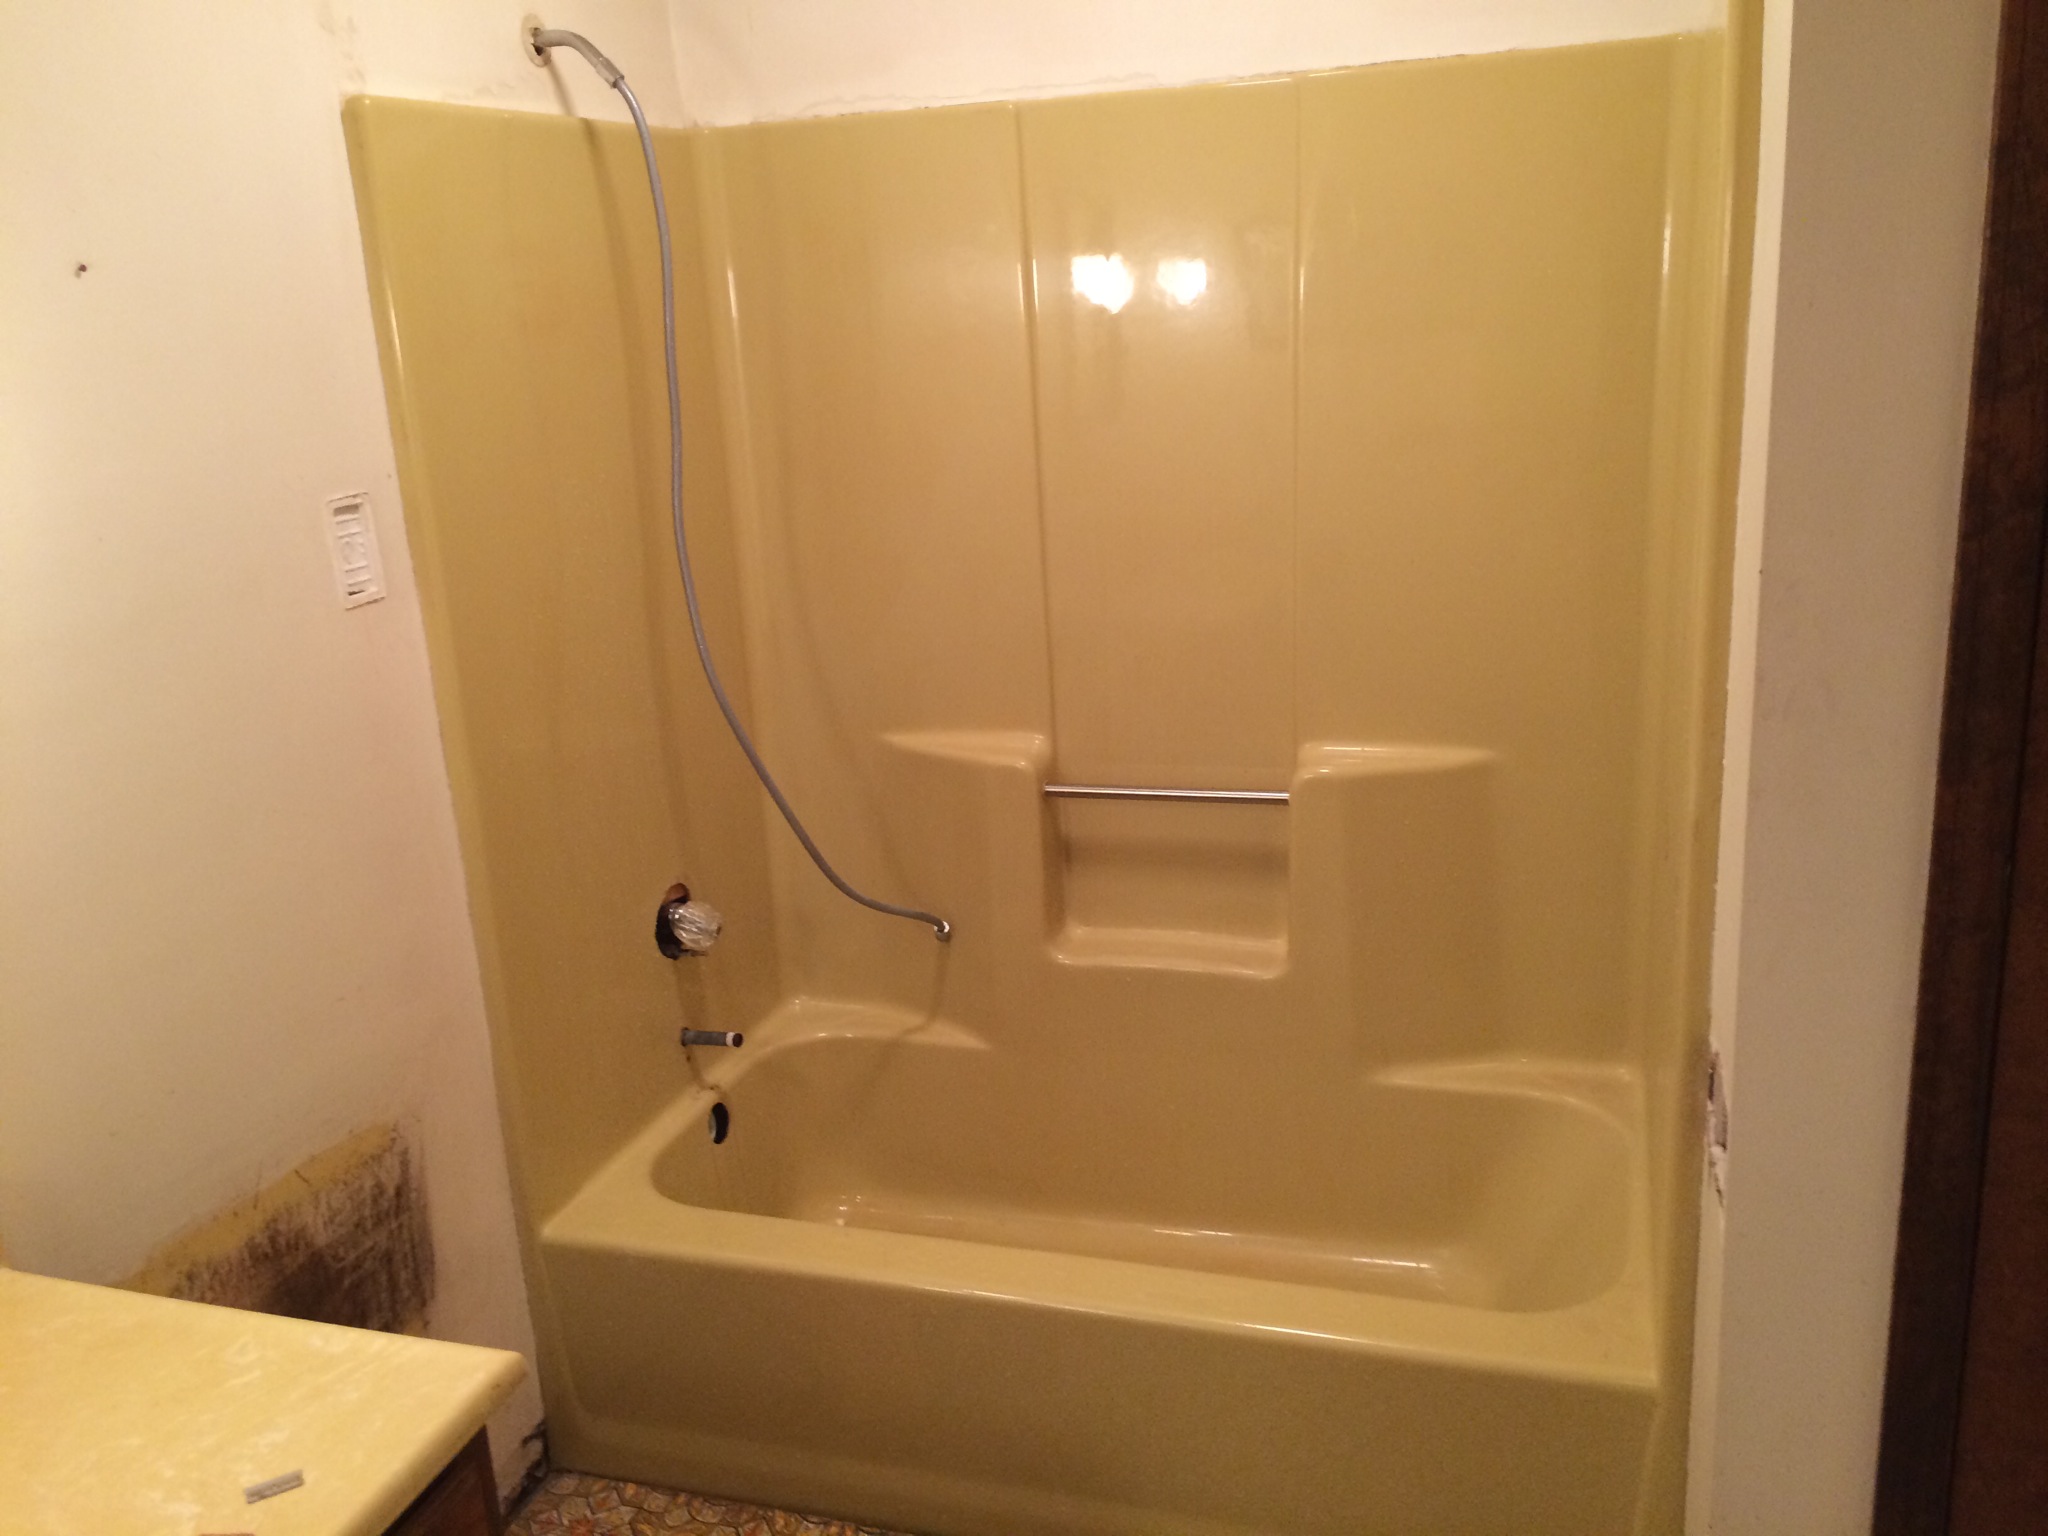
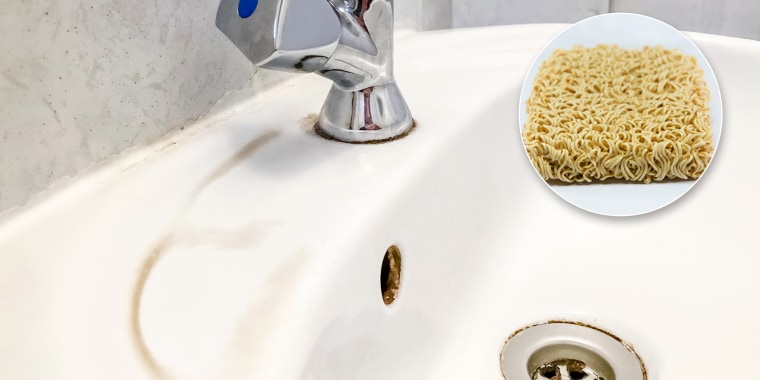
Bathroom sink cracks can be caused by a variety of factors. One of the most common causes is impact damage, such as dropping a heavy object on the sink. Another common cause is thermal shock, which occurs when hot water is poured onto a cold sink or vice versa. Other potential causes include wear and tear over time, chemical damage from harsh cleaning products, and improper installation.Common Causes of Bathroom Sink Cracks


Common Causes of Bathroom Sink Cracks


While it is not always possible to prevent bathroom sink cracks, there are some steps you can take to minimize the risk. This includes being careful when using heavy objects near the sink, avoiding extreme temperature changes, using gentle cleaning products, and ensuring proper installation. Regular maintenance and repairs can also help prevent small cracks from becoming larger and more costly to fix.How to Prevent Bathroom Sink Cracks


How to Prevent Bathroom Sink Cracks


If you are not confident in your DIY skills or simply prefer to leave it to the professionals, there are many companies that offer bathroom sink resurfacing services. These professionals have the experience and specialized tools to achieve a high-quality finish, and may also offer warranties for their work. However, keep in mind that hiring a professional may be more expensive than a DIY approach.Professional Bathroom Sink Resurfacing Services
Professional Bathroom Sink Resurfacing Services


When it comes to choosing a resurfacing product for your bathroom sink, it is important to consider the material of your sink and the type of finish you want. Some popular products include epoxy or acrylic kits, which are specifically designed for porcelain sinks. You can also find resurfacing products that come in a variety of colors and finishes, such as glossy or matte.Best Products for Resurfacing a Bathroom Sink


Best Products for Resurfacing a Bathroom Sink
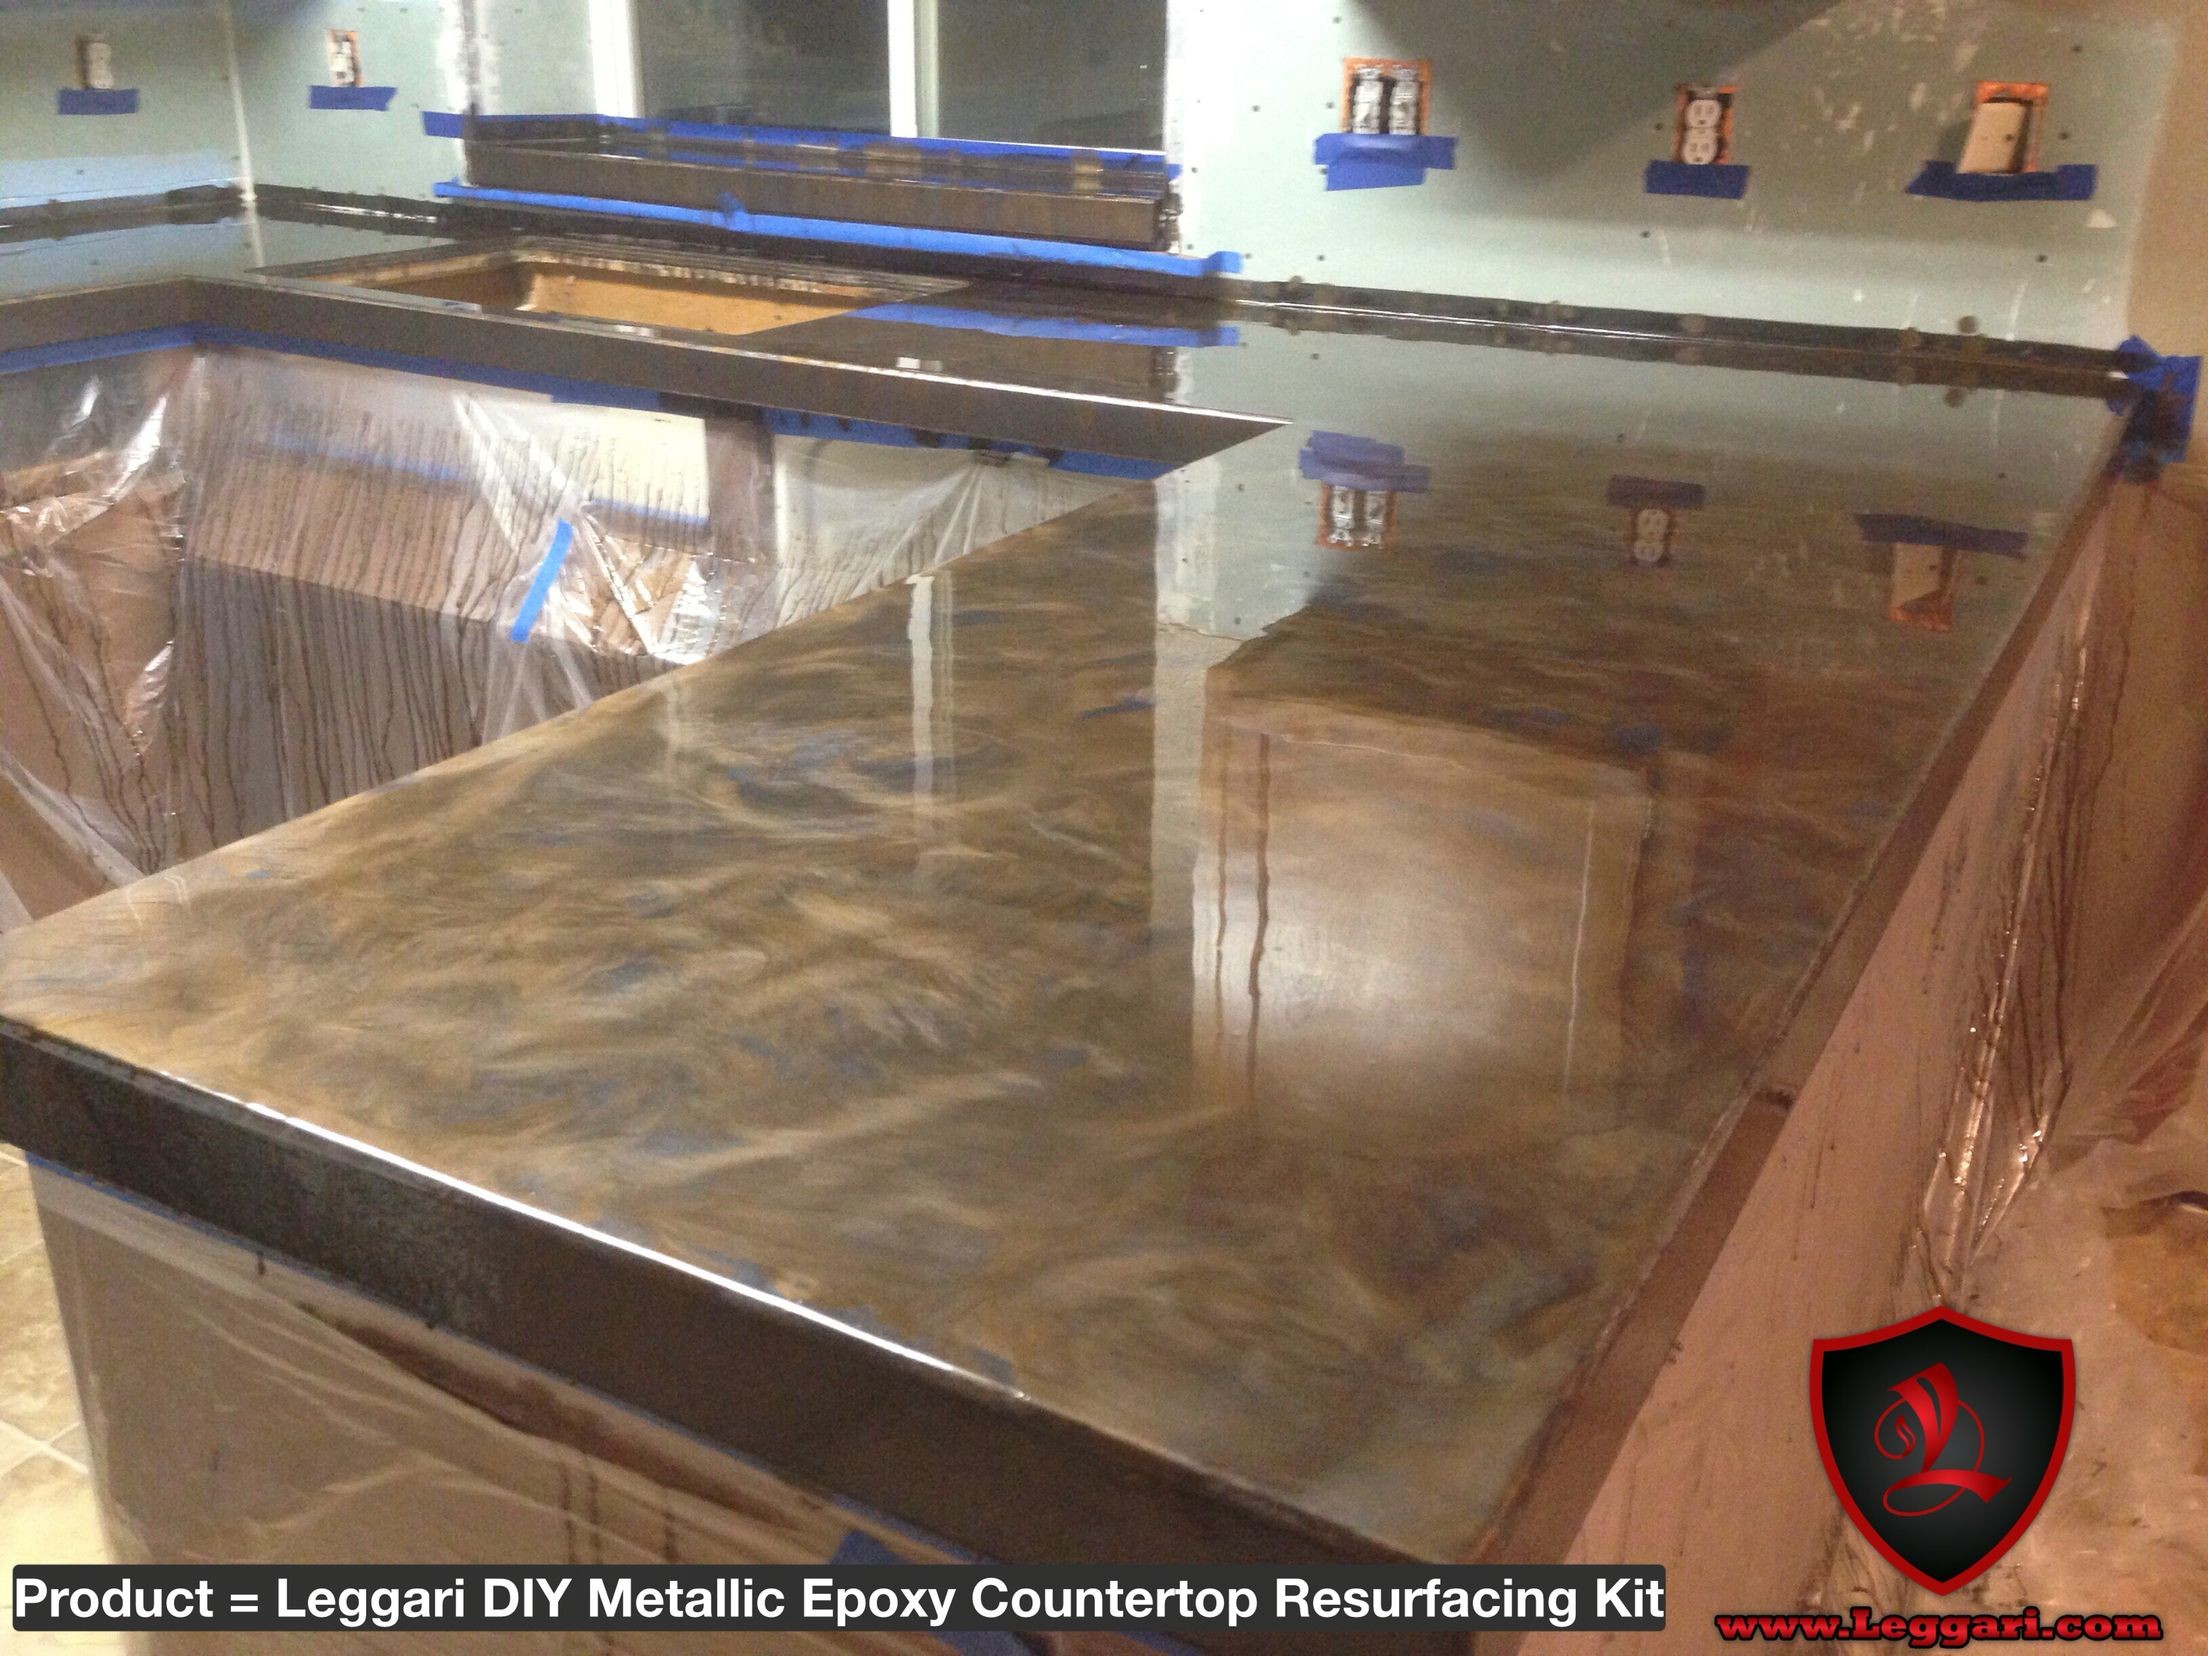


If you have decided to tackle resurfacing your bathroom sink yourself, here is a step-by-step guide to help you through the process: Step 1: Thoroughly clean and dry the sink surface. Step 2: Sand down the surface to create a smooth and even surface. Step 3: Apply a bonding agent to the surface to help the resurfacing product adhere. Step 4: Mix the resurfacing product according to the directions. Step 5: Apply multiple thin coats of the resurfacing product, allowing each coat to dry completely before applying the next. Step 6: Sand down the surface between coats for a smoother finish. Step 7: Once you have achieved the desired finish, allow the final coat to dry completely before using the sink.Step-by-Step Guide to Resurfacing a Bathroom Sink


Step-by-Step Guide to Resurfacing a Bathroom Sink


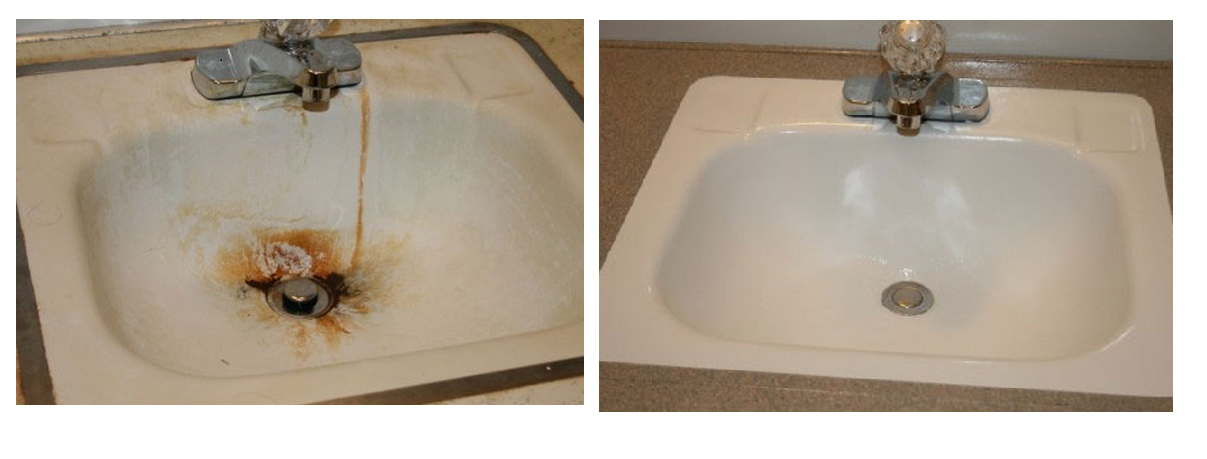
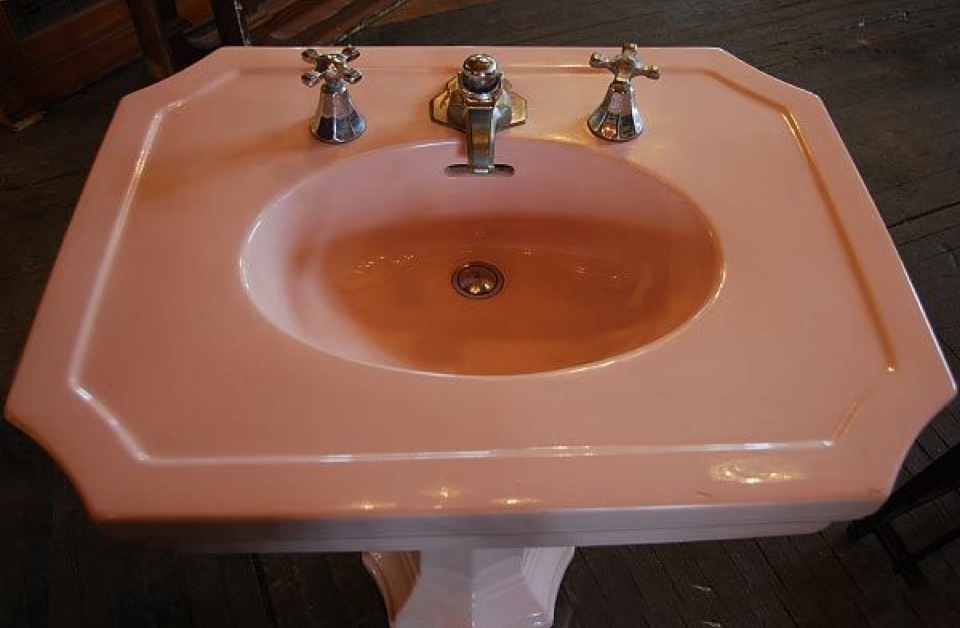
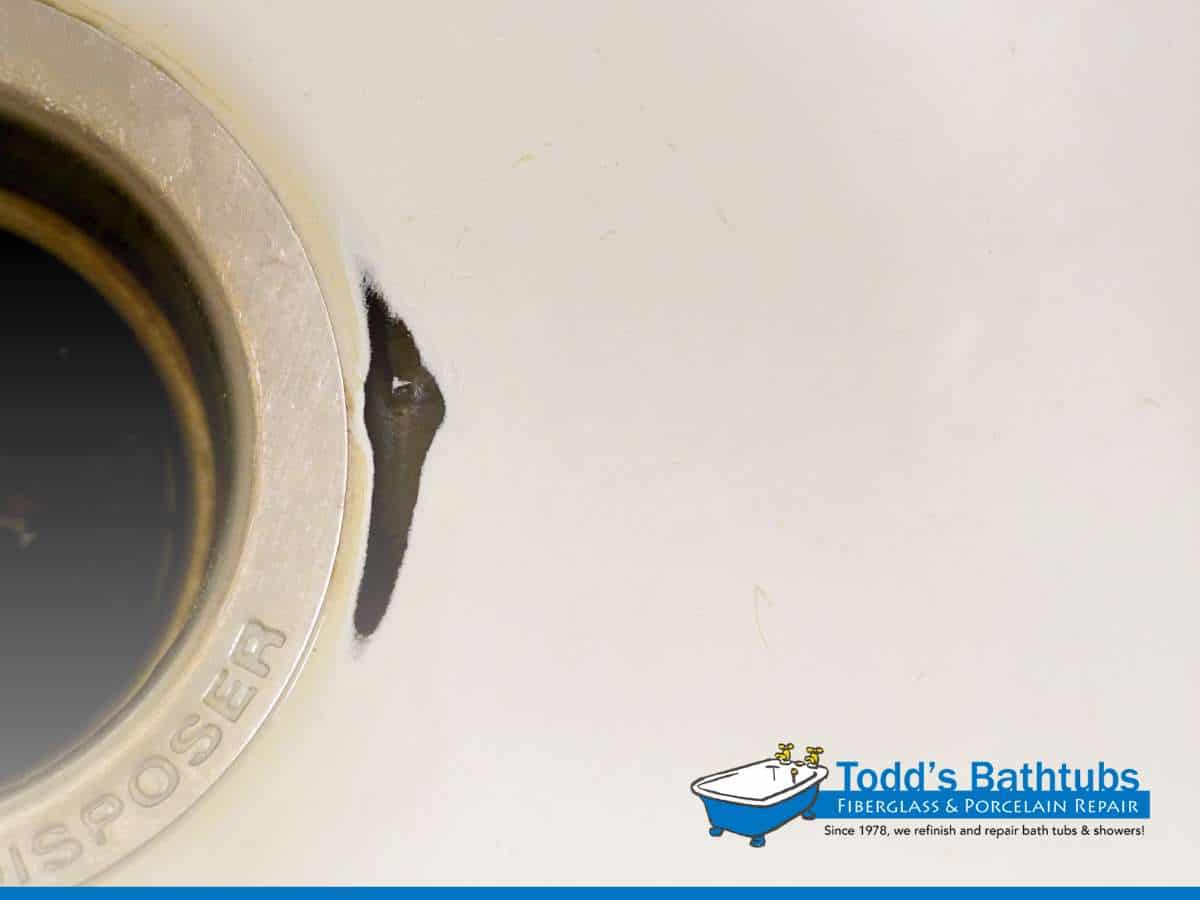
If your bathroom sink is made of porcelain and has a crack, you may be wondering if it can be fixed. In most cases, a crack in a porcelain sink can be repaired by filling it in with a porcelain-specific filler and then following the steps for resurfacing. However, if the crack is severe or extends deep into the sink, it may be best to consider replacing the sink altogether.How to Fix a Cracked Porcelain Sink
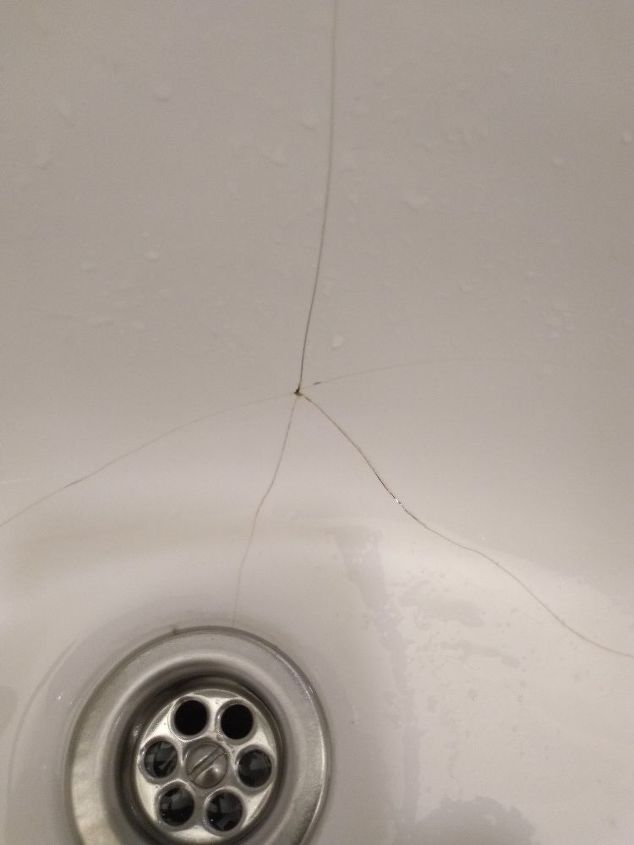


How to Fix a Cracked Porcelain Sink


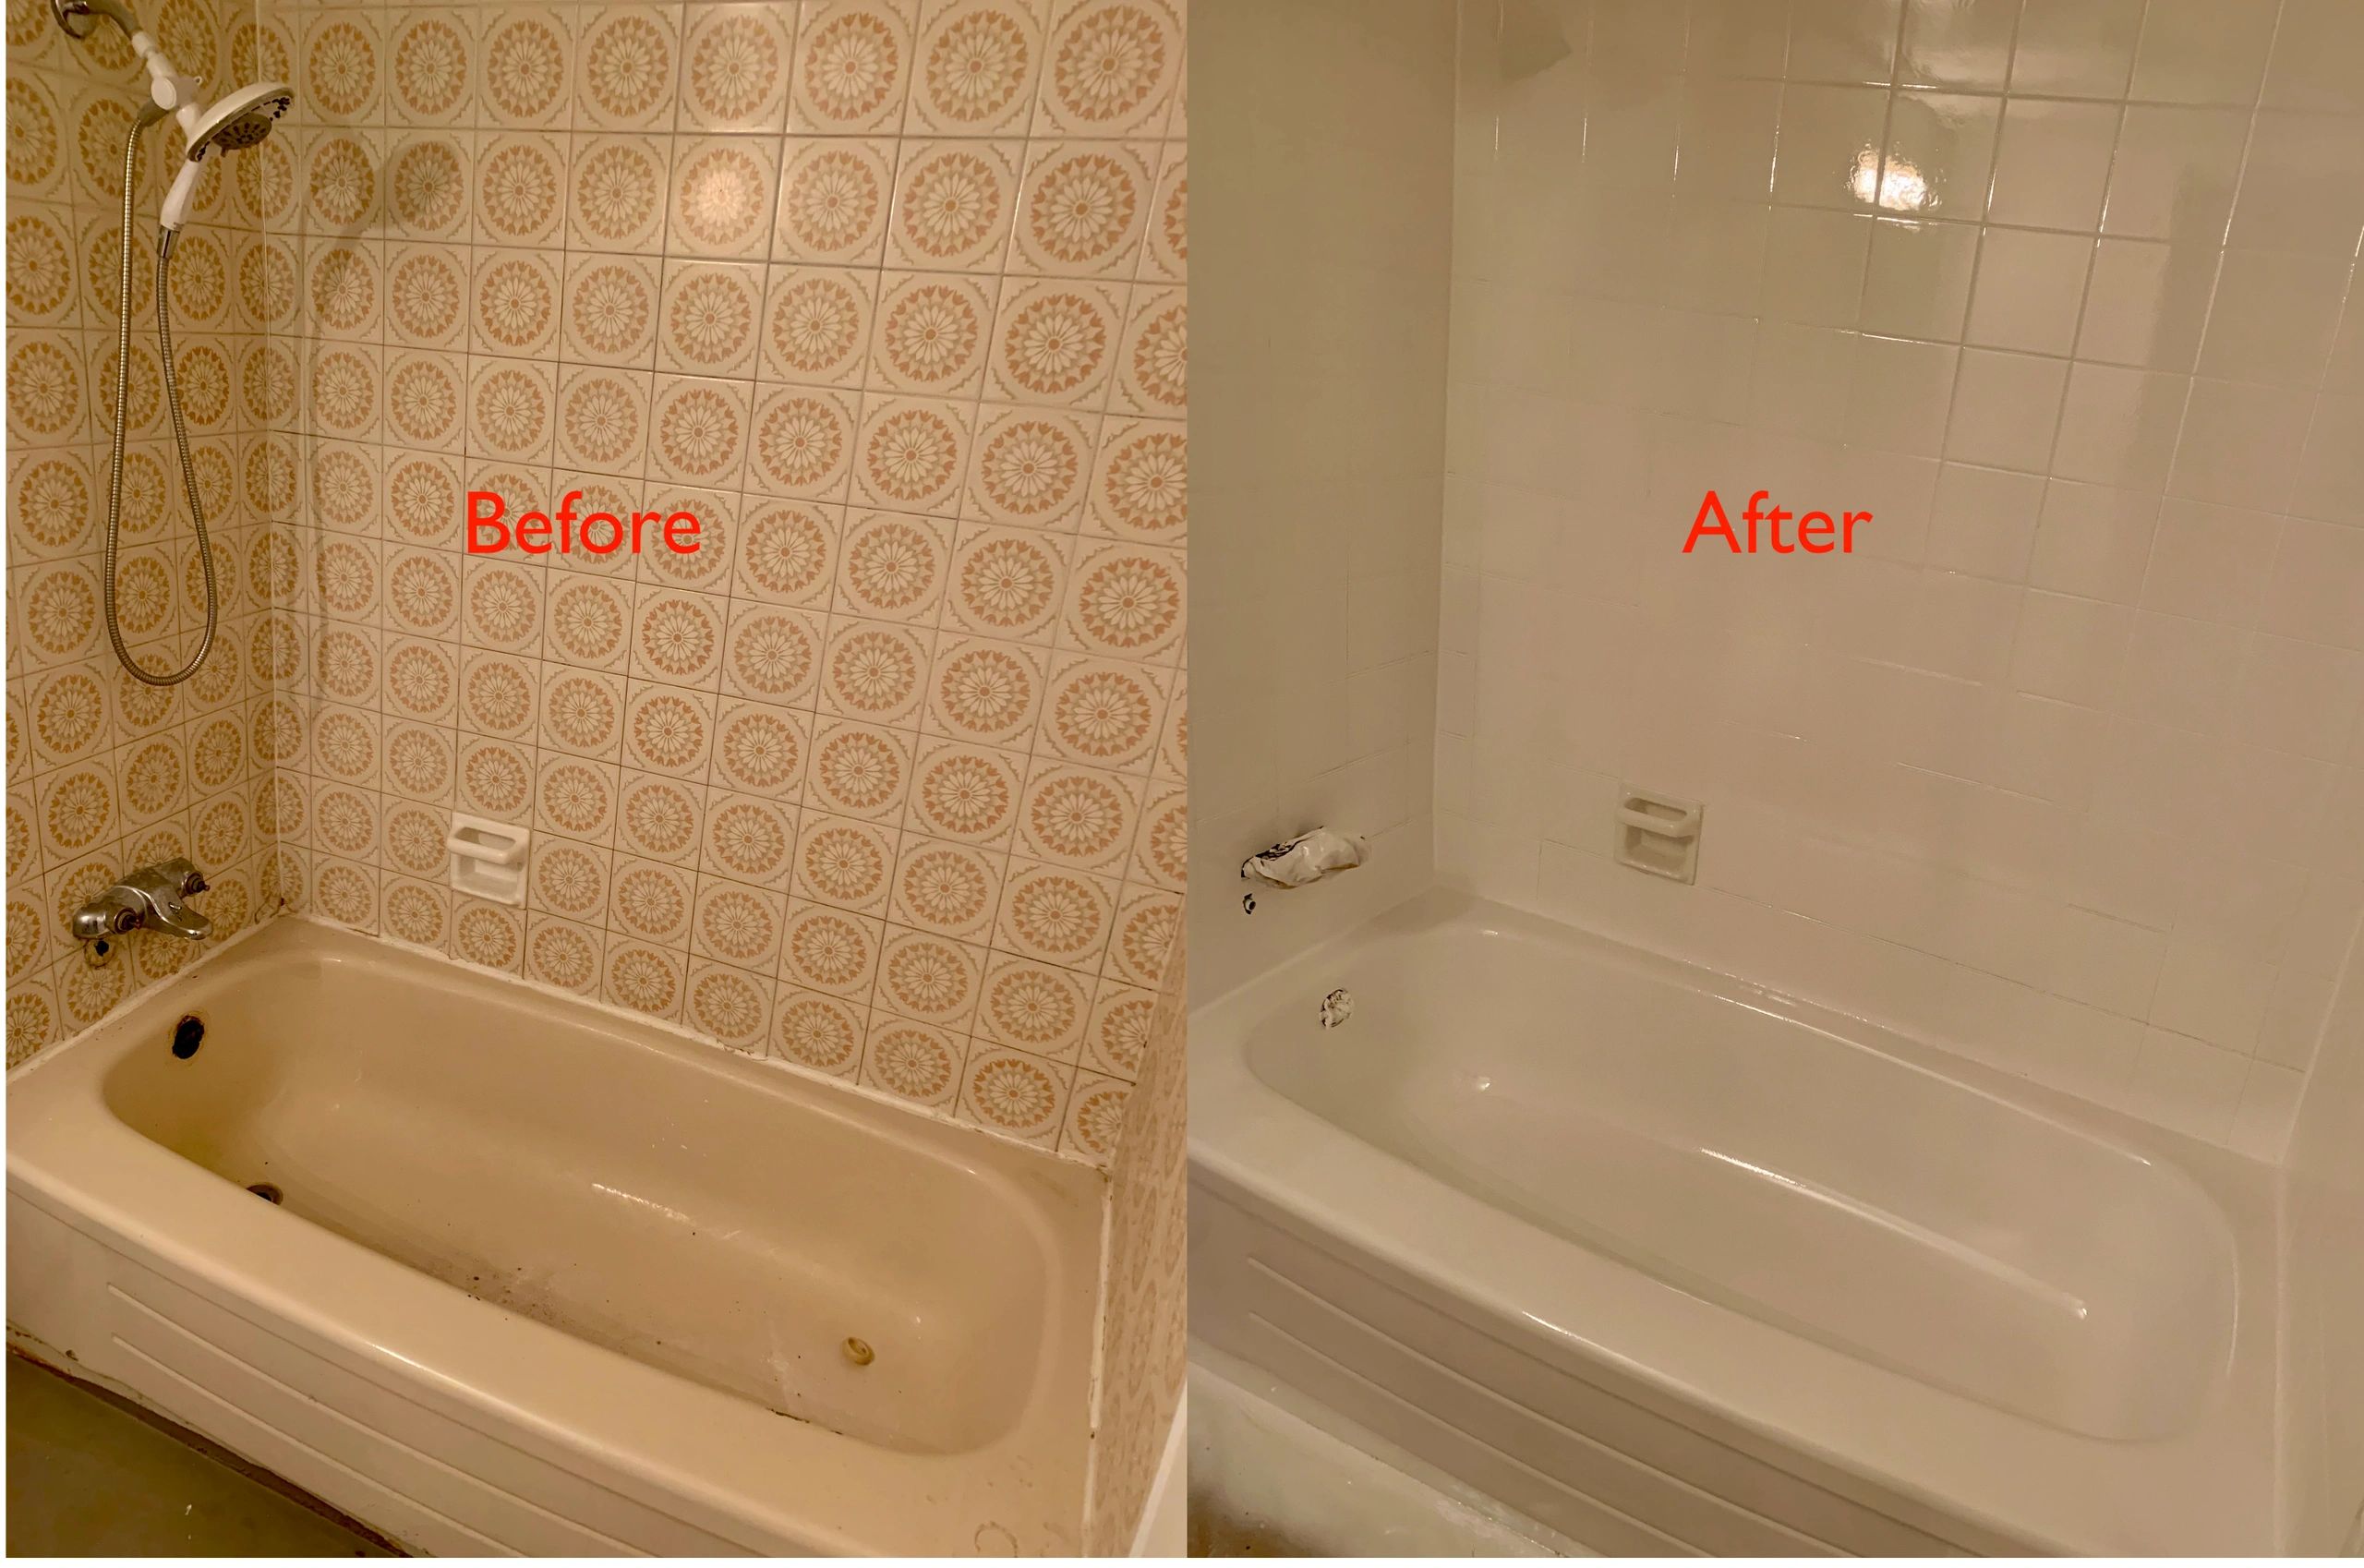
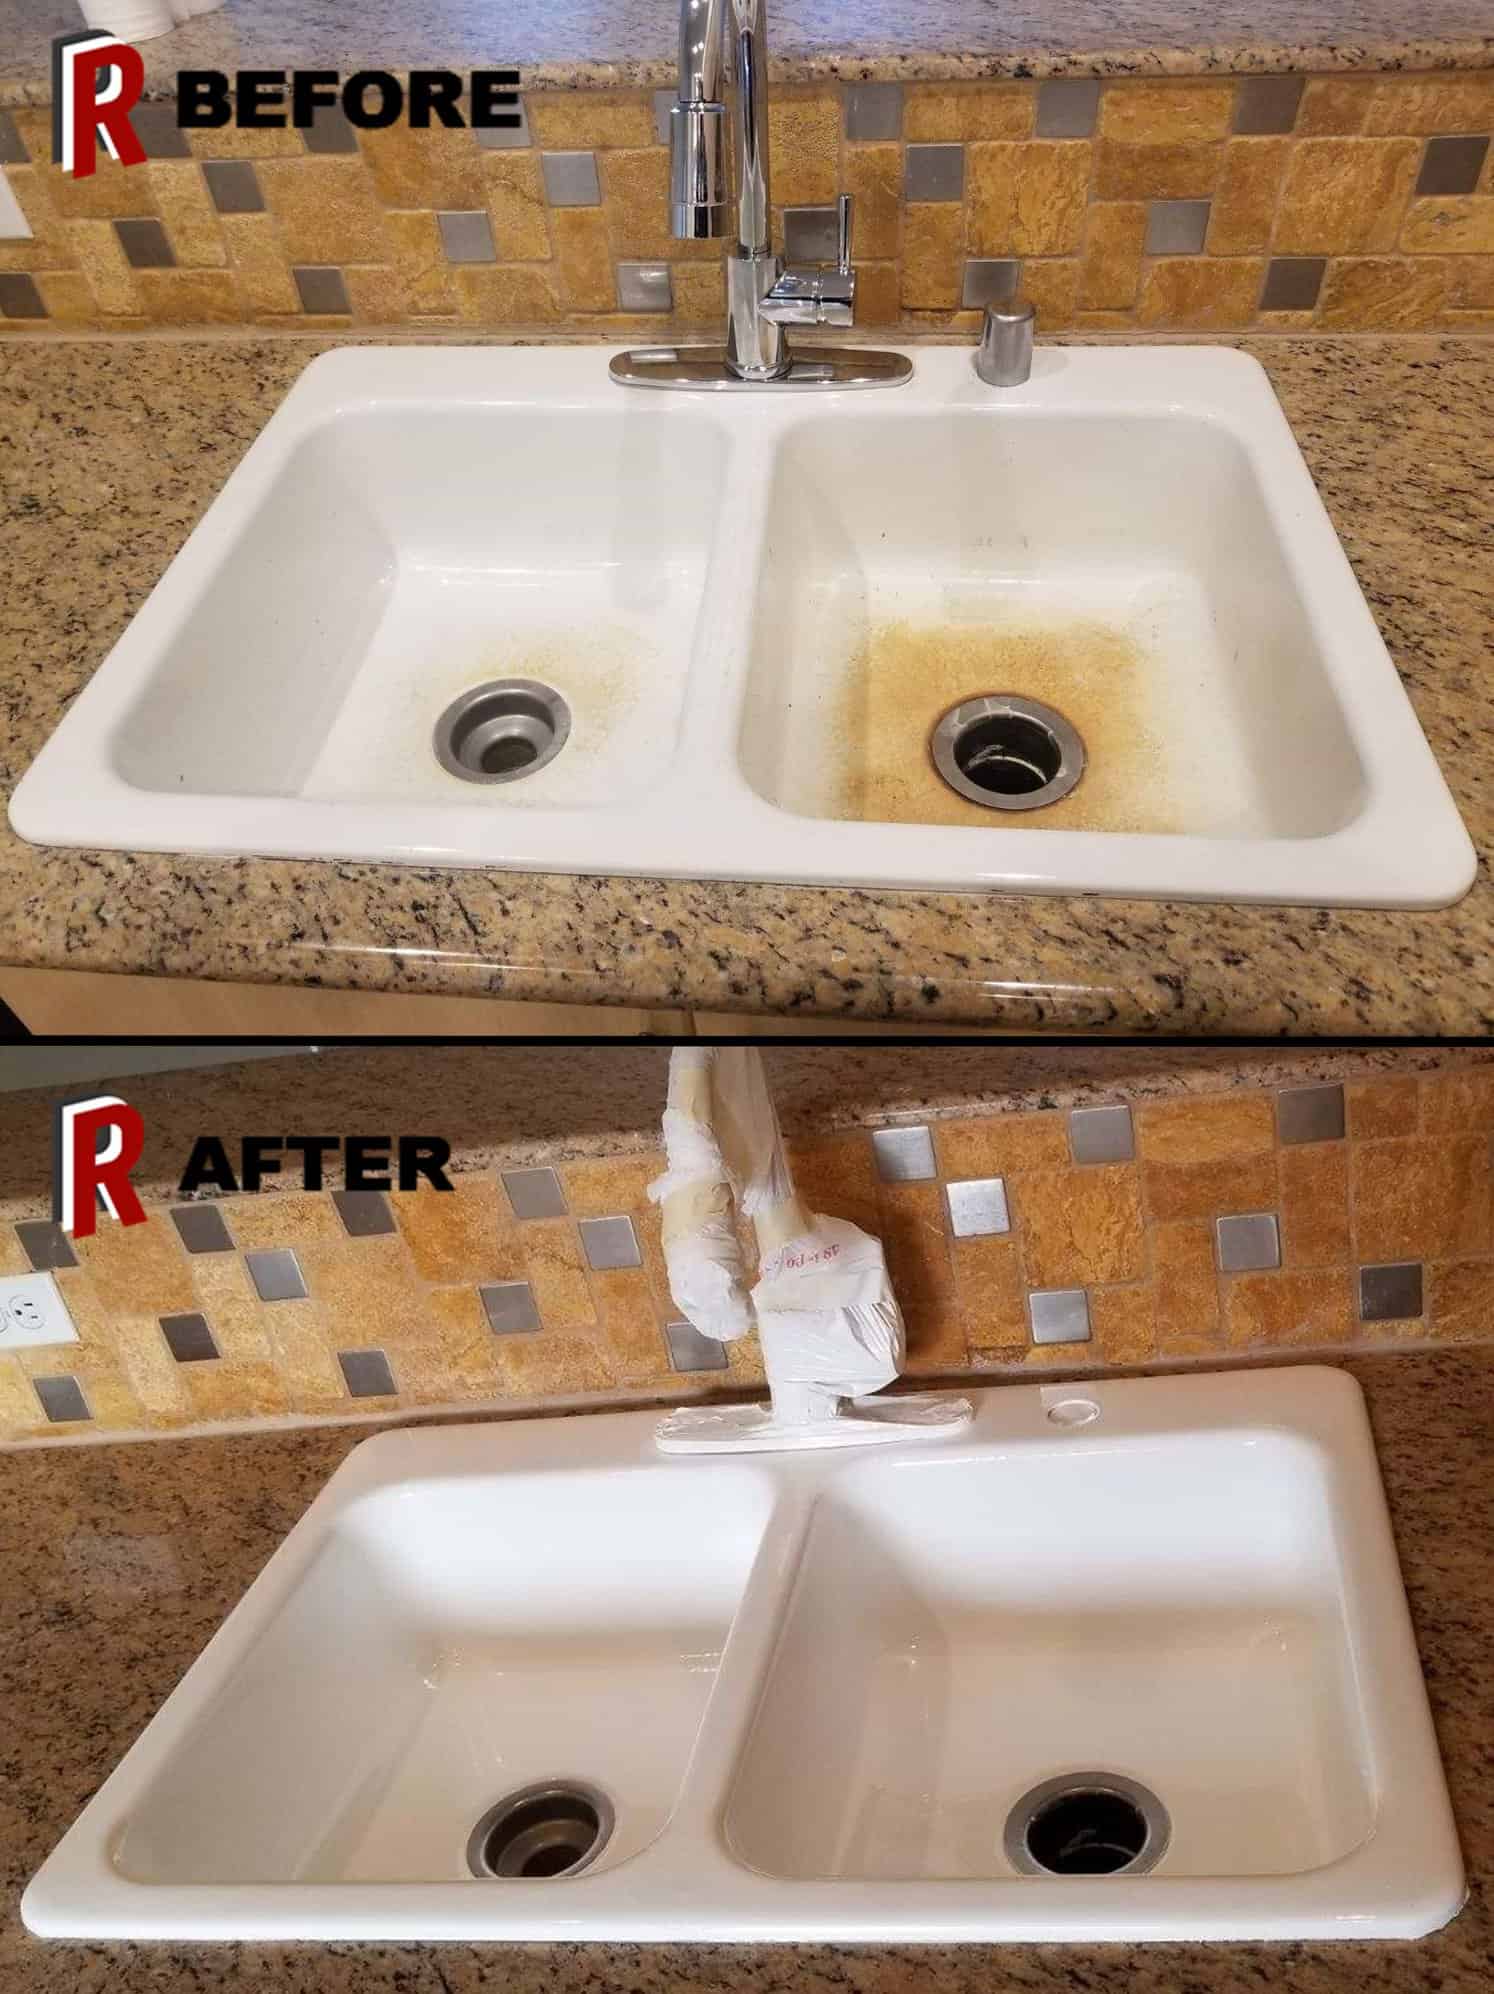
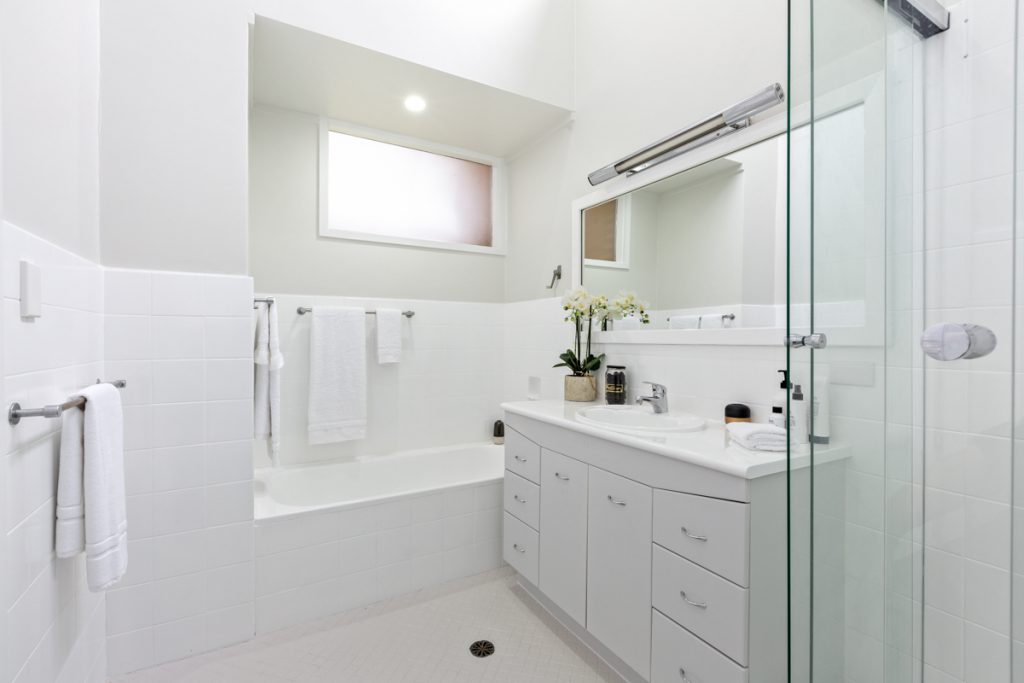
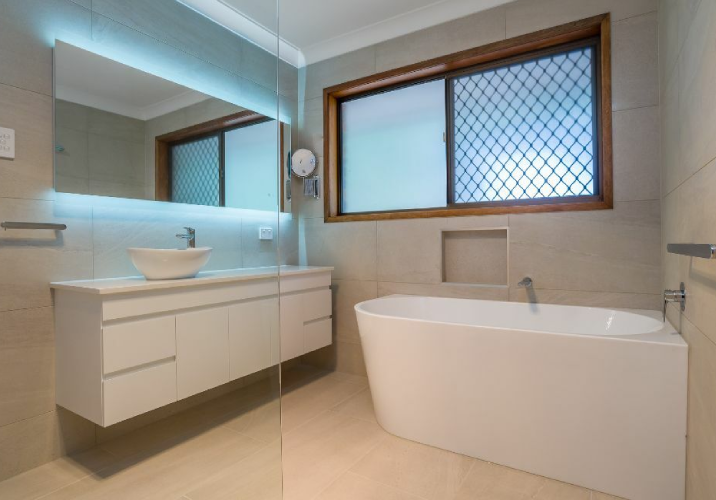
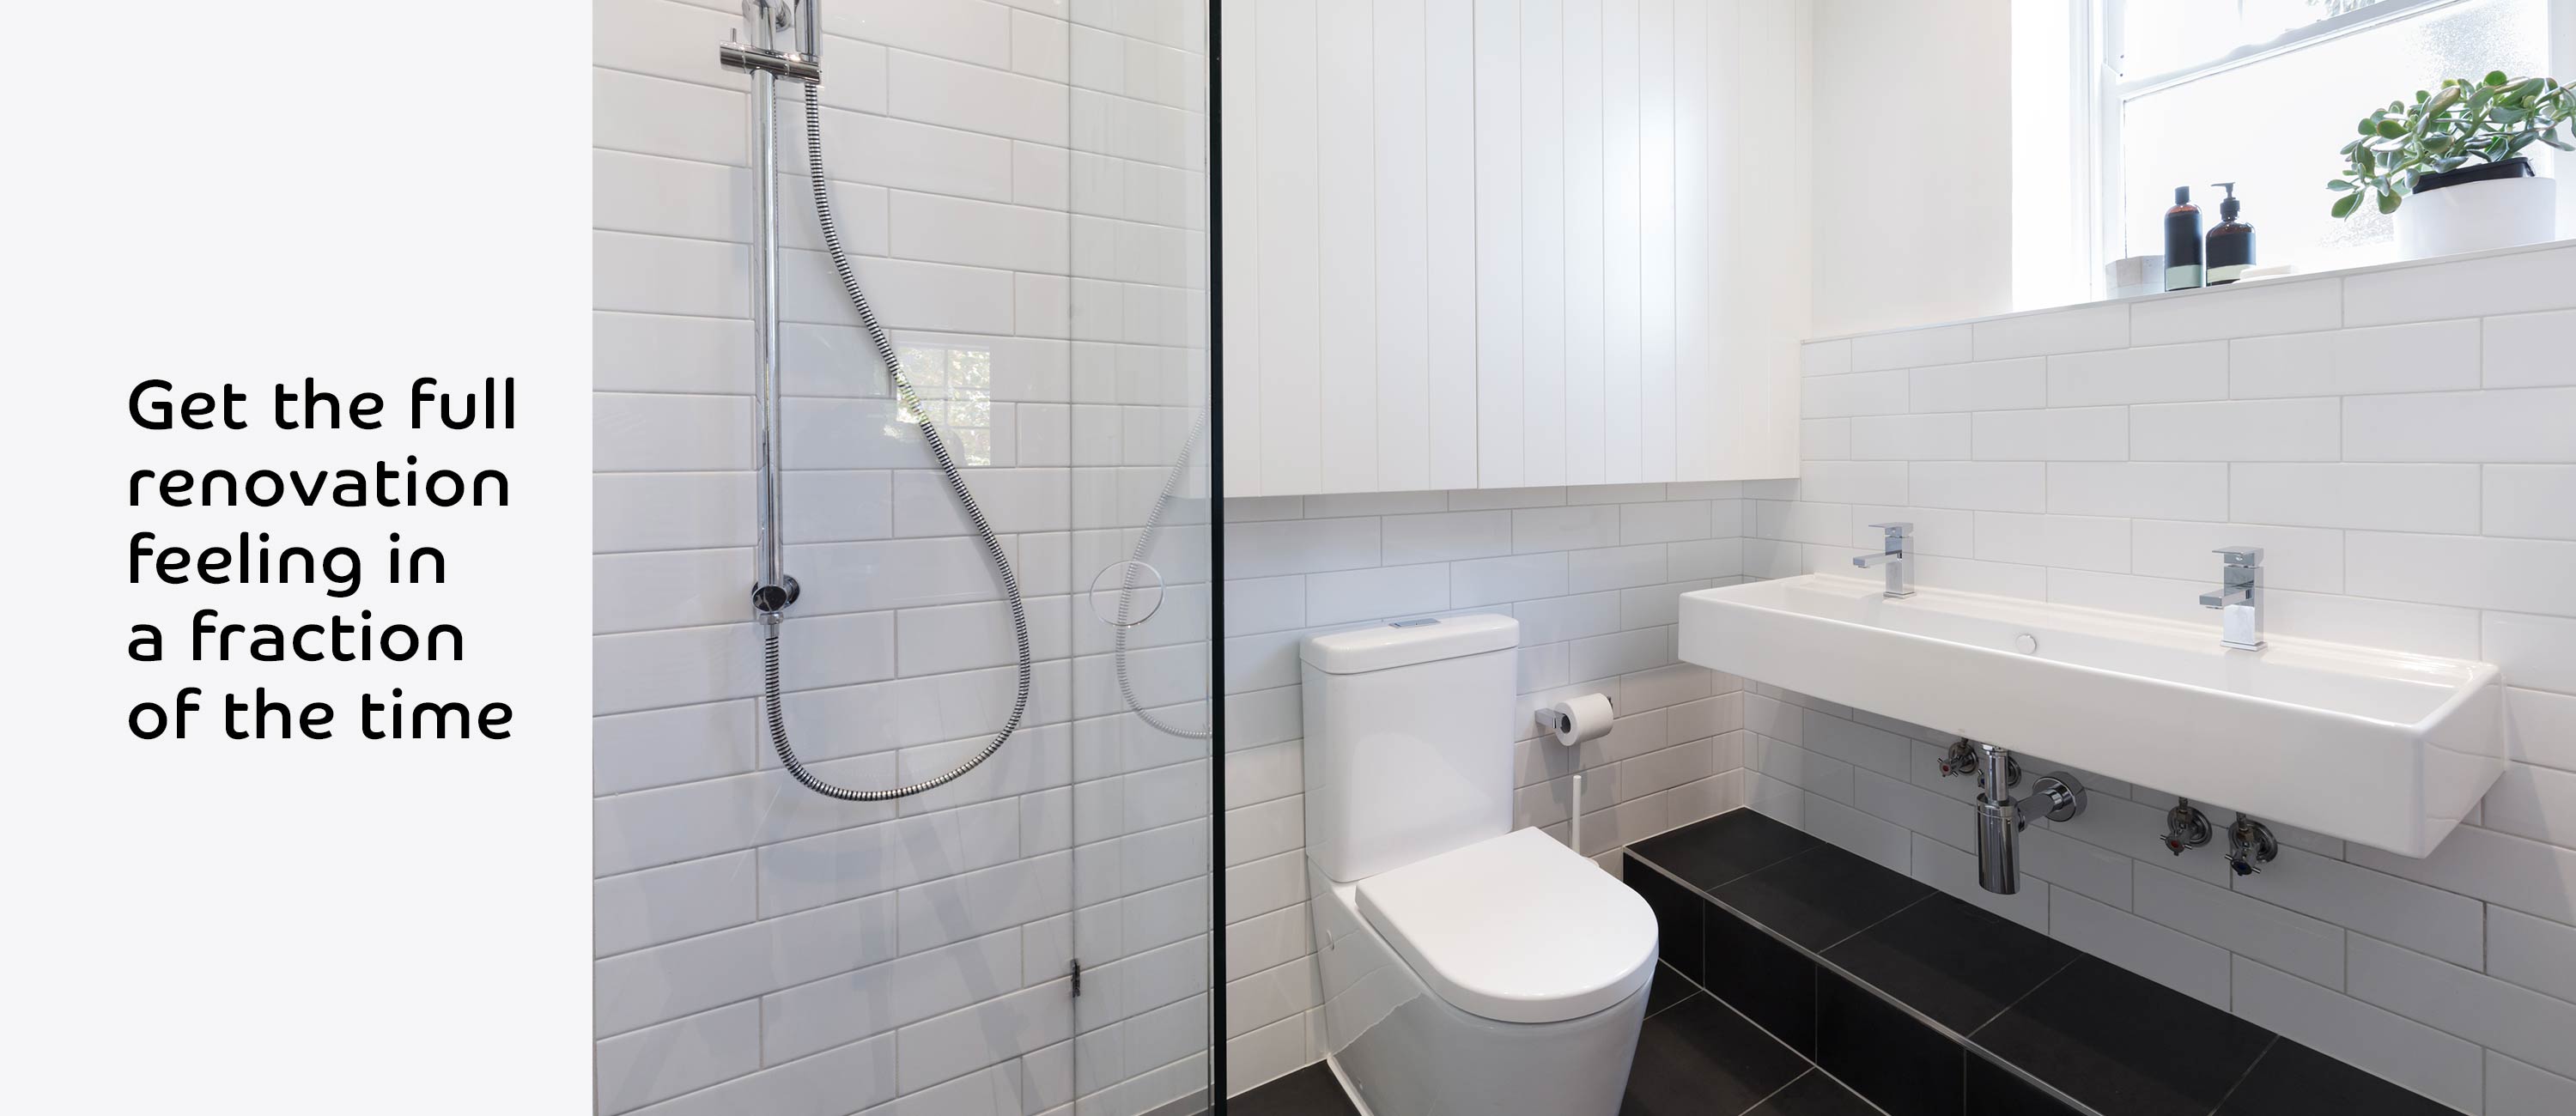
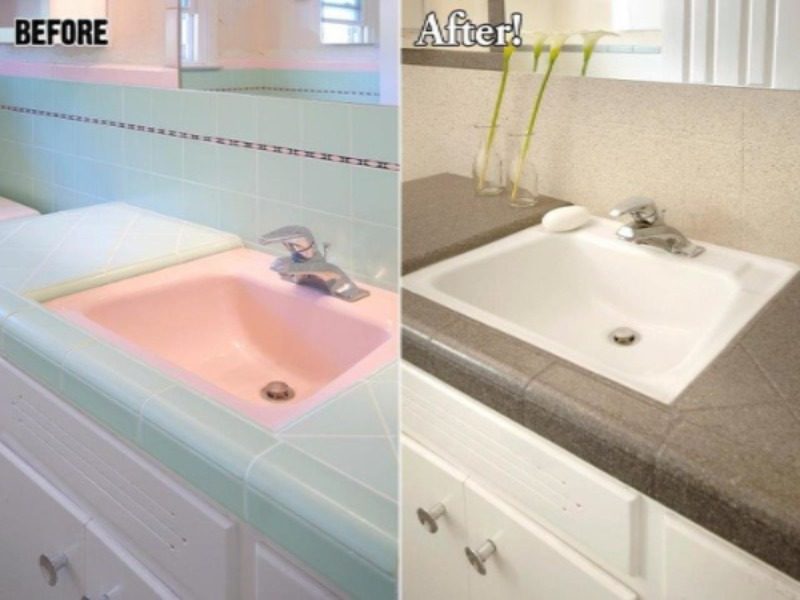
Resurfacing a bathroom sink offers many benefits, including cost-effectiveness, time-saving, and the ability to customize the finish. Instead of spending hundreds or even thousands of dollars on a new sink and installation, resurfacing can give your current sink a fresh new look at a fraction of the cost. It also takes less time than replacing a sink, which can involve plumbing work and potential damage to surrounding fixtures. Lastly, resurfacing allows you to choose the finish and color of your sink, giving you more control over the final result. In conclusion, resurfacing a bathroom sink is a cost-effective and efficient solution for repairing cracks and giving your sink a new look. Whether you choose to DIY or hire a professional, following the proper steps and using the right products can result in a beautiful and long-lasting finish. With proper maintenance and care, your resurfaced sink can continue to shine for many years to come.Benefits of Resurfacing a Bathroom Sink Instead of Replacing It

Benefits of Resurfacing a Bathroom Sink Instead of Replacing It

How to Resurface a Cracked Bathroom Sink
The Importance of Resurfacing a Cracked Bathroom Sink
 When it comes to house design, the bathroom is often one of the most overlooked spaces. However, a well-maintained bathroom can not only enhance the overall aesthetics of your home but also increase its value. One crucial element of a bathroom is the sink, and if it starts to show signs of wear and tear, it can significantly impact the overall look of the space. One common issue that many homeowners face is a cracked bathroom sink. Not only does it look unappealing, but it can also lead to further damage if left untreated. That's why it's essential to know how to resurface a cracked bathroom sink.
Step-by-Step Guide to Resurfacing a Cracked Bathroom Sink
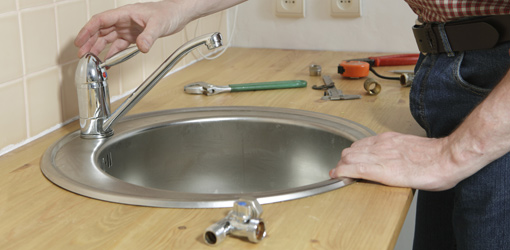
 Before you begin the resurfacing process, it's crucial to gather all the necessary tools and materials. You will need a sink refinishing kit, sandpaper, a paintbrush, and a drop cloth. Once you have everything, follow these steps:
Step 1:
Clean the sink thoroughly with a mild cleaner and water. Use a cloth or sponge to scrub any dirt, grime, or soap scum from the surface. Rinse and dry the sink completely.
Step 2:
Use sandpaper to gently sand the cracked area and the surrounding surface. This will help the refinishing material to adhere better. Be sure to remove any loose or rough parts of the sink.
Step 3:
Mix the refinishing material according to the manufacturer's instructions. Using a paintbrush, apply a thin layer of the material over the cracked area. Make sure to cover the entire area and feather the edges for a smooth finish.
Step 4:
Let the refinishing material dry completely, which can take up to 24 hours. Once dry, lightly sand the surface again to remove any imperfections and create a smooth surface.
Step 5:
Repeat the process of applying the refinishing material and sanding until the surface is completely smooth. It may take a few coats to achieve the desired finish.
Step 6:
Once you are satisfied with the finish, let the sink dry for at least 48 hours before using it again.
Before you begin the resurfacing process, it's crucial to gather all the necessary tools and materials. You will need a sink refinishing kit, sandpaper, a paintbrush, and a drop cloth. Once you have everything, follow these steps:
Step 1:
Clean the sink thoroughly with a mild cleaner and water. Use a cloth or sponge to scrub any dirt, grime, or soap scum from the surface. Rinse and dry the sink completely.
Step 2:
Use sandpaper to gently sand the cracked area and the surrounding surface. This will help the refinishing material to adhere better. Be sure to remove any loose or rough parts of the sink.
Step 3:
Mix the refinishing material according to the manufacturer's instructions. Using a paintbrush, apply a thin layer of the material over the cracked area. Make sure to cover the entire area and feather the edges for a smooth finish.
Step 4:
Let the refinishing material dry completely, which can take up to 24 hours. Once dry, lightly sand the surface again to remove any imperfections and create a smooth surface.
Step 5:
Repeat the process of applying the refinishing material and sanding until the surface is completely smooth. It may take a few coats to achieve the desired finish.
Step 6:
Once you are satisfied with the finish, let the sink dry for at least 48 hours before using it again.
Maintaining a Resurfaced Bathroom Sink
 To keep your newly resurfaced bathroom sink looking like new, it's crucial to follow some maintenance tips. Avoid using abrasive cleaners or harsh chemicals on the surface, as they can damage the finish. Instead, use a mild cleaner and a soft cloth to clean the sink. Additionally, be mindful of placing sharp or heavy objects on the sink to prevent any cracks from reappearing.
In conclusion, resurfacing a cracked bathroom sink is a cost-effective and straightforward way to restore the beauty of your bathroom. With the right tools and materials, you can easily tackle this DIY project and give your bathroom sink a new lease on life. However, if you're not comfortable doing it yourself, it's always best to seek professional help to ensure a flawless finish. Remember to follow the maintenance tips to keep your resurfaced sink looking pristine for years to come.
To keep your newly resurfaced bathroom sink looking like new, it's crucial to follow some maintenance tips. Avoid using abrasive cleaners or harsh chemicals on the surface, as they can damage the finish. Instead, use a mild cleaner and a soft cloth to clean the sink. Additionally, be mindful of placing sharp or heavy objects on the sink to prevent any cracks from reappearing.
In conclusion, resurfacing a cracked bathroom sink is a cost-effective and straightforward way to restore the beauty of your bathroom. With the right tools and materials, you can easily tackle this DIY project and give your bathroom sink a new lease on life. However, if you're not comfortable doing it yourself, it's always best to seek professional help to ensure a flawless finish. Remember to follow the maintenance tips to keep your resurfaced sink looking pristine for years to come.