Resealing your bathroom sink with silicon is an important step in maintaining a clean and functional bathroom. Over time, the sealant around your sink can break down, leading to water leaks and potential water damage. By resealing your sink with silicon, you can prevent these issues and keep your bathroom looking like new. In this guide, we'll go through the steps of resealing a bathroom sink with silicon, as well as the benefits of using this method. How to Reseal a Bathroom Sink with Silicon


How to Reseal a Bathroom Sink with Silicon


Silicon is a versatile and durable material that is commonly used for sealing and waterproofing in various household projects. When it comes to resealing a bathroom sink, using silicon is crucial for creating a strong and long-lasting seal. Unlike other sealants, silicon is resistant to water, heat, and chemicals, making it the ideal choice for bathroom sinks. It also has a longer lifespan compared to other sealants, so you won't have to reseal your sink as frequently. The Importance of Using Silicon to Reseal a Bathroom Sink


The Importance of Using Silicon to Reseal a Bathroom Sink


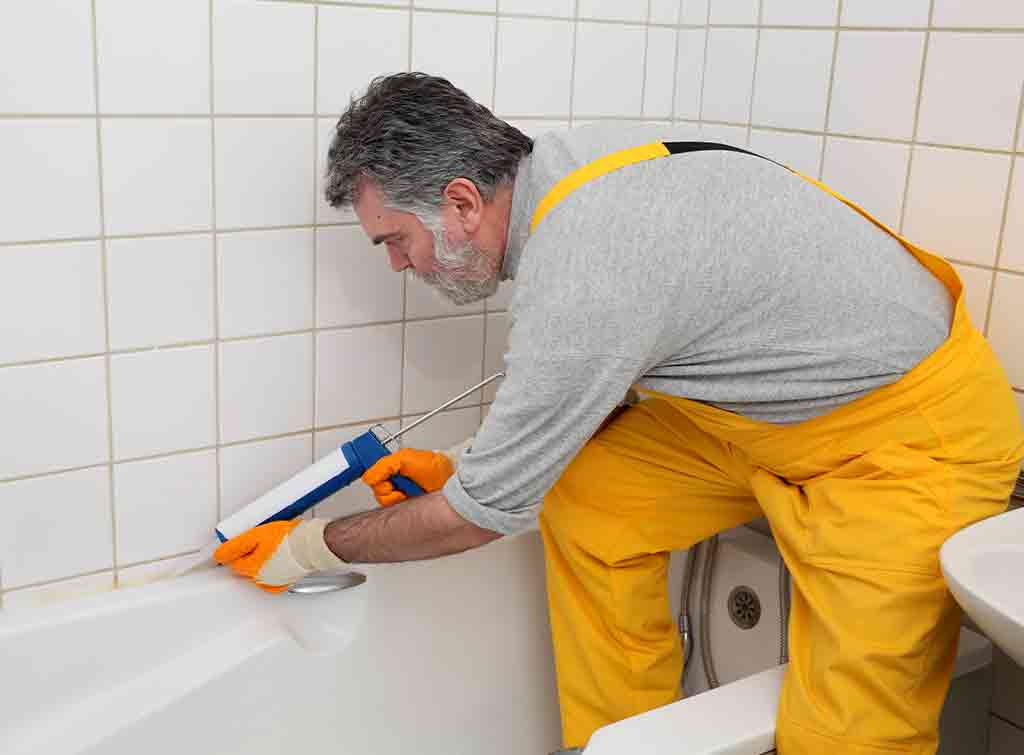


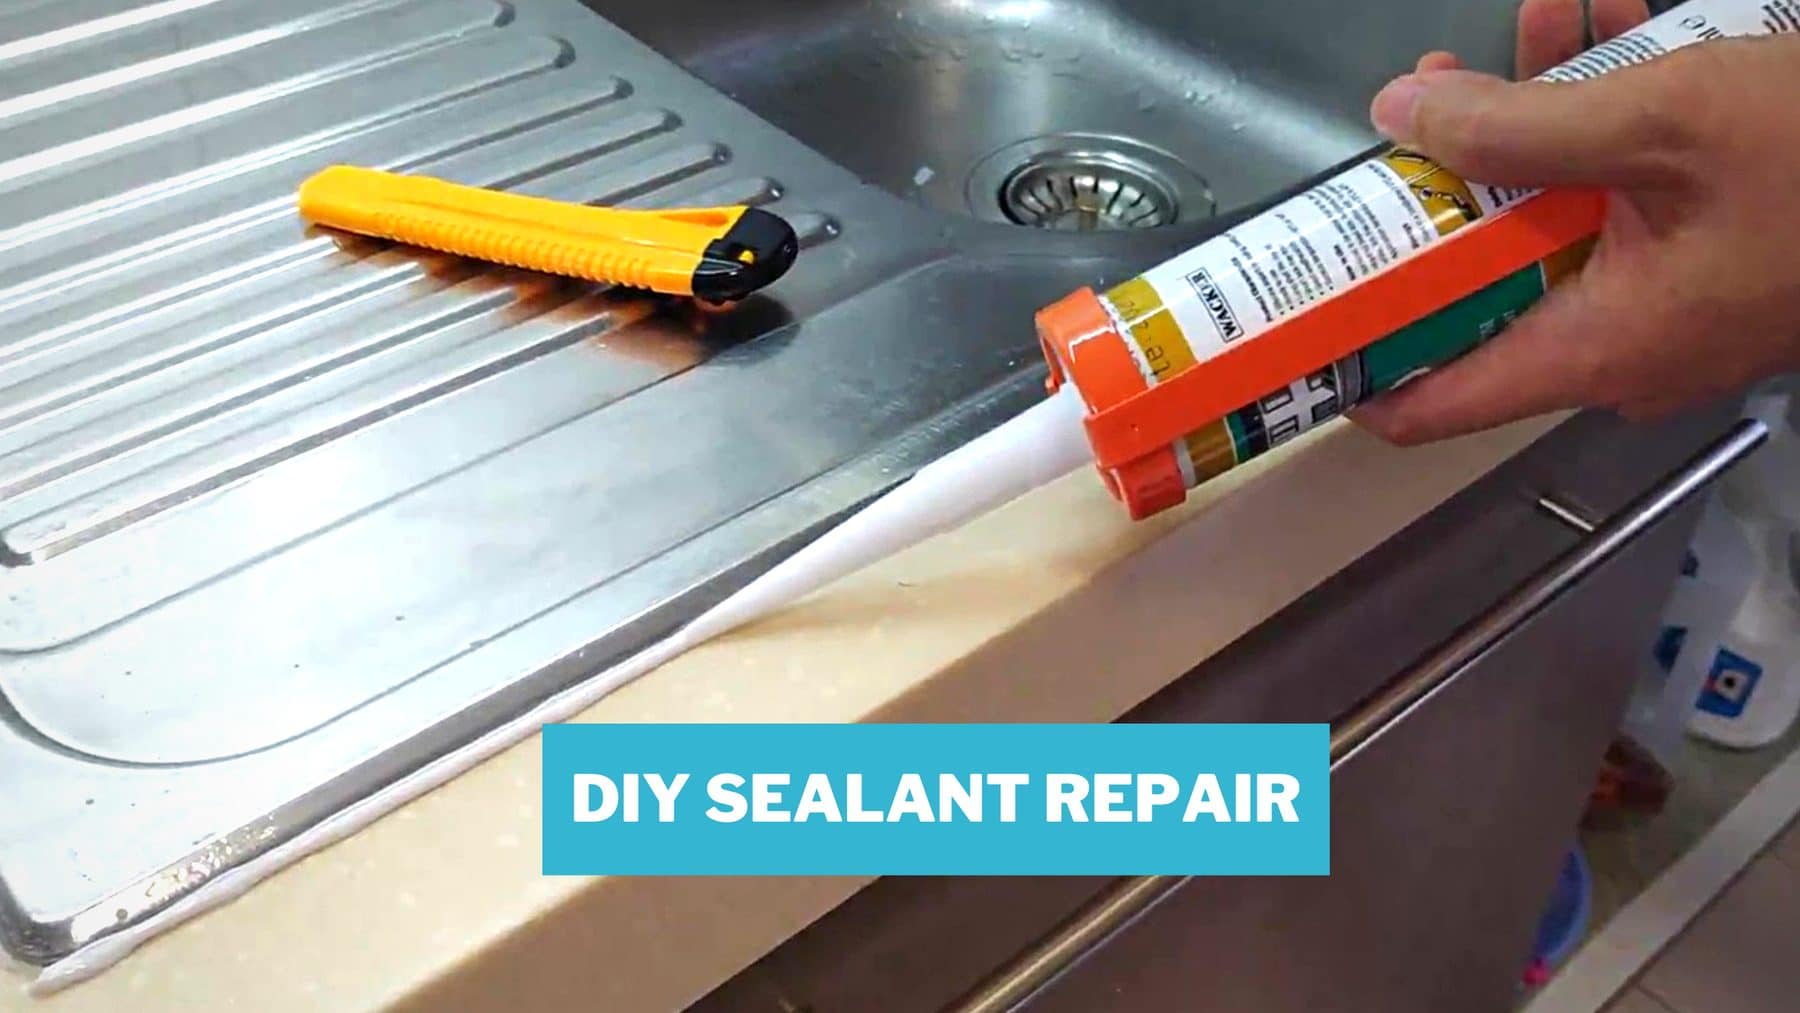
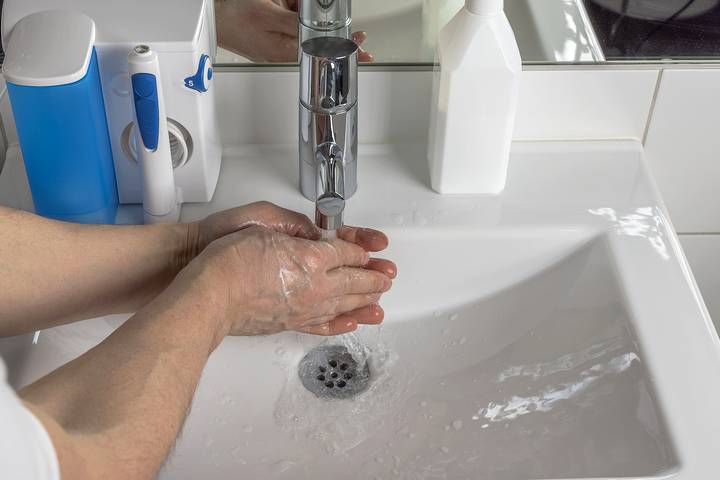
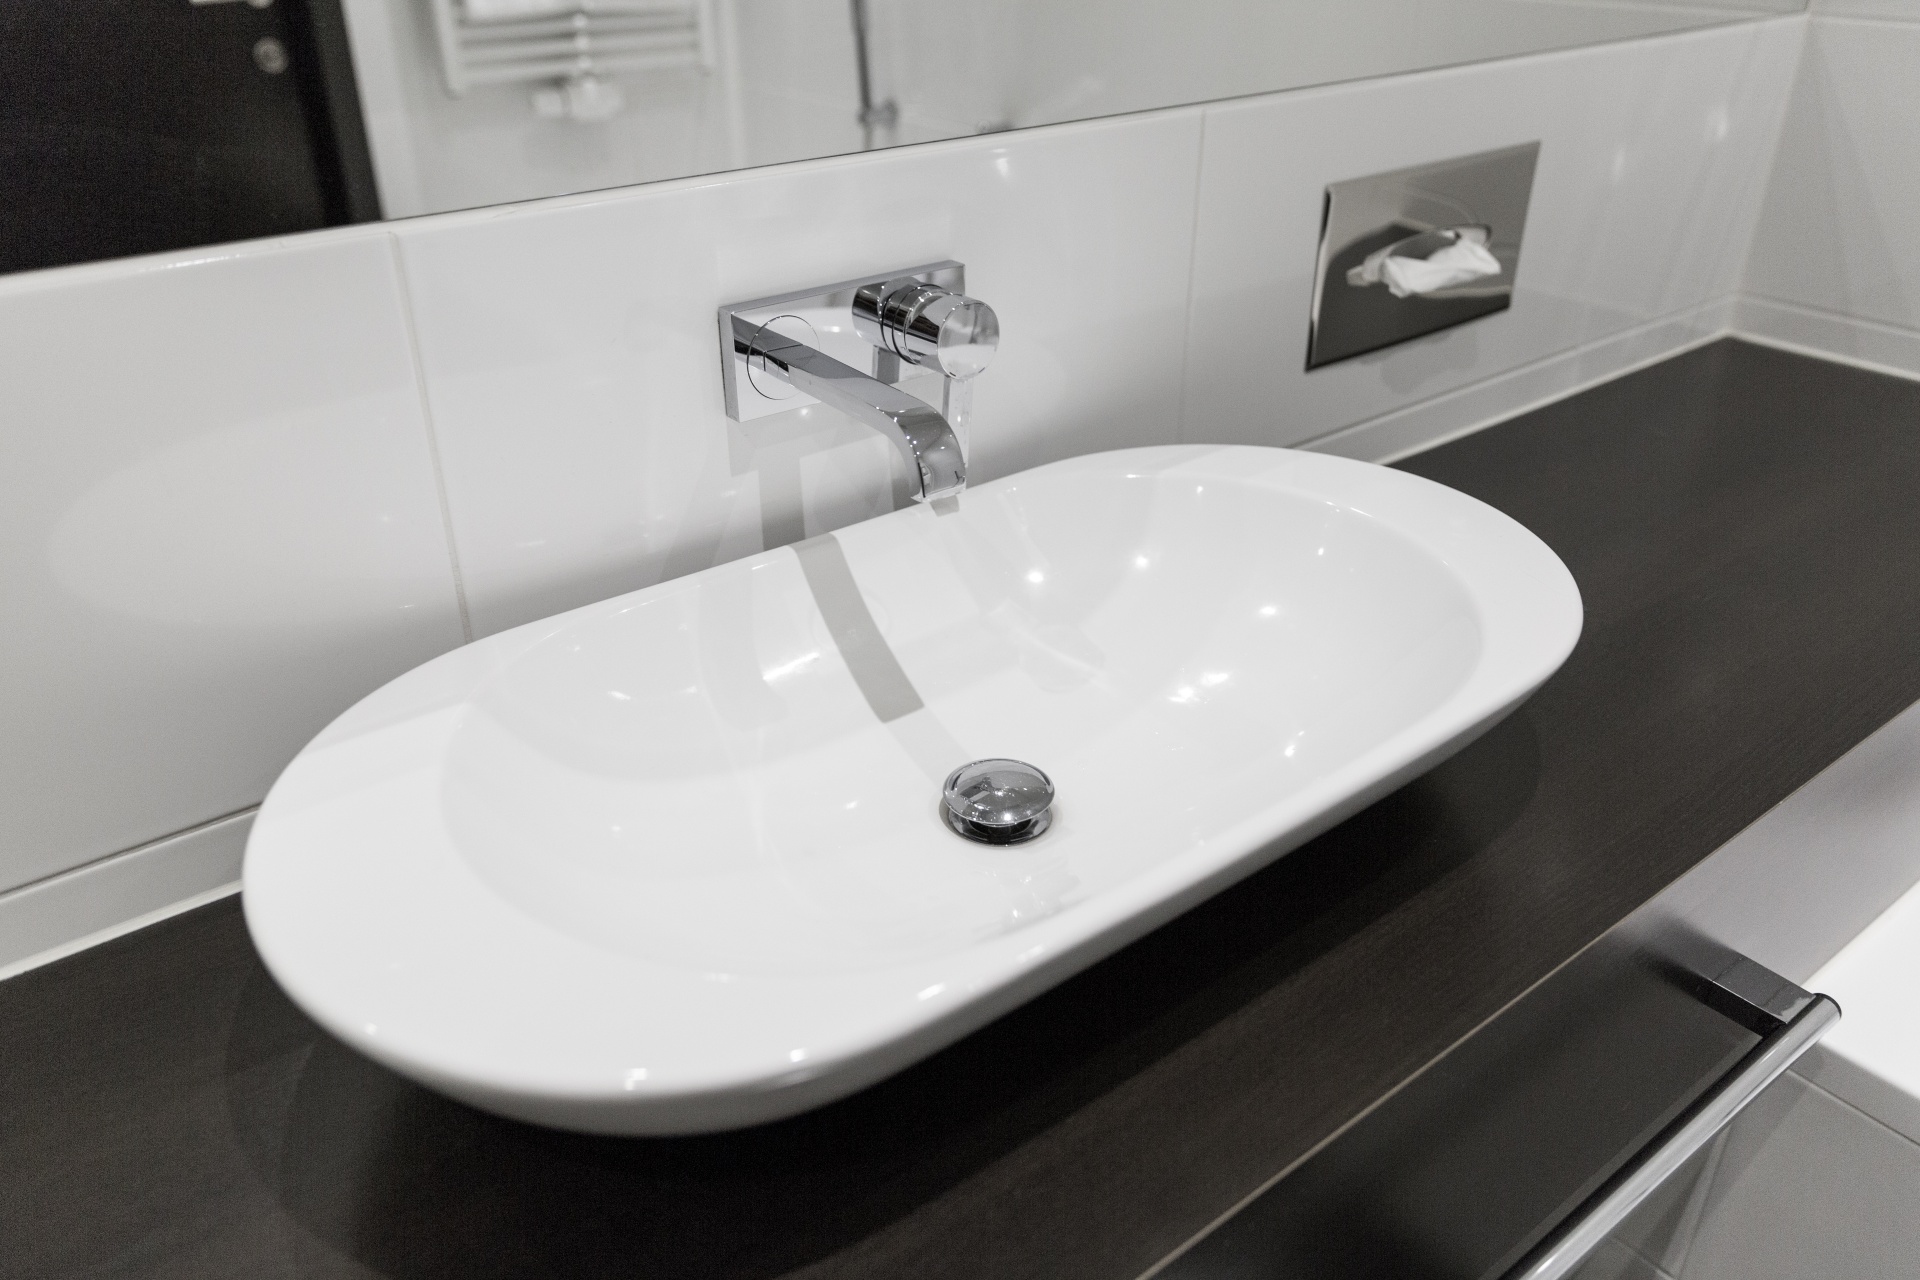
To reseal your bathroom sink with silicon, follow these simple steps: Step 1: Remove the old sealant - Use a scraper or putty knife to remove any old sealant from around the sink. Make sure to clean the area thoroughly to ensure proper adhesion of the new silicon. Step 2: Clean and dry the area - Use a mild cleaner to remove any dirt or grime from the sink and surrounding area. Dry the sink and countertop completely before applying the new silicon. Step 3: Apply the silicon - Cut the nozzle of the silicon tube at a 45-degree angle and apply a thin and even layer of silicon around the sink. Use your finger or a caulking tool to smooth out the silicon and create a tight seal. Step 4: Let it dry - Check the instructions on the silicon tube for the recommended drying time. Once dry, test the seal by running water over it and checking for any leaks. Note: It's important to follow the instructions and safety precautions on the silicon tube, as some products may require ventilation or protective gear. Step-by-Step Guide for Resealing a Bathroom Sink with Silicon


Step-by-Step Guide for Resealing a Bathroom Sink with Silicon


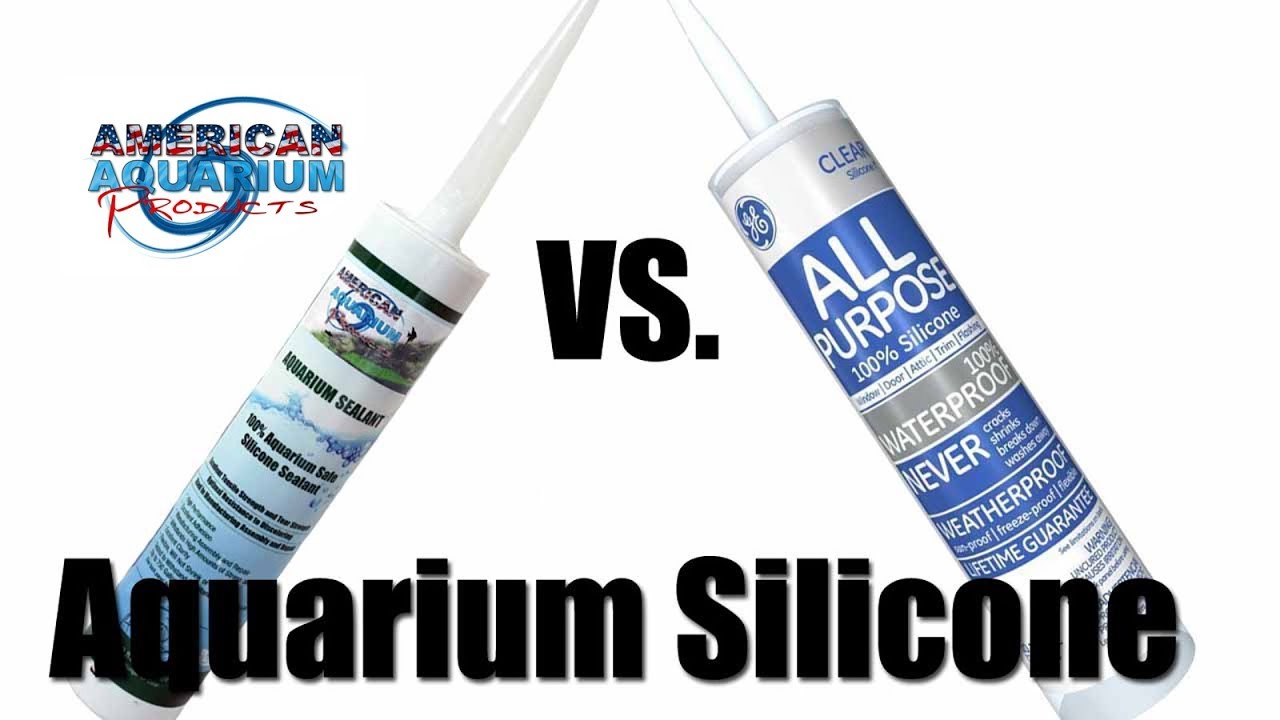
When it comes to choosing a silicon product for resealing your bathroom sink, it's important to choose a high-quality and waterproof option. Look for silicon products that are specifically designed for bathroom use and have good reviews from other users. Some recommended brands include GE Silicone II, DAP Kwik Seal Plus, and Loctite Clear Silicone. Best Silicon Products for Resealing a Bathroom Sink


Best Silicon Products for Resealing a Bathroom Sink


While resealing a bathroom sink with silicon is a straightforward process, there are some common mistakes that can affect the effectiveness of the seal. These include: Not cleaning the area properly - Make sure to thoroughly clean and dry the sink and surrounding area before applying the silicon. Any dirt or moisture can affect the adhesion of the sealant. Applying too much silicon - It's important to use a thin and even layer of silicon around the sink. Applying too much can create a messy and ineffective seal. Not letting it dry completely - Skipping the recommended drying time can result in a weak and ineffective seal. Make sure to follow the instructions on the silicon tube for the best results. Common Mistakes to Avoid When Resealing a Bathroom Sink with Silicon


Common Mistakes to Avoid When Resealing a Bathroom Sink with Silicon


To ensure your bathroom sink stays sealed and in good condition, here are some tips to keep in mind: Clean regularly - Regularly cleaning your sink and surrounding area will prevent dirt and grime from building up and affecting the sealant. Fix any leaks promptly - If you notice any leaks or water damage around your sink, fix it as soon as possible to prevent further damage. Reseal as needed - While silicon has a longer lifespan compared to other sealants, it's still important to check and reseal your sink if you notice any cracks or gaps in the seal. Tips for Maintaining a Properly Sealed Bathroom Sink with Silicon


Tips for Maintaining a Properly Sealed Bathroom Sink with Silicon


The frequency of resealing your bathroom sink with silicon depends on various factors such as the quality of the sealant used, the amount of use the sink gets, and the condition of the sink and countertop. In general, it's recommended to check the seal every 6-12 months and reseal as needed. How Often Should You Reseal Your Bathroom Sink with Silicon?


How Often Should You Reseal Your Bathroom Sink with Silicon?


Using silicon for resealing your bathroom sink offers several benefits: Waterproof and heat-resistant - Silicon is resistant to water and heat, making it ideal for use in bathrooms where moisture and heat are common. Durable and long-lasting - Silicon has a longer lifespan compared to other sealants, meaning you won't have to reseal your sink as frequently. Easy to apply - Silicon can be easily applied using a caulking gun and requires minimal tools and skills. The Benefits of Using Silicon for Bathroom Sink Resealing

The Benefits of Using Silicon for Bathroom Sink Resealing


While silicon is a reliable and effective sealant, there may be some issues that can arise when using it for resealing a bathroom sink. These include: Mold growth - If not properly maintained, mold and mildew can grow on the silicon sealant. Regular cleaning and maintenance can prevent this issue. Discoloration - Over time, the silicon sealant may become discolored due to exposure to water and cleaning products. This can be prevented by using a clear silicon sealant or regularly cleaning and drying the area. Troubleshooting Common Issues with Silicon Bathroom Sink Resealing


Troubleshooting Common Issues with Silicon Bathroom Sink Resealing


While resealing a bathroom sink with silicon is a relatively simple task, some homeowners may prefer to hire a professional for the job. Hiring a professional can ensure a perfect and long-lasting seal, but it can also be more costly. Ultimately, the decision will depend on your budget and comfort level with DIY projects. In conclusion, resealing a bathroom sink with silicon is an important step in maintaining a clean and functional bathroom. By following these tips and using high-quality silicon products, you can ensure a strong and long-lasting seal that will keep your bathroom sink looking like new. Professional vs. DIY: Which Method is Best for Resealing a Bathroom Sink with Silicon?


Professional vs. DIY: Which Method is Best for Resealing a Bathroom Sink with Silicon?


How to Reseal Bathroom Sink Silicon: A Step-by-Step Guide for a Clean and Modern Bathroom
Introduction
 Are you tired of looking at your old and dirty bathroom sink? Is the silicon surrounding your sink starting to peel off and becoming an eyesore? Well, it's time to give your bathroom a quick and easy makeover by resealing the sink silicon. This simple and affordable solution can make a huge difference in the overall look and feel of your bathroom. In this article, we will guide you through the process of resealing your bathroom sink silicon, so you can have a clean and modern bathroom in no time.
Step 1: Gather the Necessary Tools and Materials
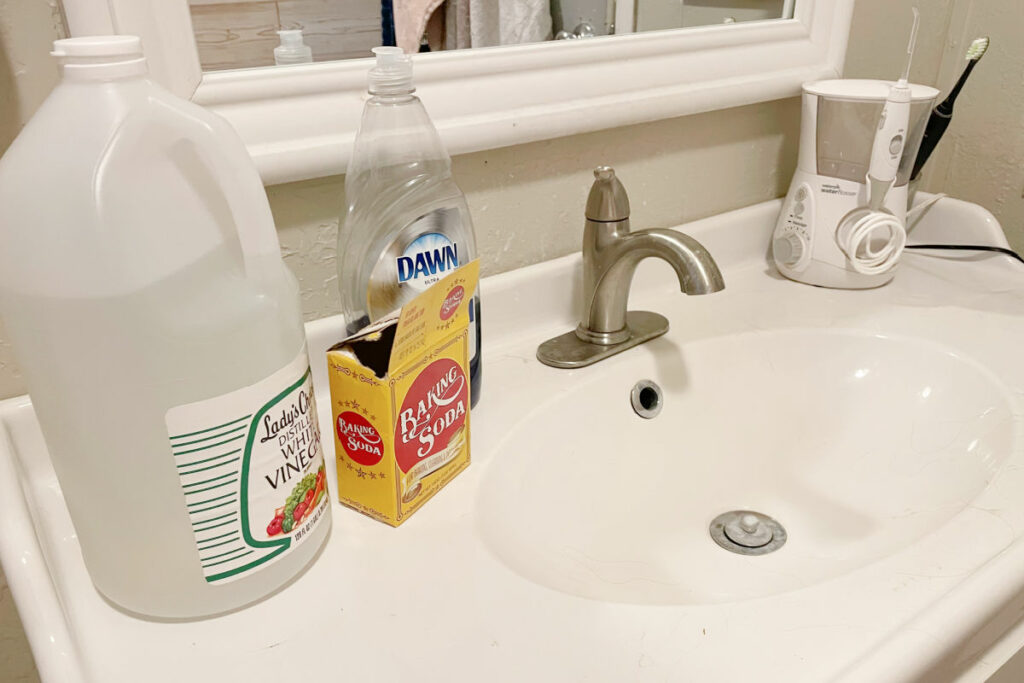
 Before starting the resealing process, make sure you have all the tools and materials you need. This includes a silicone caulk gun, a razor blade, a putty knife, rubbing alcohol, a clean cloth, and of course, a new tube of
silicone sealant
. Make sure to choose a high-quality
sealant
that is specifically designed for bathroom use, as it will be more resistant to water and mold.
Before starting the resealing process, make sure you have all the tools and materials you need. This includes a silicone caulk gun, a razor blade, a putty knife, rubbing alcohol, a clean cloth, and of course, a new tube of
silicone sealant
. Make sure to choose a high-quality
sealant
that is specifically designed for bathroom use, as it will be more resistant to water and mold.
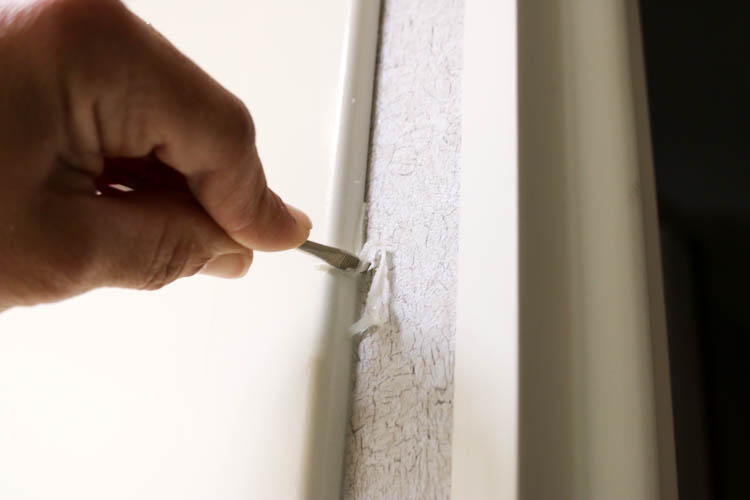
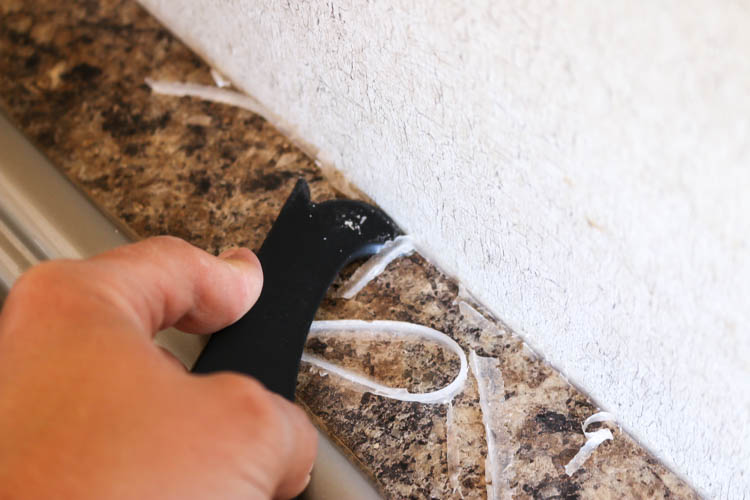
Step 2: Remove the Old Silicon
 Using the razor blade, carefully scrape off the old silicon from around the sink. Be gentle and take your time to avoid damaging the sink or the surrounding tiles. Once the majority of the old silicon is removed, use the putty knife to scrape off any leftover residue. Then, clean the area with rubbing alcohol and a clean cloth to ensure there is no debris or grease left on the surface.
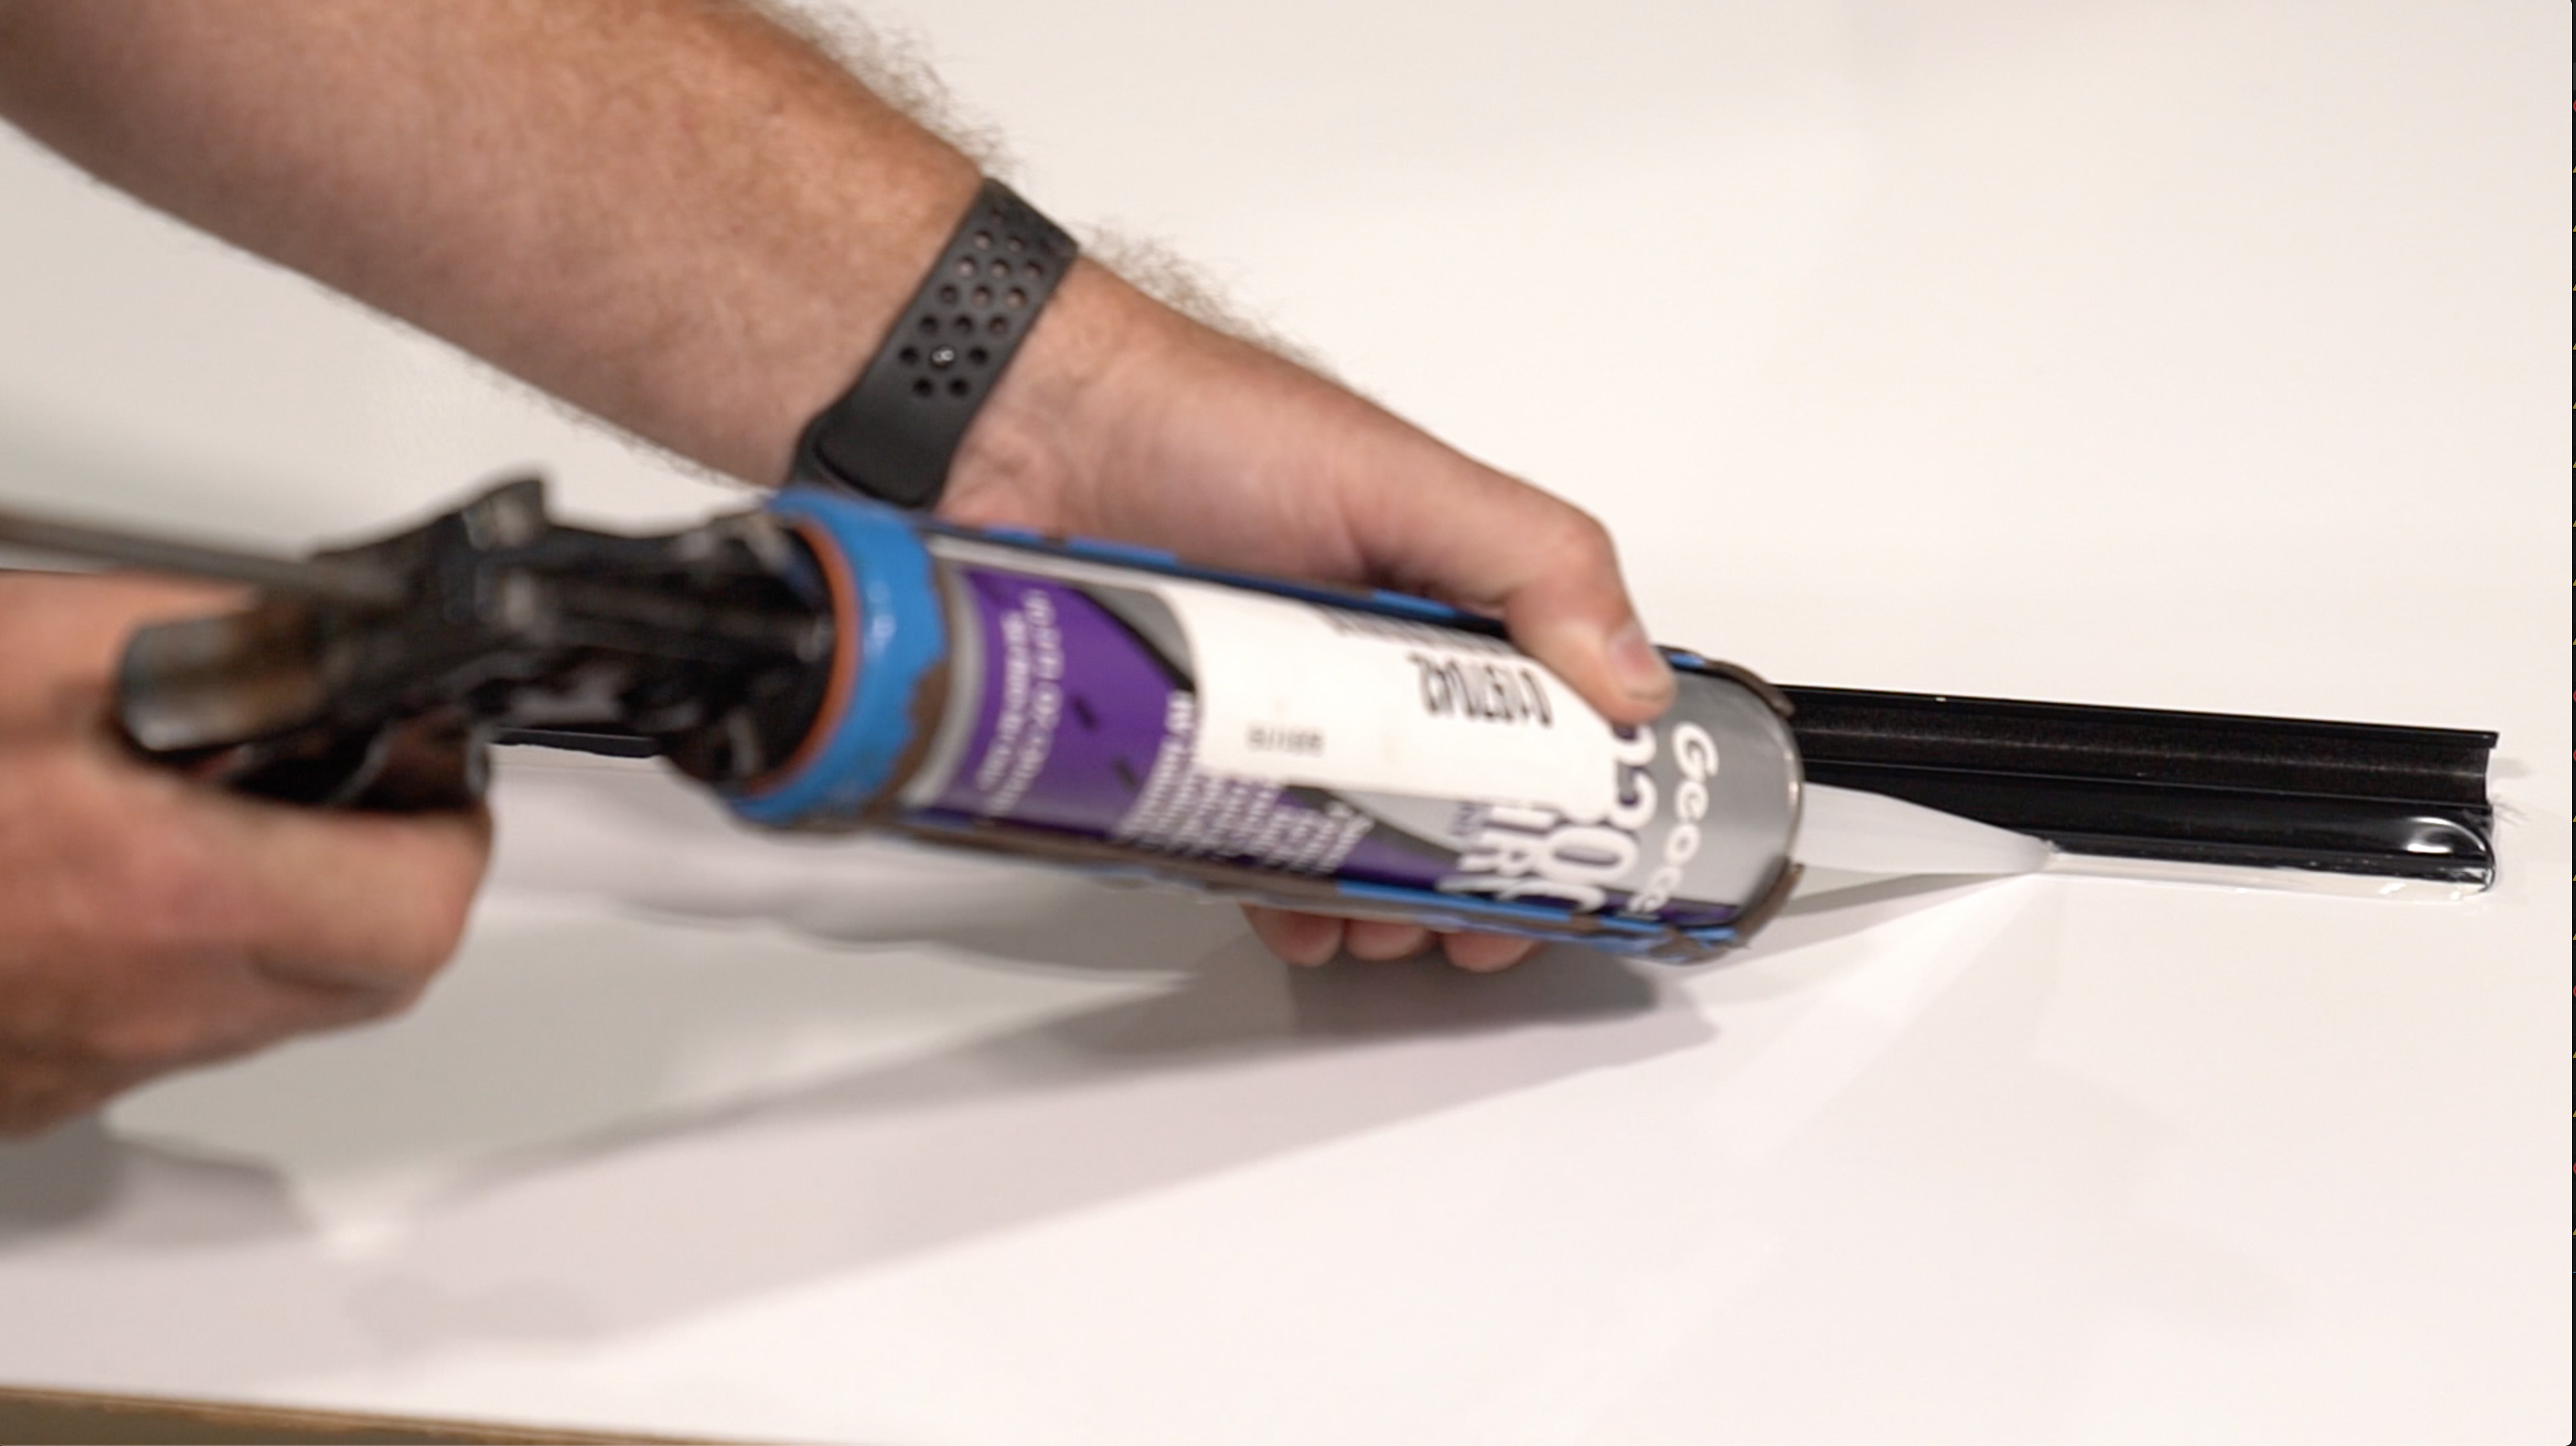
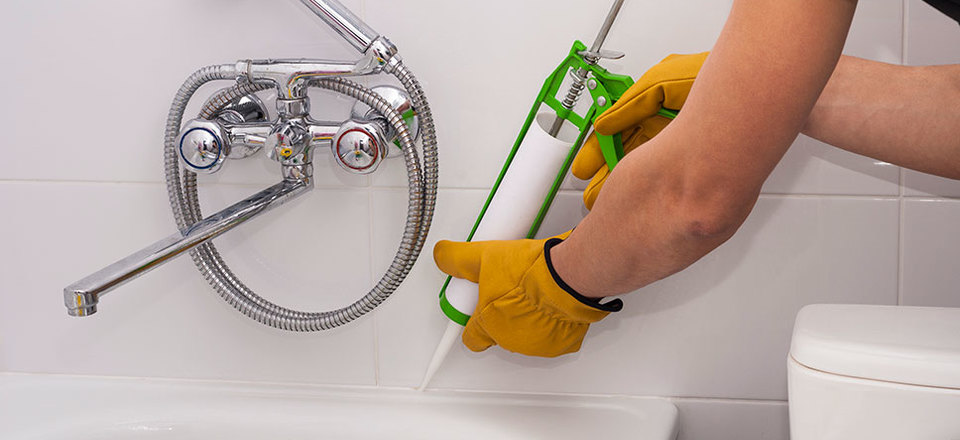
Step 3: Apply the New Silicon
 Now it's time to apply the new silicon. Cut the tip of the
silicone sealant
tube at a 45-degree angle and load it into the caulk gun. Starting from one corner, slowly and steadily squeeze the trigger to apply an even line of silicon along the edge of the sink. Use your finger or a
putty knife
to smooth out the silicon, ensuring there are no gaps or air bubbles. Wipe off any excess silicon with a clean cloth.
Now it's time to apply the new silicon. Cut the tip of the
silicone sealant
tube at a 45-degree angle and load it into the caulk gun. Starting from one corner, slowly and steadily squeeze the trigger to apply an even line of silicon along the edge of the sink. Use your finger or a
putty knife
to smooth out the silicon, ensuring there are no gaps or air bubbles. Wipe off any excess silicon with a clean cloth.
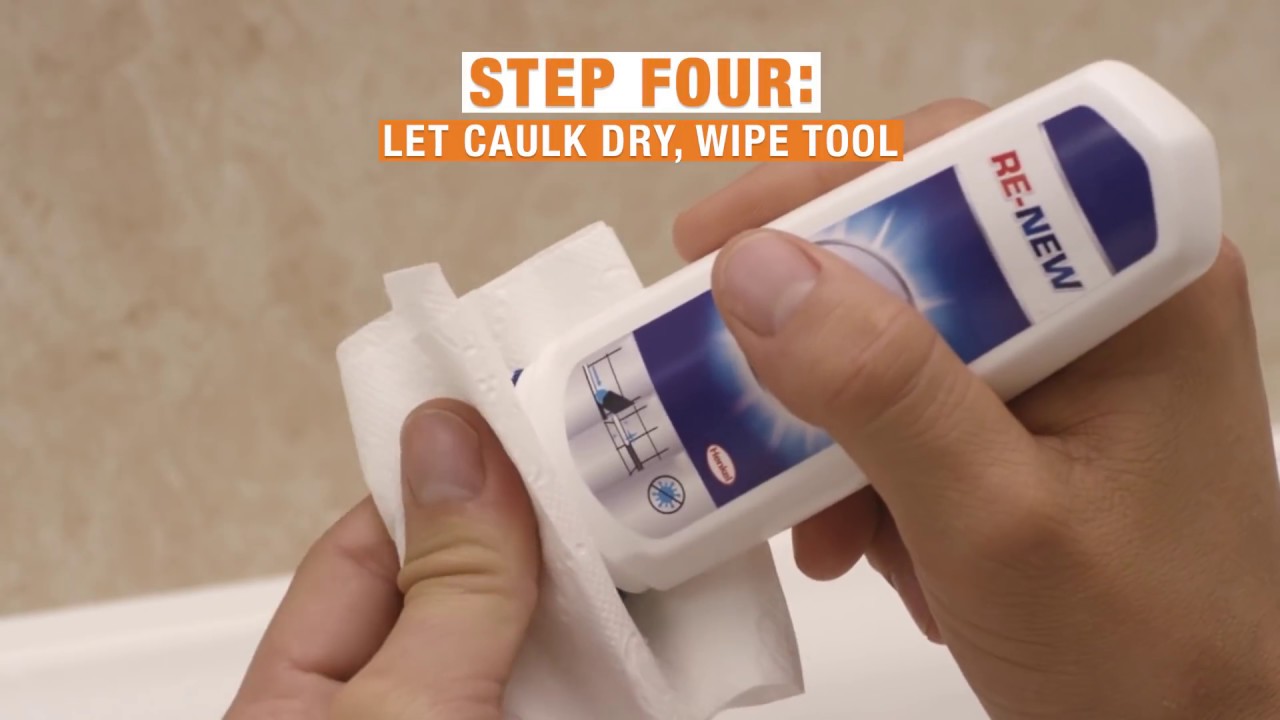
Step 4: Let it Dry
 Allow the silicon to dry for at least 24 hours before using the sink or exposing it to water. This will ensure that the silicon has fully cured and will provide a strong and durable seal.
Step 5: Maintain the Sealant
 To keep your bathroom sink looking clean and modern, make sure to regularly clean and maintain the sealant. Use a mild cleaner and a cloth to wipe down the silicon, and avoid using harsh chemicals or abrasive tools that could damage the sealant.