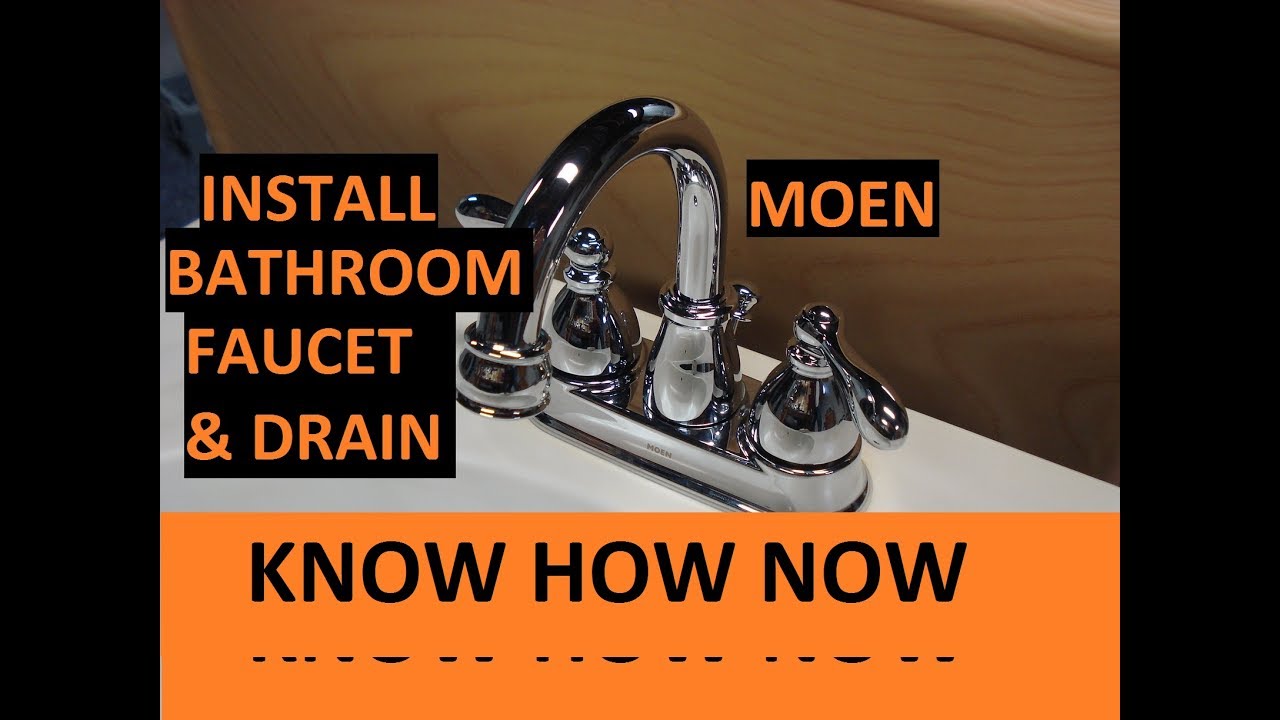
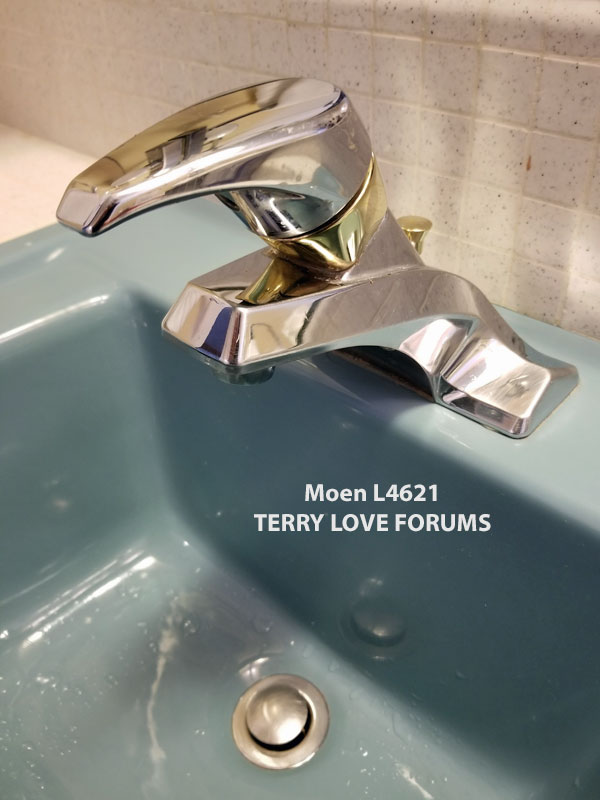
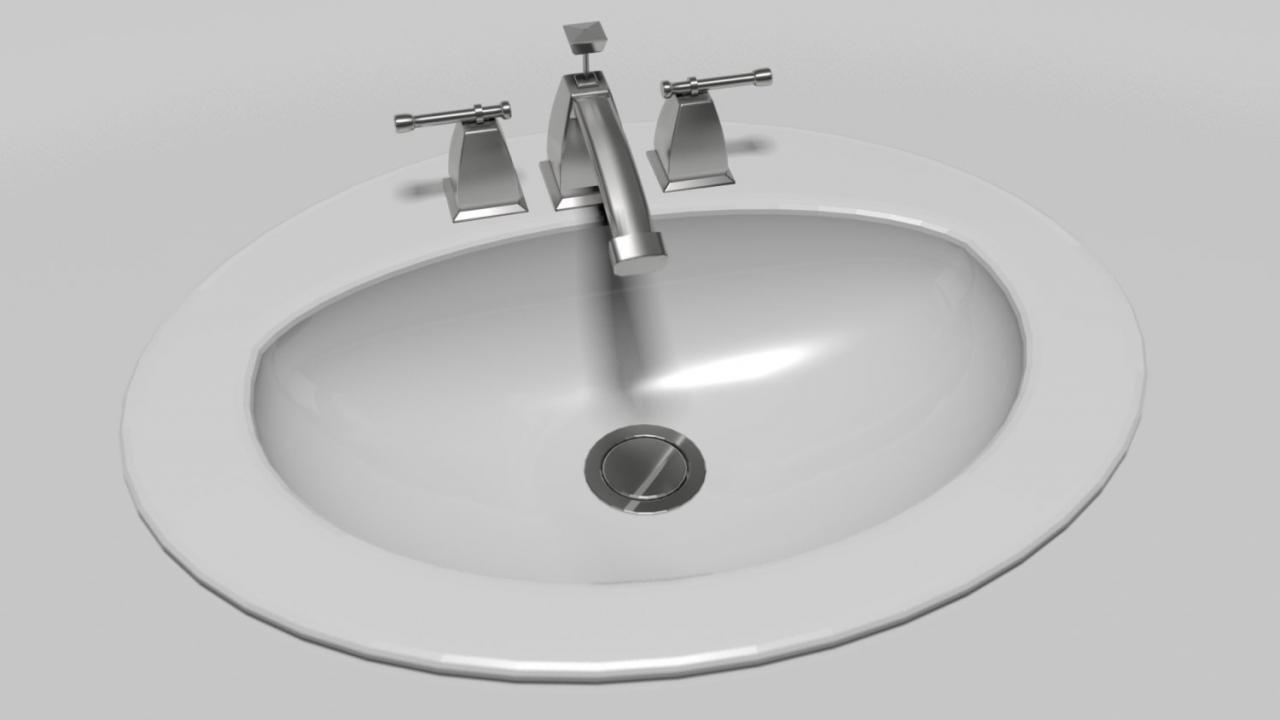
When it comes to home maintenance, there are certain tasks that can seem daunting at first, but with the right knowledge and tools, can be easily done yourself. One such task is replacing a Moen bathroom sink ring. This small but crucial piece helps to keep your sink in place and prevent leaks. If you notice any damage or wear and tear on your sink ring, it's important to replace it as soon as possible. In this guide, we'll walk you through the steps of replacing a Moen bathroom sink ring, so you can confidently tackle this DIY project.How to Replace a Moen Bathroom Sink Ring


How to Replace a Moen Bathroom Sink Ring
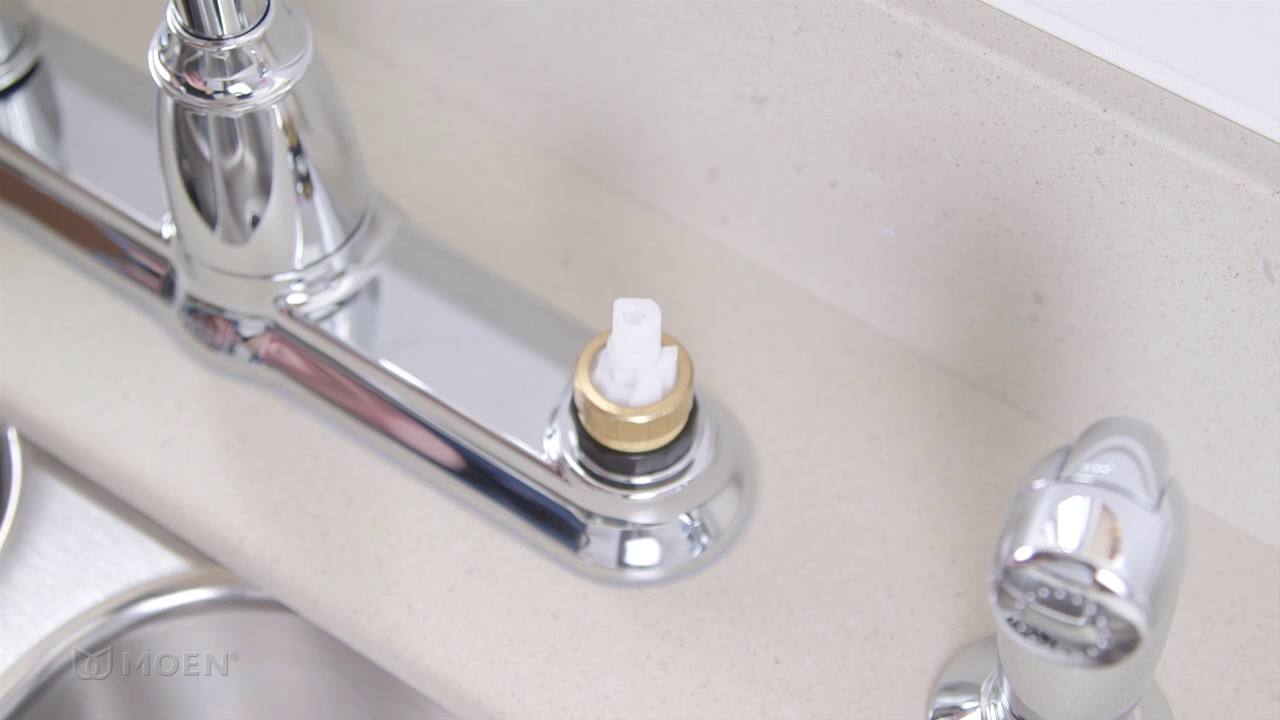

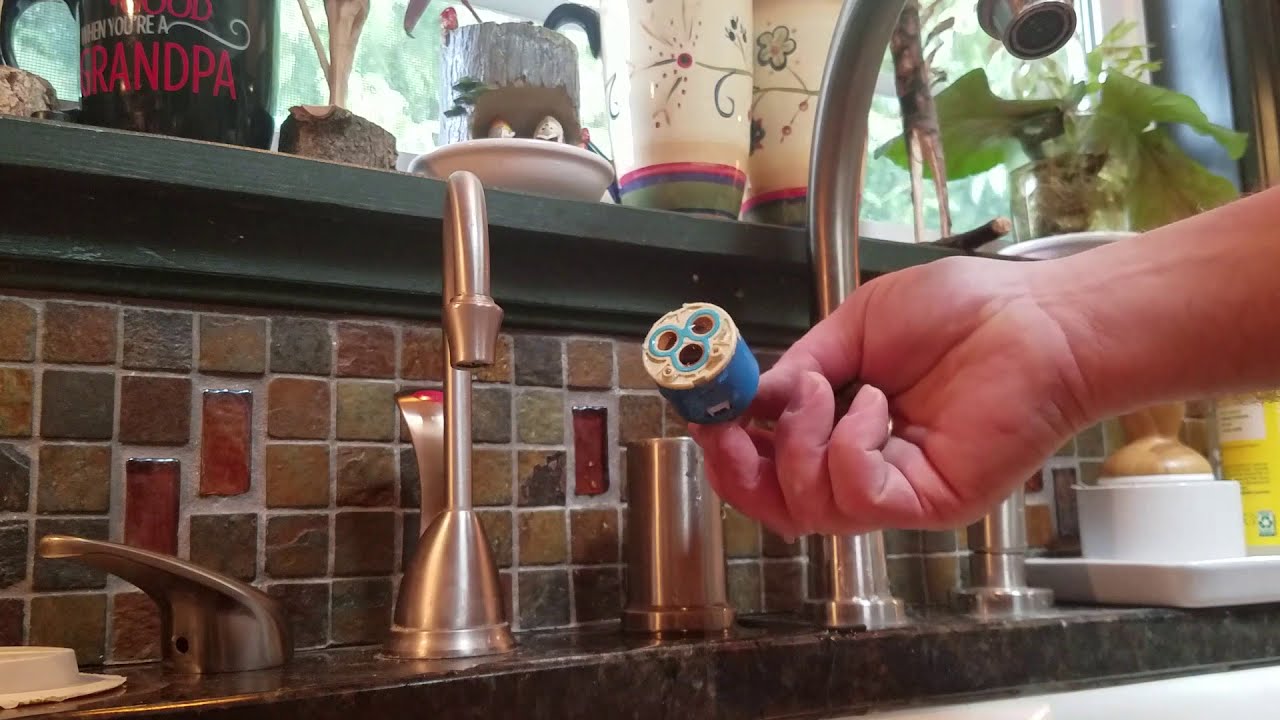


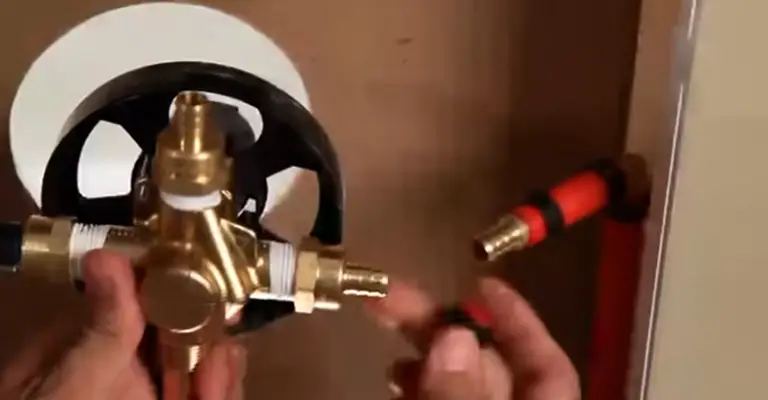
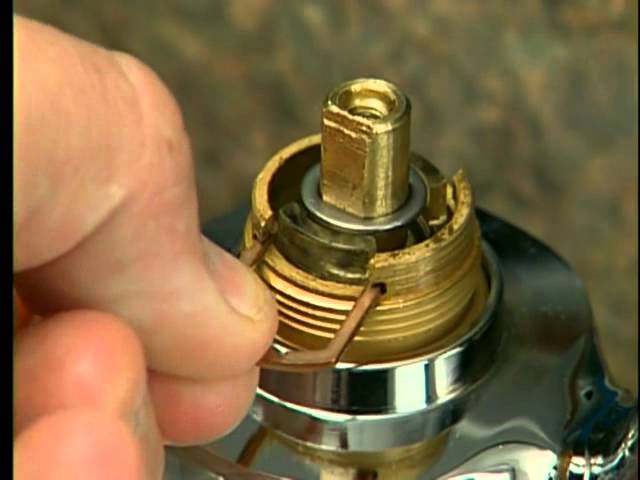
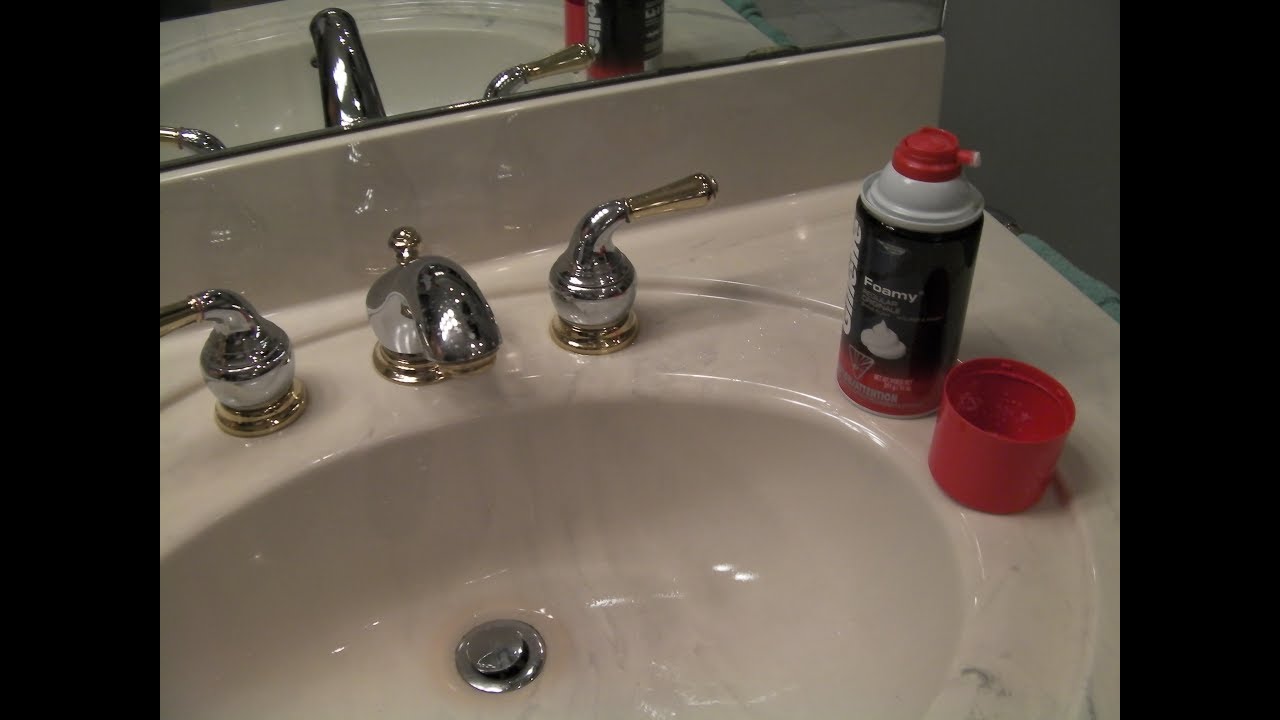
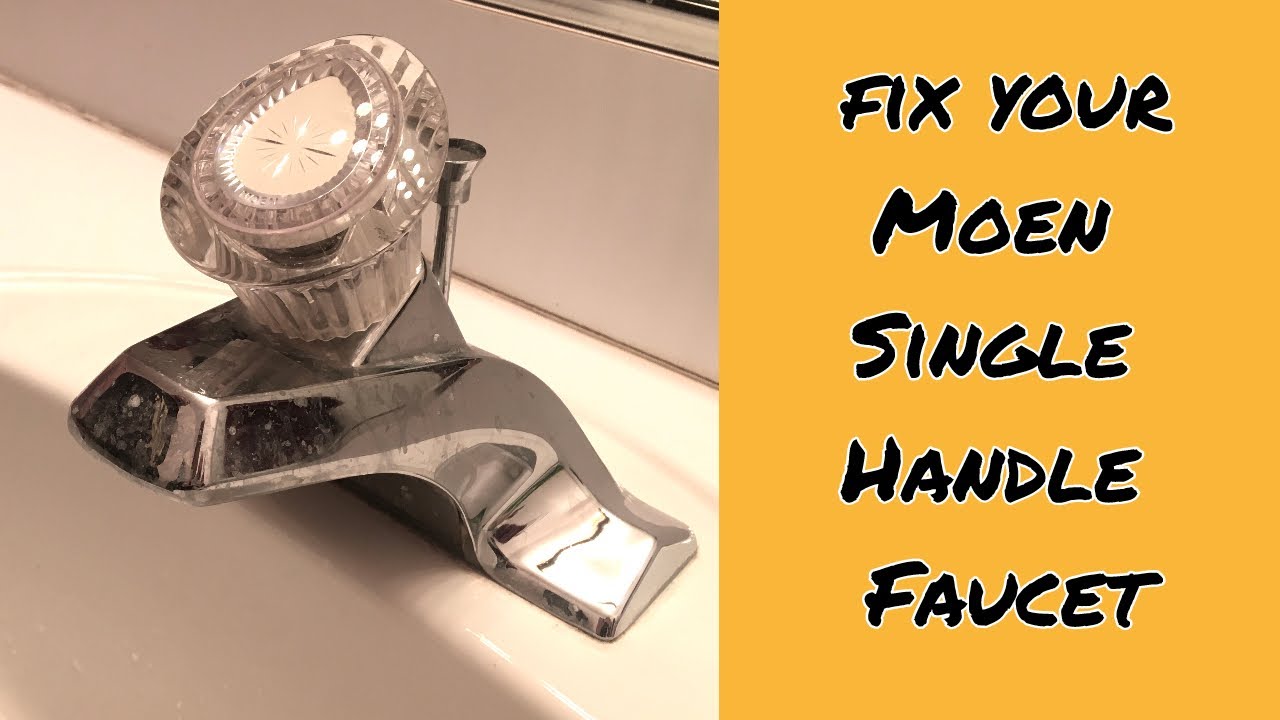
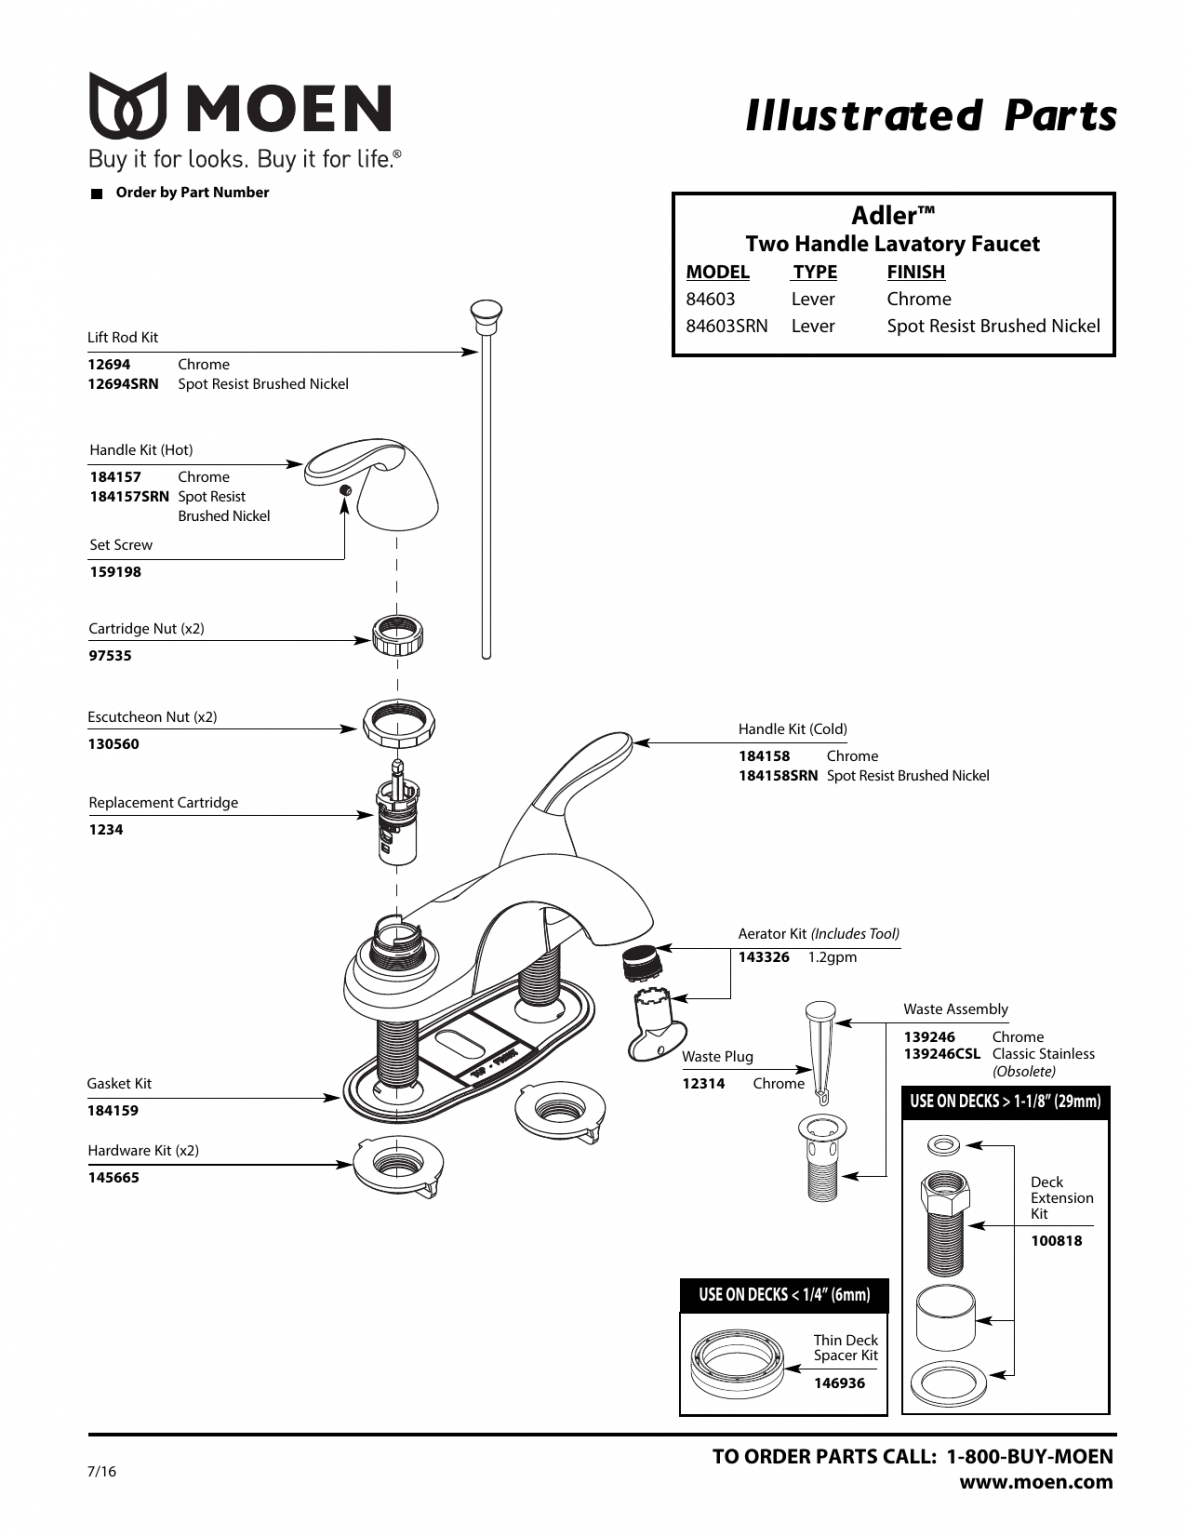
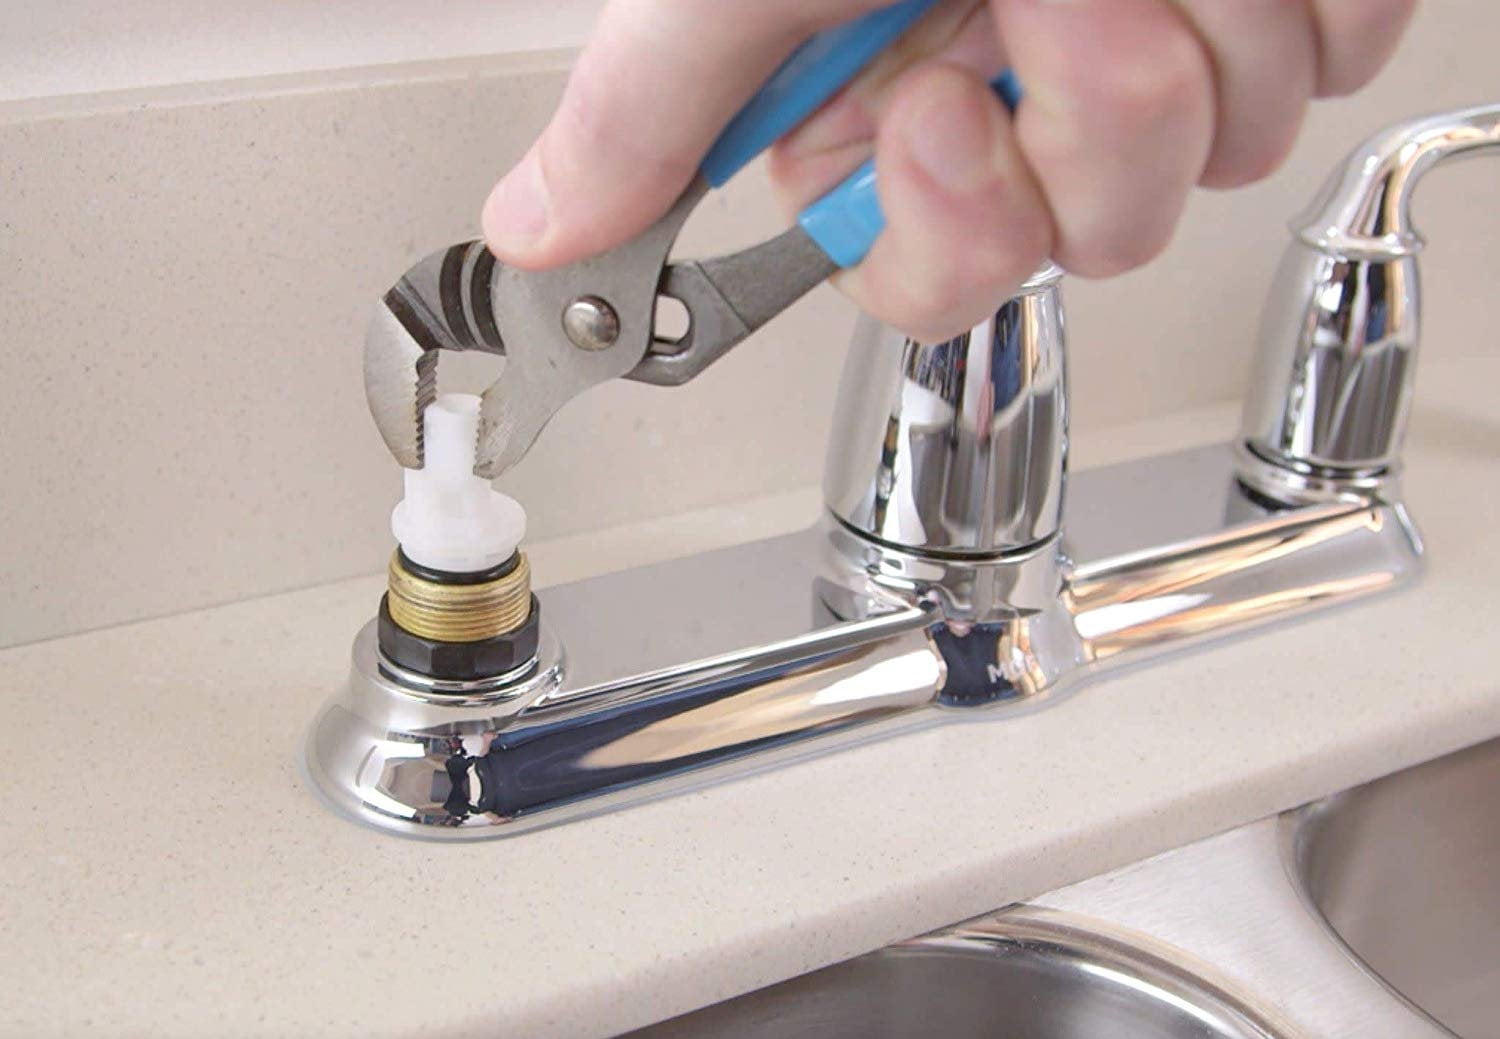
The first step in replacing a Moen bathroom sink ring is to gather all the necessary tools and materials. You will need a screwdriver, pliers, a new sink ring, and plumber's putty. Once you have everything ready, follow these steps: Step 1: Turn off the water supply. Look for the shut-off valves under your sink and turn them off. This will prevent any water from spilling out when you remove the sink. Step 2: Loosen the sink ring. Use a screwdriver or pliers to loosen and remove the screws that hold the sink ring in place. Once the screws are removed, gently pull the ring out of the sink. Step 3: Clean the area. Use a damp cloth to clean any debris or residue from the old sink ring. Make sure the area is clean and dry before proceeding. Step 4: Apply plumber's putty. Take a small amount of plumber's putty and roll it into a thin rope. Place the putty around the bottom edge of the new sink ring. Step 5: Place the new sink ring. Carefully place the new sink ring into the sink, making sure it sits flush and evenly. Press down gently to secure it in place. Step 6: Tighten the screws. Use a screwdriver or pliers to tighten the screws into place. Make sure the sink ring is firmly secured to the sink. Step 7: Turn the water supply back on. Once the sink ring is in place, turn the water supply back on and check for any leaks. If everything looks good, you're all done!Replacing a Moen Bathroom Sink Ring: Step-by-Step Guide


Replacing a Moen Bathroom Sink Ring: Step-by-Step Guide


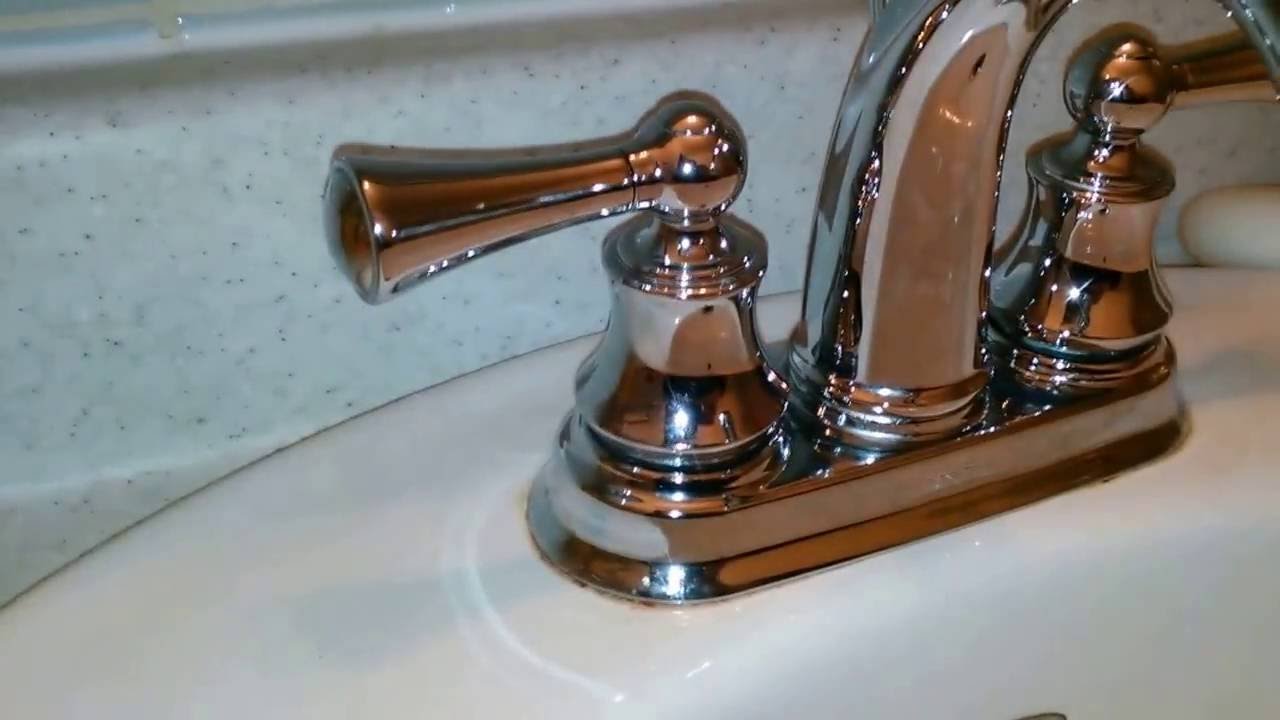
Now that you know the steps involved in replacing a Moen bathroom sink ring, you may be wondering if this is a DIY job or if you should hire a professional plumber. While it ultimately depends on your comfort level and experience with home repairs, replacing a sink ring is a fairly simple task that can be done by most homeowners. Plus, doing it yourself can save you money and give you a sense of accomplishment.DIY: Replacing a Moen Bathroom Sink Ring


DIY: Replacing a Moen Bathroom Sink Ring


Here are a few tips and tricks to keep in mind when replacing a Moen bathroom sink ring: Tip 1: Use the right tools. Make sure you have the correct tools on hand, such as a screwdriver and pliers, to make the job easier and more efficient. Tip 2: Don't overtighten the screws. Tighten the screws just enough to secure the sink ring in place. Over-tightening can cause damage and may lead to leaks. Tip 3: Check for leaks. After turning the water supply back on, check for any leaks around the sink ring. If you notice any, tighten the screws a bit more or add more plumber's putty to create a better seal.Replacing a Moen Bathroom Sink Ring: Tips and Tricks


Replacing a Moen Bathroom Sink Ring: Tips and Tricks

To summarize, here is a step-by-step guide you can follow when replacing a Moen bathroom sink ring: Step 1: Turn off the water supply. Step 2: Loosen and remove the old sink ring. Step 3: Clean the area. Step 4: Apply plumber's putty to the new sink ring. Step 5: Place the new sink ring into the sink. Step 6: Tighten the screws into place. Step 7: Turn the water supply back on and check for leaks.Step-by-Step Guide for Replacing a Moen Bathroom Sink Ring


Step-by-Step Guide for Replacing a Moen Bathroom Sink Ring


While replacing a Moen bathroom sink ring is a relatively simple task, there are a few common mistakes you should avoid to ensure a successful replacement: Mistake 1: Not turning off the water supply. This can result in water spilling out and making a mess when you remove the old sink ring. Mistake 2: Using too much plumber's putty. This can cause an uneven seal and lead to leaks. Mistake 3: Not checking for leaks. It's important to check for leaks after the new sink ring is in place to ensure a proper seal.Replacing a Moen Bathroom Sink Ring: Common Mistakes to Avoid
Replacing a Moen Bathroom Sink Ring: Common Mistakes to Avoid
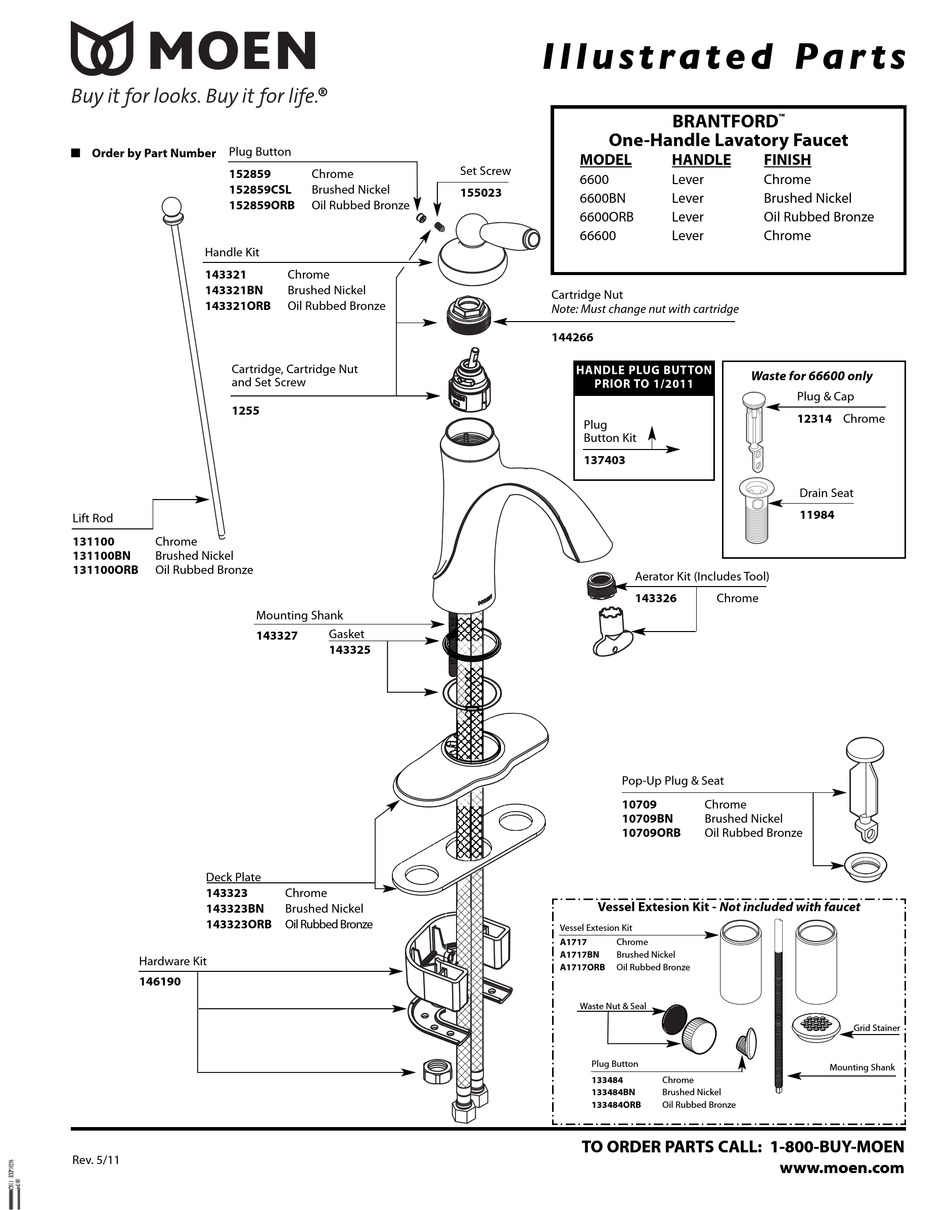
To recap, here are the tools and materials you will need to replace a Moen bathroom sink ring: Tools: Screwdriver, pliers Materials: New sink ring, plumber's puttyReplacing a Moen Bathroom Sink Ring: Tools and Materials Needed

Replacing a Moen Bathroom Sink Ring: Tools and Materials Needed


With the right tools, knowledge, and a step-by-step guide, replacing a Moen bathroom sink ring can be an easy and hassle-free task. By following these instructions and tips, you can confidently complete this DIY project and keep your sink in top condition.How to Easily Replace a Moen Bathroom Sink Ring


How to Easily Replace a Moen Bathroom Sink Ring

If you encounter any issues during the replacement process, such as leaks or difficulty removing the old sink ring, don't hesitate to consult a professional plumber. They can offer guidance and help you troubleshoot any problems.Replacing a Moen Bathroom Sink Ring: Troubleshooting Common Issues


Replacing a Moen Bathroom Sink Ring: Troubleshooting Common Issues

As mentioned earlier, whether you hire a professional or do it yourself ultimately depends on your comfort level and experience with home repairs. If you feel confident in your abilities, replacing a Moen bathroom sink ring can be a simple and cost-effective DIY project. However, if you're unsure or encounter any issues, it's best to seek the help of a professional plumber. Now that you know the steps, tips, and tools needed to replace a Moen bathroom sink ring, you can confidently tackle this project and keep your sink in top condition. Remember to turn off the water supply, use the right tools, and check for leaks to ensure a successful replacement. Happy DIY-ing! Replacing a Moen Bathroom Sink Ring: Professional vs. DIY

Replacing a Moen Bathroom Sink Ring: Professional vs. DIY
Why Replacing a Moen Bathroom Sink Ring is Important for Your House Design
Enhance the Aesthetic of Your Bathroom
 Replacing a
Moen bathroom sink ring
may seem like a small and insignificant task, but it can actually make a big impact on the overall design of your bathroom. The sink is often one of the main focal points in a bathroom and having a worn or outdated ring can take away from the aesthetic appeal of the space. By replacing it, you can instantly elevate the look of your bathroom and create a more cohesive and modern design.
Replacing a
Moen bathroom sink ring
may seem like a small and insignificant task, but it can actually make a big impact on the overall design of your bathroom. The sink is often one of the main focal points in a bathroom and having a worn or outdated ring can take away from the aesthetic appeal of the space. By replacing it, you can instantly elevate the look of your bathroom and create a more cohesive and modern design.
Prevent Water Damage and Leaks
 One of the main functions of a sink ring is to provide a seal between the sink and the countertop. Over time, this seal can wear down and cause water to seep through, leading to potential water damage and leaks. Not only can this be costly to fix, but it can also cause damage to other areas of your bathroom. By regularly replacing the
Moen bathroom sink ring
, you can prevent these issues and ensure that your bathroom stays in top condition.
One of the main functions of a sink ring is to provide a seal between the sink and the countertop. Over time, this seal can wear down and cause water to seep through, leading to potential water damage and leaks. Not only can this be costly to fix, but it can also cause damage to other areas of your bathroom. By regularly replacing the
Moen bathroom sink ring
, you can prevent these issues and ensure that your bathroom stays in top condition.
Improve Functionality
 In addition to enhancing the appearance of your bathroom, replacing the sink ring can also improve the functionality of your sink. A worn or damaged ring can cause the sink to become unstable, making it difficult to use and potentially causing accidents. By replacing it, you can ensure that your sink is secure and functioning properly, making your daily routine in the bathroom more efficient and hassle-free.
Easy and Affordable Update
 Replacing a
Moen bathroom sink ring
is a simple and affordable update that can have a big impact on your house design. Unlike other home renovations, you don't need to hire a professional or invest a large amount of money to see results. With just a few tools and a new ring, you can easily give your bathroom a fresh and updated look.
In conclusion, replacing a
Moen bathroom sink ring
is an important aspect of maintaining and improving the design of your house. Not only does it enhance the aesthetic appeal of your bathroom, but it also prevents potential water damage, improves functionality, and is an easy and affordable update. Don't overlook this small yet significant detail in your bathroom and enjoy the benefits of a well-designed and functional space.
Replacing a
Moen bathroom sink ring
is a simple and affordable update that can have a big impact on your house design. Unlike other home renovations, you don't need to hire a professional or invest a large amount of money to see results. With just a few tools and a new ring, you can easily give your bathroom a fresh and updated look.
In conclusion, replacing a
Moen bathroom sink ring
is an important aspect of maintaining and improving the design of your house. Not only does it enhance the aesthetic appeal of your bathroom, but it also prevents potential water damage, improves functionality, and is an easy and affordable update. Don't overlook this small yet significant detail in your bathroom and enjoy the benefits of a well-designed and functional space.