Replacing the caulking around a kitchen sink may seem like a daunting task, but with the right tools and knowledge, it can be a simple and rewarding DIY project. Not only does replacing caulking improve the appearance of your sink, but it also helps to prevent water damage and mold growth. In this guide, we will walk you through the steps to replace caulking around a kitchen sink and provide helpful tips for a successful project.How to Replace Caulking Around a Kitchen Sink


How to Replace Caulking Around a Kitchen Sink


The first step in replacing caulking around a kitchen sink is to remove the old caulking. This can be done using a razor blade or a caulk removal tool. Carefully scrape away the old caulking, making sure not to damage the sink or surrounding area. Once the old caulking is removed, clean the area with a mild cleaner and let it dry completely.How to Remove and Replace Caulking Around a Kitchen Sink


How to Remove and Replace Caulking Around a Kitchen Sink


Replacing caulking around a kitchen sink is a DIY project that can save you time and money. Before starting the project, make sure you have all the necessary tools and materials. This includes a caulk gun, caulk removal tool, razor blade, mild cleaner, and new caulk. It is also helpful to have a damp cloth or sponge on hand for any mistakes.DIY: How to Replace Caulking Around a Kitchen Sink


DIY: How to Replace Caulking Around a Kitchen Sink


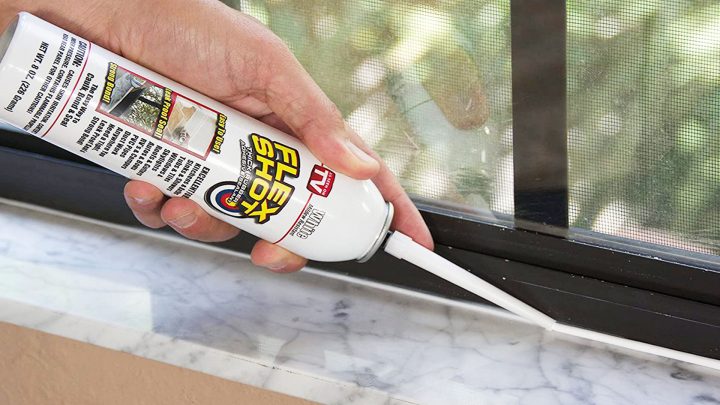
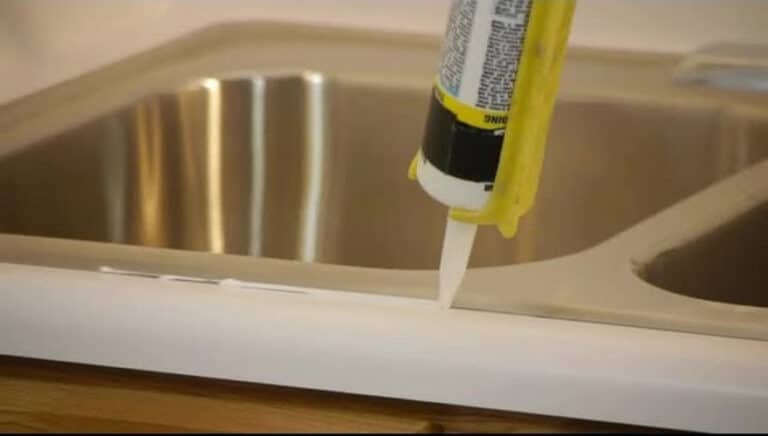
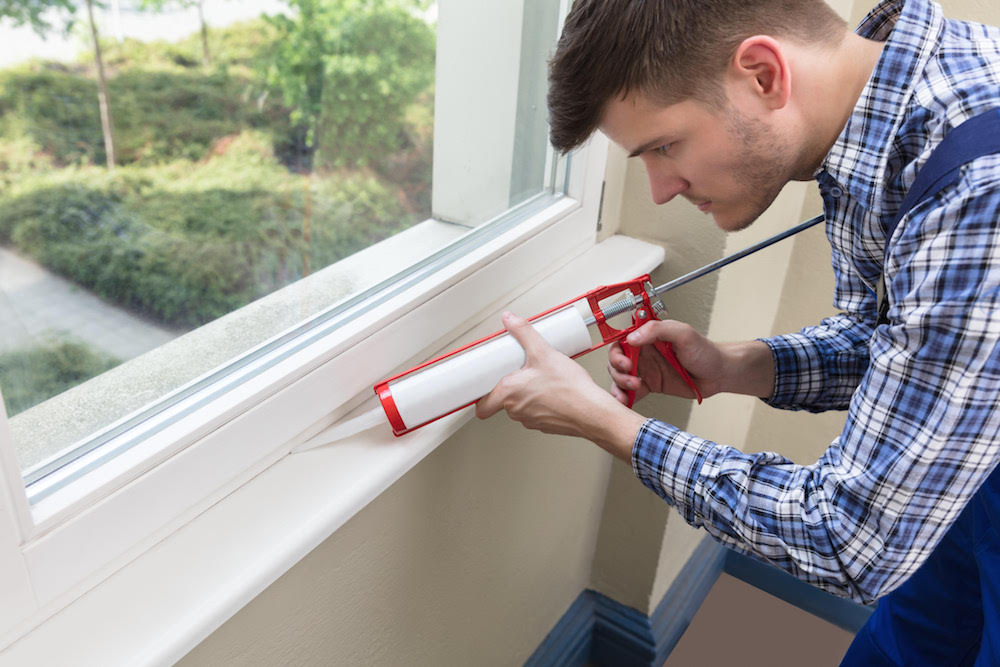
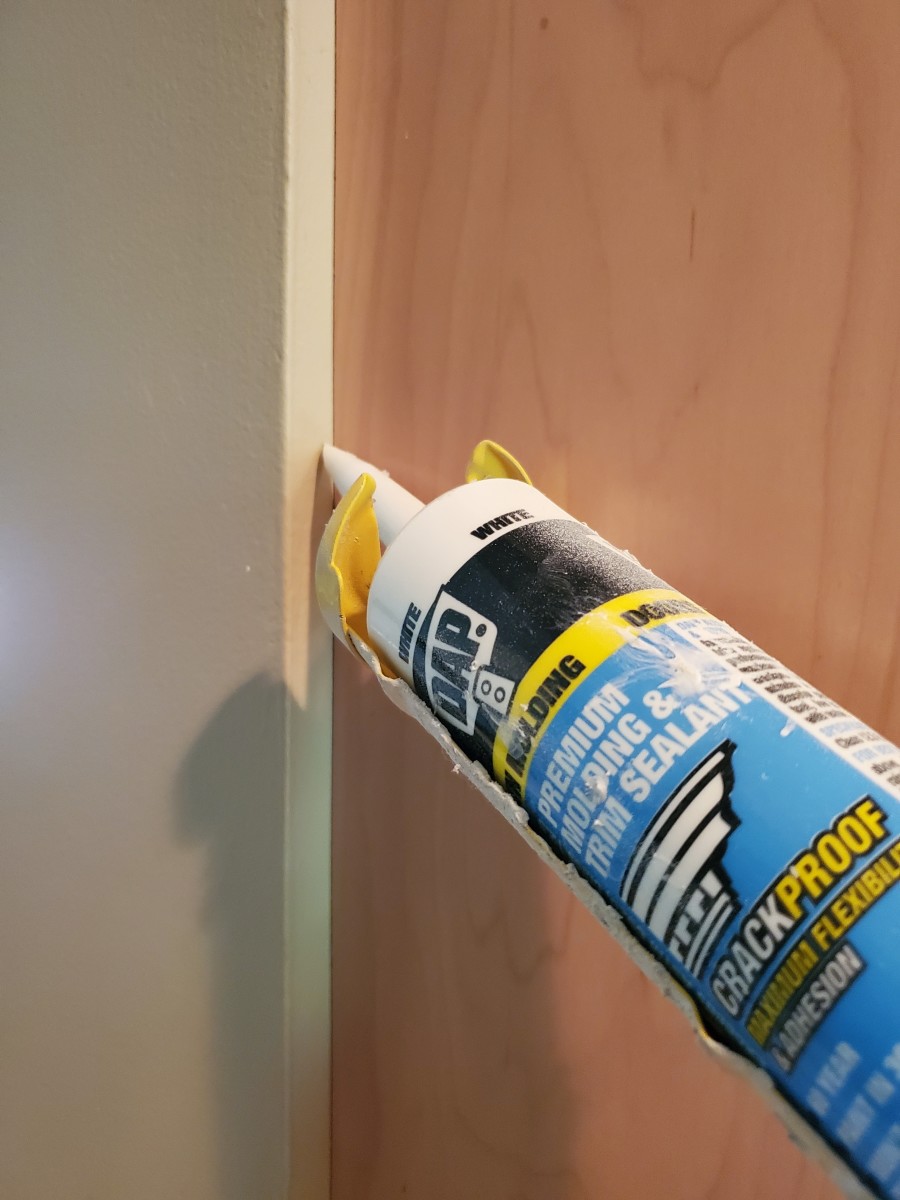
Step 1: Prepare the area - Before starting the project, make sure the area is clean and dry. Remove any old caulking and clean the area with a mild cleaner. Step 2: Load the caulk gun - Load the caulk gun with the new caulk by cutting the tip of the caulk tube at a 45-degree angle. Step 3: Apply the new caulk - Hold the caulk gun at a 45-degree angle and apply a steady bead of caulk along the edge of the sink. Use your finger or a caulk smoothing tool to smooth out the caulk and create a neat line. Step 4: Clean up - Use a damp cloth or sponge to clean up any excess caulk and smooth out any imperfections. Step 5: Let it dry - Allow the caulk to dry completely before using the sink or getting it wet.Step-by-Step Guide for Replacing Caulking Around a Kitchen Sink


Step-by-Step Guide for Replacing Caulking Around a Kitchen Sink


Replacing caulking around a kitchen sink may seem like a simple task, but there are a few best practices to keep in mind for a successful project. These include: - Use a high-quality caulk for better durability and longer-lasting results. - Use a caulk gun for more precise application and less waste. - Make sure the area is clean and dry before applying new caulk. - Smooth out the caulk with a caulk smoothing tool or your finger for a neat finish. - Let the caulk dry completely before using the sink or getting it wet.Best Practices for Replacing Caulking Around a Kitchen Sink


Best Practices for Replacing Caulking Around a Kitchen Sink


To replace caulking around a kitchen sink, you will need the following tools and materials: - Caulk gun - Caulk removal tool - Razor blade - Mild cleaner - New caulk - Damp cloth or spongeTools and Materials Needed for Replacing Caulking Around a Kitchen Sink
Tools and Materials Needed for Replacing Caulking Around a Kitchen Sink

Replacing caulking around a kitchen sink can be a simple and successful DIY project with these helpful tips: - Take your time and be patient. Rushing the project can lead to mistakes and an uneven finish. - Use a caulk smoothing tool or your finger to create a neat and smooth finish. - If you make a mistake, use a damp cloth or sponge to wipe away the excess caulk and try again. - Let the caulk dry completely before using the sink or getting it wet.Tips for a Successful Caulking Replacement Around a Kitchen Sink


Tips for a Successful Caulking Replacement Around a Kitchen Sink

/182836729-56a49f253df78cf772834e2d.jpg)
Replacing caulking around a kitchen sink may seem like a simple task, but there are a few common mistakes that can lead to a less than perfect finish. These include: - Not removing all of the old caulking before applying new caulk. - Using the wrong type of caulk for the project. - Not smoothing out the caulk for a neat finish. - Rushing the project and making mistakes.Common Mistakes to Avoid When Replacing Caulking Around a Kitchen Sink


Common Mistakes to Avoid When Replacing Caulking Around a Kitchen Sink


The frequency of caulking replacement around a kitchen sink depends on the quality of the caulk, the amount of use the sink gets, and the type of sink. Generally, it is recommended to replace caulking every 3-5 years to prevent water damage and mold growth.How Often Should You Replace Caulking Around a Kitchen Sink?


How Often Should You Replace Caulking Around a Kitchen Sink?

While replacing caulking around a kitchen sink is a relatively simple DIY project, some homeowners may prefer to hire a professional. Hiring a professional can save time and ensure a perfect finish, but it comes at a higher cost. Ultimately, the decision between DIY and hiring a professional will depend on your budget, time, and comfort level with DIY projects.Professional vs. DIY: Replacing Caulking Around a Kitchen Sink

Professional vs. DIY: Replacing Caulking Around a Kitchen Sink

Replacing Caulking Around Kitchen Sink: A Simple Guide to Refreshing Your Kitchen Design

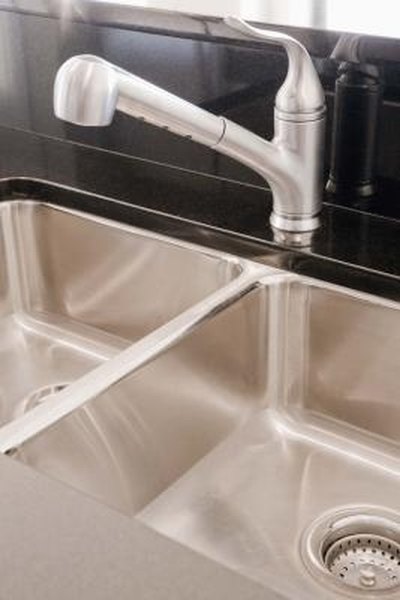
The kitchen is often referred to as the heart of the home, and for good reason. It's the place where we gather to cook, eat, and spend time with loved ones. As such, it's important that this space is not only functional, but also visually appealing. One way to achieve a fresh and polished look in your kitchen is by replacing caulking around your kitchen sink . This simple and affordable task can make a big impact on the overall design of your kitchen. Read on to learn more about how to replace caulking around your kitchen sink and give your kitchen a much-needed refresh.
Why Replace Caulking Around Your Kitchen Sink?

Over time, the caulking around your kitchen sink can become worn out and discolored. This can not only be unsightly, but it can also lead to water damage and mold growth if left unaddressed. By replacing the caulking , you can prevent potential damage and improve the overall aesthetic of your kitchen.
Materials Needed

Before you begin, make sure you have the necessary materials on hand. You will need a caulking gun, caulk remover, a putty knife, and a tube of caulk in the color of your choice. It's also helpful to have a damp cloth or sponge for cleaning up any excess caulk.
Step-by-Step Guide

Step 1: Remove the old caulking using a caulk remover and putty knife. Be sure to thoroughly clean the area to ensure a smooth surface for the new caulk to adhere to.
Step 2: Cut the tip of the caulk tube at a 45-degree angle and load it into the caulking gun.
Step 3: Apply the caulk in a steady, even line along the joint where the sink meets the countertop. Use the tip of your finger to smooth out the caulk and create a clean, finished look.
Step 4: Wipe away any excess caulk with a damp cloth or sponge.
Step 5: Allow the caulk to dry for 24 hours before using your sink.
Other Design Tips for Your Kitchen

While replacing caulking around your kitchen sink can make a big impact on your kitchen design, there are other simple and affordable updates you can make to give your space a fresh look. Consider updating your cabinet hardware, adding a new backsplash, or painting your cabinets for a quick and budget-friendly kitchen makeover.
In conclusion, replacing caulking around your kitchen sink is a simple and cost-effective way to improve the design and functionality of your kitchen. With the right materials and a little bit of time, you can give your kitchen a much-needed refresh and create a space that is both beautiful and functional.