If you've been struggling with a faulty or broken kitchen sink sprayer head, you're not alone. Over time, these essential kitchen fixtures can wear out and stop functioning properly. Luckily, replacing a kitchen sink sprayer head is a simple DIY project that can save you time and money. In this guide, we'll walk you through the easy steps to replace your kitchen sink sprayer head and get your sink back in top shape.How to Replace a Kitchen Sink Sprayer Head


How to Replace a Kitchen Sink Sprayer Head

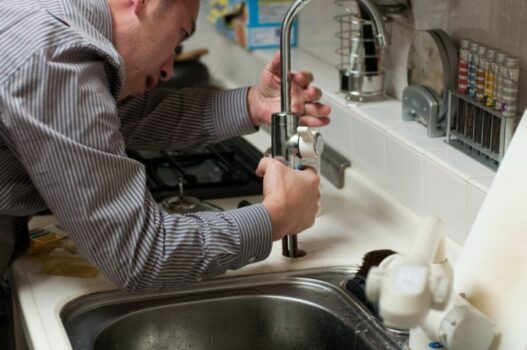
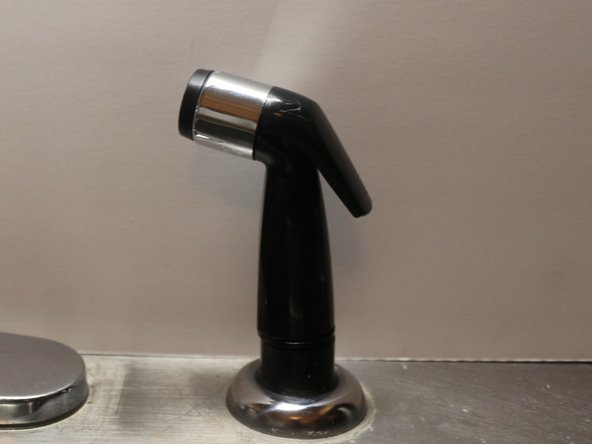
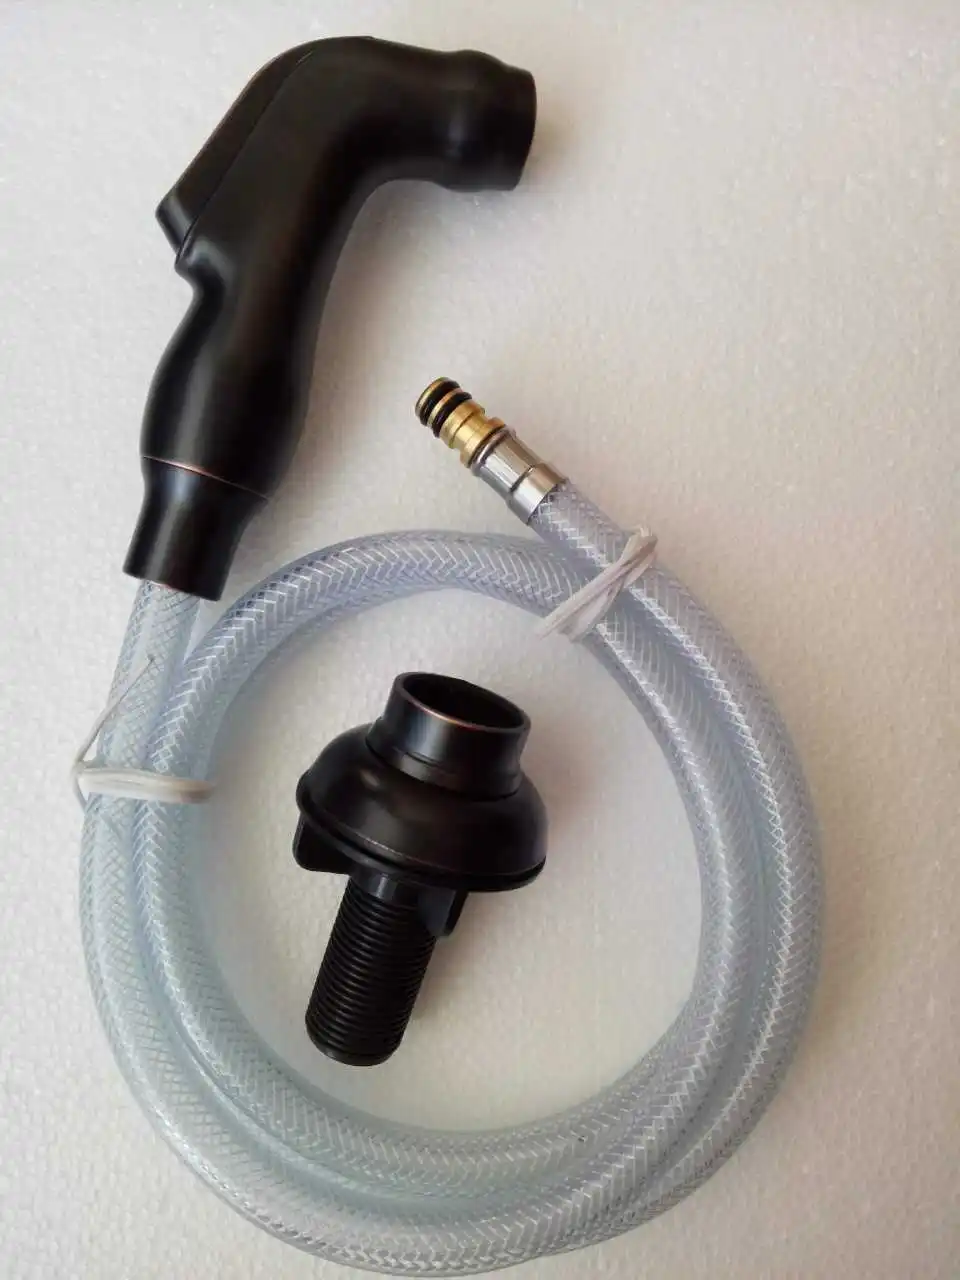
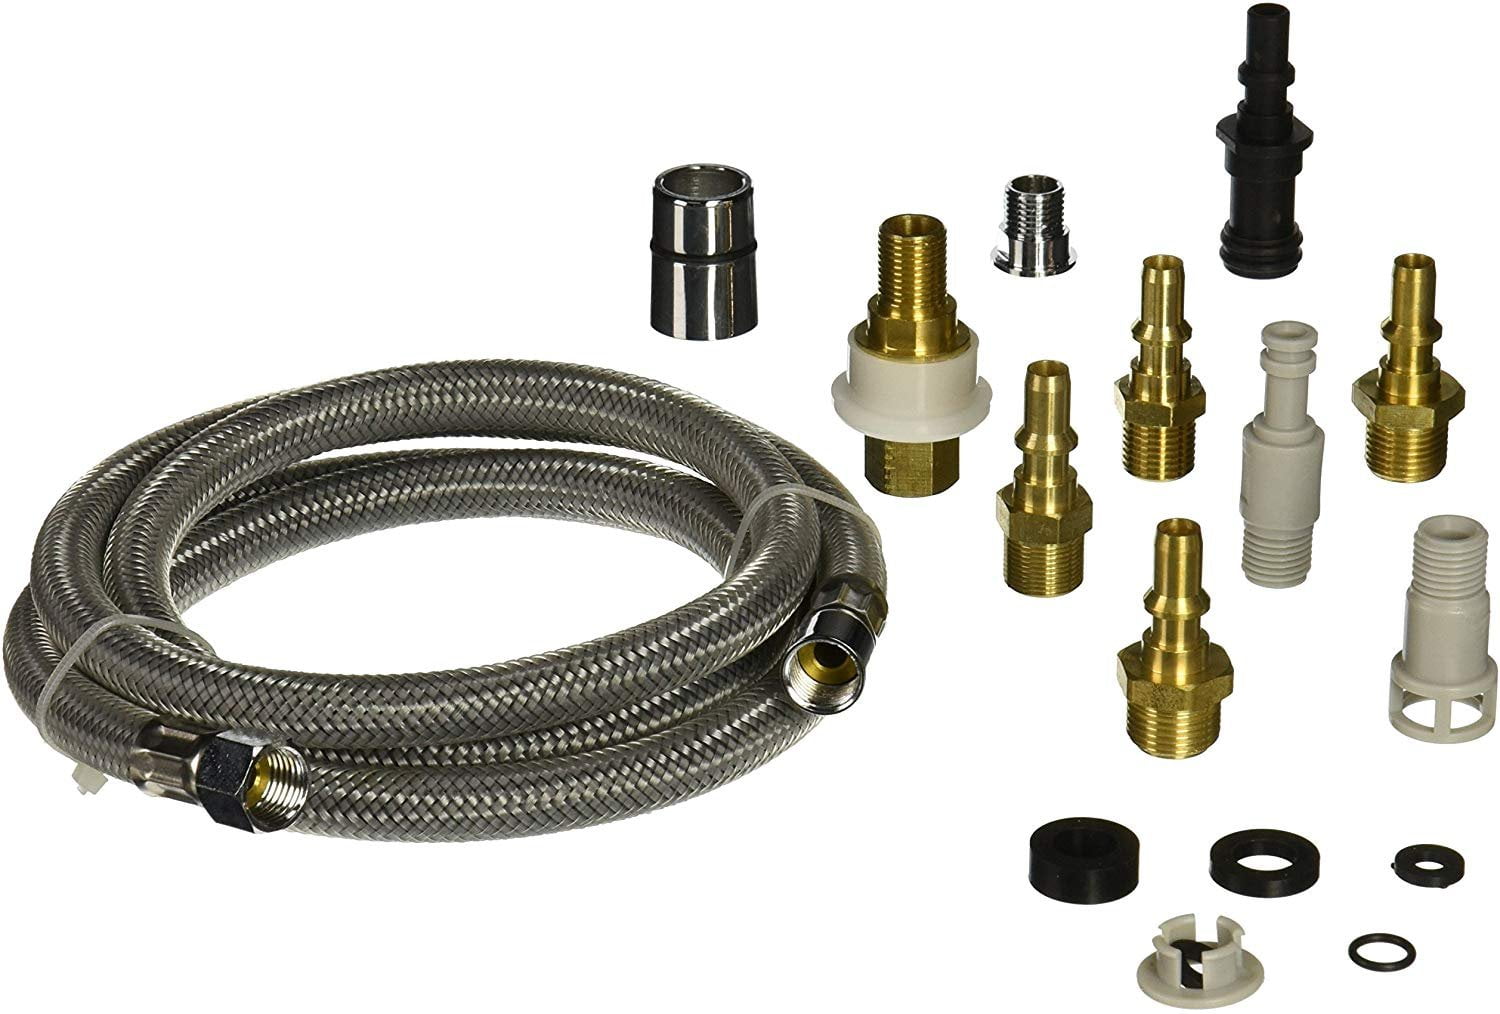
Replacing a kitchen sink sprayer head may seem daunting, but with the right tools and a little know-how, you can get the job done in just a few simple steps. Here's what you'll need: Materials: Replacement sink sprayer head, adjustable wrench, plumber's tape, cleaning solution Step 1: Turn off the Water Supply Before you start disassembling your sink sprayer head, be sure to turn off the water supply. You can usually find the shut-off valve under the sink. Once the water is off, turn on the faucet to release any remaining pressure. Step 2: Remove the Old Sprayer Head Using an adjustable wrench, loosen the nut that connects the sprayer head to the hose. Once the nut is loose, you should be able to unscrew the old sprayer head and remove it from the hose. Step 3: Clean the Hose and Fittings Take this opportunity to clean the hose and fittings with a gentle cleaning solution. This will help remove any buildup or debris that may be affecting the sprayer's performance. Step 4: Attach the New Sprayer Head Using plumber's tape, wrap the threads of the hose connector to create a tight seal. Then, screw on the new sprayer head and tighten the nut with your adjustable wrench. Step 5: Test the New Sprayer Head Once everything is securely attached, turn the water supply back on and test the new sprayer head. If it's functioning properly, you're all set!How to Replace a Kitchen Sink Sprayer Head in 5 Easy Steps


How to Replace a Kitchen Sink Sprayer Head in 5 Easy Steps


/installing-a-kitchen-sink-sprayer-2718817-hero-2b7047468d594da6be2494ba0eebb480.jpg)

Replacing a kitchen sink sprayer head is a simple DIY project that can save you time and money. Instead of hiring a plumber, you can easily tackle this task on your own. Plus, with the right tools and know-how, you can get it done in no time.DIY: Replacing a Kitchen Sink Sprayer Head


DIY: Replacing a Kitchen Sink Sprayer Head


Follow these simple steps to replace your kitchen sink sprayer head: Step 1: Turn off the water supply Step 2: Remove the old sprayer head Step 3: Clean the hose and fittings Step 4: Attach the new sprayer head Step 5: Test the new sprayer headStep-by-Step Guide to Replacing a Kitchen Sink Sprayer Head


Step-by-Step Guide to Replacing a Kitchen Sink Sprayer Head


When it comes to replacing a kitchen sink sprayer head, there are a few things you should keep in mind: Choose the right replacement: Make sure to choose a replacement sprayer head that is compatible with your current sink and hose. Be gentle: Avoid using excessive force when removing the old sprayer head to avoid damaging the hose or fittings. Keep the area clean: Be sure to clean the hose and fittings before attaching the new sprayer head. This will ensure a tight seal and proper functioning.Replacing a Kitchen Sink Sprayer Head: What You Need to Know

Replacing a Kitchen Sink Sprayer Head: What You Need to Know


If you're dealing with a faulty or broken kitchen sink sprayer head, don't panic. Replacing it is a quick and easy fix that can save you time and money in the long run. With just a few simple steps, you can have your sink sprayer back in top shape in no time.Quick and Easy Fix: Replacing a Kitchen Sink Sprayer Head


Quick and Easy Fix: Replacing a Kitchen Sink Sprayer Head


There are a few common problems that can arise with a kitchen sink sprayer head. Here are some solutions to these issues: Low water pressure: If your new sprayer head is experiencing low water pressure, check the hose and fittings for any blockages or debris. Cleaning them may solve the issue. Leaking: If your new sprayer head is leaking, double check that the connections are tight and that the plumber's tape was applied correctly. Inconsistent spray pattern: If the spray pattern is inconsistent, try adjusting the water pressure or cleaning the sprayer head with a gentle cleaning solution.Replacing a Kitchen Sink Sprayer Head: Common Problems and Solutions


Replacing a Kitchen Sink Sprayer Head: Common Problems and Solutions

Replacing your kitchen sink sprayer head is a simple and cost-effective way to upgrade your sink. By following these easy steps, you can have a brand new sprayer head that functions perfectly and adds a fresh look to your kitchen.Upgrade Your Kitchen Sink: How to Replace the Sprayer Head


Upgrade Your Kitchen Sink: How to Replace the Sprayer Head


Here are some additional tips and tricks to keep in mind when replacing your kitchen sink sprayer head: Consider a dual-function sprayer head: If you're looking for added convenience, consider replacing your old sprayer head with a dual-function one that offers both a stream and spray option. Replace the hose: If your hose is also worn out, it may be a good idea to replace it along with the sprayer head. This will ensure optimal performance and prevent any future issues. Regularly clean and maintain: To prevent future problems, make sure to regularly clean and maintain your kitchen sink sprayer head. This will help prolong its lifespan and keep it functioning properly.Replacing a Kitchen Sink Sprayer Head: Tips and Tricks

Replacing a Kitchen Sink Sprayer Head: Tips and Tricks


By choosing to replace your kitchen sink sprayer head yourself, you can save both time and money. Plus, with these easy steps and tips, you can get the job done efficiently and effectively. So next time you're faced with a faulty sprayer head, don't hesitate to take on the task yourself!Save Money and Time: DIY Kitchen Sink Sprayer Head Replacement

Save Money and Time: DIY Kitchen Sink Sprayer Head Replacement

Why You Should Consider Replacing Your Kitchen Sink Sprayer Head

Improve the Functionality and Aesthetics of Your Kitchen
 If you're looking to upgrade your kitchen and give it a fresh, new look, replacing your
kitchen sink sprayer head
is a simple yet effective way to do so. Not only will it enhance the overall functionality of your kitchen, but it can also add a touch of style to your sink area. Whether you're a seasoned cook or enjoy hosting dinner parties, a
new kitchen sink sprayer head
can make a world of difference in your daily routine.
If you're looking to upgrade your kitchen and give it a fresh, new look, replacing your
kitchen sink sprayer head
is a simple yet effective way to do so. Not only will it enhance the overall functionality of your kitchen, but it can also add a touch of style to your sink area. Whether you're a seasoned cook or enjoy hosting dinner parties, a
new kitchen sink sprayer head
can make a world of difference in your daily routine.
Efficient Cleaning and Maintenance
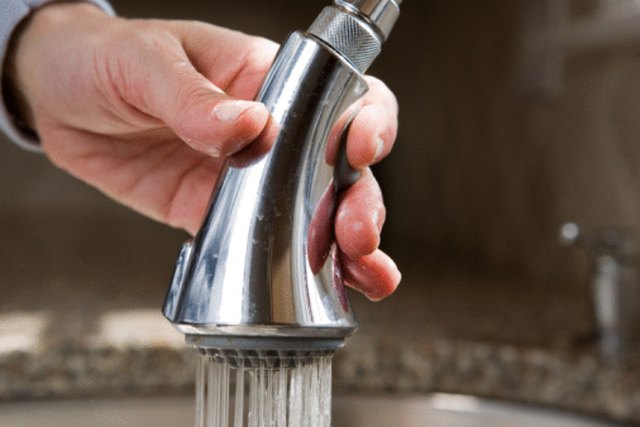
 Over time, the sprayer head on your kitchen sink can become clogged with mineral deposits, mold, and bacteria, making it less efficient in cleaning your dishes and sink. This can also create an unpleasant odor in your kitchen. By replacing the sprayer head, you can ensure that your dishes and sink are properly cleaned and sanitized. With a new
kitchen sink sprayer head
, you'll be able to easily switch between a steady stream and a powerful spray, making cleaning tasks a breeze.
Over time, the sprayer head on your kitchen sink can become clogged with mineral deposits, mold, and bacteria, making it less efficient in cleaning your dishes and sink. This can also create an unpleasant odor in your kitchen. By replacing the sprayer head, you can ensure that your dishes and sink are properly cleaned and sanitized. With a new
kitchen sink sprayer head
, you'll be able to easily switch between a steady stream and a powerful spray, making cleaning tasks a breeze.
Customize Your Kitchen
 With a wide range of
kitchen sink sprayer head
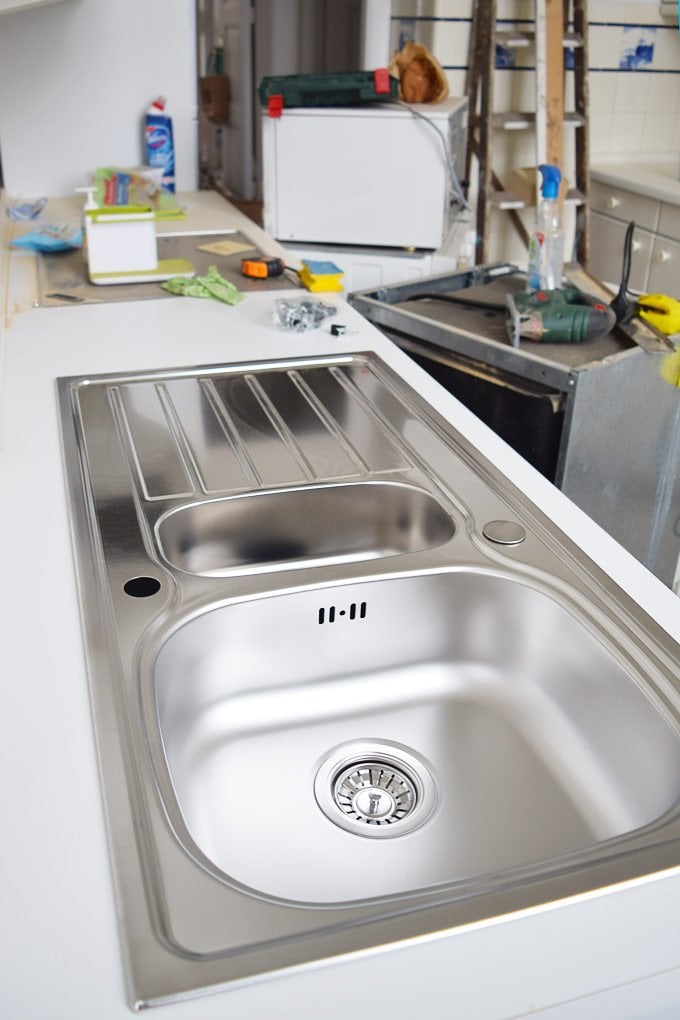
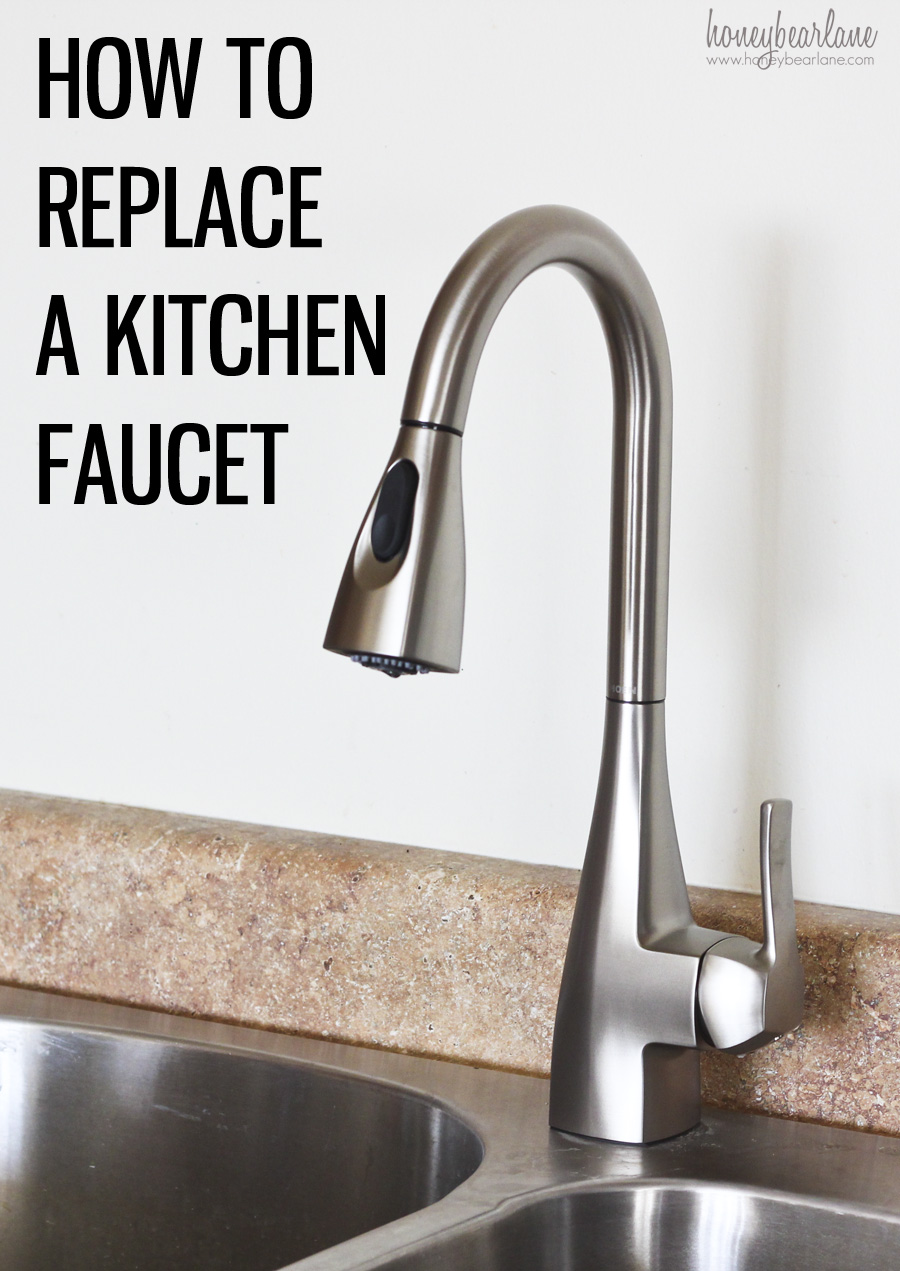
options available on the market, you can easily find one that fits your personal style and complements your kitchen design. Whether you prefer a modern, sleek look or a more traditional design, there is a sprayer head that will suit your taste. You can also choose from different finishes such as chrome, stainless steel, and brushed nickel to match your existing fixtures.
With a wide range of
kitchen sink sprayer head
options available on the market, you can easily find one that fits your personal style and complements your kitchen design. Whether you prefer a modern, sleek look or a more traditional design, there is a sprayer head that will suit your taste. You can also choose from different finishes such as chrome, stainless steel, and brushed nickel to match your existing fixtures.
Easy Installation
 Replacing a kitchen sink sprayer head is a relatively simple task that can be done by most homeowners. With just a few basic tools and some simple instructions, you can have your new sprayer head installed in no time. This means you can upgrade your kitchen without having to hire a professional or spend a lot of money on renovations.
In conclusion, replacing your
kitchen sink sprayer head
is a small change that can have a big impact on the functionality and aesthetics of your kitchen. With efficient cleaning, customization options, and easy installation, it's a worthwhile investment for any homeowner. So why wait? Upgrade your kitchen today and enjoy the benefits of a new and improved sprayer head.
Replacing a kitchen sink sprayer head is a relatively simple task that can be done by most homeowners. With just a few basic tools and some simple instructions, you can have your new sprayer head installed in no time. This means you can upgrade your kitchen without having to hire a professional or spend a lot of money on renovations.
In conclusion, replacing your
kitchen sink sprayer head
is a small change that can have a big impact on the functionality and aesthetics of your kitchen. With efficient cleaning, customization options, and easy installation, it's a worthwhile investment for any homeowner. So why wait? Upgrade your kitchen today and enjoy the benefits of a new and improved sprayer head.