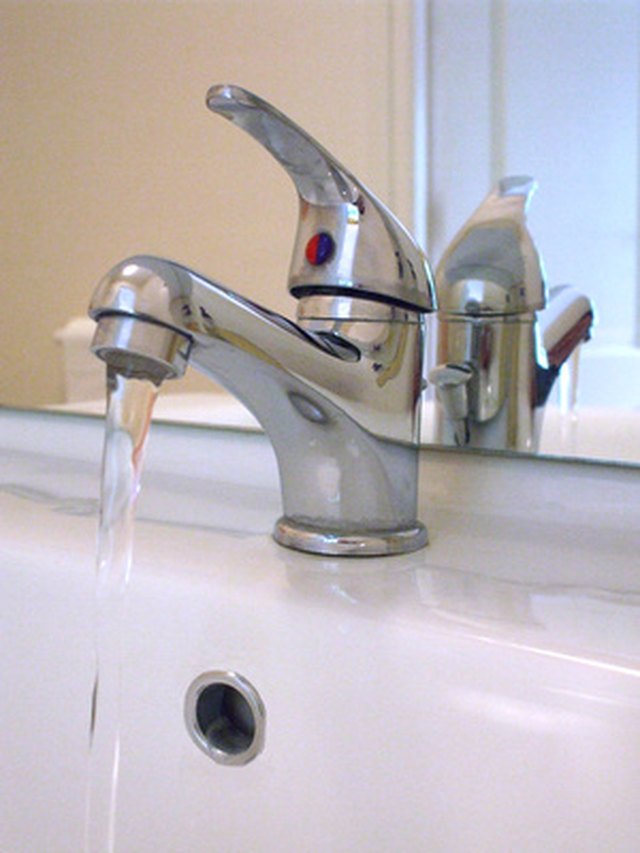
If you're looking to update your bathroom or just need to replace a faulty faucet, removing a Moen bathroom sink faucet handle is a relatively simple process. With the right tools and a little bit of patience, you can have your old faucet handle removed and replaced in no time. In this guide, we'll walk you through the step-by-step process of removing a Moen bathroom sink faucet handle.How to Remove a Moen Bathroom Sink Faucet Handle


How to Remove a Moen Bathroom Sink Faucet Handle

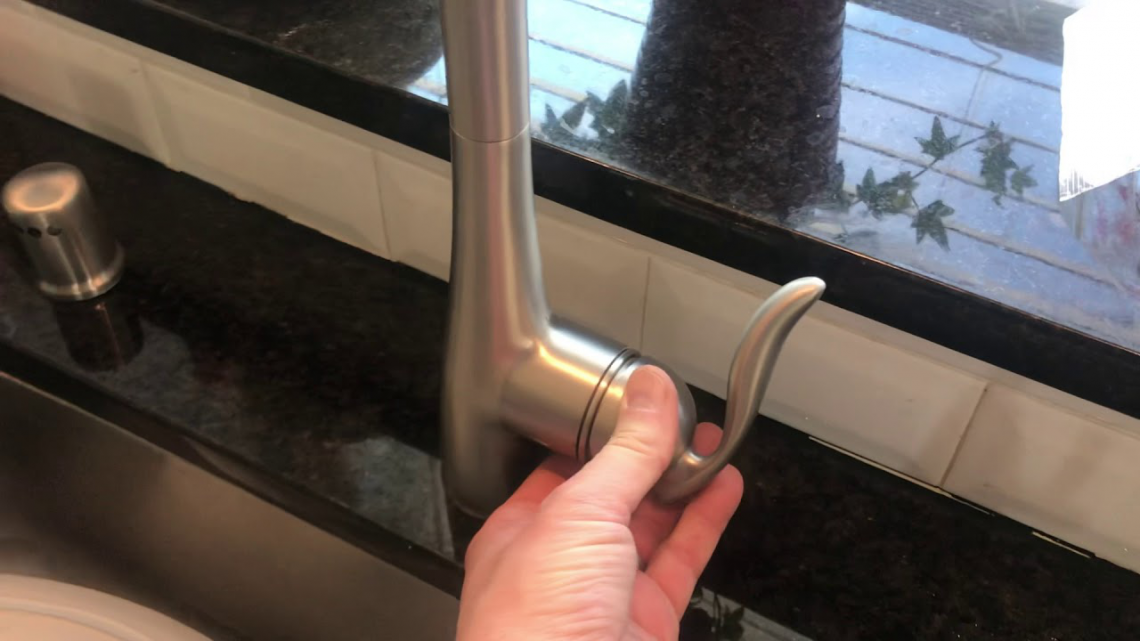
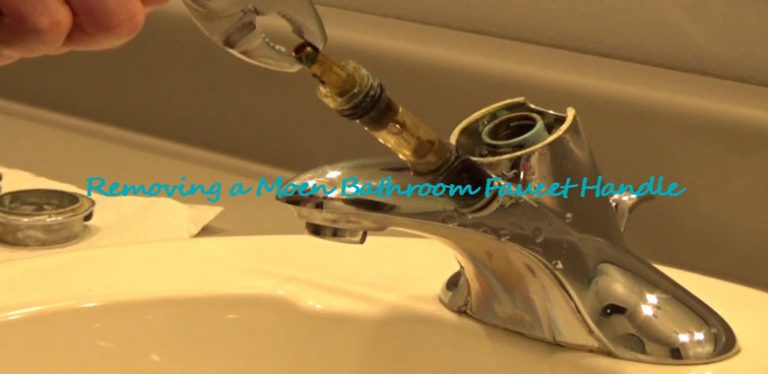
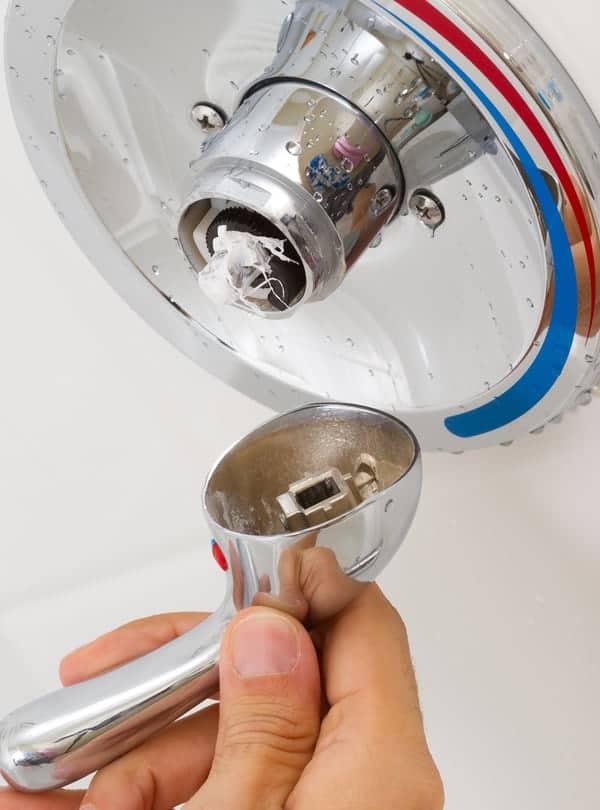
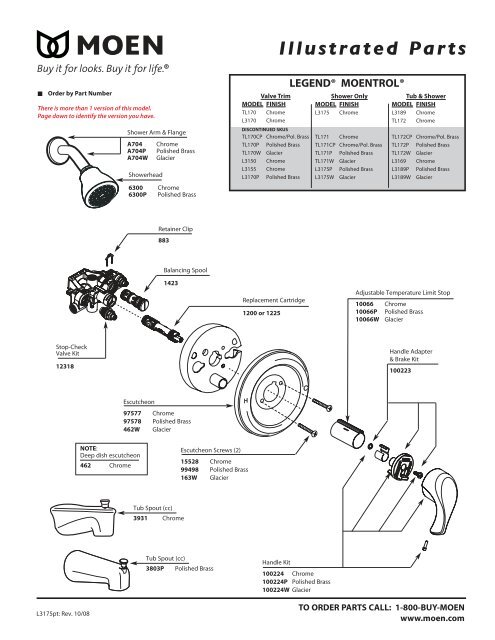
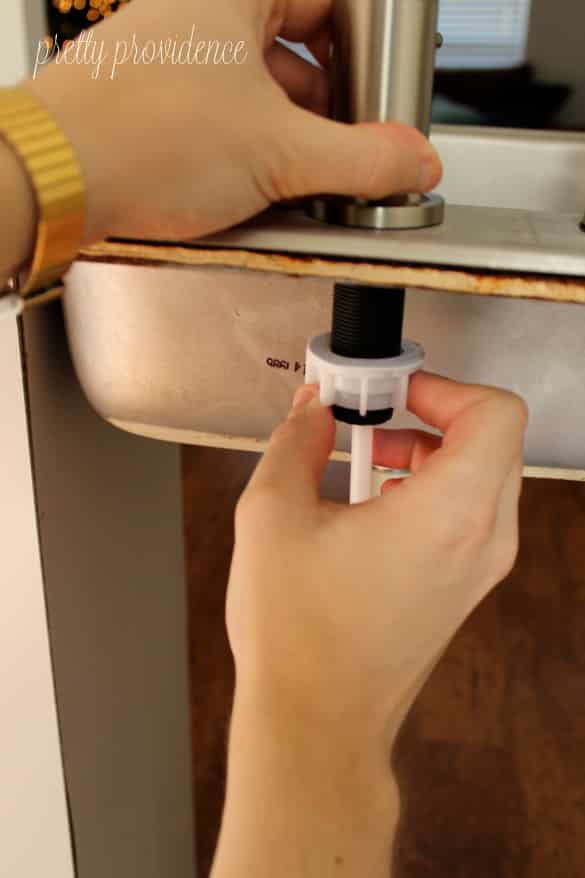
The first step in removing a Moen bathroom sink faucet handle is to locate the set screw. This is usually located at the base of the handle or on the side. You will need a small screwdriver or Allen wrench to loosen the set screw and remove it. Once the set screw is removed, you can then pull the handle straight off the faucet. If the handle is stuck, you may need to use a pair of pliers to gently wiggle and pull it off. Be sure to protect the handle with a towel or cloth to avoid scratching it. Next, you will need to remove the adapter underneath the handle. This can be done by unscrewing it counterclockwise. If it is difficult to remove, you can use a pair of pliers, being careful not to damage the adapter. After removing the adapter, you will see the retaining clip. This is a small metal ring that holds the cartridge in place. Use a pair of needle-nose pliers to carefully remove the clip. With the retaining clip removed, you can now pull out the cartridge. If it is stuck, you can use a cartridge puller to help remove it. Once the cartridge is removed, you can then access the O-ring and replace it if necessary. Finally, you can remove the spout by unscrewing it counterclockwise. This will give you access to the aerator, which can also be removed and replaced if needed.Removing a Moen Bathroom Sink Faucet Handle: Step-by-Step Guide

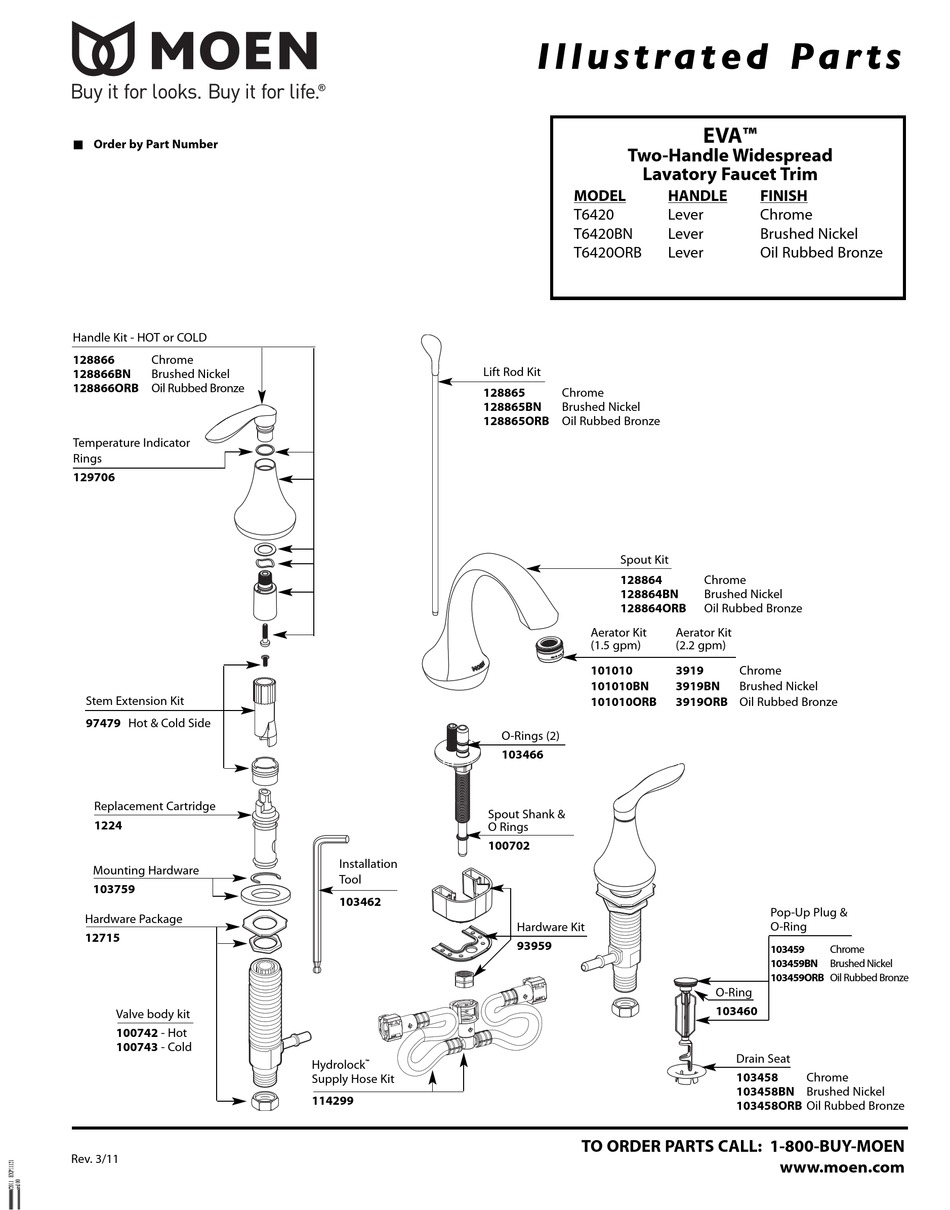
Removing a Moen Bathroom Sink Faucet Handle: Step-by-Step Guide


If you're feeling handy and want to save some money, you can easily remove a Moen bathroom sink faucet handle yourself. Simply follow the steps outlined above and you'll have your old handle removed in no time. Just be sure to have the right tools and take your time to avoid any damage.DIY: How to Remove a Moen Bathroom Sink Faucet Handle


DIY: How to Remove a Moen Bathroom Sink Faucet Handle

Here are some helpful tips and tricks to keep in mind when removing a Moen bathroom sink faucet handle:Removing a Moen Bathroom Sink Faucet Handle: Tips and Tricks

Removing a Moen Bathroom Sink Faucet Handle: Tips and Tricks
If you prefer a more detailed guide, here is a step-by-step breakdown of how to remove a Moen bathroom sink faucet handle:Step-by-Step Guide to Removing a Moen Bathroom Sink Faucet Handle


Step-by-Step Guide to Removing a Moen Bathroom Sink Faucet Handle


While removing a Moen bathroom sink faucet handle may seem like a simple task, there are some common mistakes that can happen. Here are a few to avoid:Removing a Moen Bathroom Sink Faucet Handle: Common Mistakes to Avoid
Removing a Moen Bathroom Sink Faucet Handle: Common Mistakes to Avoid
Now that you have a better understanding of the process, you can confidently remove a Moen bathroom sink faucet handle with ease. Just remember to take your time, use the right tools, and be gentle to avoid any mistakes or damage.How to Remove a Moen Bathroom Sink Faucet Handle: A Comprehensive Guide

How to Remove a Moen Bathroom Sink Faucet Handle: A Comprehensive Guide
Here are the tools you will need to successfully remove a Moen bathroom sink faucet handle:Removing a Moen Bathroom Sink Faucet Handle: Tools You Will Need

Removing a Moen Bathroom Sink Faucet Handle: Tools You Will Need

If you prefer a visual guide, check out this step-by-step tutorial on how to remove a Moen bathroom sink faucet handle:Step-by-Step Tutorial: How to Remove a Moen Bathroom Sink Faucet Handle
Step-by-Step Tutorial: How to Remove a Moen Bathroom Sink Faucet Handle


If you encounter any difficulties or have any questions while removing a Moen bathroom sink faucet handle, here are some common issues and solutions:Removing a Moen Bathroom Sink Faucet Handle: Troubleshooting Common Issues

Removing a Moen Bathroom Sink Faucet Handle: Troubleshooting Common Issues
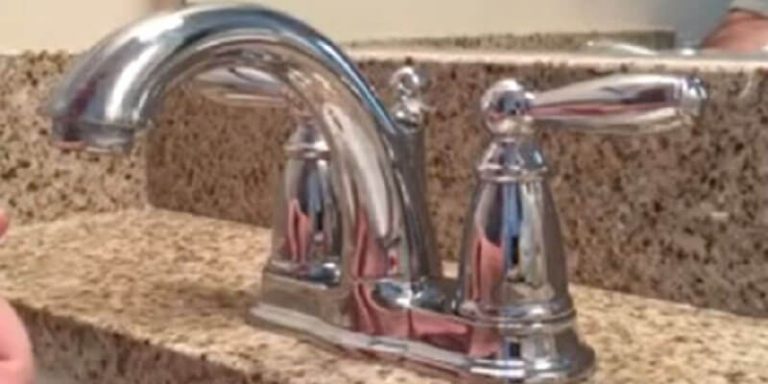
Replacing a Moen Bathroom Sink Faucet Handle: A Step-by-Step Guide

Introduction
 Updating your bathroom design can be a fun and exciting project to take on. However, it can also be overwhelming, especially when it comes to replacing bathroom fixtures. One of the most common fixtures that need replacement is the bathroom sink faucet handle. Whether it's due to wear and tear or you simply want to change the style of your bathroom, knowing how to remove and replace the handle is an essential skill for any homeowner. In this article, we will guide you through the process of removing a Moen bathroom sink faucet handle.
Gather Your Tools
 Before you begin the process of removing the faucet handle, make sure you have all the necessary tools on hand. This includes a screwdriver, pliers, and an adjustable wrench. It's also a good idea to have a cloth or towel nearby to catch any water that may drip during the process.
Shut Off the Water Supply
 Before you start working on the faucet handle, it's important to shut off the water supply to avoid any potential mess or accidents. Look for the shut-off valves under the sink and turn them clockwise to shut off the water flow.
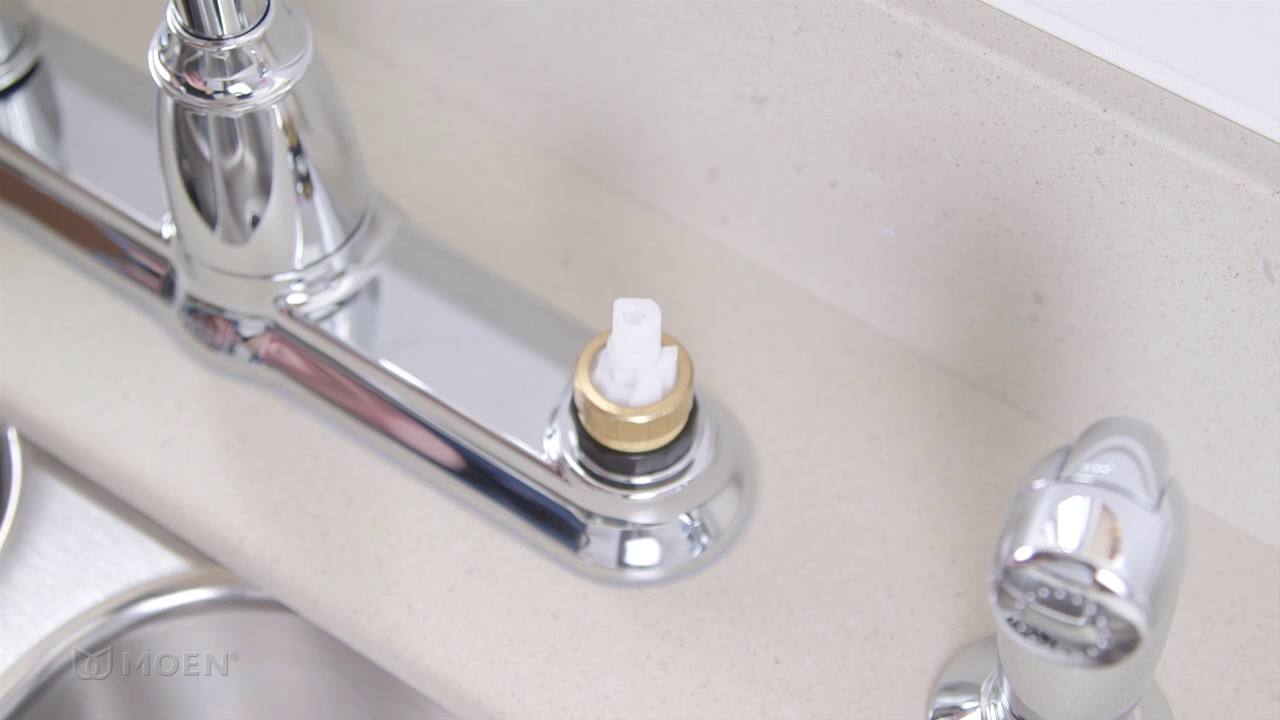
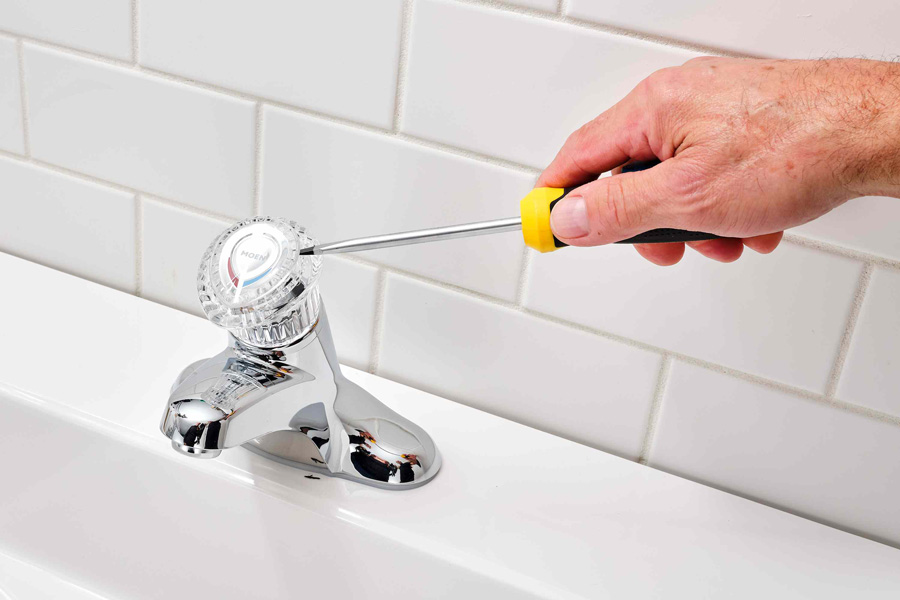
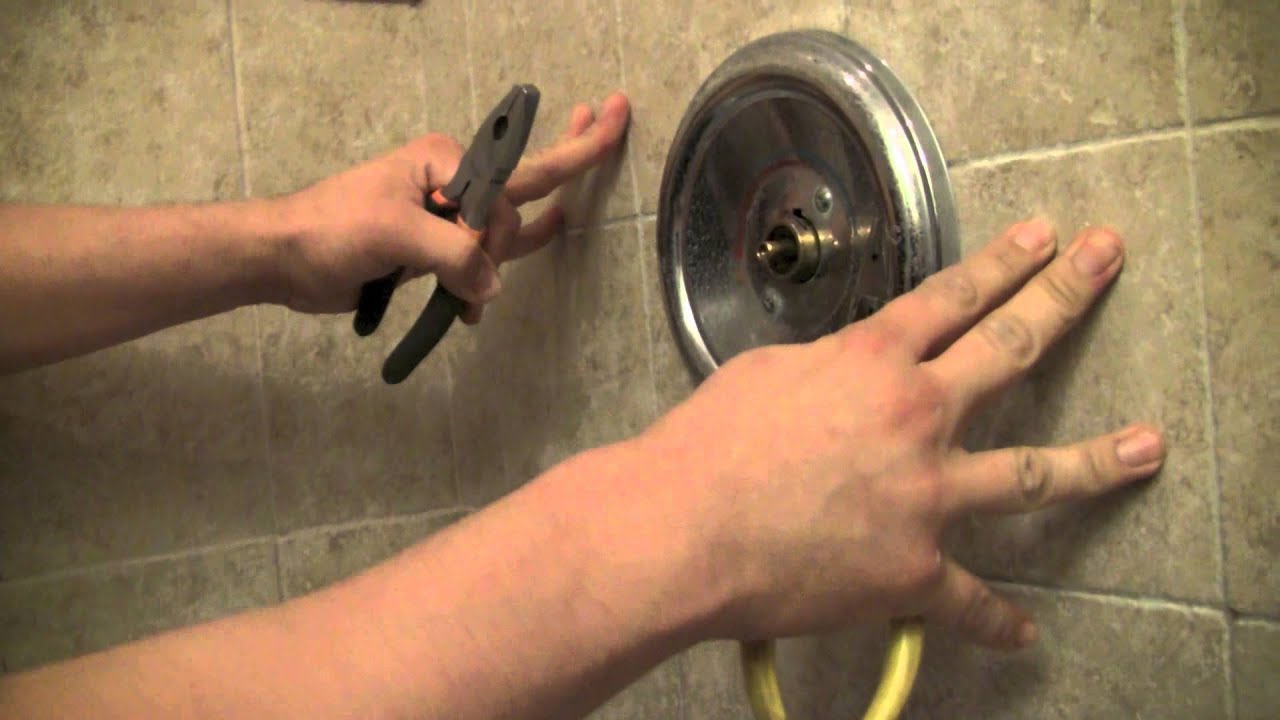
Remove the Handle
 Now it's time to remove the old faucet handle. Use a screwdriver to remove the screw located on the top or side of the handle. Once the screw is removed, use pliers to pull the handle straight out. If the handle is stuck, you can use a handle puller tool to help remove it.
Replace the Cartridge
 Once the handle is removed, you'll see the cartridge inside the faucet body. This is the part that controls the water flow and temperature. To replace it, use your adjustable wrench to loosen and remove the retaining nut that holds the cartridge in place. Then, simply pull the old cartridge out and replace it with a new one.
Reassemble the Faucet
 After replacing the cartridge, reassemble the faucet by following the steps in reverse order. Make sure the retaining nut is tightened securely and the handle is back in place. Turn the water supply back on and test the faucet to ensure it's working properly.
Conclusion
 Replacing a Moen bathroom sink faucet handle may seem like a daunting task, but with the right tools and knowledge, it can be done easily. By following these steps, you can update the look of your bathroom and ensure that your faucet is functioning properly. Remember to always shut off the water supply before starting any plumbing work and don't hesitate to call a professional if you encounter any difficulties.