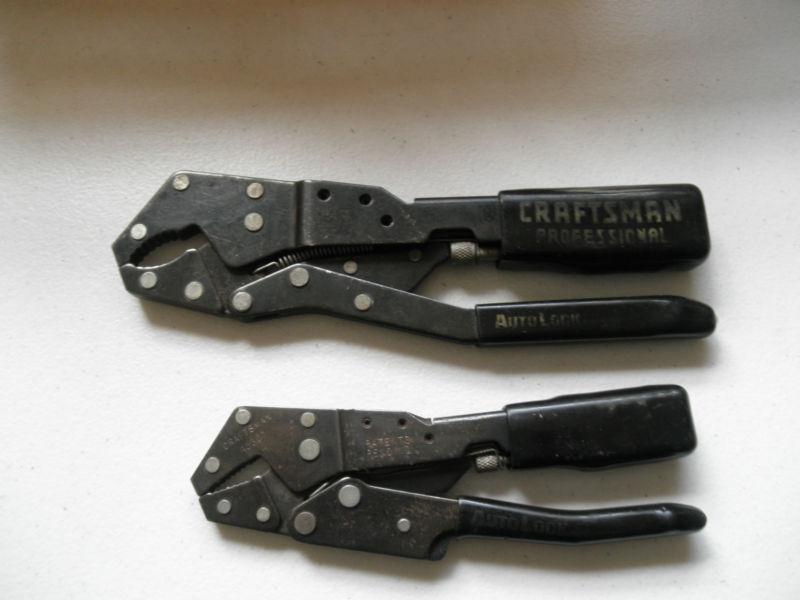
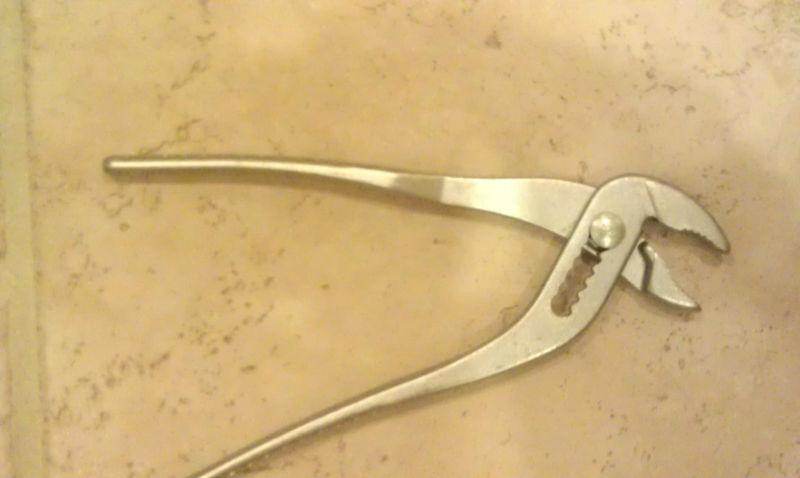
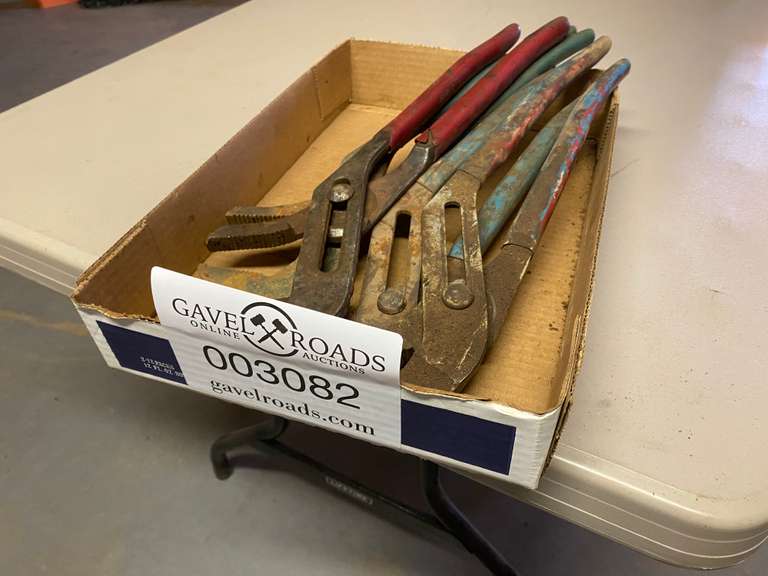
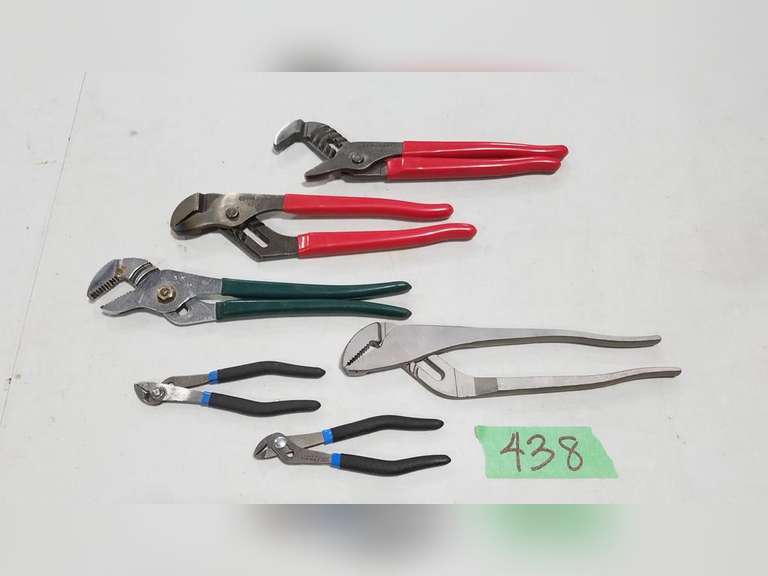
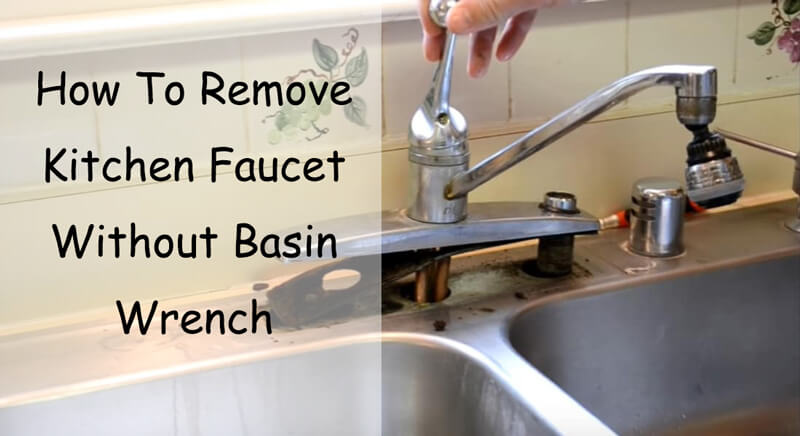
When it comes to removing a kitchen sink without a basin wrench, one of the most important tools you can have is a pair of channel lock pliers. These pliers are designed to grip onto objects securely, making them perfect for loosening the mounting nuts that hold the sink in place. To use the pliers, place them around the mounting nuts and turn them counterclockwise to loosen them. Once they are loose, you can easily remove them by hand. Just be sure to hold onto the sink as you remove the nuts to prevent it from falling.1. Use a pair of channel lock pliers to grip the mounting nuts and turn them counterclockwise to loosen them.


1. Use a pair of channel lock pliers to grip the mounting nuts and turn them counterclockwise to loosen them.


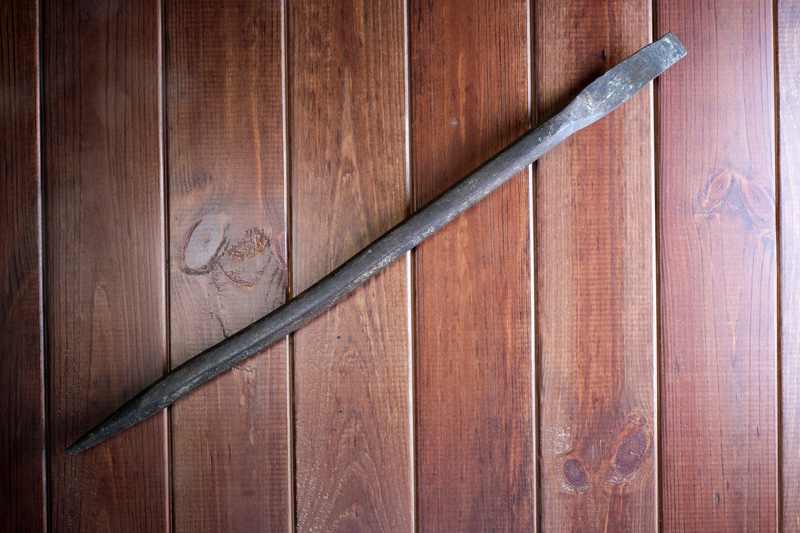
In some cases, the sink may be held in place by a seal between the sink and the countertop. To break this seal, you can use a hammer and chisel. Simply place the chisel between the sink and the countertop and lightly tap it with the hammer. This will help break the seal and make it easier to remove the sink. Be sure to work your way around the entire sink, breaking the seal in multiple places to ensure it is fully loosened. Once the seal is broken, you can move on to the next step.2. Use a hammer and chisel to break the seal between the sink and the countertop.
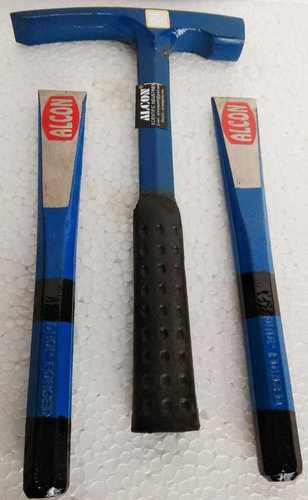


2. Use a hammer and chisel to break the seal between the sink and the countertop.


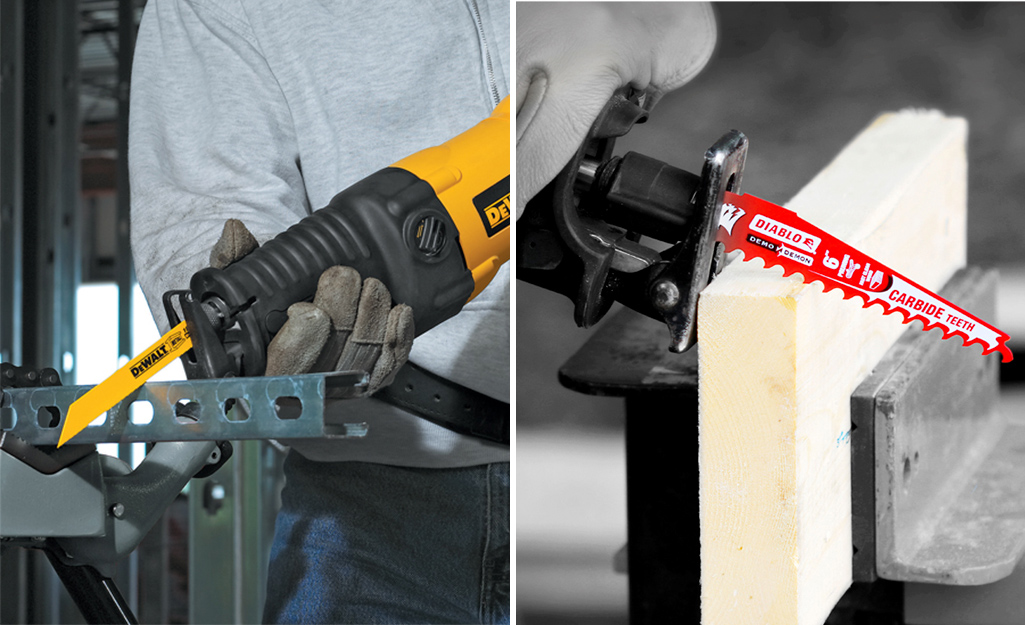
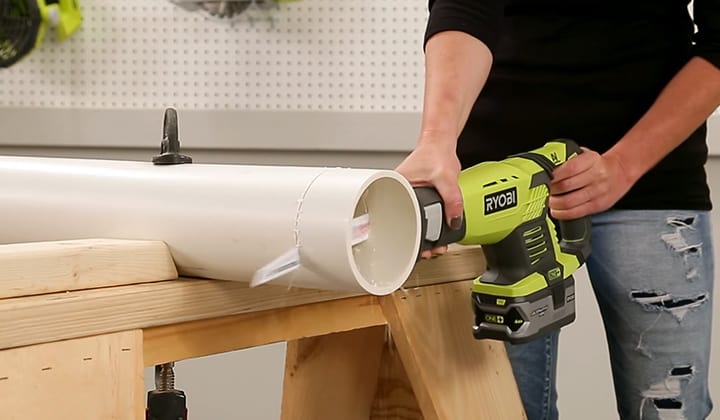
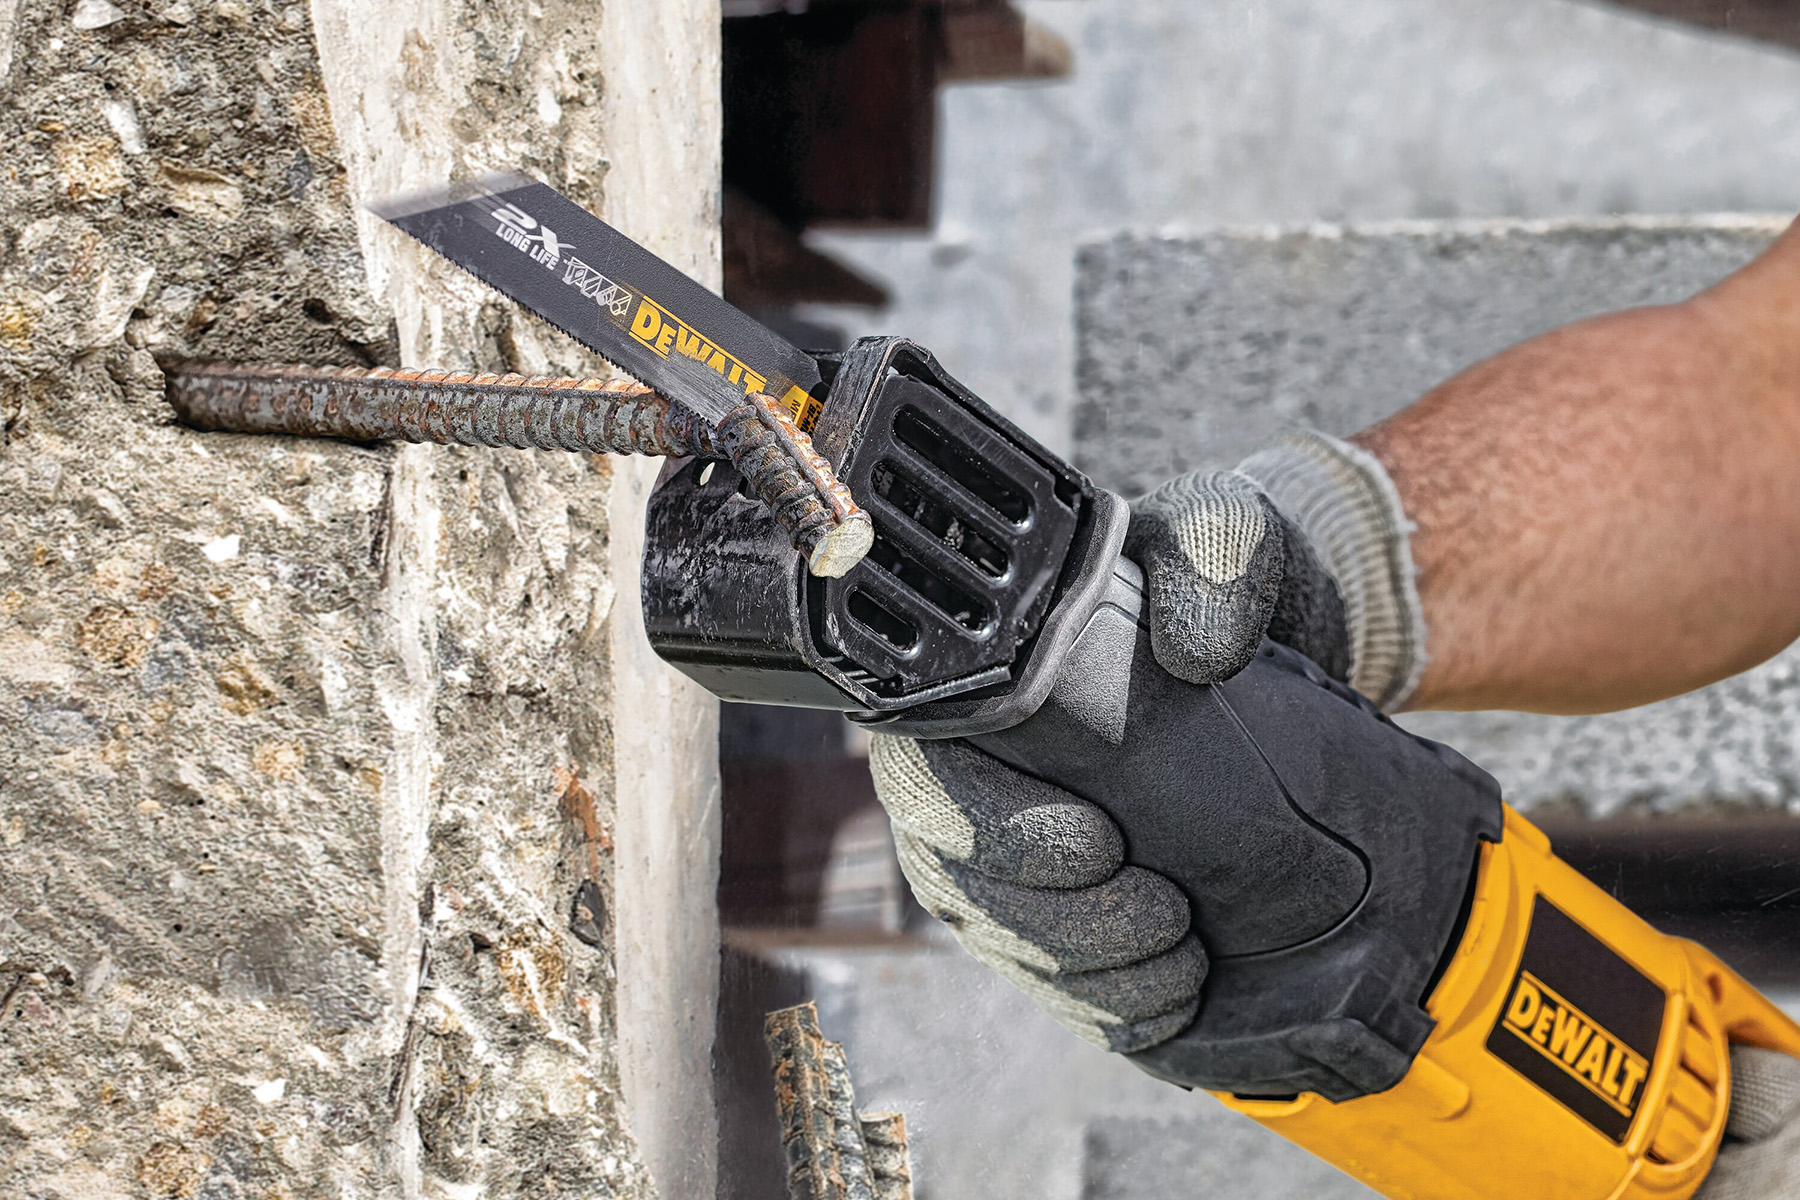
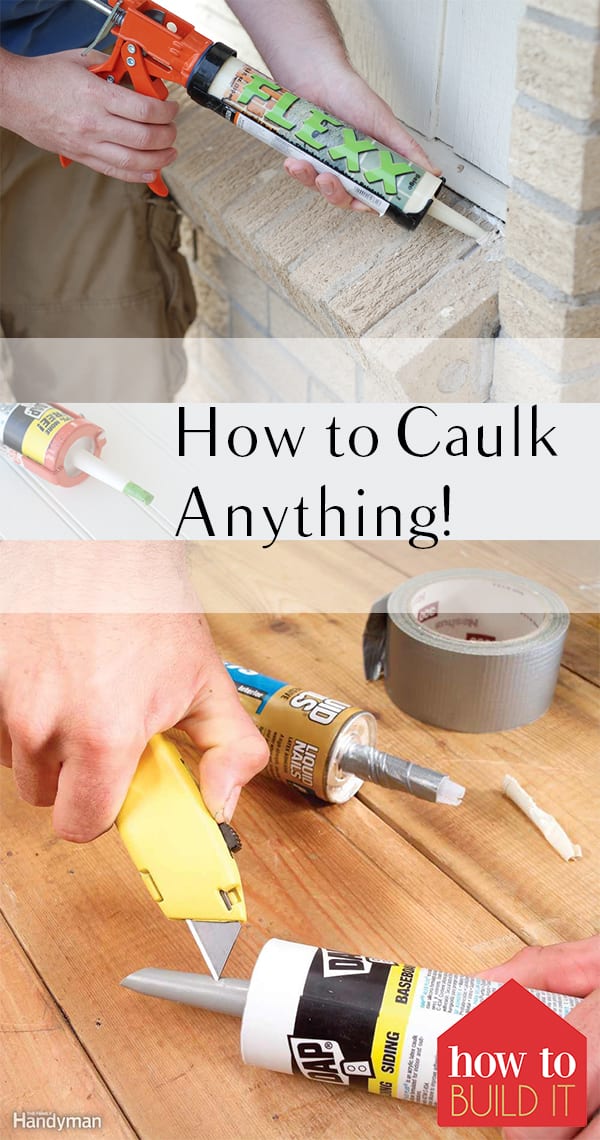
If the sink is still stuck in place, you may need to cut through any caulk or adhesive that is holding it in place. A reciprocating saw is a great tool for this job. Just be sure to use a metal cutting blade to avoid damaging the sink or countertop. Carefully cut through any caulk or adhesive around the entire sink, making sure to stay close to the edges. This will help free the sink and make it easier to remove.3. Use a reciprocating saw to cut through any caulk or adhesive holding the sink in place.


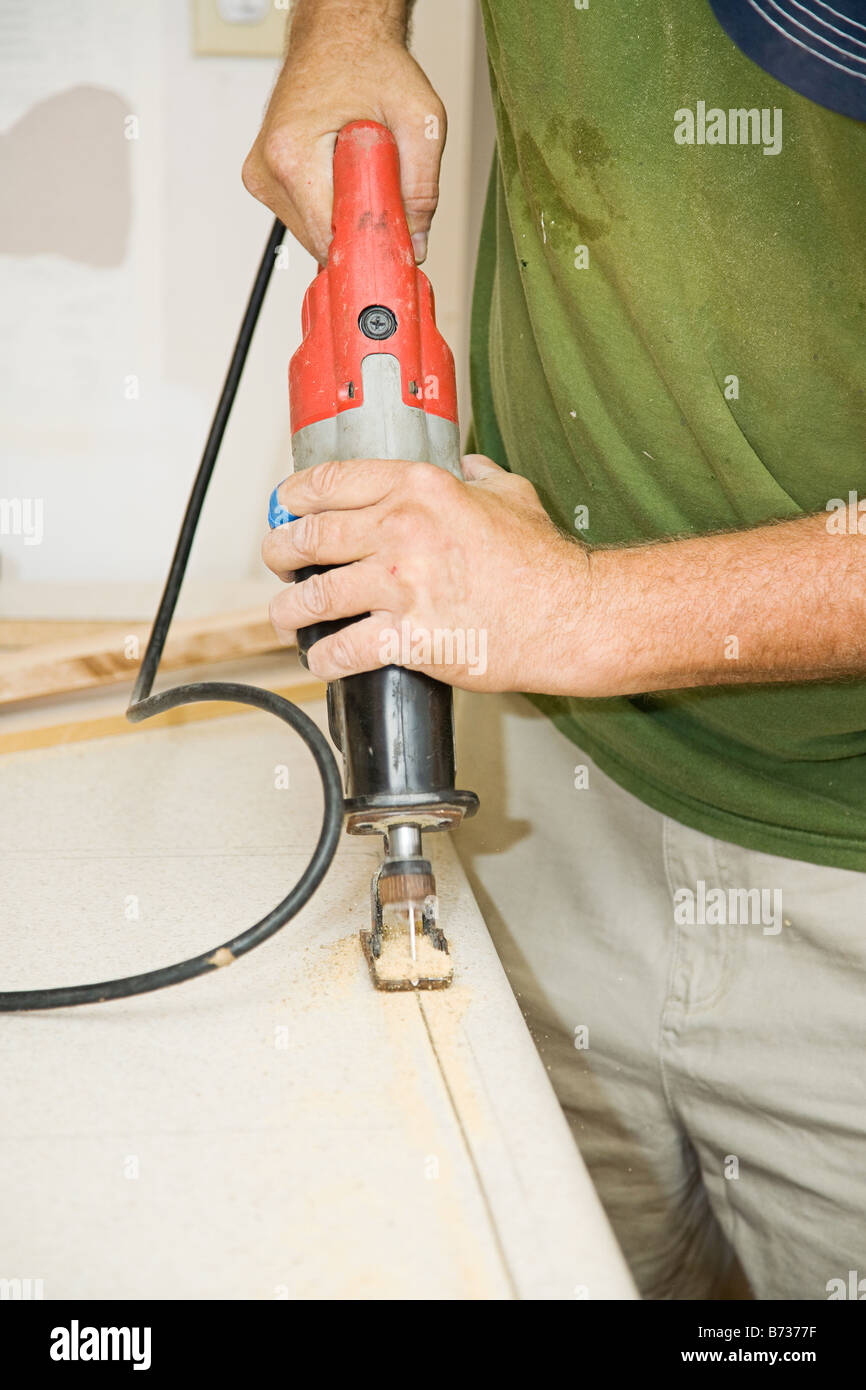
3. Use a reciprocating saw to cut through any caulk or adhesive holding the sink in place.


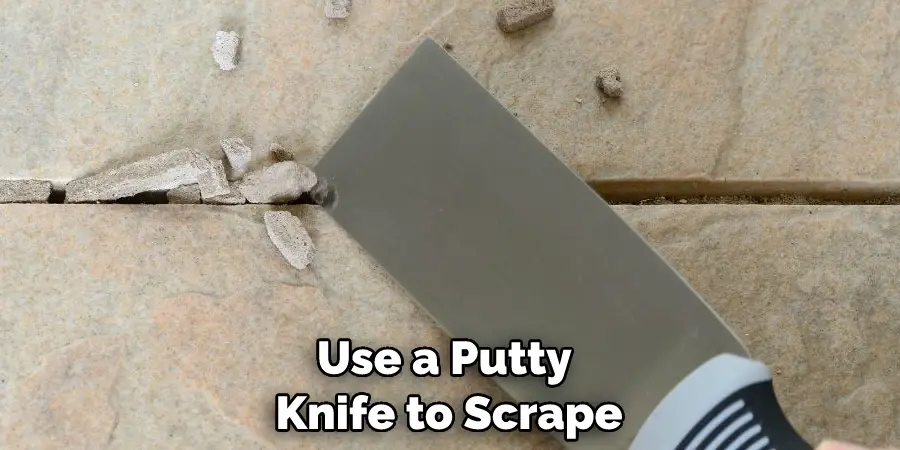
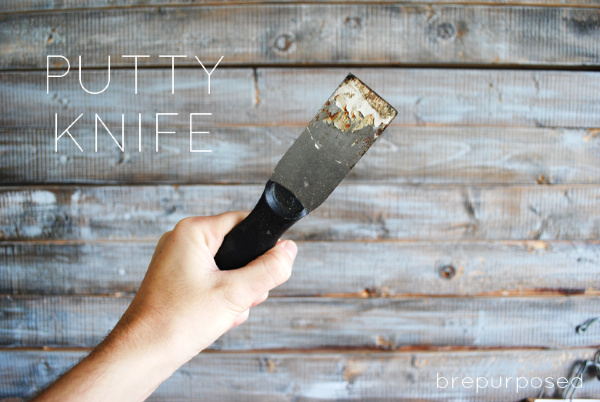
After cutting through the caulk or adhesive, there may still be some residue left on the sink or countertop. Use a putty knife to scrape away any remaining caulk or adhesive. This will help ensure a clean surface for the new sink to be installed on. Be gentle when scraping to avoid damaging the sink or countertop. If needed, you can use a cleaning solution to help remove any stubborn residue.4. Use a putty knife to scrape away any remaining caulk or adhesive.


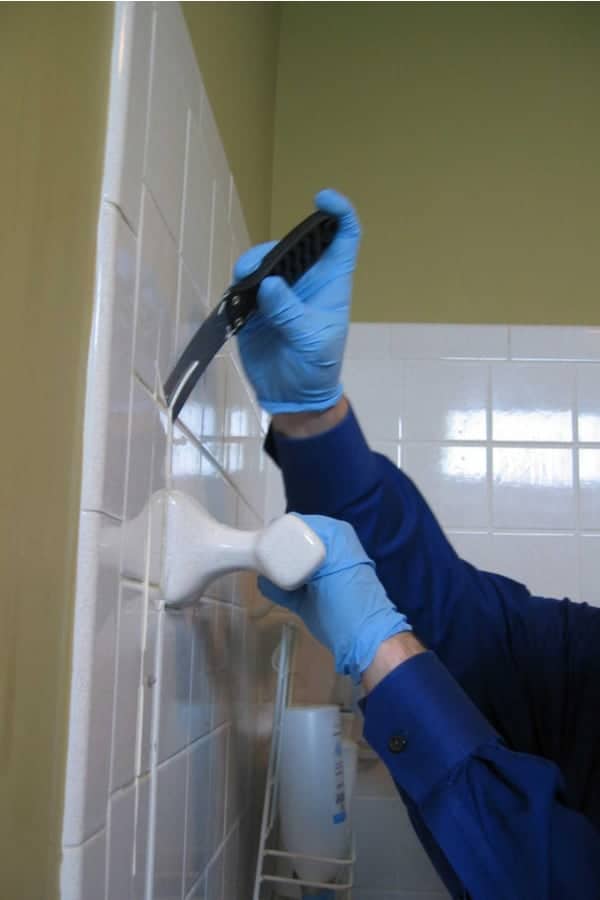
4. Use a putty knife to scrape away any remaining caulk or adhesive.


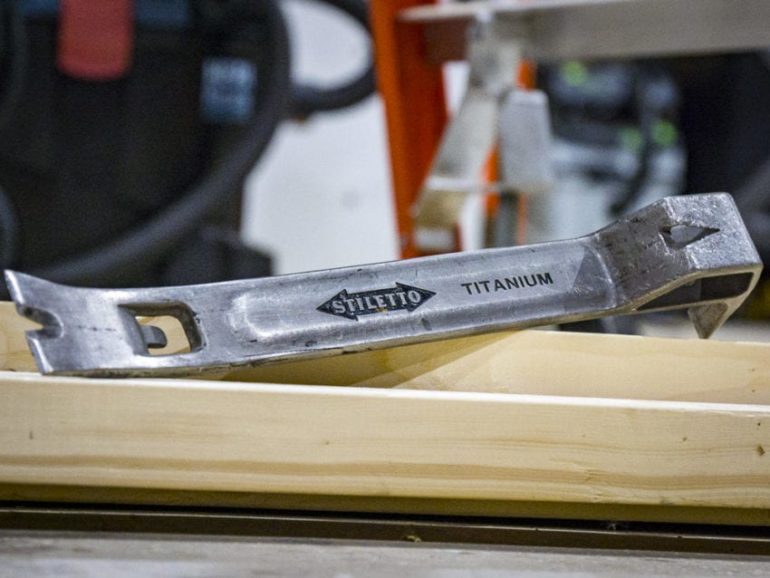
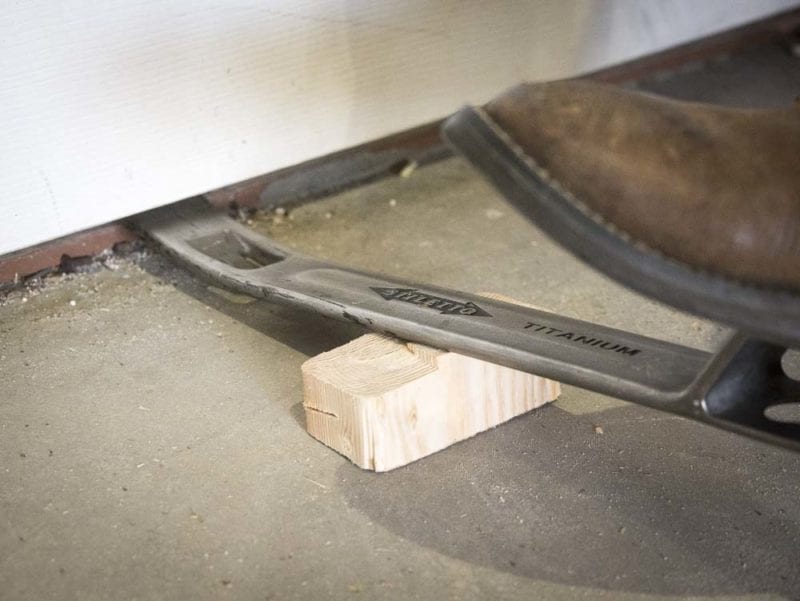
Now that the sink is free from any mounting hardware or adhesive, you can use a pry bar to gently lift it up and out of the countertop. Carefully work your way around the sink, using the pry bar to lift it up and out of the counter. If the sink is still stuck, you may need to use a little more force. Just be sure to do it slowly and carefully to avoid damaging the sink or countertop.5. Use a pry bar to gently lift the sink up and out of the countertop.


5. Use a pry bar to gently lift the sink up and out of the countertop.


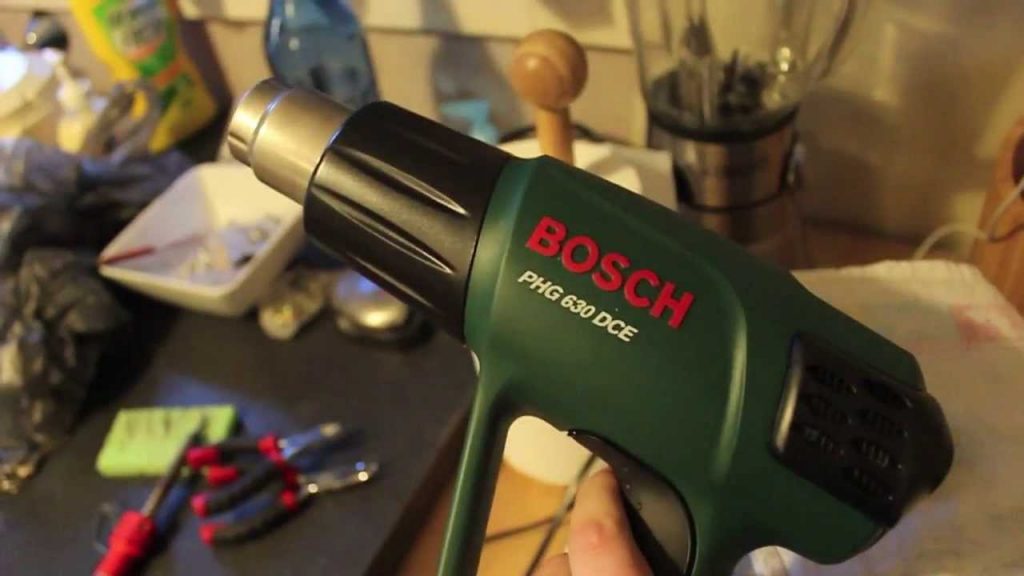
In some cases, the sink may still be stuck due to stubborn caulk or adhesive. If this is the case, you can use a heat gun to soften it. Hold the heat gun a few inches away from the caulk or adhesive and move it back and forth until it becomes soft and pliable. Once the caulk or adhesive is softened, you can use a putty knife to scrape it away. This should loosen the sink and make it easier to remove.6. If the sink is still stuck, use a heat gun to soften any remaining caulk or adhesive.


6. If the sink is still stuck, use a heat gun to soften any remaining caulk or adhesive.


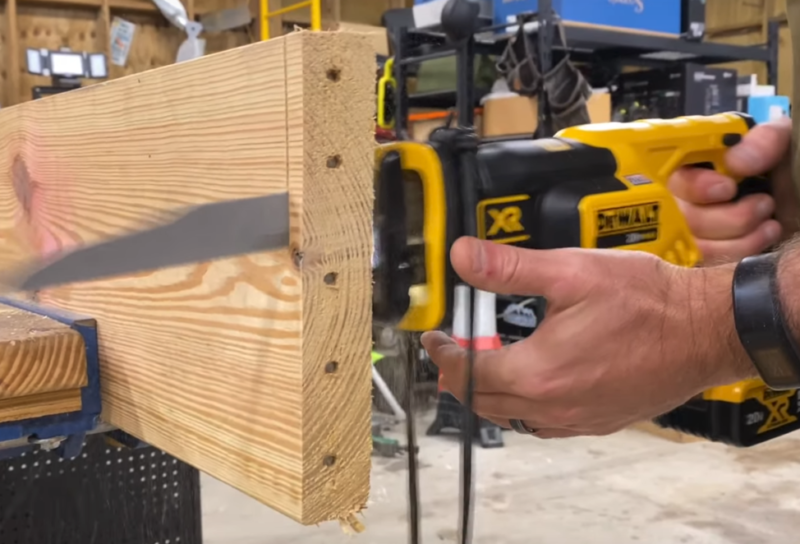
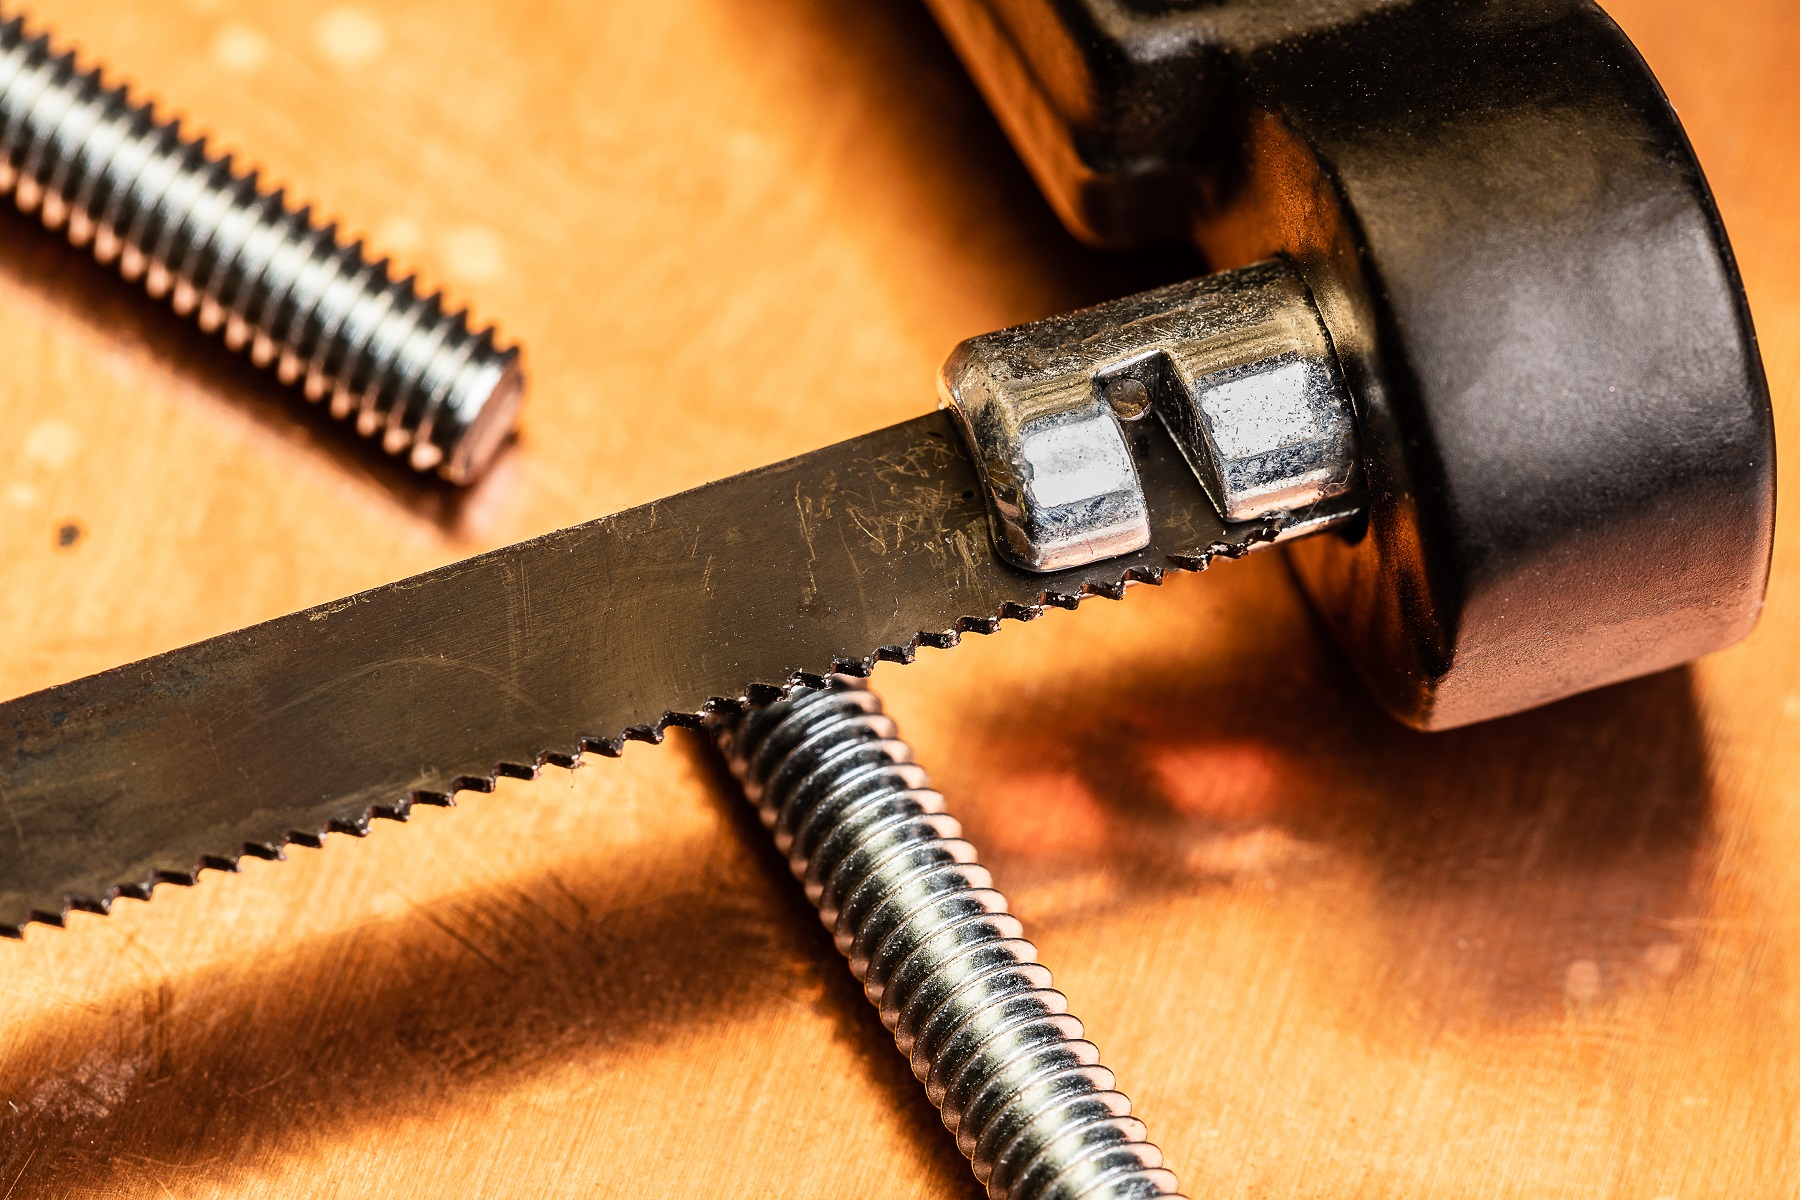
In some cases, the sink may be held in place by mounting bolts. If this is the case, you can use a hacksaw to cut through them. Just be sure to use a metal cutting blade and work slowly to avoid damaging the sink or countertop. Once the bolts are cut, you should be able to easily remove the sink from the countertop.7. Use a hacksaw to cut through the mounting bolts if they are still holding the sink in place.

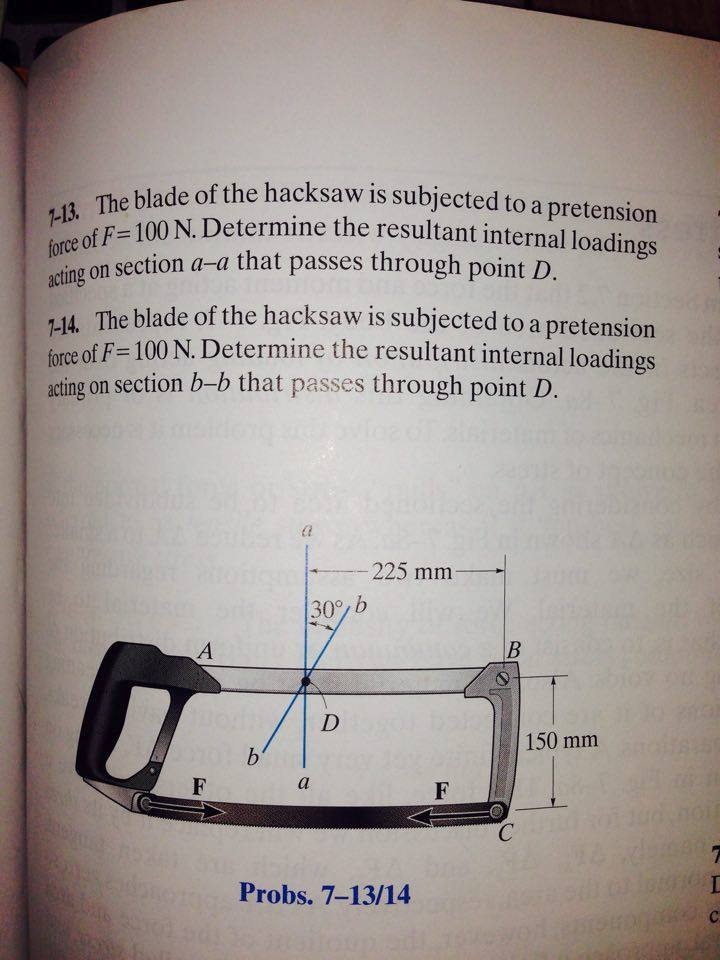

7. Use a hacksaw to cut through the mounting bolts if they are still holding the sink in place.


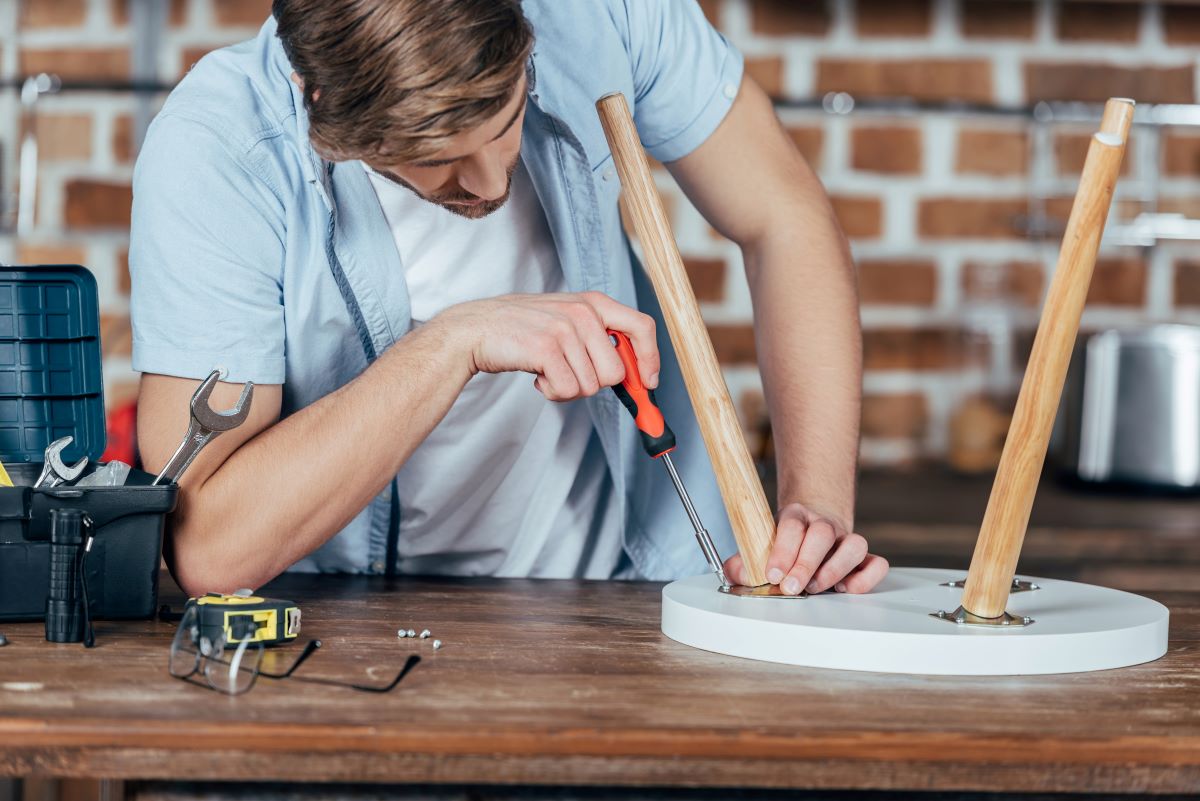
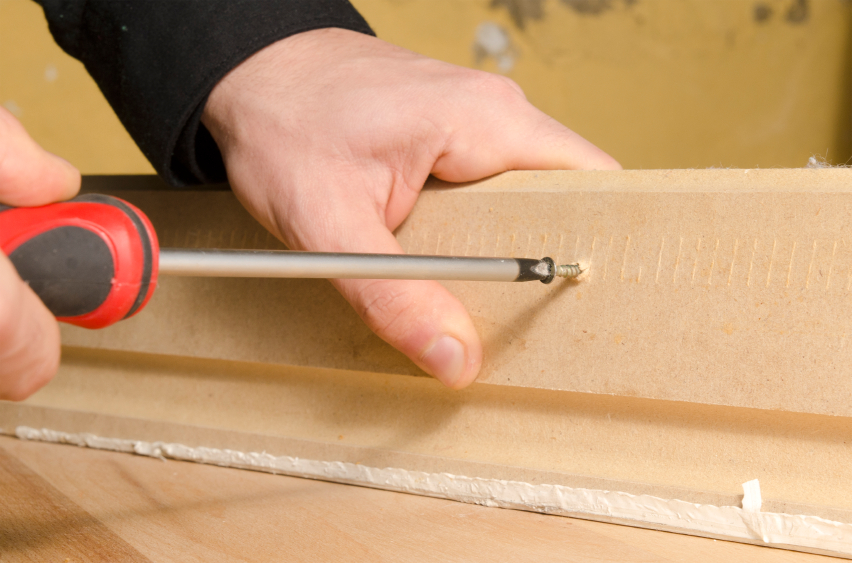
If there is any remaining mounting hardware, such as screws or clips, use a screwdriver to remove them. These pieces may be small, so be sure to keep track of them as you remove them. Once all of the hardware is removed, you can lift the sink up and out of the countertop.8. Use a screwdriver to remove any remaining mounting hardware.


8. Use a screwdriver to remove any remaining mounting hardware.


Before installing a new sink, it is important to have a clean surface to work with. Use a putty knife to scrape away any remaining caulk or adhesive from the sink and countertop. Be thorough in your scraping to ensure a smooth surface for the new sink to be installed on.9. Use a putty knife to scrape away any remaining caulk or adhesive from the sink and countertop.


9. Use a putty knife to scrape away any remaining caulk or adhesive from the sink and countertop.


Finally, before installing a new sink, be sure to clean the area thoroughly. Use a cleaning solution and a rag to wipe down the sink and countertop, removing any dust, dirt, or debris. This will help ensure a clean and secure surface for the new sink to be installed on. With these 10 steps, you can easily remove a kitchen sink without a basin wrench. Just be sure to take your time and work carefully to avoid any damage to your sink or countertop. And don't forget to clean the area before installing a new sink to ensure a smooth and successful installation.10. Clean the area thoroughly before installing a new sink.


10. Clean the area thoroughly before installing a new sink.


:max_bytes(150000):strip_icc()/HowtoProperlyWashHands_770729_Final_1-53dd333dbd5c4d4c82fea8d48c8ff3bd.png)


Removing a Kitchen Sink Without a Basin Wrench: A Professional Guide

Introduction to House Design
 When it comes to designing and renovating a house, the kitchen is often considered the heart of the home. It is a space where meals are cooked, memories are made, and families gather to spend quality time together. However, with frequent use, kitchen fixtures such as the sink can become worn out and need to be replaced. This is where a basin wrench comes in handy, but what if you don't have one? Don't worry, in this article, we will guide you on how to remove a kitchen sink without a basin wrench, so you can easily replace it and continue to enjoy your beautiful kitchen.
The Importance of a Basin Wrench
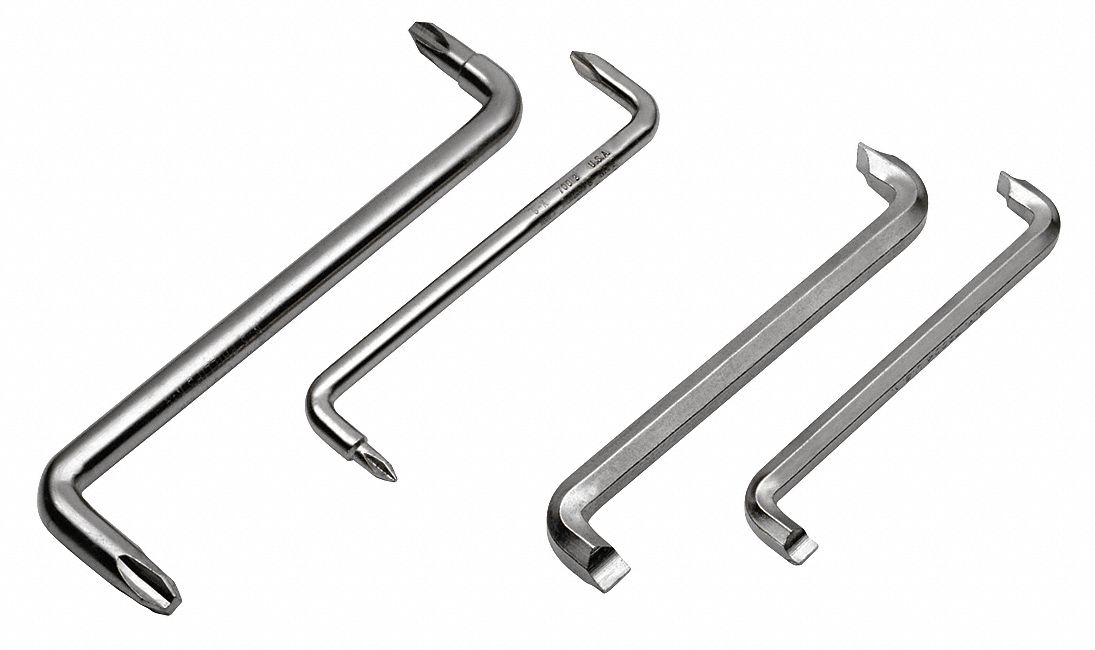
/basin-wrench-58fa35c55f9b581d59cb6d7b.jpg) A basin wrench is a specialized tool designed to loosen and tighten nuts and bolts that hold a sink in place. It is a must-have for any plumber or DIY enthusiast when it comes to working on kitchen sinks. However, not everyone may have a basin wrench on hand, or maybe you're in a pinch and need to remove a sink without one. In such cases, knowing the right techniques can save you time and effort.
A basin wrench is a specialized tool designed to loosen and tighten nuts and bolts that hold a sink in place. It is a must-have for any plumber or DIY enthusiast when it comes to working on kitchen sinks. However, not everyone may have a basin wrench on hand, or maybe you're in a pinch and need to remove a sink without one. In such cases, knowing the right techniques can save you time and effort.
Step-by-Step Guide to Removing a Kitchen Sink Without a Basin Wrench
 Step 1:
Gather all the necessary tools and materials. In addition to the sink, you will need a pair of pliers, a screwdriver, and a wrench. Make sure to turn off the water supply and disconnect any plumbing connections before starting.
Step 2:
Use the pliers to loosen the water supply lines connected to the faucet. Then, use the wrench to unscrew the nuts that hold the sink to the countertop.
Step 3:
Once the sink is free, lift it up and remove it from the countertop. Be careful not to damage the surrounding area.
Step 4:
If the sink is still attached to the drainpipe, use the screwdriver to loosen the screws holding it in place. You may also need to use the pliers to loosen any additional connections.
Step 5:
Once the sink is completely detached, clean the area and prepare it for the new sink installation.
Step 1:
Gather all the necessary tools and materials. In addition to the sink, you will need a pair of pliers, a screwdriver, and a wrench. Make sure to turn off the water supply and disconnect any plumbing connections before starting.
Step 2:
Use the pliers to loosen the water supply lines connected to the faucet. Then, use the wrench to unscrew the nuts that hold the sink to the countertop.
Step 3:
Once the sink is free, lift it up and remove it from the countertop. Be careful not to damage the surrounding area.
Step 4:
If the sink is still attached to the drainpipe, use the screwdriver to loosen the screws holding it in place. You may also need to use the pliers to loosen any additional connections.
Step 5:
Once the sink is completely detached, clean the area and prepare it for the new sink installation.
Final Thoughts
 Removing a kitchen sink without a basin wrench may seem like a daunting task, but with the right tools and techniques, it can be done smoothly. However, if you're not confident in your DIY skills, it's always best to consult a professional plumber to avoid any potential damage or accidents. We hope this guide has been helpful, and you can now confidently tackle any kitchen sink replacement project. Happy renovating!

/small-living-room-ideas-4129044-hero-25cff5d762a94ccba3472eaca79e56cb.jpg)