Removing a kitchen sink drain may seem like a daunting task, but it is actually a fairly simple process that can save you time and money. Whether you are replacing an old, leaky drain or just need to remove a stuck drain, this guide will walk you through the steps to successfully remove your kitchen sink drain.How to Remove a Kitchen Sink Drain


How to Remove a Kitchen Sink Drain


If your kitchen sink drain is old or damaged, replacing it is the best solution. To replace a kitchen sink drain, you will need to remove the old one first. This may seem like a difficult task, but with the right tools and a little bit of know-how, you can replace your kitchen sink drain in no time.How to Replace a Kitchen Sink Drain


How to Replace a Kitchen Sink Drain

/how-to-install-a-sink-drain-2718789-hero-b5b99f72b5a24bb2ae8364e60539cece.jpg)


Dealing with a leaky kitchen sink drain can be frustrating and costly. However, with the right tools and knowledge, you can fix the leak and prevent any further damage. The first step is to remove the drain and identify the source of the leak. From there, you can determine the best course of action to fix the leak.How to Fix a Leaky Kitchen Sink Drain


How to Fix a Leaky Kitchen Sink Drain


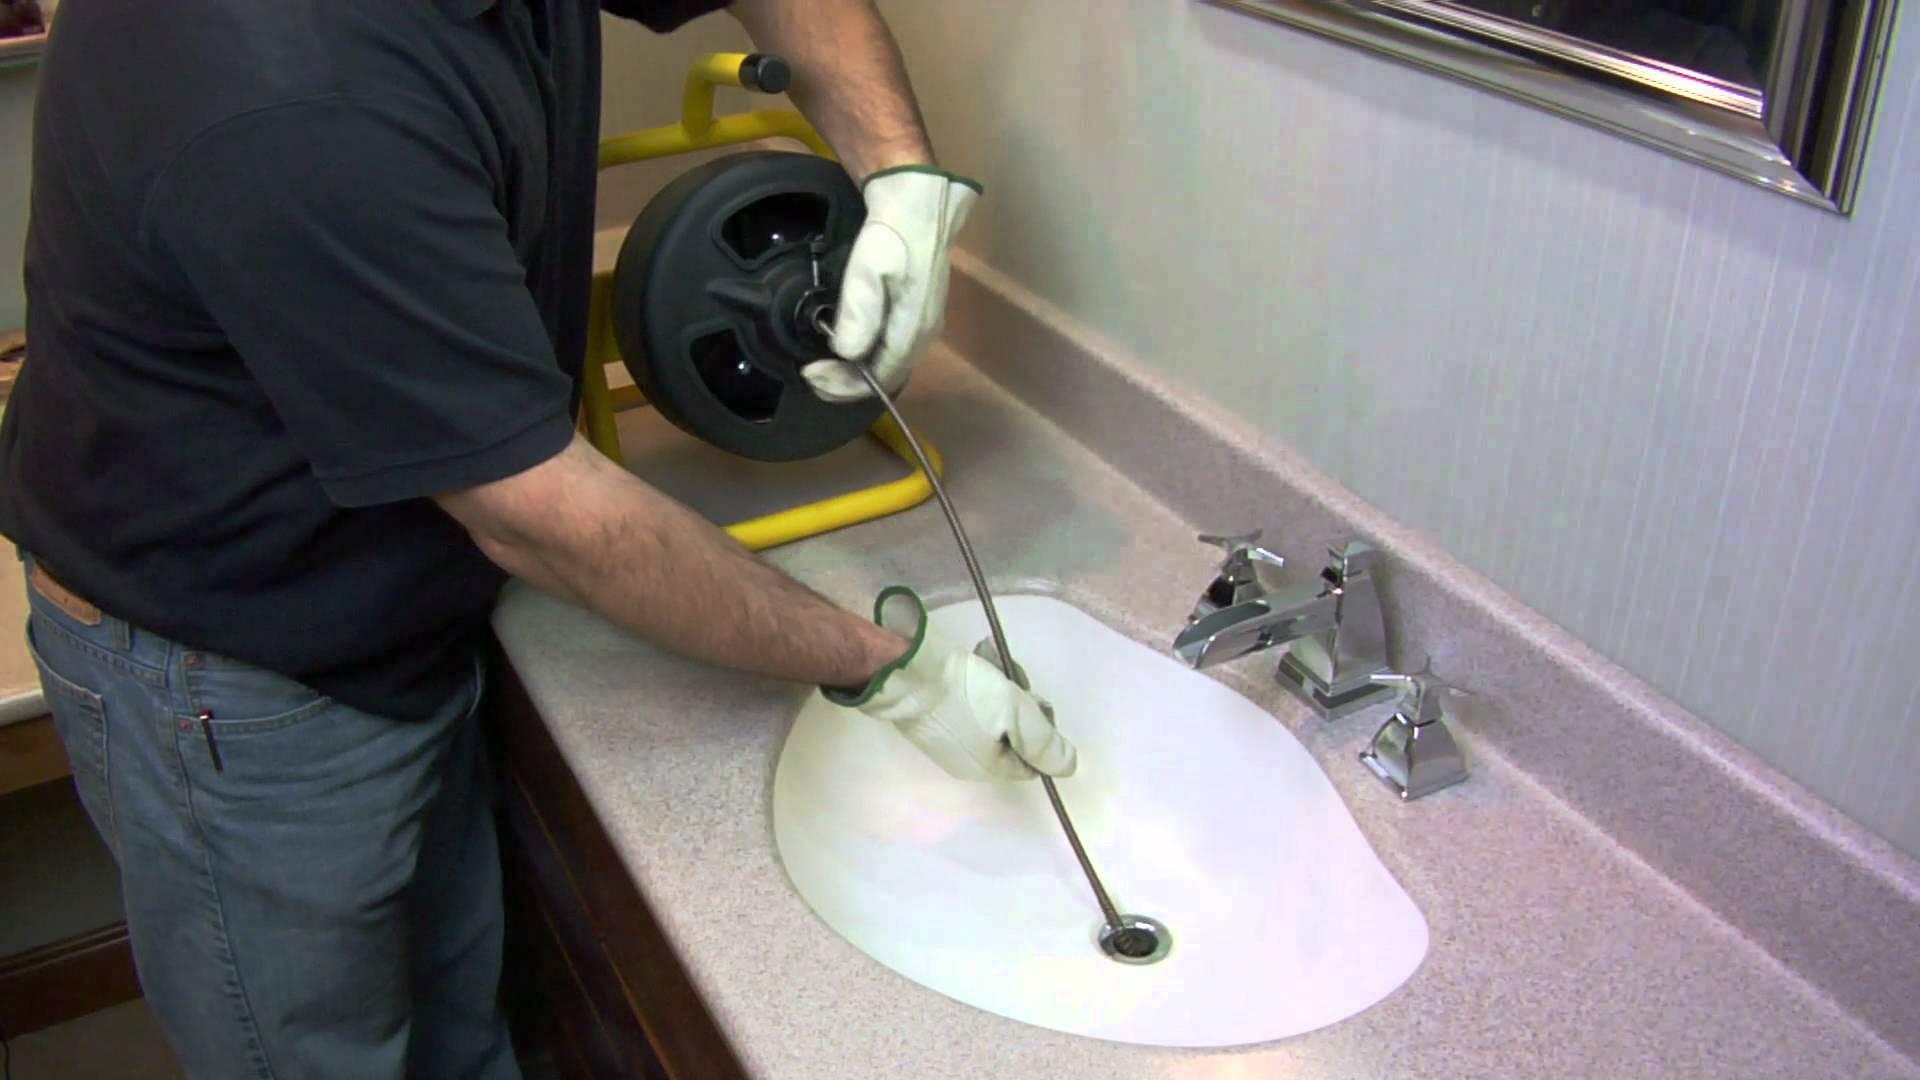
If your kitchen sink drain is stuck, it can be a major inconvenience. However, with a few simple tools and techniques, you can successfully remove the stuck drain and get your sink working properly again. Be patient and follow these steps to safely remove the stuck drain without causing any damage.How to Remove a Stuck Kitchen Sink Drain


How to Remove a Stuck Kitchen Sink Drain


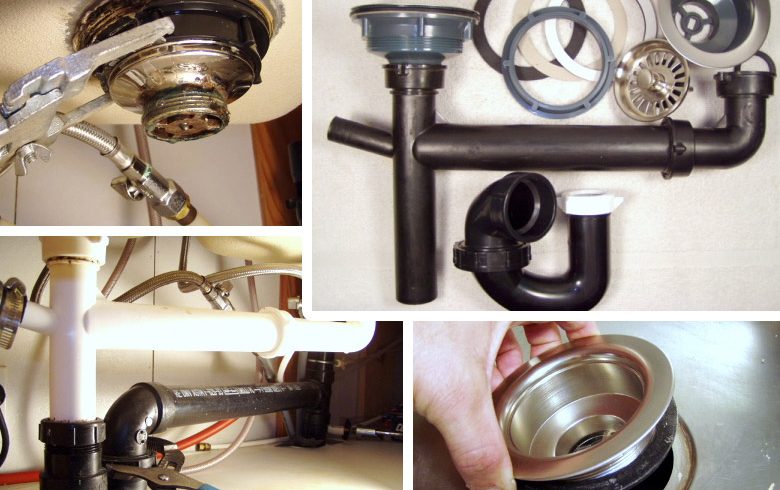
The flange is the visible part of the drain that sits on the bottom of your sink. If you need to replace your kitchen sink drain, you will first need to remove the flange. This may seem like a difficult task, but with the right tools and a little bit of patience, you can successfully remove the flange and install a new one.How to Remove a Kitchen Sink Drain Flange

How to Remove a Kitchen Sink Drain Flange


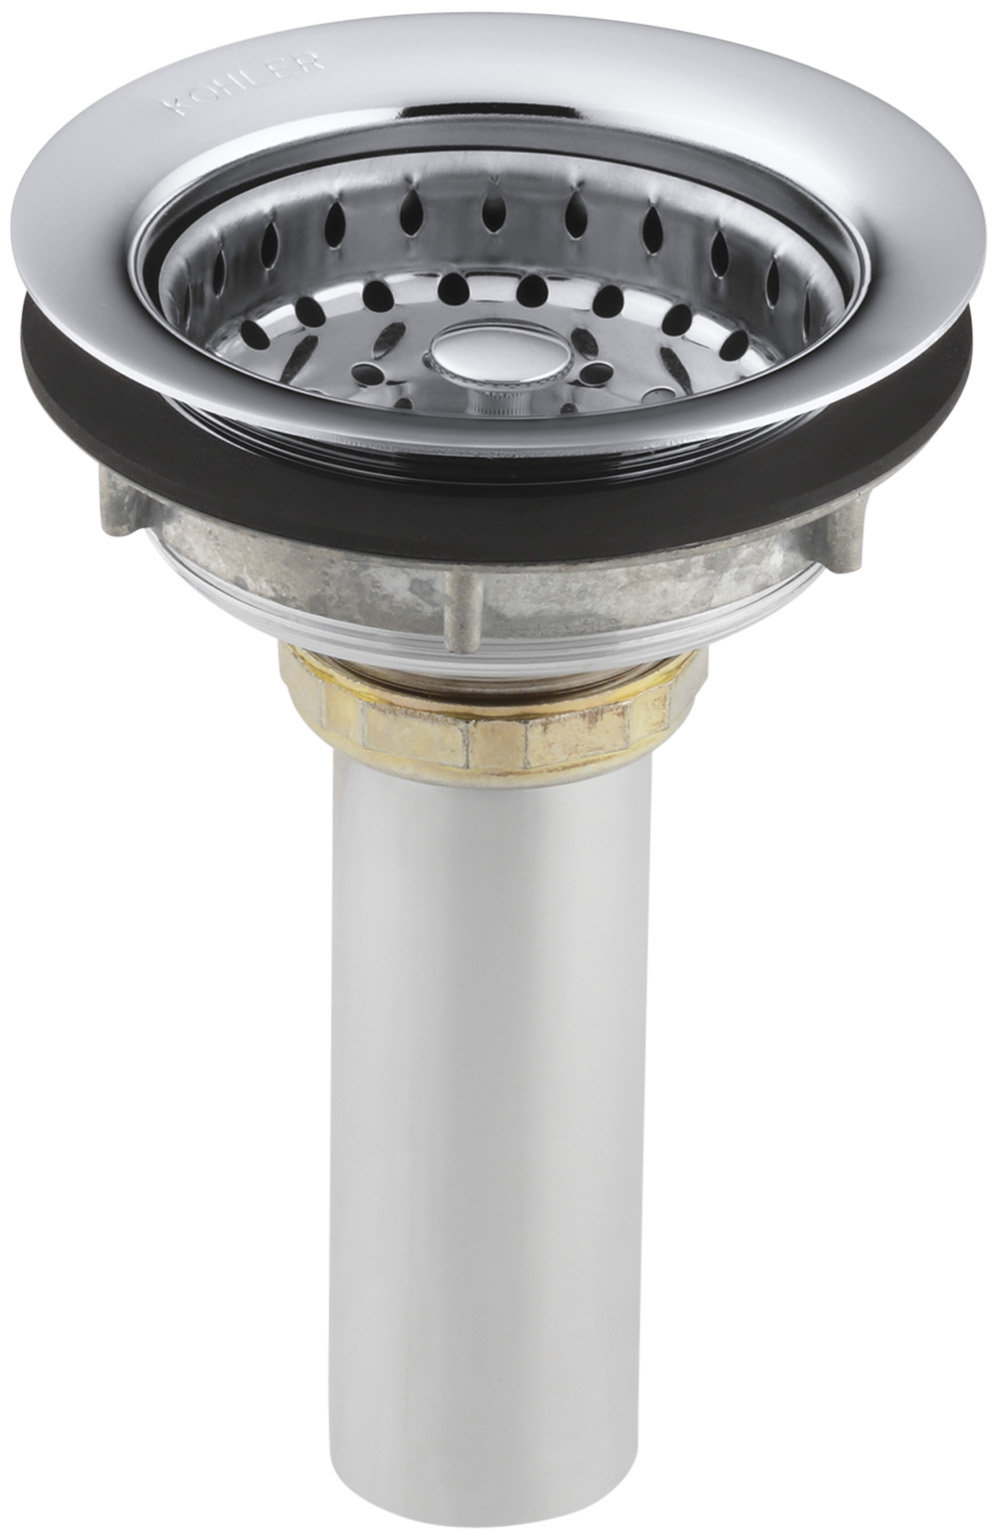
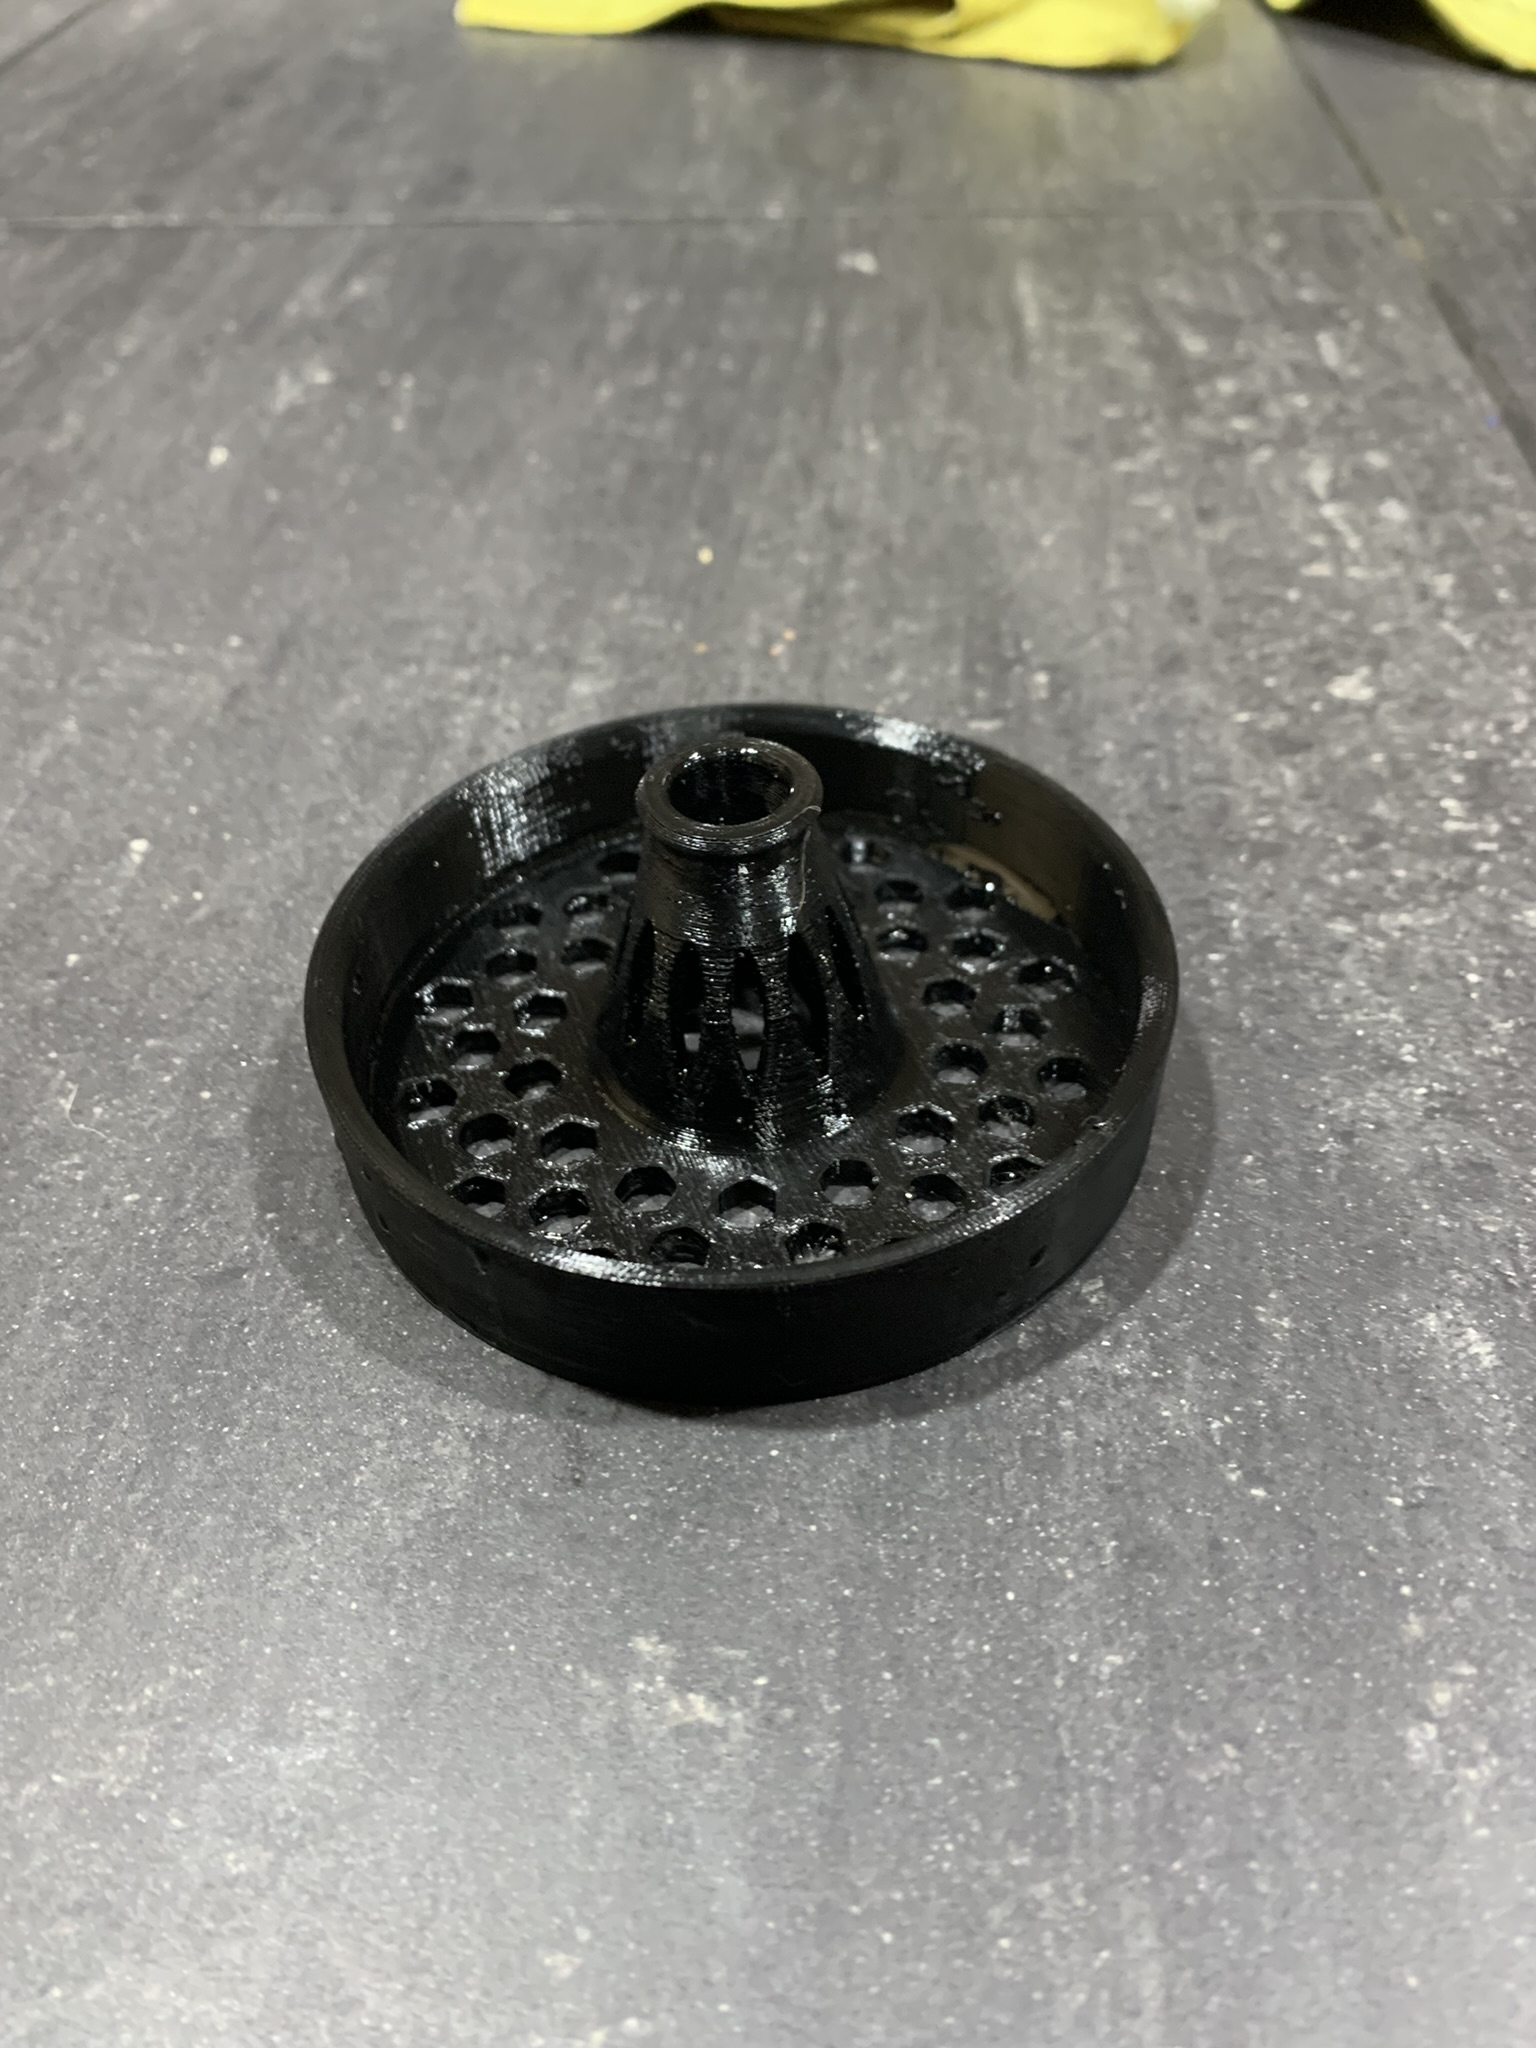
The drain basket is the part of the drain that sits inside the sink and catches debris. Over time, the drain basket may become clogged or damaged and need to be replaced. To remove the drain basket, you will need to first remove the flange and then follow a few simple steps to successfully remove the basket.How to Remove a Kitchen Sink Drain Basket


How to Remove a Kitchen Sink Drain Basket

The drain plug is the small part that controls the flow of water in your sink. If the plug is damaged or not working properly, you may need to replace it. To remove the drain plug, you will first need to remove the drain basket. From there, you can easily remove the plug and replace it with a new one.How to Remove a Kitchen Sink Drain Plug


How to Remove a Kitchen Sink Drain Plug


The strainer is the part of the drain that sits inside the sink and catches larger debris. If your strainer is damaged or clogged, it may need to be replaced. To remove the strainer, you will first need to remove the drain basket and then follow a few simple steps to successfully remove the strainer.How to Remove a Kitchen Sink Drain Strainer

How to Remove a Kitchen Sink Drain Strainer


The drain pipe is the part of the drain that connects to the plumbing under your sink. If you need to replace the pipe, you will first need to remove the old one. This may seem like a difficult task, but with the right tools and a little bit of know-how, you can successfully remove the drain pipe and install a new one.How to Remove a Kitchen Sink Drain Pipe

How to Remove a Kitchen Sink Drain Pipe


:max_bytes(150000):strip_icc()/how-to-install-a-sink-drain-2718789-hero-24e898006ed94c9593a2a268b57989a3.jpg)
The drain stopper is the part of the drain that opens and closes to control the flow of water. If the stopper is damaged or not working properly, it may need to be replaced. To remove the stopper, you will first need to remove the drain basket and then follow a few simple steps to successfully remove the stopper. In conclusion, removing a kitchen sink drain may seem like a daunting task, but with the right tools and knowledge, it can be done easily and efficiently. Whether you are replacing an old drain or fixing a leak, following these steps will help you successfully remove your kitchen sink drain and get your sink working properly again.How to Remove a Kitchen Sink Drain Stopper

How to Remove a Kitchen Sink Drain Stopper

Why the Kitchen Sink Drain O-Ring Needs to be Removed and Replaced

Understanding the Importance of the O-Ring in Your Kitchen Sink Drain
 The kitchen sink is an essential part of any household, and its drainage system plays a crucial role in keeping things running smoothly. However, over time, the various components of the drain can wear out, causing leaks and other issues. One such component is the O-ring, a small but mighty rubber ring that helps to create a watertight seal between the sink and the drain pipe. When this O-ring becomes worn or damaged, it can lead to leaks and other problems. That's why it's essential to regularly check and replace the O-ring to maintain the functionality of your kitchen sink.
Signs that Your Kitchen Sink Drain O-Ring Needs to be Replaced
 There are several signs that indicate it's time to replace your kitchen sink drain O-ring. The most obvious sign is a leaky sink. If you notice water pooling under your sink or dripping from the drain, it's likely that the O-ring needs to be replaced. You may also notice a foul odor coming from your sink, which could be a sign that the O-ring has deteriorated and is allowing sewage gases to escape. Additionally, if you notice that your sink is draining slowly or not at all, it could be due to a damaged O-ring.
How to Remove and Replace the Kitchen Sink Drain O-Ring
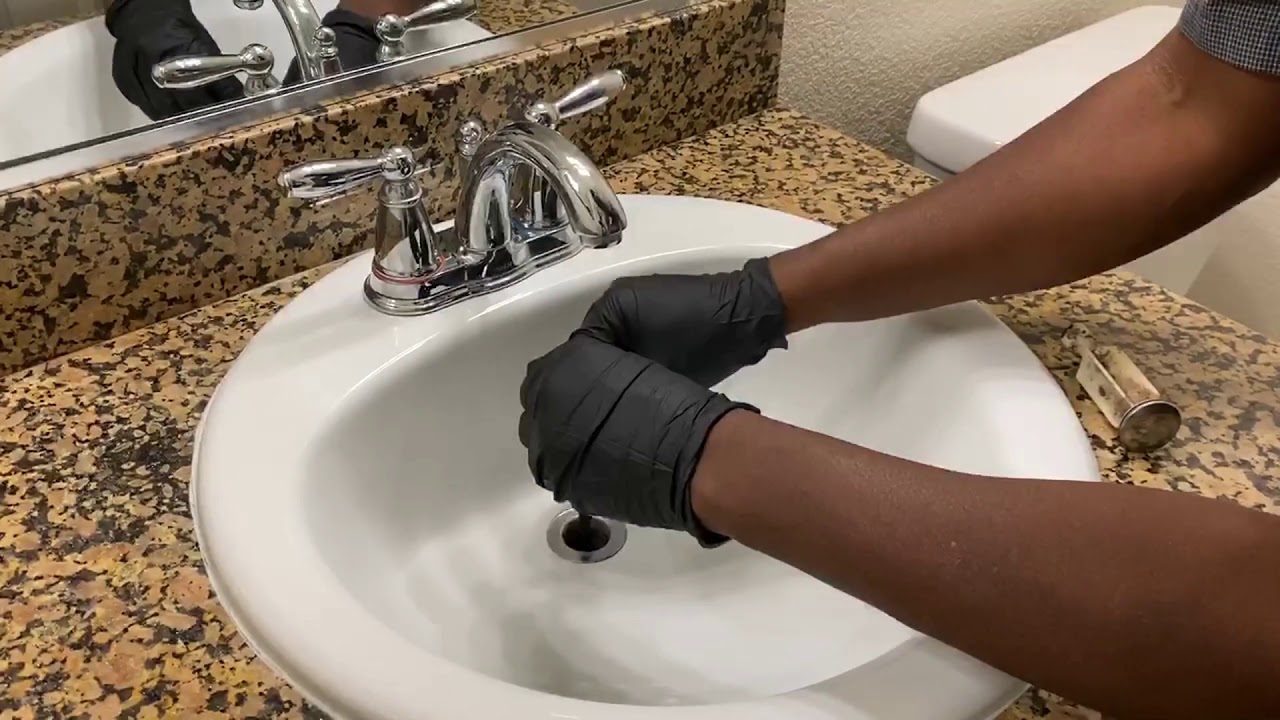
 Fortunately, removing and replacing the O-ring in your kitchen sink drain is a relatively simple process. The first step is to locate the O-ring, which is typically found between the sink and the drain pipe. Once you've located it, carefully remove it using a pair of pliers. Be sure to clean the area thoroughly before installing the new O-ring. It's also a good idea to apply some plumber's putty to ensure a tight seal. Once the new O-ring is in place, tighten the drain flange and test for leaks.
Why Regular Maintenance is Important for Your Kitchen Sink Drain
 Regularly checking and replacing the O-ring in your kitchen sink drain is just one aspect of proper maintenance for this essential household fixture. By keeping an eye on the various components and addressing any issues as soon as they arise, you can prevent costly repairs and ensure the longevity of your sink. Additionally, regular maintenance can help to prevent clogs and other plumbing problems, saving you time and hassle in the long run.
In conclusion,
the O-ring may be a small component of your kitchen sink drain, but it plays a significant role in keeping things functioning properly. By understanding the importance of the O-ring, knowing the signs that it needs to be replaced, and regularly performing maintenance, you can ensure that your kitchen sink remains leak-free and efficient for years to come. Don't neglect this small but crucial part of your sink's drainage system – take the time to remove and replace the kitchen sink drain O-ring when necessary.
Regularly checking and replacing the O-ring in your kitchen sink drain is just one aspect of proper maintenance for this essential household fixture. By keeping an eye on the various components and addressing any issues as soon as they arise, you can prevent costly repairs and ensure the longevity of your sink. Additionally, regular maintenance can help to prevent clogs and other plumbing problems, saving you time and hassle in the long run.
In conclusion,
the O-ring may be a small component of your kitchen sink drain, but it plays a significant role in keeping things functioning properly. By understanding the importance of the O-ring, knowing the signs that it needs to be replaced, and regularly performing maintenance, you can ensure that your kitchen sink remains leak-free and efficient for years to come. Don't neglect this small but crucial part of your sink's drainage system – take the time to remove and replace the kitchen sink drain O-ring when necessary.