Removing a kitchen sink drain cover may seem like a daunting task, but with the right tools and techniques, it can be a quick and easy process. Whether you're doing a renovation or just need to clean out your sink, knowing how to remove the drain cover is an important skill to have. In this guide, we'll walk you through the steps of removing a kitchen sink drain cover, so you can get the job done efficiently and effectively.How to Remove a Kitchen Sink Drain Cover


How to Remove a Kitchen Sink Drain Cover


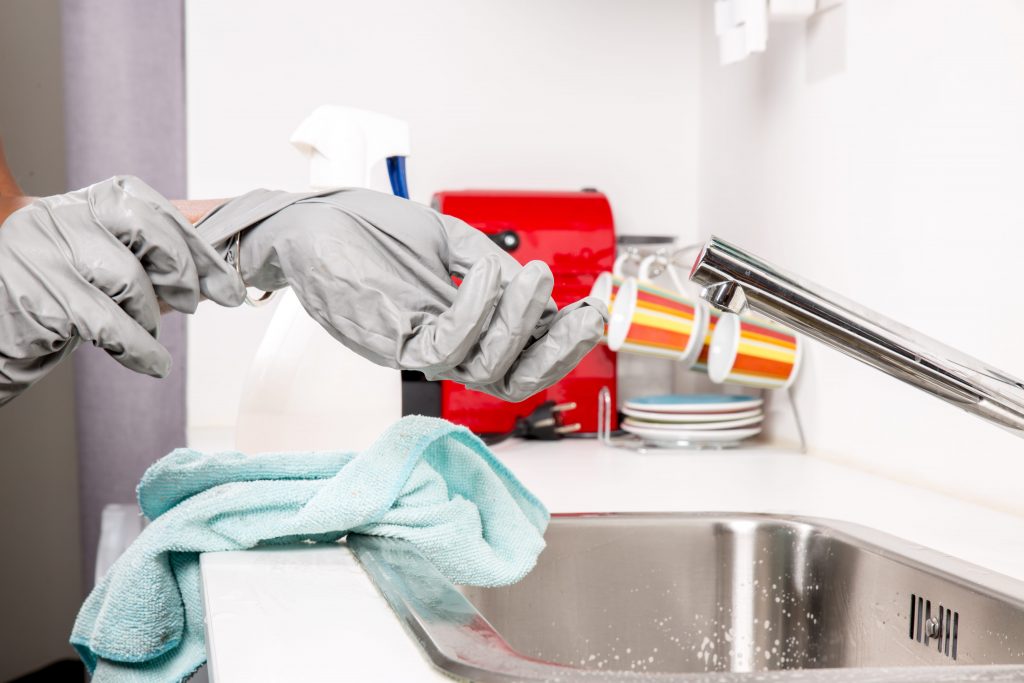
The first step in removing a kitchen sink drain cover is to gather all the necessary tools. You will need a screwdriver, pliers, and a bucket or container to catch any debris that may come out of the drain. You may also need a flashlight to help you see inside the drain.1. Gather Your Tools


Removing a Kitchen Sink Drain Cover: A Step-by-Step Guide


Before you start removing the drain cover, make sure to turn off the water supply to your sink. This will prevent any water from flowing while you are working on the drain, which could make the process messy and difficult.2. Turn Off the Water Supply


DIY: Removing a Kitchen Sink Drain Cover

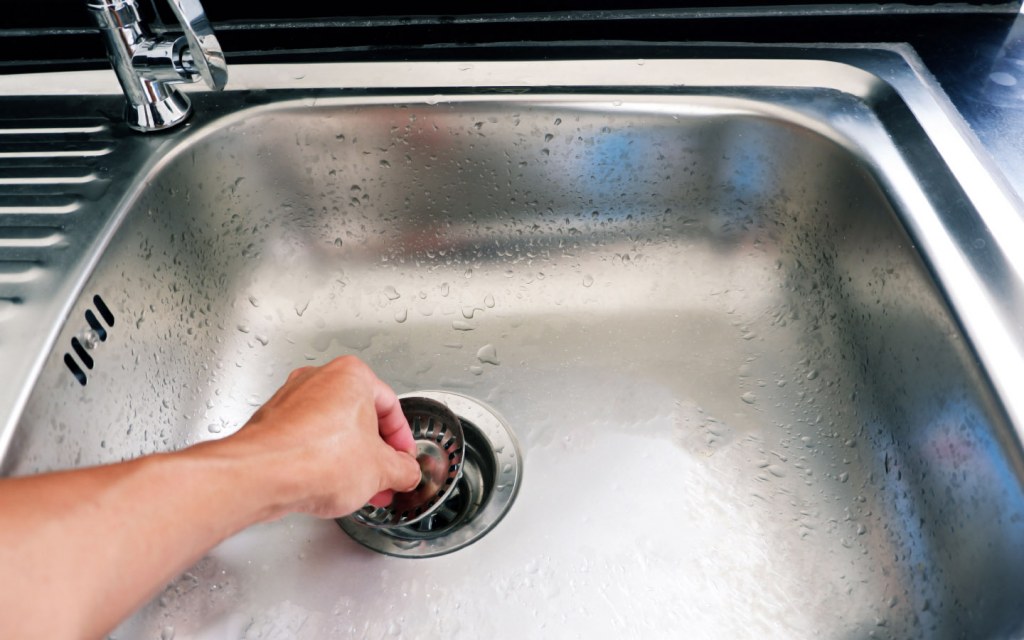


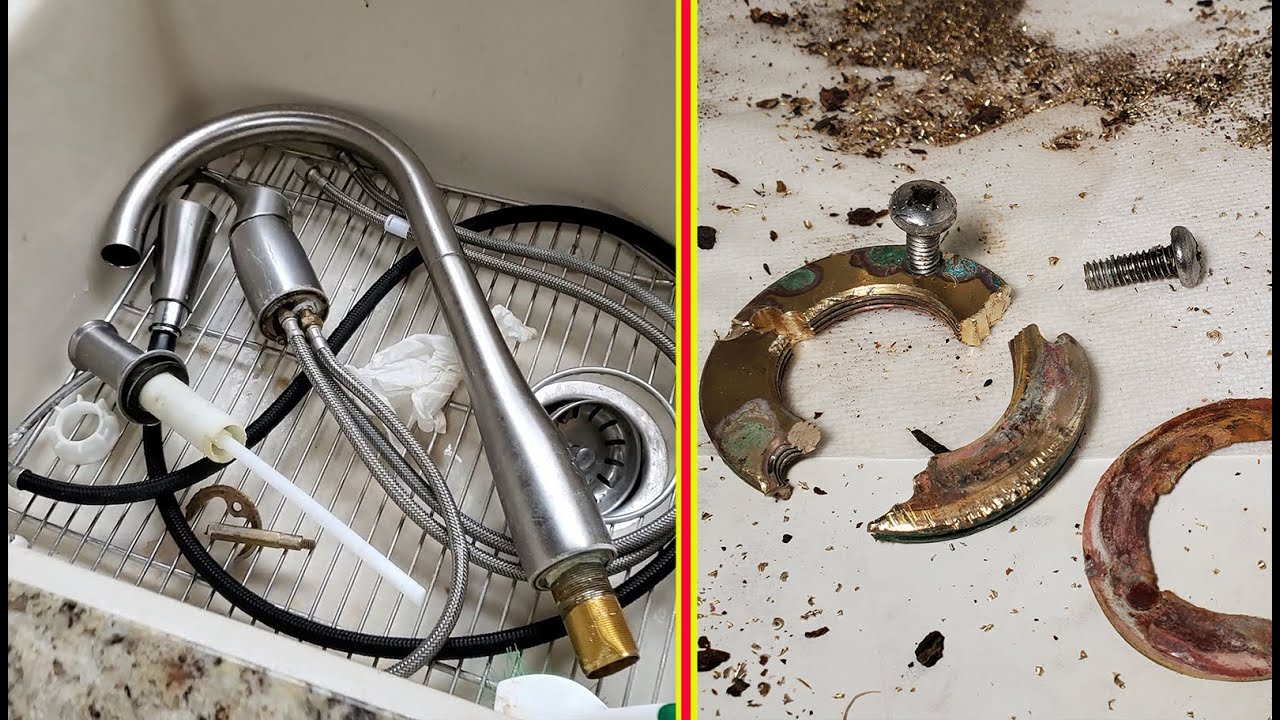
The next step is to locate the drain cover on your sink. It is usually found in the center of the sink, underneath the faucet. Some drain covers may be attached to the sink with screws, while others may simply pop off.3. Locate the Drain Cover


Quick and Easy Ways to Remove a Kitchen Sink Drain Cover


If your drain cover is attached with screws, use a screwdriver to remove them. Place the screws in a safe place, so you don't lose them. If your drain cover does not have screws, skip to the next step.4. Remove the Screws


Removing a Kitchen Sink Drain Cover: Tips and Tricks

If your drain cover does not have screws, it is most likely attached with a snap-in mechanism. To remove it, use a pair of pliers to grip the edges of the drain cover and gently twist and pull it off. Be careful not to use too much force, as you don't want to damage the sink or the drain cover.5. Pop Off the Drain Cover


The Best Methods for Removing a Kitchen Sink Drain Cover
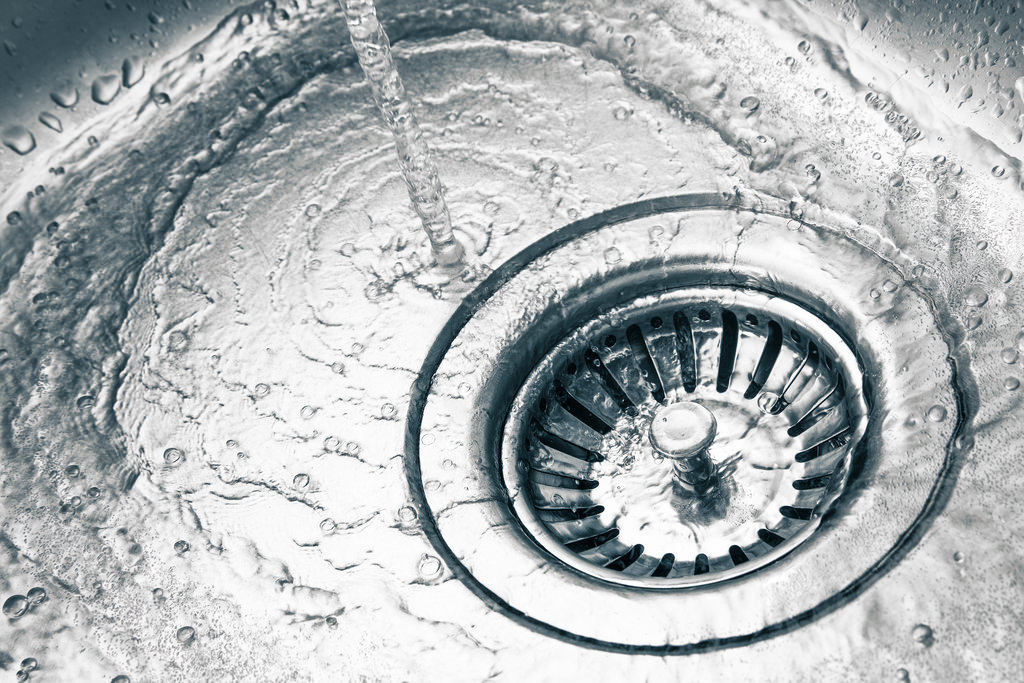


Once the drain cover is removed, you may see some debris or buildup inside the drain. Use your pliers or a small tool to remove any blockages and clean out the drain. You can also use a mixture of hot water and vinegar to dissolve any grime or buildup.6. Clean Out the Drain


Step-by-Step Guide for Removing a Kitchen Sink Drain Cover


After cleaning out the drain, it's time to put the drain cover back in place. If your drain cover has screws, simply reattach them with your screwdriver. If it is a snap-in cover, carefully align it with the drain and press it into place until it clicks.7. Replace the Drain Cover


Removing a Kitchen Sink Drain Cover: Common Mistakes to Avoid


Once the drain cover is back in place, turn the water supply back on and check for any leaks. If everything looks good, you have successfully removed and replaced your kitchen sink drain cover.8. Turn the Water Supply Back On


How to Remove a Stuck Kitchen Sink Drain Cover


Removing a kitchen sink drain cover may seem like a simple task, but it's important to do it correctly to avoid any damage to your sink or plumbing. By following these steps, you can easily remove the drain cover and clean out your sink, keeping it in top condition. Remember to always be careful and use the right tools when working on your sink.
Removing a Kitchen Sink Drain Cover: Common Mistakes to Avoid
While removing a kitchen sink drain cover may seem like a straightforward process, there are some common mistakes that people make. These mistakes can lead to frustration and even damage to your sink or plumbing. Here are some things to avoid when removing a drain cover:
Using too much force: When removing a snap-in drain cover, it's important to be gentle and use just enough force to pop it off. Using too much force can damage the sink or the drain cover itself.
Not turning off the water supply: It's important to always turn off the water supply before working on your sink. This will prevent any water from flowing and making the process messy and difficult.
Not having the right tools: Make sure to have all the necessary tools before starting the process. Not having the right tools can make the job more challenging and may result in damage to your sink or plumbing.
Not cleaning out the drain: While the drain cover is off, take the time to clean out any debris or buildup in the drain. This will help prevent clogs and keep your sink running smoothly.

Removing a Kitchen Sink Drain Cover: Tools You'll Need

Why it's Important to Remove Your Kitchen Sink Drain Cover

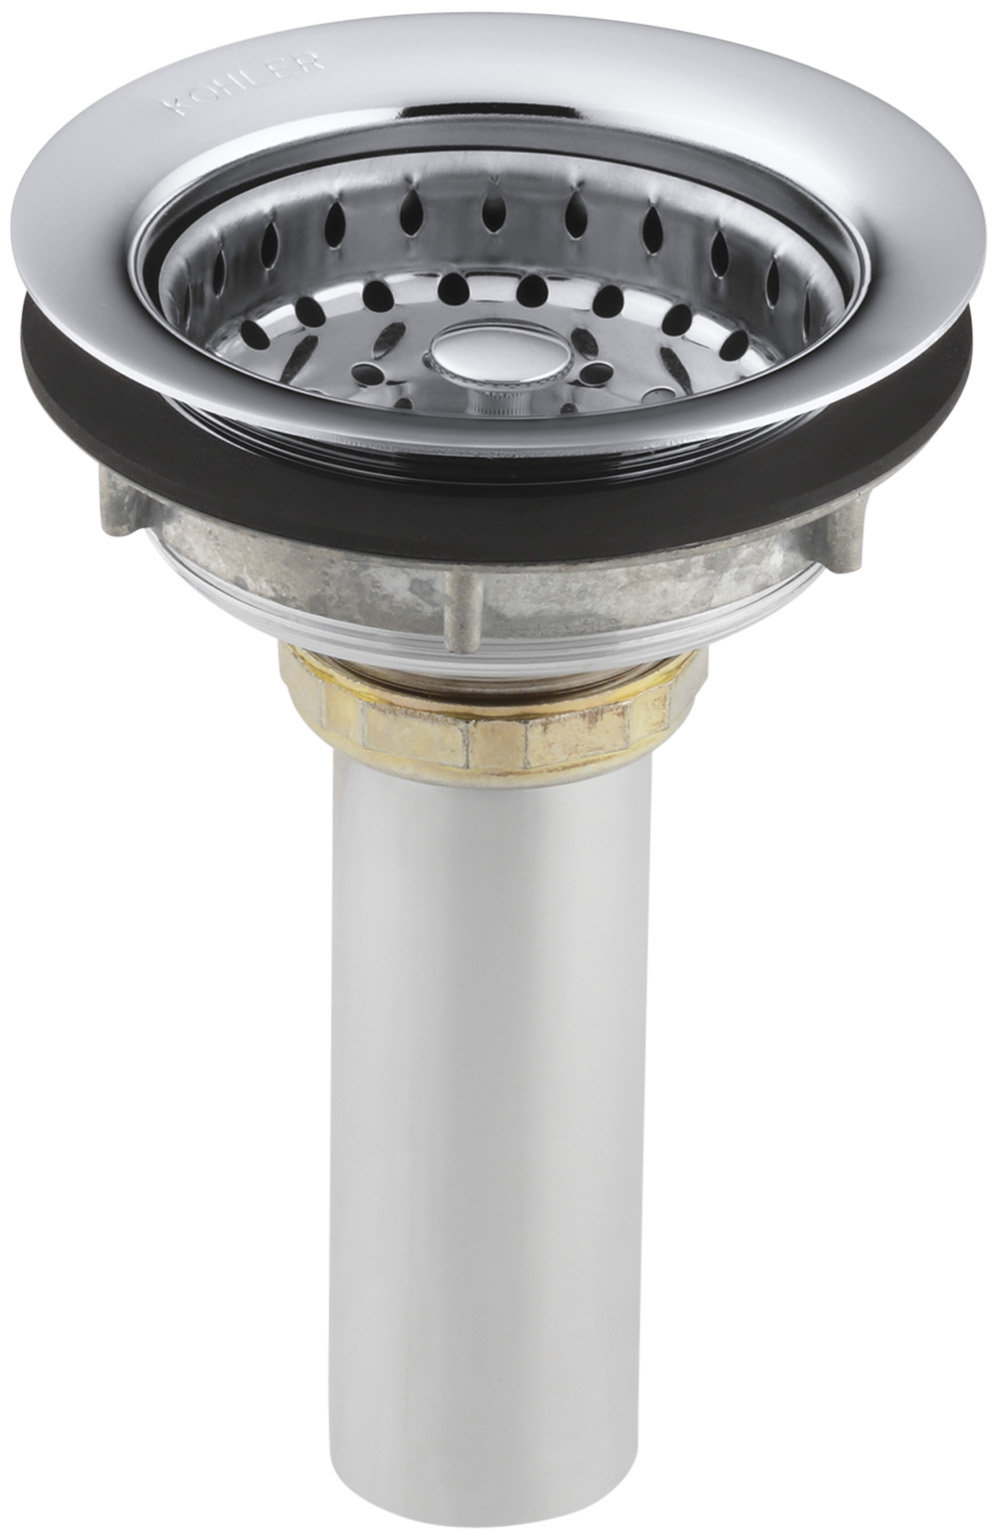
The Function of a Kitchen Sink Drain Cover
 When it comes to designing a functional and aesthetically pleasing kitchen, the sink is often the focal point. It's where we wash our dishes, prepare our food, and even fill up a glass of water. But one important component of the sink that often goes unnoticed is the drain cover. This small but essential part plays a crucial role in keeping our kitchens clean and functioning properly.
The main purpose of a kitchen sink drain cover is to prevent debris and food particles from clogging the drain. Without it, the drain would quickly become clogged with food scraps and other waste, leading to slow drainage and potential plumbing issues. Additionally, the drain cover also helps to keep the sink looking clean and free of any unsightly mess.
When it comes to designing a functional and aesthetically pleasing kitchen, the sink is often the focal point. It's where we wash our dishes, prepare our food, and even fill up a glass of water. But one important component of the sink that often goes unnoticed is the drain cover. This small but essential part plays a crucial role in keeping our kitchens clean and functioning properly.
The main purpose of a kitchen sink drain cover is to prevent debris and food particles from clogging the drain. Without it, the drain would quickly become clogged with food scraps and other waste, leading to slow drainage and potential plumbing issues. Additionally, the drain cover also helps to keep the sink looking clean and free of any unsightly mess.
When to Remove Your Kitchen Sink Drain Cover
 While the kitchen sink drain cover may seem like a permanent fixture, it's important to periodically remove and clean it. Over time, debris and residue can build up on the cover, making it less effective in preventing clogs. It's recommended to remove the drain cover at least once a month and give it a thorough cleaning.
Another reason to remove the drain cover is if you notice your sink is draining slowly or has a foul odor. This could be a sign that the drain cover is clogged or that there is buildup in the drain itself. By removing the cover, you can easily access and clean out any debris or buildup, allowing for better drainage and eliminating any unpleasant smells.
While the kitchen sink drain cover may seem like a permanent fixture, it's important to periodically remove and clean it. Over time, debris and residue can build up on the cover, making it less effective in preventing clogs. It's recommended to remove the drain cover at least once a month and give it a thorough cleaning.
Another reason to remove the drain cover is if you notice your sink is draining slowly or has a foul odor. This could be a sign that the drain cover is clogged or that there is buildup in the drain itself. By removing the cover, you can easily access and clean out any debris or buildup, allowing for better drainage and eliminating any unpleasant smells.
How to Remove Your Kitchen Sink Drain Cover
 Removing a kitchen sink drain cover is a simple process that can be done in just a few easy steps. First, locate the cover on your sink. It is usually located in the center of the sink or towards the back. Next, using a pair of pliers or a screwdriver, loosen the screws or clips that are holding the cover in place. Once the cover is loosened, carefully lift it out of the sink.
If the cover is clogged with debris, use a brush or cloth to clean it off. You can also use a mixture of hot water and vinegar to help dissolve any buildup. Once the cover is clean, rinse it off and dry it before placing it back in the sink.
In conclusion, while the kitchen sink drain cover may seem like a small and insignificant part of your kitchen, it plays a vital role in keeping your sink clean and functioning properly. By regularly removing and cleaning the cover, you can ensure that your sink remains clog-free and looking its best. So next time you're cleaning your kitchen, don't forget to give your drain cover some attention.
Removing a kitchen sink drain cover is a simple process that can be done in just a few easy steps. First, locate the cover on your sink. It is usually located in the center of the sink or towards the back. Next, using a pair of pliers or a screwdriver, loosen the screws or clips that are holding the cover in place. Once the cover is loosened, carefully lift it out of the sink.
If the cover is clogged with debris, use a brush or cloth to clean it off. You can also use a mixture of hot water and vinegar to help dissolve any buildup. Once the cover is clean, rinse it off and dry it before placing it back in the sink.
In conclusion, while the kitchen sink drain cover may seem like a small and insignificant part of your kitchen, it plays a vital role in keeping your sink clean and functioning properly. By regularly removing and cleaning the cover, you can ensure that your sink remains clog-free and looking its best. So next time you're cleaning your kitchen, don't forget to give your drain cover some attention.