Are you ready to give your kitchen a fresh new look with a fresh coat of paint? Before you break out the paintbrushes, it's important to properly prep your kitchen walls for painting. This will ensure a smooth and professional finish that will last for years to come. Follow these steps to get your kitchen walls ready for their makeover.How to Prep Your Kitchen Walls for Painting


How to Prep Your Kitchen Walls for Painting


Prepping your kitchen walls for painting may seem like a daunting task, but with the right tools and techniques, it can be a breeze. The key is to take your time and pay attention to detail. Trust us, it will be worth it in the end. Here's what you need to do.Prepping Your Kitchen Walls for a Fresh Coat of Paint


Prepping Your Kitchen Walls for a Fresh Coat of Paint


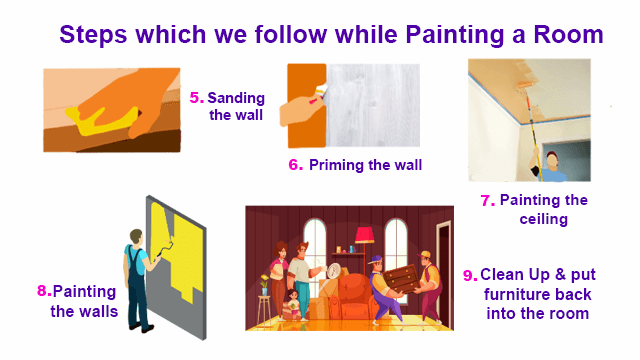
Step 1: Clear the walls. Before you can start prepping, you need a clear canvas. Remove any pictures, shelves, or other decorations from your kitchen walls. Step 2: Protect your floors and countertops. Lay down drop cloths or plastic sheets to protect your floors and countertops from any accidental drips or spills. Step 3: Clean the walls. Use a mild detergent solution and a sponge or cloth to wipe down the walls and remove any dirt, grease, or stains. Step 4: Repair any damage. Use spackling paste to fill in any holes or cracks in the walls. Sand the area smooth once the paste has dried. Step 5: Sand the walls. Use a sanding block or sandpaper to lightly sand the walls. This will help create a smooth surface for the paint to adhere to. Step 6: Prime the walls. Use a primer specifically for kitchen walls to ensure good adhesion and to prevent any stains from bleeding through the paint. Step 7: Tape off edges and trim. Use painter's tape to cover any areas you don't want to get paint on, such as trim, baseboards, and outlets. Step 8: Let the primer dry completely. Follow the manufacturer's instructions for drying time. Step 9: Sand again. Once the primer is dry, lightly sand the walls again to remove any imperfections and create a smooth surface. Step 10: Wipe down the walls again. Use a damp cloth to remove any dust from sanding. Step 11: You're ready to paint! Now that your walls are prepped, it's time to start painting.Steps for Preparing Your Kitchen Walls for Painting


Steps for Preparing Your Kitchen Walls for Painting


If you're planning on hiring a professional to paint your kitchen walls, there are a few extra steps you can take to ensure a flawless finish. First, make sure to communicate with your painter about any specific requests or concerns you have about the walls. They may have their own methods for prepping, but it's important to be on the same page. Second, consider investing in high-quality paint and tools. This will not only result in a better finish, but it will also save you time and money in the long run. Lastly, make sure to keep your kitchen clean and clear of any obstacles for the painter. This will allow them to work efficiently and effectively.Preparing Your Kitchen Walls for a Professional Paint Job

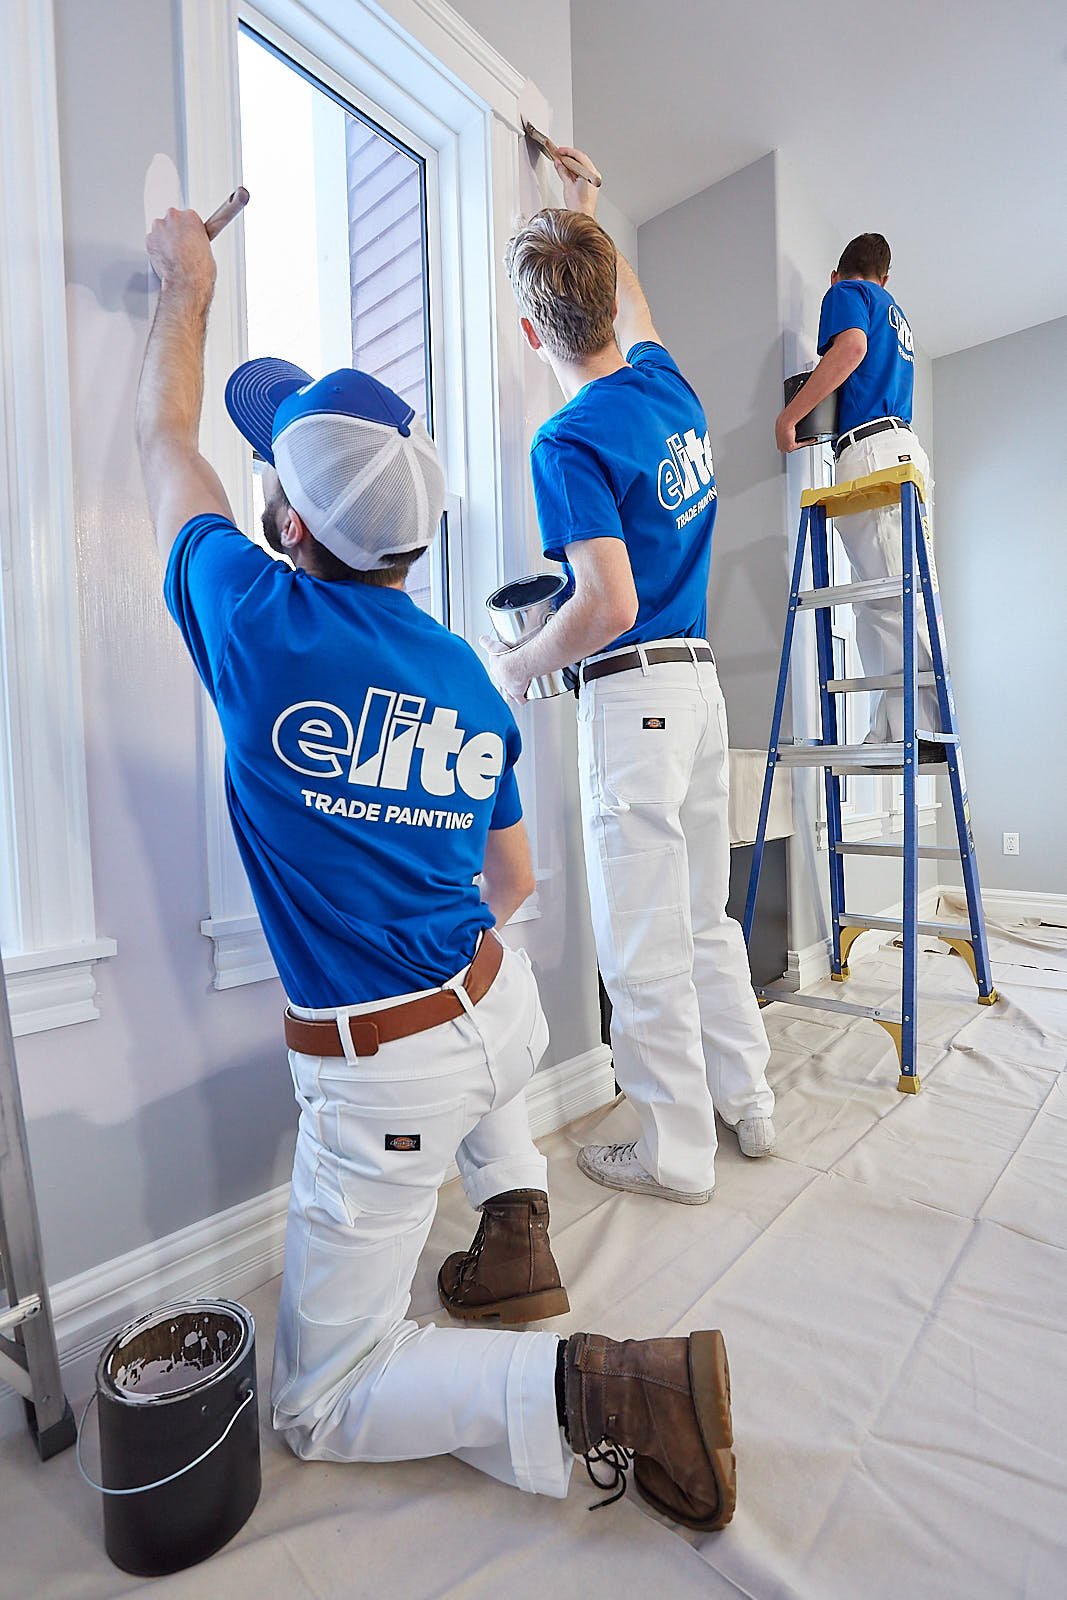
Preparing Your Kitchen Walls for a Professional Paint Job


If you're planning on tackling the paint job yourself, here are a few tips to make the process go smoothly. First, make sure to have all the necessary tools and materials on hand before you start. This may include paint, primer, brushes, rollers, drop cloths, and painter's tape. Second, follow the steps outlined above for prepping your walls. Take your time and don't rush through any of the steps. Lastly, don't be afraid to ask for help if you need it. Painting can be a tiring and time-consuming task, so enlist the help of a friend or family member to make the process more enjoyable.DIY Guide: Prepping Your Kitchen Walls for Painting


DIY Guide: Prepping Your Kitchen Walls for Painting


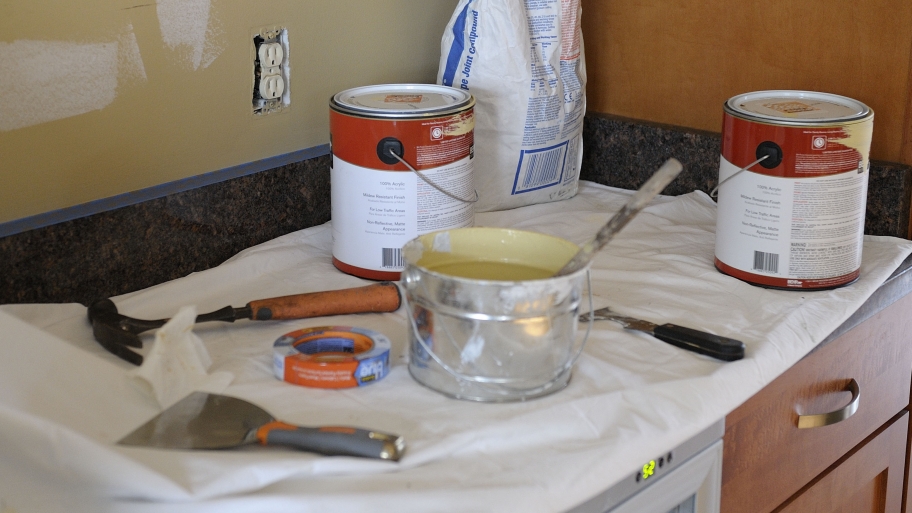
Here's a list of the tools and materials you'll need to properly prep your kitchen walls for painting: - Mild detergent solution - Sponge or cloth - Spackling paste - Sanding block or sandpaper - Primer - Painter's tape - High-quality paint - Paintbrushes and rollers - Drop cloths or plastic sheetsEssential Tools and Materials for Prepping Kitchen Walls for Painting


Essential Tools and Materials for Prepping Kitchen Walls for Painting


/painter-tools_t20_LA4Brz-5c76eccb46e0fb0001edc76d.jpg)


Cleaning and repairing your kitchen walls before painting is crucial for a successful paint job. Here are some tips to keep in mind: - Use a mild detergent solution to clean the walls, and make sure to rinse off any soap residue. - When repairing holes or cracks, make sure to use spackling paste specifically designed for walls. - Sand in a circular motion to avoid creating any noticeable marks on the wall. - Use a damp cloth to remove any dust from sanding before painting.Tips for Cleaning and Repairing Kitchen Walls Before Painting


Tips for Cleaning and Repairing Kitchen Walls Before Painting


:max_bytes(150000):strip_icc()/washing-interior-walls-2-b5cd3327c69944188f71d8c989ab021c.jpg)
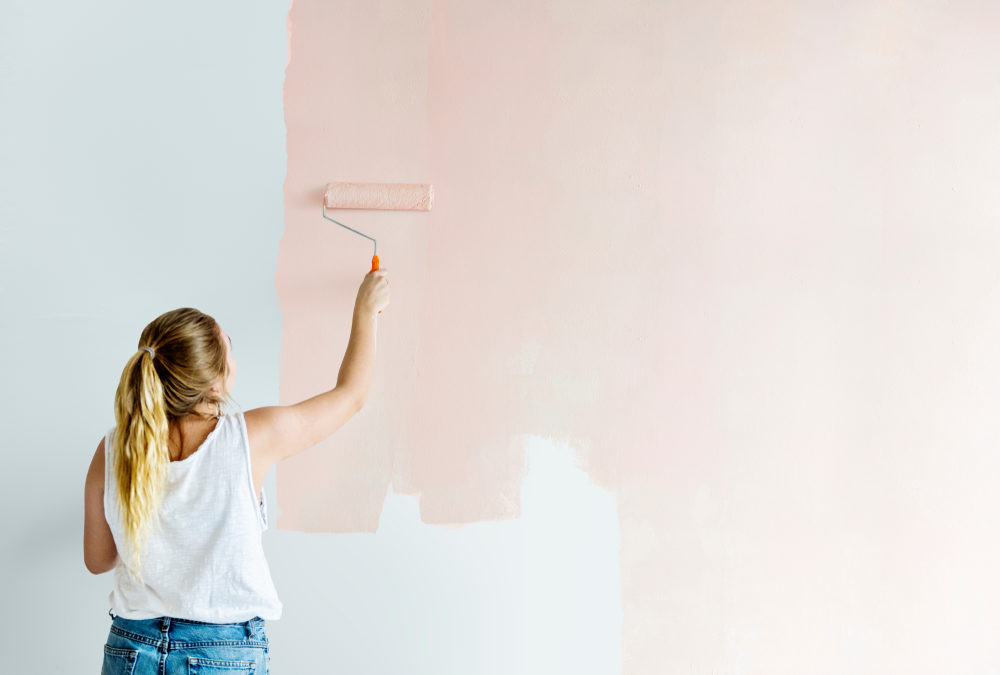
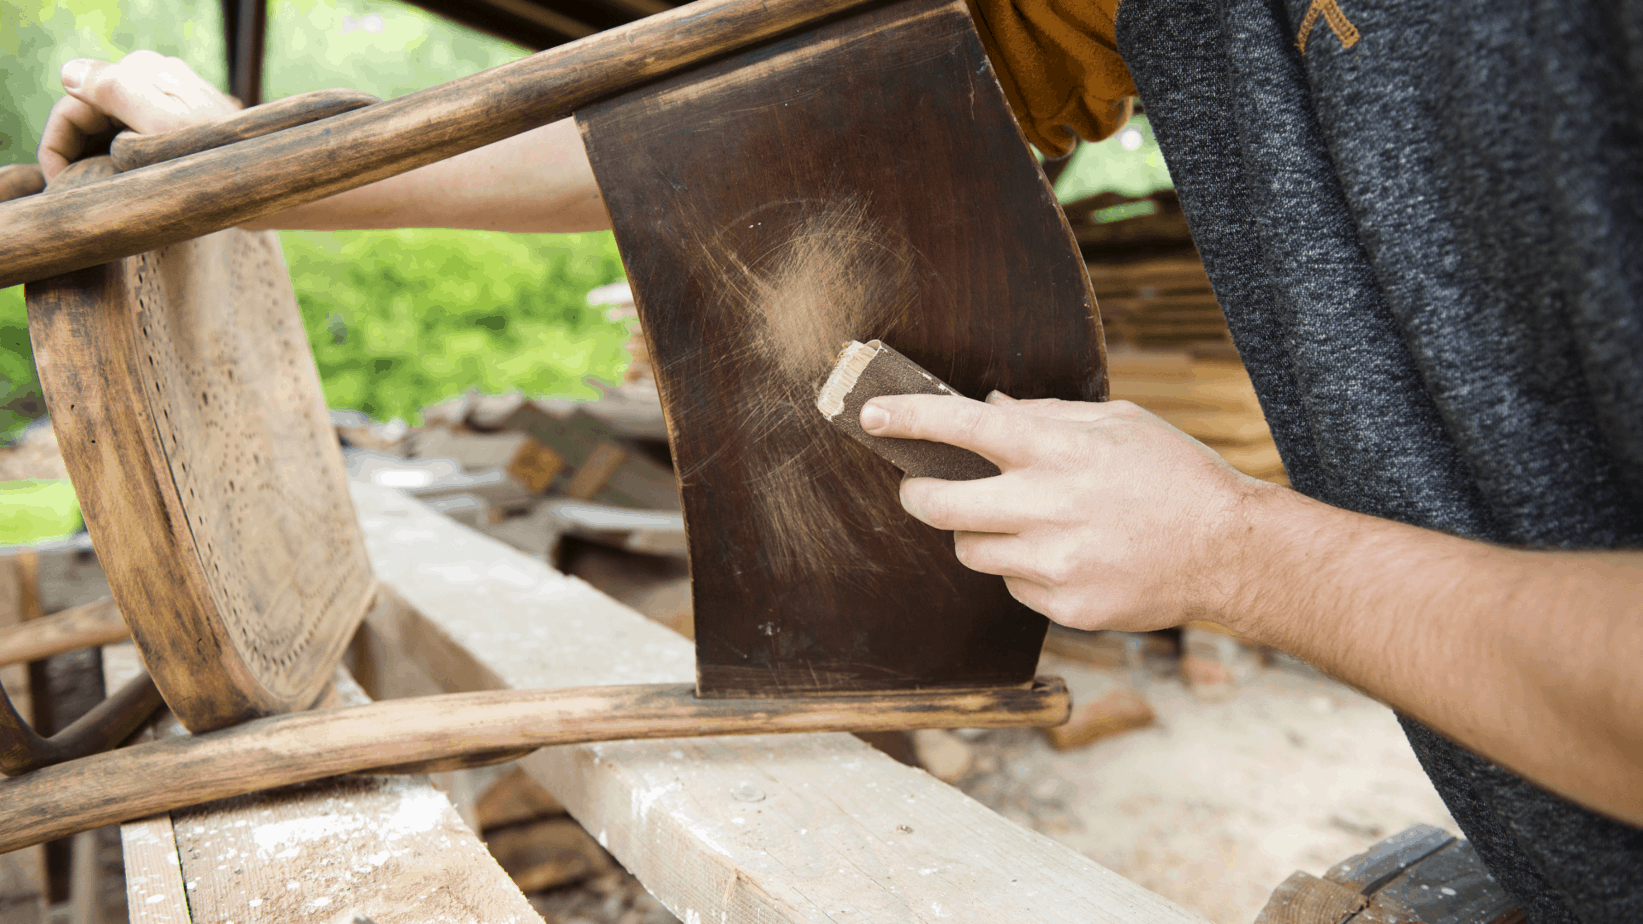
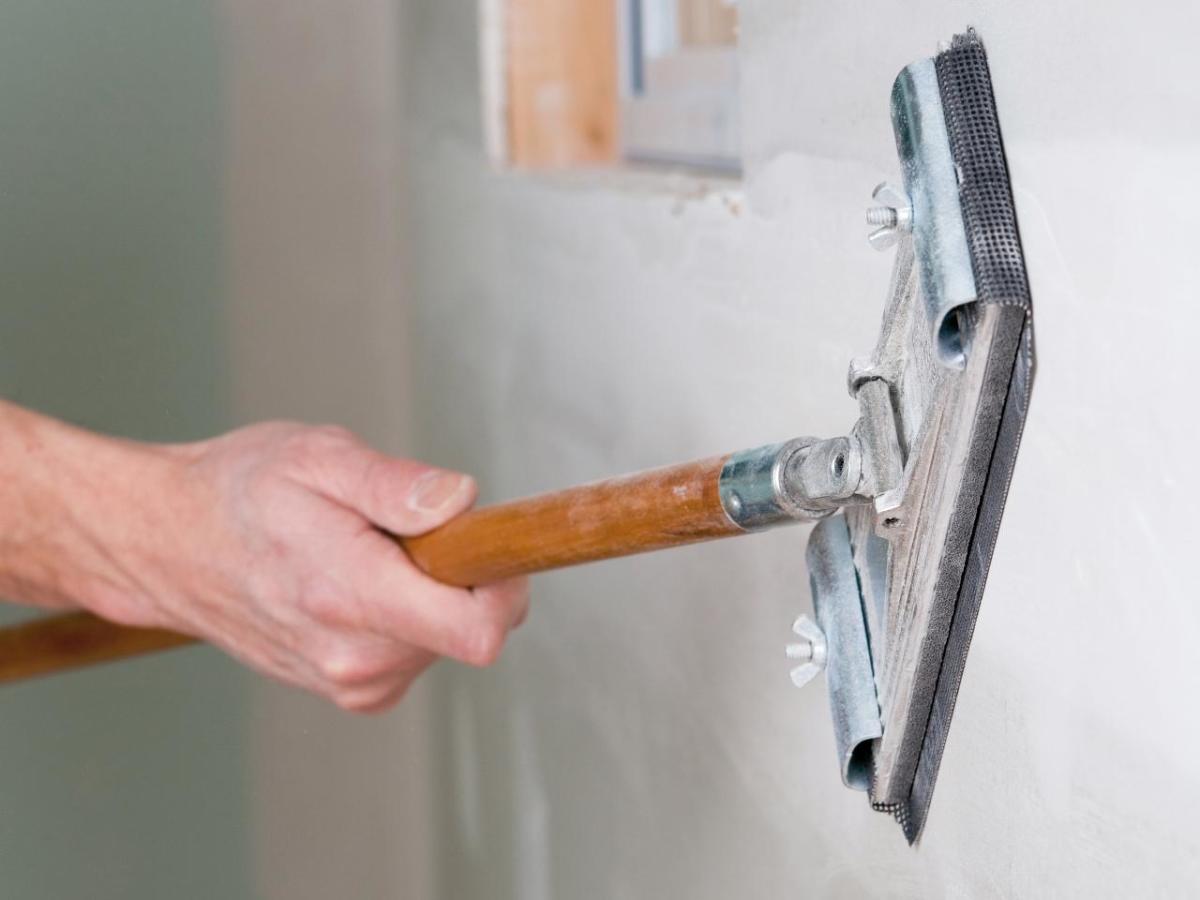
Sanding and priming are two important steps in prepping your kitchen walls for painting. Here's how to do it: - Use a sanding block or sandpaper to lightly sand the walls in a circular motion. - Make sure to wipe down the walls with a damp cloth after sanding to remove any dust. - Use a primer specifically designed for kitchen walls to ensure good adhesion and a smooth finish. - Let the primer dry completely before painting.How to Sand and Prime Kitchen Walls for a Smooth Paint Finish


How to Sand and Prime Kitchen Walls for a Smooth Paint Finish


Now that you know the steps to prep your kitchen walls for painting, here's a quick summary of the process: 1. Clear the walls 2. Protect your floors and countertops 3. Clean the walls 4. Repair any damage 5. Sand the walls 6. Prime the walls 7. Tape off edges and trim 8. Let the primer dry completely 9. Sand again 10. Wipe down the walls again 11. Paint!Prepping Kitchen Walls for Painting: A Step-by-Step Guide


Prepping Kitchen Walls for Painting: A Step-by-Step Guide


Prepping your kitchen walls for painting may seem straightforward, but there are a few common mistakes you'll want to avoid: - Not cleaning the walls properly before painting. This can result in a patchy and uneven finish. - Skipping the sanding step. Sanding helps create a smooth surface for the paint to adhere to. - Using the wrong type of primer. Make sure to use a primer specifically designed for kitchen walls to prevent any stains from bleeding through. By following these tips and avoiding these mistakes, you'll be well on your way to a beautifully painted kitchen. Now that you know how to prep your kitchen walls for painting, it's time to get started! With a little bit of elbow grease and attention to detail, you can achieve a professional-looking paint job that will transform your kitchen. Happy painting!Common Mistakes to Avoid When Prepping Kitchen Walls for Painting


Common Mistakes to Avoid When Prepping Kitchen Walls for Painting


Additional Tips for Prepping Your Kitchen Walls for Painting

Prime the Walls
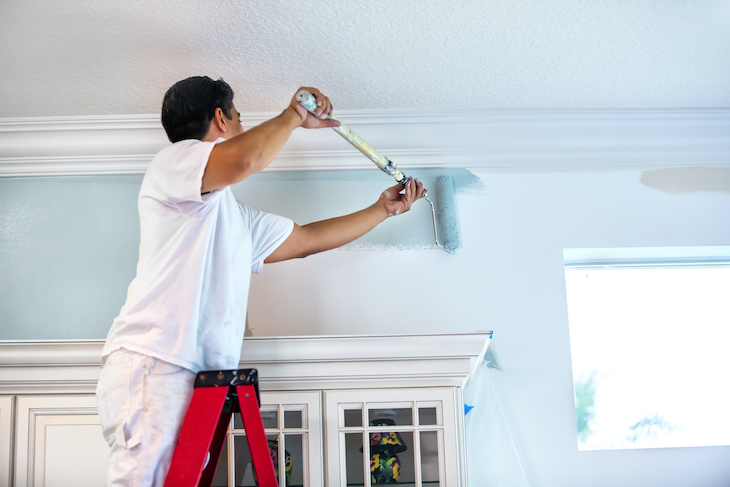
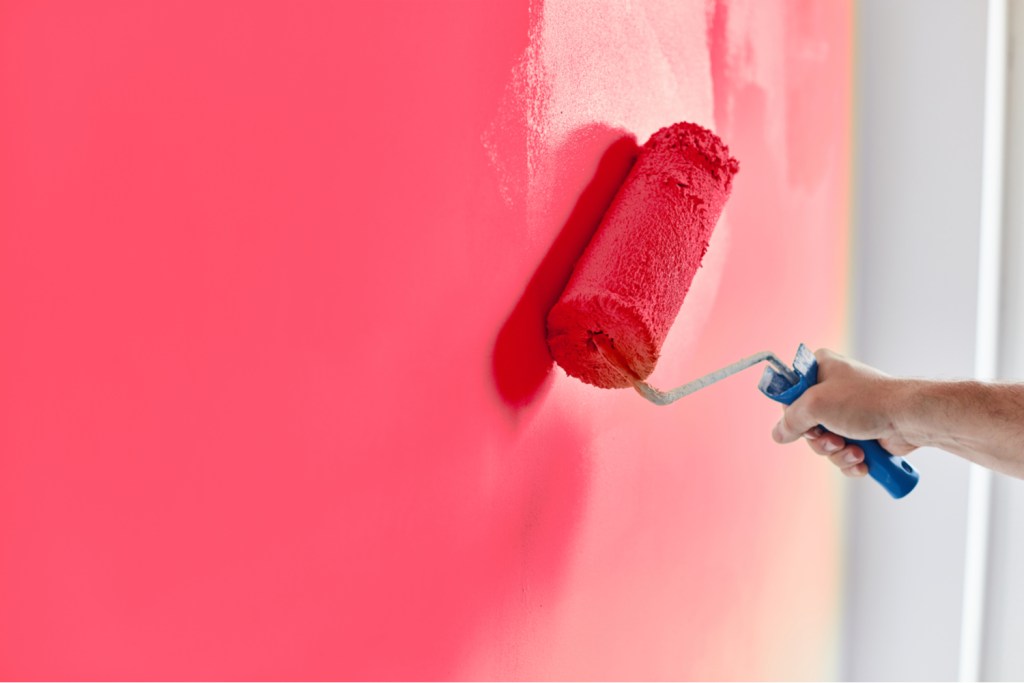
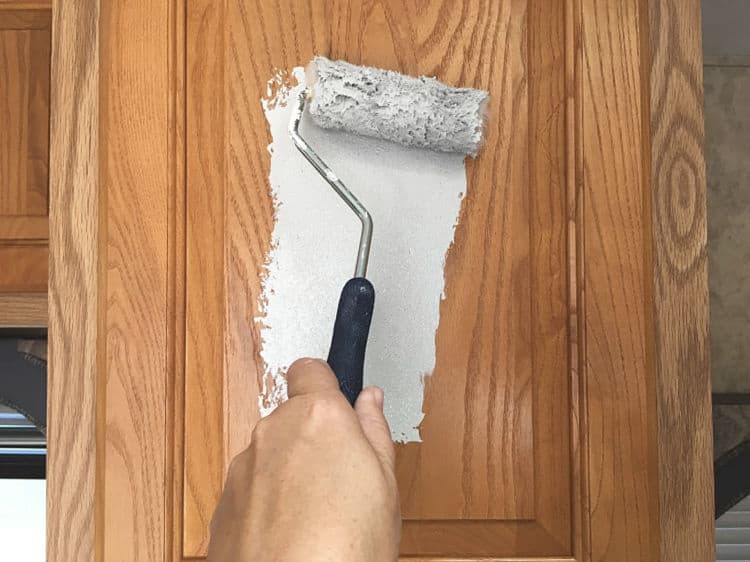
 When it comes to painting your kitchen walls, one of the most important steps is to properly prime them. This creates a smooth and even surface for the paint to adhere to, ensuring a professional and long-lasting finish.
Use a high-quality primer specifically designed for kitchen walls
to not only cover any imperfections but also to create a barrier against moisture and stains. Apply the primer with a roller or brush, making sure to cover the entire surface evenly.
When it comes to painting your kitchen walls, one of the most important steps is to properly prime them. This creates a smooth and even surface for the paint to adhere to, ensuring a professional and long-lasting finish.
Use a high-quality primer specifically designed for kitchen walls
to not only cover any imperfections but also to create a barrier against moisture and stains. Apply the primer with a roller or brush, making sure to cover the entire surface evenly.
Fill in Any Holes or Cracks
 Before painting, it’s important to check for any holes or cracks in your kitchen walls and fill them in. This will ensure a smooth and seamless finish, as well as prevent any moisture or mold from seeping in.
Use a spackling compound or lightweight joint compound to fill in any holes or cracks
, and then sand down the area until it is flush with the rest of the wall. This step may require multiple layers for larger holes or cracks, so be patient and make sure to let each layer dry completely before adding another.
Before painting, it’s important to check for any holes or cracks in your kitchen walls and fill them in. This will ensure a smooth and seamless finish, as well as prevent any moisture or mold from seeping in.
Use a spackling compound or lightweight joint compound to fill in any holes or cracks
, and then sand down the area until it is flush with the rest of the wall. This step may require multiple layers for larger holes or cracks, so be patient and make sure to let each layer dry completely before adding another.
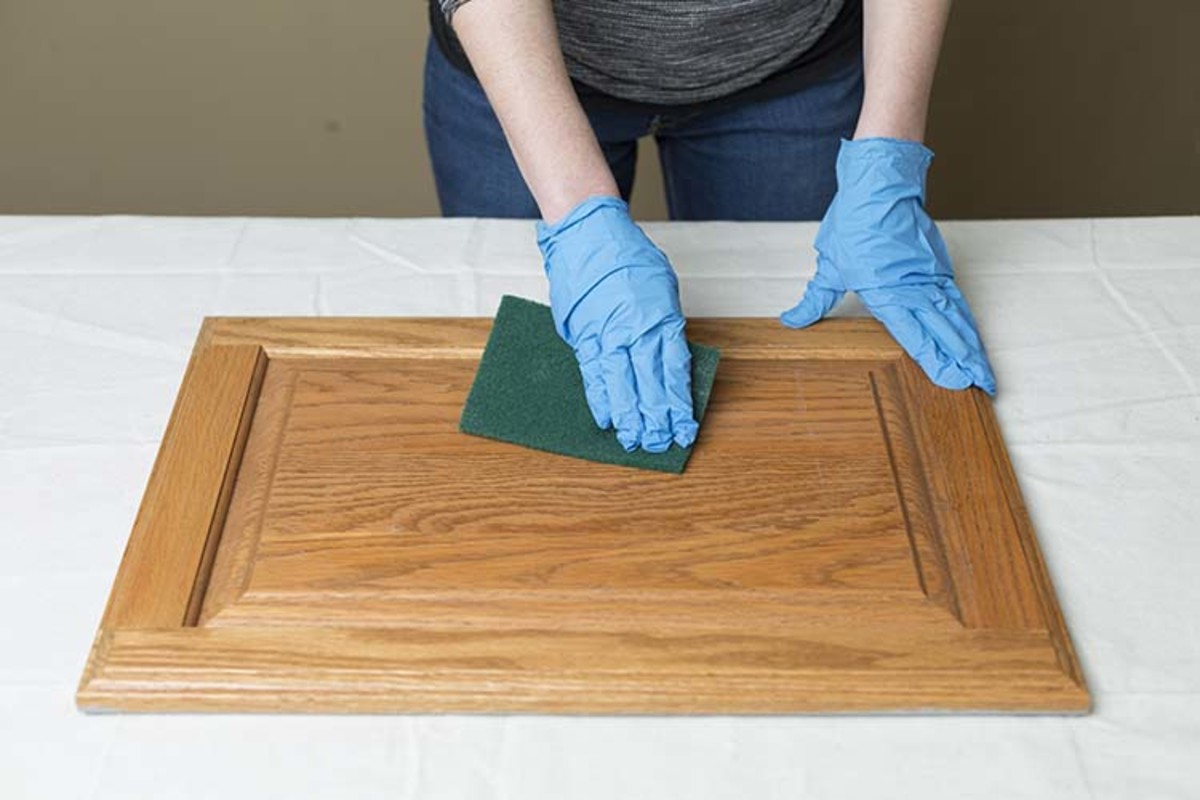
Clean and Degrease the Walls
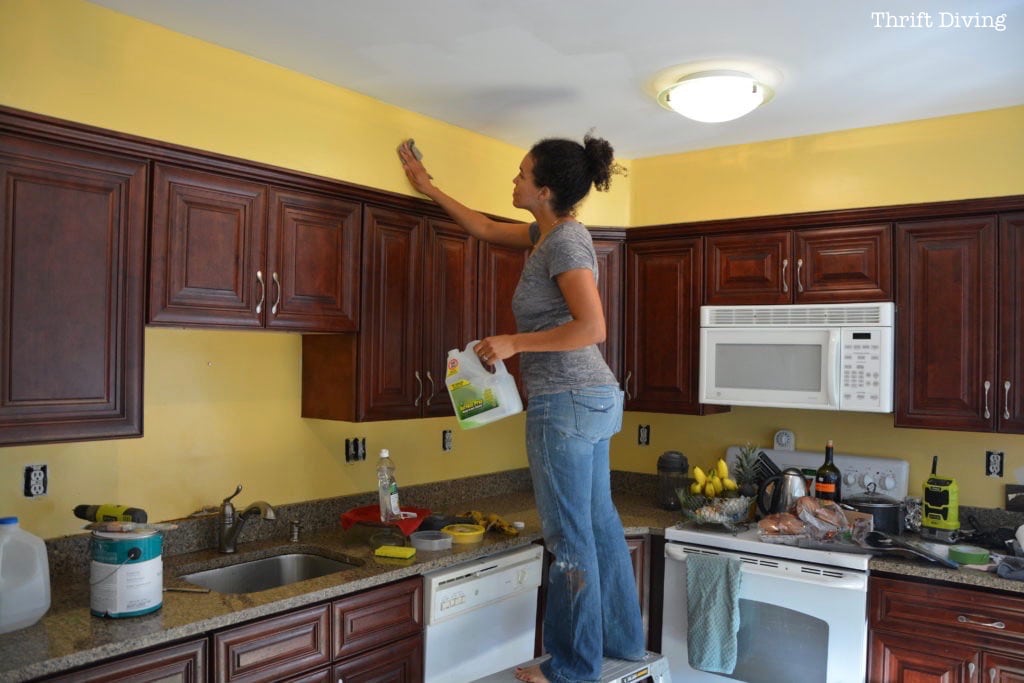
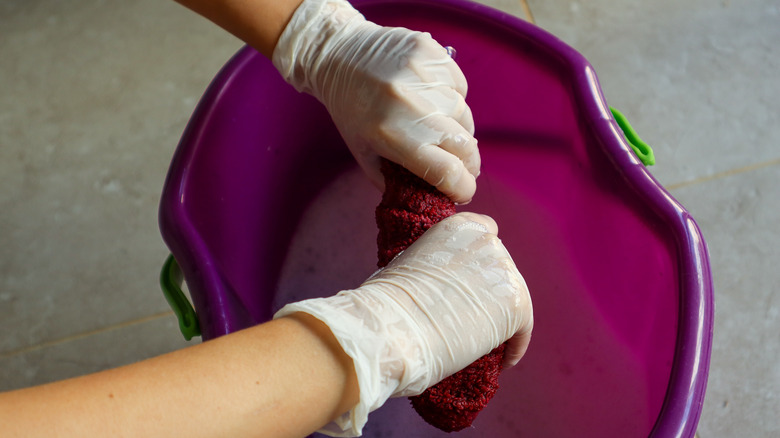
 Kitchen walls can accumulate a lot of grease and grime over time, especially near cooking areas. Before painting, it’s important to thoroughly clean and degrease the walls to ensure the paint adheres properly. Use a mild detergent and warm water to scrub the walls, and
consider using a degreaser specifically designed for kitchen walls
. Rinse the walls with clean water and let them dry completely before moving on to the painting process.
Kitchen walls can accumulate a lot of grease and grime over time, especially near cooking areas. Before painting, it’s important to thoroughly clean and degrease the walls to ensure the paint adheres properly. Use a mild detergent and warm water to scrub the walls, and
consider using a degreaser specifically designed for kitchen walls
. Rinse the walls with clean water and let them dry completely before moving on to the painting process.
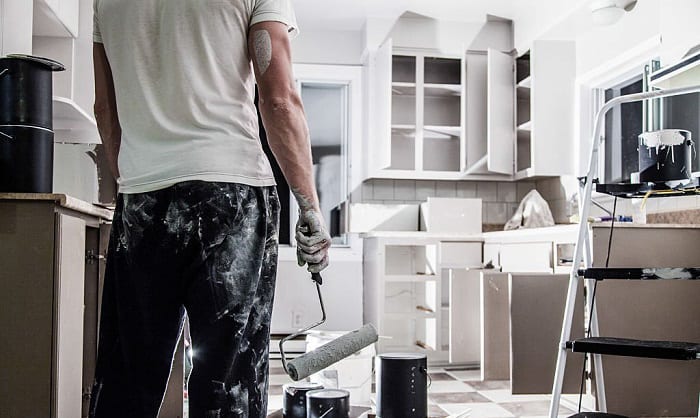
Protect Your Kitchen
 Before you begin painting, it’s important to protect your kitchen from any potential paint splatters or spills.
Cover all surfaces, appliances, and floors with drop cloths or plastic sheeting
to prevent any damage or mess.
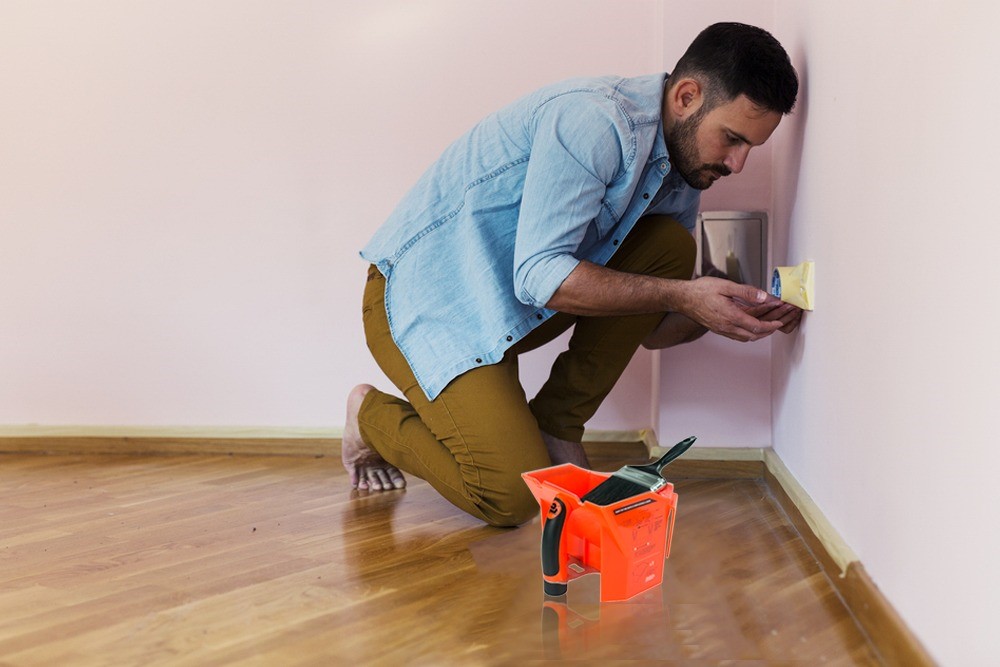
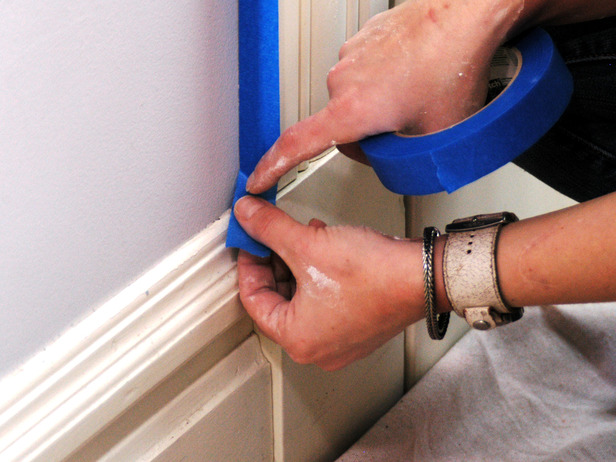
Use painter’s tape to protect any areas that you don’t want to paint
, such as trim, switches, or outlets. This will save you time and effort in cleaning up and ensure a neat and professional finish.
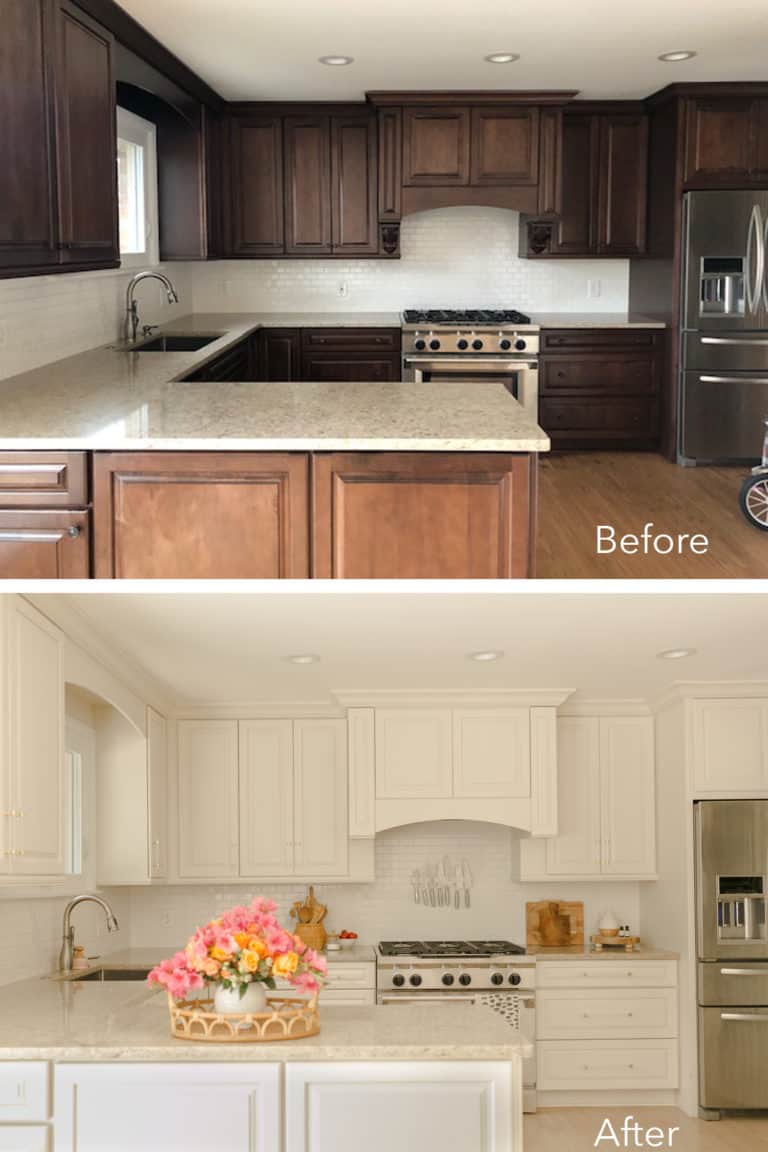
By following these additional tips, you can ensure that your kitchen walls are properly prepped for painting and achieve a beautiful and long-lasting result. Remember to always use high-quality materials and take your time to properly prepare your walls before painting. With a little extra effort, you can transform your kitchen into a stunning and inviting space.
Before you begin painting, it’s important to protect your kitchen from any potential paint splatters or spills.
Cover all surfaces, appliances, and floors with drop cloths or plastic sheeting
to prevent any damage or mess.
Use painter’s tape to protect any areas that you don’t want to paint
, such as trim, switches, or outlets. This will save you time and effort in cleaning up and ensure a neat and professional finish.
By following these additional tips, you can ensure that your kitchen walls are properly prepped for painting and achieve a beautiful and long-lasting result. Remember to always use high-quality materials and take your time to properly prepare your walls before painting. With a little extra effort, you can transform your kitchen into a stunning and inviting space.